A decorated container can look lovely on a shelf and still cause trouble when it is time to water. The useful question is whether the design belongs on a working planter or on a separate outer cover. Once drainage, weight, and the finish material are settled, color and texture can do their job without getting in the plant’s way.
Painted Terracotta Rims
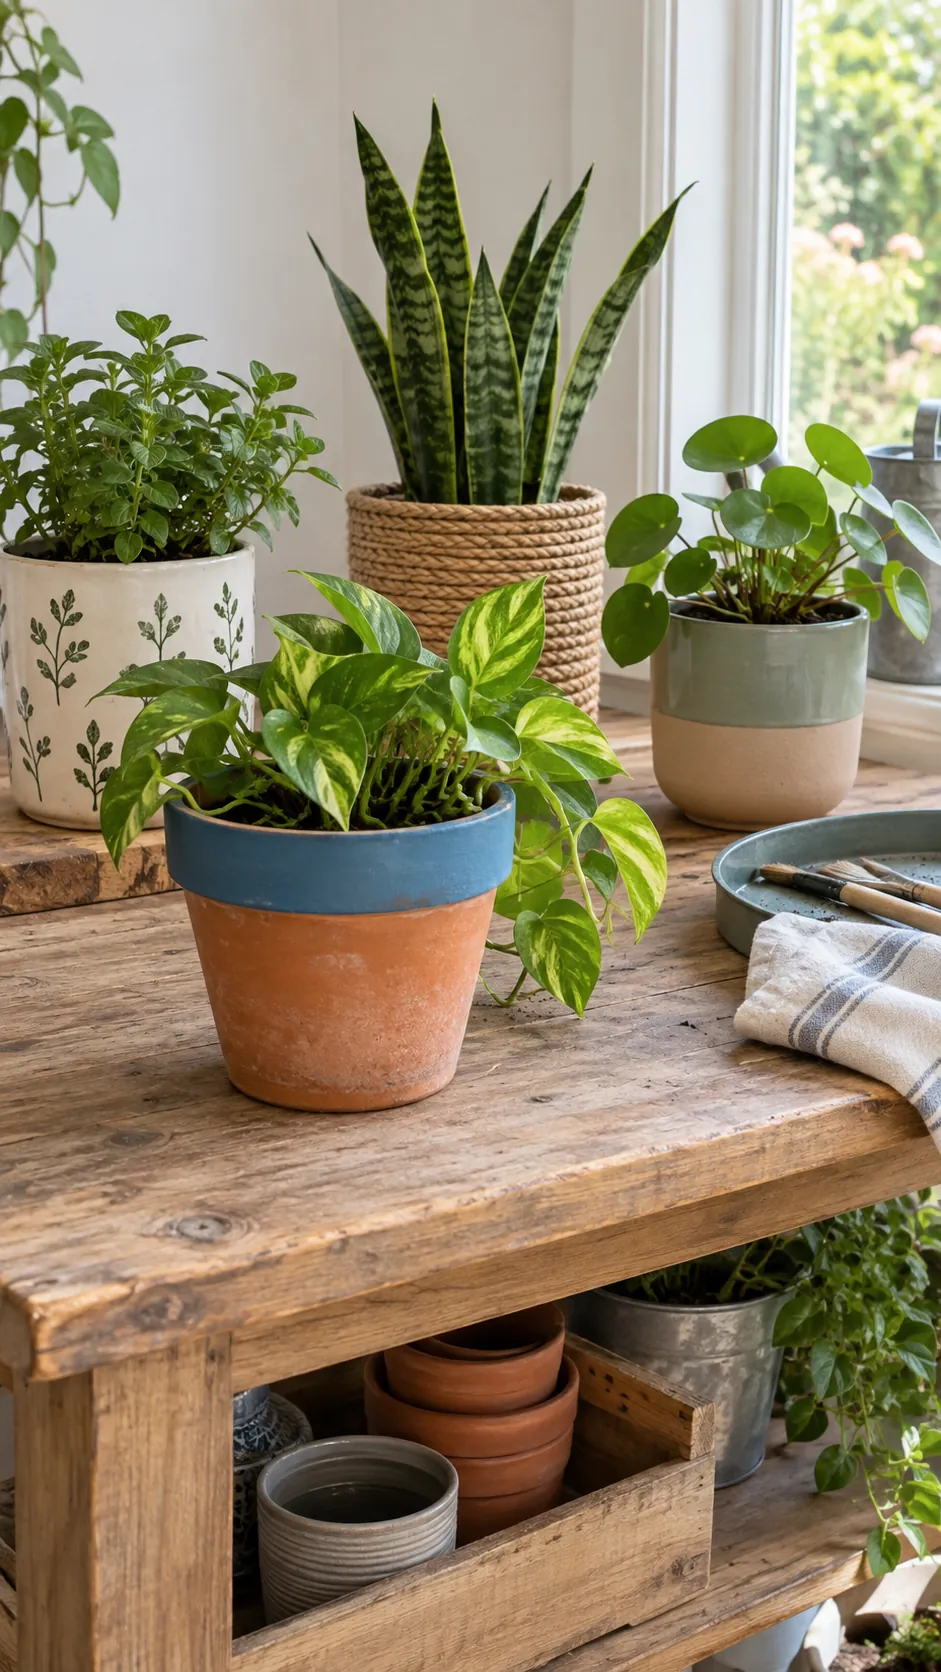
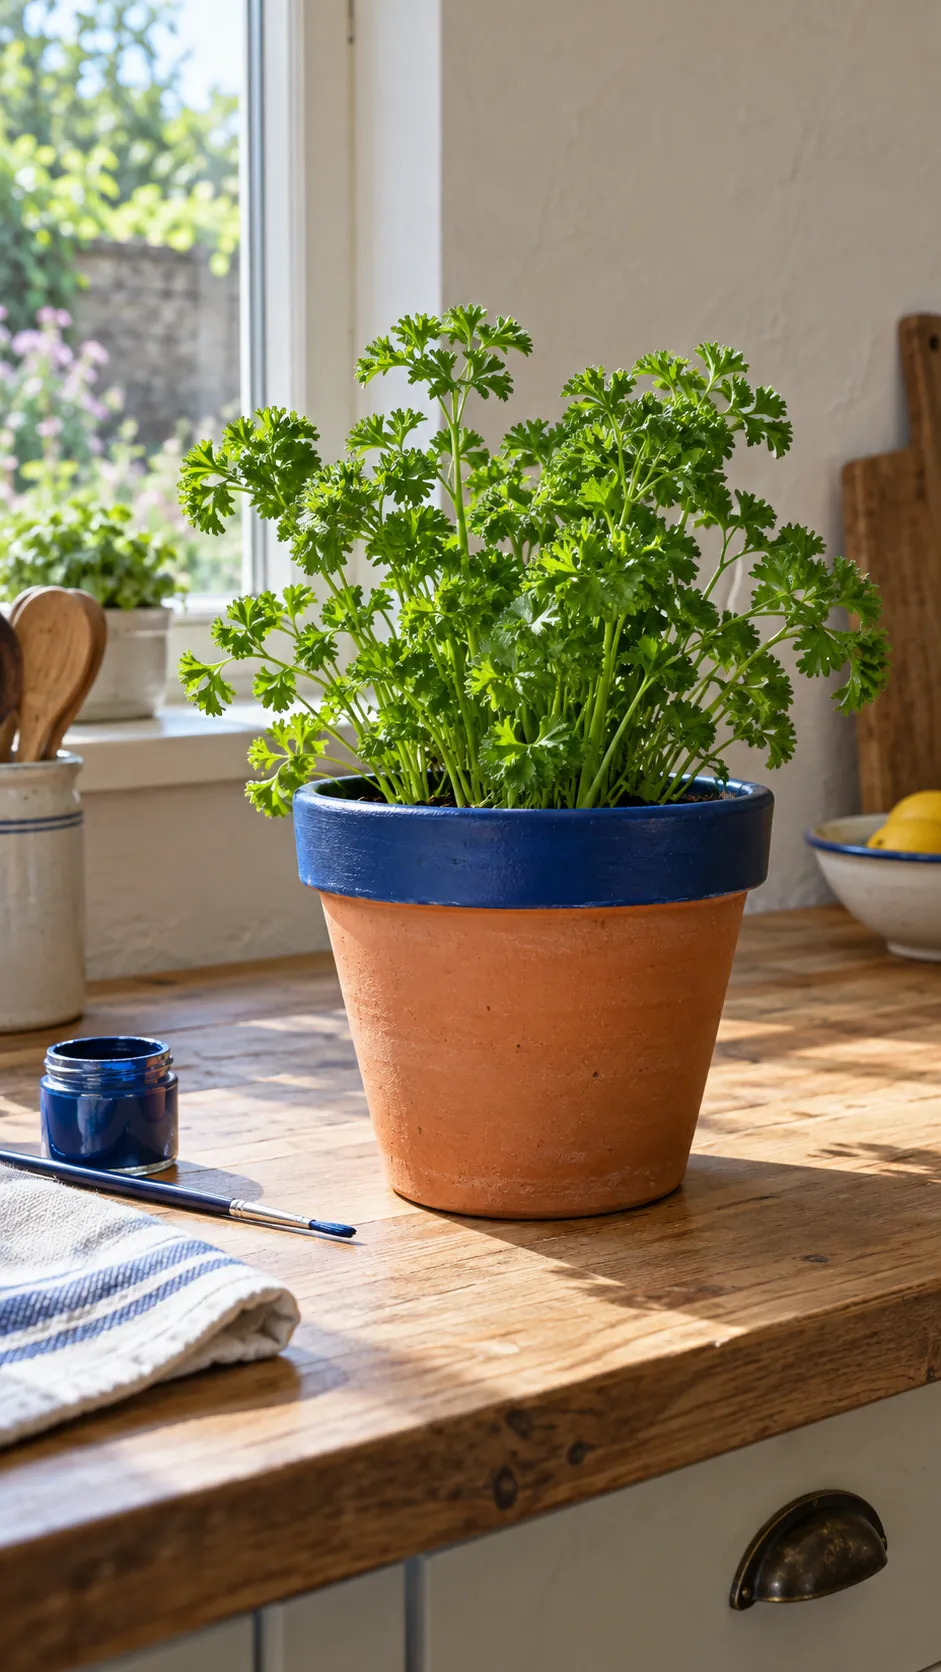
Painting only the top rim gives an ordinary terracotta pot a crisp detail while leaving much of the clay visible. Clean and dry the pot thoroughly before applying a paint made for the surface. Keep paint out of the drainage opening and off any area that will hold wet soil. A narrow band of color works particularly well when several pots need to look related without becoming identical.
Color Blocked Clay Pots
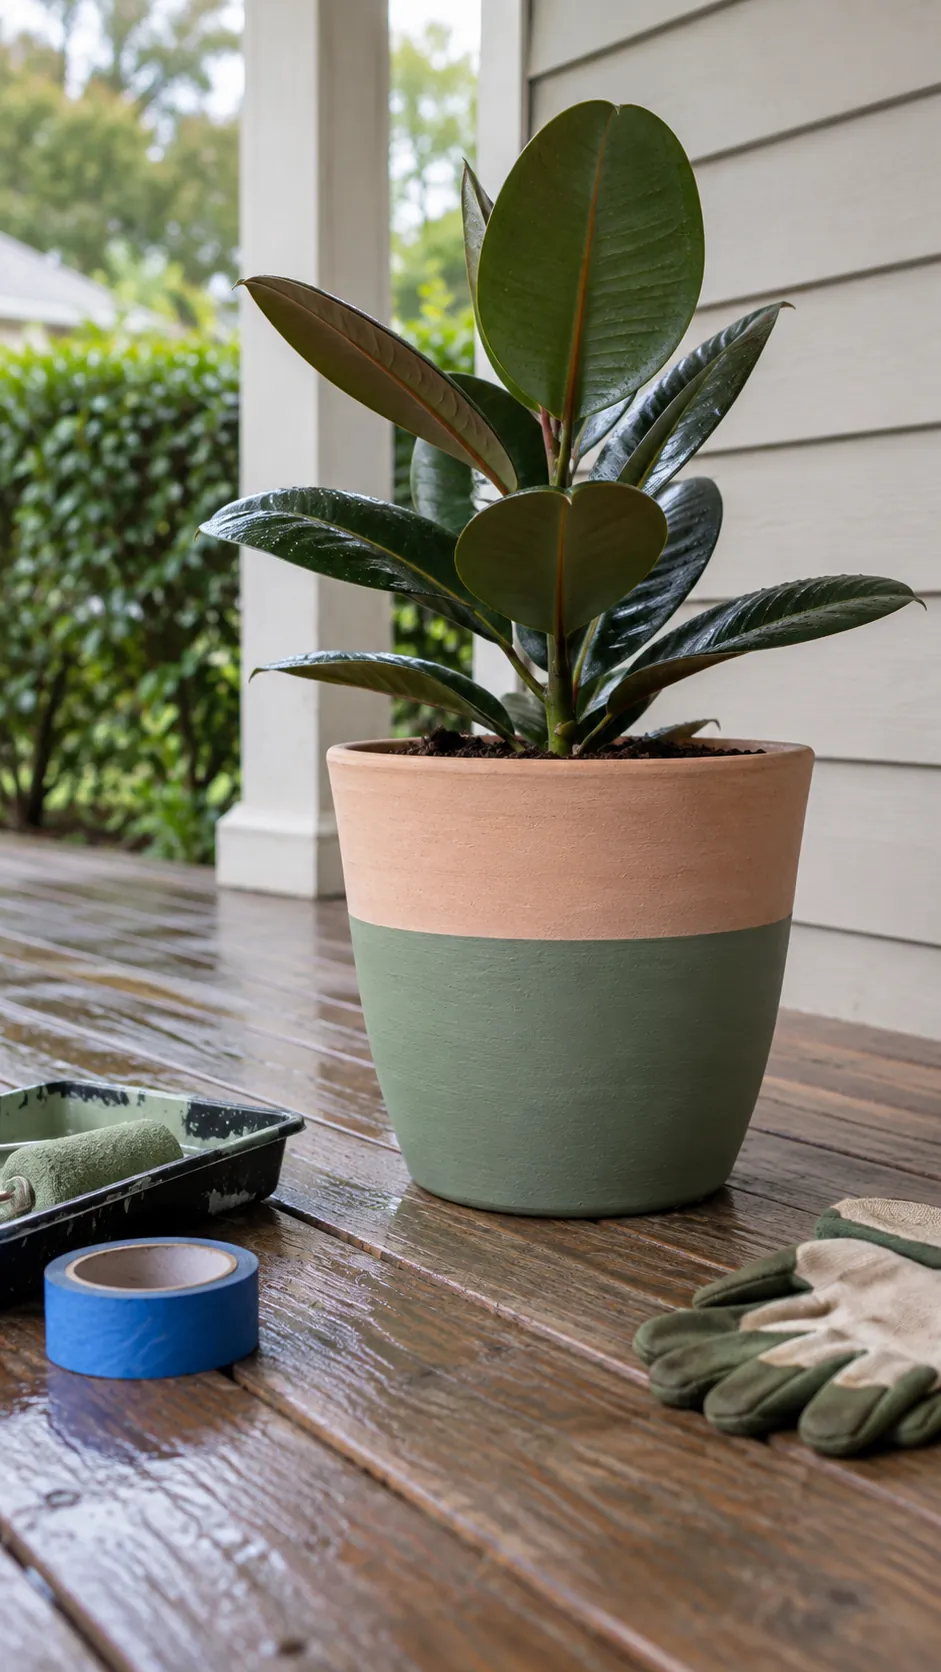
A broad block of color can make a mismatched collection feel deliberate. Mark a level boundary with painter tape, paint the lower portion, and remove the tape while the coating is still workable according to its directions. Use a contrasting plant shape so the foliage does not disappear against the chosen shade. If the pot will live outdoors, check that the finish is rated for weather and allow the full cure time.
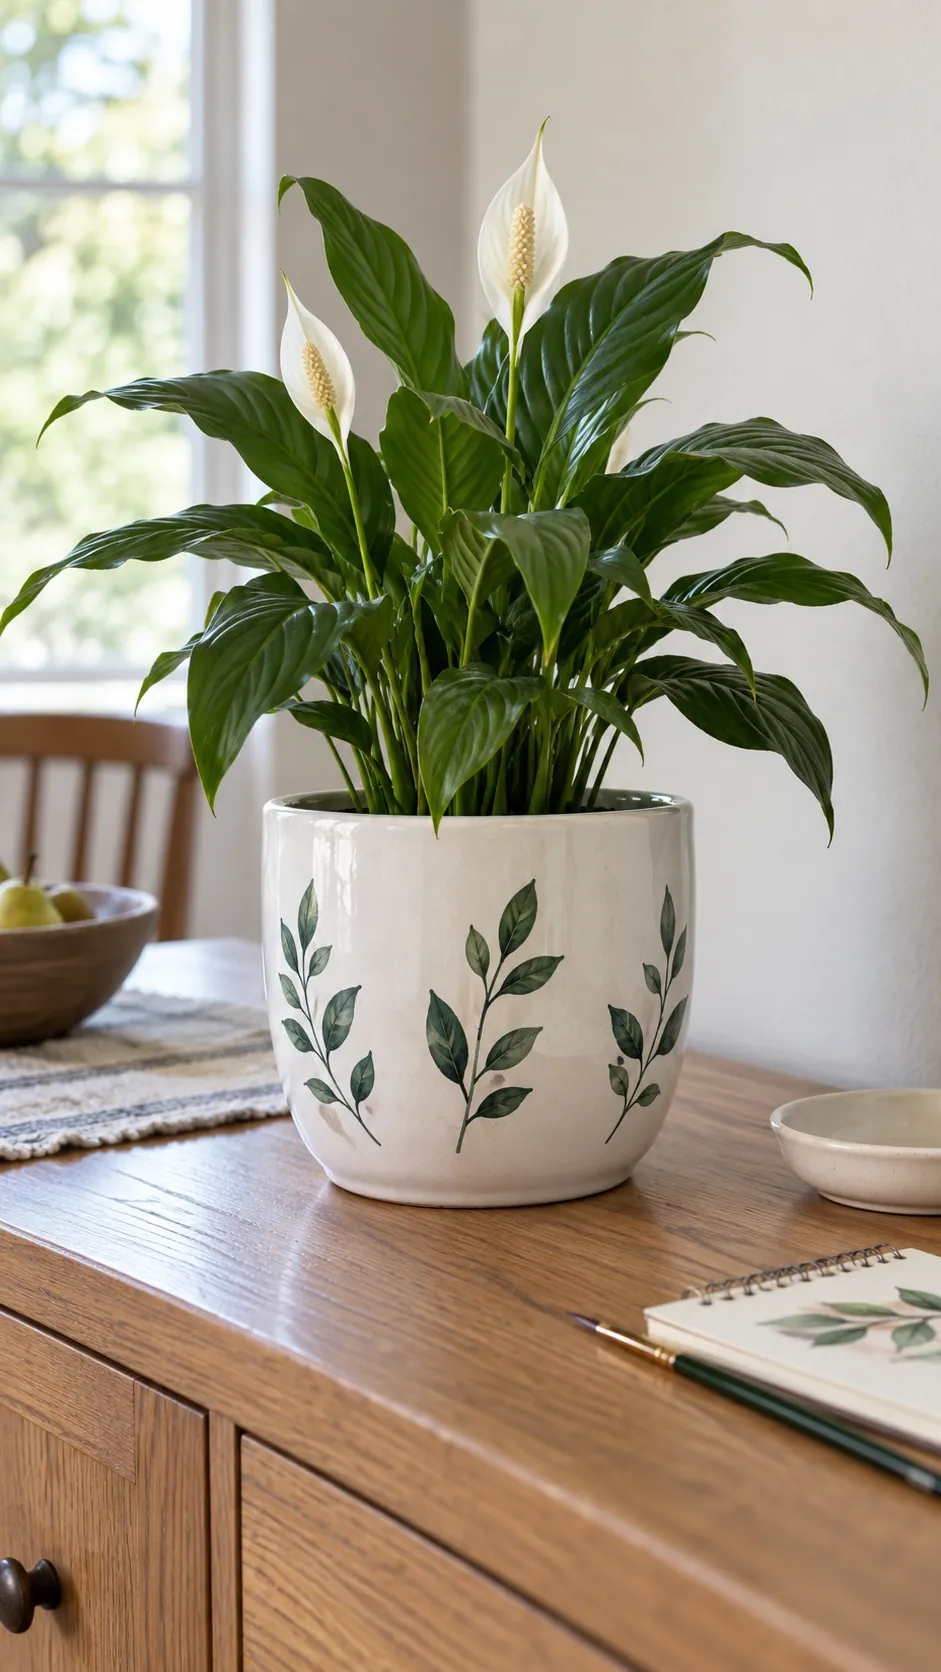
Hand Painted Botanical Motifs
A small leaf or seed motif gives a plain pot detail that rewards a closer look. Sketch the design lightly first and place it on the side facing the room rather than all around the vessel. Use an appropriately sized brush and test the paint on a spare shard or hidden area. A few accurate shapes usually look calmer than filling every inch with marks.
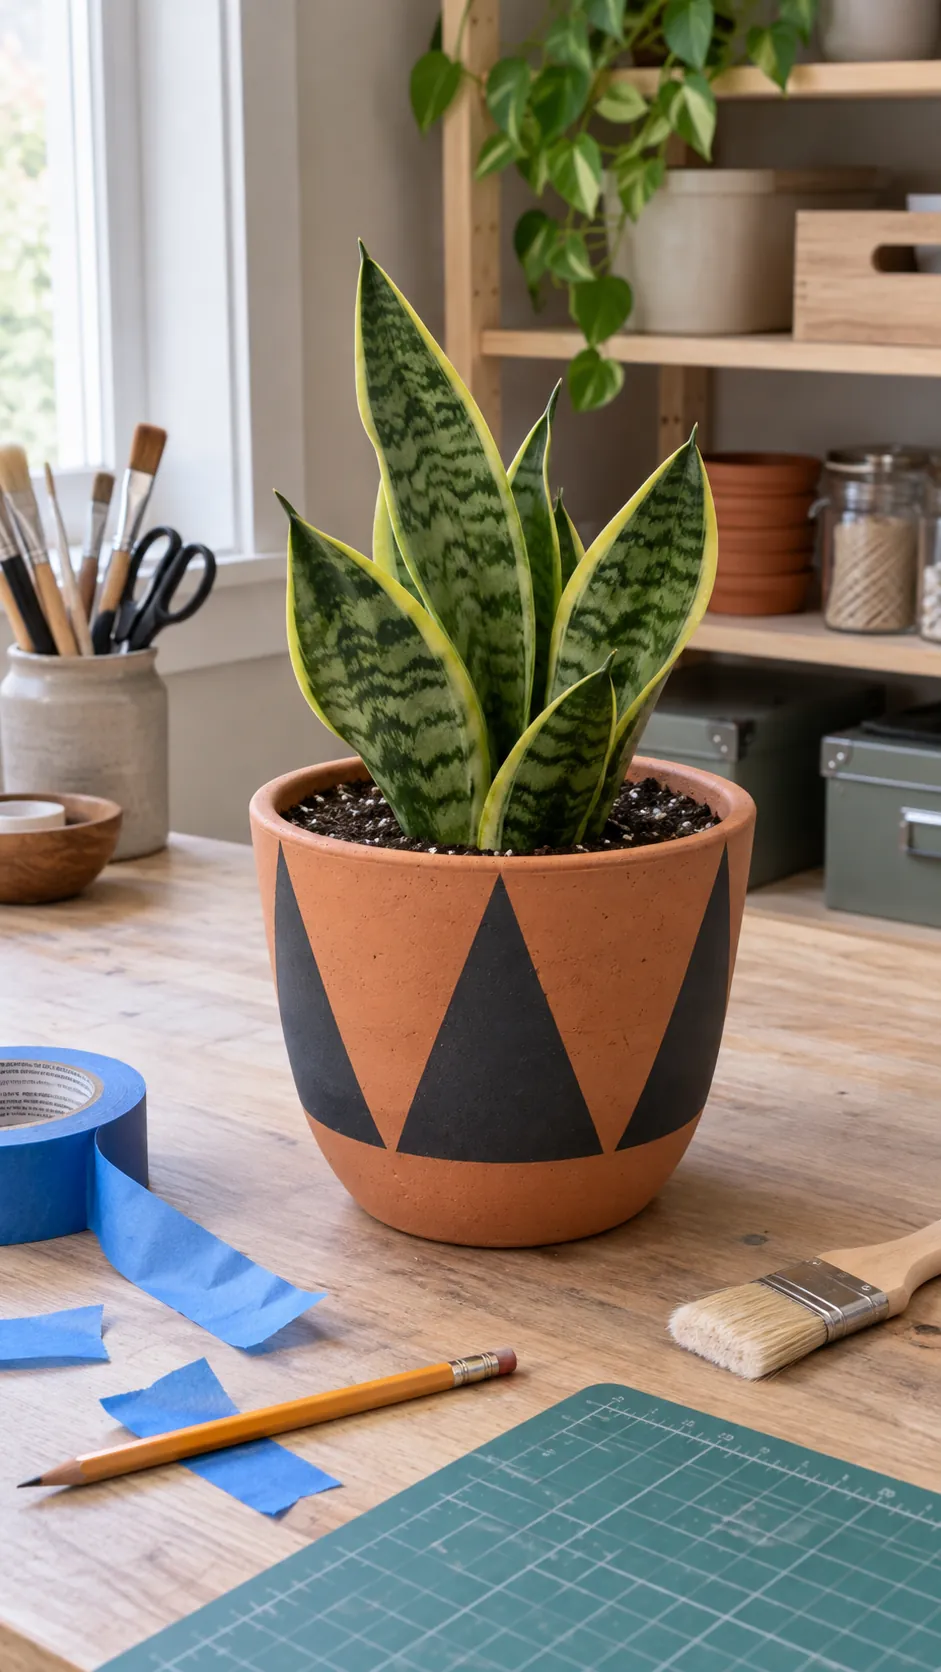
Geometric Tape Patterns
Painter tape can create strong triangles or diagonal bands on a smooth pot. Start with a clean, dry surface and press tape edges down carefully to reduce paint bleed. Keep the pattern large enough to read from across the room, especially on a small planter. Remove the tape gently and let the paint cure before handling the pot for repotting.
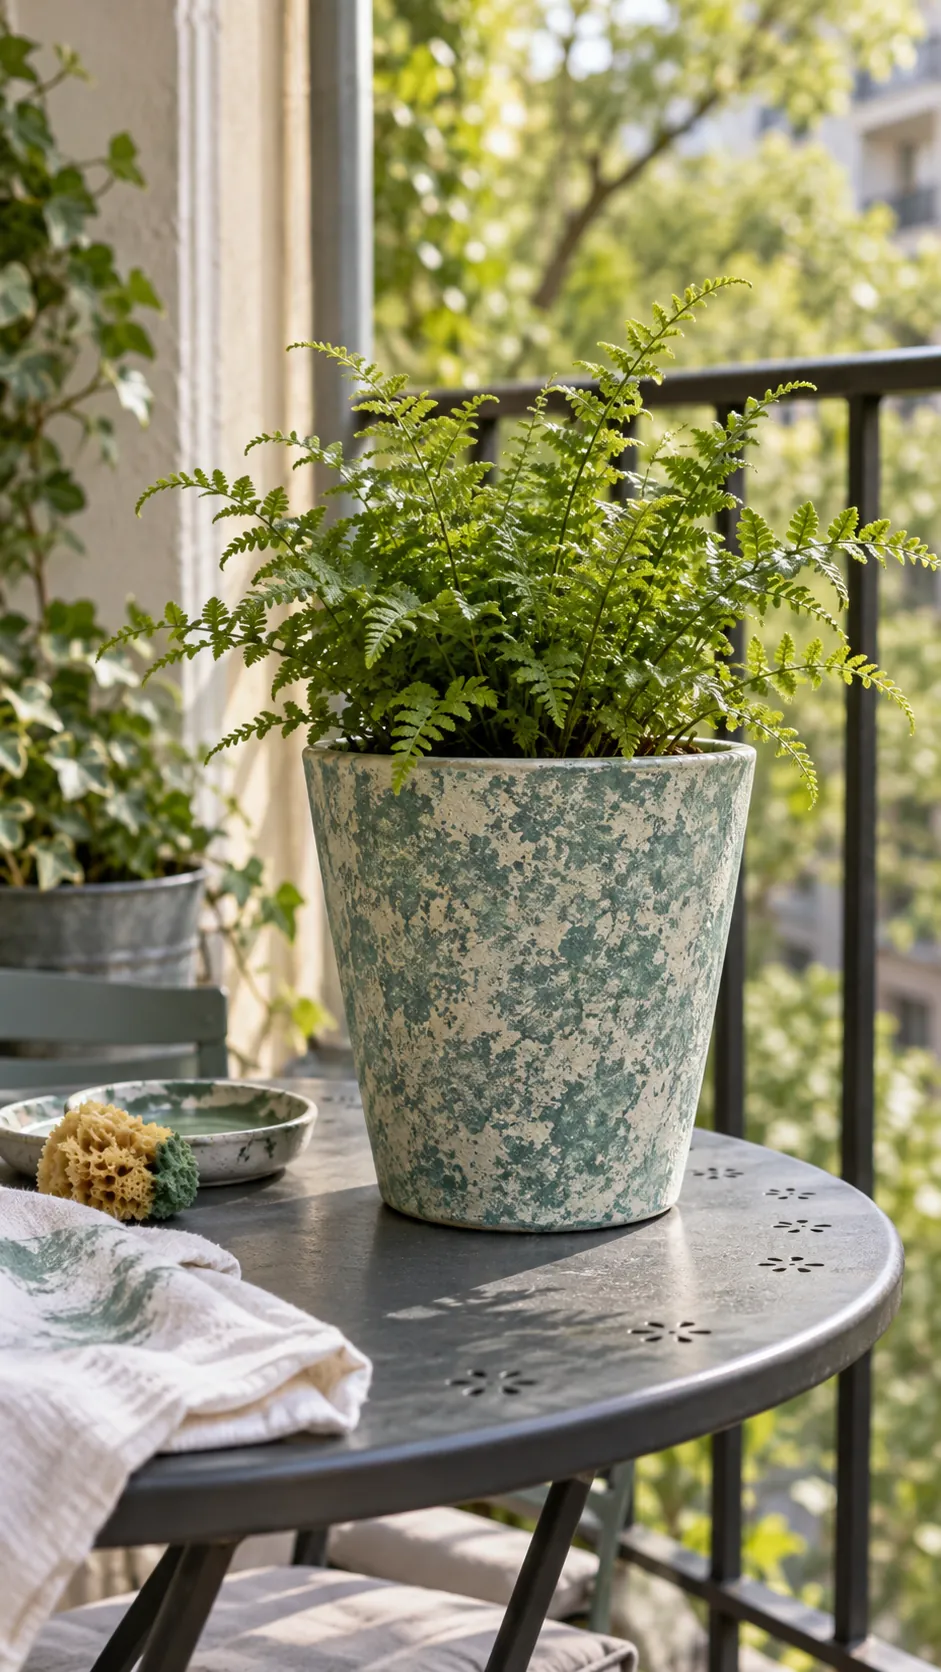
Sponge Stippled Surfaces
A natural sponge makes a restrained speckled finish without the rigidity of a stencil. Blot most of the paint away before touching the pot, then build color in light passes. Rotate the vessel as you work so one side does not become much denser than the other. Leave the drainage hole and inner planting surface clear.
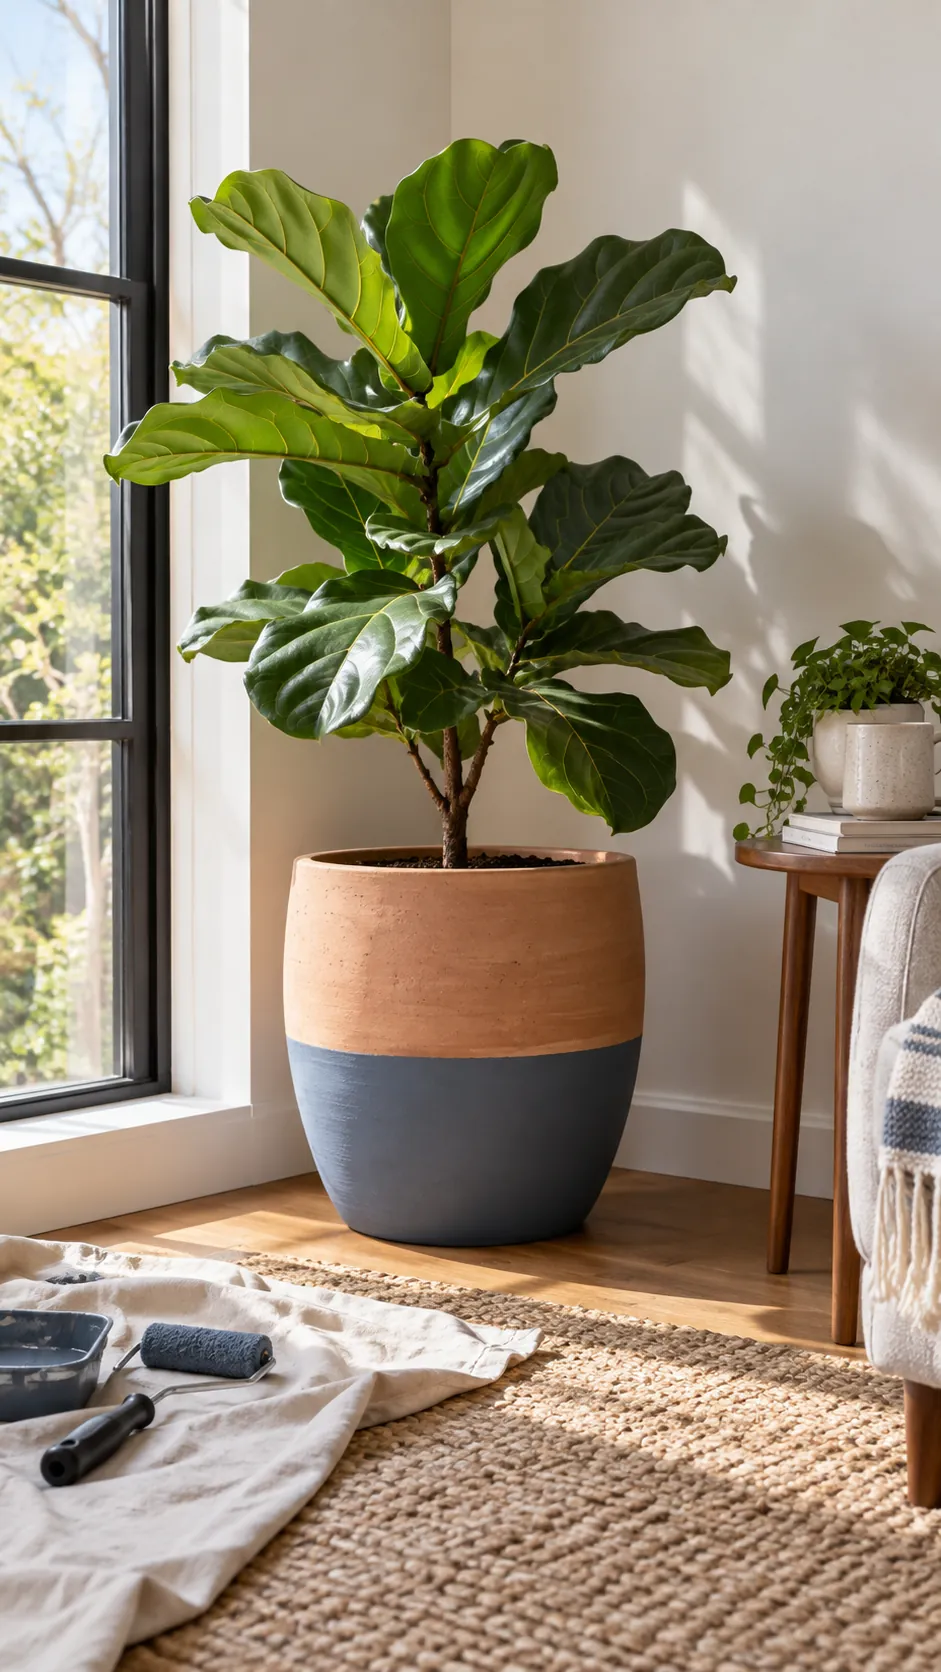
Two Tone Dipped Look
A painted lower third can mimic the visual effect of a dipped pot without putting the vessel into a tub of coating. Measure one consistent line, then use a brush or small roller to fill the area below it. Choose a finish that suits the material and allow it to dry completely before placing the pot on furniture. The unpainted upper portion keeps the familiar clay texture visible.
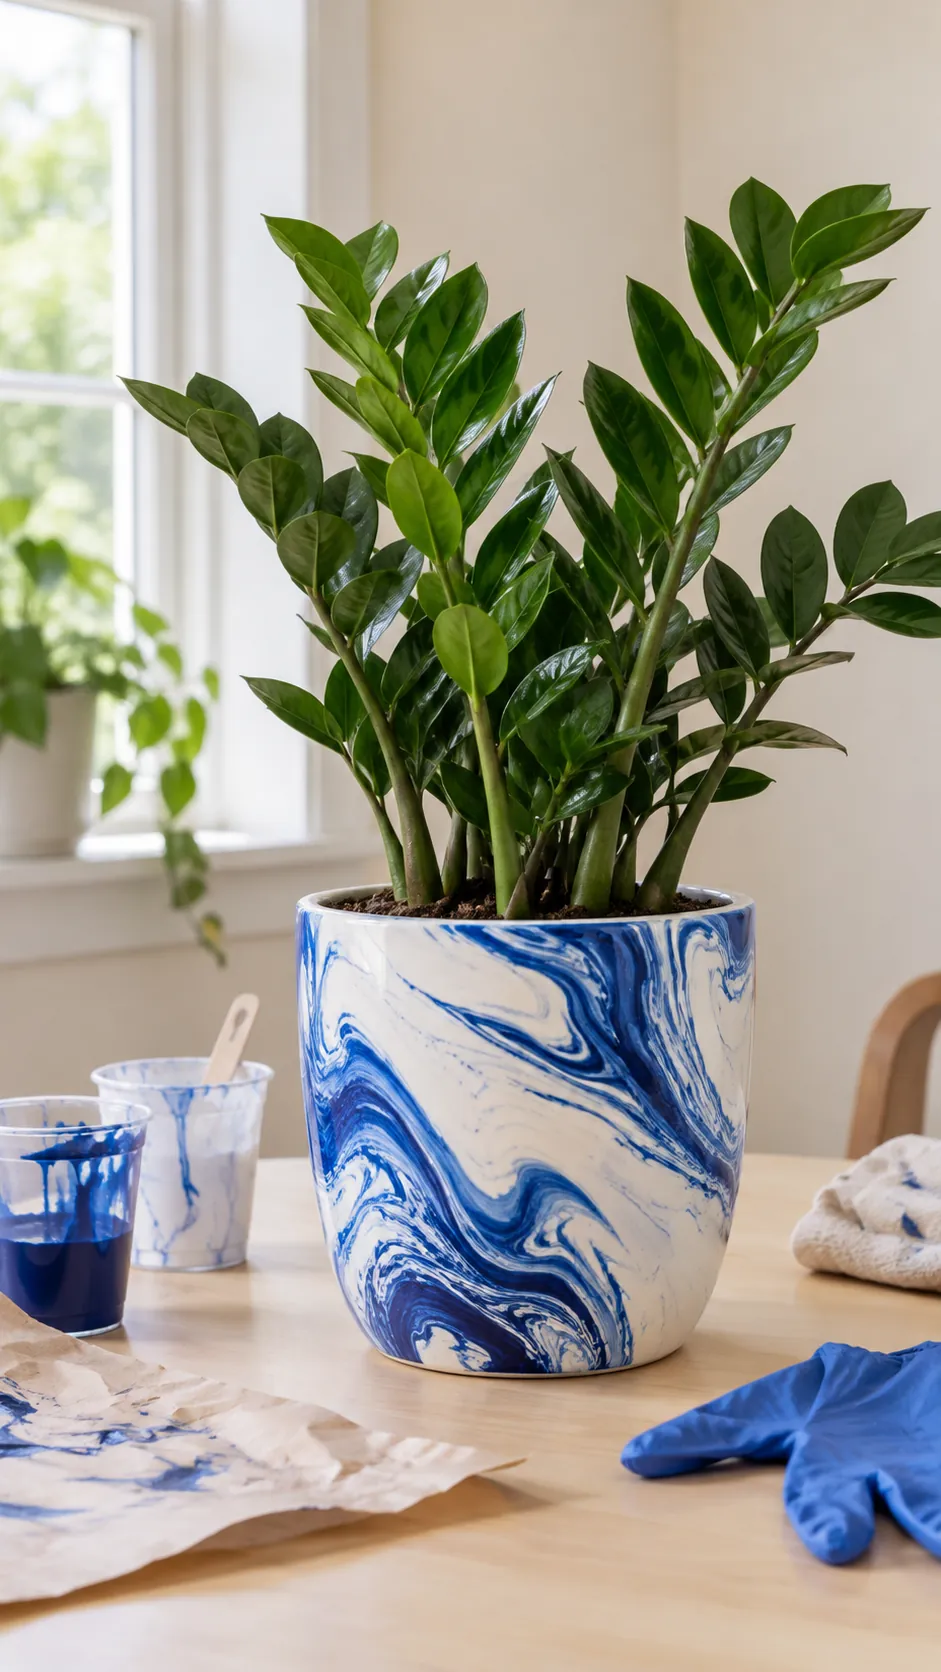
Marbled Exterior Paint
Swirled colors can make one simple planter the focal point of a shelf. Practice the marbling method on a spare container and use a controlled palette so the pattern stays readable. Protect the working surface, keep the paint on the exterior, and follow the product guidance for drying and sealing. Pair the finished pot with a quiet leaf shape so both plant and pattern have space.
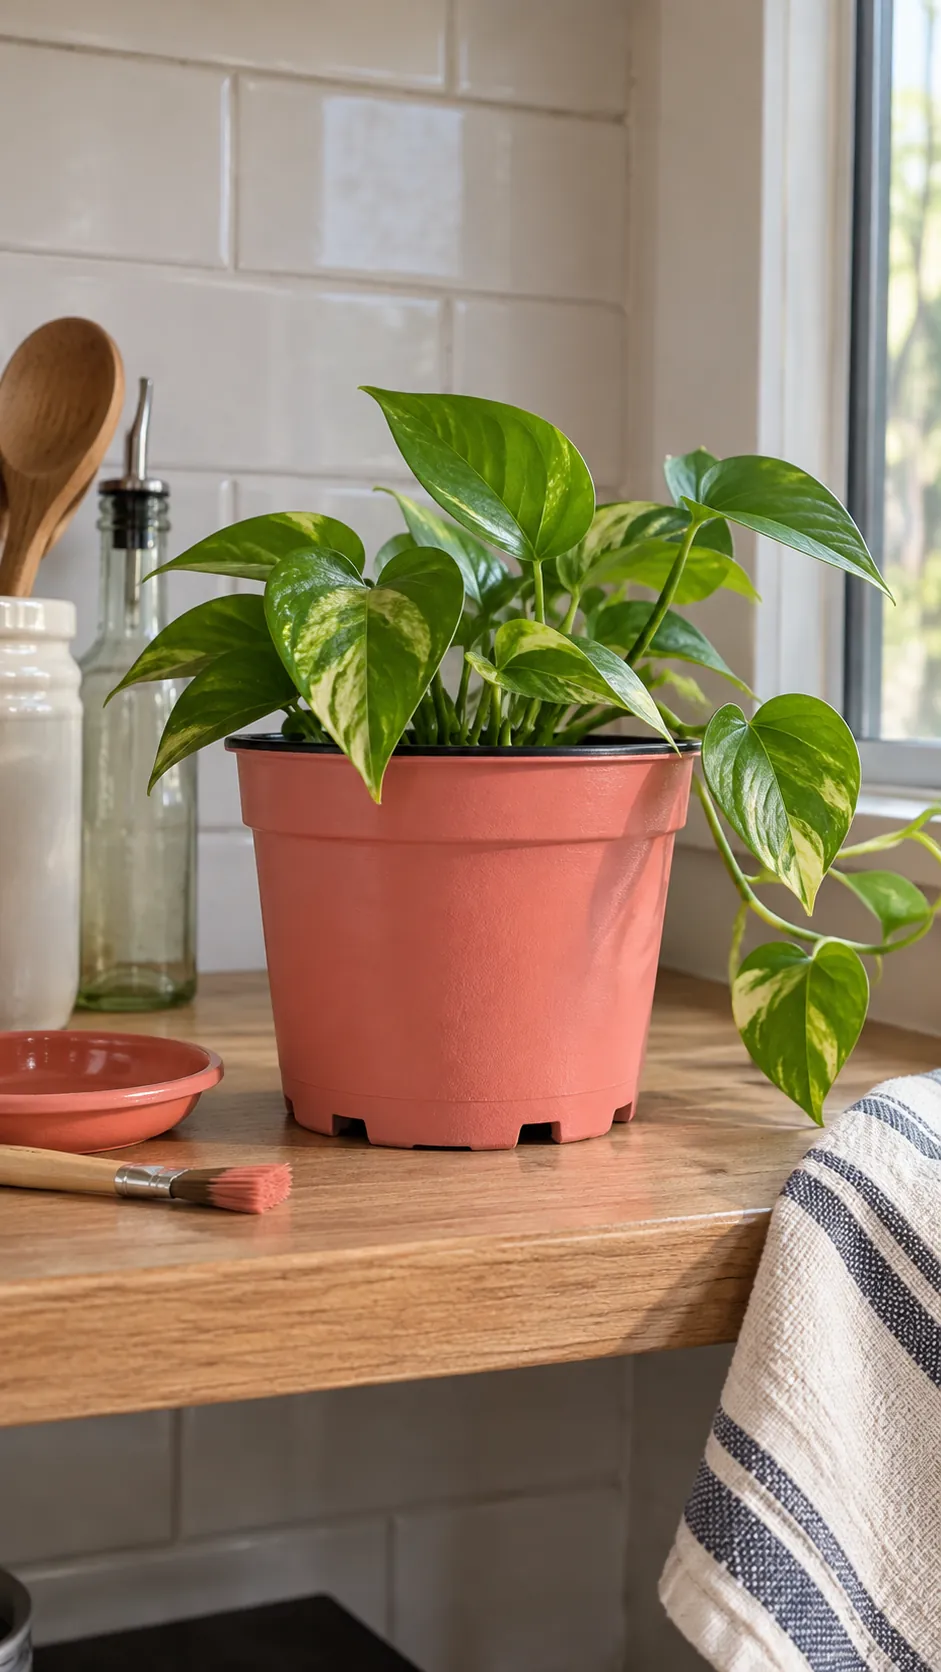
Painted Plastic Nursery Pots
An inexpensive nursery pot can look more intentional with paint made to adhere to plastic. Wash away residue, scuff only if the product directions require it, and use thin coats. Preserve every drainage slot and make sure the finish has cured before watering. Set the decorated pot on a saucer or inside a larger vessel if the original plastic still looks too utilitarian at the base.
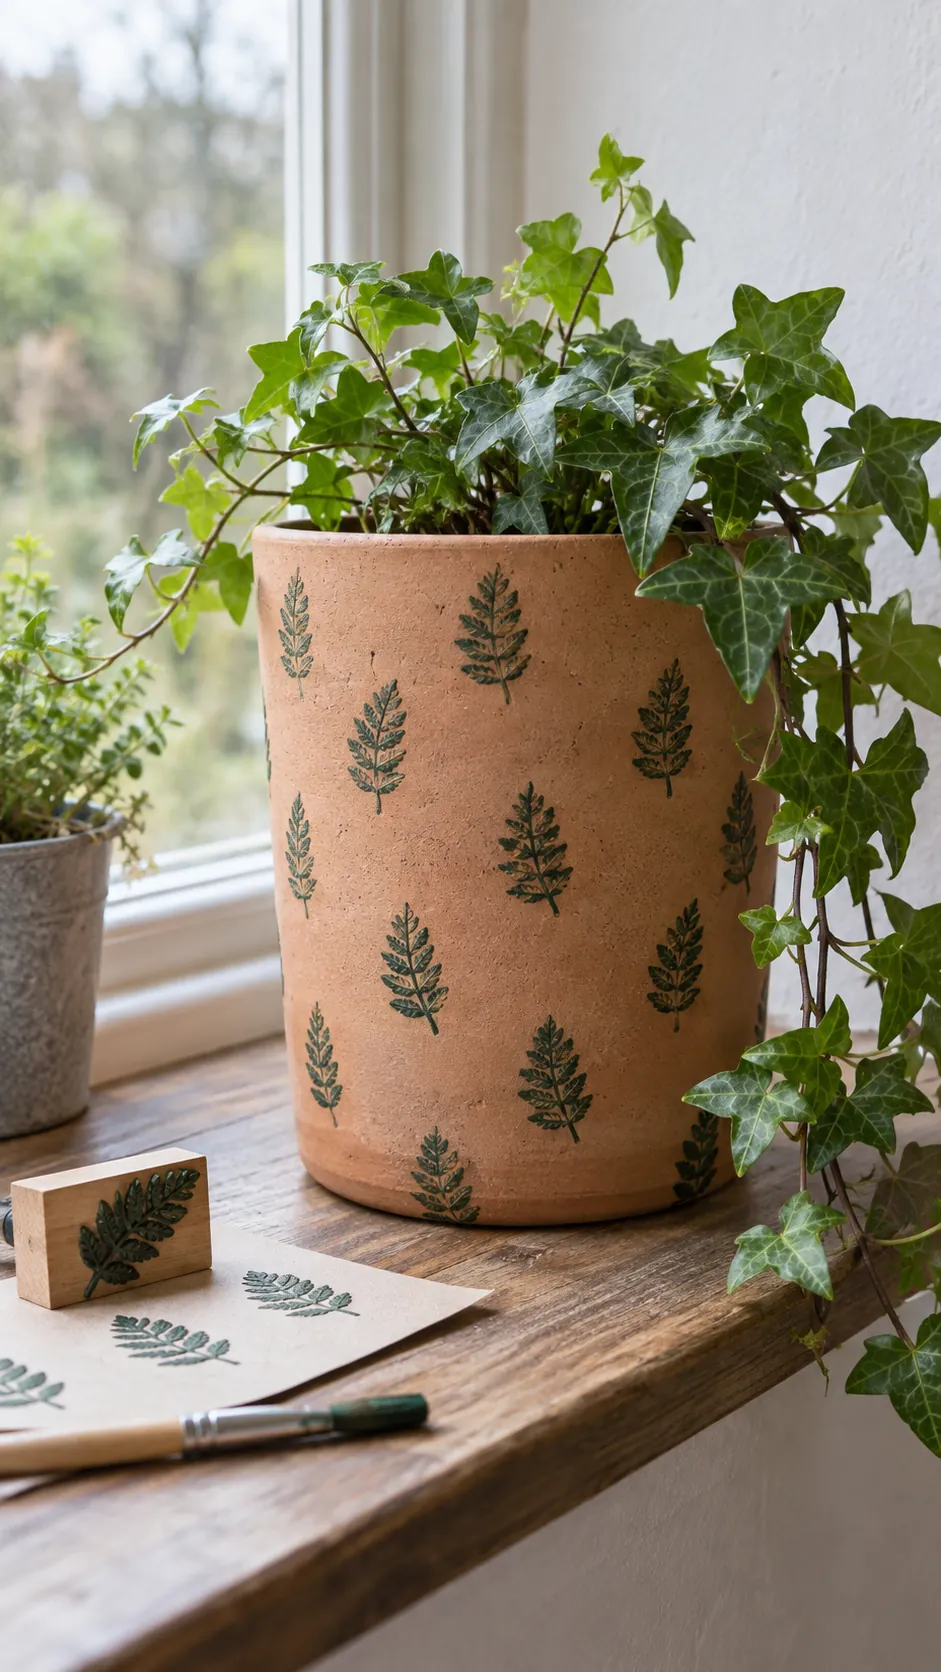
Stamped Clay Impressions
A repeated stamp gives a clay pot rhythm without requiring perfect drawing skills. Work on a clean dry surface and test the pressure and paint load on scrap material first. Space impressions by eye with slight natural variation rather than making a rigid grid. A single repeated motif is easier to read once foliage spills over the rim.
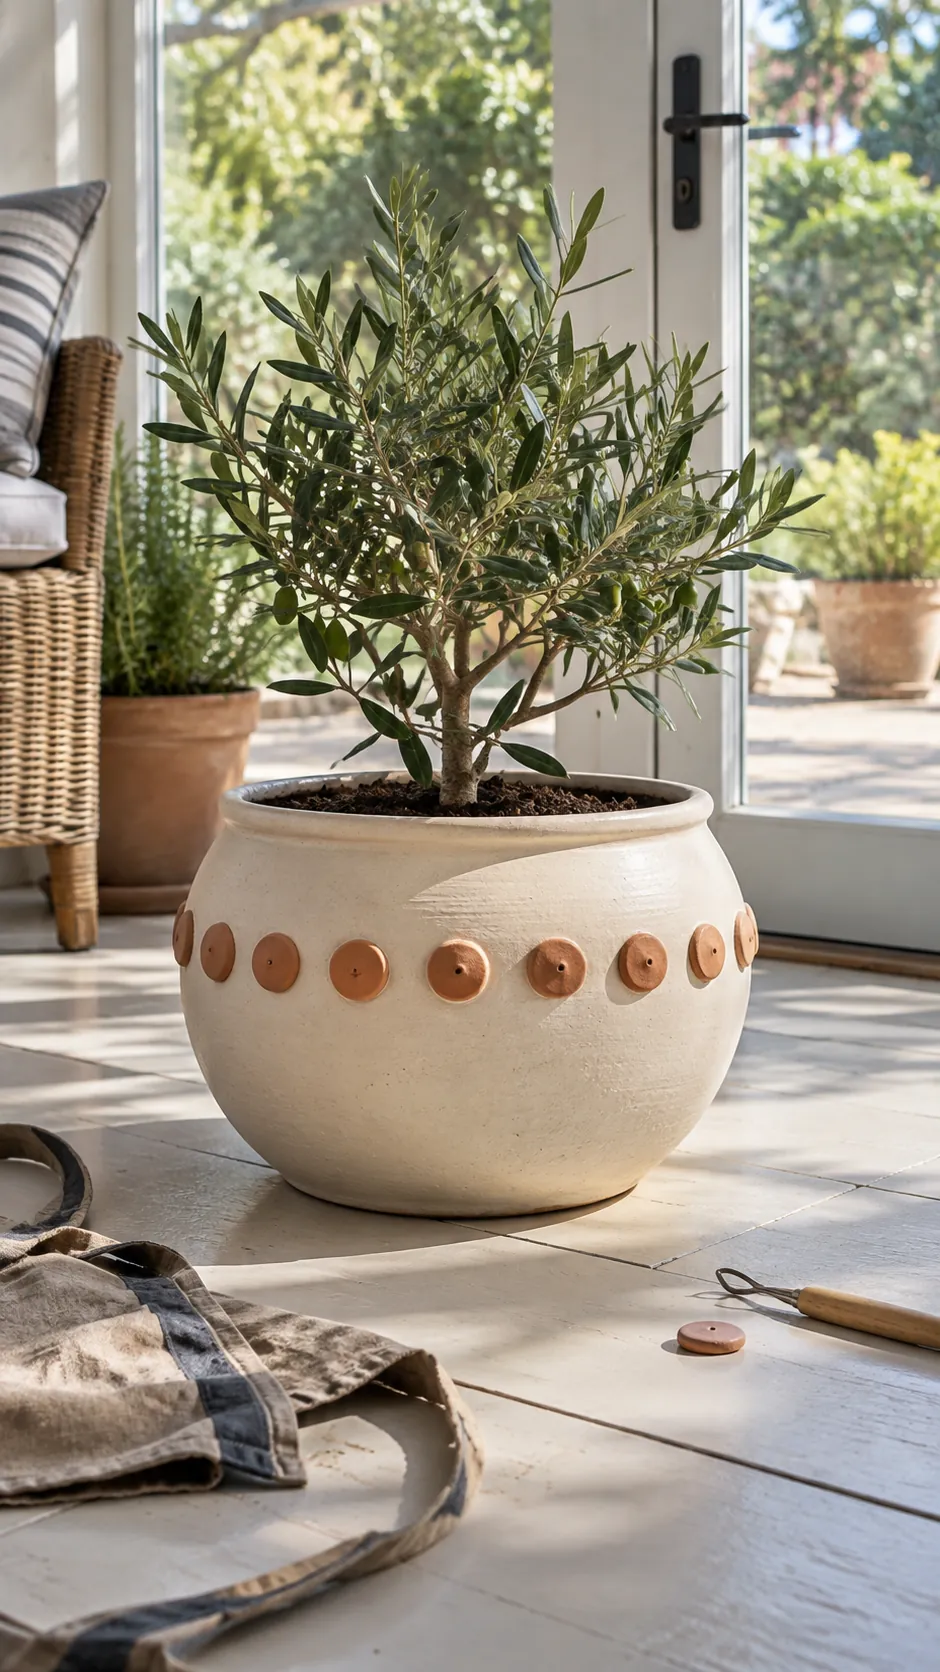
Raised Clay Dots
Small raised dots add tactile detail to a plain vessel when attached with a suitable material for the pot. Lay out the pattern before fixing pieces in place and avoid thick additions near the rim where hands need to grip. Keep the relief shallow enough that the pot remains easy to clean. A matte finish can make the texture visible without turning it into a glossy novelty.
Tiled Mosaic Cachepots
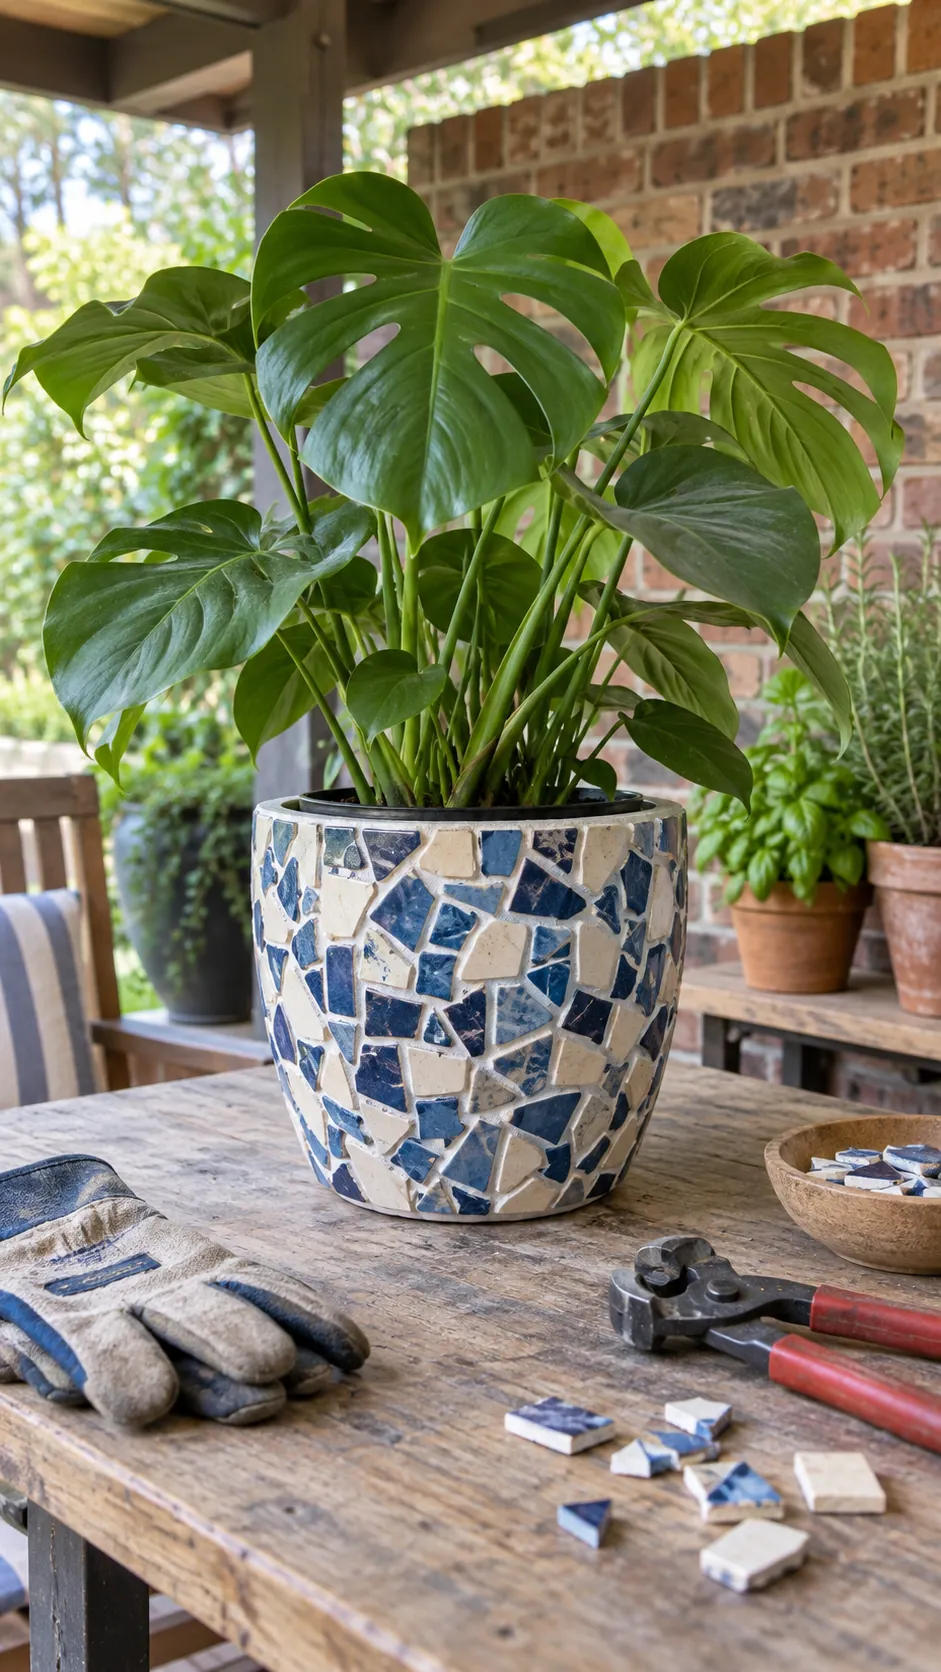
Tile offcuts can turn a sturdy outer pot into a small mosaic project. Smooth sharp edges and attach pieces to a clean, stable surface with an adhesive suitable for that material and location. Grout only after the adhesive has set, keeping the opening clear for the inner planted pot. Treat this as a decorative cachepot so drainage can still happen in a separate nursery container.
Smooth Pebble Accents
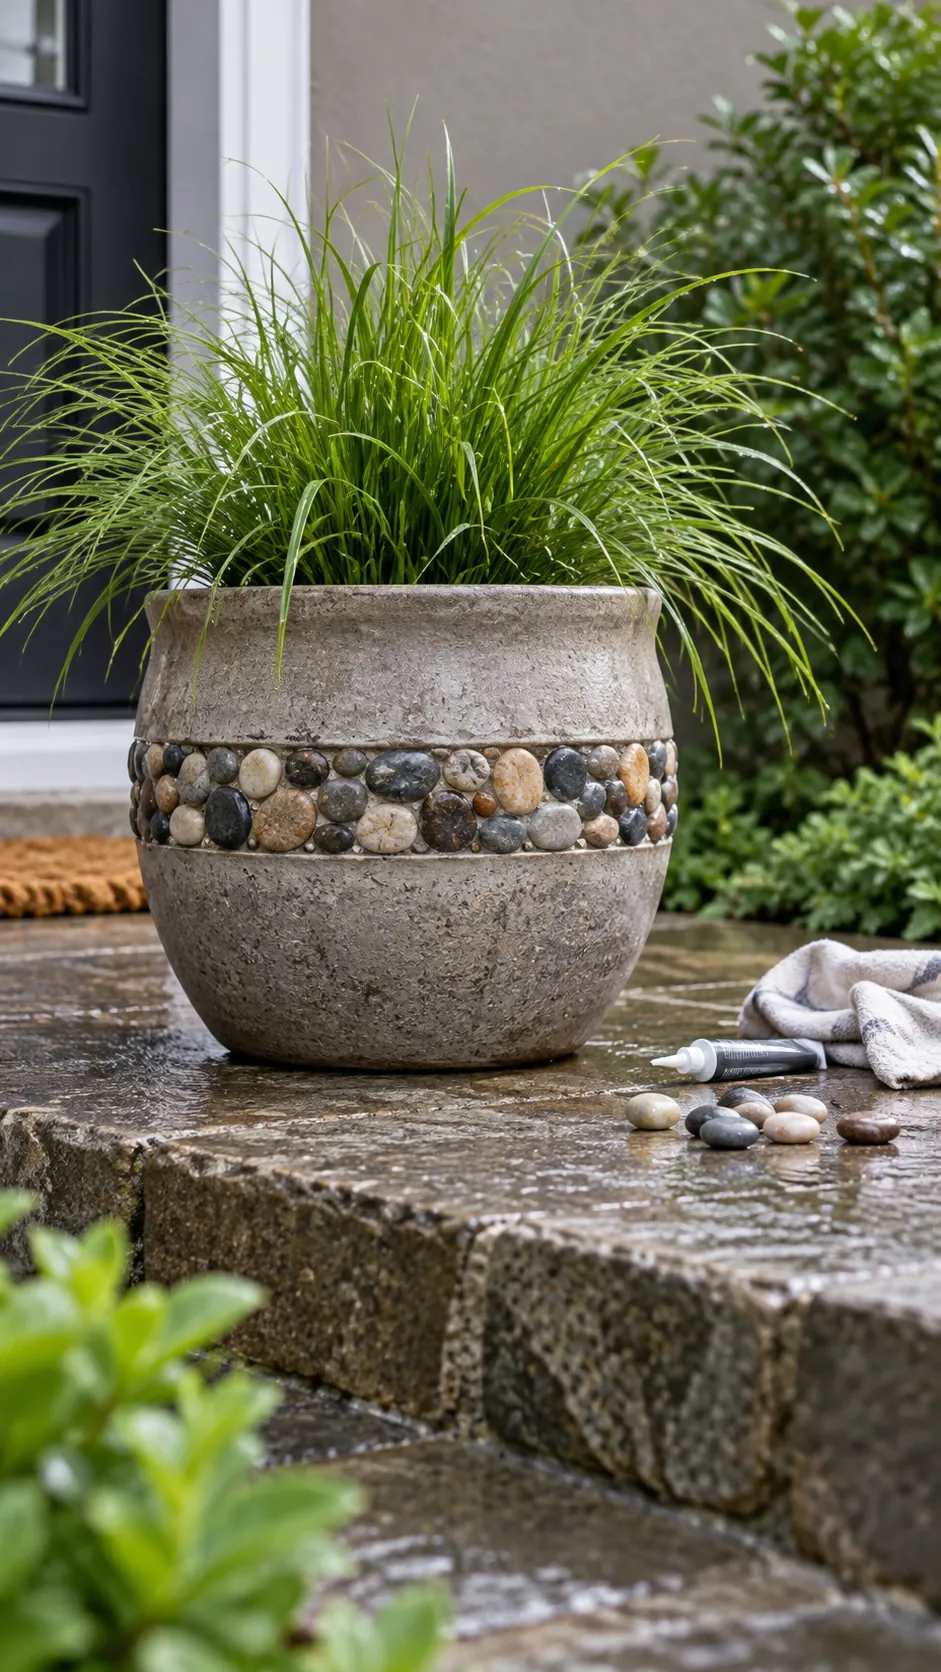
A narrow band of smooth pebbles adds weight and texture to an outdoor cachepot. Select small stones with relatively flat contact points and test the adhesive on the chosen surface. Avoid covering drainage or building a heavy layer that could make the pot unstable. The result pairs well with simple foliage and a neutral planter body.
Wrapped Jute Cachepots
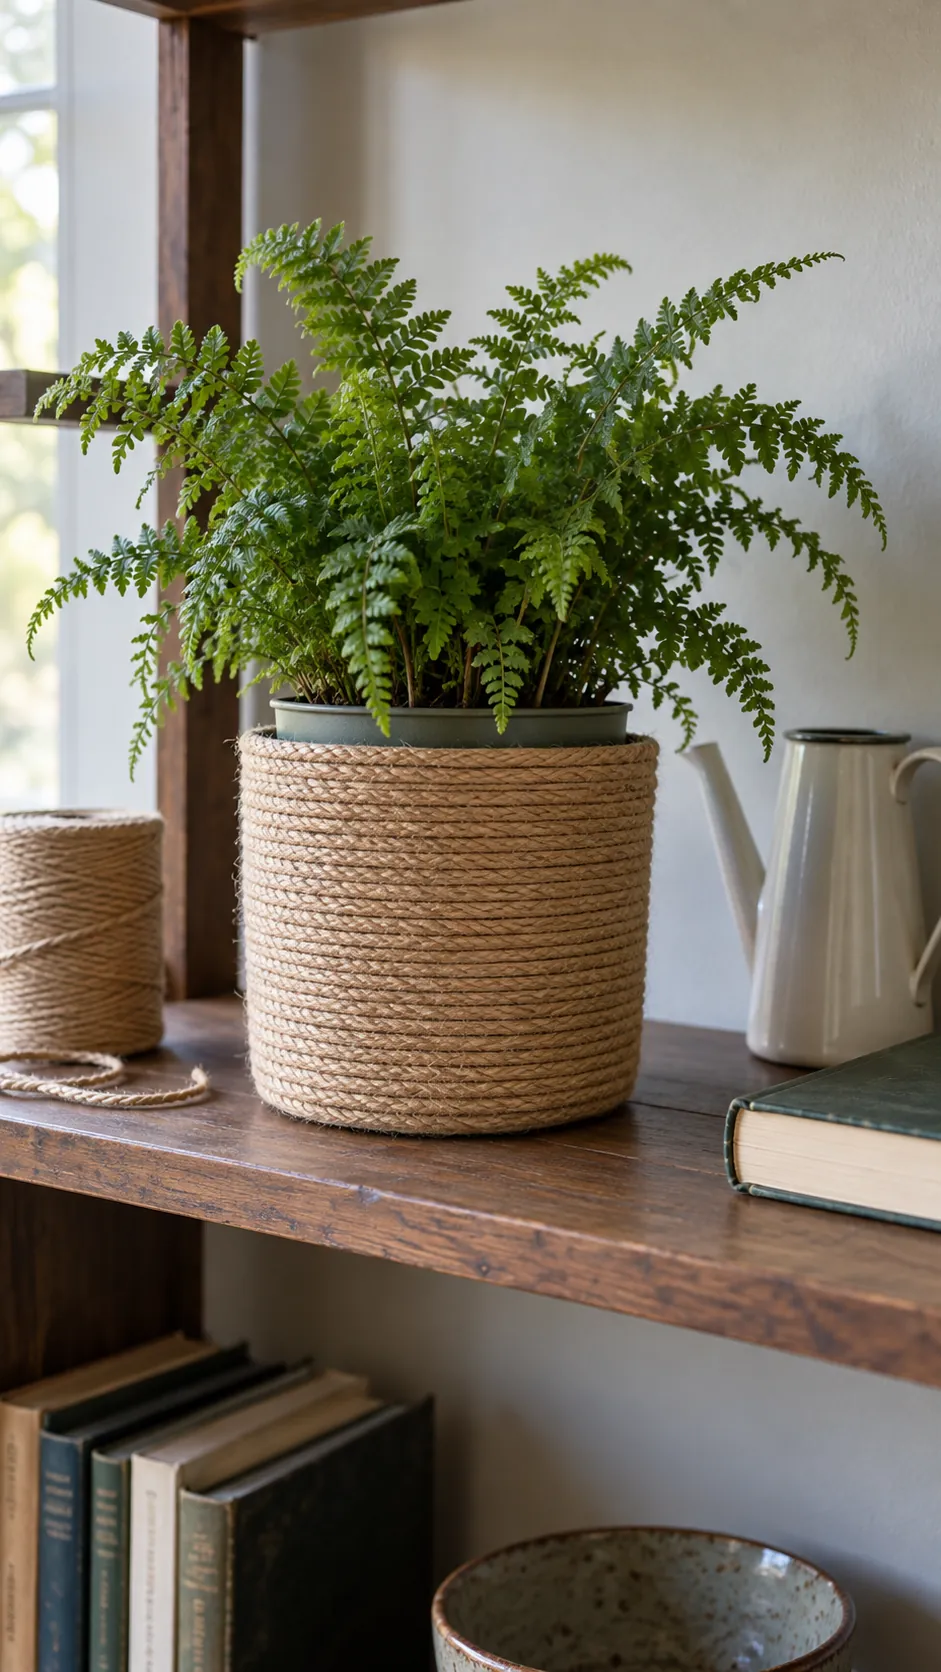
Jute cord softens the look of a hard sided outer pot on a shelf. Wrap it around a dry cachepot with even tension, securing the ends where they will not show. Keep the material away from water and lift out the inner nursery pot before watering. This makes the cover easy to refresh if fibers fade or fray.
Removable Fabric Pot Sleeves
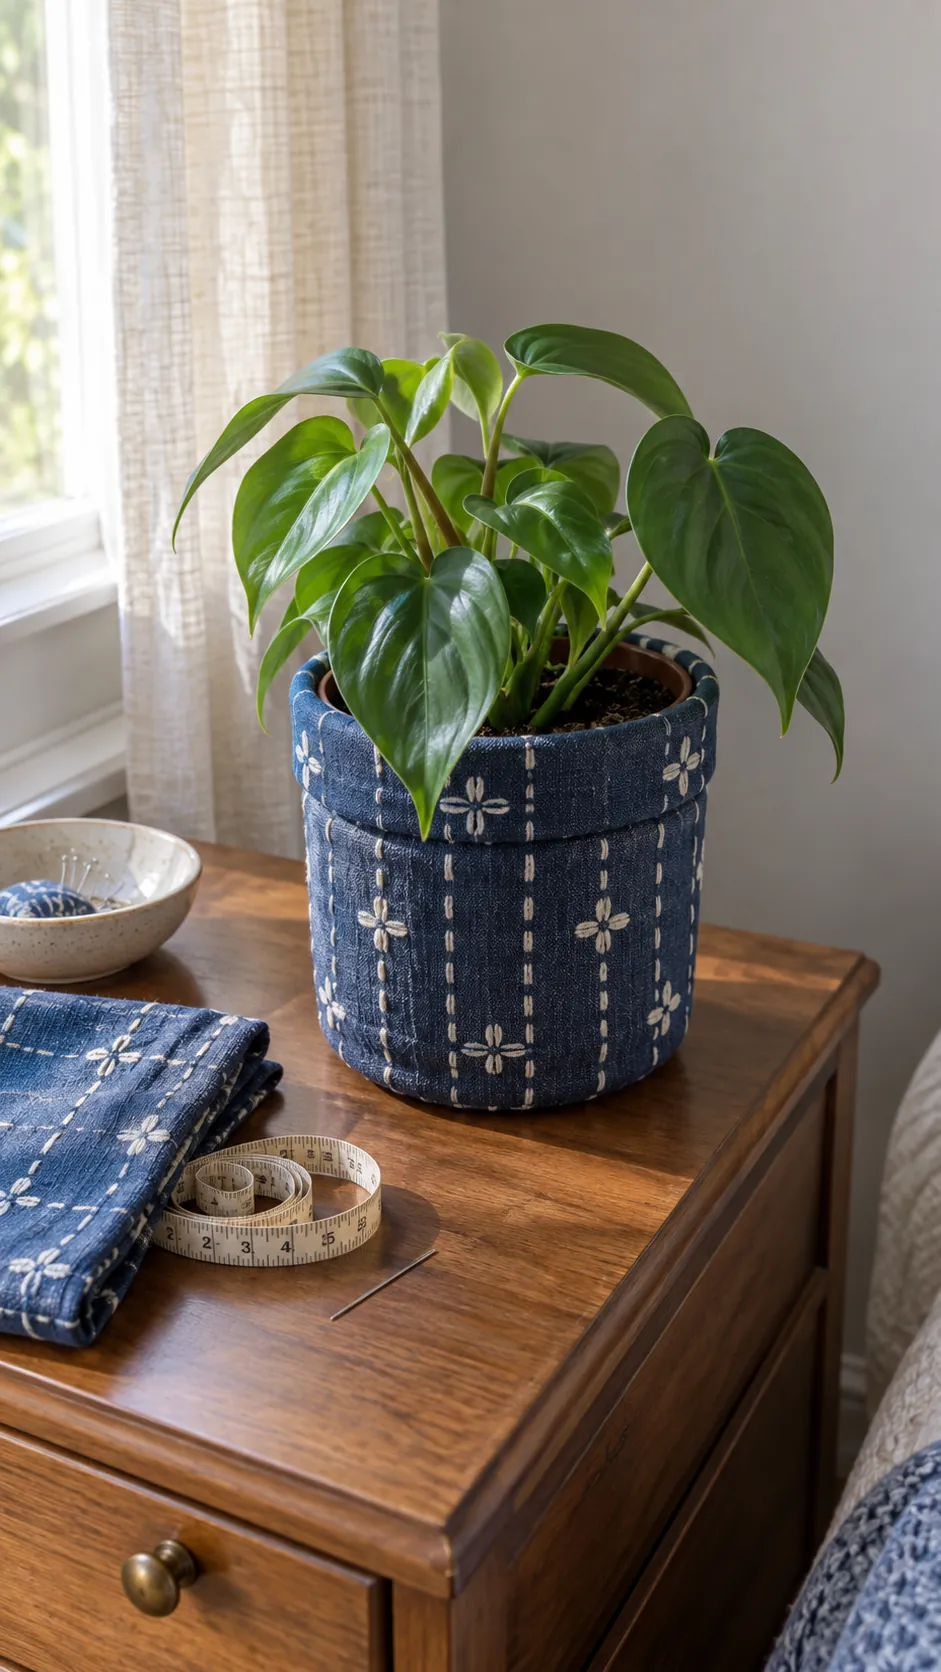
A sewn or folded fabric sleeve lets a decorative planter change with the room. Use a washable, sturdy fabric and size the sleeve to slide over a dry outer pot. Keep the planted nursery pot and watering routine separate so moisture does not remain trapped against the cloth. A simple vertical seam and one neat folded edge often look better than added trim.
Woven Cane Panels
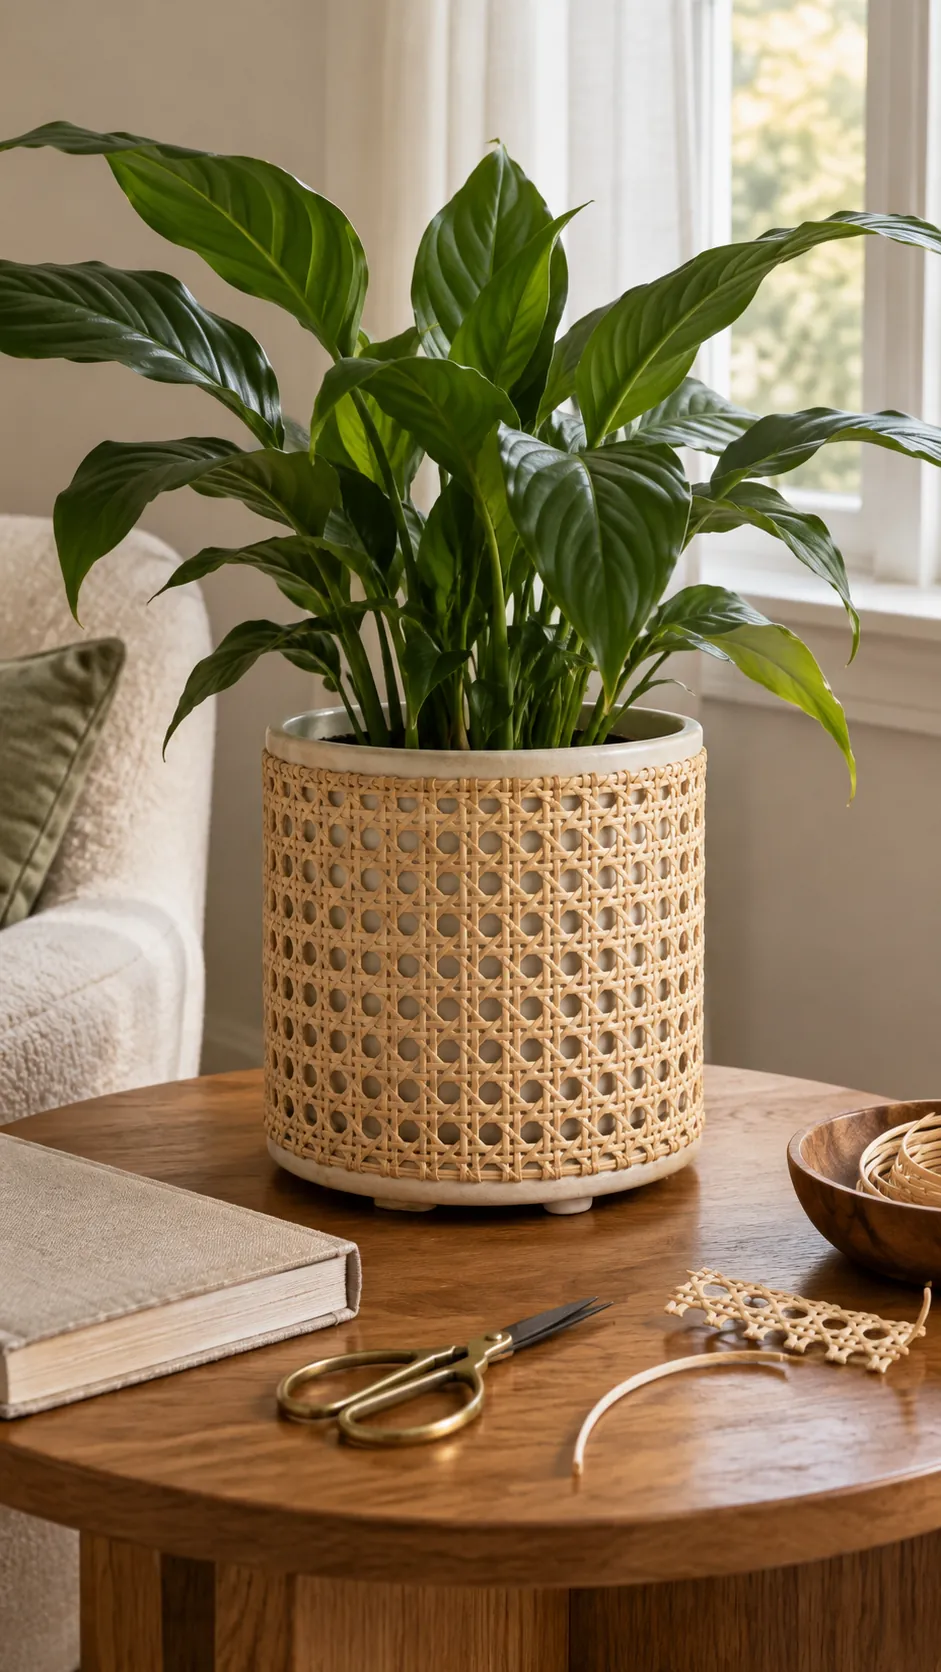
A short piece of cane webbing can transform a straight sided cachepot into a textured accent. Soften and fit the material according to its instructions, then fasten it to the dry outer vessel. Leave a small margin at the base so water cannot wick directly into the weave. The open pattern looks especially good beside broad glossy leaves.
Upcycled Tin Can Covers
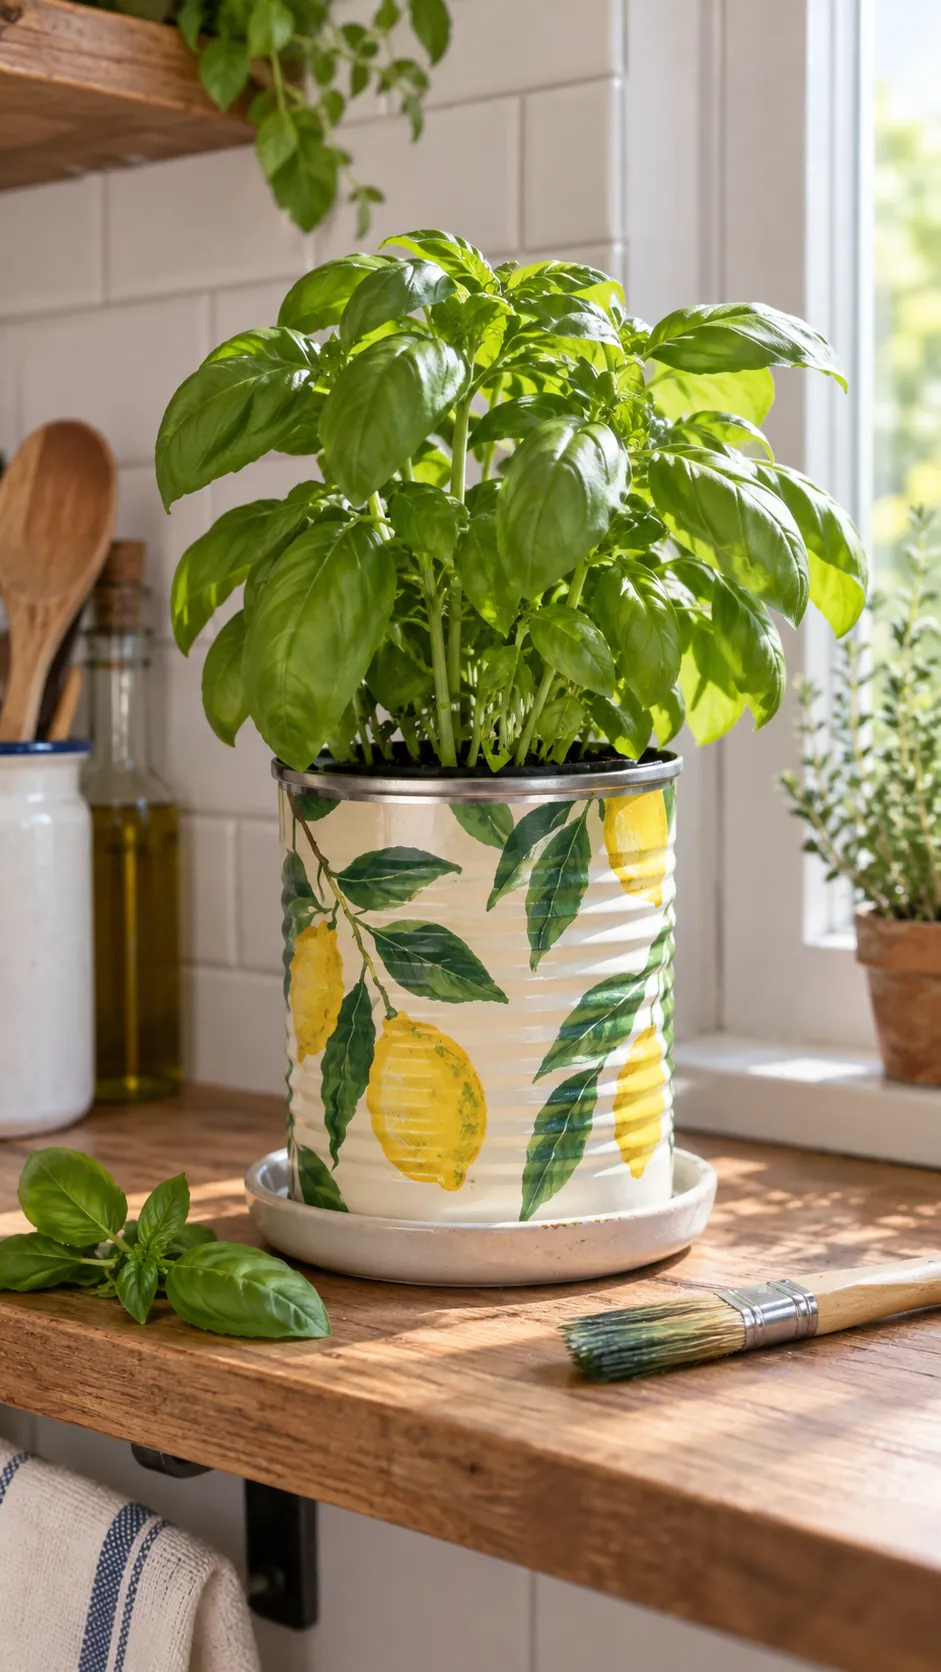
A cleaned food tin can become a decorative outer sleeve for a small nursery pot. Smooth any sharp edge and cover the printed surface with a suitable paint or wrap. Do not assume a closed can provides drainage; lift the inner pot out whenever you water. Its slim footprint works on a narrow shelf where a larger ceramic cachepot would crowd neighboring plants.
Reused Glass Jar Holders
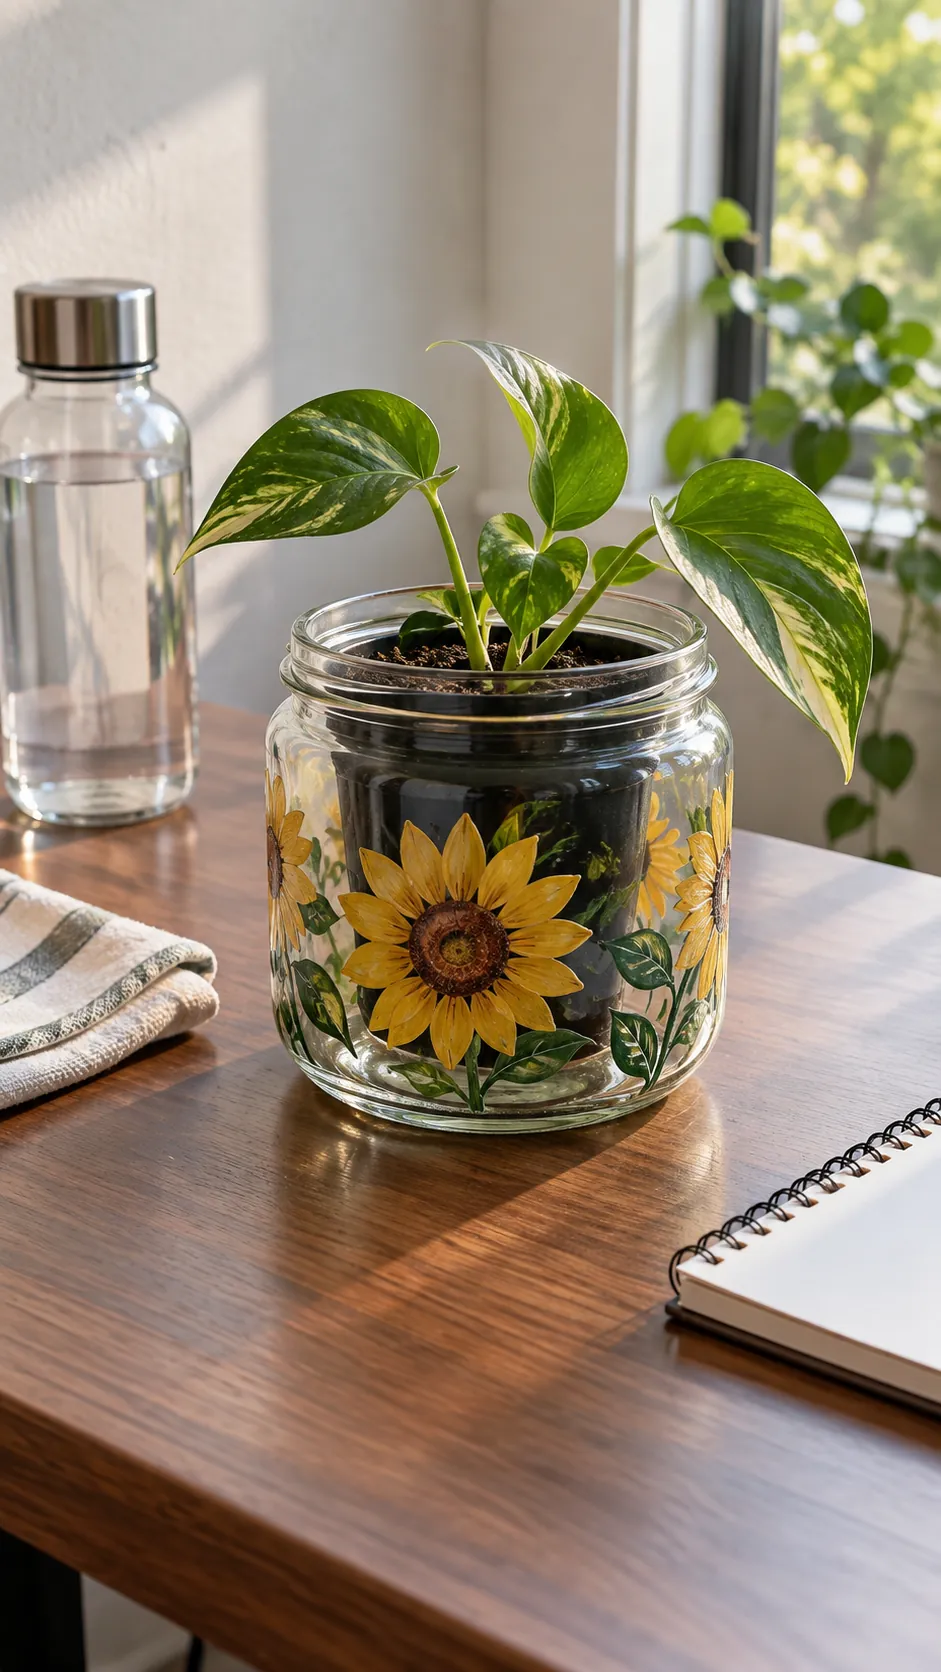
A wide glass jar can show off a small potted cutting while protecting a tabletop from damp soil. Place a nursery pot inside rather than planting directly into glass with no exit for water. Choose an opaque inner pot if visible roots and soil do not suit the display. Check for water collecting at the bottom after every watering and empty it promptly.
Decoupage on Outer Pots
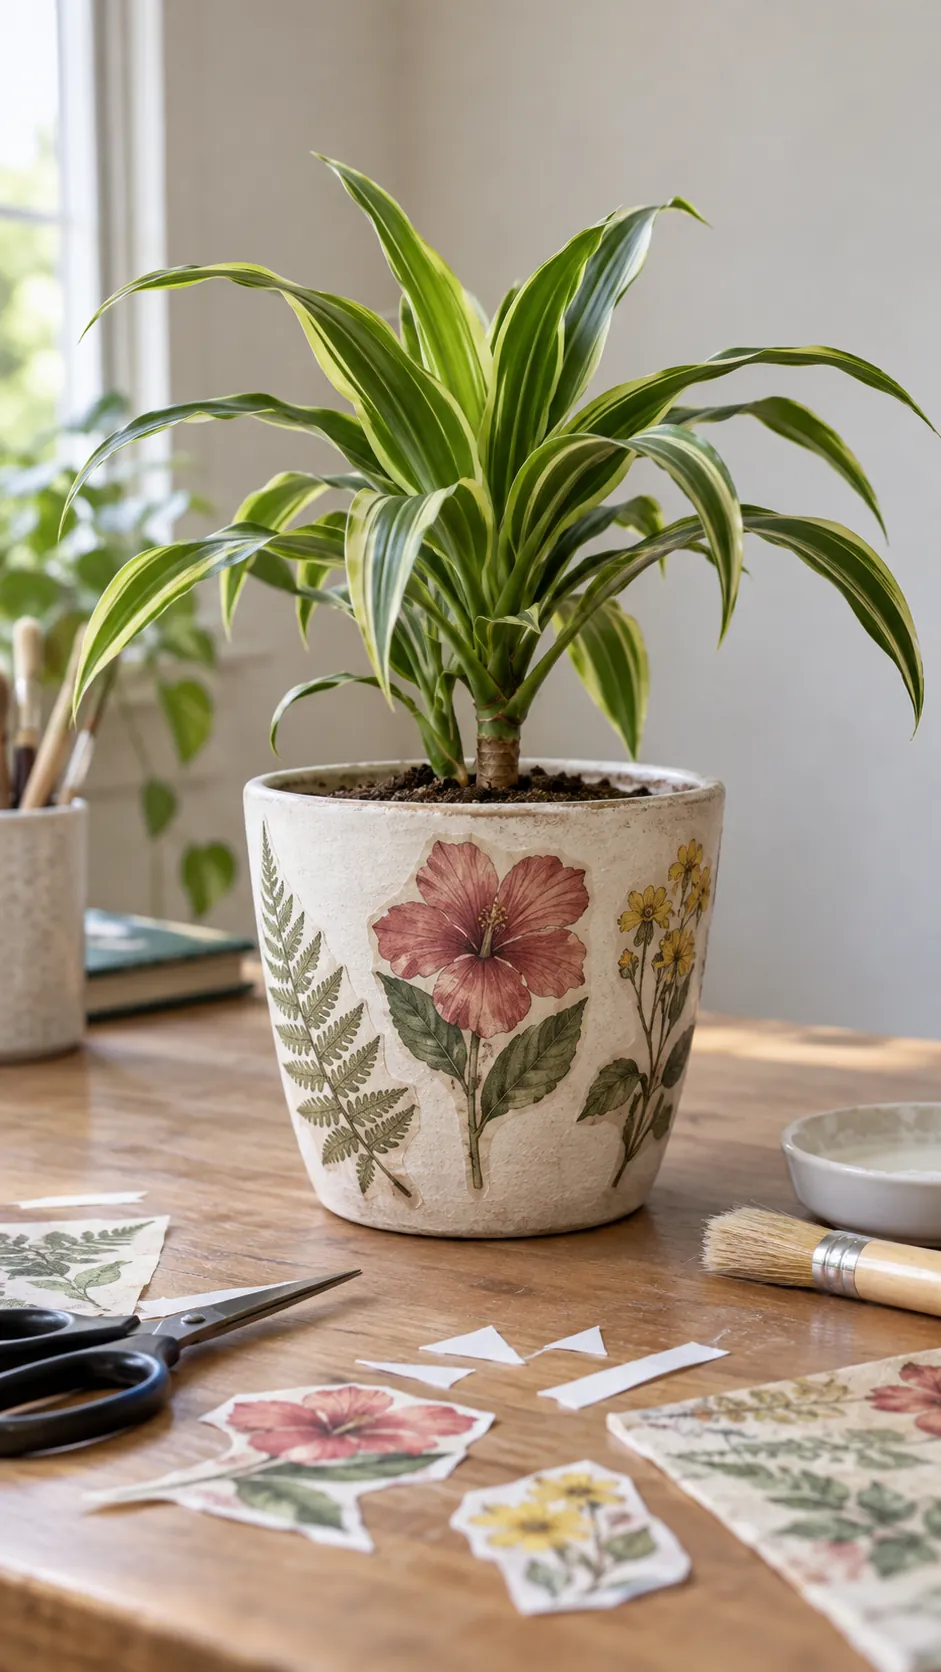
Paper cutouts offer a precise way to add botanical or abstract artwork to a dry cachepot. Smooth each piece from the center outward and use an adhesive and finish appropriate for the surface. Keep the decorated layer away from standing water and direct weather unless the products are rated for it. A limited group of shapes feels more intentional than covering every visible inch.
Chalkboard Label Panels
A small writable panel can identify herbs or seedlings without separate markers. Paint one clean rectangle on a smooth outer pot with a coating intended for that substrate. Let it cure before writing and leave the rest of the pot visually quiet. Put the label where it can be seen without rotating a heavy planter.
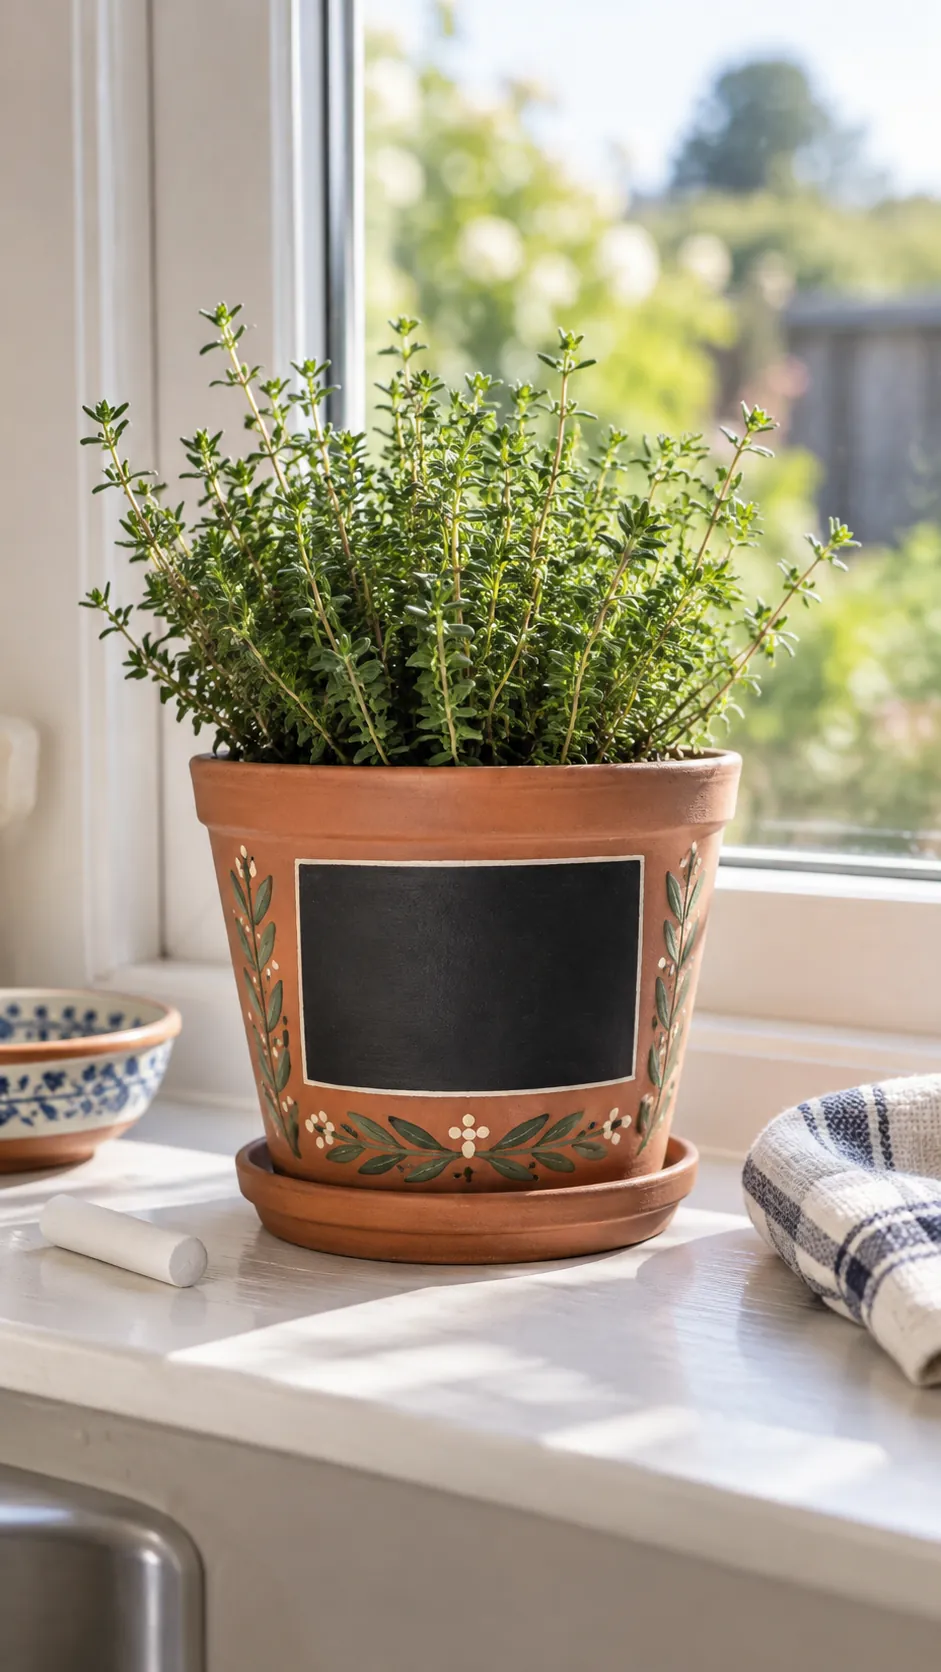
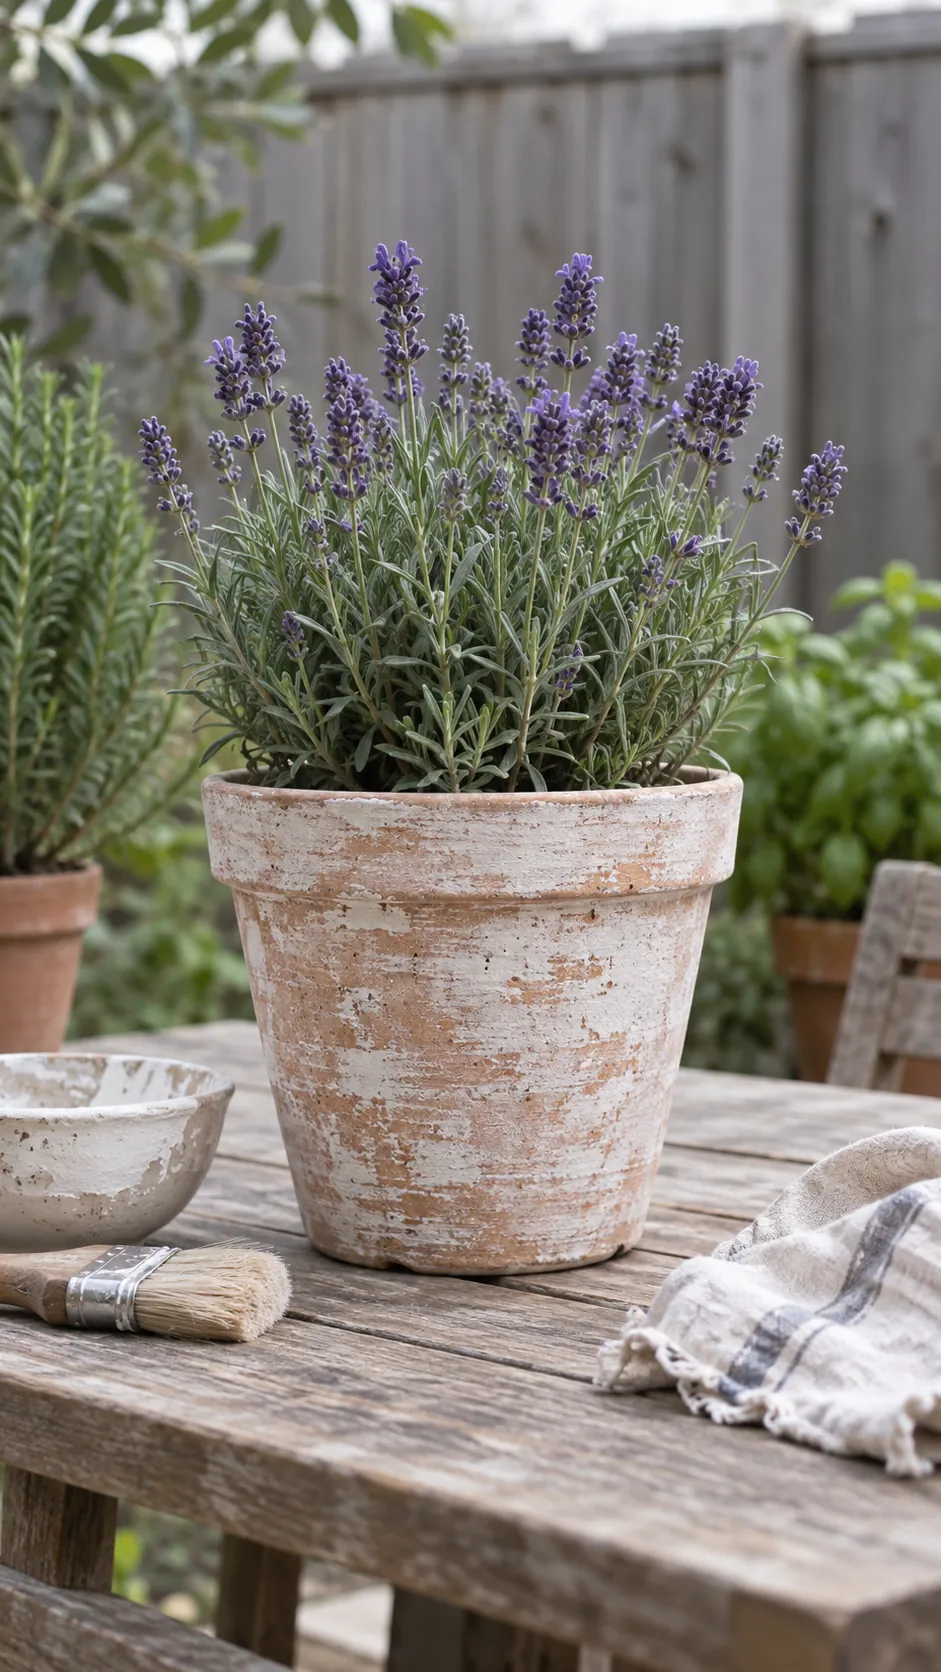
Soft Whitewashed Clay
A thin wash can lighten a terracotta pot while allowing its texture to remain visible. Test the mixture and finish on a spare pot first because porous clay can absorb color unevenly. Brush on a small amount and wipe back where the surface looks too solid. Keep the drainage hole open and choose a finish appropriate to the pot location.
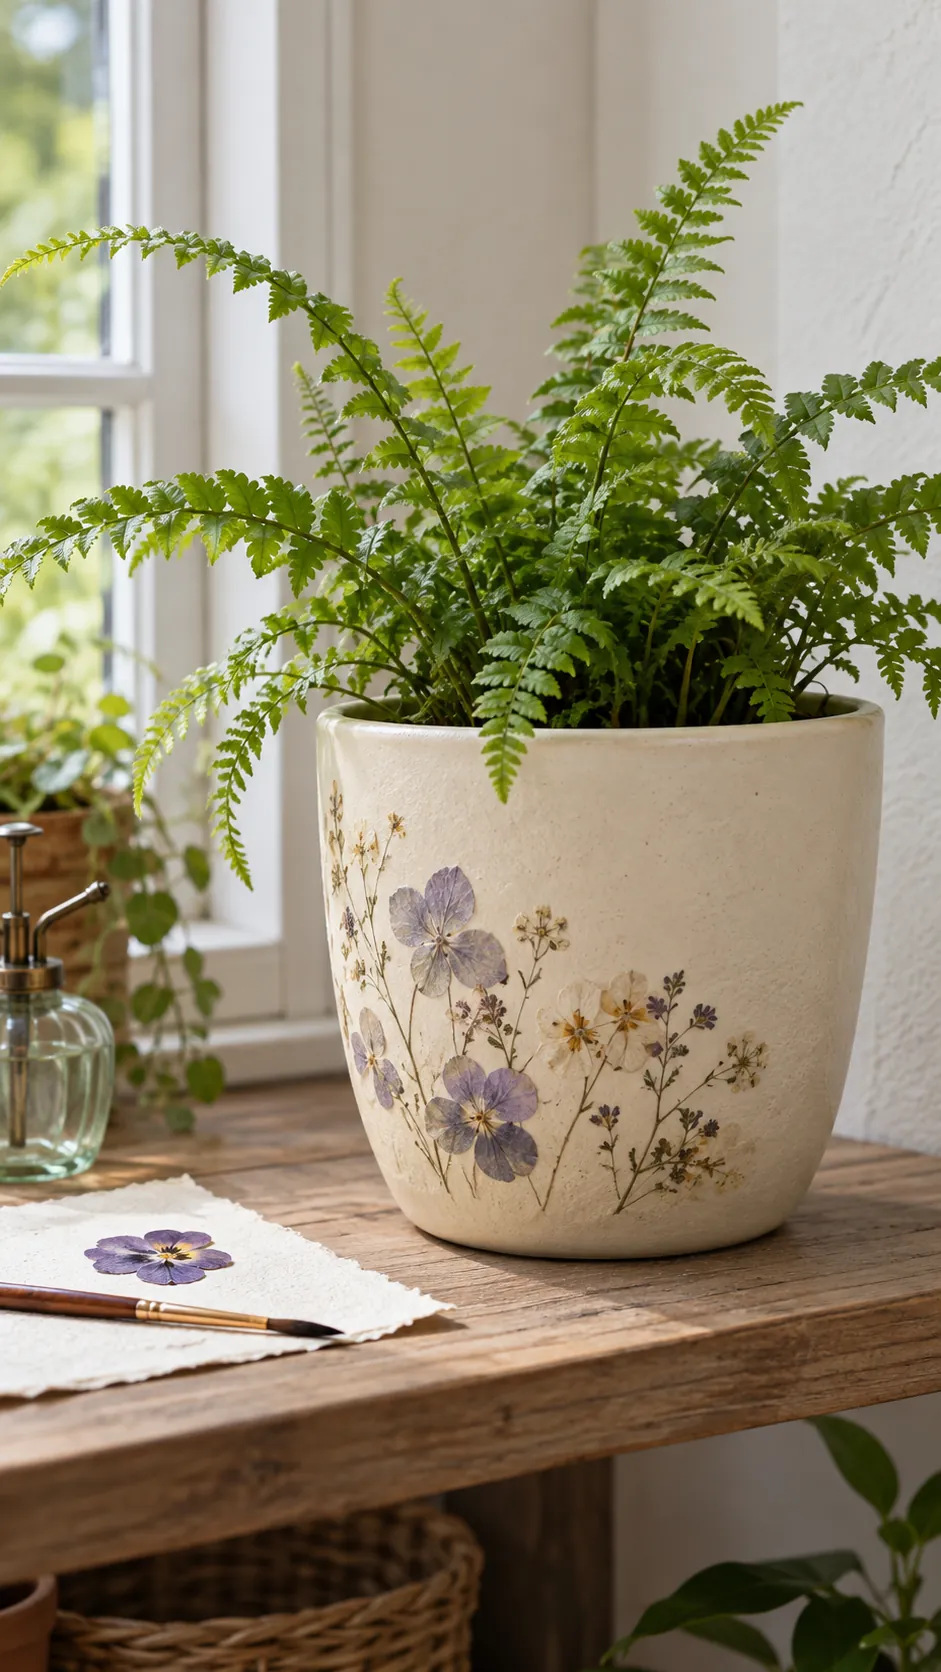
Pressed Flower Impressions
Pressed flower shapes can give a plain pot a delicate botanical pattern. Use a stencil or transfer method to make the form visible without attaching fragile dried petals where they will crumble. Place the design on a wide uninterrupted area of the vessel. Choose a restrained background color so the plant above remains the main subject.
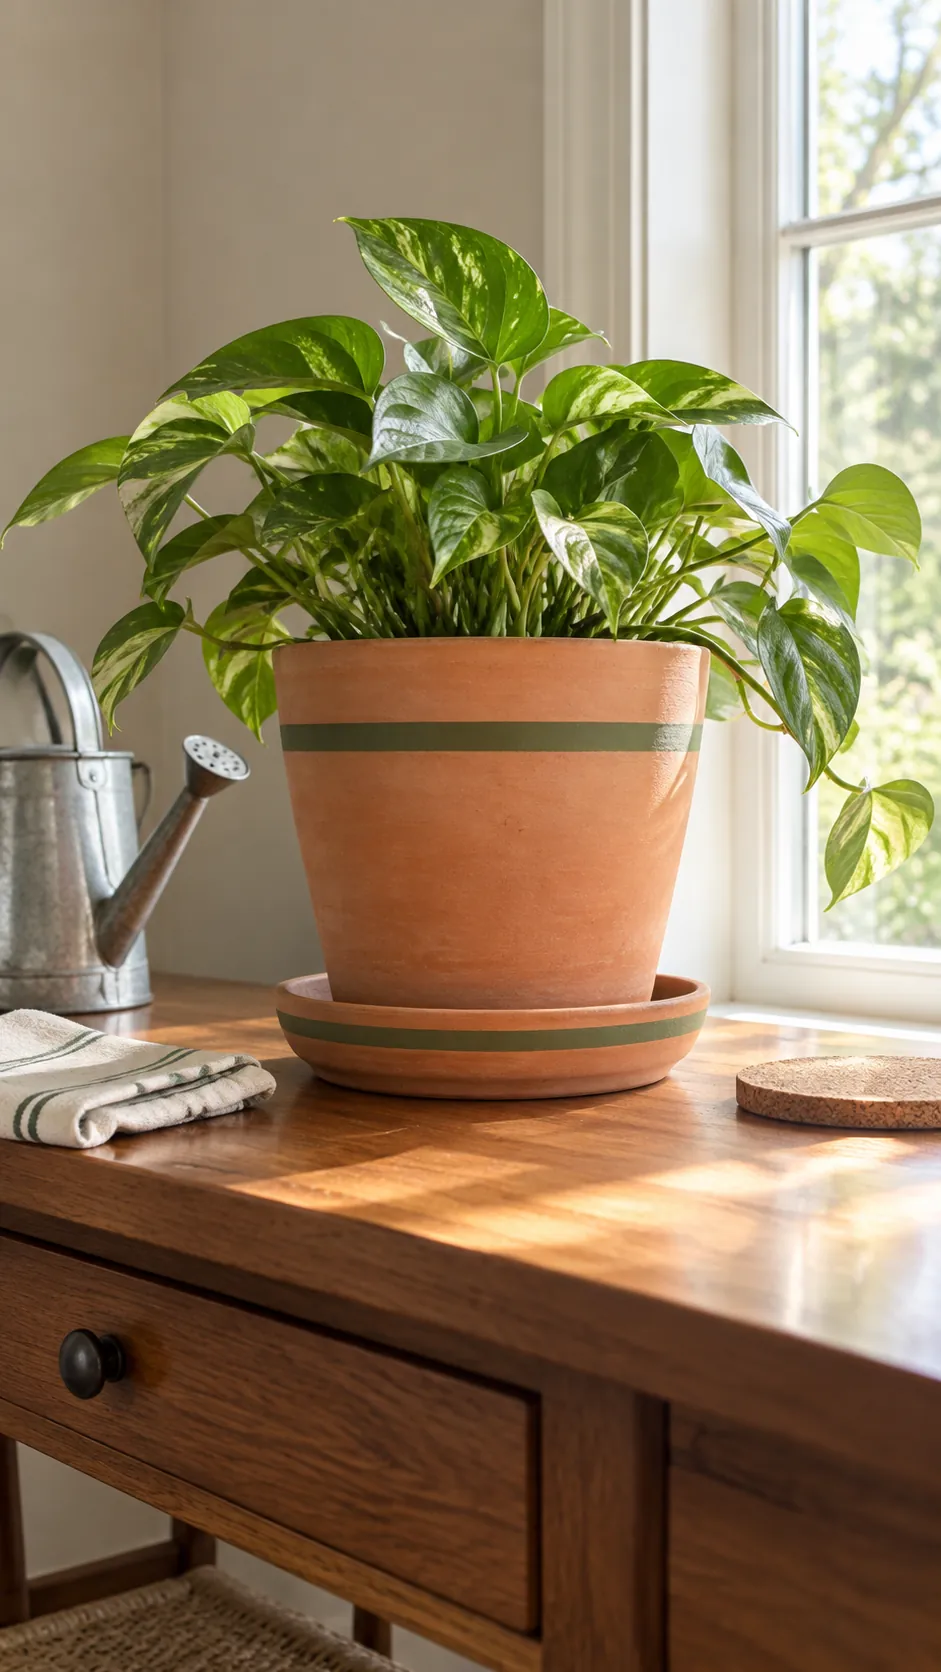
Coordinated Pots and Saucers
Decorating a saucer with a related color can make a plain pot feel complete. Use compatible materials and finishes, but keep the saucer interior practical for catching and emptying runoff. Repeat only one color or motif from the pot to avoid a crowded set. Always check that the saucer is wide enough for the pot and does not tip on the shelf.
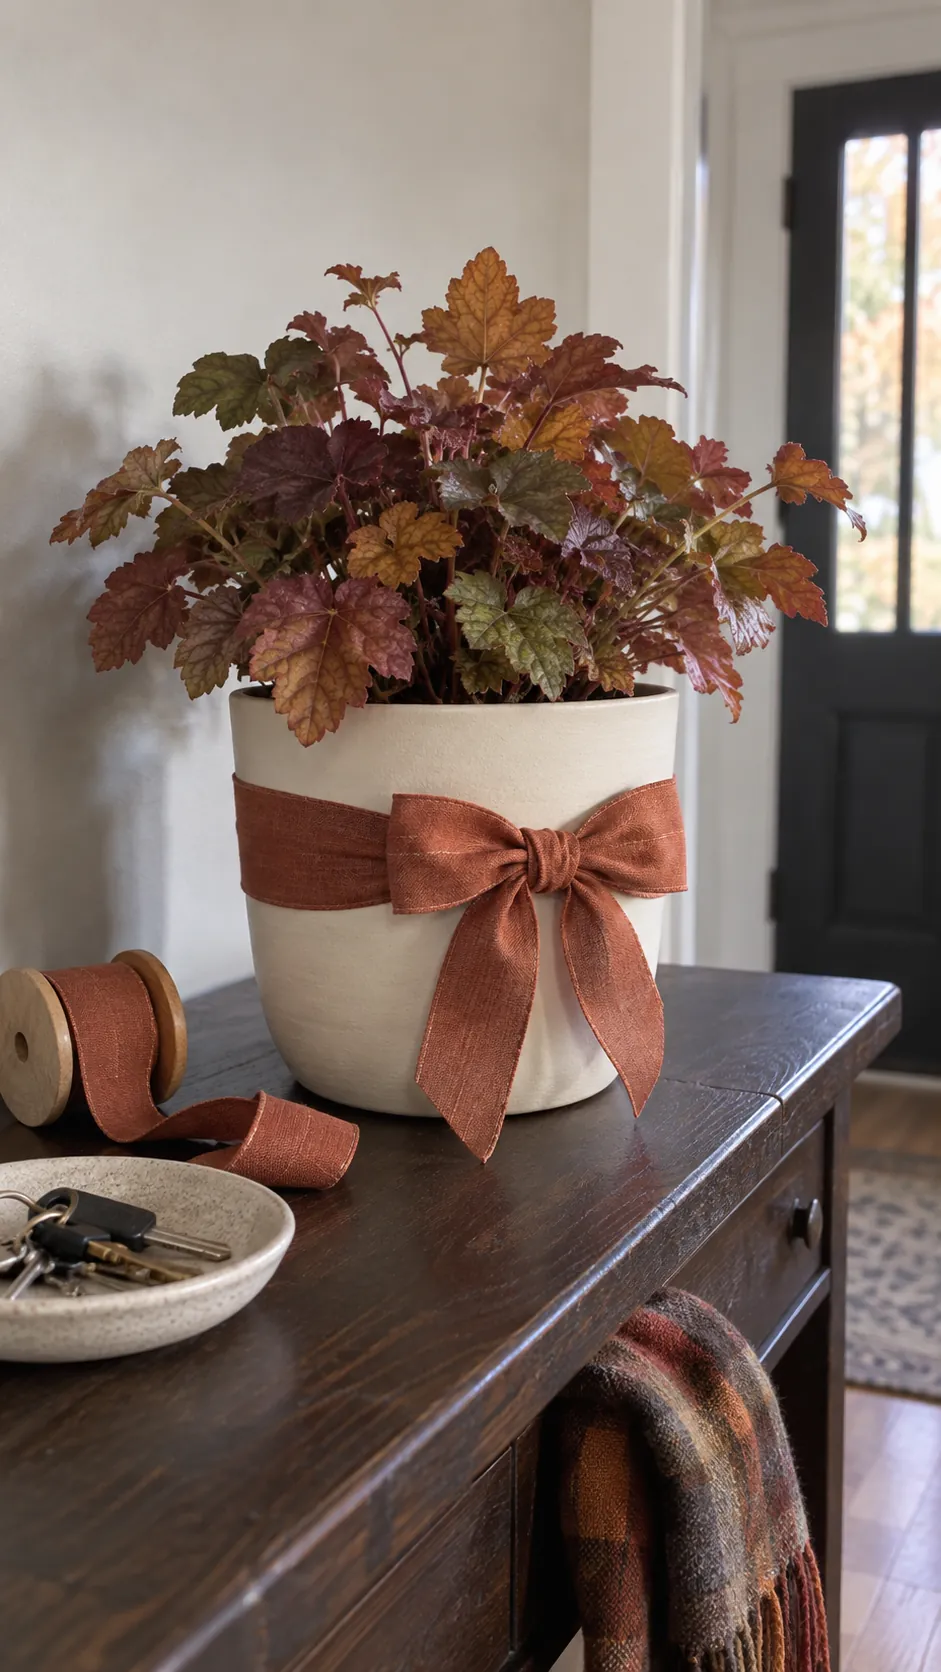
Seasonal Ribbon on a Cachepot
A removable ribbon can change a display for a season without repainting the vessel. Tie it around a dry outer pot, leaving a stable flat base and clear access to the inner plant. Choose a material that can be removed before watering or outdoor rain. The temporary detail works best when it echoes one color already present in the room.
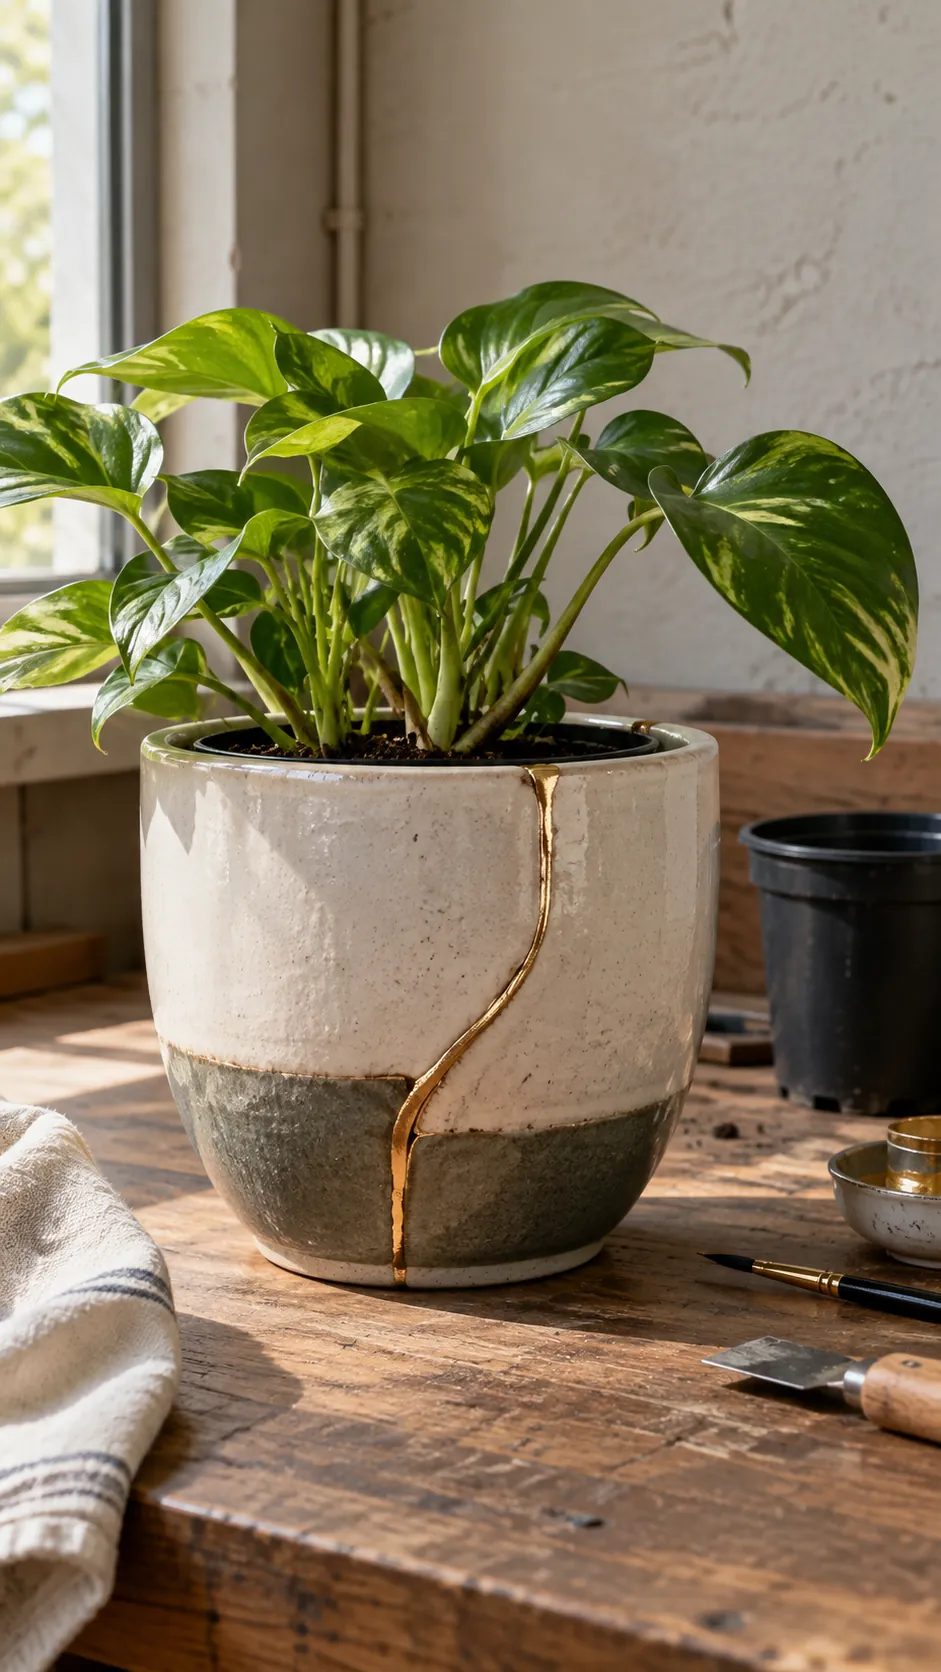
Repair Inspired Accent Lines
A repaired ceramic pot can look deliberate when the seam is treated as a narrow decorative line. Only use a vessel that has been made structurally sound with a repair method suitable for its future use. Keep damaged sharp edges away from hands and avoid relying on a decorative coating to hold a cracked planter together. For uncertain repairs, use the vessel as an outer cover for a separate planted pot.
Grouped Pots on a Simple Stand
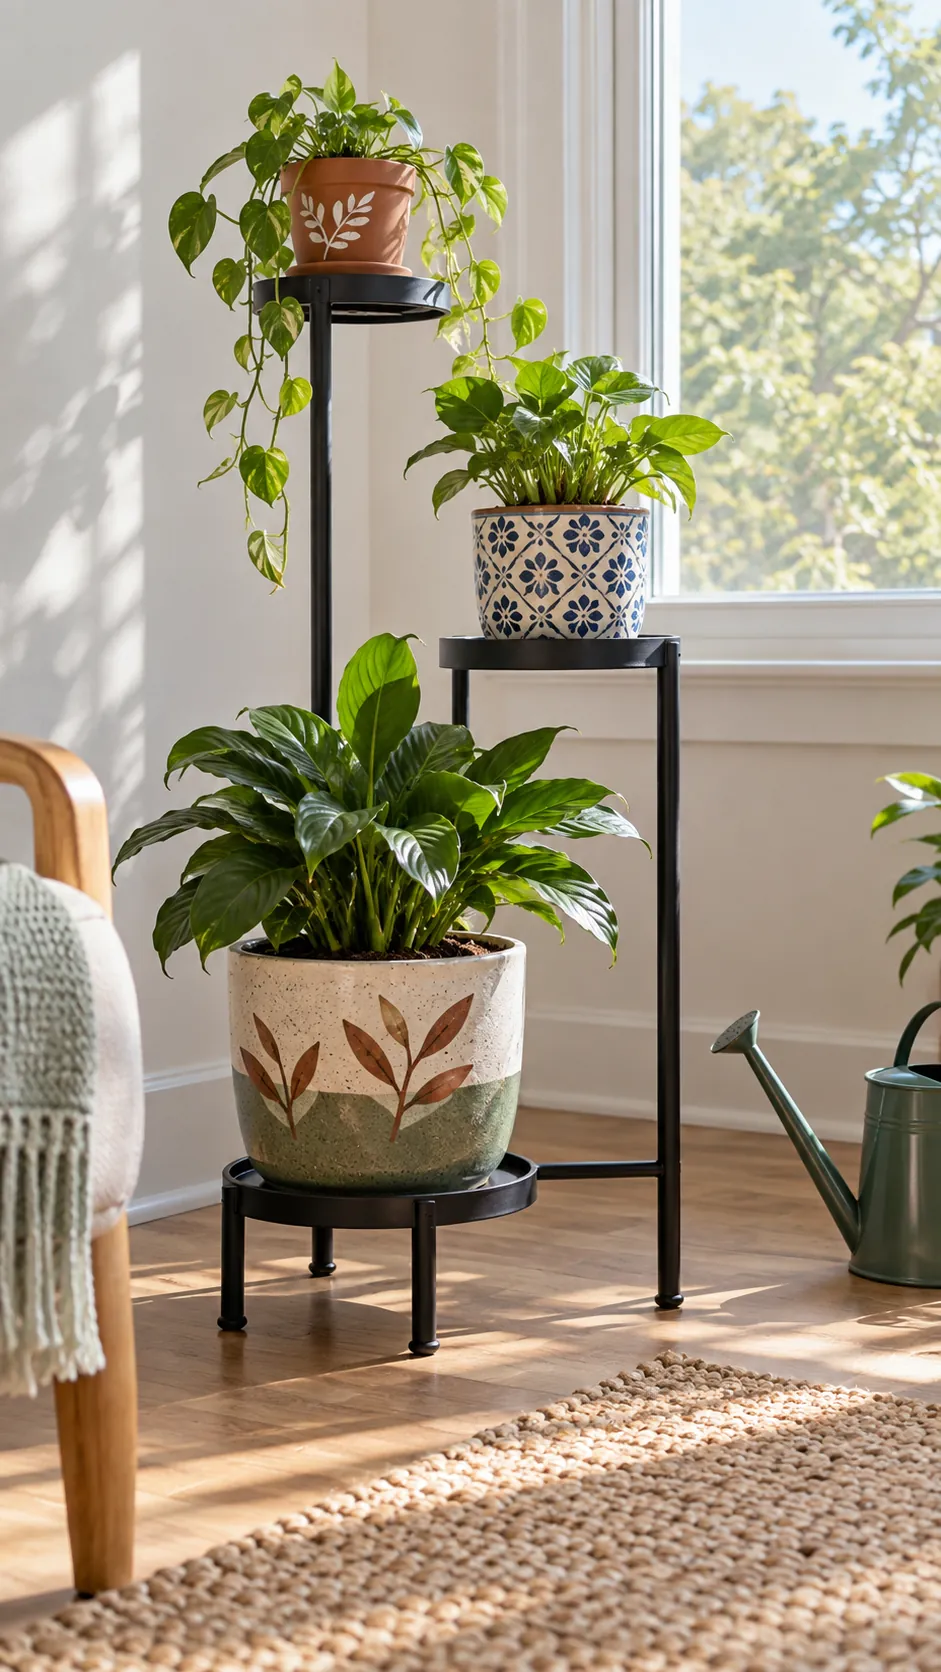
A small plant stand can make decorated pots read as one collection rather than clutter. Group vessels at varied heights while leaving each plant enough light and room for leaves. Check the stand rating and keep heavy ceramic pieces on the lowest stable level. Repeating a material or color across the pots ties the display together without making every design match.