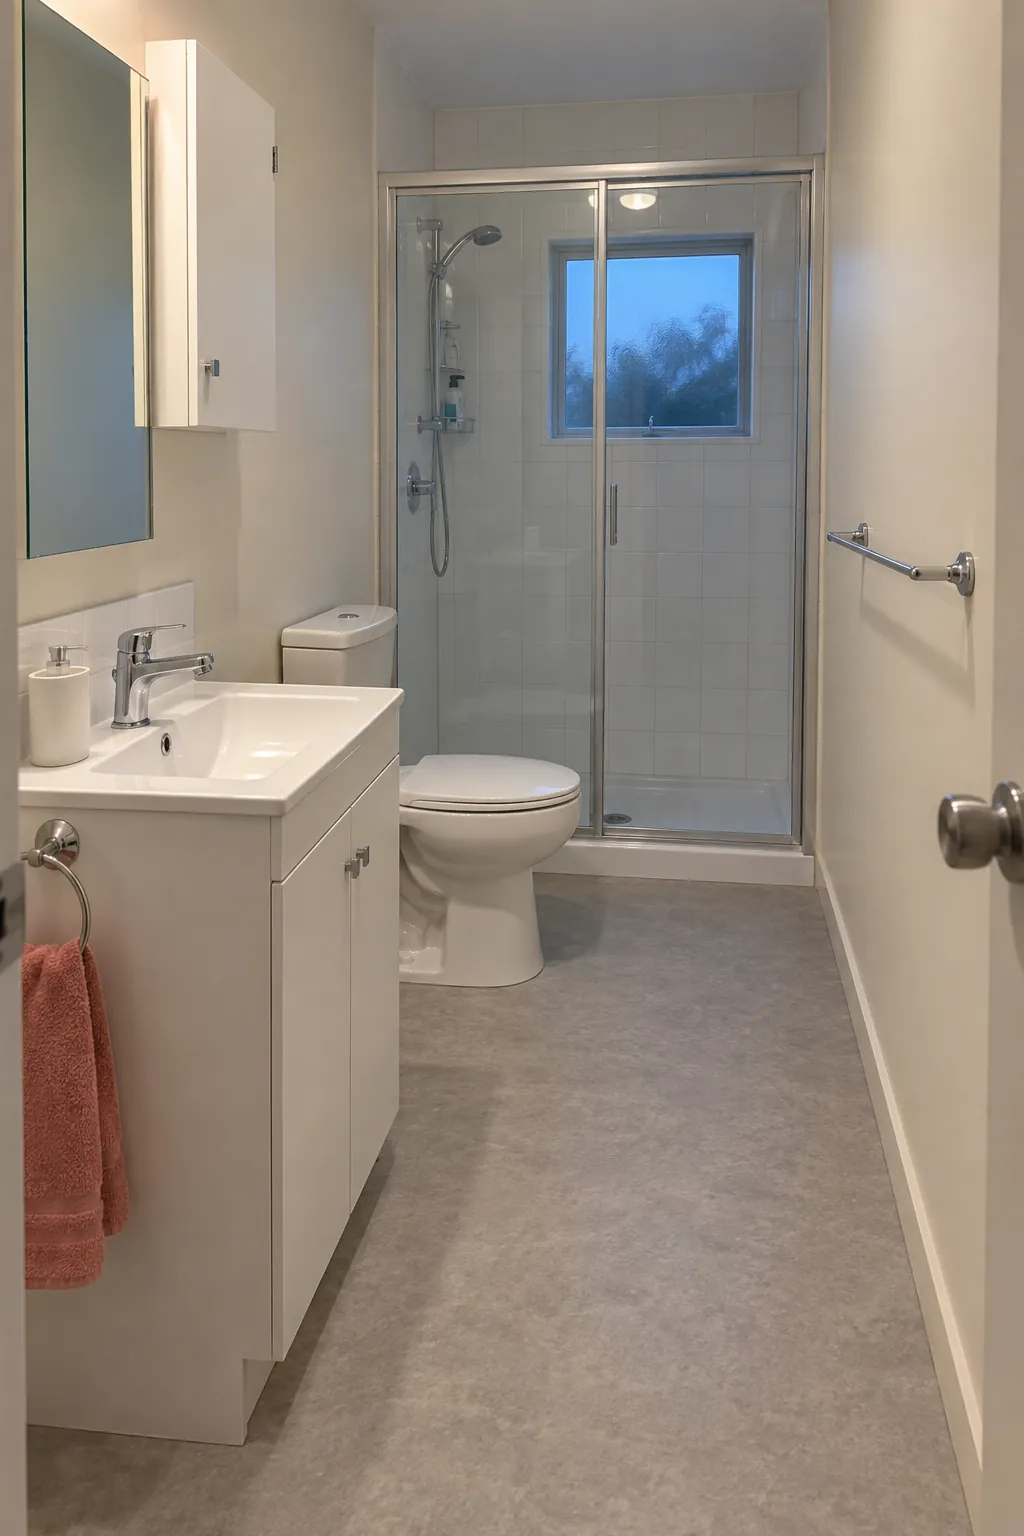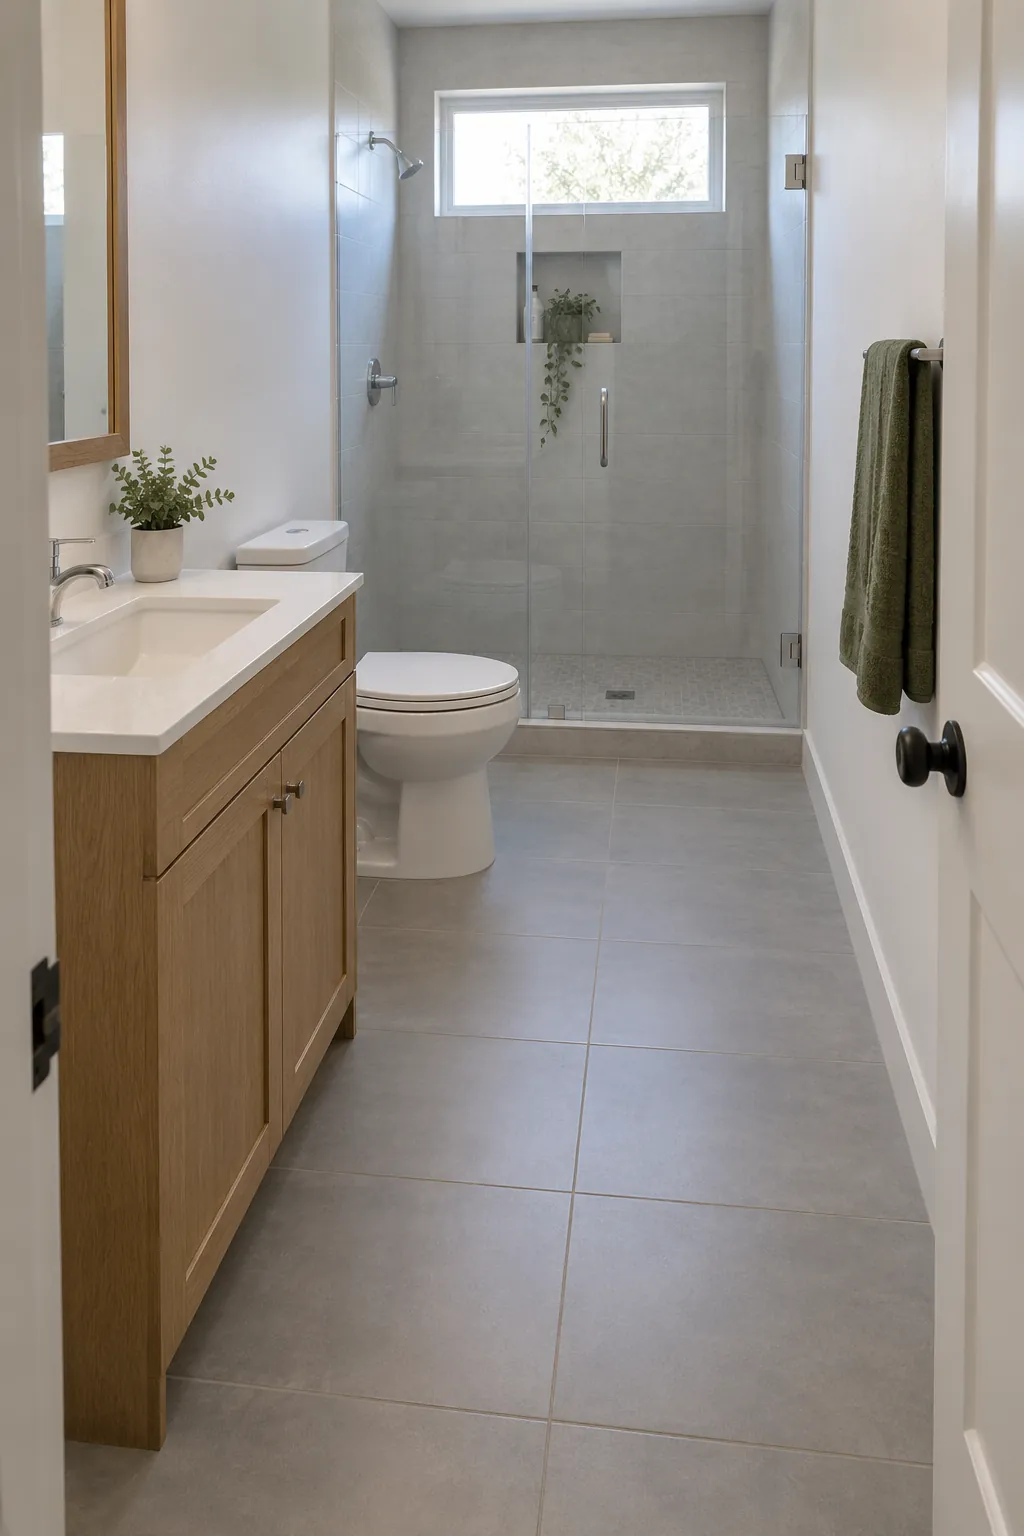
A long room can still feel crowded when every fitting projects into the same route. Measure the finished width, door position, drains, windows, and fixture depths before comparing plans. These are arrangement options to discuss with your installer, and the photographs illustrate them rather than certify dimensions or code compliance.
A single fixture line with the shower at the far end
Place the vanity nearest the entry, the toilet farther along the same wall, and the shower across the back. This linear bathroom design leaves the opposite side available for circulation instead of creating a squeeze between facing fixtures. It suits a room where the supply and waste connections already favor one side, provided each fixture has the clearances required locally. Check the toilet projection and the shower entry together, because the last stretch of the route can become the tightest point.
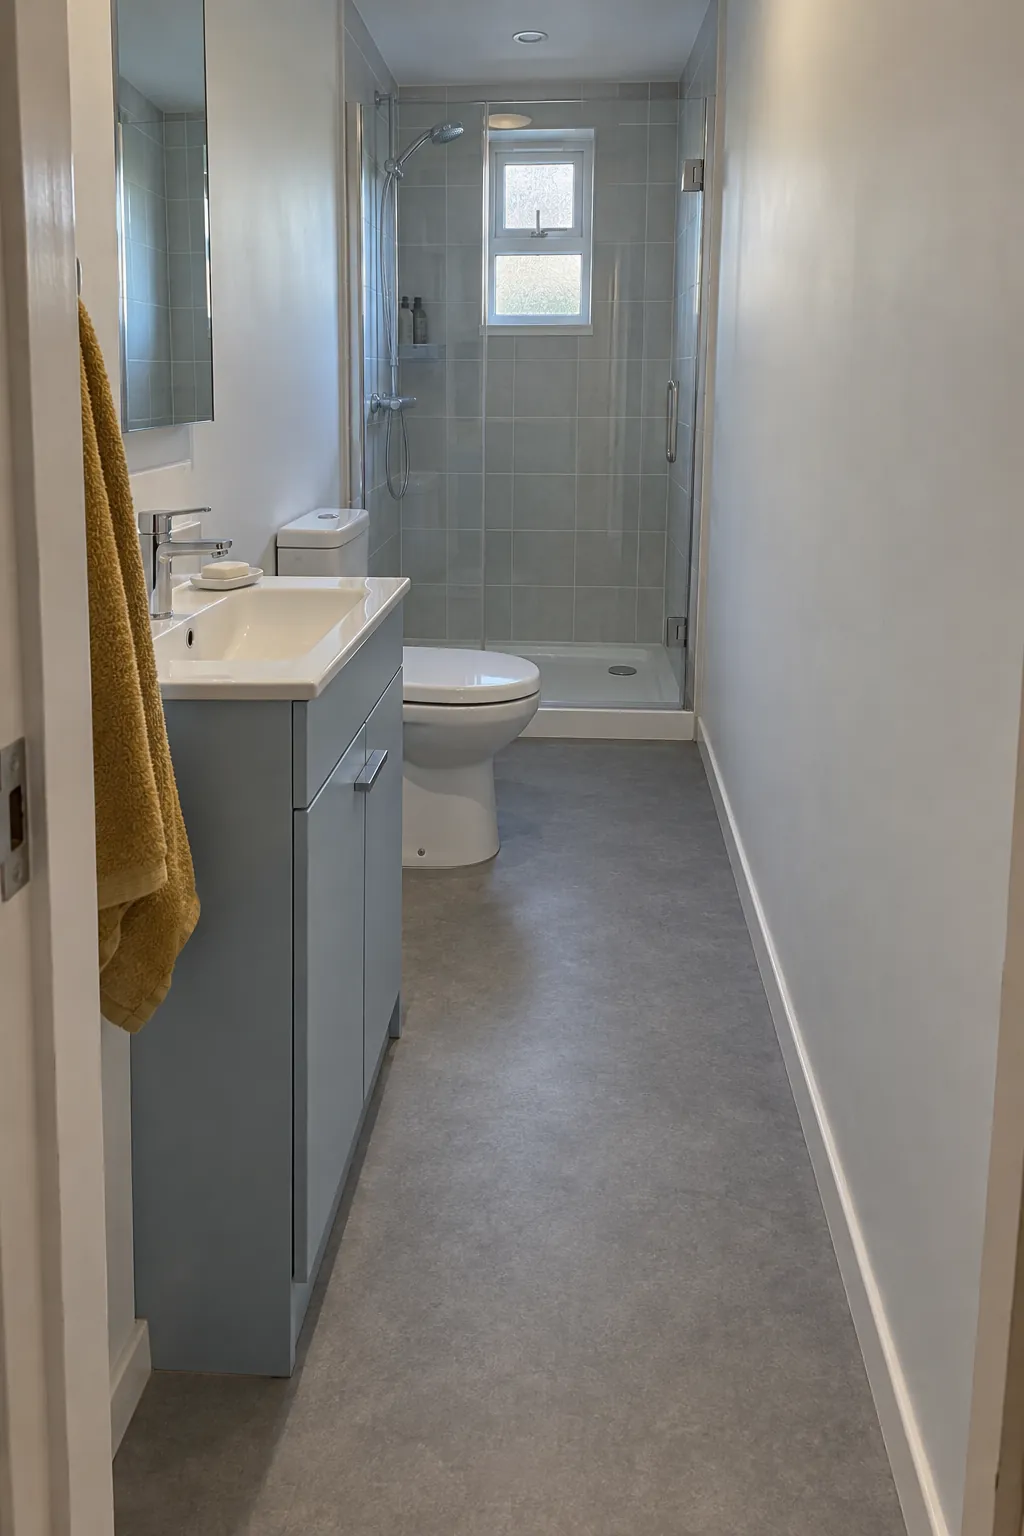
A shallow vanity opposite a staggered toilet
A basin and toilet can face opposite walls when their positions are staggered along the room. Keep the vanity closer to the door and place the toilet farther toward the end shower. The offset avoids concentrating both projections at the same point in the walking route.
Select the basin depth from its actual product drawing rather than its advertised width. A shallow unit can improve passage, but the bowl still needs to work for handwashing without excessive splash. Mark the standing areas on the floor before deciding whether this small rectangular bathroom arrangement is comfortable.
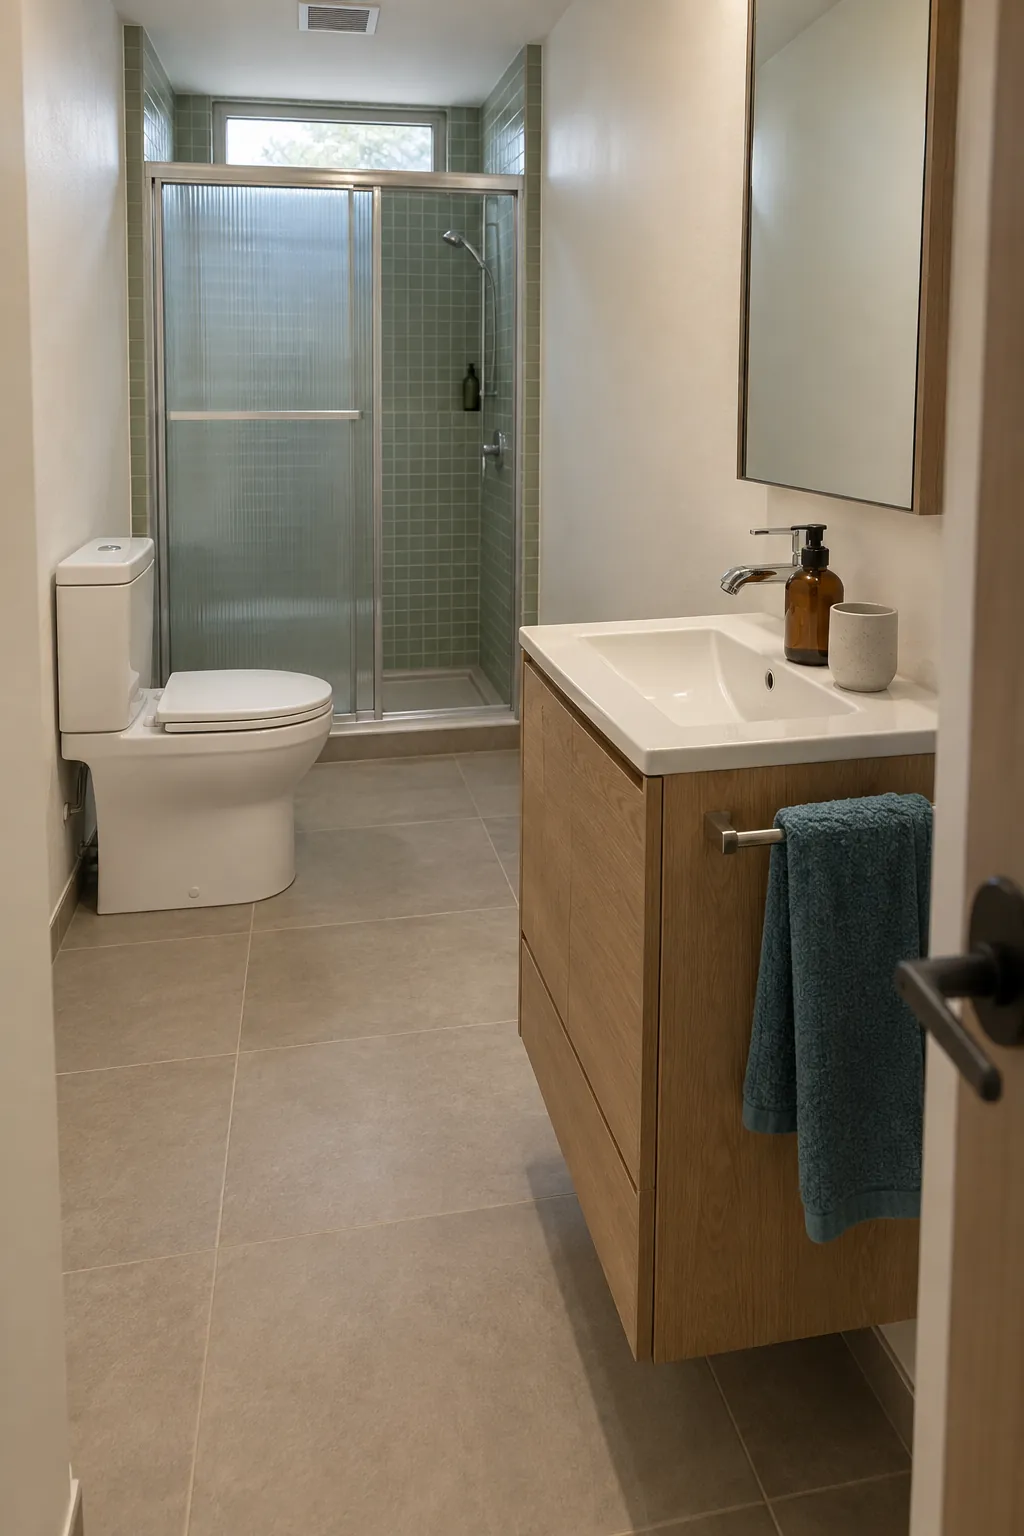
A tub across the back with dry fixtures near the entry
An alcove tub across the far end keeps the bathing area out of the main arrival zone. Put the vanity and toilet along one side or stagger them nearer the door according to the measured width. This can preserve a bath while avoiding the long side of a tub running beside the entire route. Confirm that the tub actually fits the end wall and can be delivered into the room. The curtain or screen must still allow safe access, cleaning, and operation of any window behind it.
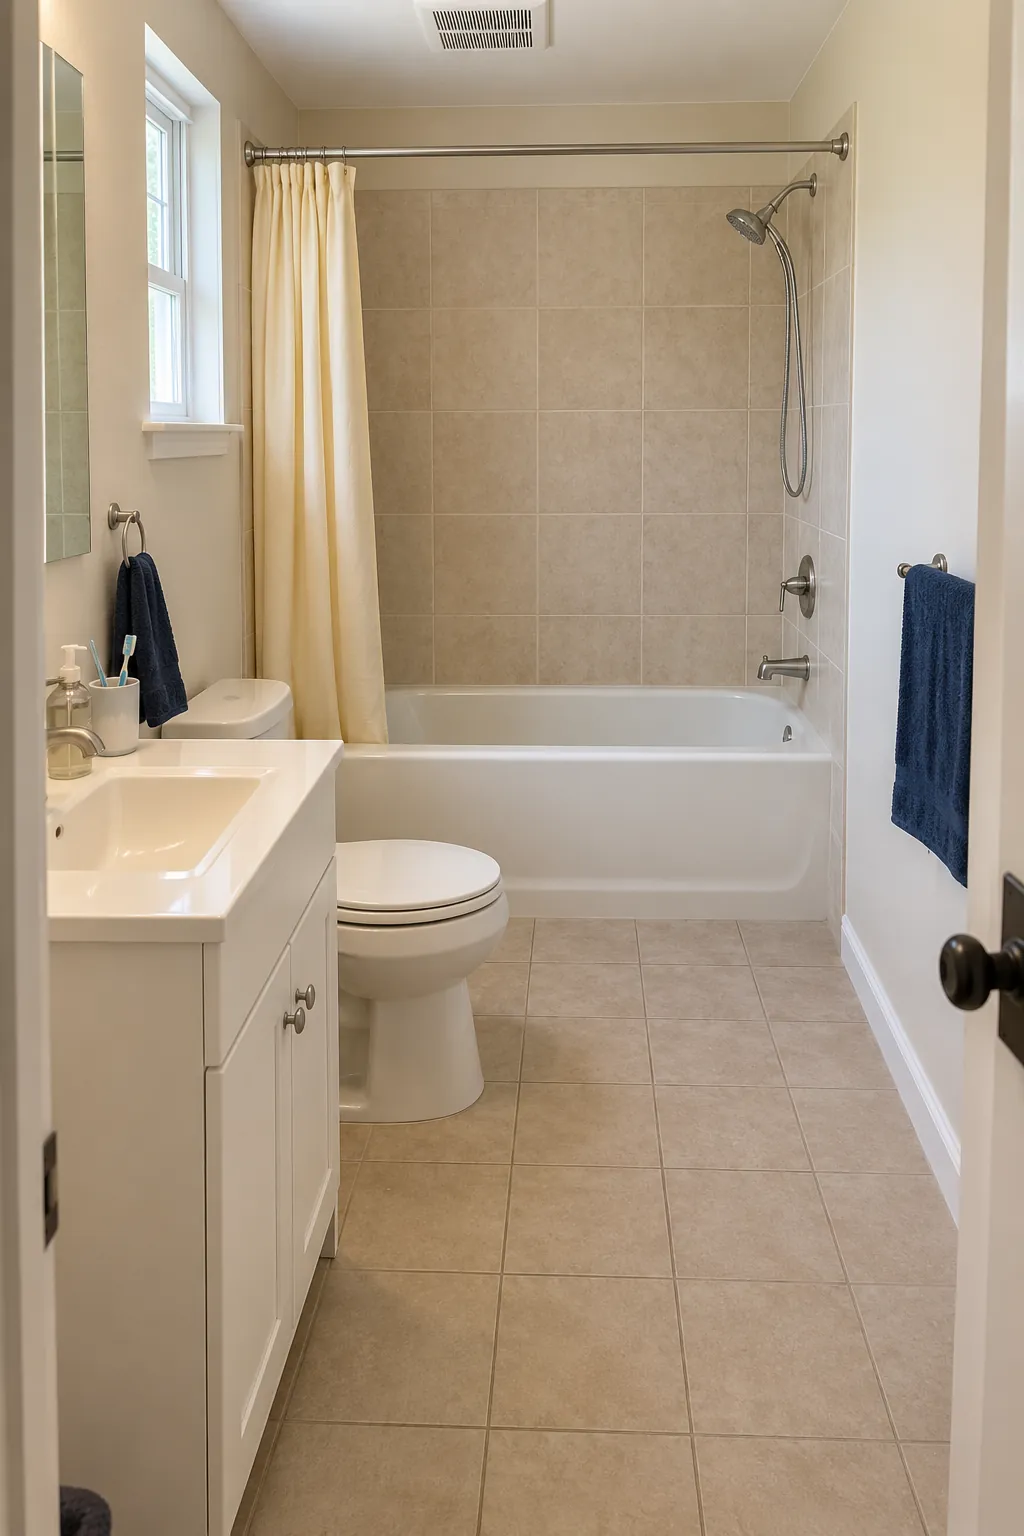
A lengthwise tub with fixtures beyond its end
When the room cannot accept a tub across its width, run the bath along one long wall. Position the basin and toilet in the remaining dry zone beyond the tub end, rather than directly opposite the whole bath. This narrow bathroom floor plan uses the room’s length to separate the most projecting pieces.
A curtain can be more forgiving than a swinging screen in the remaining space, though it still needs to contain water. Leave room to stand at the basin and approach the toilet without stepping across the bath access. Keep towels on the dry end wall so they do not reduce the remaining passage.
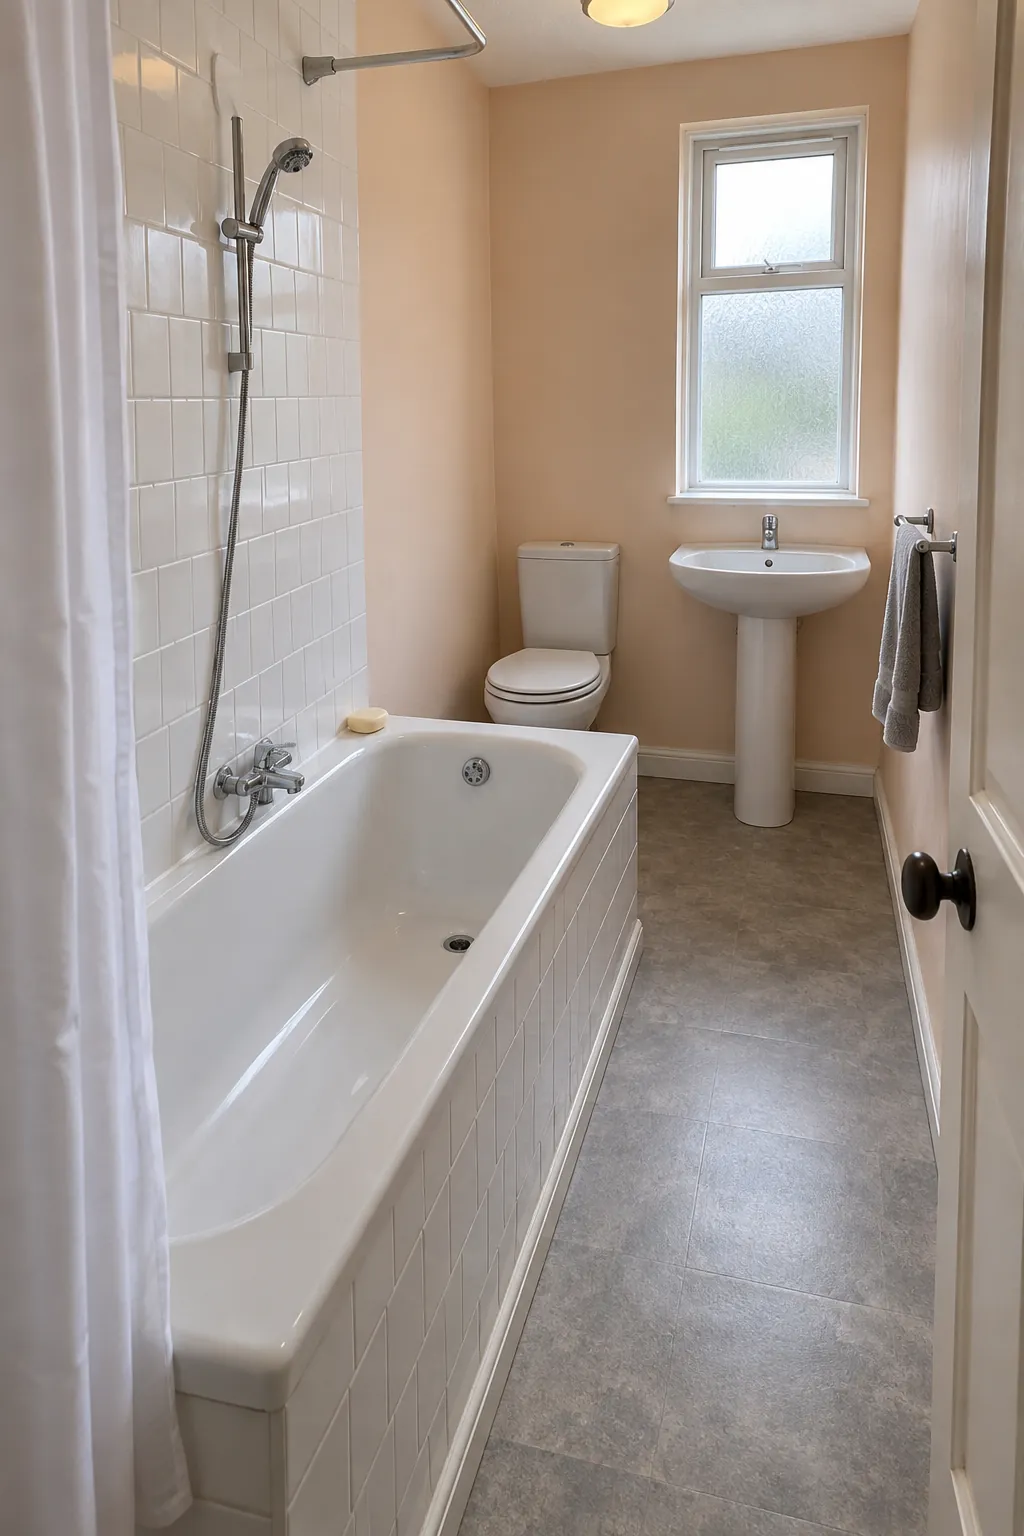
A rear corner shower beside a small service zone
A corner shower at the far end can leave the other rear corner for a shallow linen cupboard or a clear approach area. Put the toilet along the side wall ahead of the shower, with a compact vanity nearest the entrance. This works only when the room width supports both the enclosure and its access space. Compare the door mechanism carefully, because a compact tray does not guarantee a compact entry. A sliding or folding enclosure may help, but its opening width must suit the people using it.
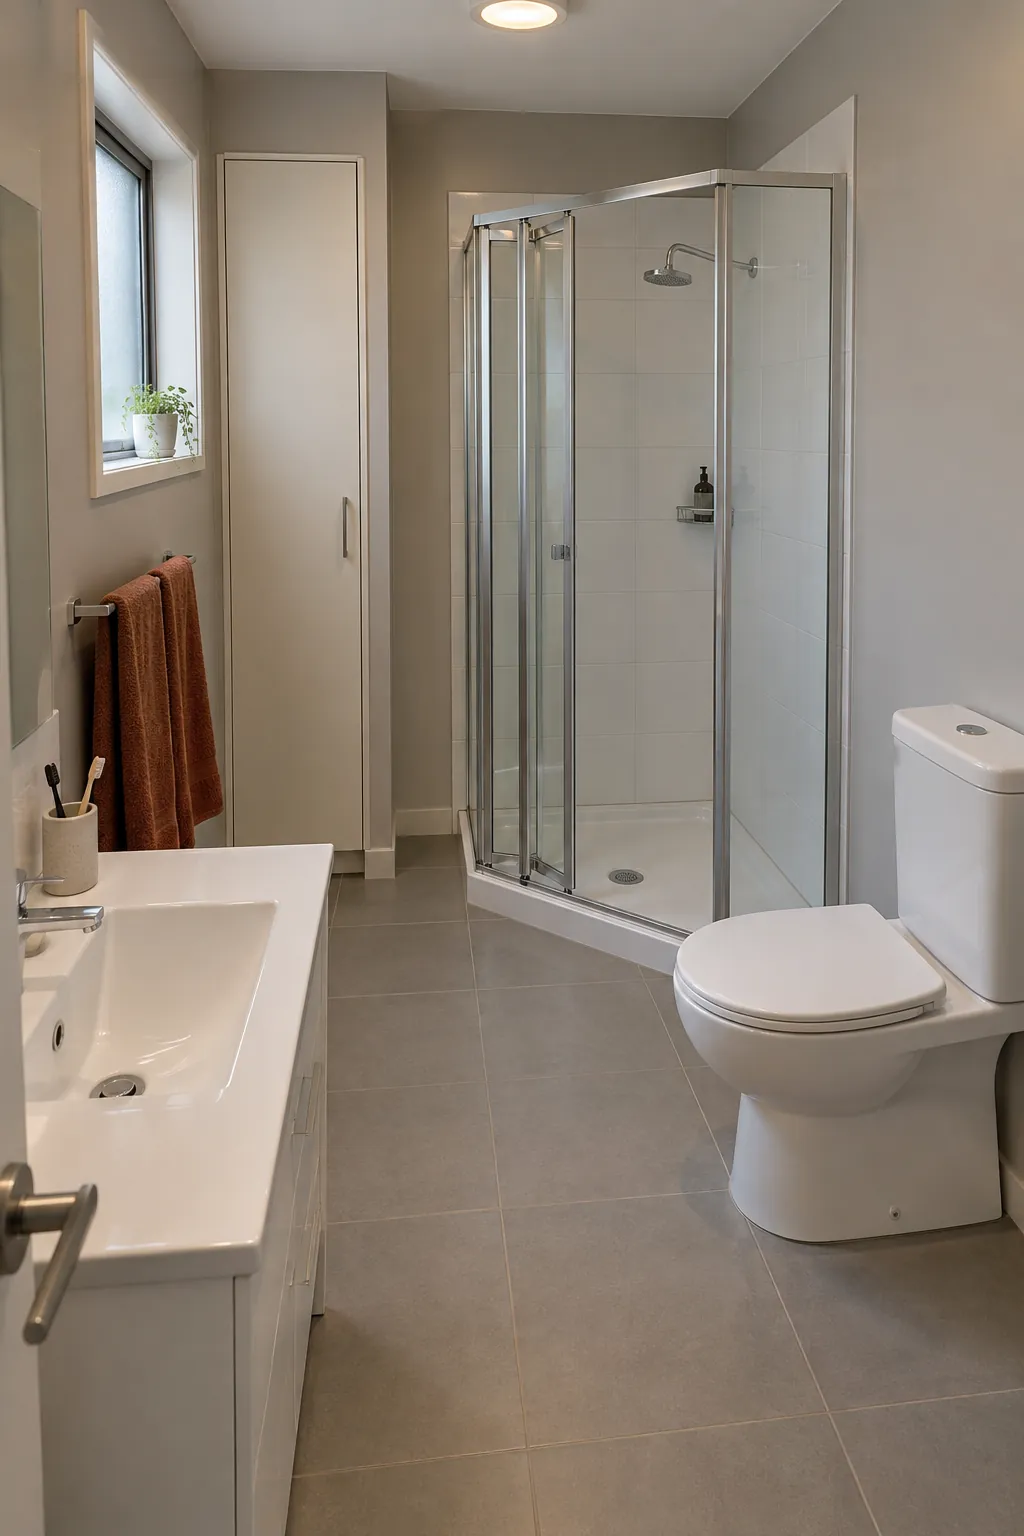
A full width shower with an offset entrance
A shower spanning the back wall gives the wet area a simple boundary. Offset the opening to line up with the clearer side of the route, leaving the fixed panel beside the nearer fixture. The vanity can sit near the entry and the toilet farther down the same wall, leaving the opening on the clearer side.
Keep the panel length and opening size within the enclosure supplier’s guidance. A doorless arrangement can release splash into a very short room, so the drain position, screen, floor falls, and waterproofing must be designed together. The photograph is a layout illustration, not proof that a particular opening controls water.
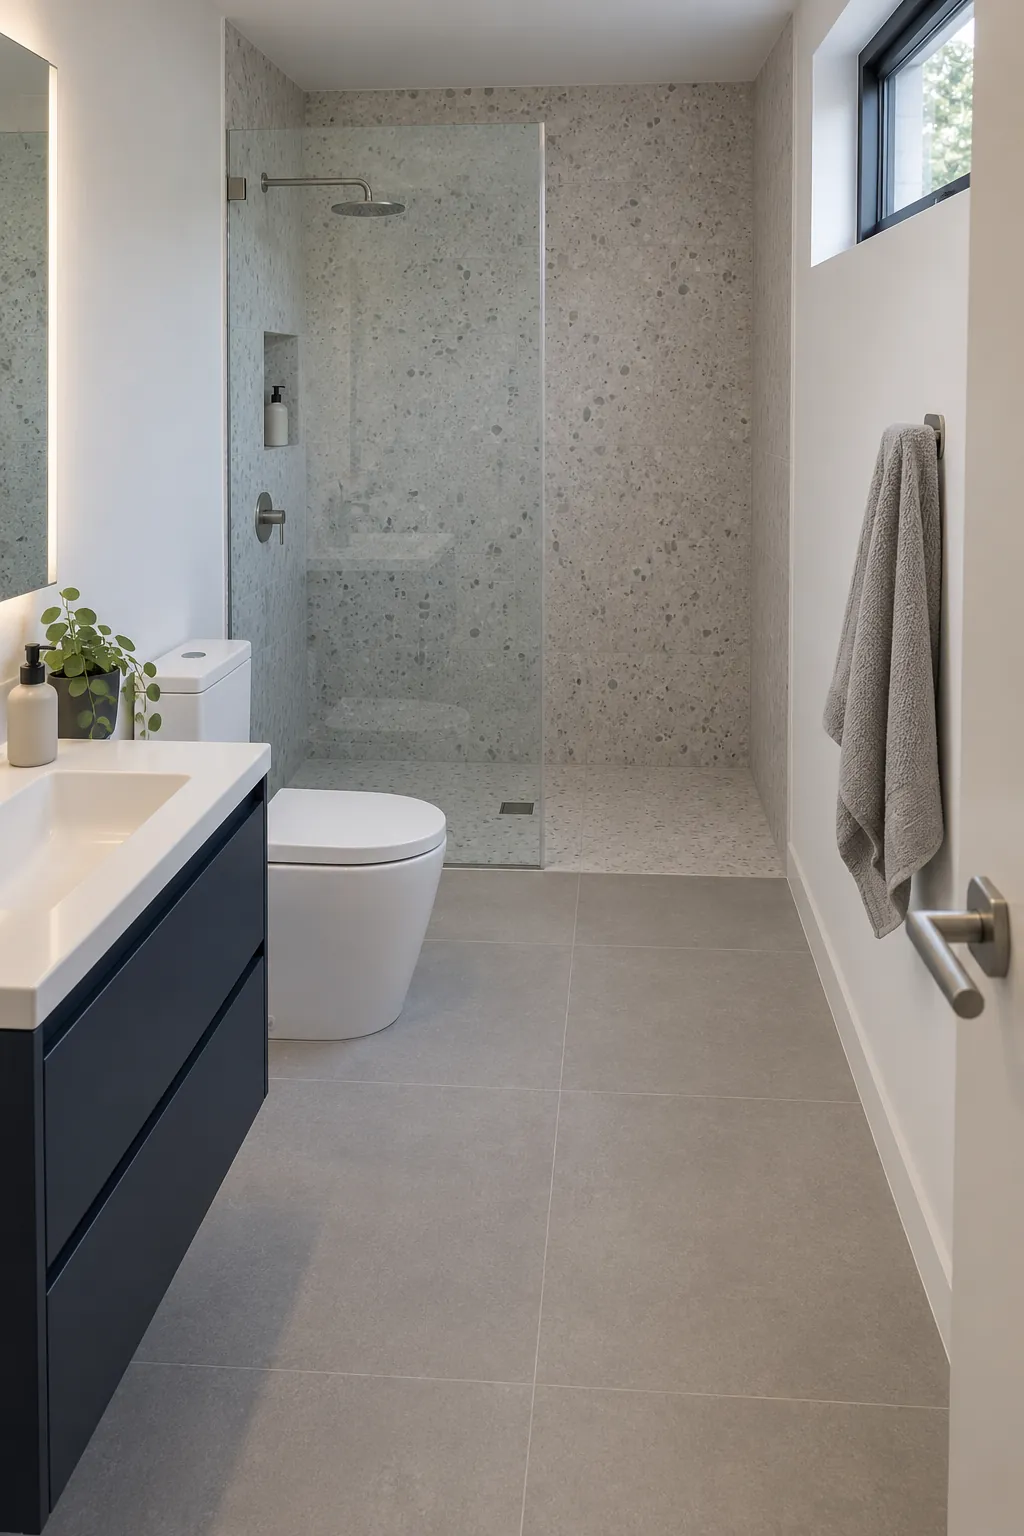
A side shower ending before a rear toilet zone
A shower can run along one wall in the middle of a sufficiently long room, leaving a dry toilet zone at the far end. Put the basin near the entry and maintain a continuous route beside the enclosure. This separates the sink from the toilet without placing both at the end of a cramped corridor. The enclosure must prevent the walking route from becoming a splash channel. Use this arrangement only after checking the extra room length and the drainage route.
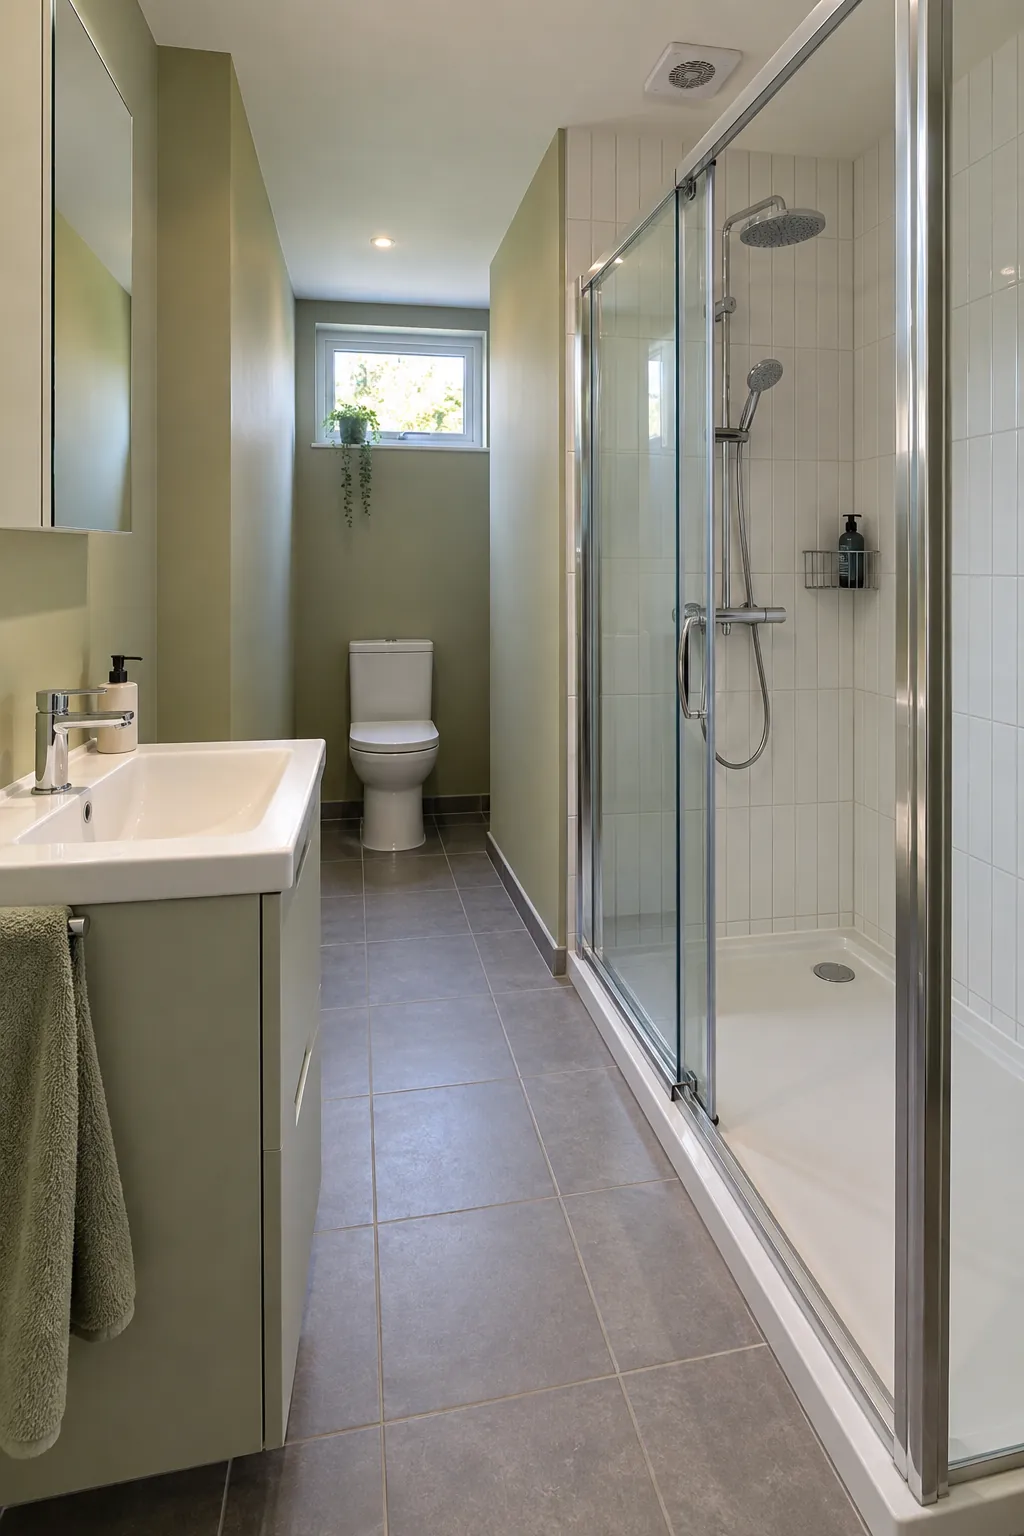
An outward opening door with a clear arrival zone
An outward opening bathroom door can free the first section of floor for a compact vanity. Keep the toilet farther along that wall and place the shower at the back, so the entrance does not compete with fixture access. The hall must safely accommodate the door swing, and the change must meet the relevant local requirements.
Check nearby bedroom doors, stairs, and escape routes before treating this as spare space. The bathroom side also needs a convenient handle position and a sensible towel location. Door changes help circulation only when the space outside the room works as well as the space inside.
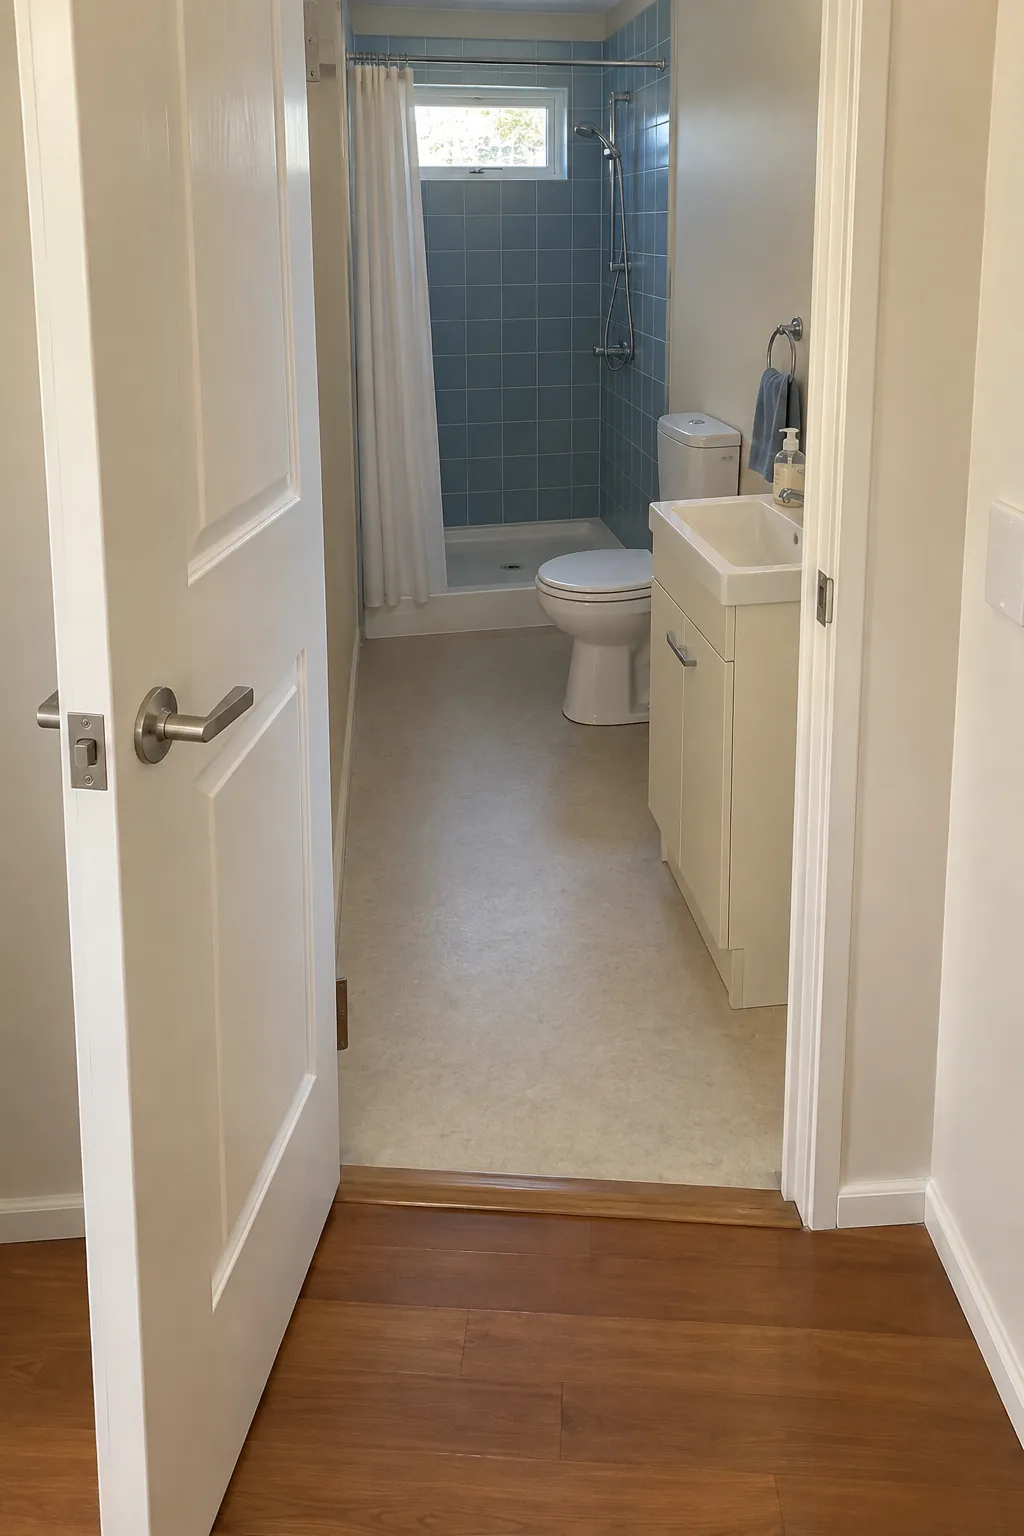
A pocket door with a basin near the entrance
A pocket door can remove the swing from the room and allow the basin to sit close to the short entry wall. Keep the toilet on a long wall and the shower at the far end. The door cavity needs a suitable wall length and must avoid pipes, wiring, and structural conflicts. Plan the towel rail and mirror fixings so they do not penetrate the sliding door pocket. This is an option for a planned rebuild, rather than an automatic substitution for an existing hinged door.
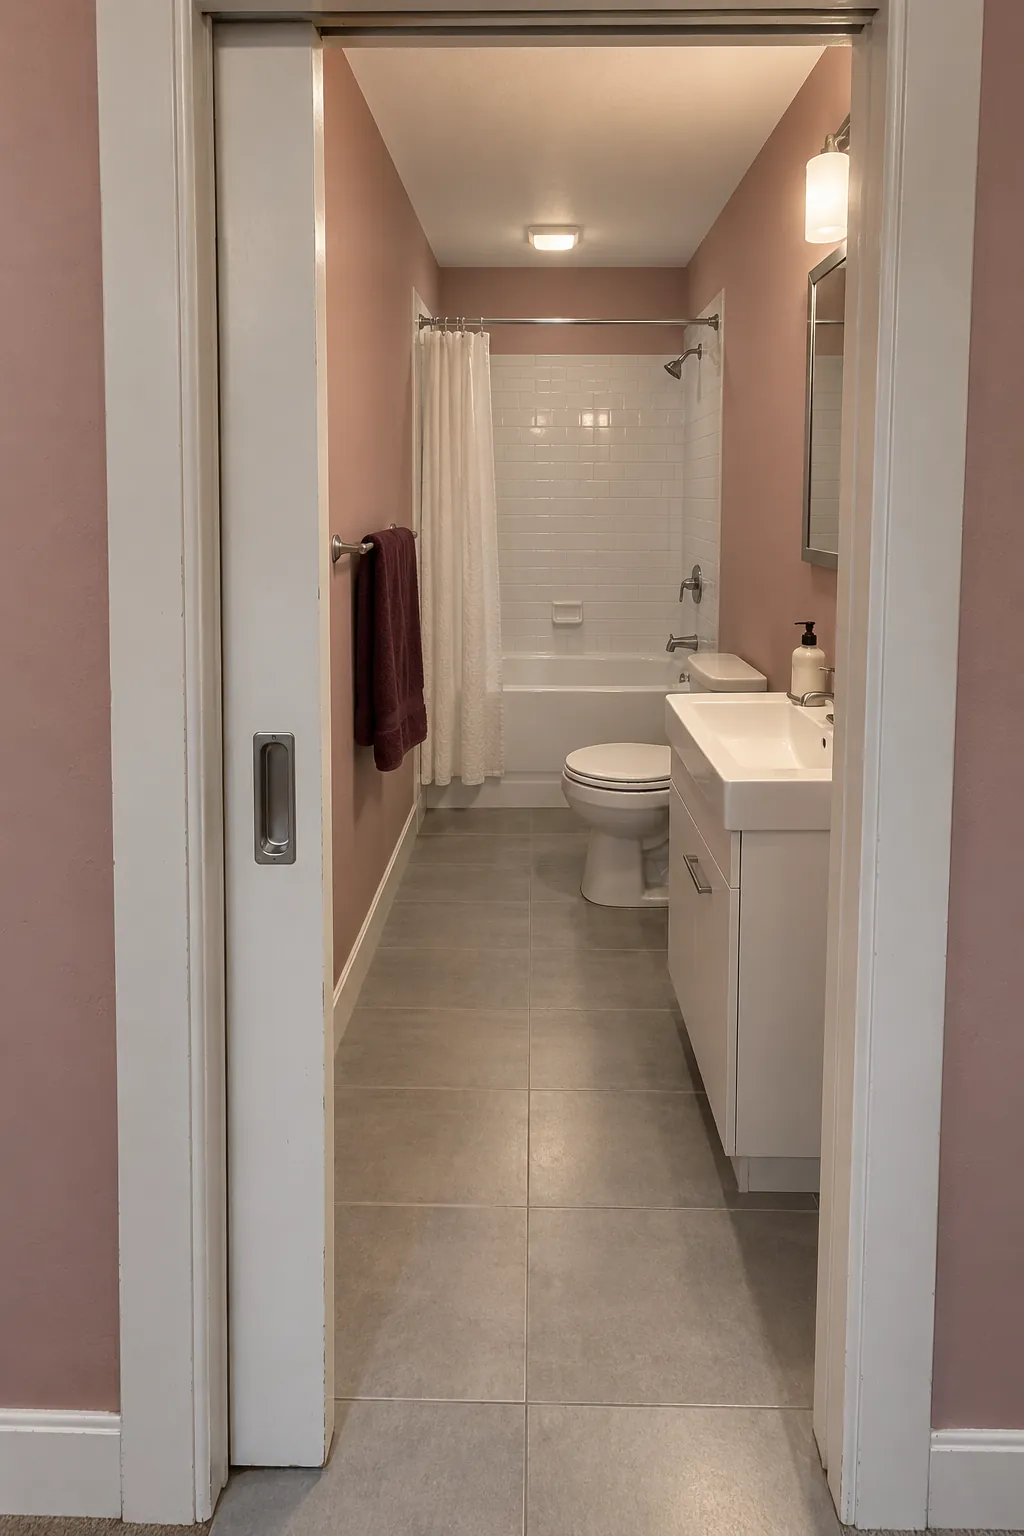
A rear wet zone with the basin kept dry
A professionally designed wet zone at the back can reduce the space occupied by a bulky enclosure. Place the toilet just ahead of its boundary and a compact vanity nearer the entrance, with a screen where needed to contain spray. The dry route should remain usable after someone showers.
This approach depends on the complete floor build, waterproofing, drainage, and ventilation design. It does not mean removing a tray and assuming the existing floor is ready for water. Confirm threshold behavior and cleaning access before choosing finishes, especially where the bathroom sits above another room.
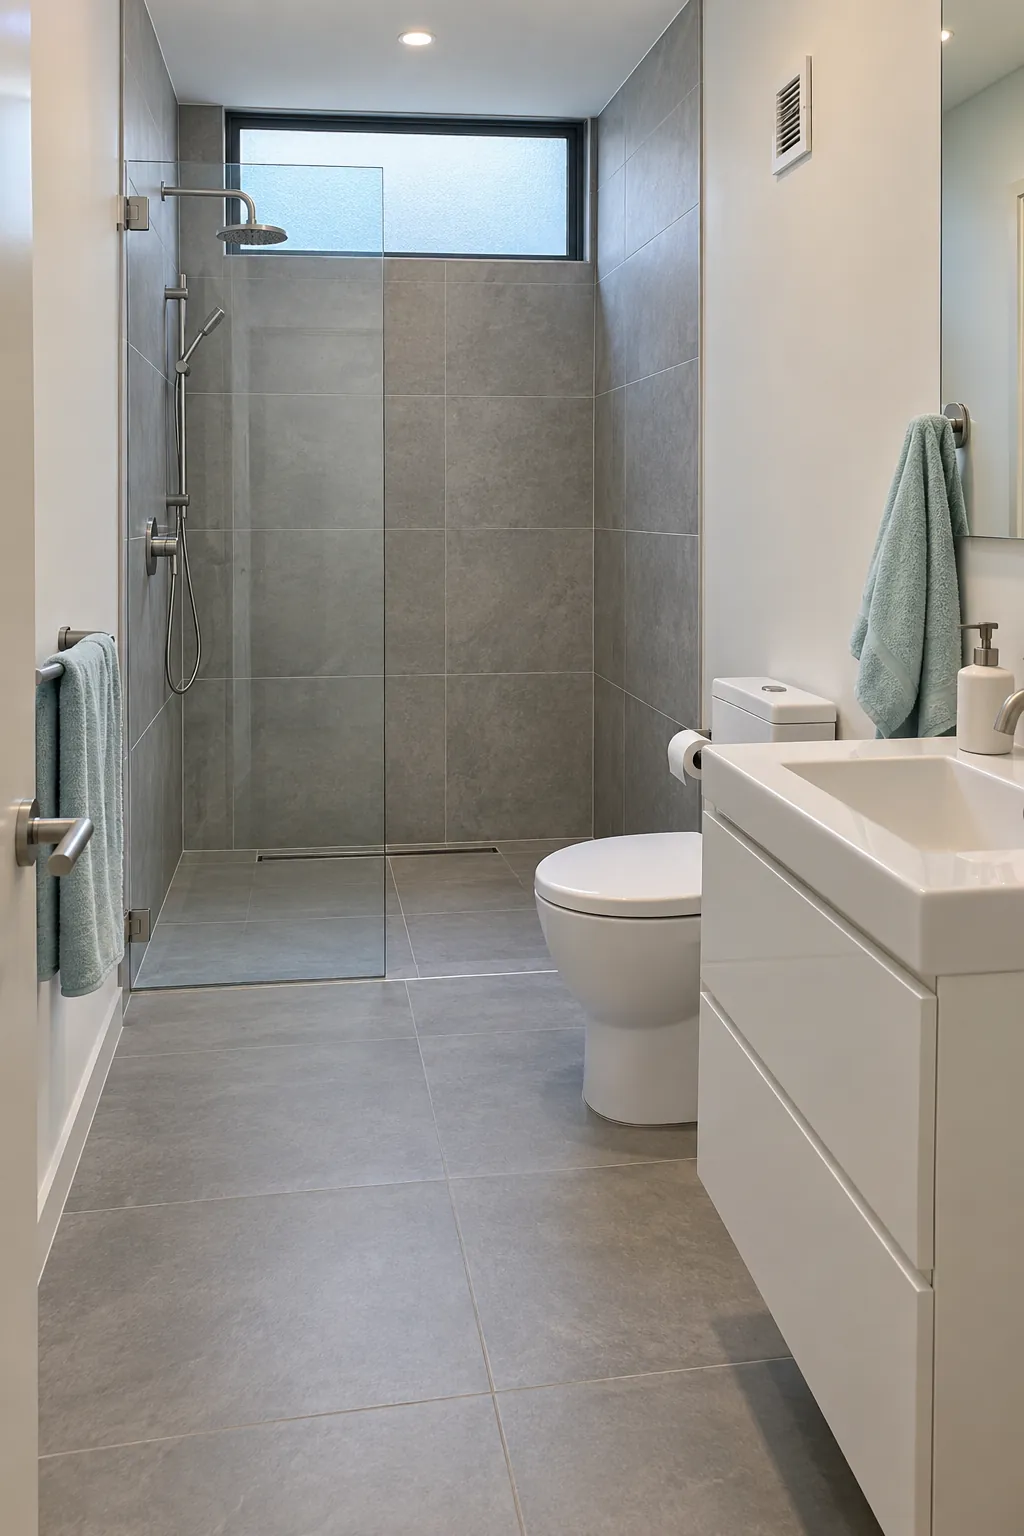
A retained plumbing line with a shorter basin cabinet
Sometimes the best end entry bathroom layout keeps the toilet and shower connections where they are. Replace an oversized basin cabinet with a shorter, shallower unit and move loose storage to a suitable wall location. That can open the route without the cost and complexity of moving drainage.
Keep useful storage by checking the new cabinet’s internal capacity before ordering it. Recessed storage requires a wall that can accept it, while a shallow surface cabinet needs its own door clearance. Test the final plan with the entry door, drawers, and shower enclosure open, then ask the installer to confirm clearances and site requirements.