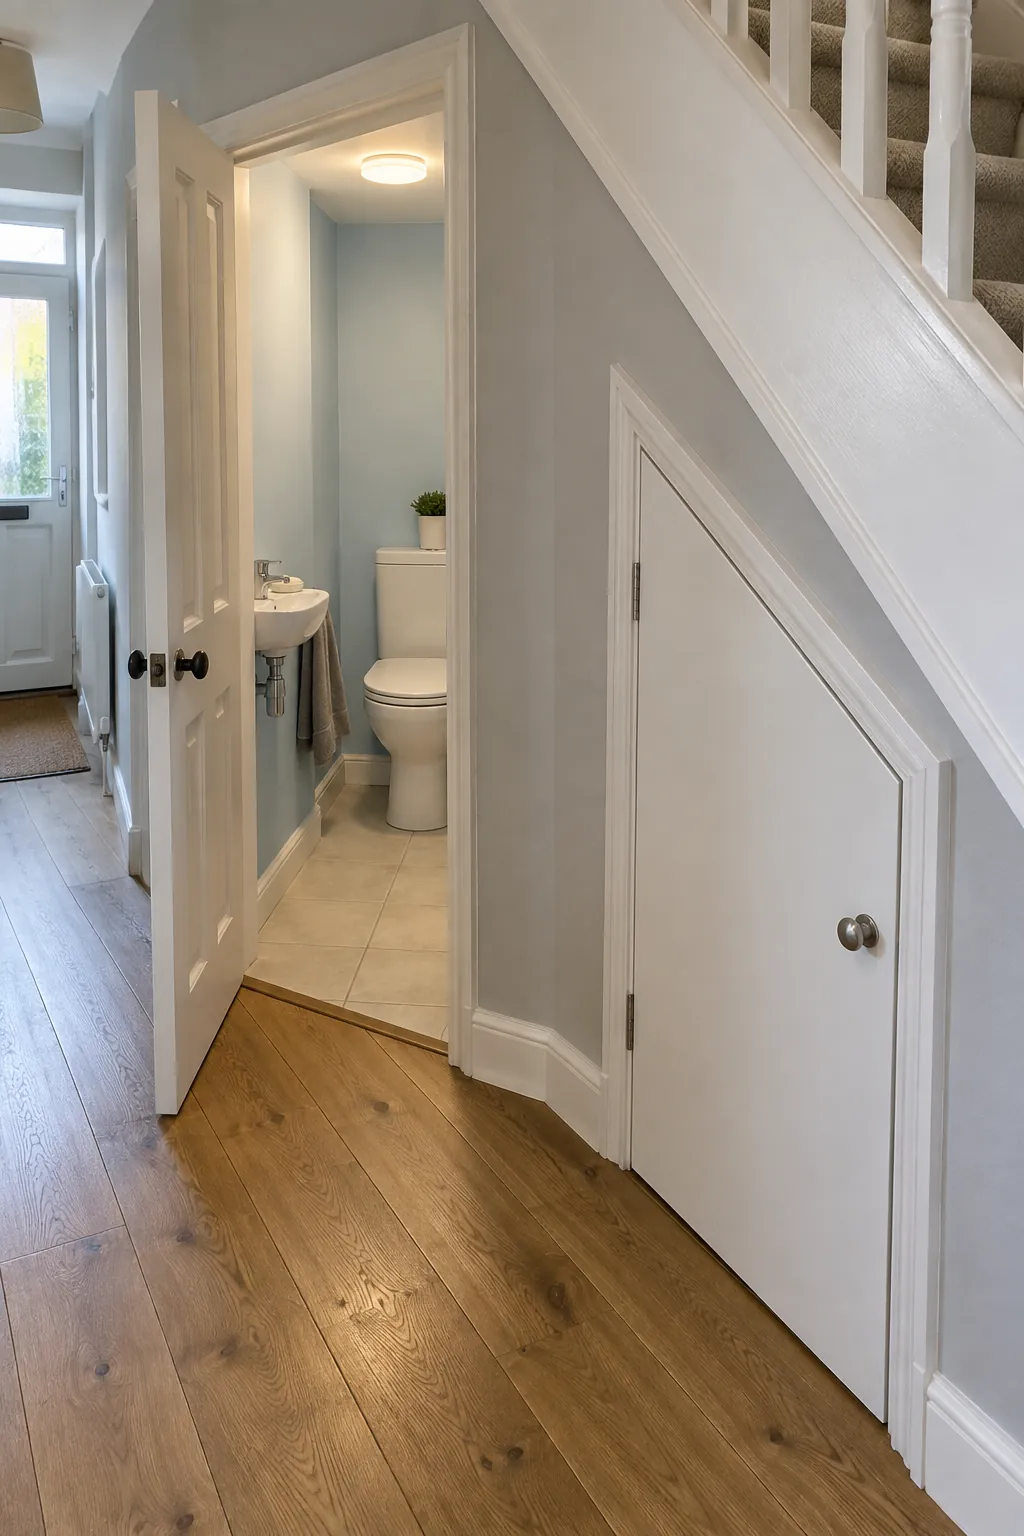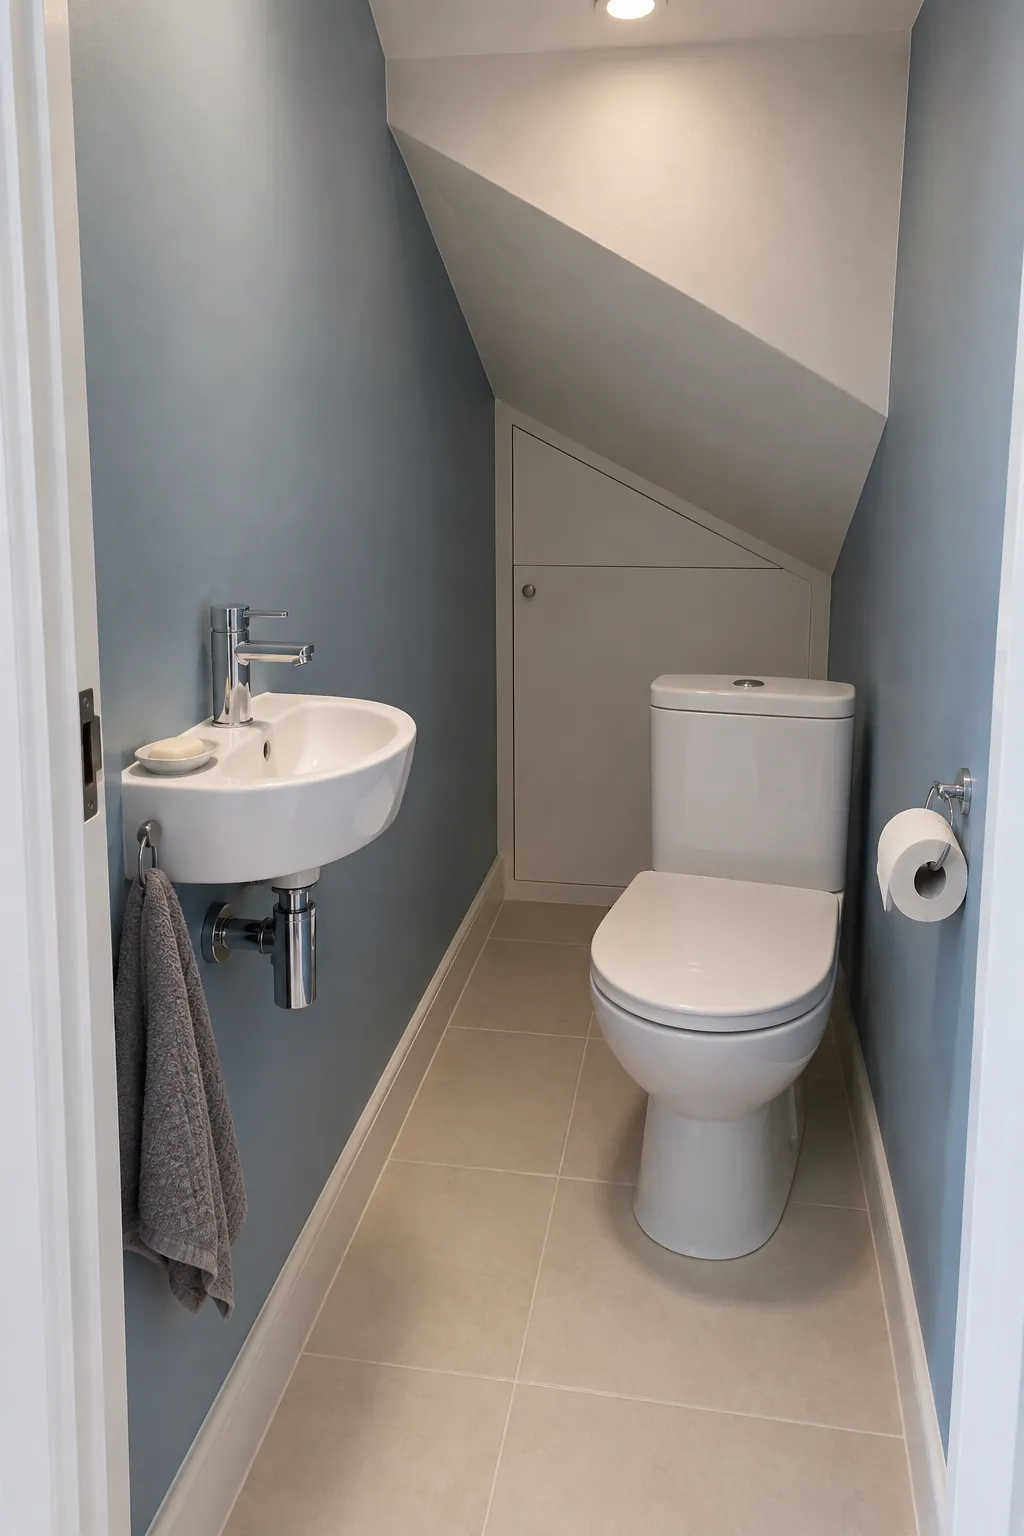
The empty space beneath a staircase can look larger on a floor plan than it feels when you stand inside it. A usable toilet room needs room for the person as well as the fixtures, and the ceiling changes height along the route. Treat the following arrangements as planning concepts, not approved construction drawings. Confirm local headroom and fixture clearance rules, drainage, ventilation, electrical work, and the stair structure with qualified professionals before building.
Enter from the tall end and put the basin first
A doorway at the tall end can bring you directly into the best standing space. Put a compact hand basin near that entrance and position the toilet farther along only where its entire use area has suitable headroom. Check the route to the toilet as well as the space for sitting, standing, and leaning forward. The low tail of the stair void can remain storage instead of becoming a place someone must occupy.
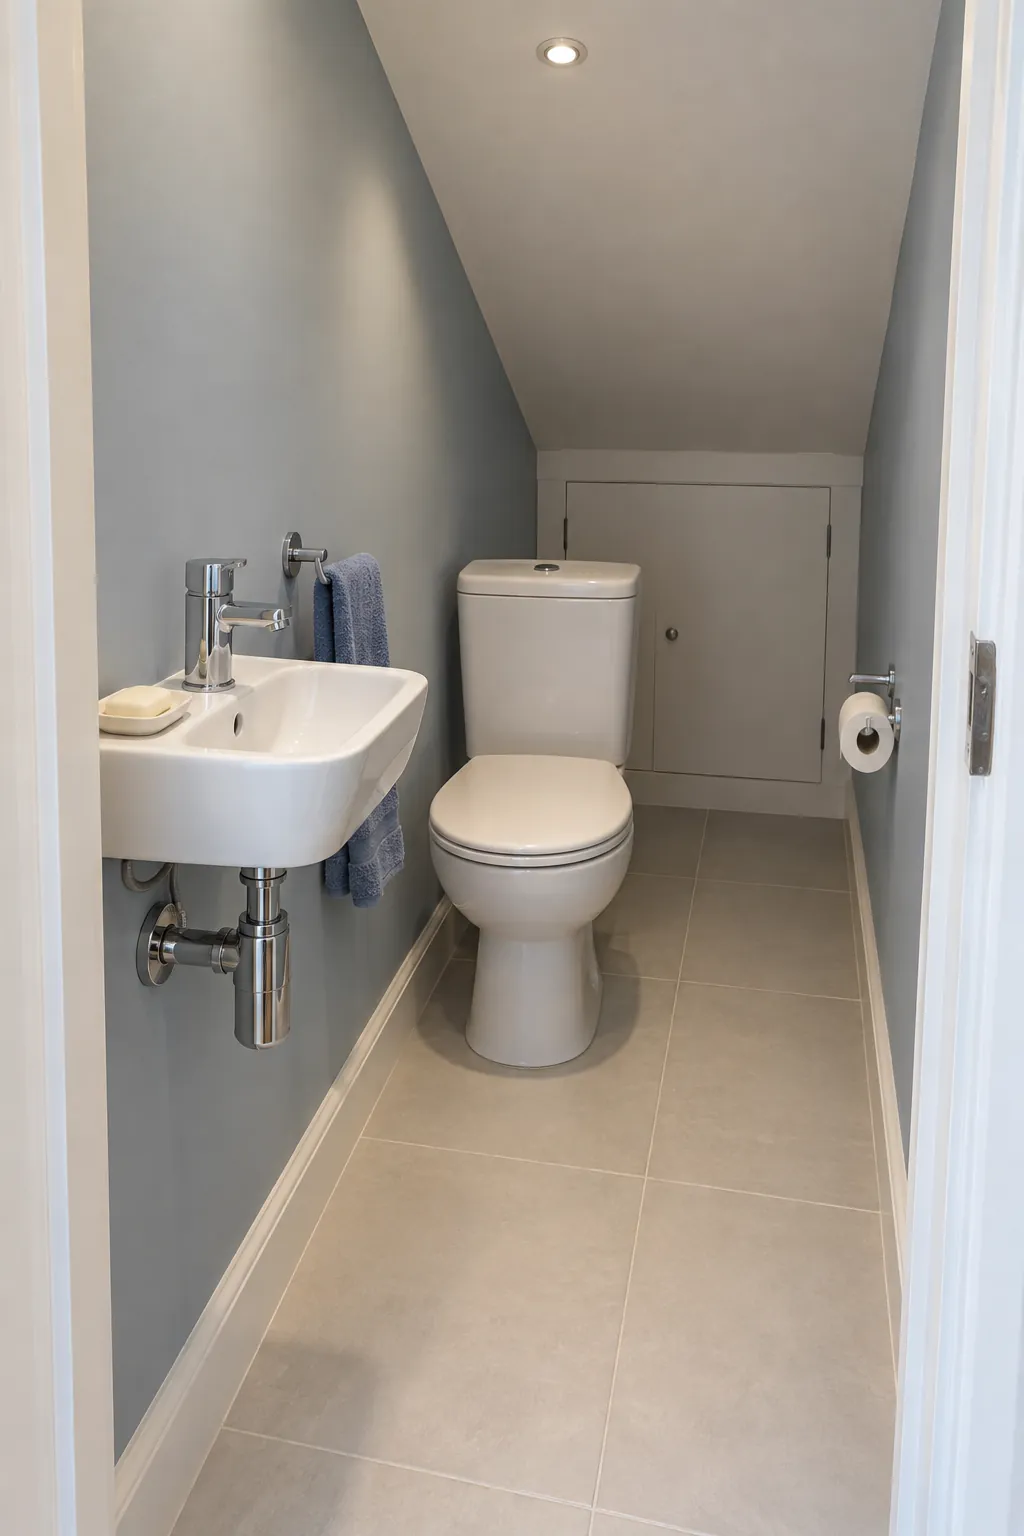
Use a side entrance into the highest central zone
A side door can reach the tallest usable part of an under stairs bathroom without sending people through a low passage. Place the basin on one side of that central standing area and the toilet on the other, subject to their required clearances. Test the door swing against both fixtures and the hallway outside. This arrangement works only when the stair geometry and wall structure allow the opening to be made safely.
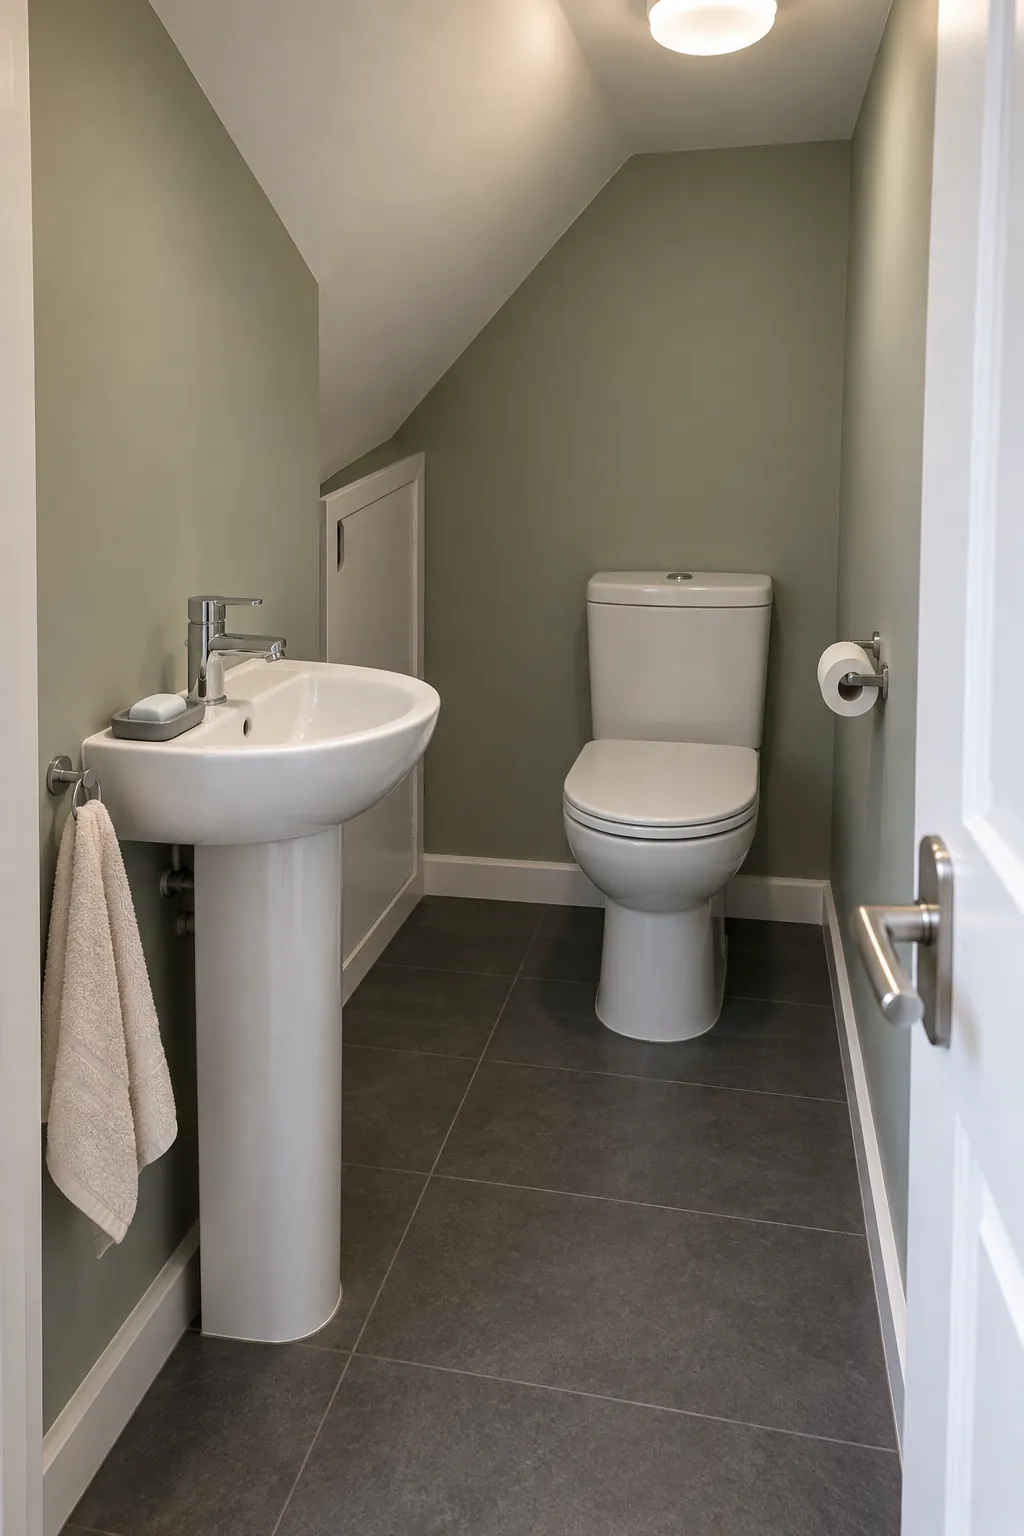
Keep both fixtures on one service wall
A basin and toilet along the same wall can leave a clear route beside them. Use the wall position only when drainage, water supply, and venting can be designed correctly. Keep enough separation for using each fixture rather than treating the line as a row of objects that merely fit. A plumber must assess whether nearby pipework is suitable, because its presence alone does not make a new cloakroom straightforward.
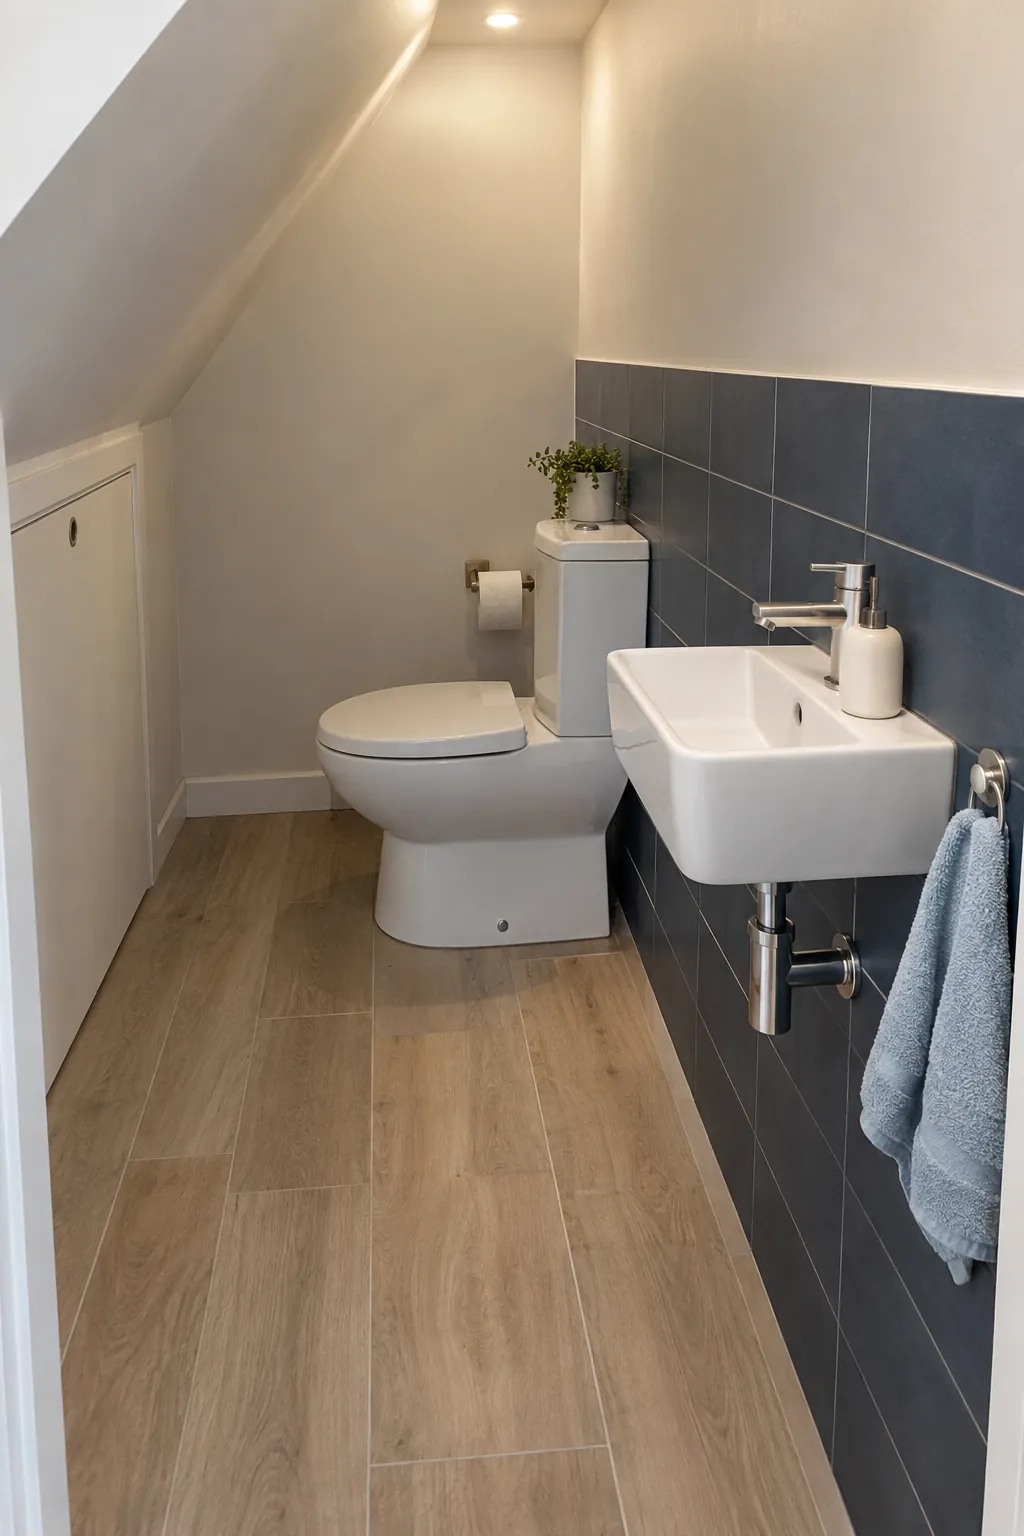
Place the toilet across the slope
Turning the toilet so its use direction runs across the stair slope can change where a person stands. Compare the ceiling height over the seat, the front clearance, and the route away from the bowl. Do not assume that sitting underneath a slope eliminates the need for standing headroom. A section drawing through the actual staircase is more useful here than a floor plan alone.
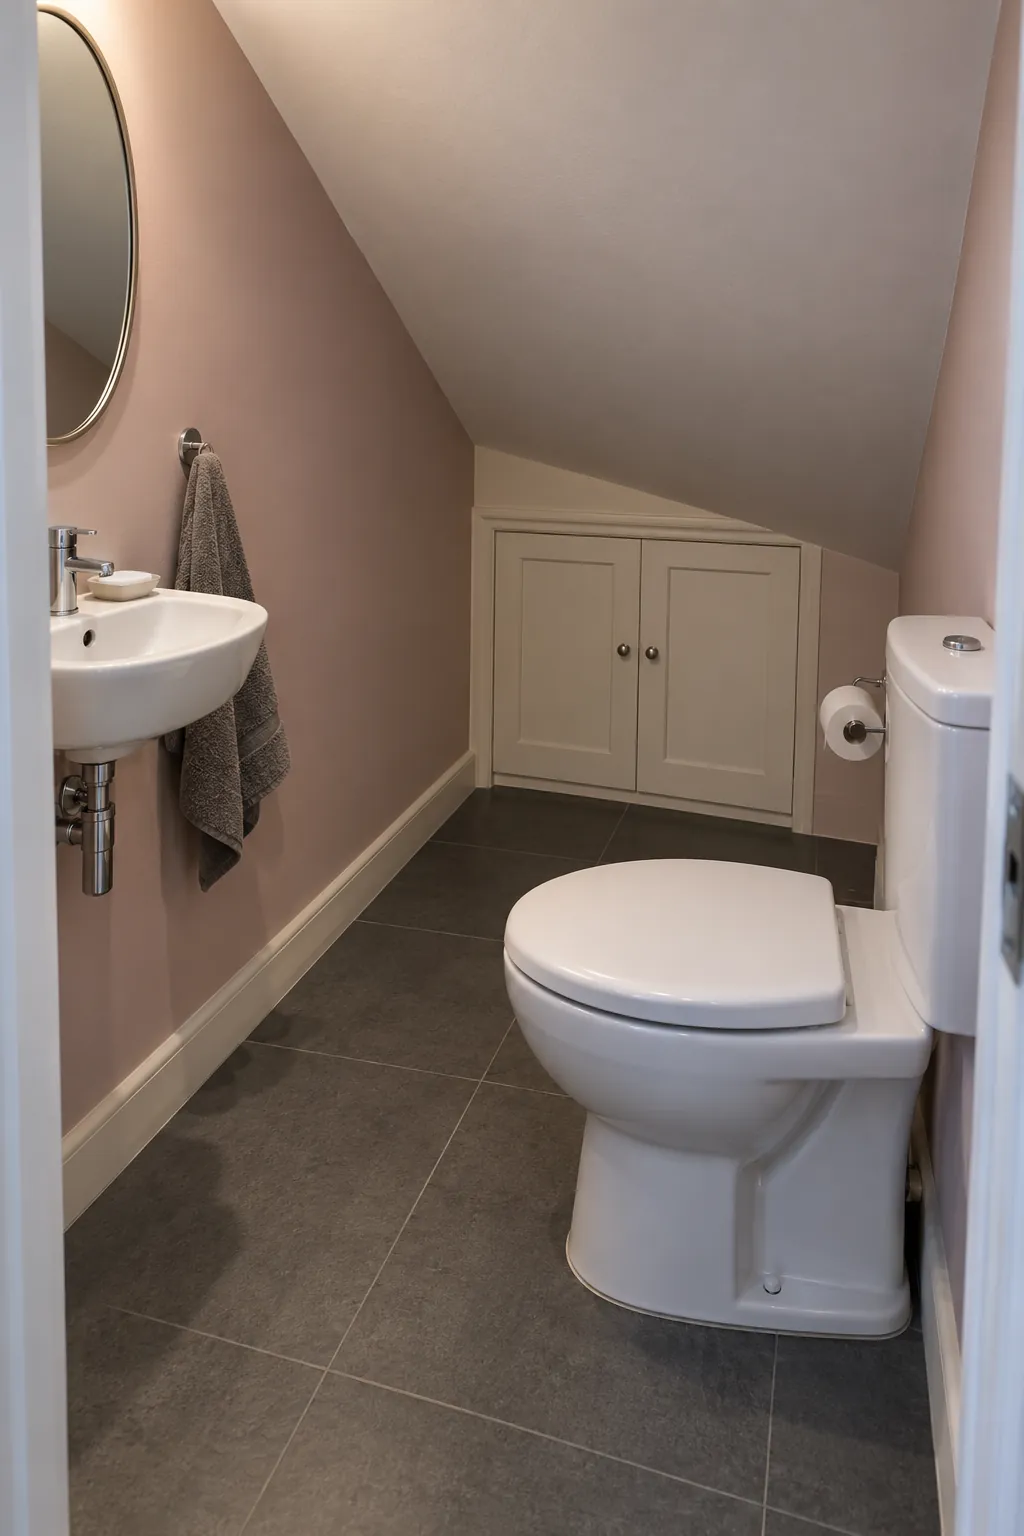
Try a corner basin beside the entrance
A corner hand basin can use a tall corner without projecting as far into the centre of the room. Check the bowl size, tap reach, and elbow space rather than judging it only by its outside dimensions. Position the toilet where it remains independently usable and its required clear area is not consumed by the basin. The hand basin still needs proper supply, drainage, and comfortable standing room.
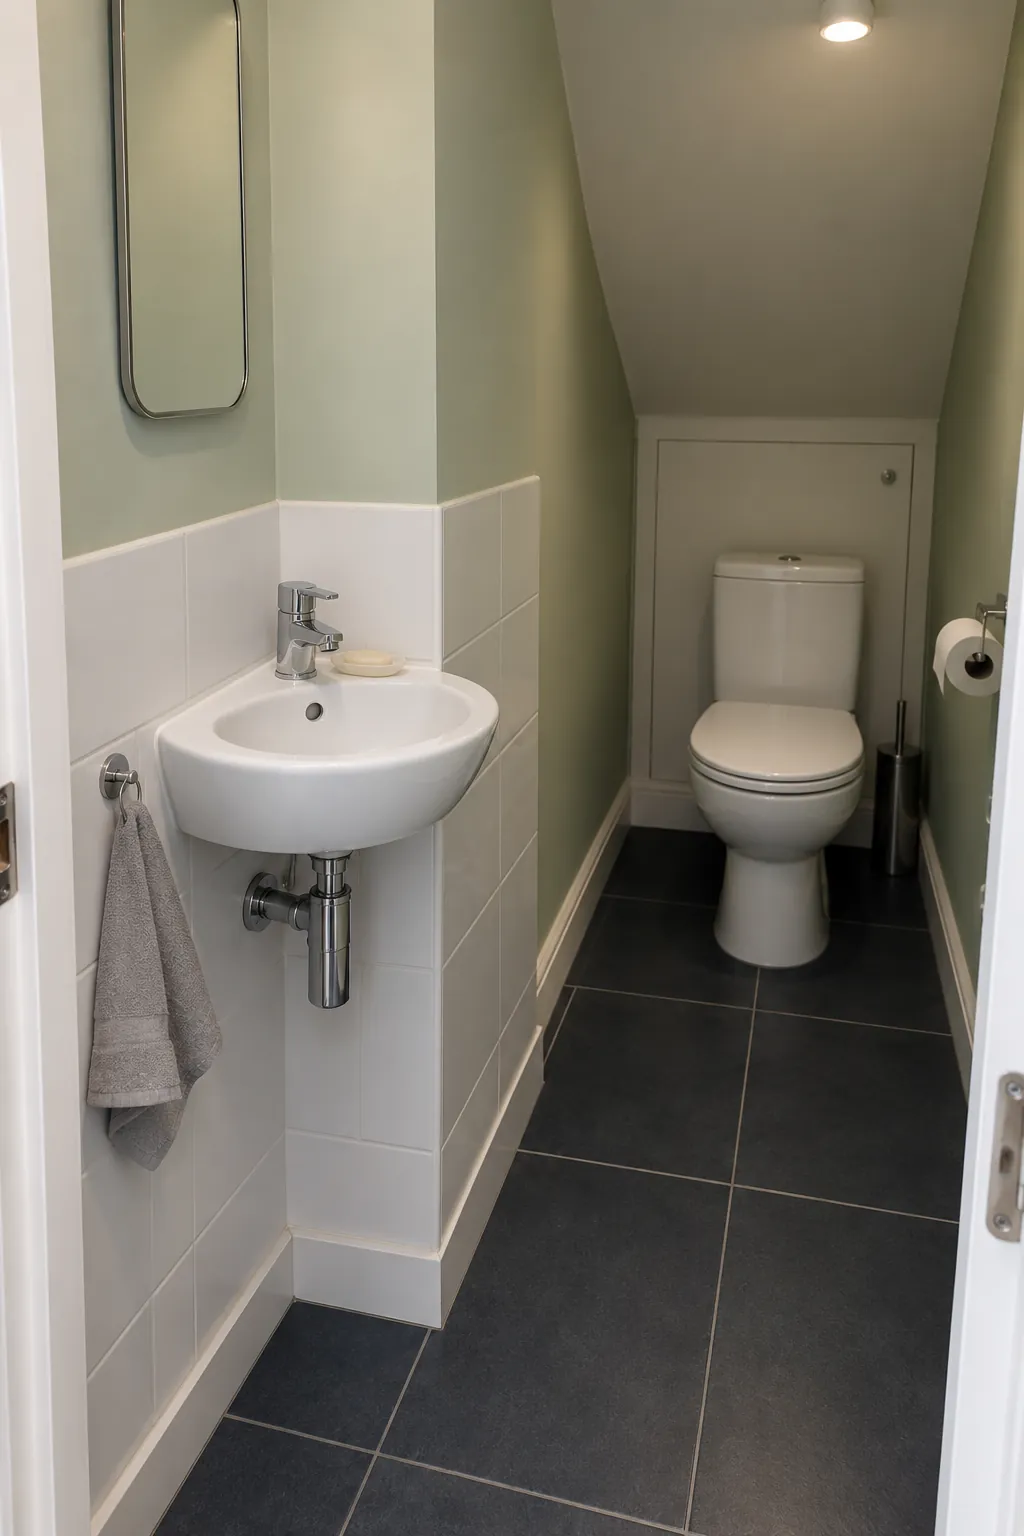
Use a shallow rectangular basin on the long wall
A shallow basin along a long vertical wall can preserve a central passage through an awkward bathroom shape. Look at the full bowl projection, including any front overhang, when comparing models. Mount it in a part of the room with suitable height for washing and reaching the tap. Keep towels and small storage clear of the approach so a narrow sink does not become an obstacle surrounded by accessories.
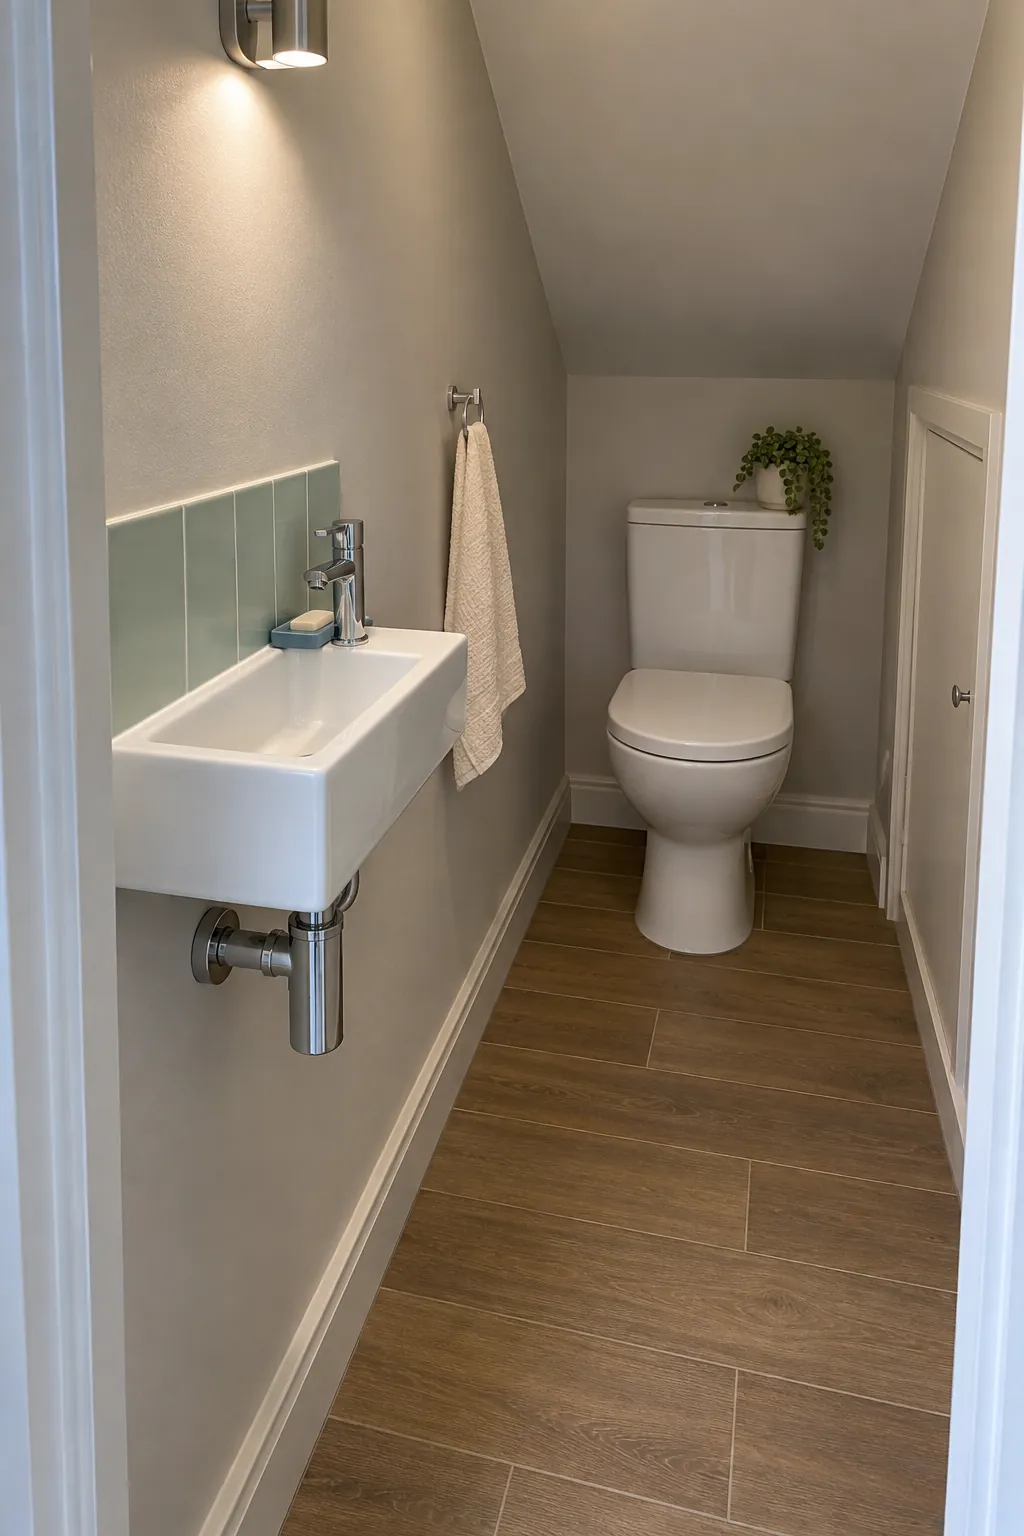
Let an L shaped footprint separate the fixtures
An L shaped stair enclosure may offer a tall return space for the basin and a separate zone for the toilet. Use the change in direction to preserve a clear entrance instead of filling the inner corner with furniture. Measure the route around that corner with the door open and closed. The ceiling profile can differ in each leg, so both floor dimensions and sectional heights need checking.
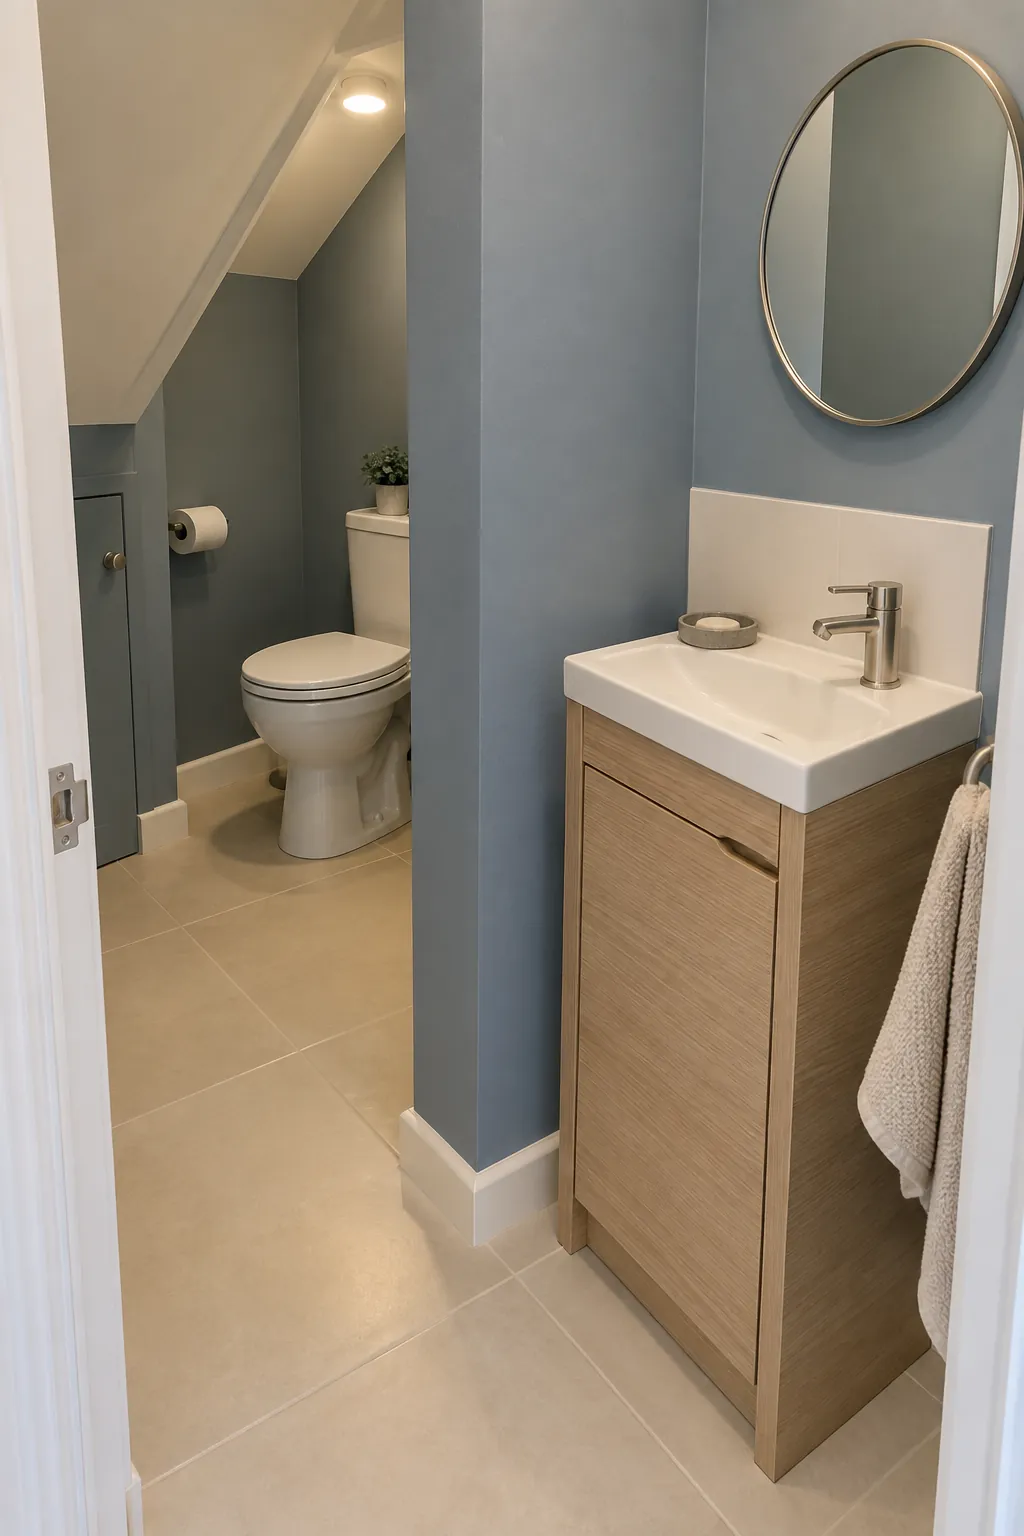
Use a widened end for the toilet
If the enclosure is wider at its tall end, that part can hold the toilet and its use area while a slim basin sits along the approach wall. Draw the full fixture clearance envelopes before deciding that the narrower section can be a passage. Avoid placing the toilet so its front faces directly into a low ceiling. The wider pocket should solve a real space constraint rather than just create a visually centred layout.
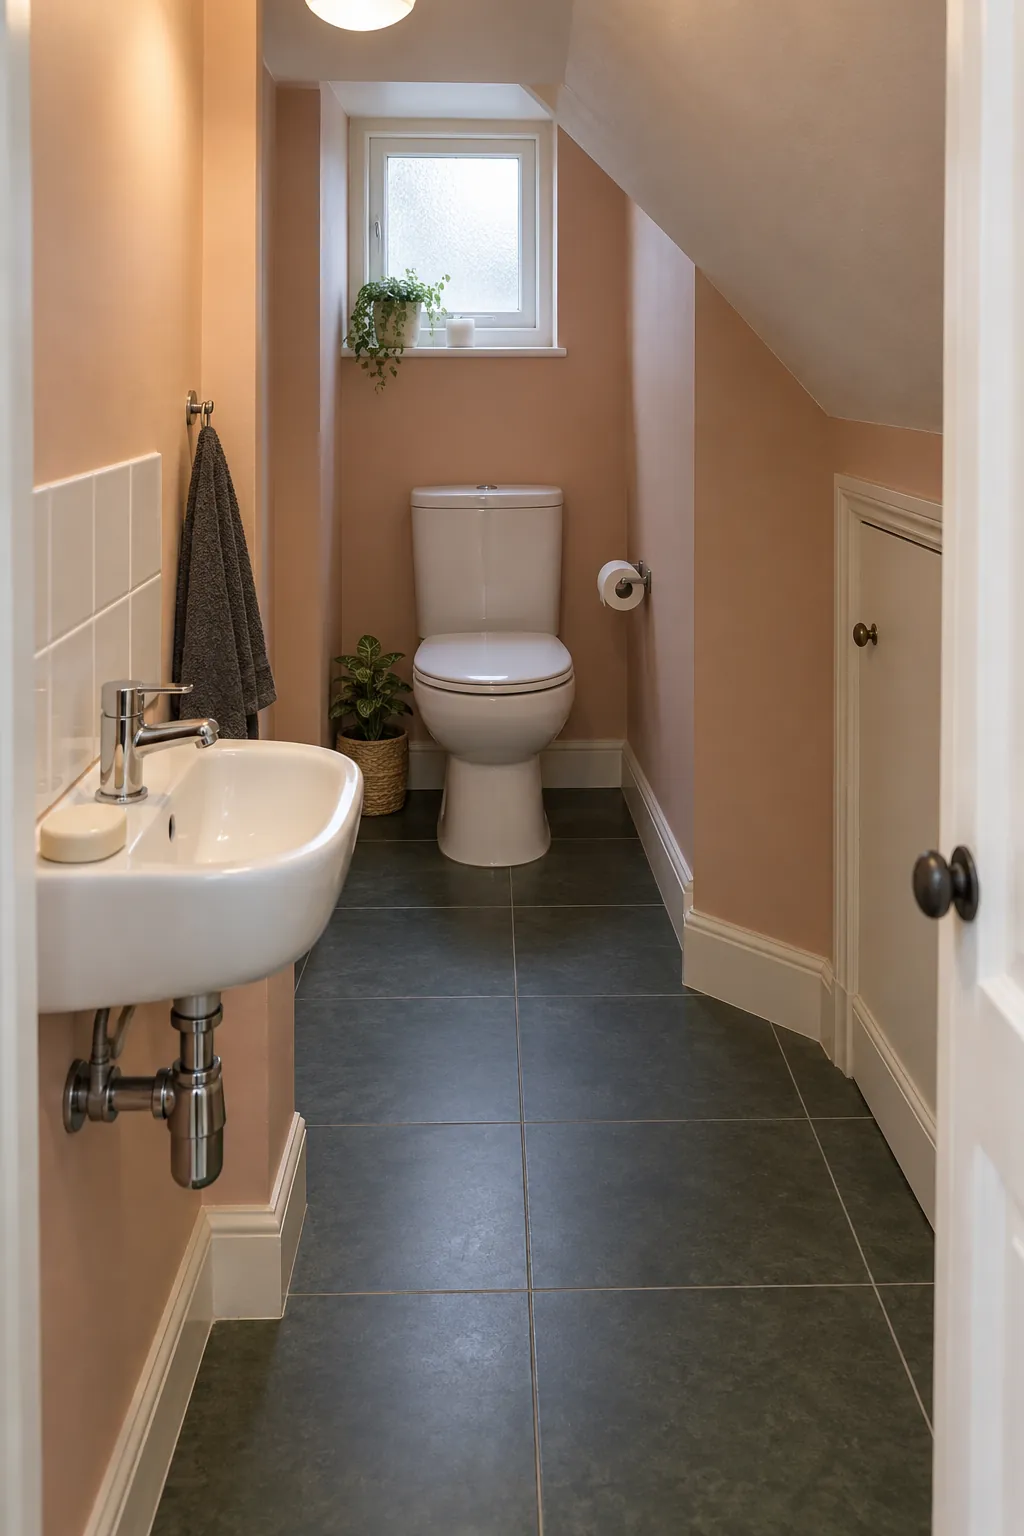
Choose a concealed cistern with service access
A concealed cistern can form a tidy toilet wall within a compact half bathroom layout. Include the carrier or cistern enclosure depth in the plan because the visible bowl is only part of the installation. Provide the access specified by the manufacturer and keep it reachable after storage and finishes are installed. Hiding the tank may improve the view, but it does not guarantee a smaller total footprint.
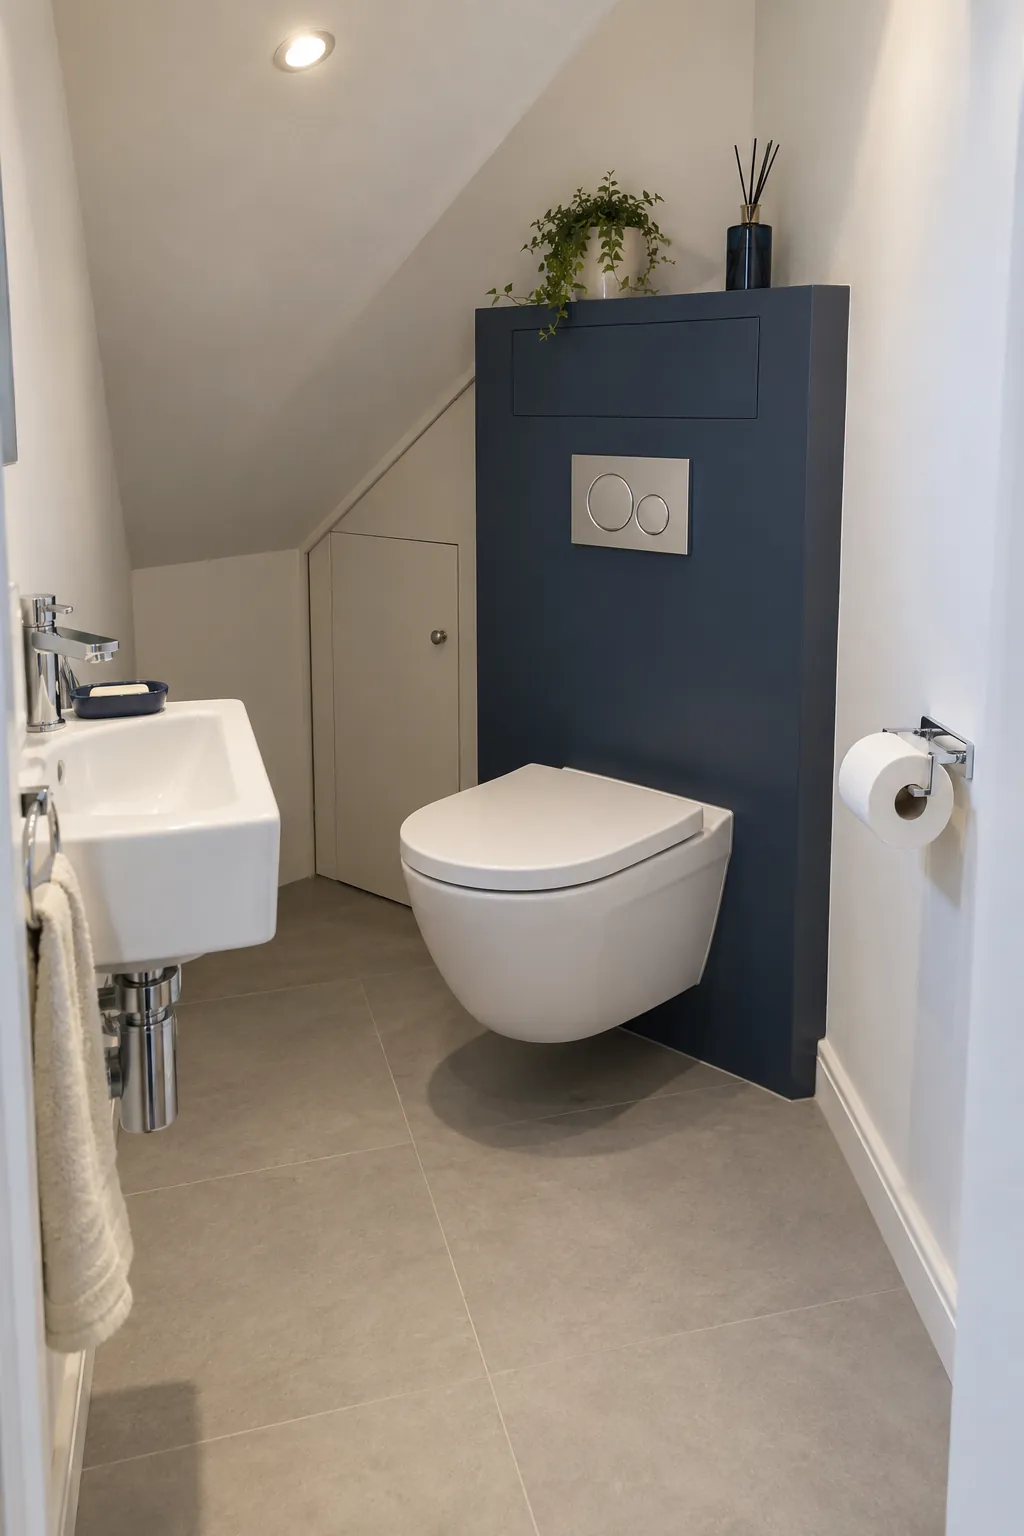
Keep a conventional cistern in the taller zone
A standard toilet can be a practical choice when the room has enough suitable height and a compatible drainage route. Compare the complete installed projection and tank access instead of switching to a concealed system solely for appearance. Place the basin where handwashing does not require stepping into the toilet use area. This keeps the plan based on actual fixture dimensions and service needs.
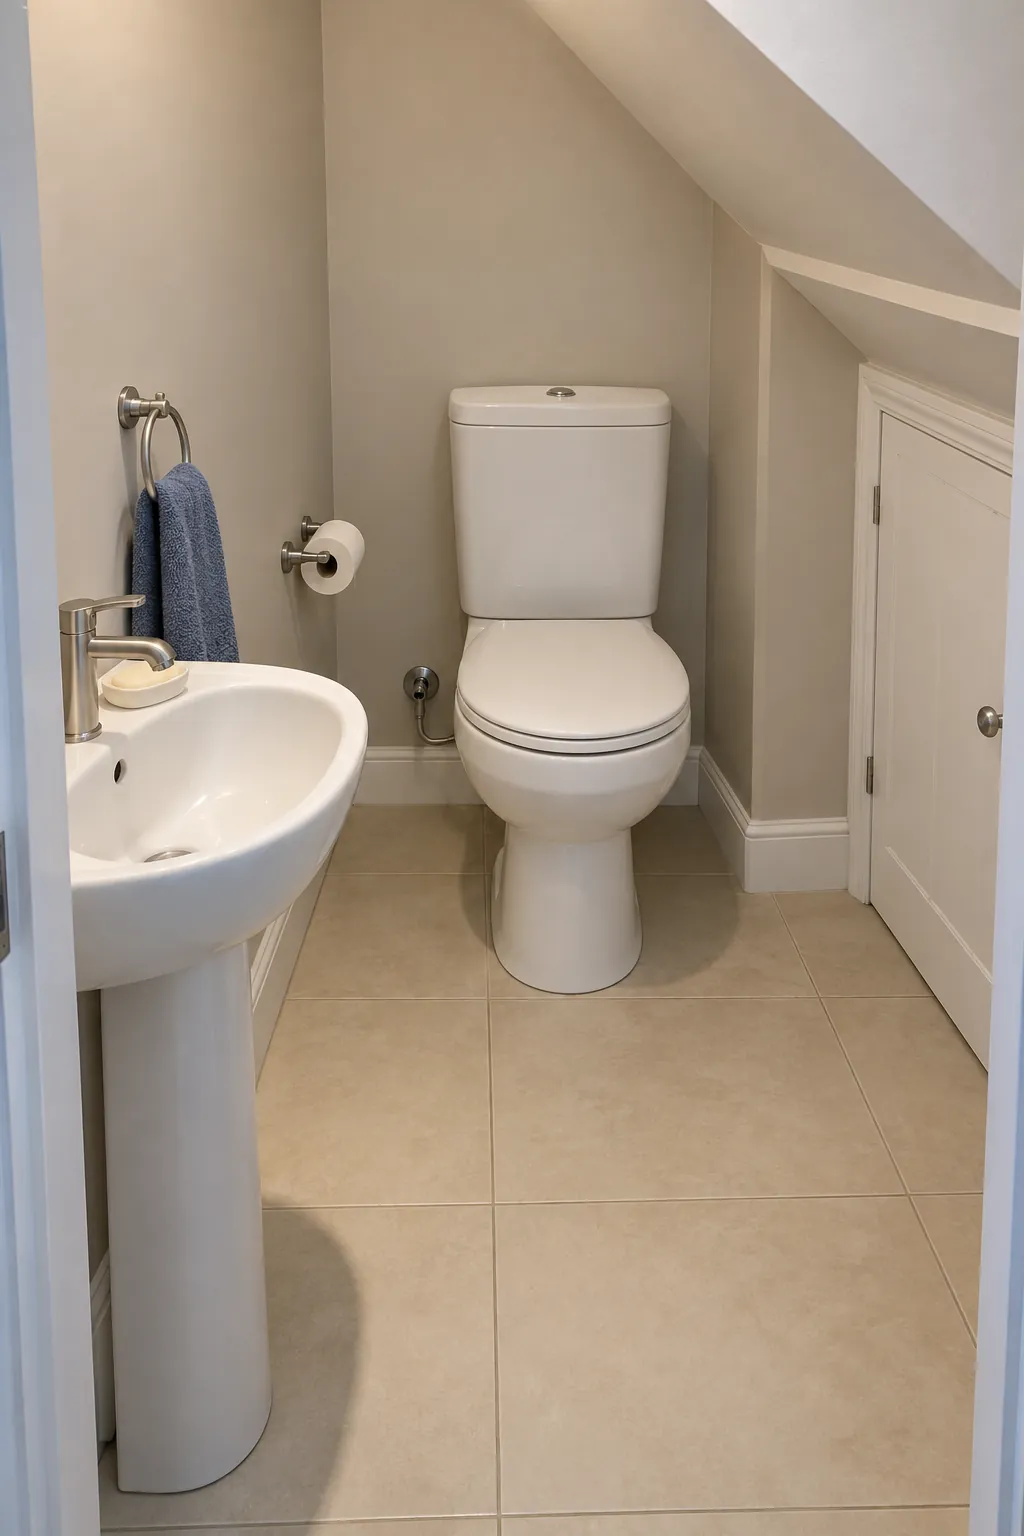
Use a supported wall mounted basin to open the floor
A small wall mounted basin can leave visible floor beneath the handwashing zone. Confirm the wall support, fixings, pipe route, and any pipe protection required for the intended users. Open floor can make cleaning easier, but it does not turn the room into an accessible bathroom by itself. Assess the full entrance, turning space, fixture clearances, and local requirements if accessibility is a goal.
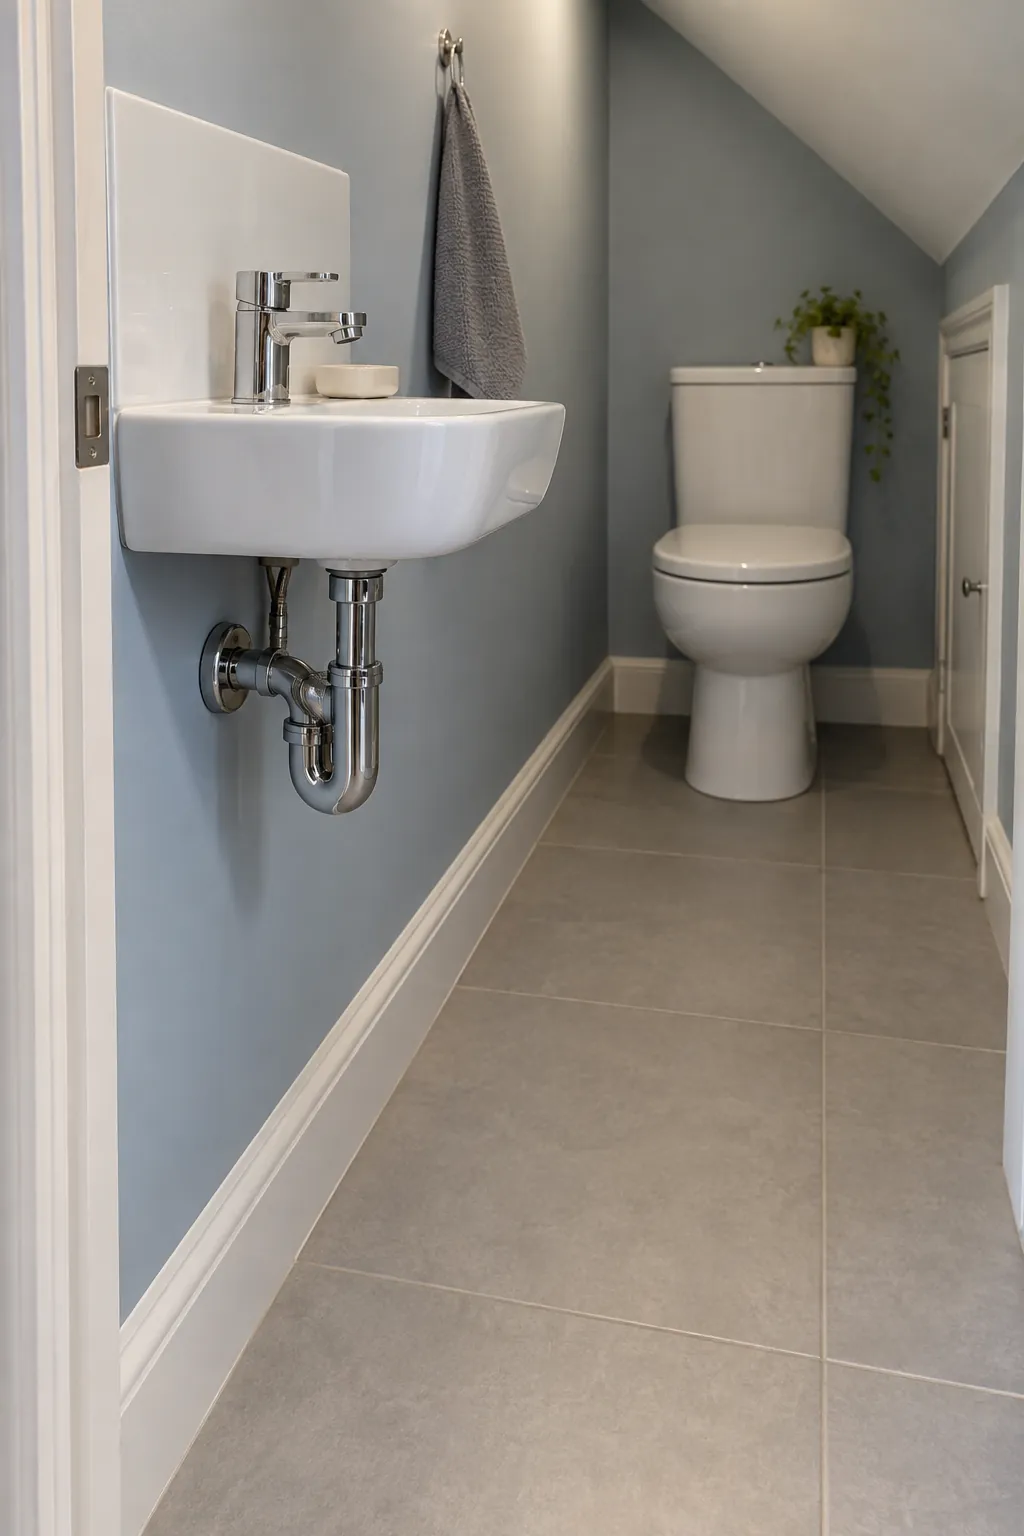
Keep the low wedge as a separate storage pocket
The lowest part of the stair void is often more useful for spare supplies than for a fixture. Enclose that wedge with a low cabinet while keeping the basin and toilet in areas that meet the necessary use requirements. Make storage reachable from a normal standing zone rather than requiring someone to crawl beneath the stairs. Keep service panels accessible and do not pack storage against ventilation or pipe access.
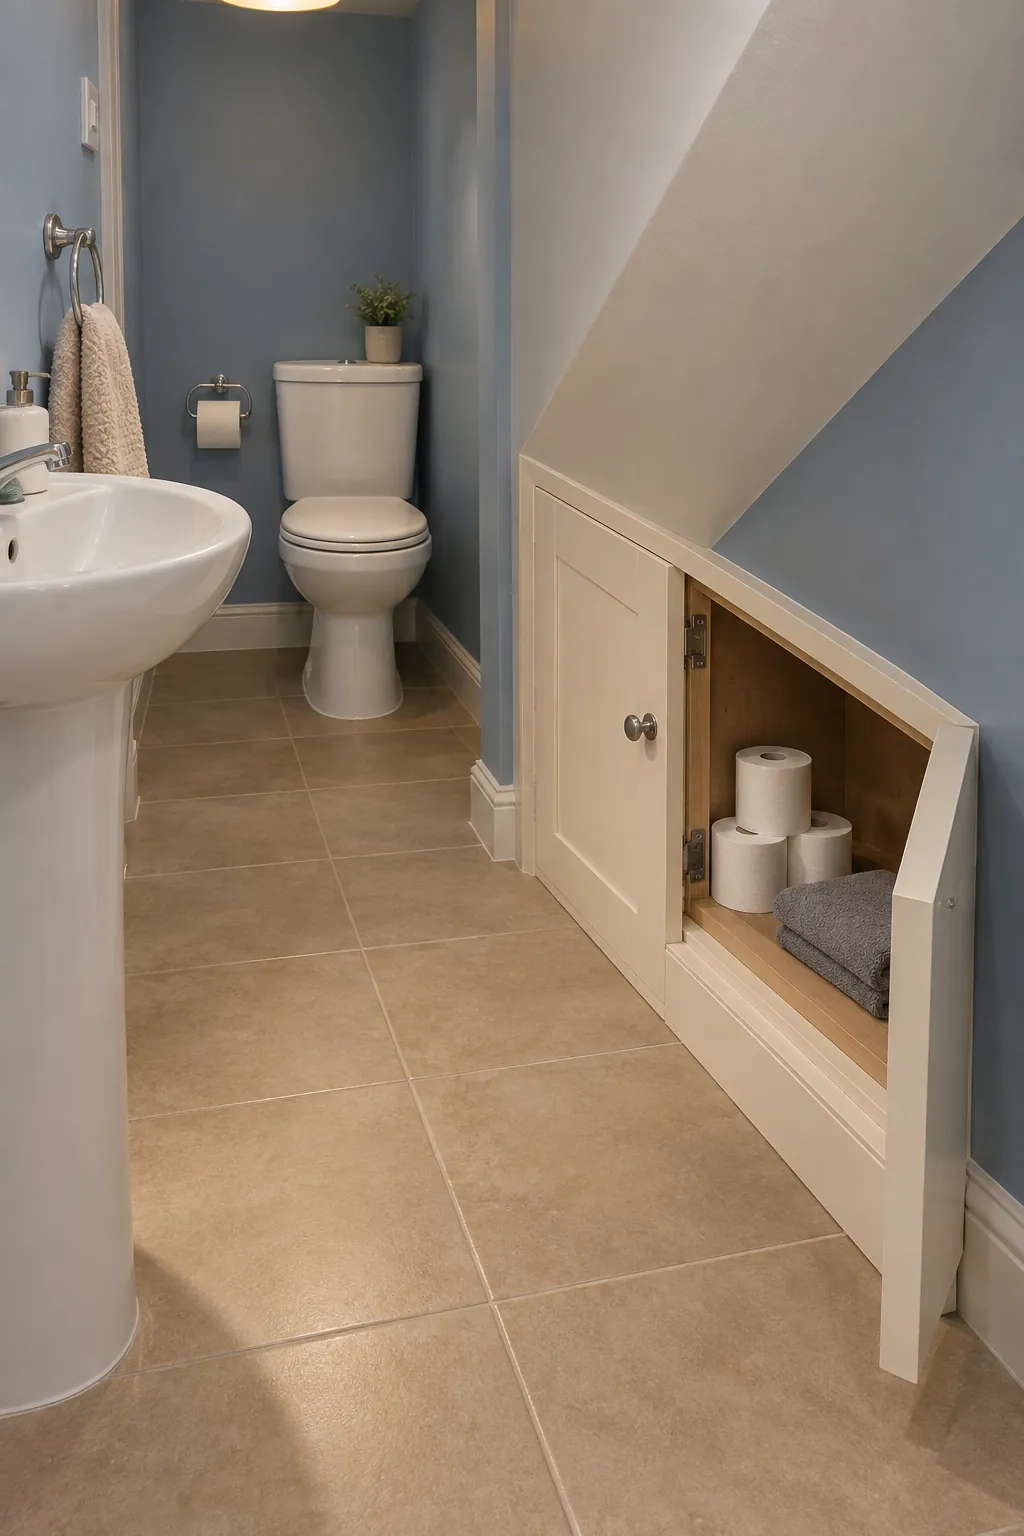
Consider an outward opening door where the hall permits it
An outward opening door can remove a swing from the inside of a tiny toilet room. Check the hallway circulation, other doors, escape routes, and local requirements before treating it as a space saving solution. The basin can then sit near the entrance without being struck by an inward leaf. Keep a clear approach to both fixtures and confirm how emergency access and privacy hardware will work.
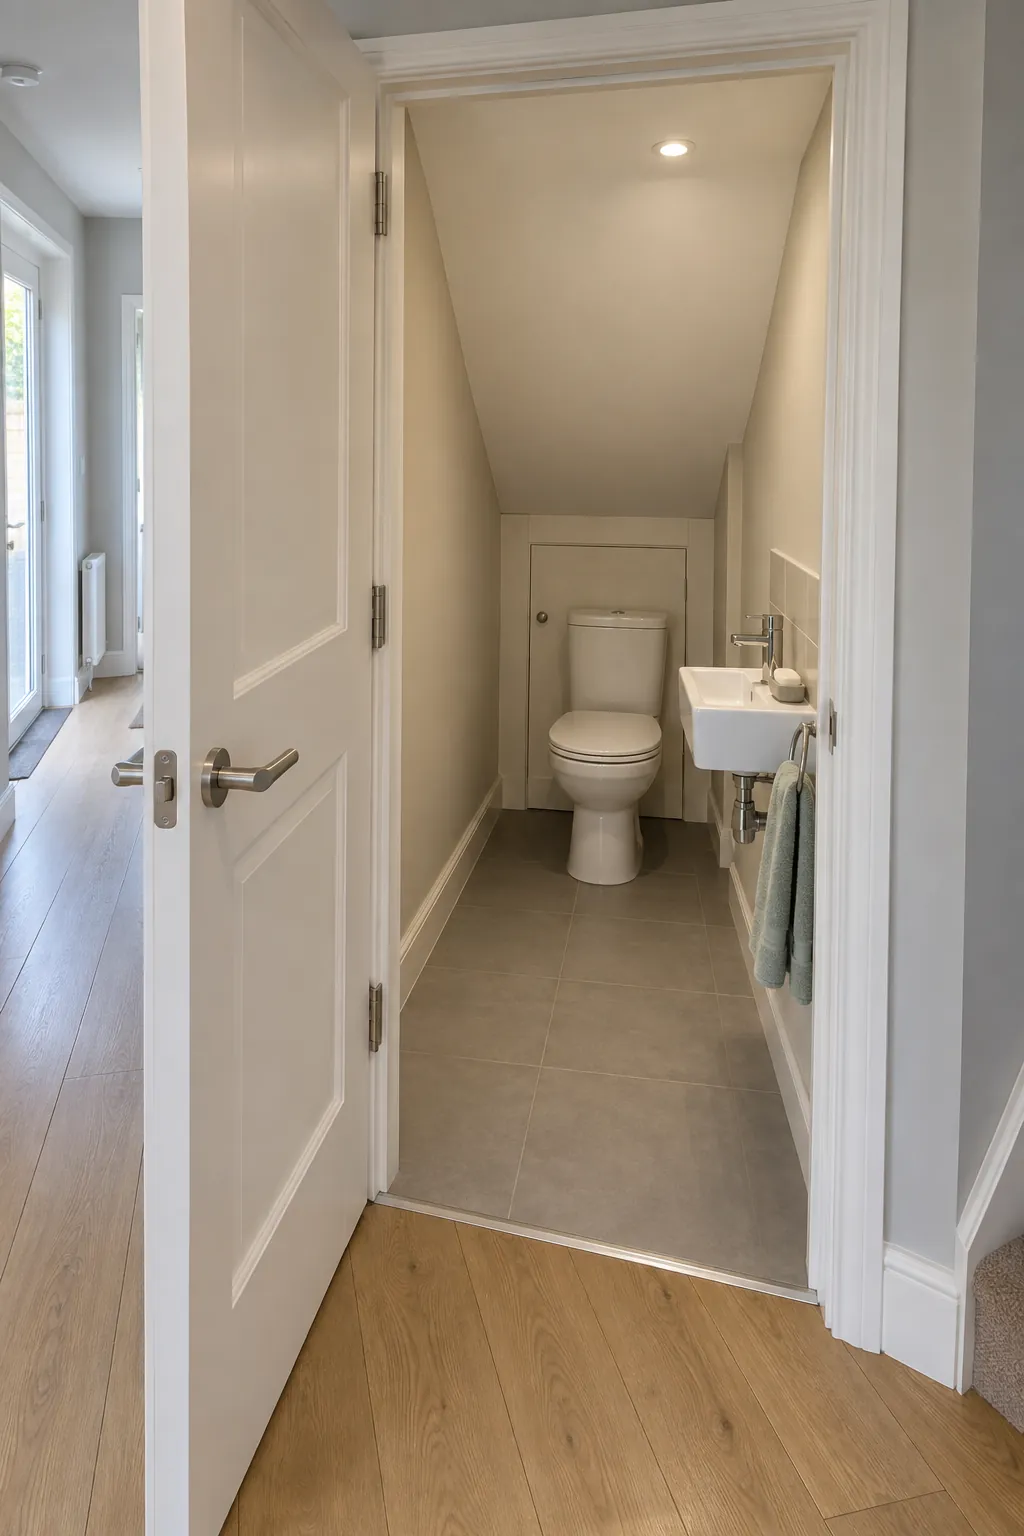
Consider a surface sliding door beside a clear wall
A surface sliding door can leave the internal standing zone free if an adjacent wall has room for the full leaf to slide. Assess privacy, latch operation, gaps, hallway conflicts, and the door system before choosing it for a toilet room. It does not require the same wall cavity as a pocket door, but its track and leaf still occupy real space. Do not let the open leaf cover controls or create a new obstruction outside the room.
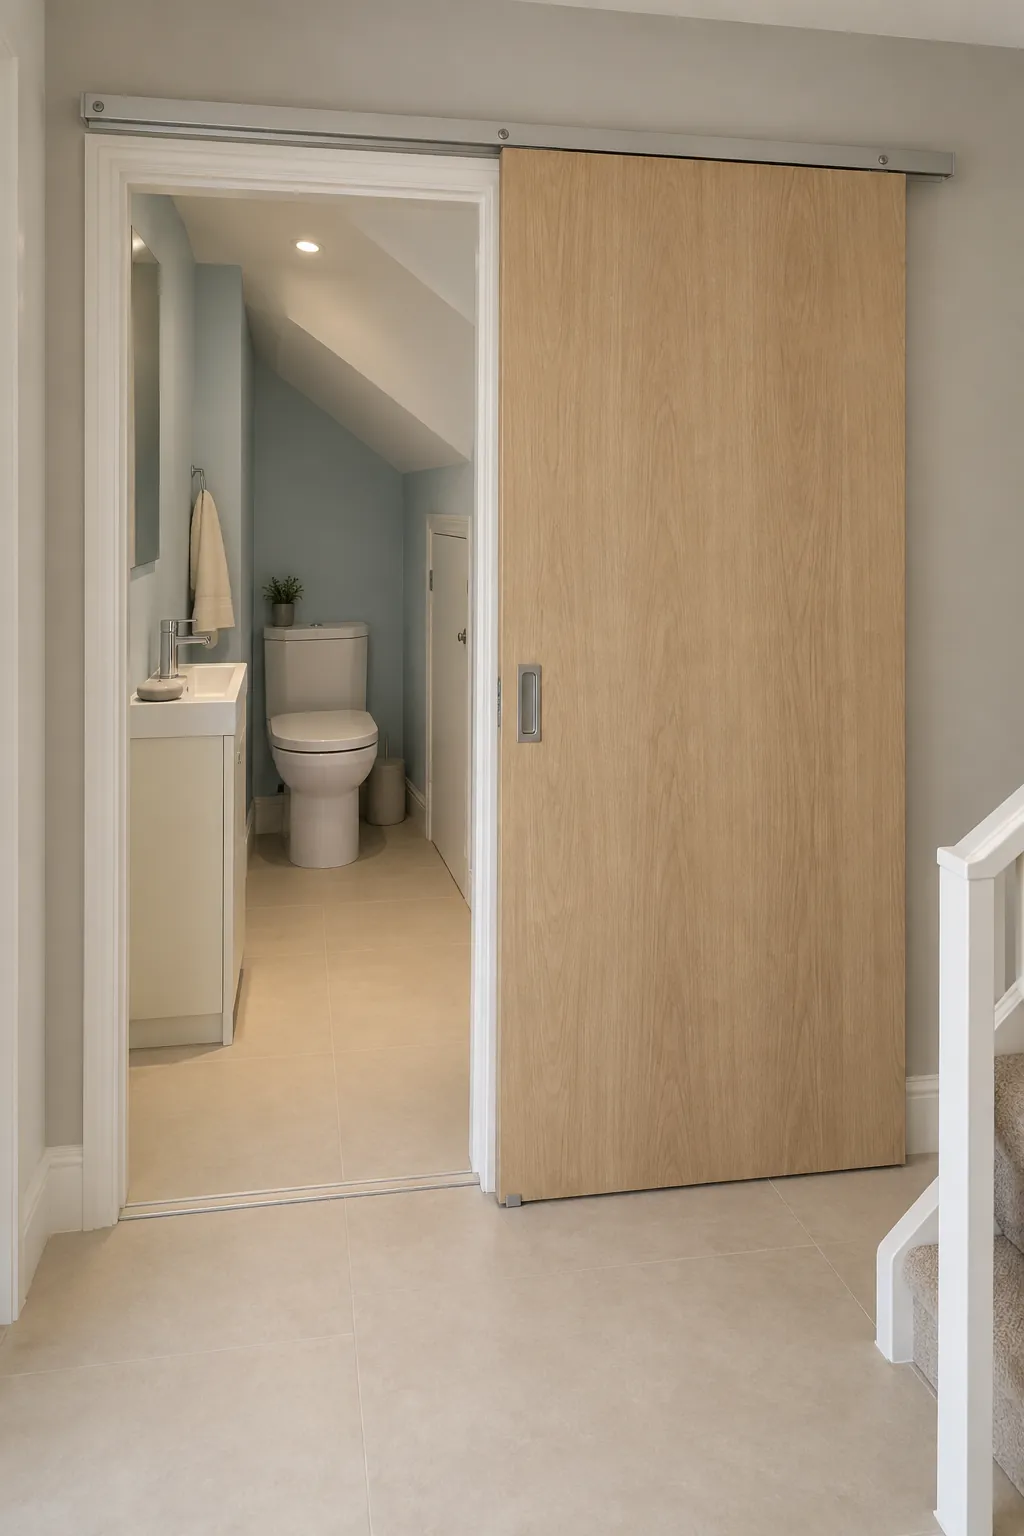
Use a pocket door only in a suitable partition
A pocket door can preserve a compact entrance when the partition has space for its cassette. The pocket must be kept clear of pipework, wiring, fixtures, and unsuitable structural alterations. Check the wall build, door hardware, privacy needs, and service access with the designer before making that partition part of the plumbing plan. A pocket door is a construction choice, not simply a different hinge on an existing wall.
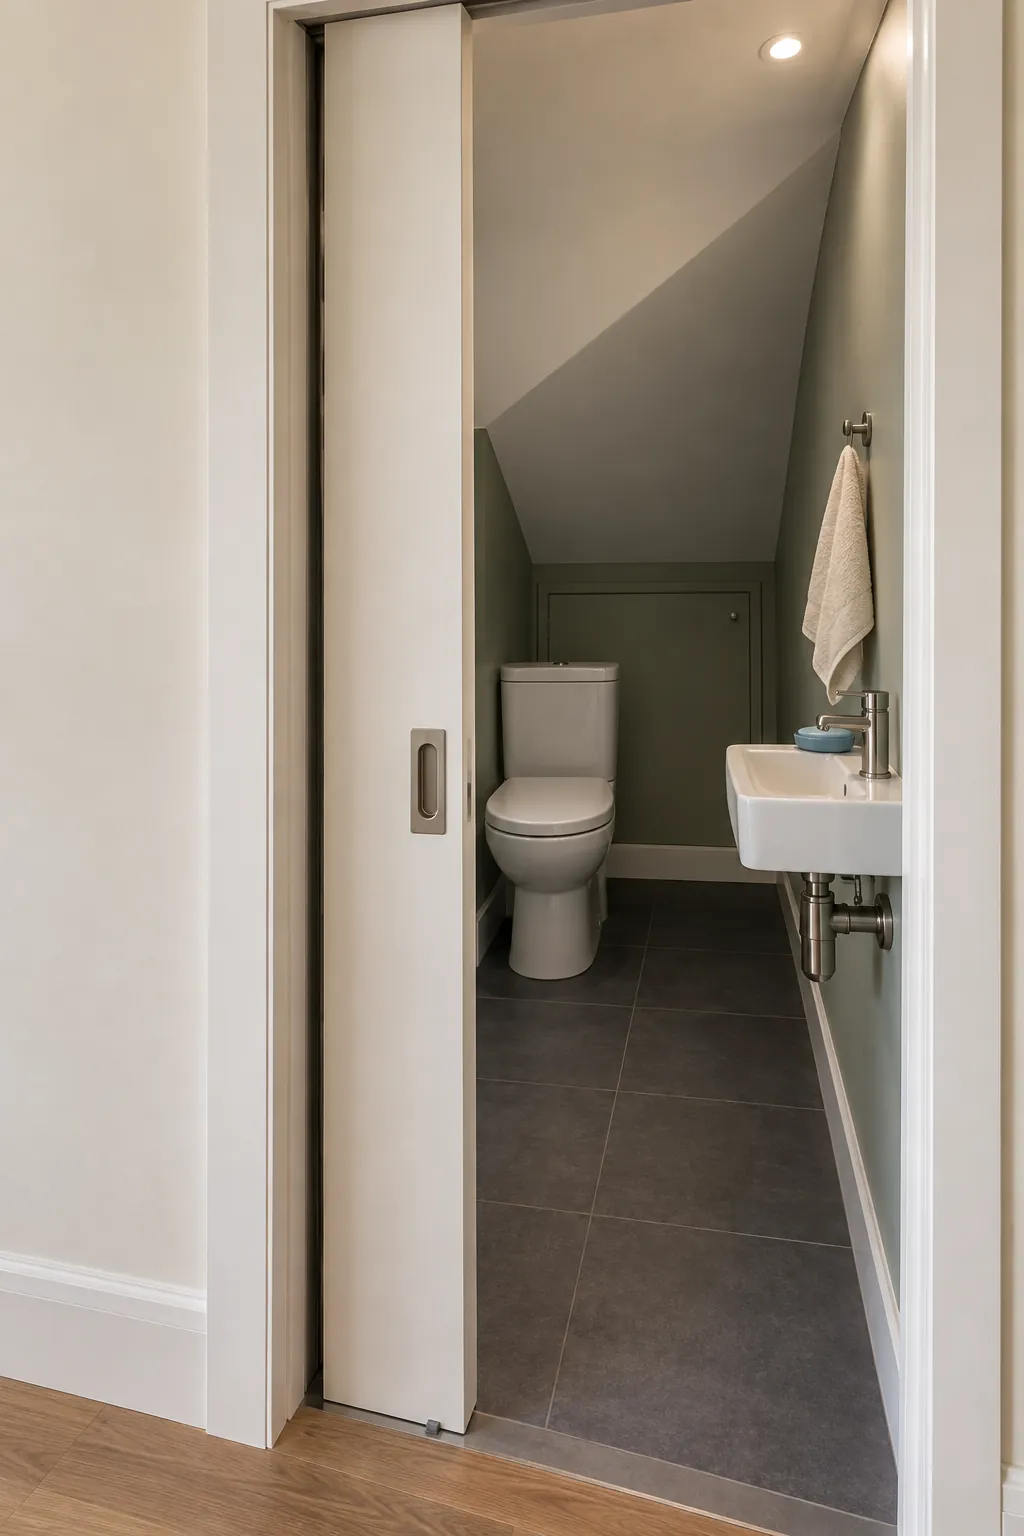
Leave the deepest low corner outside the toilet room
Sometimes the useful toilet room is a smaller rectangle cut from the taller part of the stair void. Keep the low tail behind a separate storage door rather than forcing the bathroom to extend into unusable height. Confirm drainage, ventilation, lighting, and the complete ceiling profile for the proposed enclosure. Never trim a stair beam or other structural part to rescue a layout without a qualified structural assessment.