
You might have an old, chipped teacup tucked away in the back of a kitchen cabinet that you just can’t bring yourself to throw away. Instead of letting it gather dust, you can turn it into a tiny, living world. These small-scale gardens are a great way to practice fairy garden crafts DIY without needing a huge backyard or a big budget.
Creating a fairy teacup garden is a relaxing hobby that works well on a windowsill or a porch table. This list covers 21 practical ways to use common household items and small plants to build your own miniature landscape. You will find ideas for everything from tiny stone paths to clever ways to reuse wine corks and buttons.
Mossy Bed with Miniature Stone Path
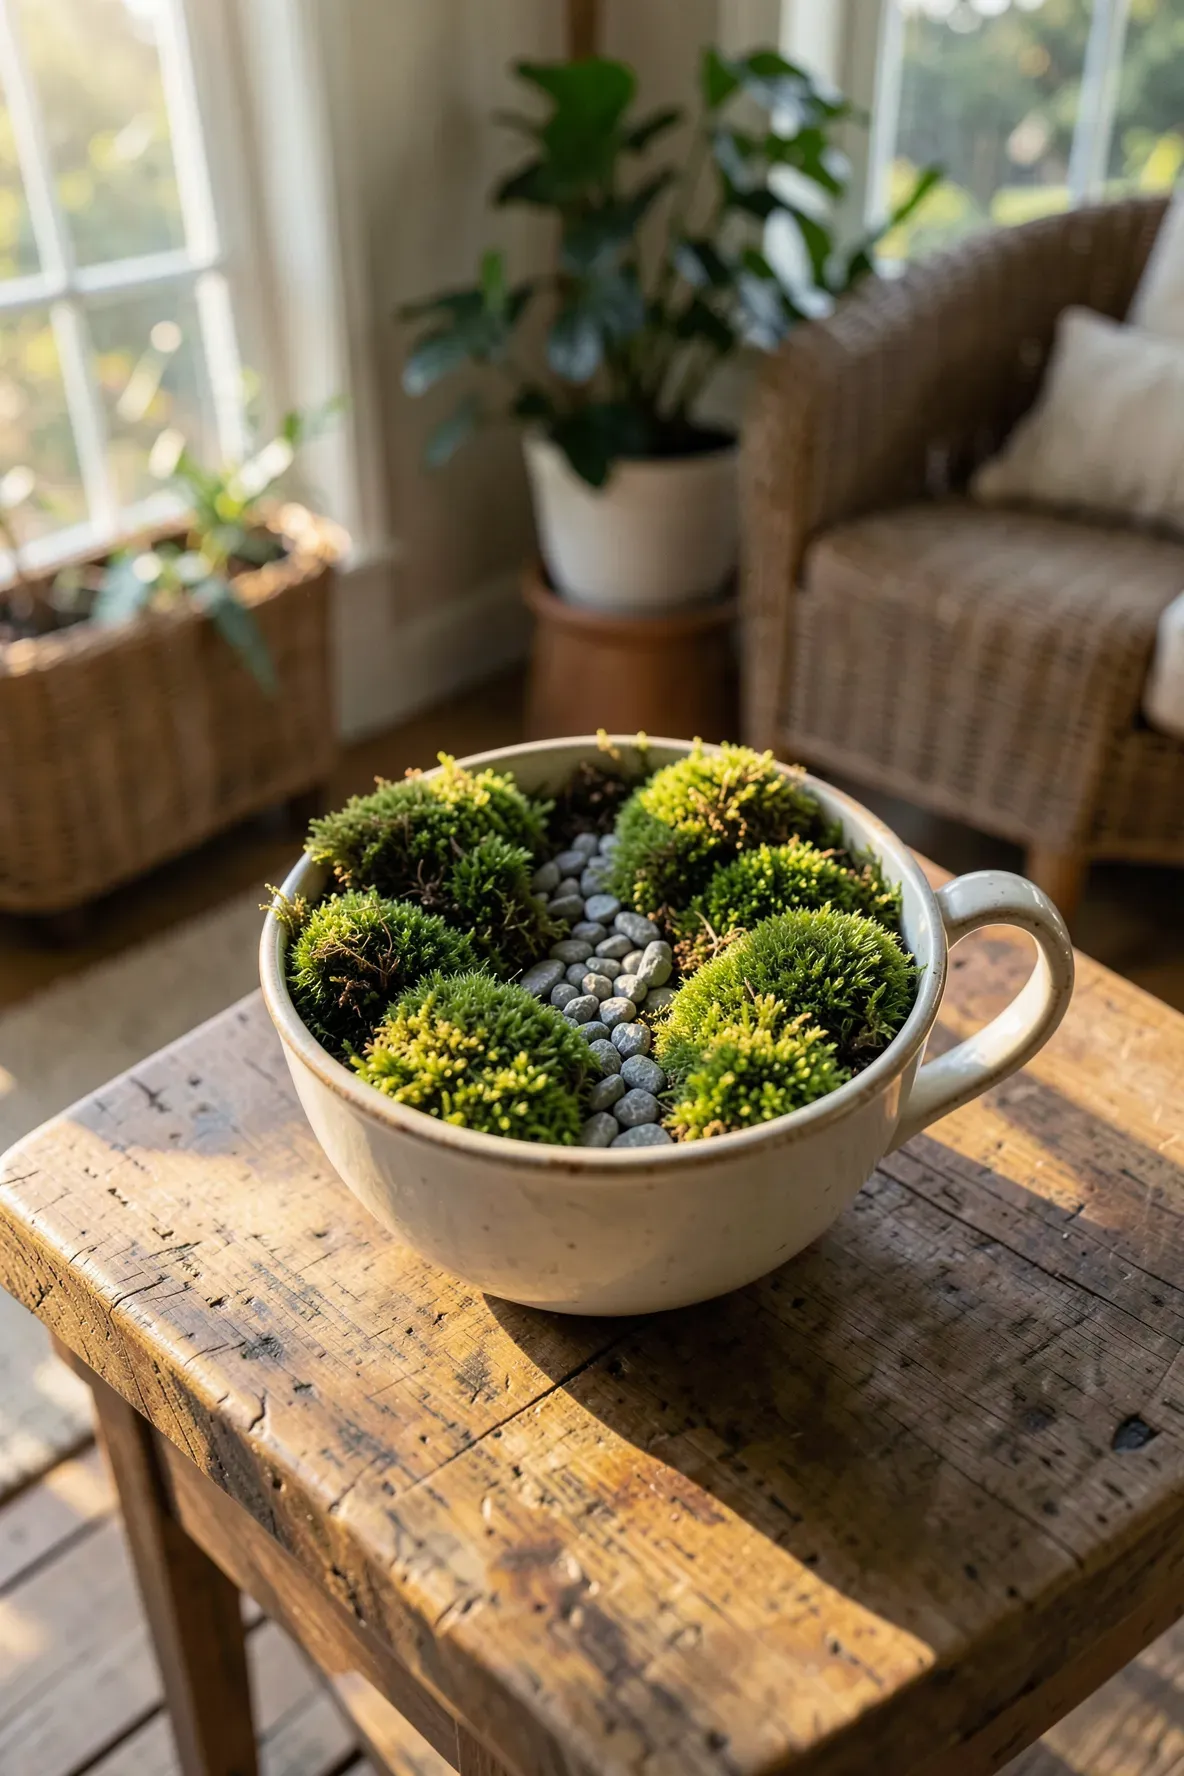
Start your garden with a base of vibrant green moss to create the look of a lush lawn. Press small, flat pebbles into the moss to form a winding walkway that leads from the rim of the cup toward the center. This gives the arrangement a sense of depth and invites the imagination to wander through the tiny space. Use a pair of tweezers to place the stones accurately so you don’t disturb the delicate moss roots.
Succulent Trio in a Vintage Porcelain Cup
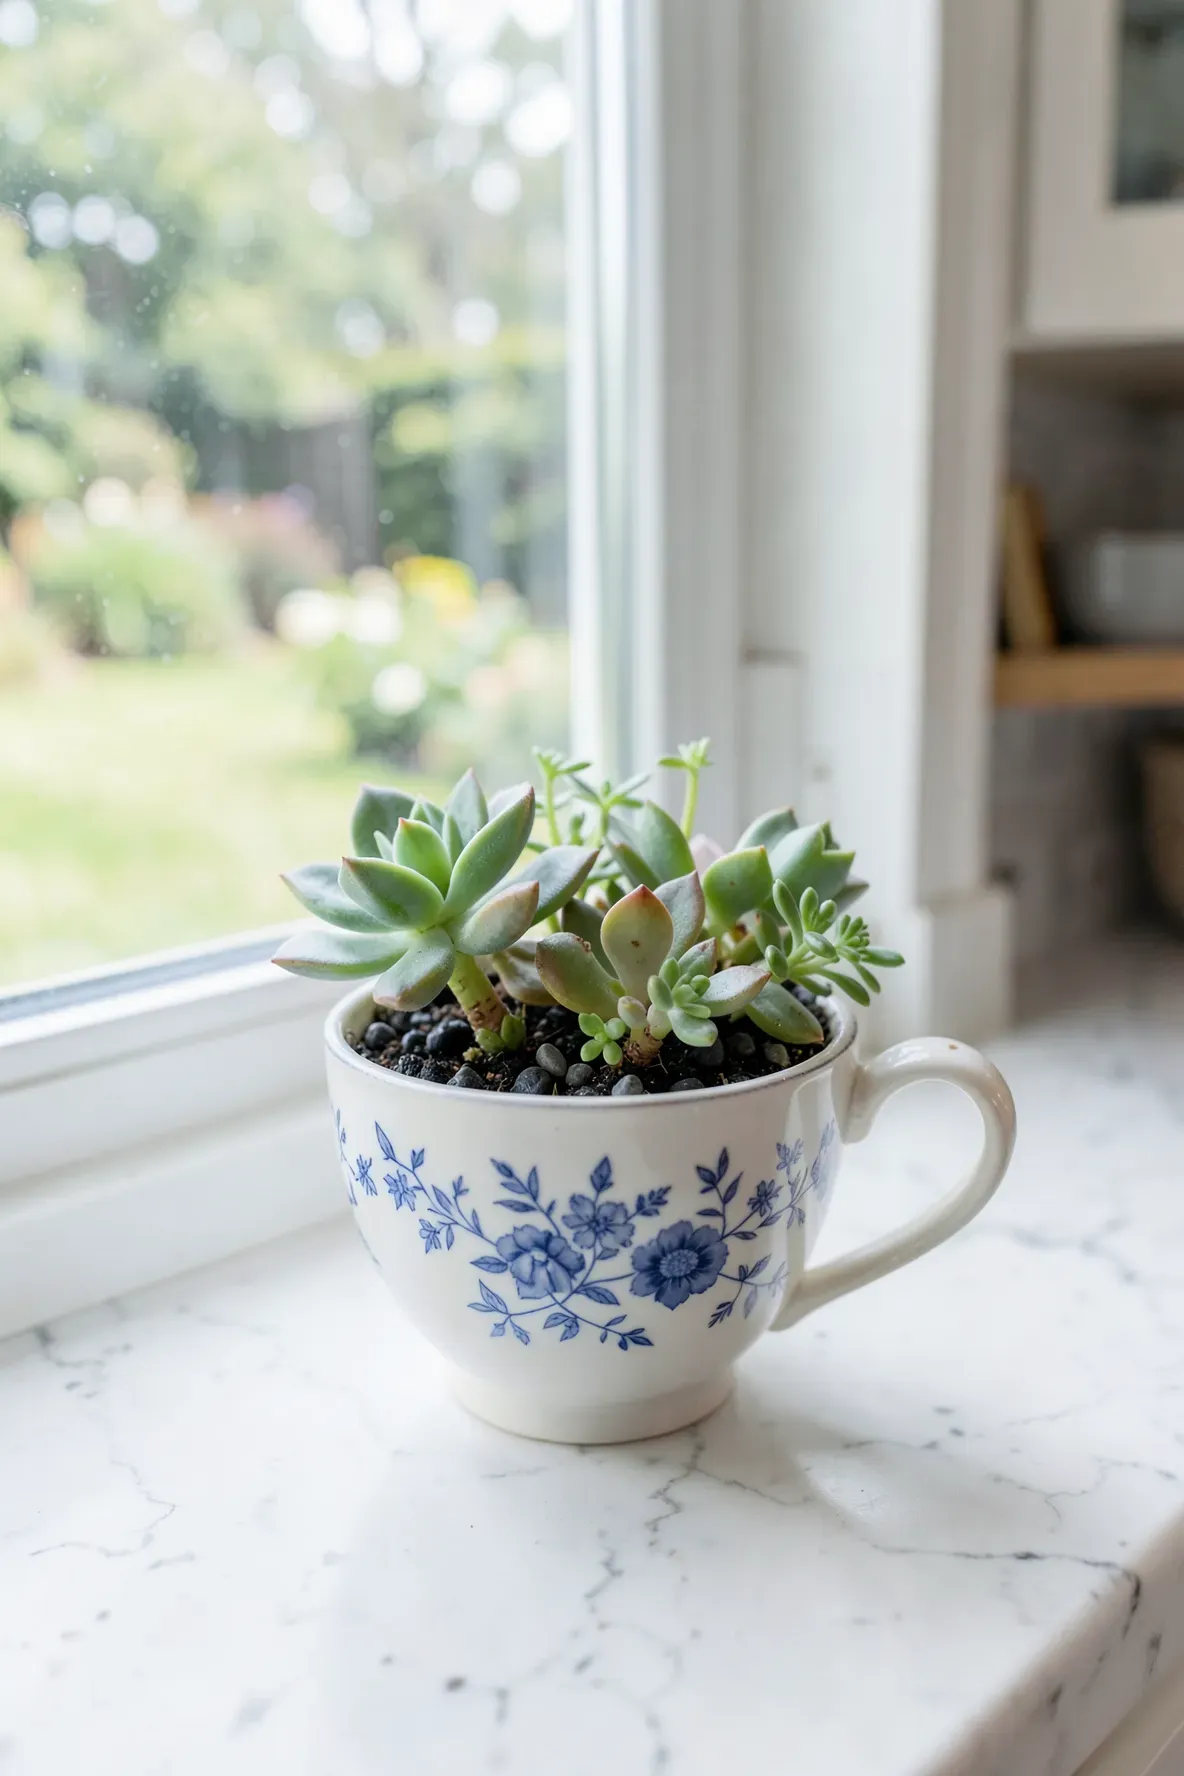
Succulents are great for teacup crafts DIY because they grow slowly and don’t need much water. Choose three small varieties like hens and chicks or tiny sedums to provide different textures and colors. Make sure to put a layer of charcoal or small rocks at the bottom of the cup since most vintage china doesn’t have drainage holes. This helps keep the roots from sitting in too much moisture after you water them.
Tiny Twig Ladder Leaning Against a Cup Rim
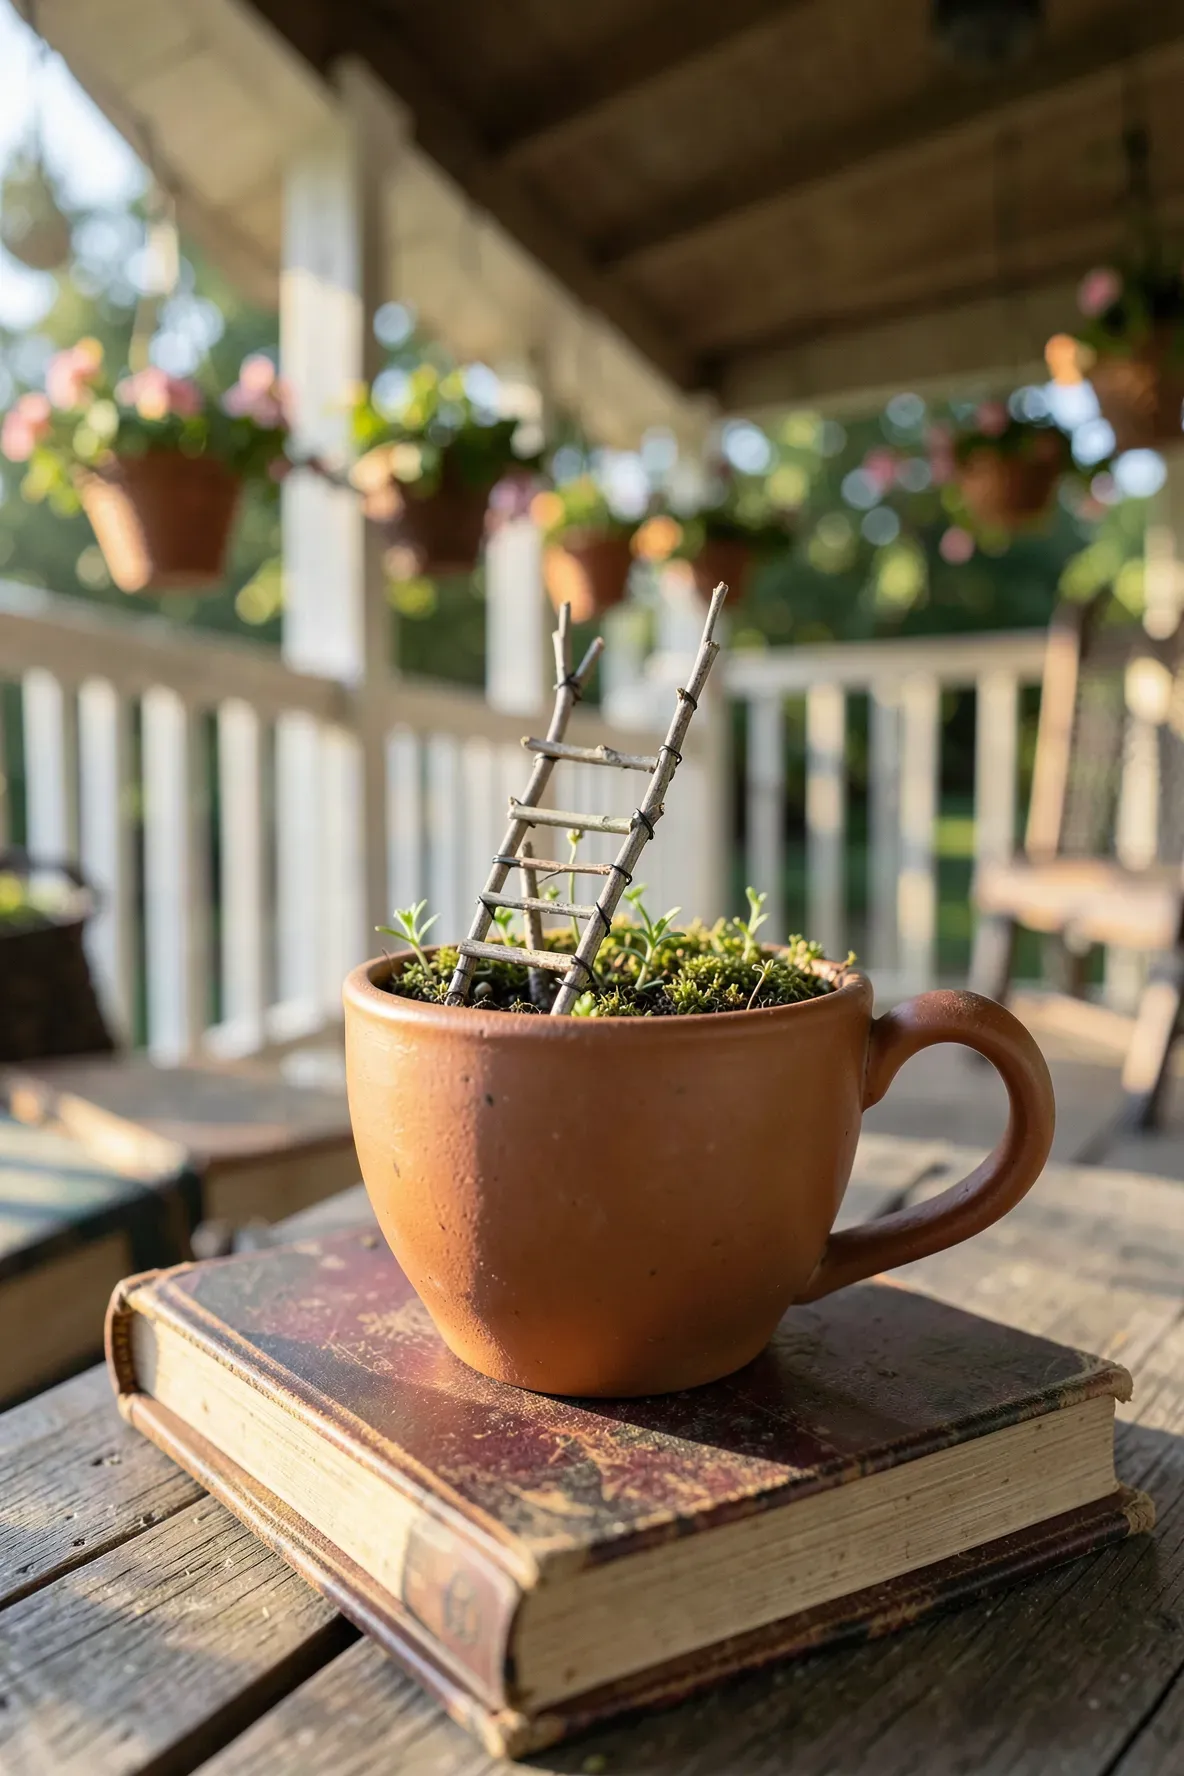
Find two straight twigs and several smaller cross-pieces to build a simple ladder. You can use a tiny drop of wood glue or thin craft wire to hold the rungs in place. Lean the finished ladder against the inside edge of the teacup to give the impression that a fairy is climbing into the garden. It is a simple way to add height to your outdoor fairy garden DIY project without overcrowding the soil.
Pebble River with Blue Glass Beads
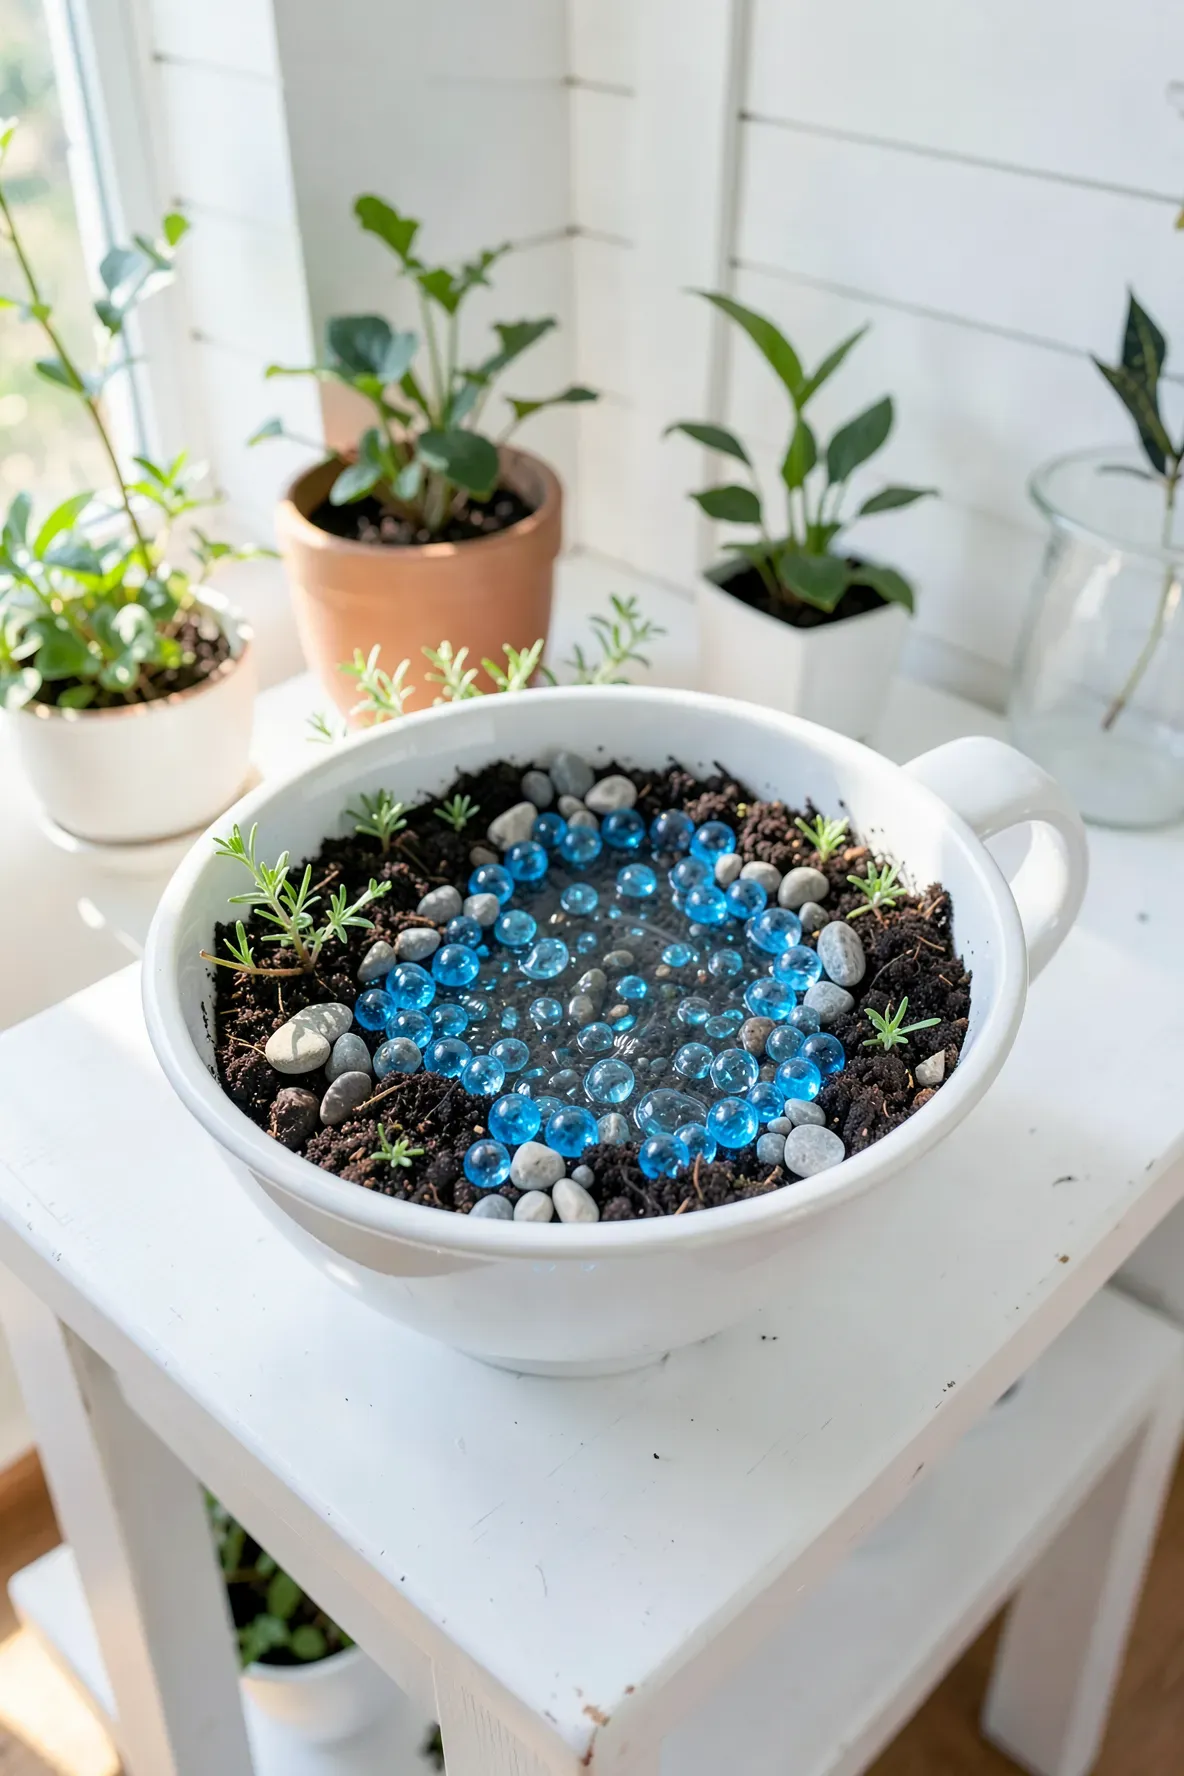
You can mimic the look of flowing water by clearing a small path through your soil and filling it with blue glass craft beads. Line the edges of this “river” with tiny grey river rocks to make it look more natural. This adds a bright pop of color to the greenery and creates a focal point for the rest of your miniature scene.
Handmade Wire Arbor Over a Moss Seat
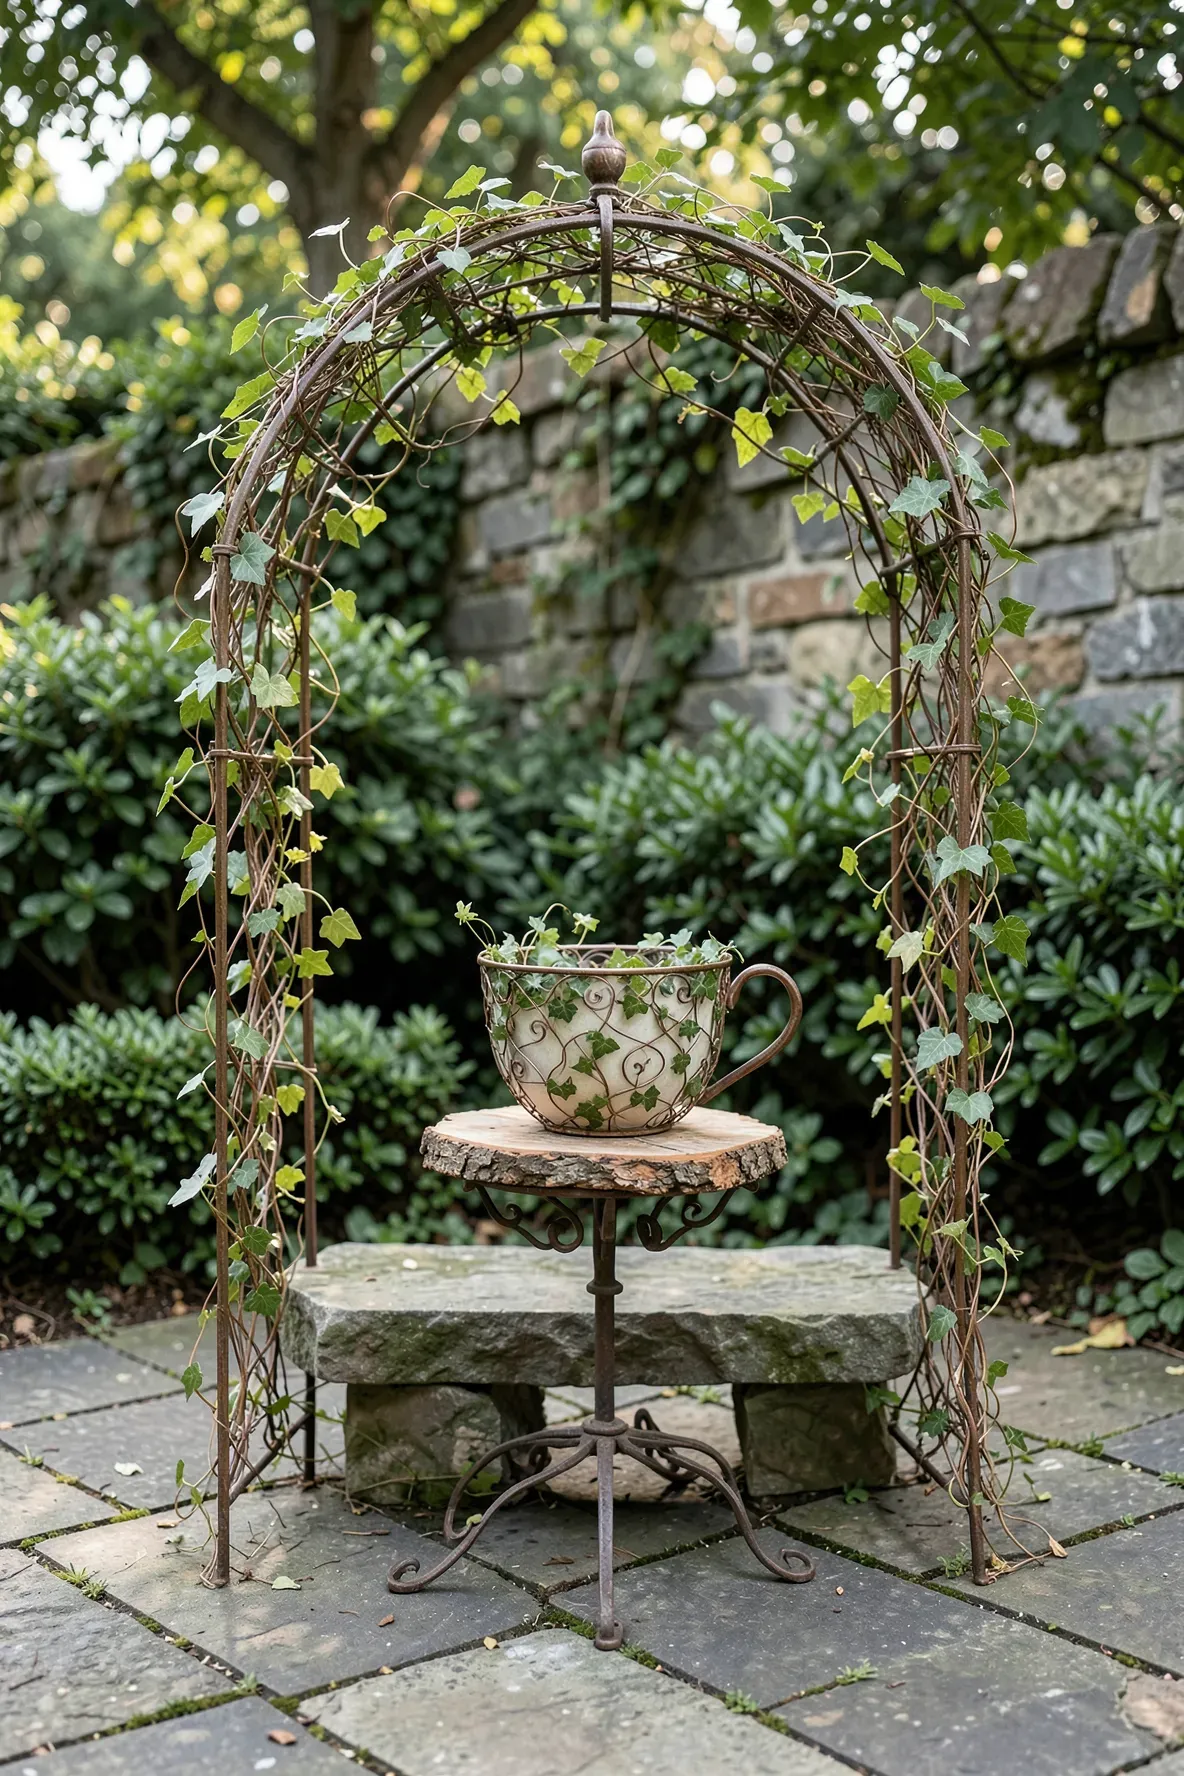
Bend a piece of flexible floral wire into a U-shape and stick the ends into the dirt to create an archway. You can wrap thin ivy or even a bit of green thread around the wire to make it look like a climbing vine. Place a flat piece of bark or a smooth stone underneath the arbor to serve as a tiny garden bench for your fairy visitors.
Acorn Cap Birdbath on a Bed of Thyme
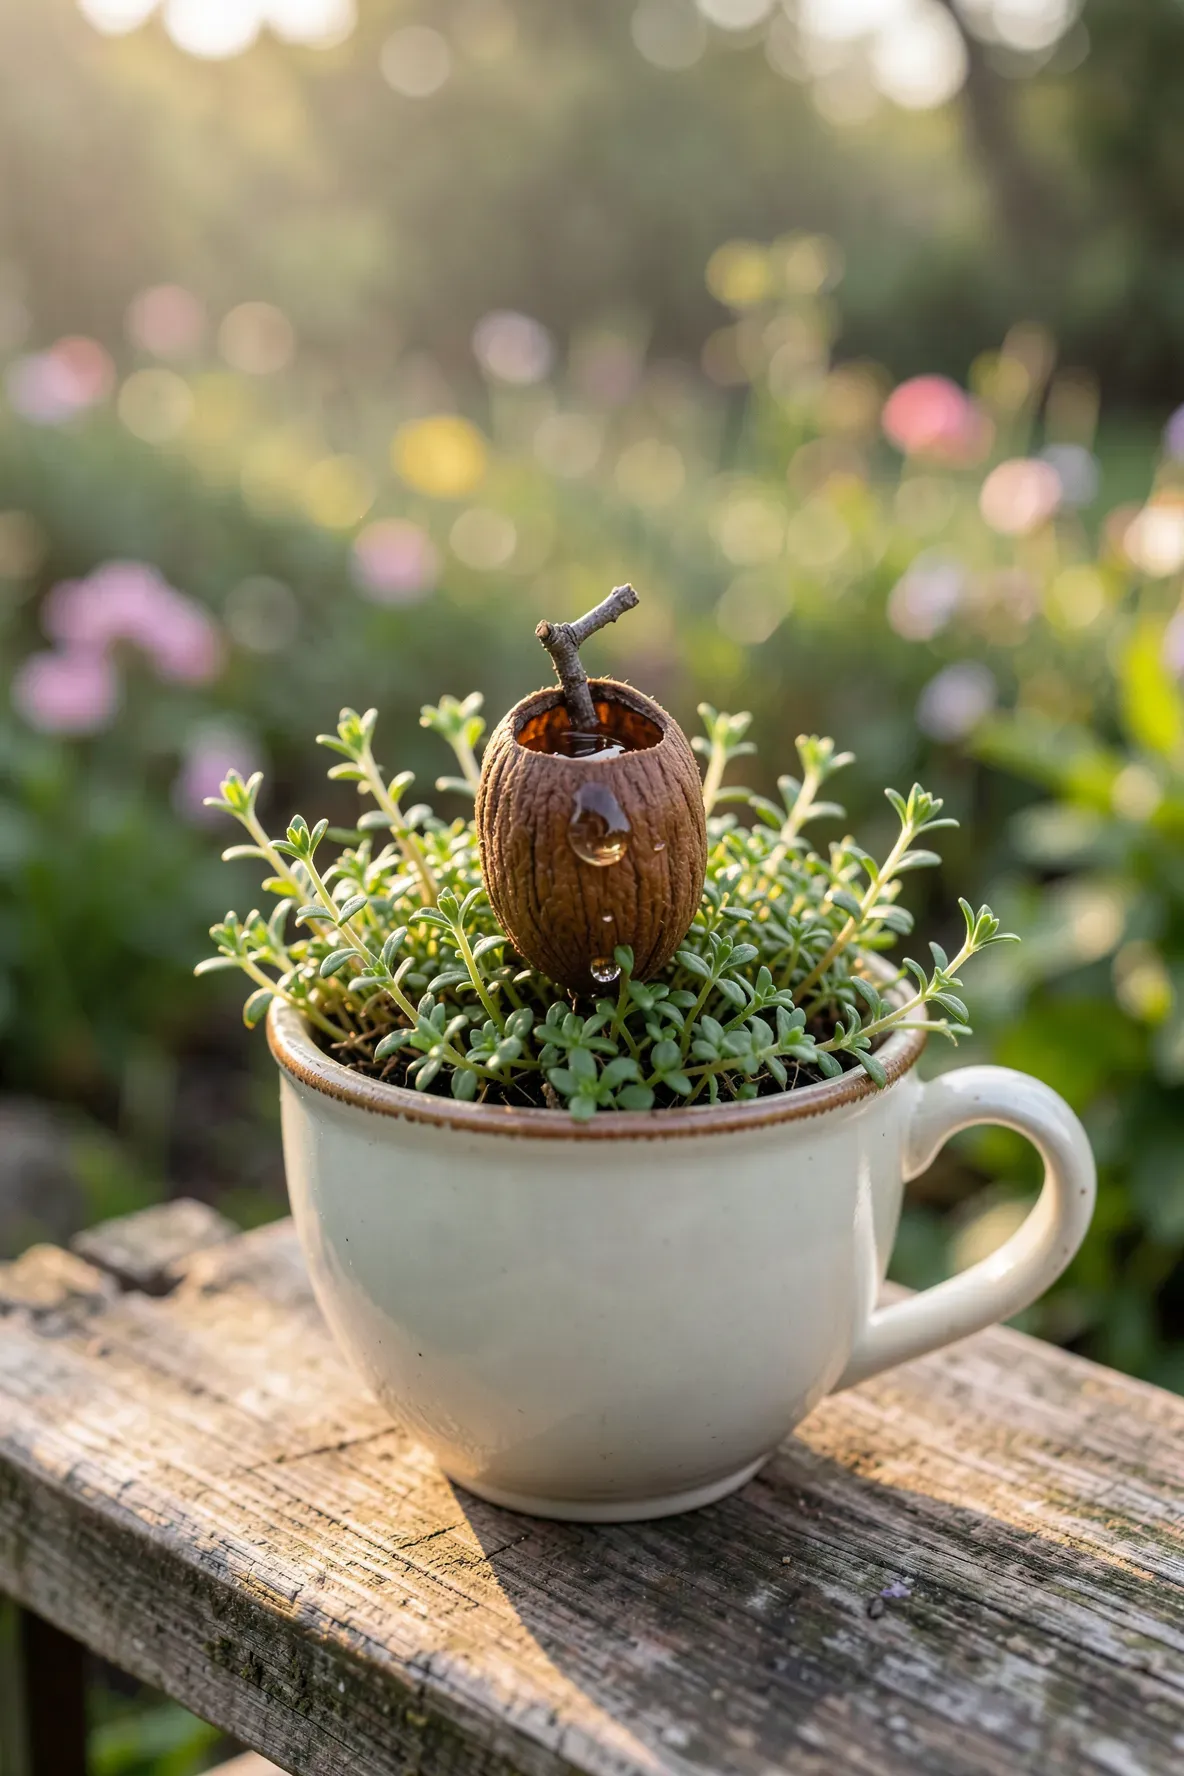
Acorn caps are the perfect size for a miniature birdbath. Glue a cap onto a small twig or a stack of pebbles to lift it off the ground, then place it in a patch of creeping thyme. The tiny leaves of the thyme look like a full-sized shrub next to the acorn cap. You can even add a drop of clear resin or a blue bead inside the cap to look like standing water.
Stacked Teacup and Saucer Water Feature Display
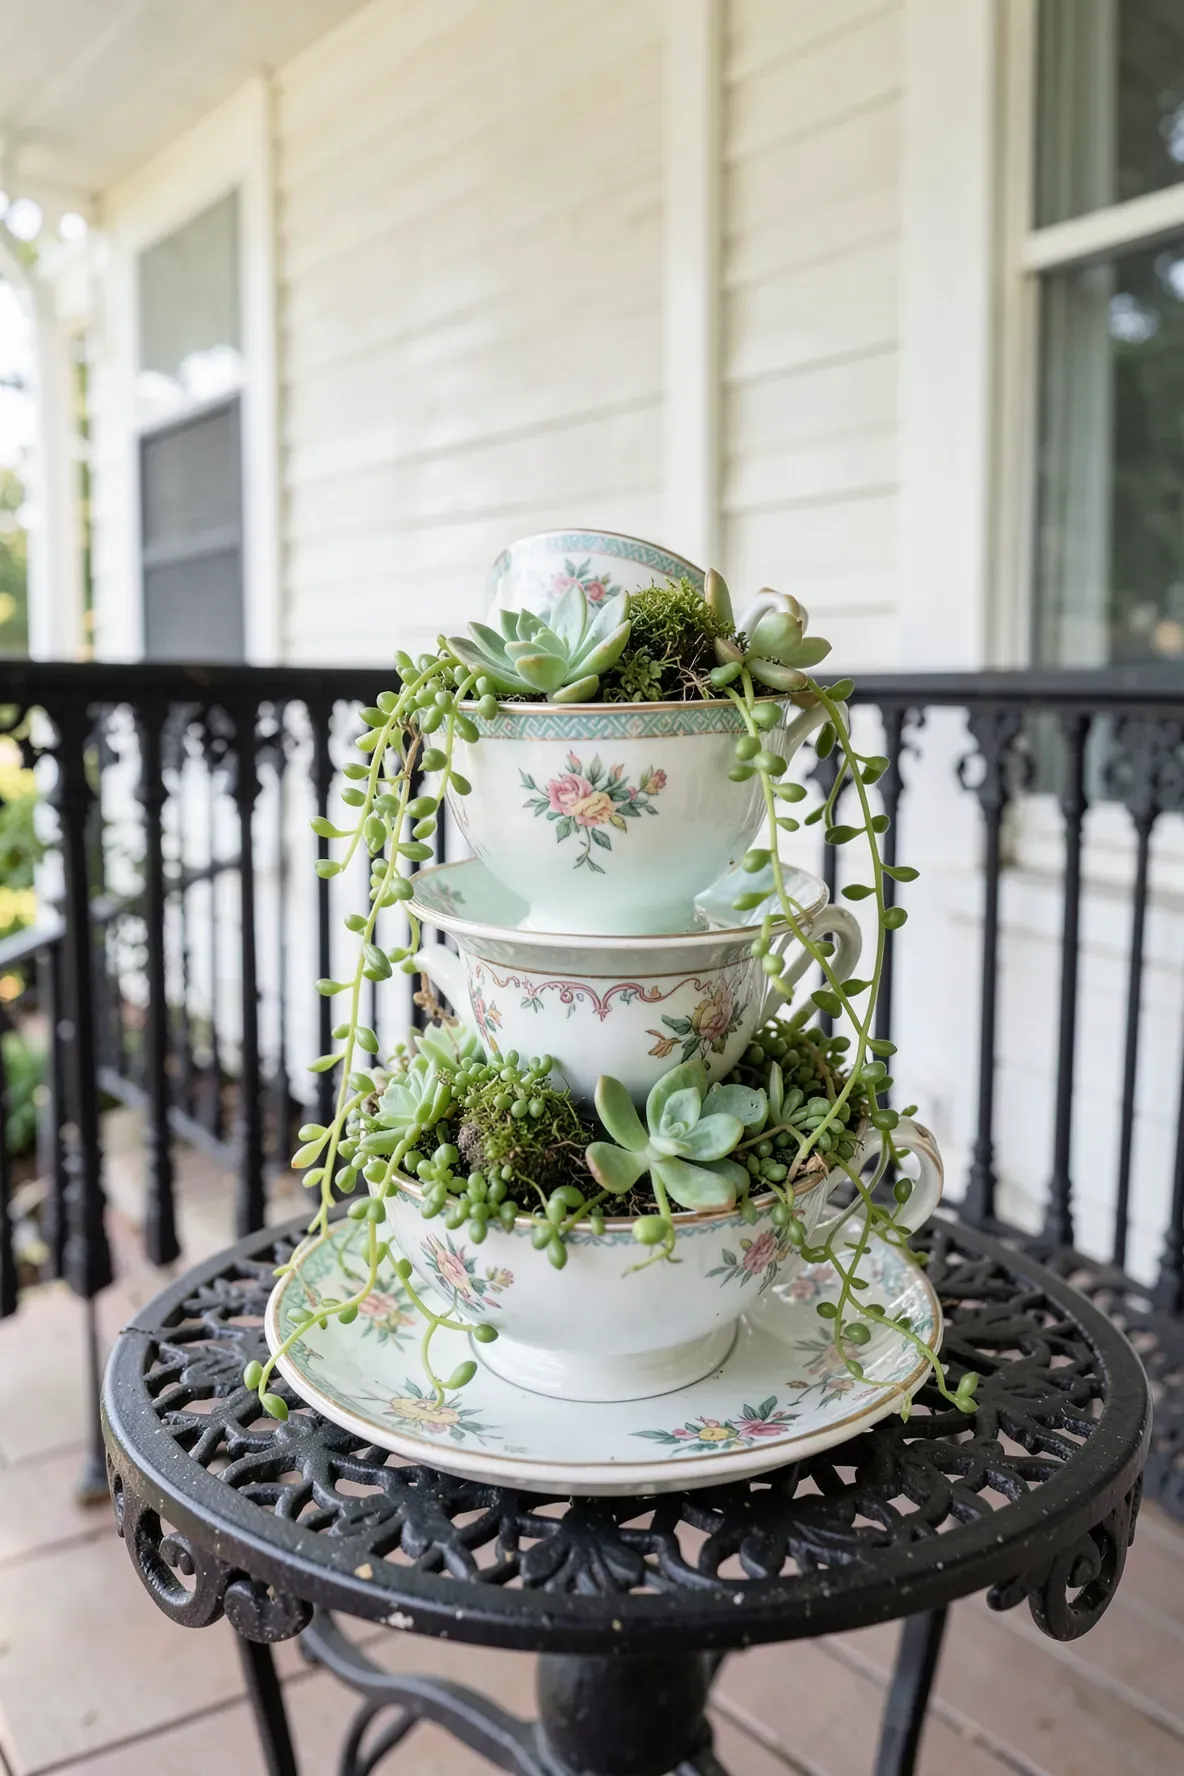
If you have a matching set, try gluing the teacup to its saucer at a slight angle. This creates two levels for your DIY fairy garden ideas homemade. You can plant spilling succulents in the top cup so they grow down into the saucer below. This vertical approach makes the garden look more complex and interesting when displayed on a porch or side table.
Miniature Polymer Clay Mushroom Patch
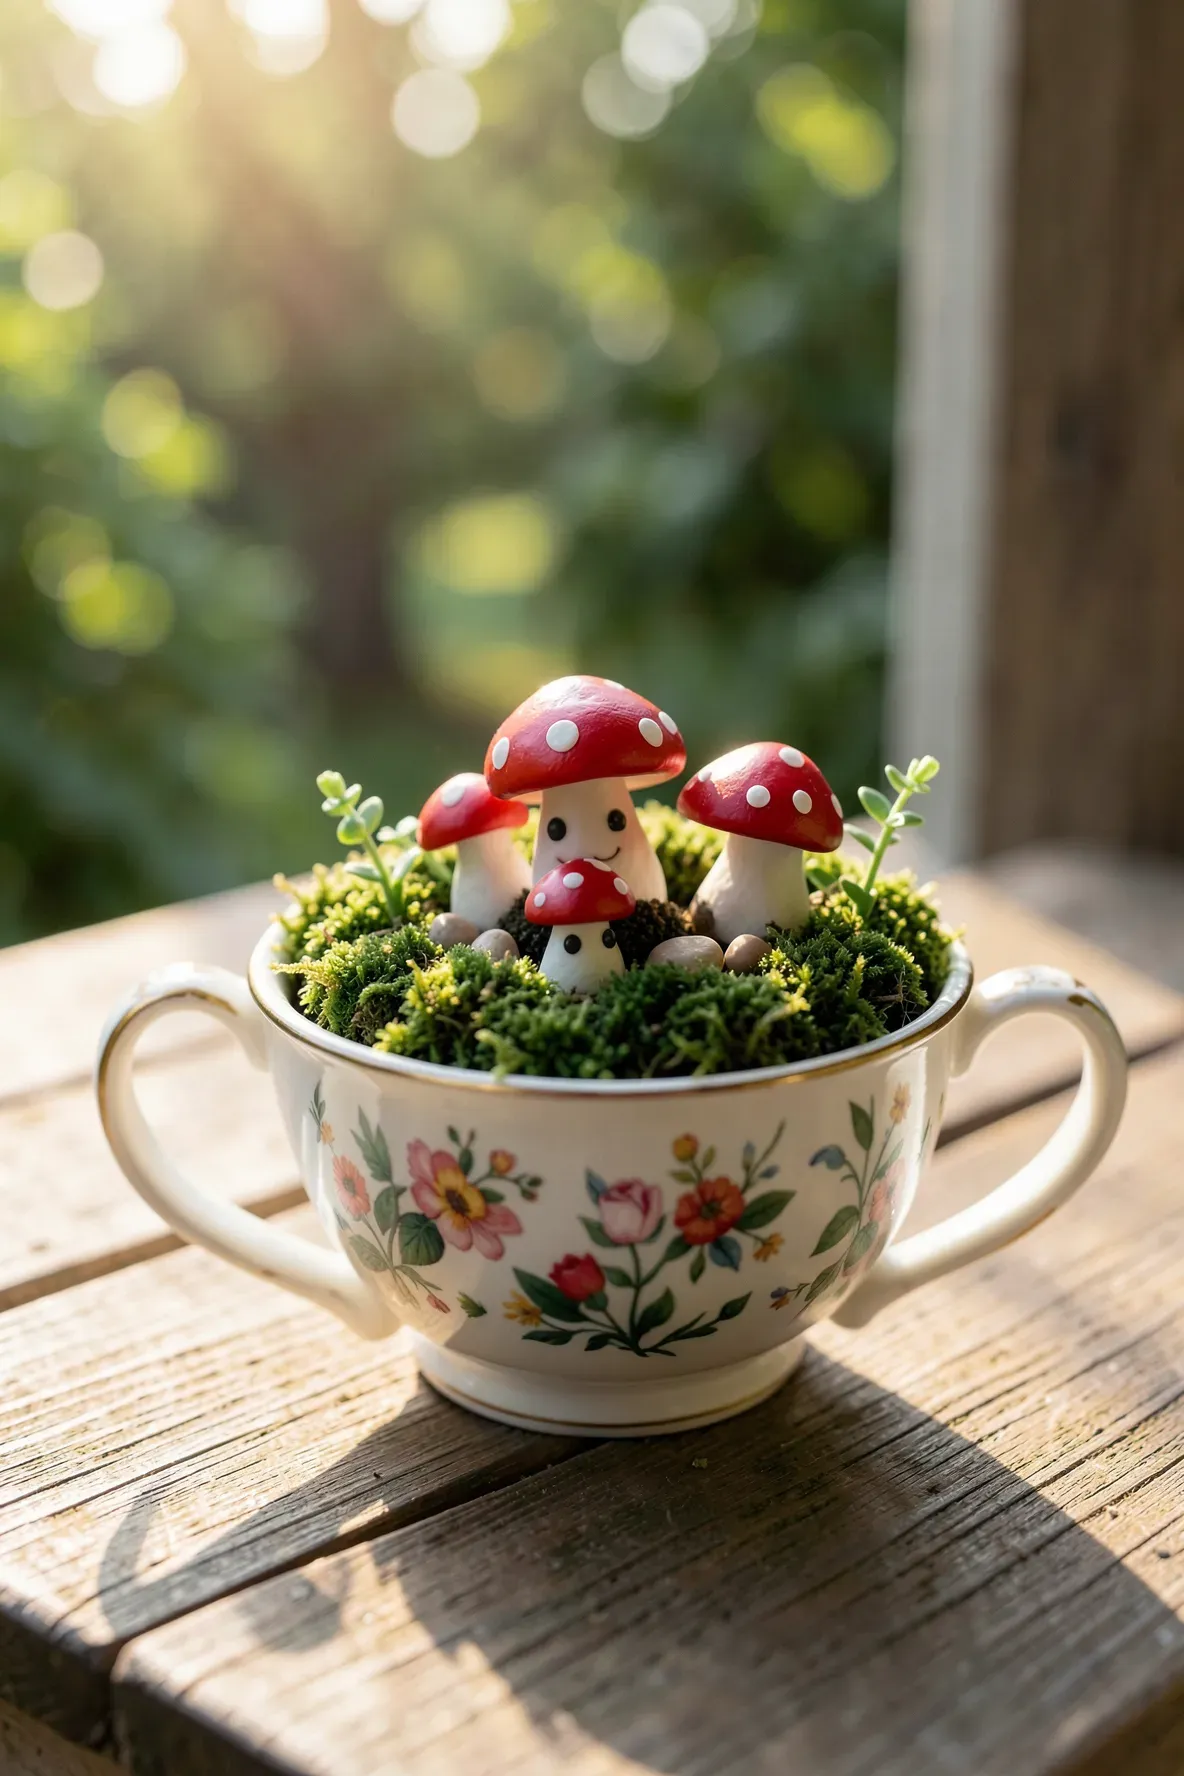
Roll small bits of red and white polymer clay to make tiny toadstools. Bake them according to the package directions and then tuck them into the mossy areas of your cup. These handmade details add a whimsical touch and stay bright even if the plants are in a shady spot. They are an easy way to customize the colors in your garden.
Seashell Sand Beach in a Nautical Styled Cup
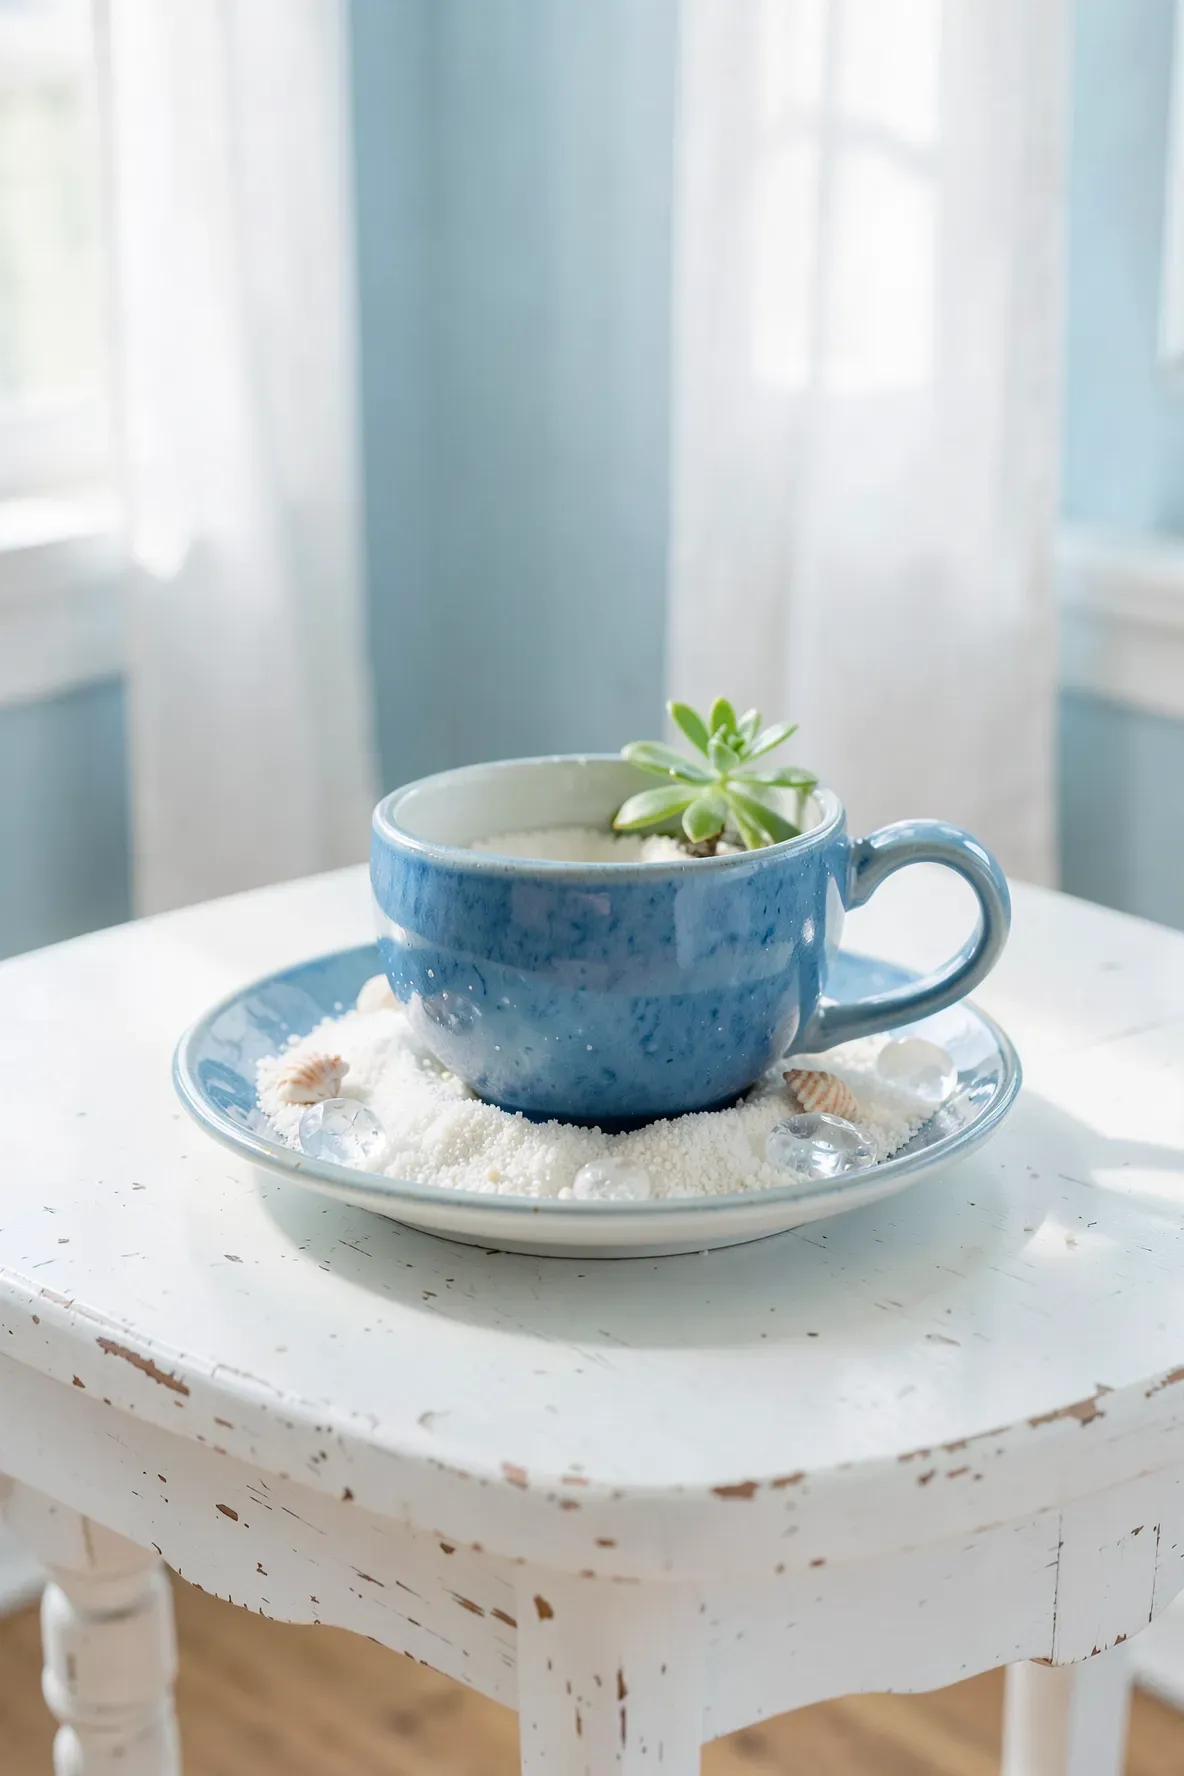
Fill half of your teacup with fine white sand instead of soil to create a beach scene. Use small seashells to border the sandy area and separate it from a small air plant or succulent on the other side. This is a great theme for a blue or white teacup and brings a coastal feel to your indoor decor.
Small Pinecone Trees for a Woodland Scene
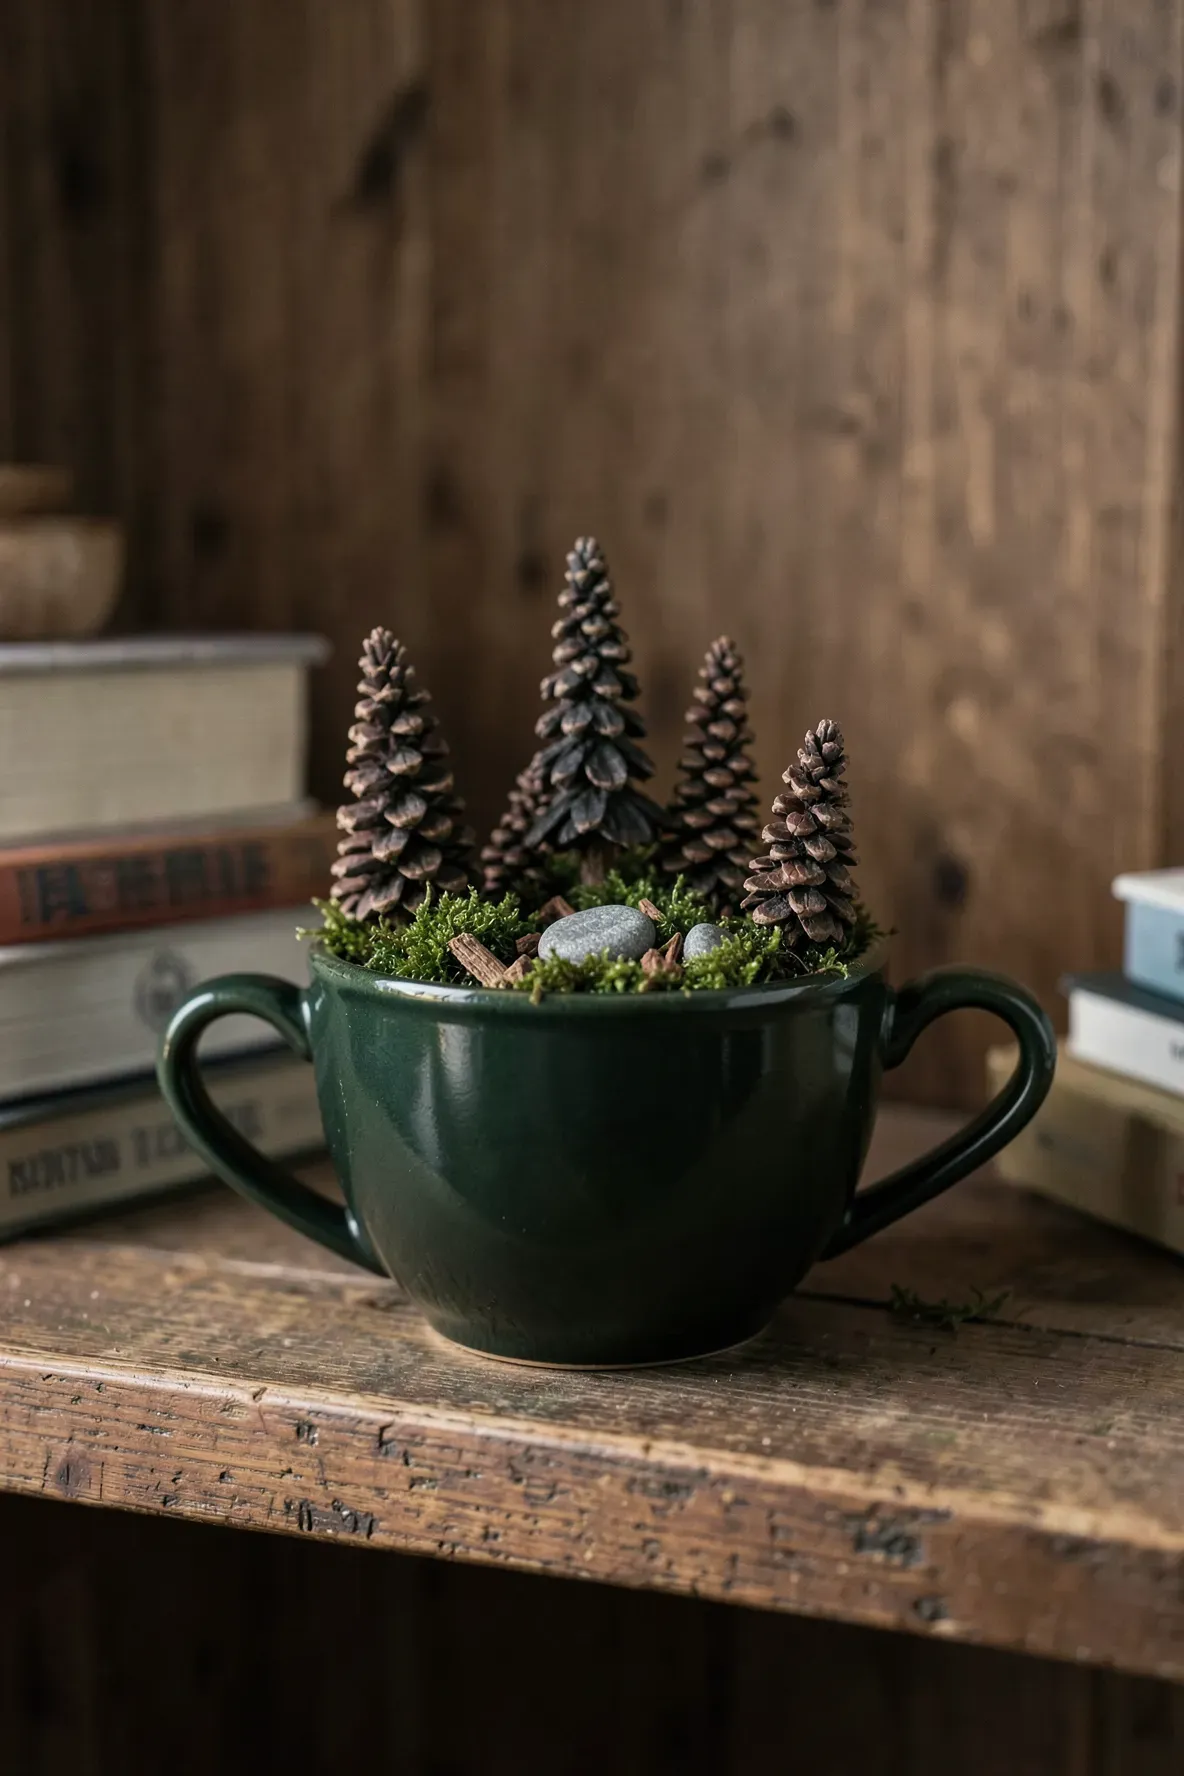
Very small pinecones can look just like evergreen trees when they are stood upright. You can glue the base of a pinecone to a flat rock to help it stay steady in the soil. Grouping three pinecones of different heights together creates a small forest look that works well with dark green moss and bark chips.
Popsicle Stick Bench Near a Flowering Sedum
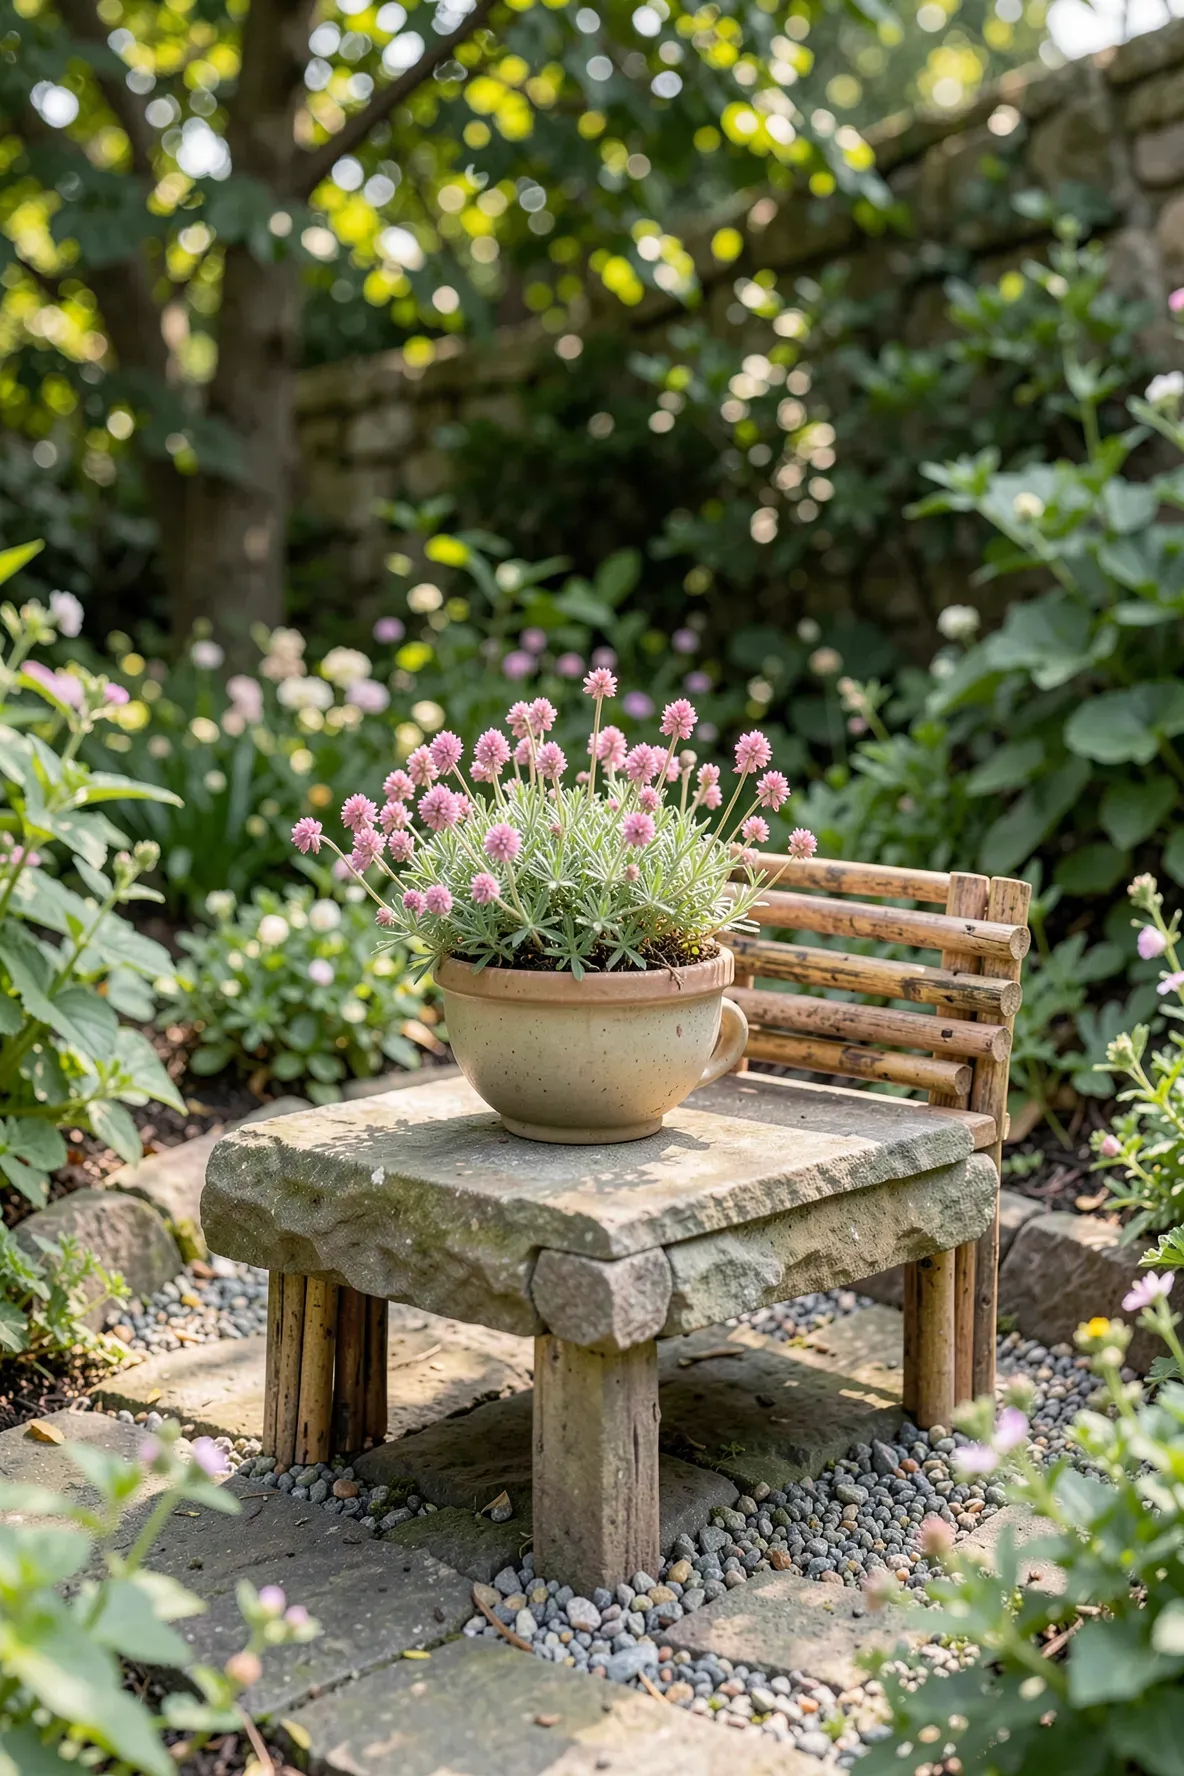
Cut the ends off popsicle sticks to create tiny wooden planks for a garden bench. A little bit of wood glue is all you need to assemble a simple seat and backrest. Placing the bench next to a flowering plant makes it look like a peaceful spot in a real backyard. You can stain the wood with coffee or tea to give it an aged, rustic look.
River Rock Retaining Wall for Tiered Soil
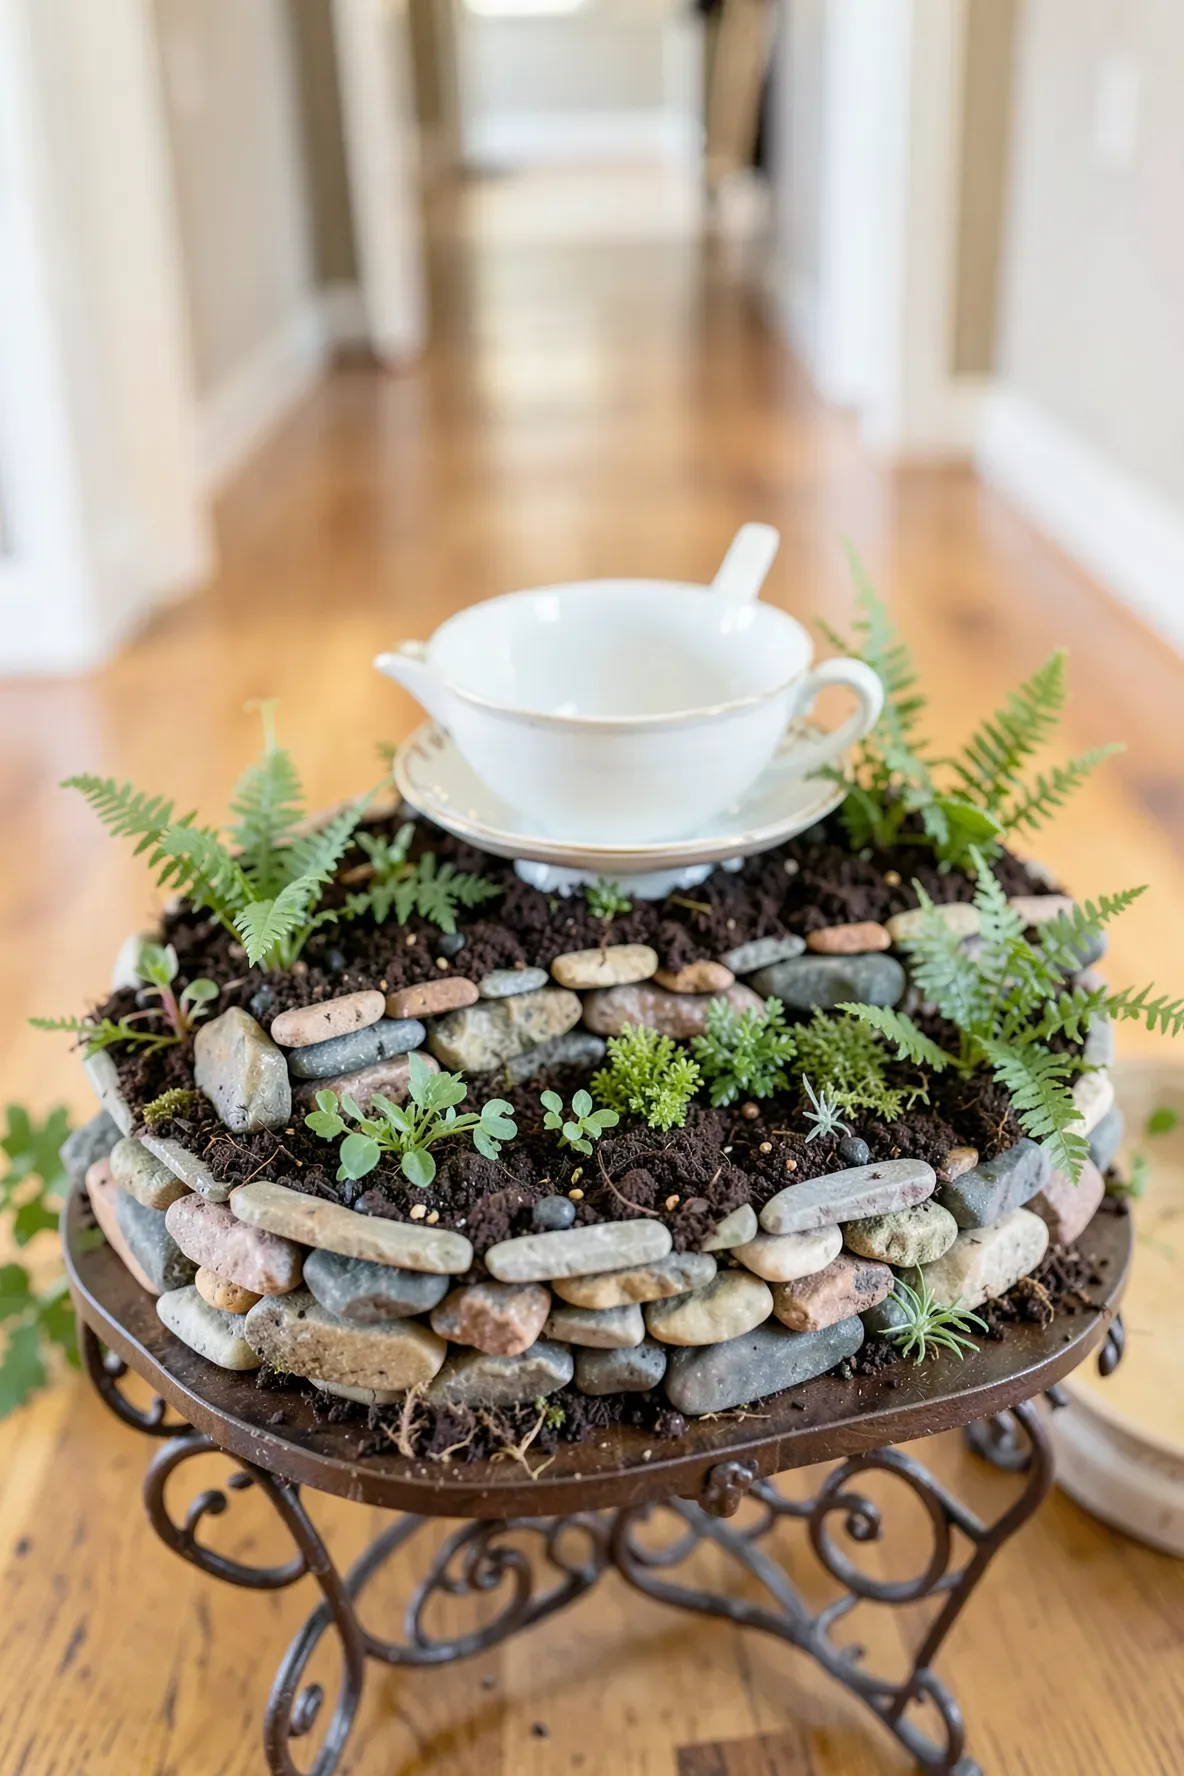
If you want to create different levels in your teacup, use small flat stones to build a retaining wall. Stack the stones carefully along the middle of the cup and fill the back area with more soil than the front. This allows you to plant taller items in the back and shorter groundcover in the front, making the small space feel much larger.
Broken China Shards Used as Stepping Stones
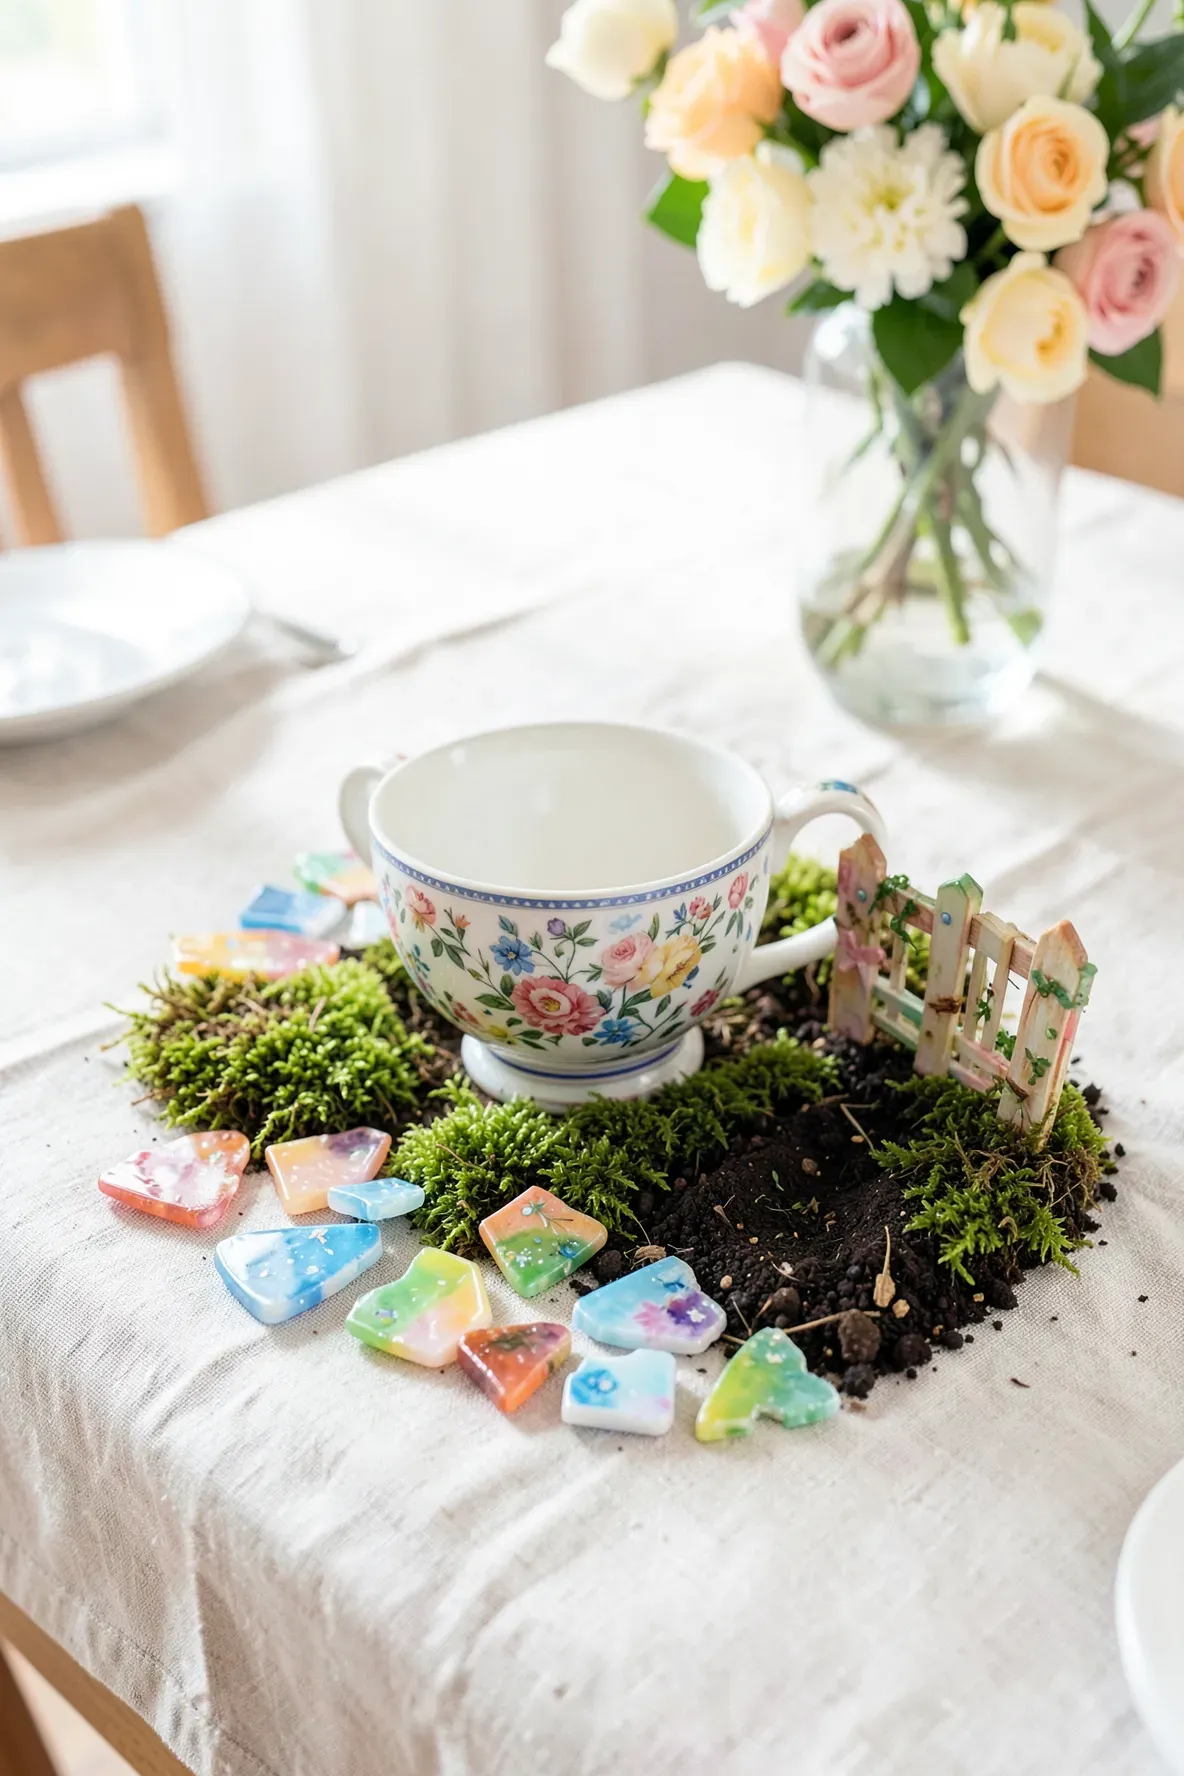
If you have another broken dish with a pretty pattern, don’t throw the pieces away. Use the small shards as colorful stepping stones in your fairy garden. The smooth, glazed edges of the china look beautiful against the textured soil and moss. It is a smart way to recycle materials while adding a decorative element to your teacup crafts DIY.
Dried Lavender Sprigs as Miniature Purple Trees
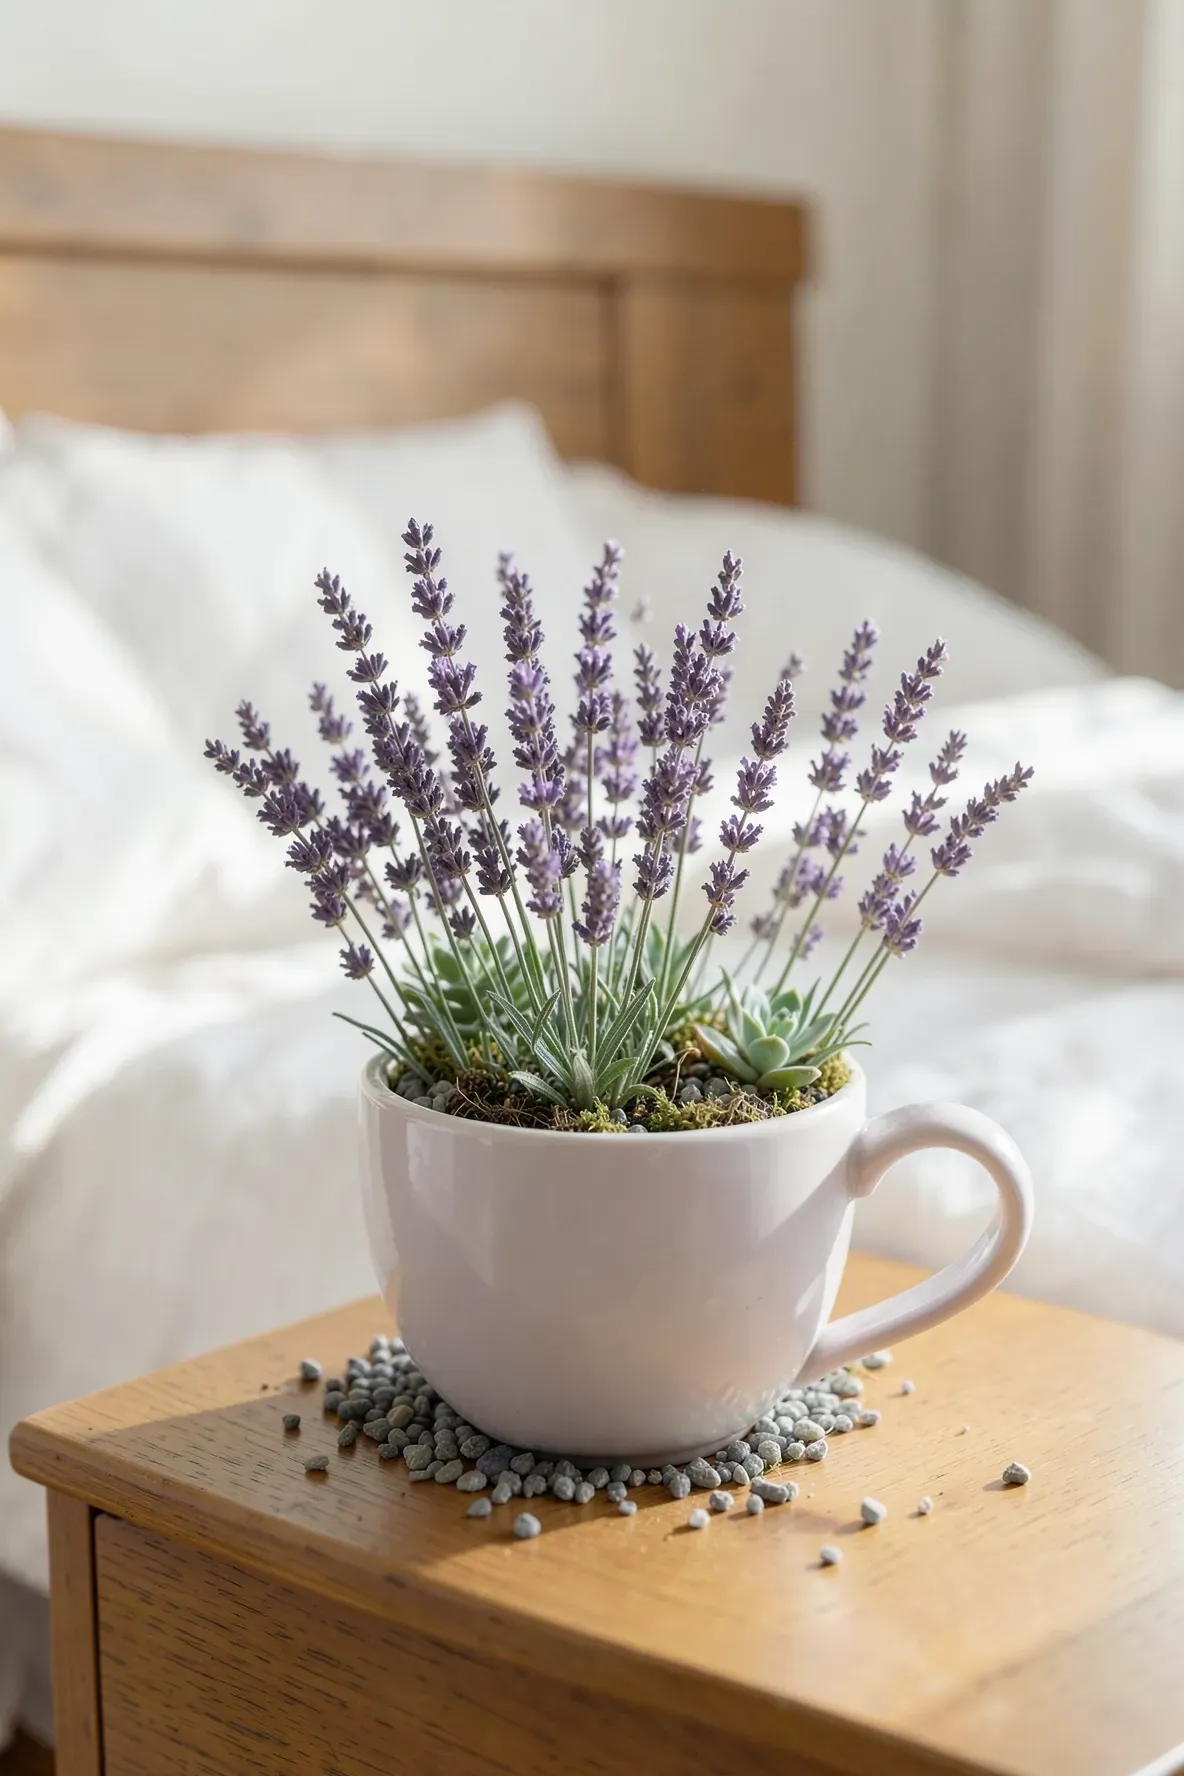
Dried lavender stems can act as tiny flowering trees in your miniature world. The purple tops look like distant blossoms, and the scent is a nice bonus for an indoor garden. Stick the stems into the soil in a cluster to create a small grove. Since they are dried, they won’t grow out of control or crowd out your living plants.
Wine Cork Cottage with a Thatch Roof
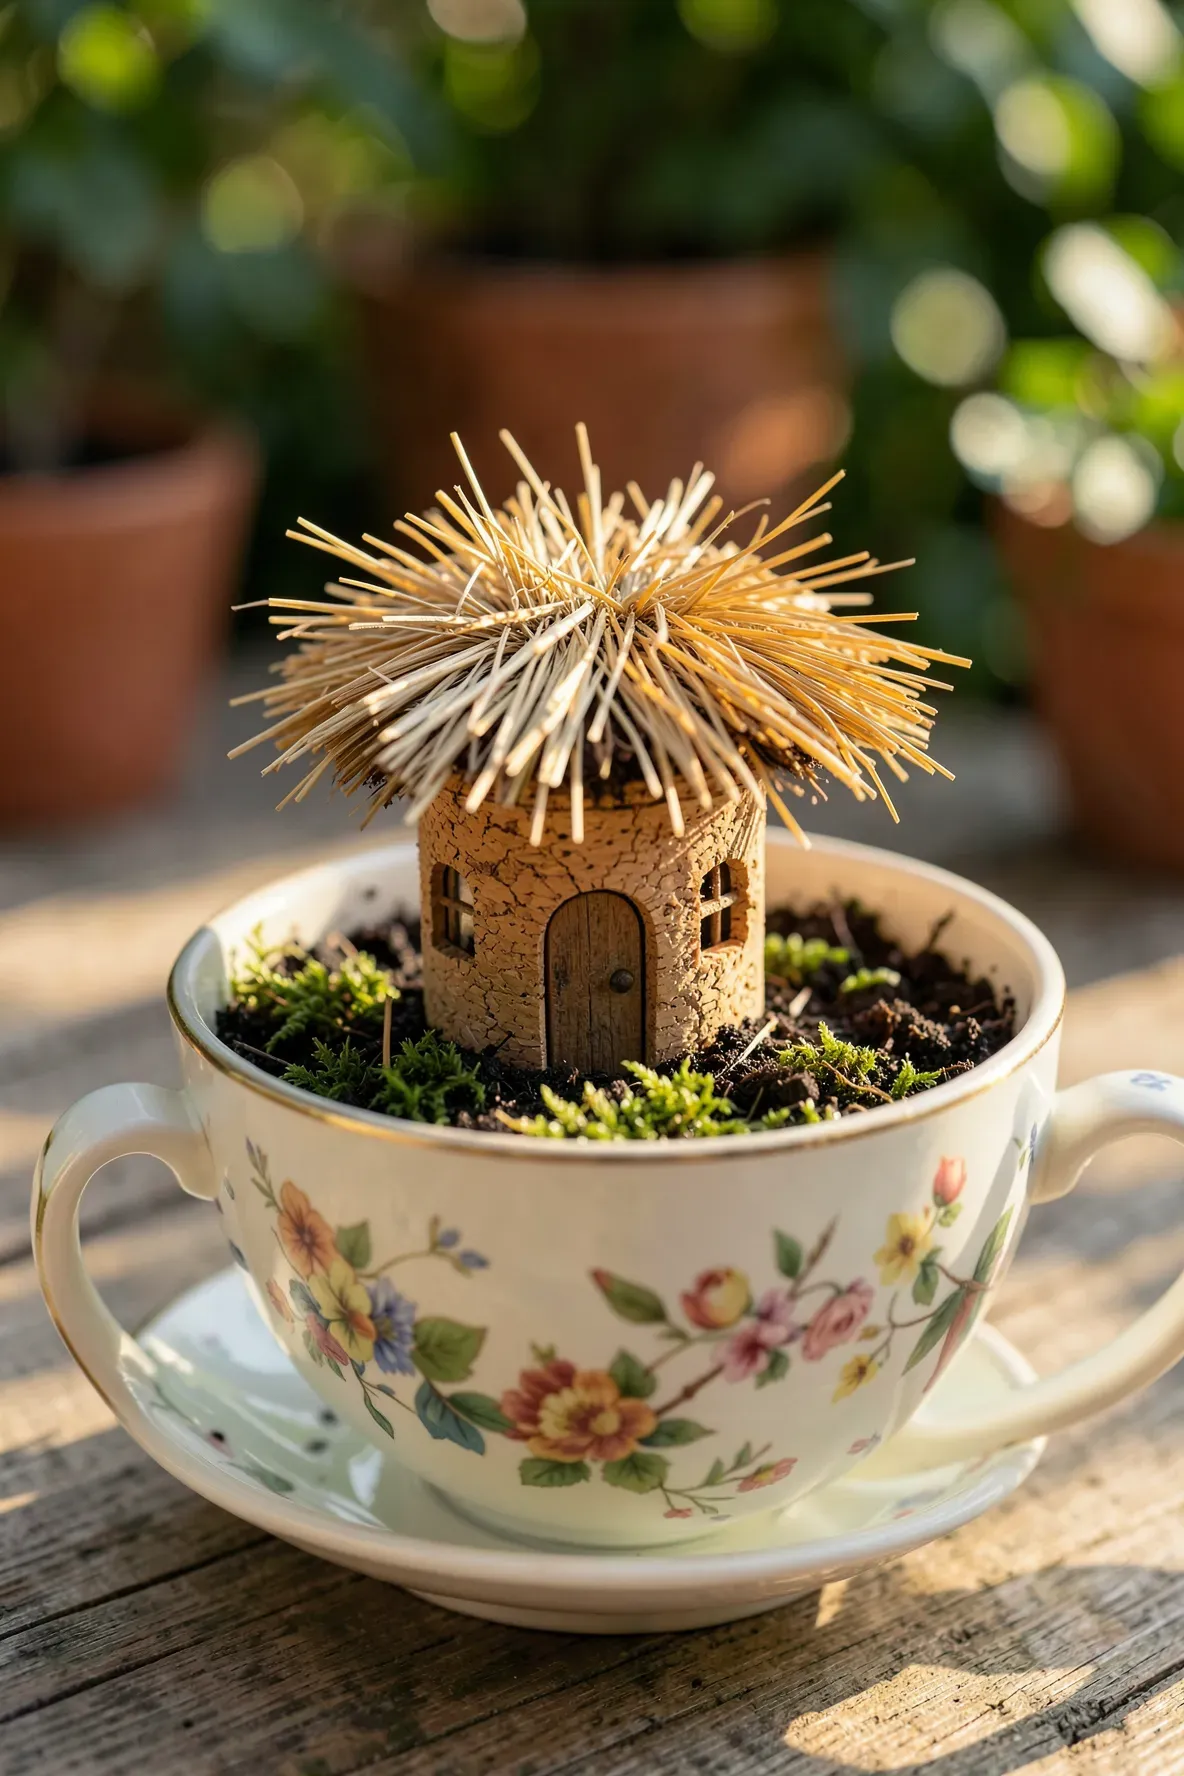
A single wine cork can be turned into a tiny house. Use a craft knife to cut a small door and windows into the side of the cork. For the roof, glue a few blades of dried grass or a piece of brown felt on top. This lightweight cottage fits perfectly inside a standard teacup and provides a central home for your fairy scene.
Tiny Bunting Flags Strung Across the Handle

Cut small triangles out of scrap fabric or colored paper and glue them to a piece of sewing thread. Tie one end of the thread to the teacup handle and the other end to a small twig stuck in the soil. This festive bunting adds a sense of celebration to the garden. It is a quick detail that makes the whole project feel more personalized.
Air Plant Nestled in a Bed of White Sand
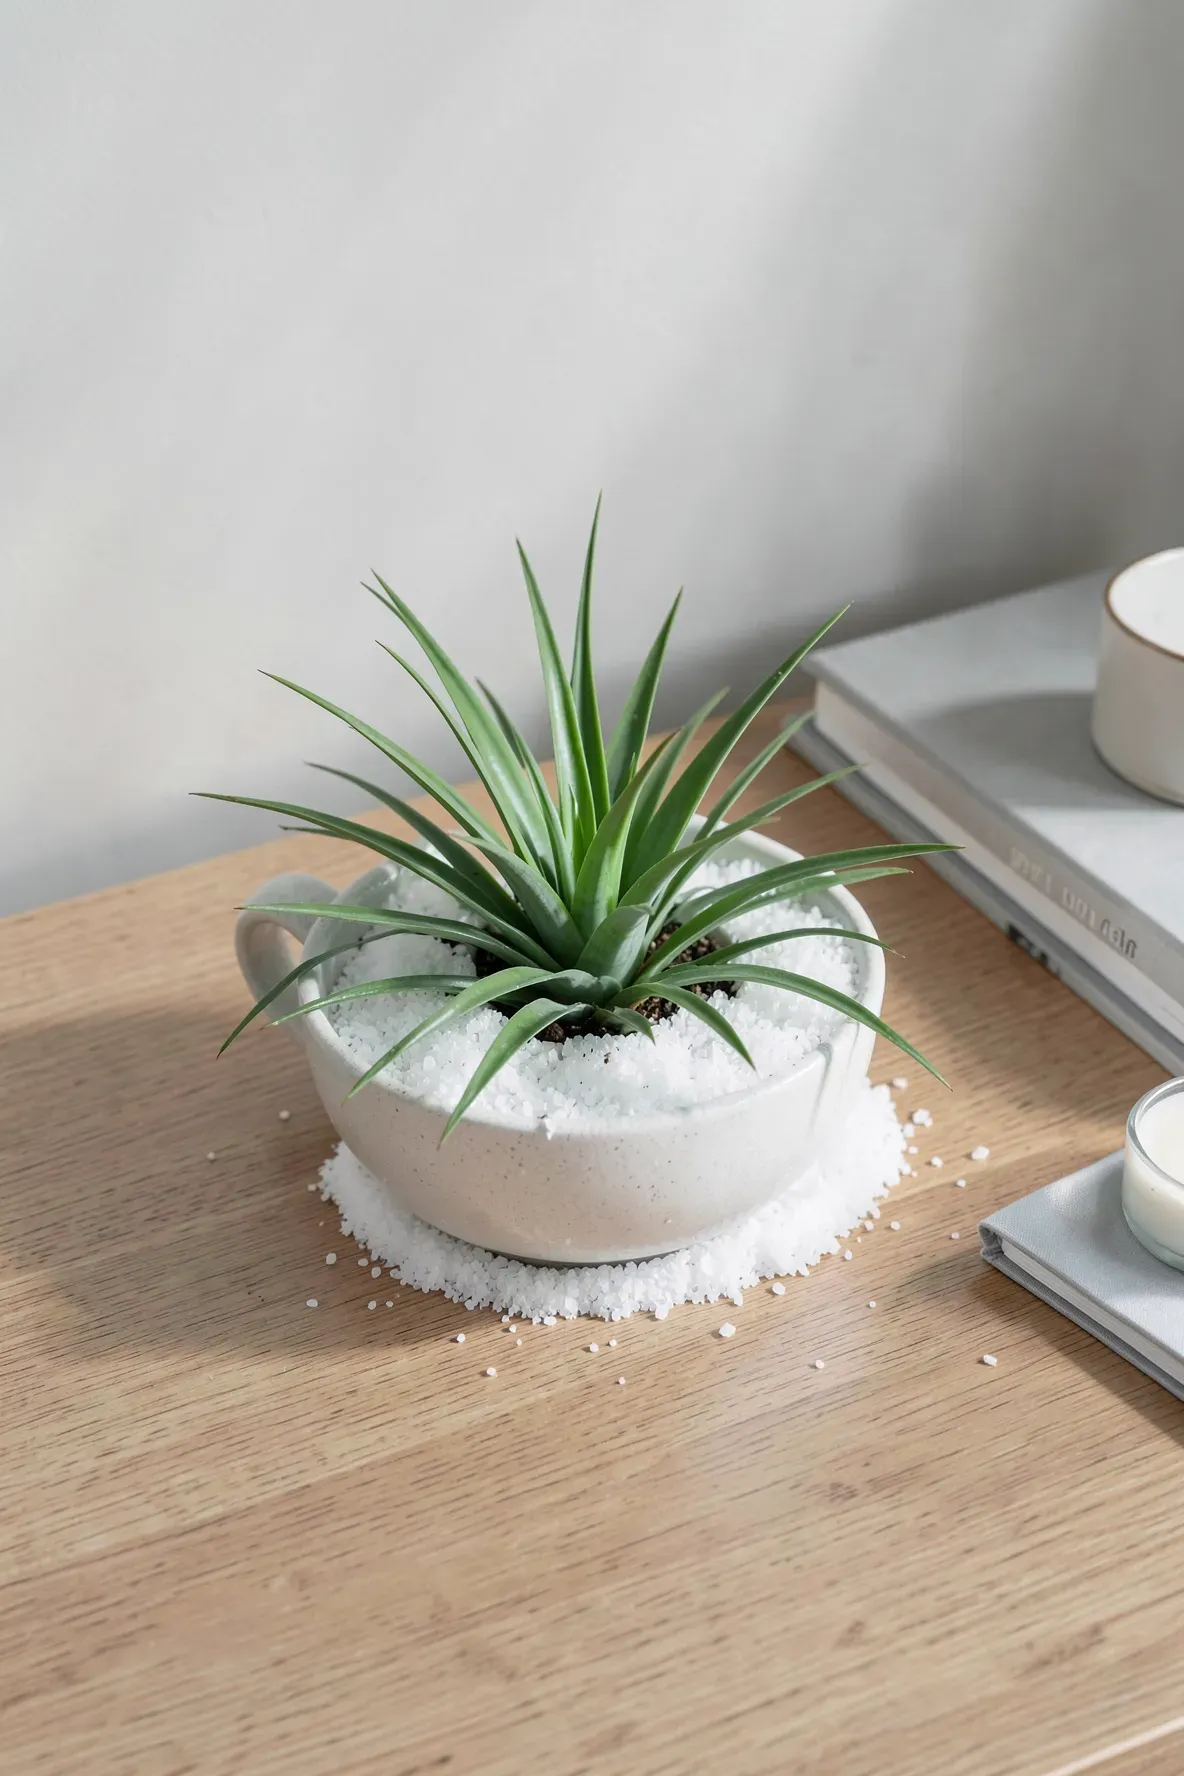
Air plants are ideal for people who don’t want to deal with messy soil. Fill your teacup with decorative sand or polished pebbles and simply set the air plant on top. Since these plants take in nutrients through their leaves, you only need to mist them occasionally or soak them once a week. This setup stays very clean and looks modern on a desk or shelf.
Miniature Fairy Door Glued to the Inner Cup Wall
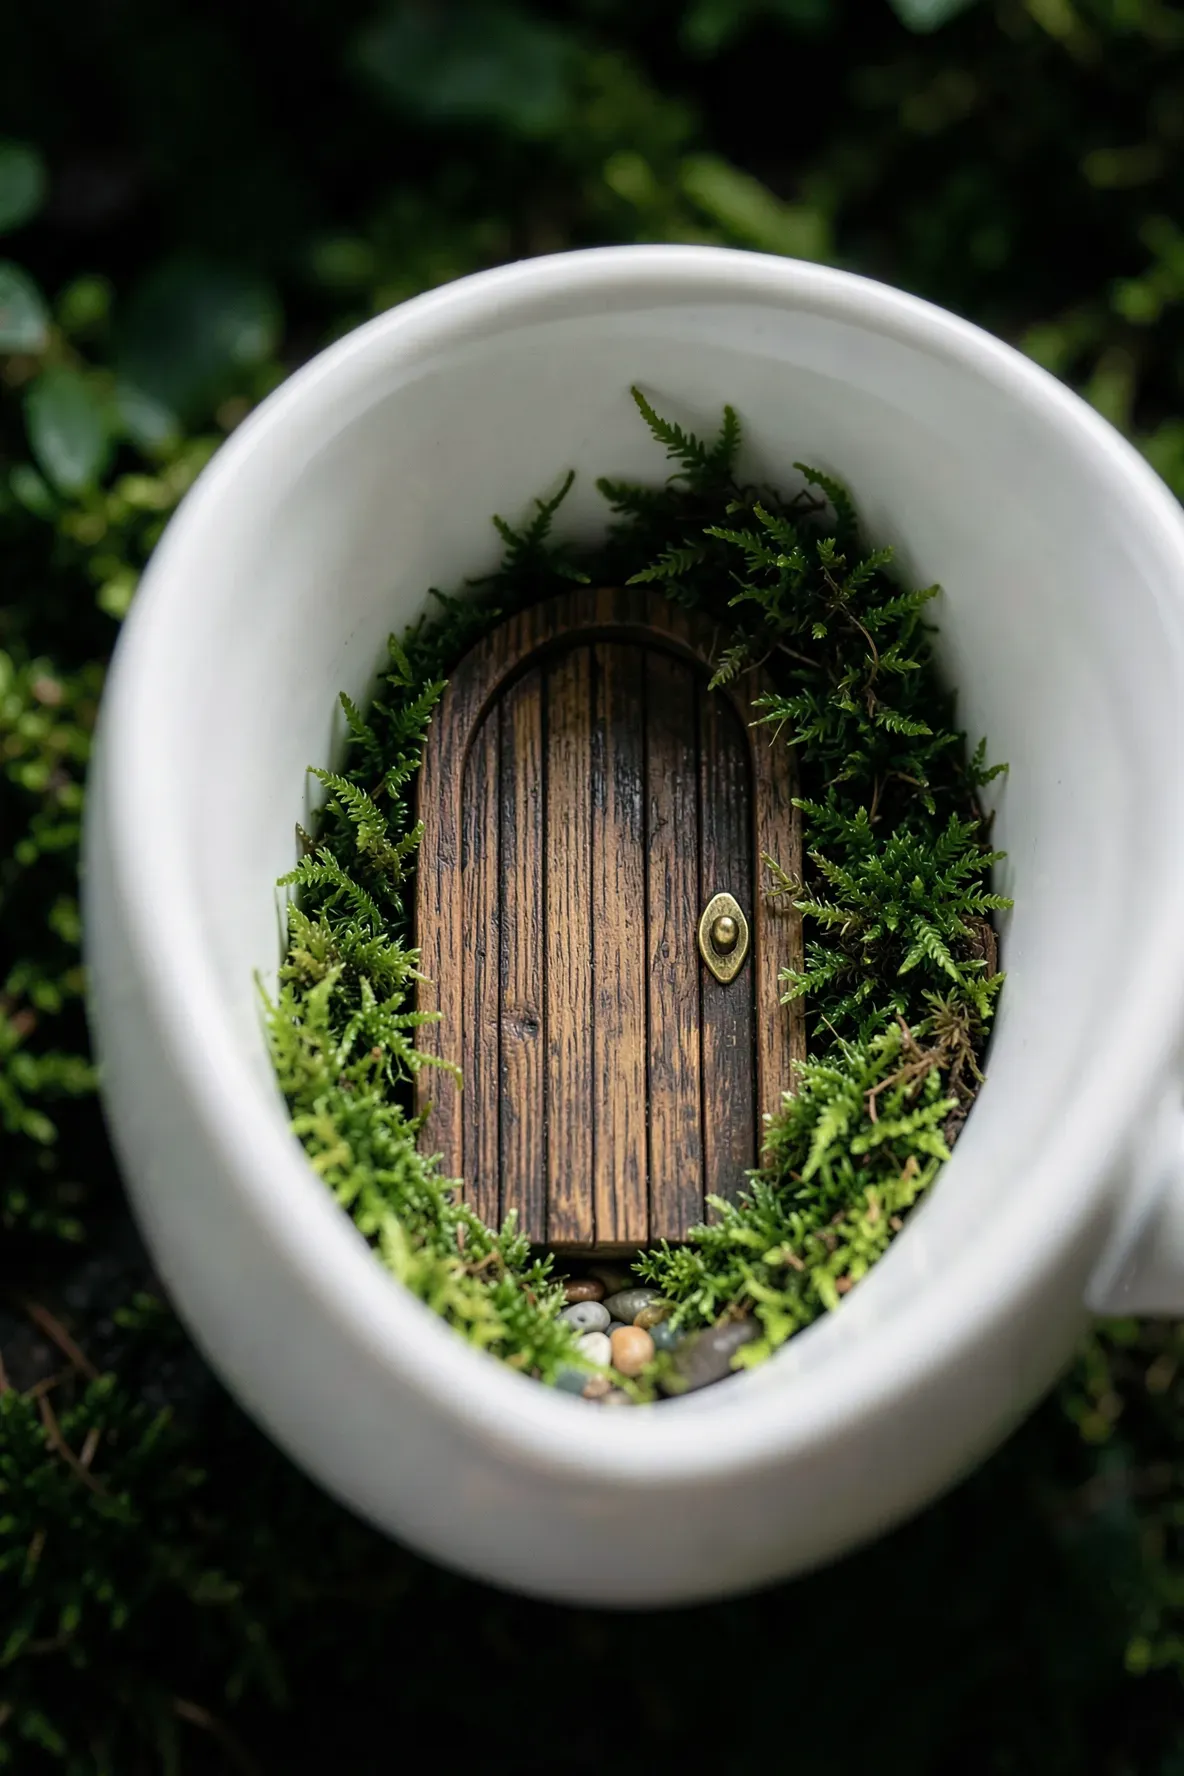
You can make a tiny door out of craft sticks or buy a small resin one to place against the inside wall of the cup. Positioning the door at the back of the garden makes it look like there is a hidden home inside the porcelain. Surround the door with a bit of climbing moss to make it look like it has been there for years.
Tea Bag Label Used as a Tiny Garden Sign
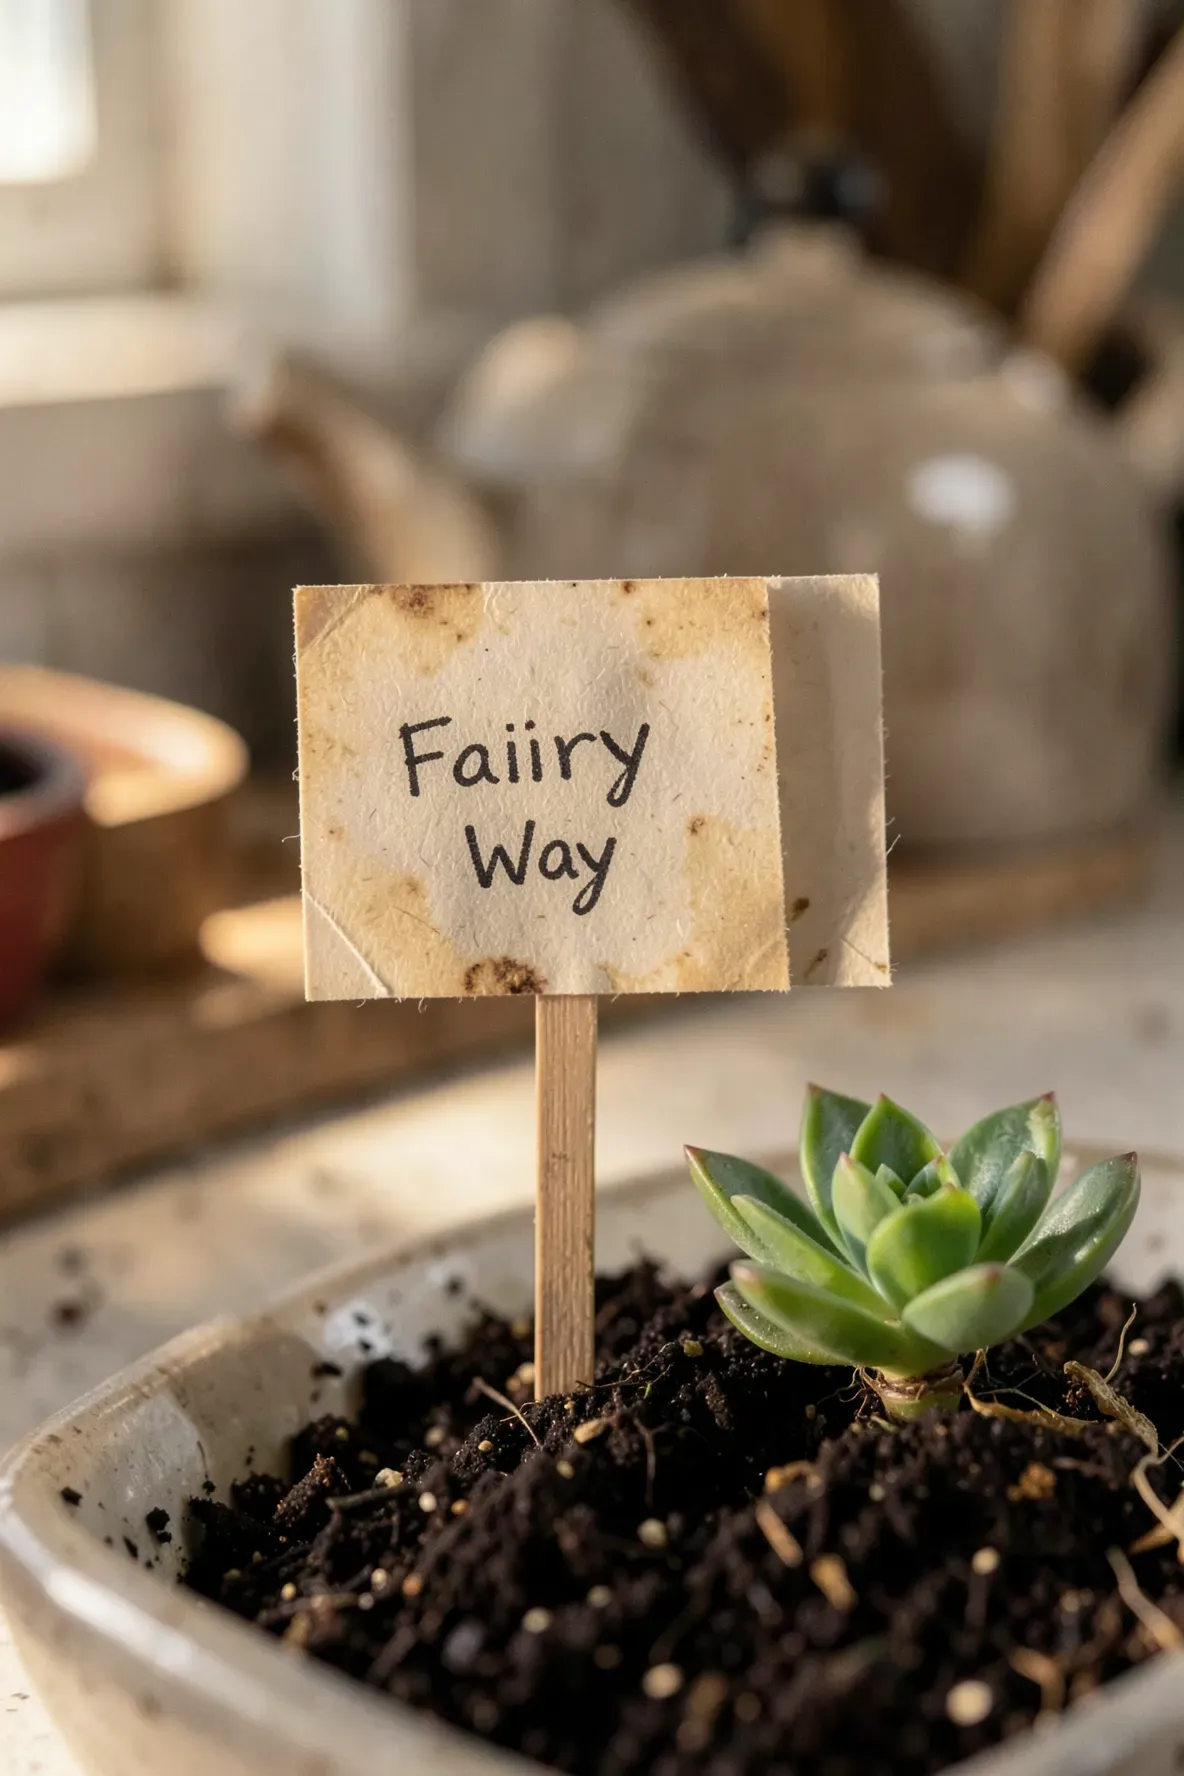
Don’t throw away the paper tag from your tea bag. You can write a tiny message on it, like “Fairy Way” or “Welcome,” and glue it to a toothpick. Stick the toothpick into the soil to act as a garden sign. It is a clever nod to the garden’s container and costs nothing to make.
Button Flowers on Wire Stems Among Live Greens
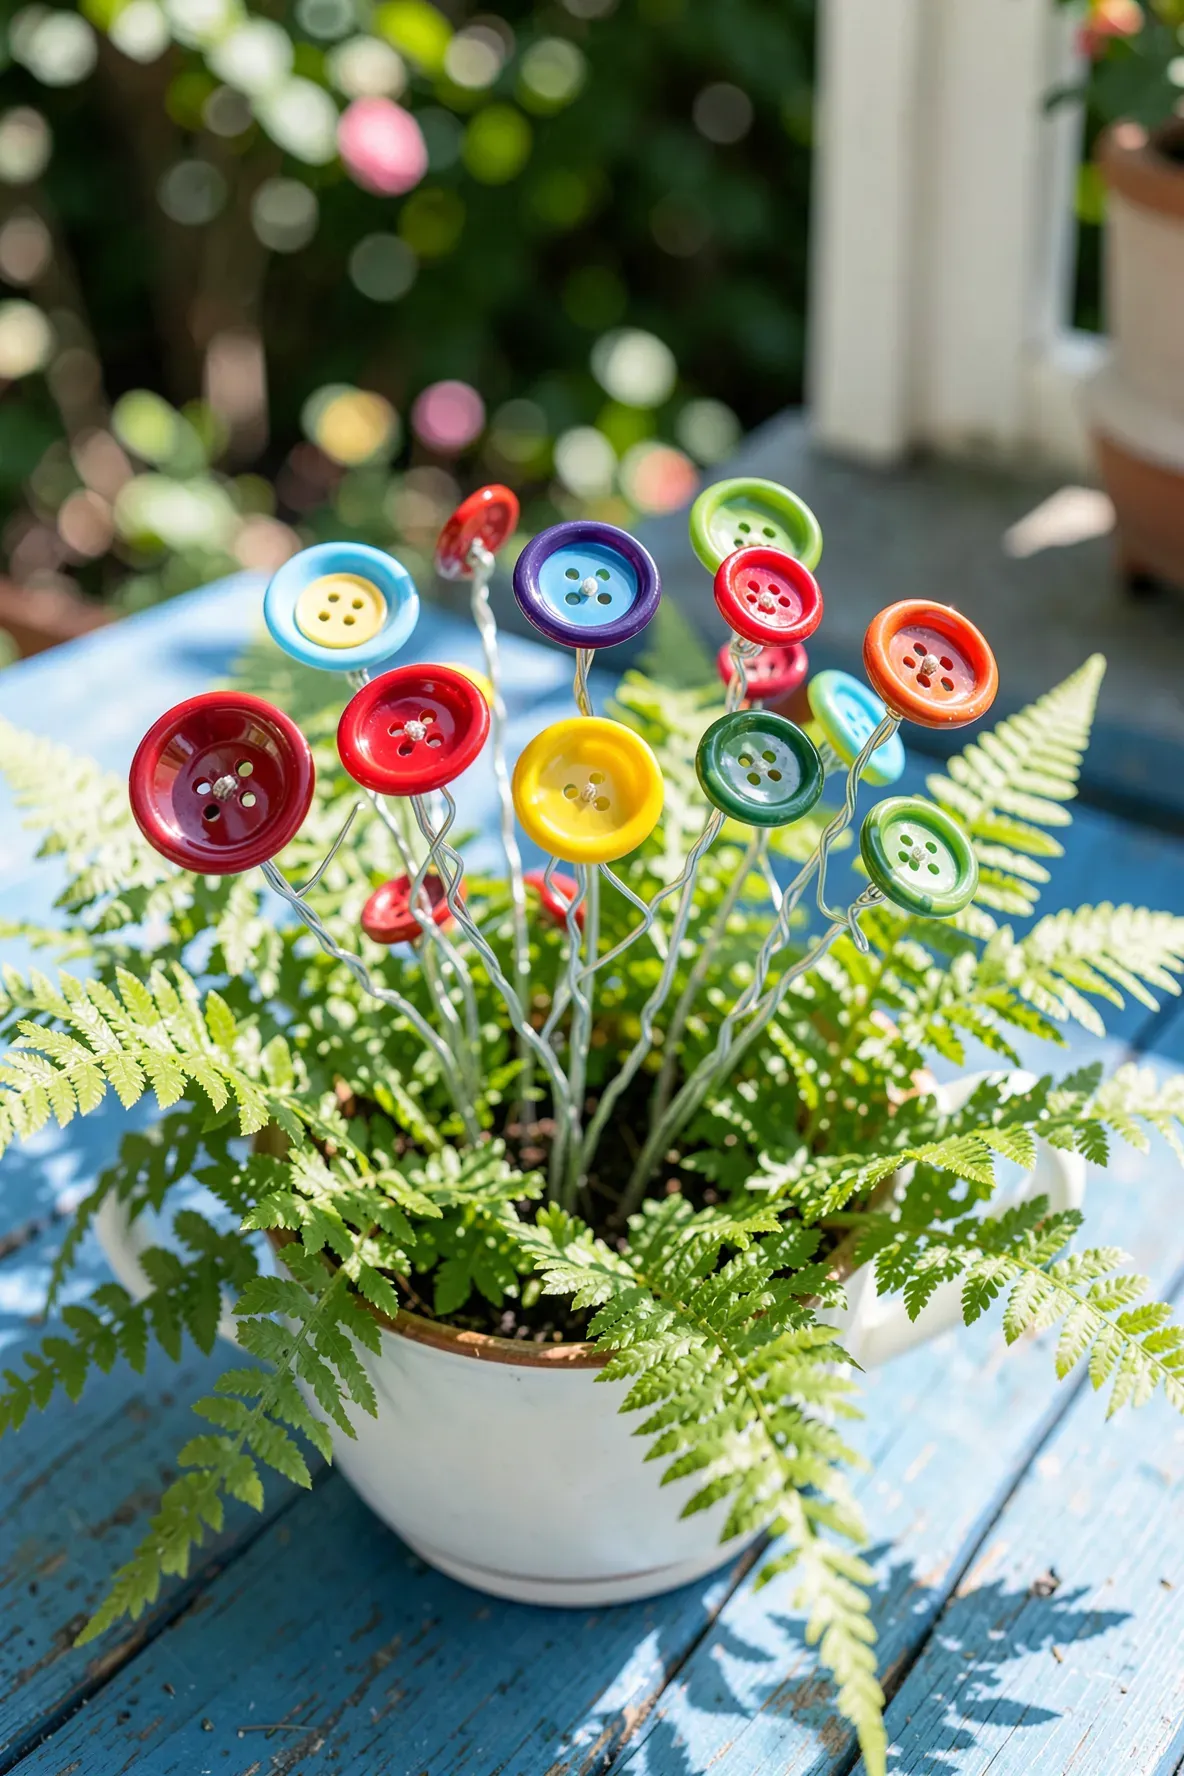
If your live plants aren’t blooming, you can add your own flowers using colorful buttons. Thread a thin wire through the holes of a button and twist it to create a stem. Push the wire into the soil among the green leaves of your plants. Using buttons of different sizes and colors can make your teacup look like it is filled with a variety of exotic blooms.
Glow in the Dark Pebble Walkway for Night Viewing

Use glow-in-the-dark craft pebbles to create a path through your garden. During the day, they look like normal white or green stones, but they will emit a soft light at night. This is a fun addition for a garden kept on a porch or a bedroom nightstand. It adds a bit of magic to the scene without needing any batteries or wires.