A pretty table becomes another chore when its decorations need fresh flowers, last minute glue, or a place in an already full refrigerator. Choose pieces that can dry, fold, or pack away before cooking takes over the kitchen. Make ahead Thanksgiving decor works best when you also decide where the serving dishes will go, rather than discovering at dinner that the centerpiece occupies their spot.
Pick a small group of projects that share a palette instead of trying to make every option. Test one complete place setting and arrange your empty serving bowls before committing to the remaining pieces. Keep paper and fabric decorations away from candles, hot dishes, and food contact, and store everything clean and dry until setup.
Folded Paper Leaf Napkin Rings
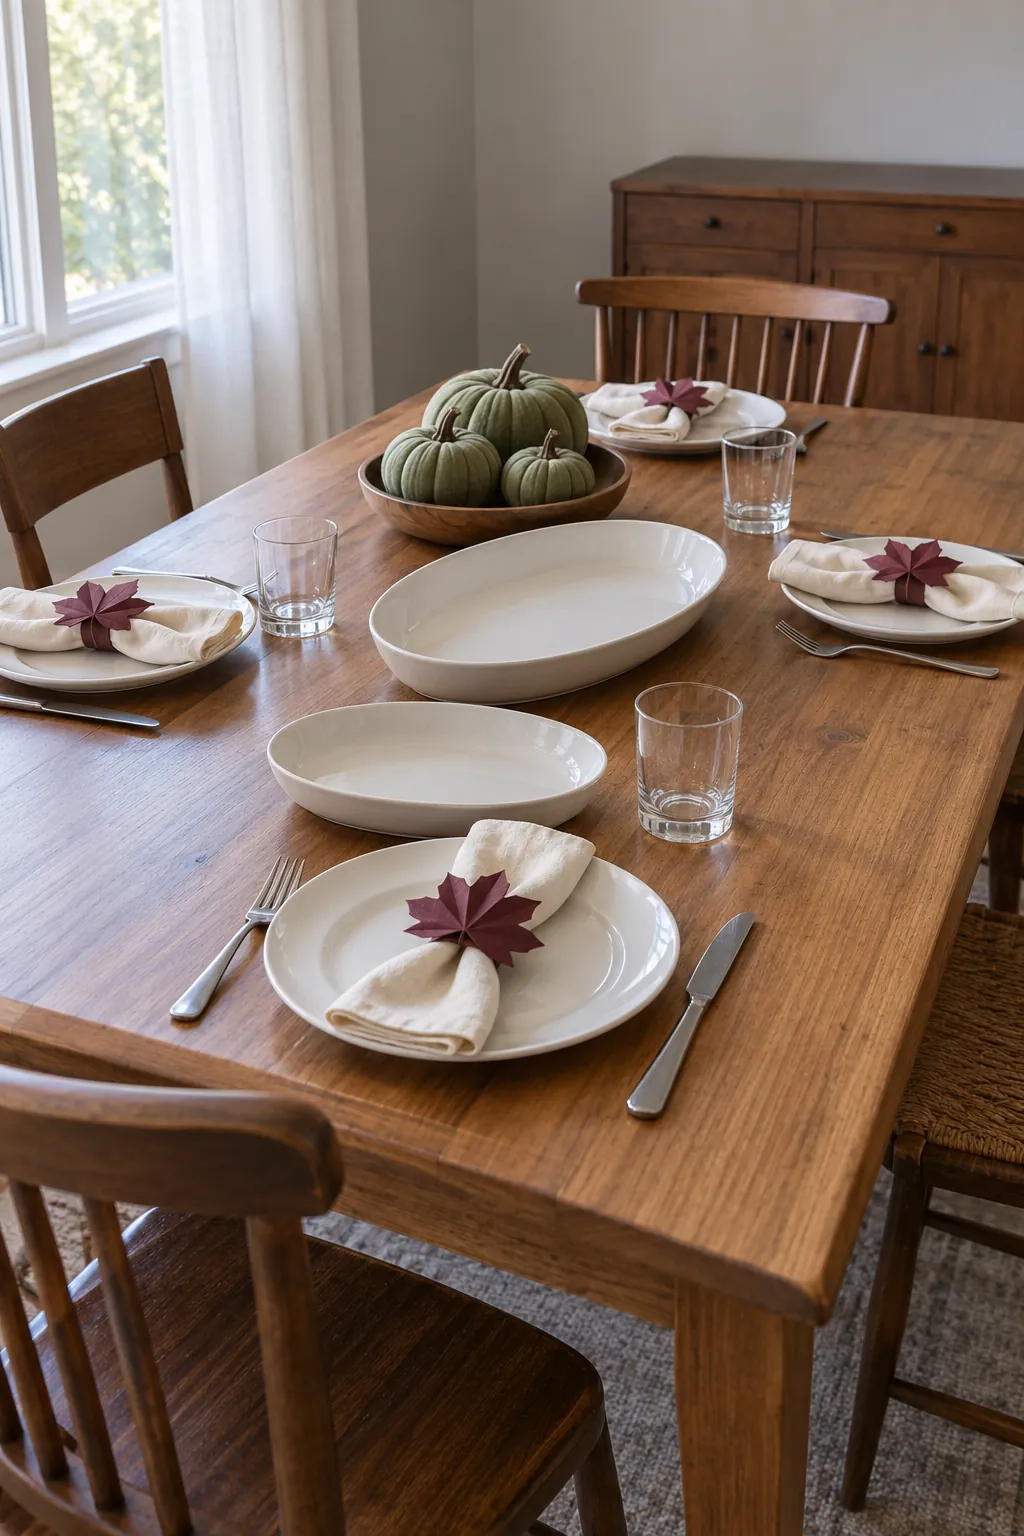
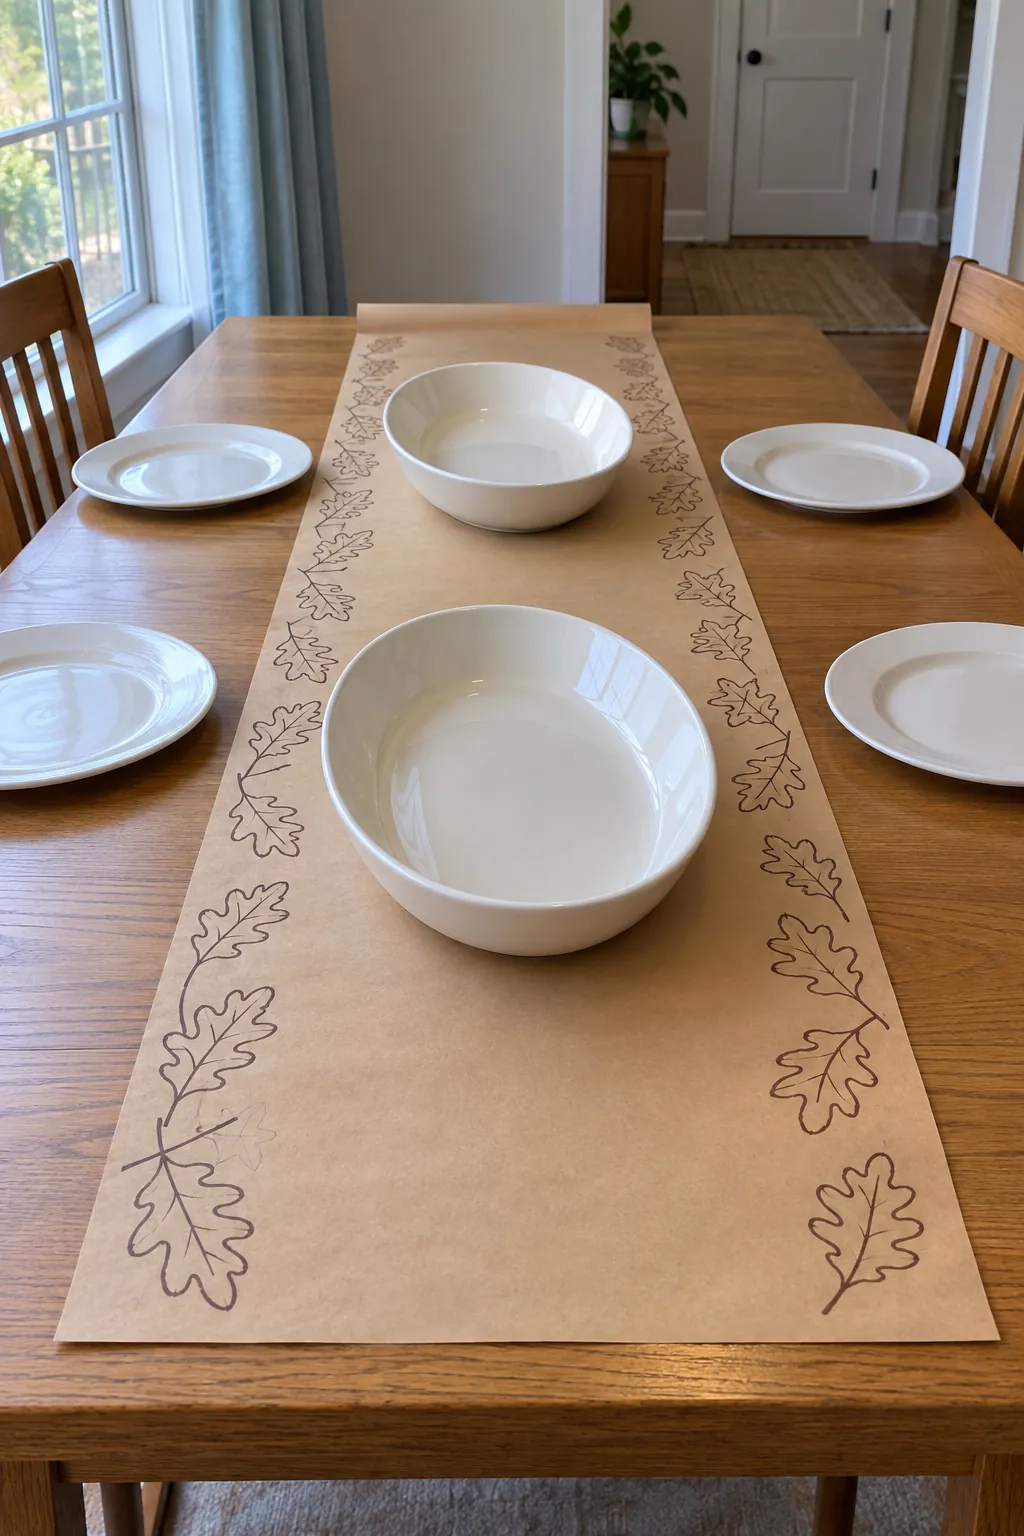
Cut two leaf shapes from sturdy rust or burgundy paper, then score a vein down each center so they bend gently around a napkin. Glue the leaves to a narrow cardstock band rather than directly to fabric. Test the opening with your actual napkin before making the remaining rings. Let the glue dry fully, then store the rings upright in a small box so the tips do not flatten.
A Removable Kraft Paper Runner
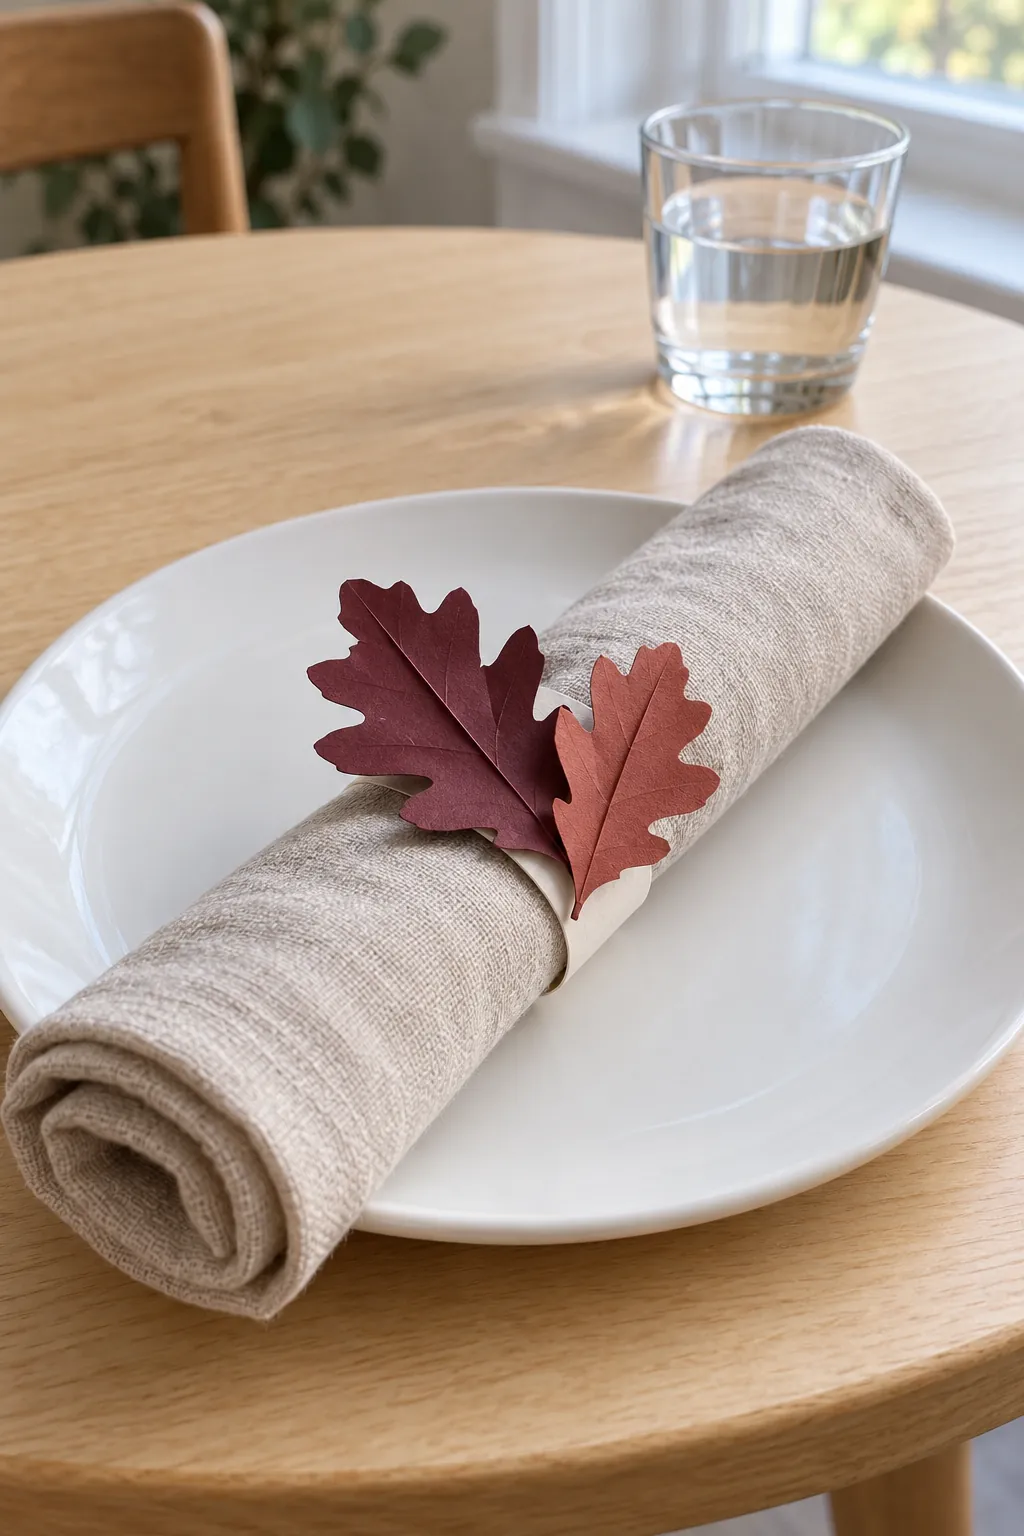
Cut kraft paper to fit the center of your table while leaving enough bare surface for every place setting. Use a pencil to sketch a loose border of oak leaves, then trace it with a dark brown marker. Roll the finished runner around a cardboard tube after the ink dries, and flatten it under books the evening before dinner.
Keep the middle unmarked so serving bowls have a calm background. Make the border light enough that an empty bowl can move over it without hiding the whole design. Avoid laminating the paper with ordinary adhesive film, which can curl or trap wrinkles.
Handwritten Tent Cards
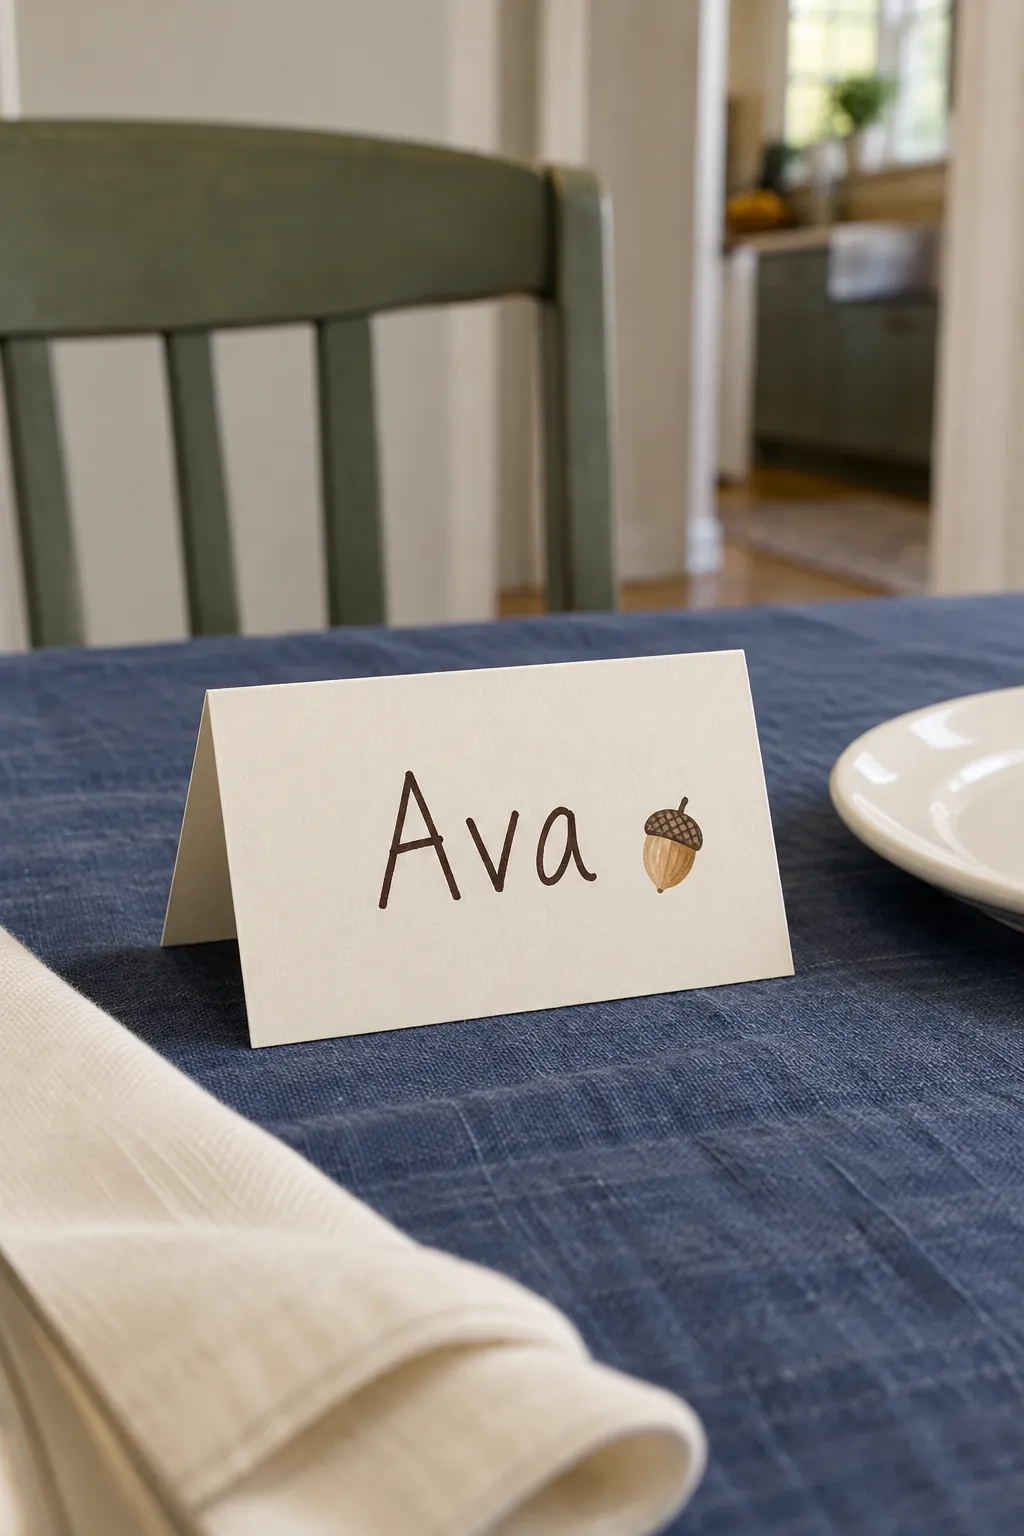
Fold thick cream cardstock into small tents and write each guest name on the outward face. A simple block letter is easier to read across the table than a complicated script. Add one tiny painted acorn beside the name, keeping the decoration smaller than the lettering. Make a few spare blank tents for seating changes and keep the completed cards in guest order.
A Low Bowl of Fabric Pumpkins
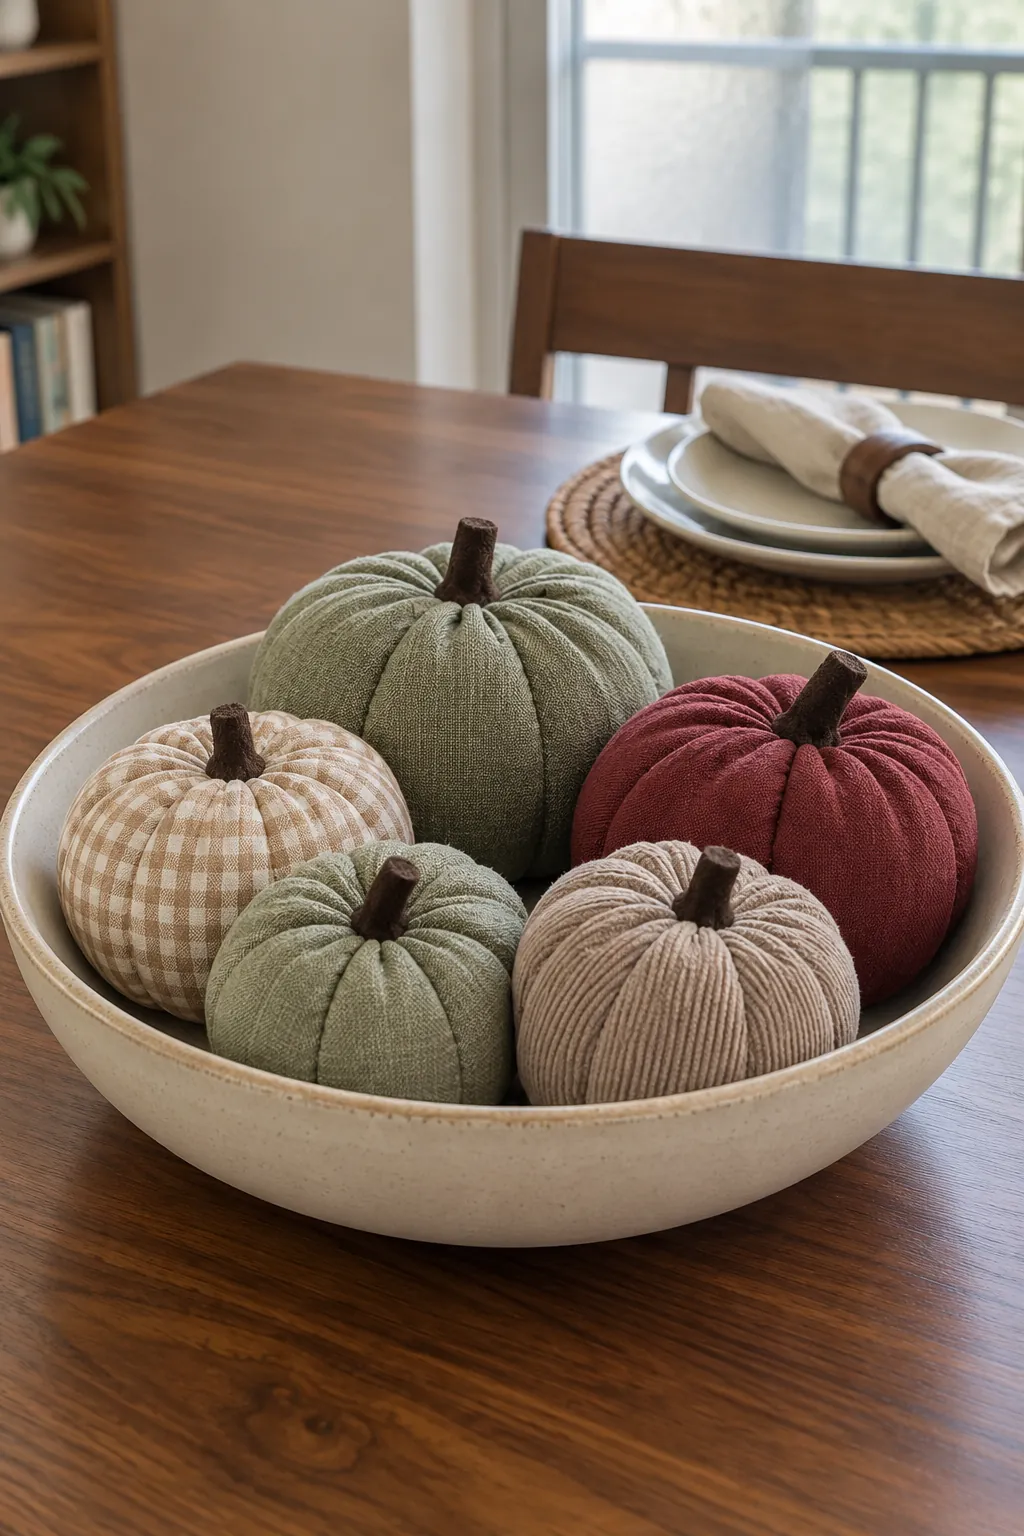
Wrap small balls of clean stuffing in fabric circles, gather the edges with thread, and tuck in short felt stems. Use several related fabrics rather than buying a different print for every pumpkin. Close each gathered opening firmly so the filling stays contained when you move the pieces.
Arrange them in a shallow bowl so guests can see each other over the centerpiece. Store the bowl assembled under a loose cover, away from the kitchen where cooking odors could settle into the fabric. If you are using fabric remnants, check that their colors do not transfer to the bowl or nearby linens before you assemble the full display.
Pleated Paper Fans
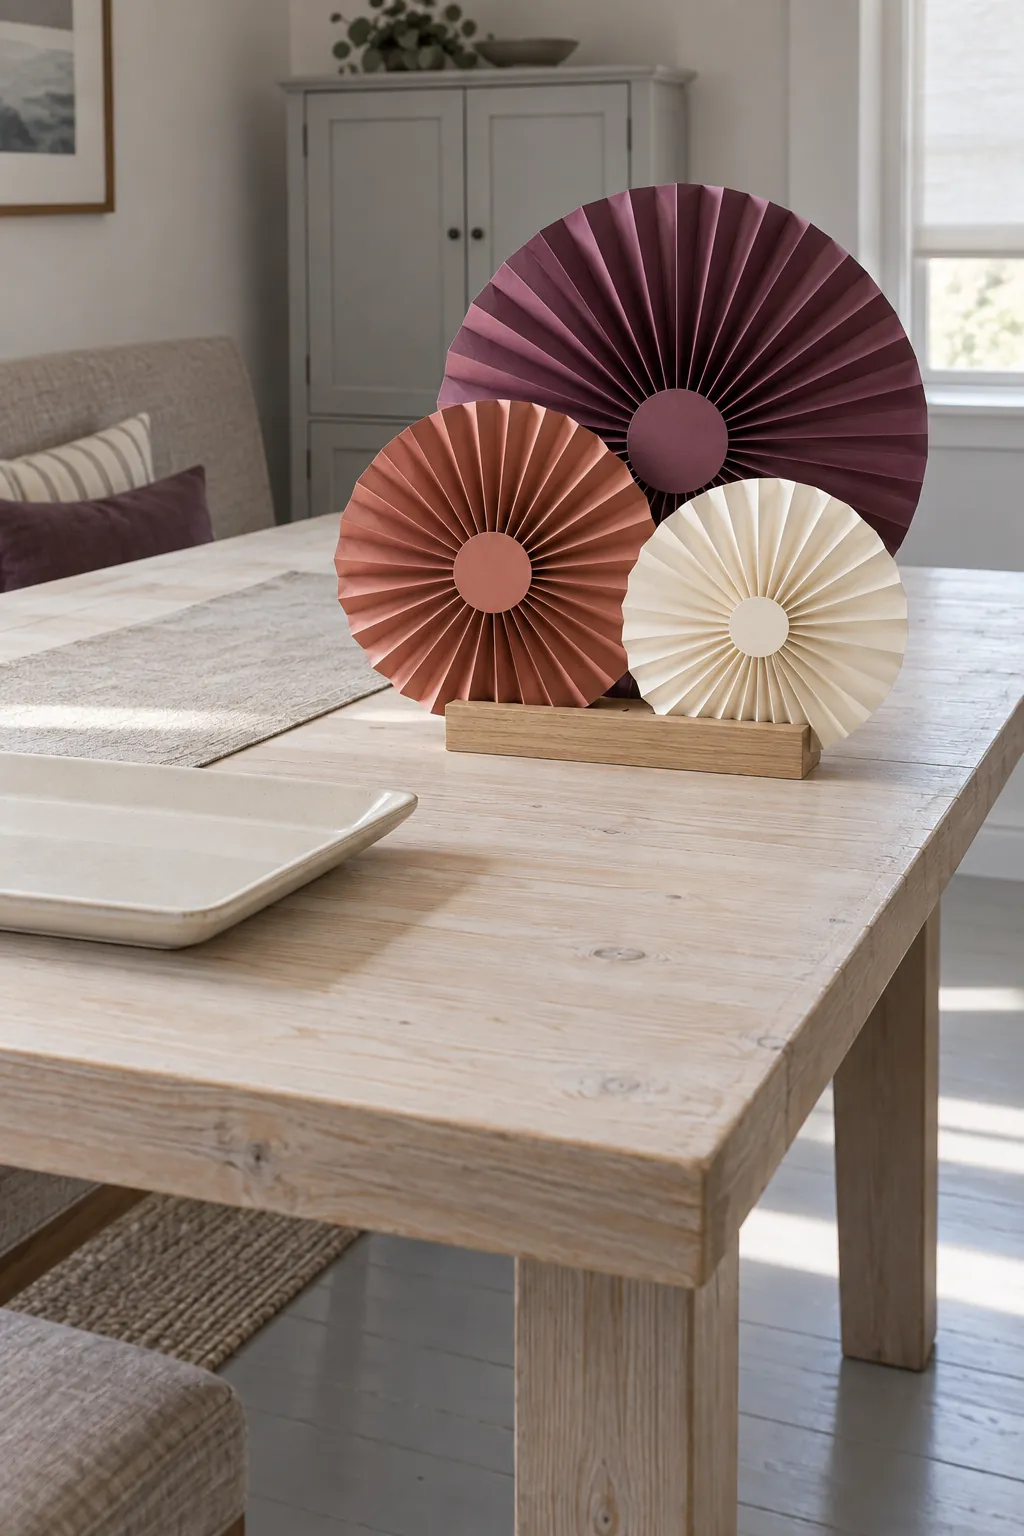
Fold rectangular sheets of plum and muted terracotta paper into even accordion pleats. Join matching folded pieces at their edges to form round fans, then glue a small paper circle over each center. Stand the finished fans in a low slotted wooden holder at the far end of the table. A holder keeps loose paper from drifting toward plates and lets you lift the whole arrangement when a platter needs that space.
A Ribbon Woven Tray
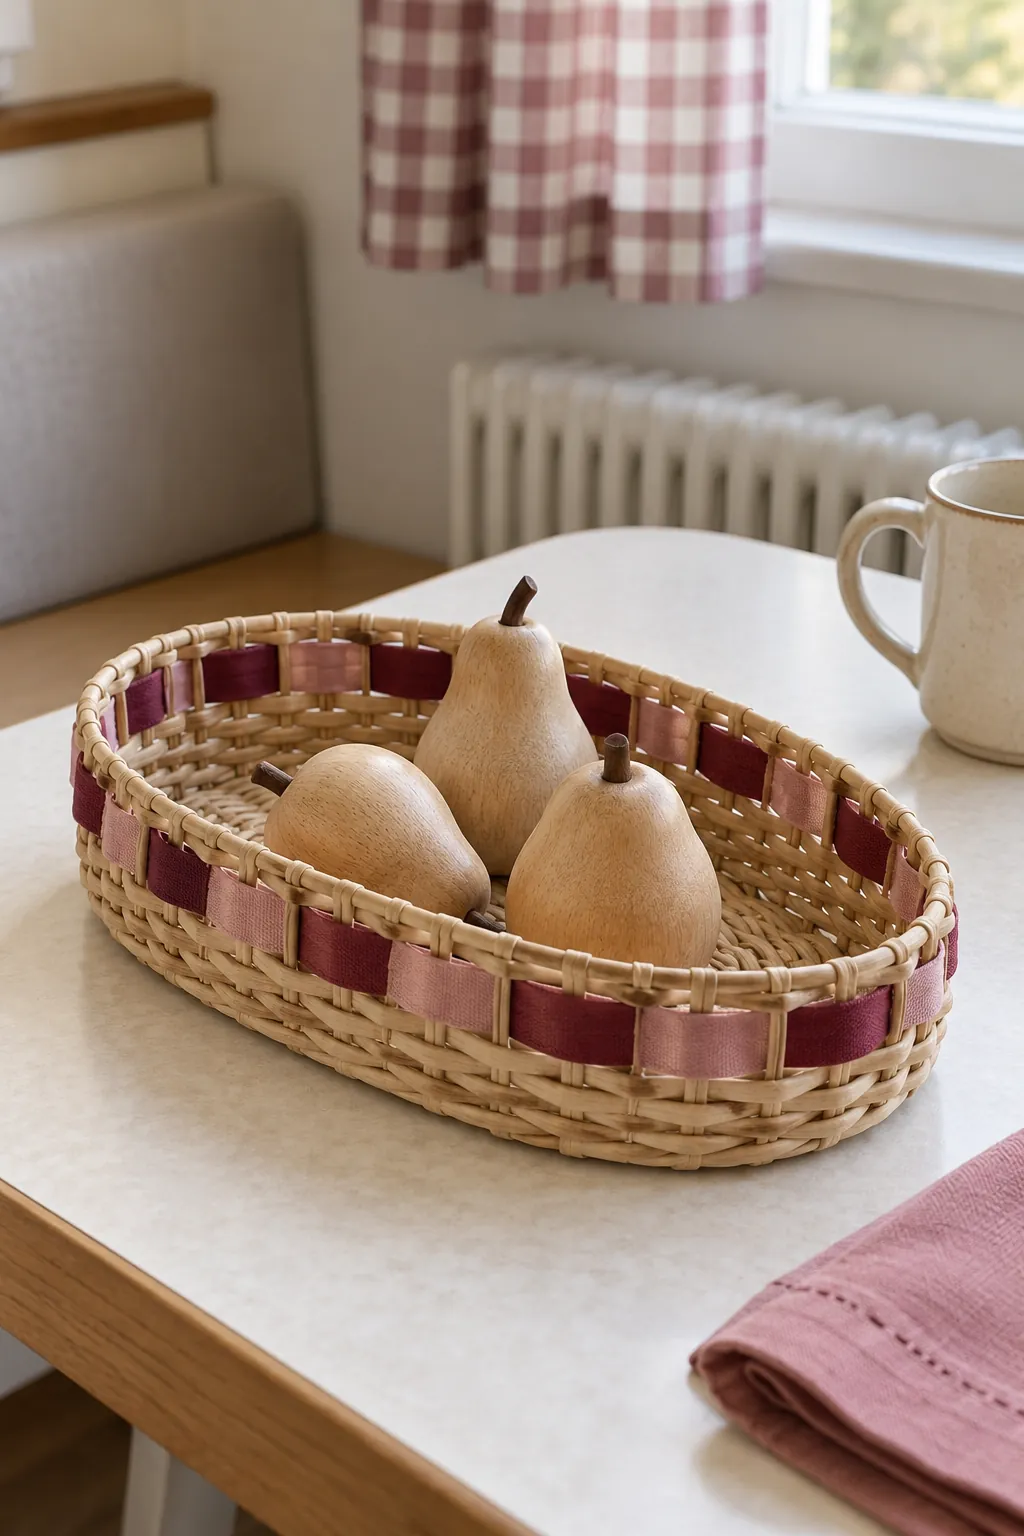
Thread narrow cotton ribbon through the open weave of a small basket tray, alternating two quiet fall colors. Secure the ends underneath so the upper rim stays tidy. Set a few wooden pears inside and leave the surrounding table clear. This reusable Thanksgiving centerpiece packs away as one piece, which makes it useful when your table also serves as a workspace during the week.
Felt Acorn Napkin Ties
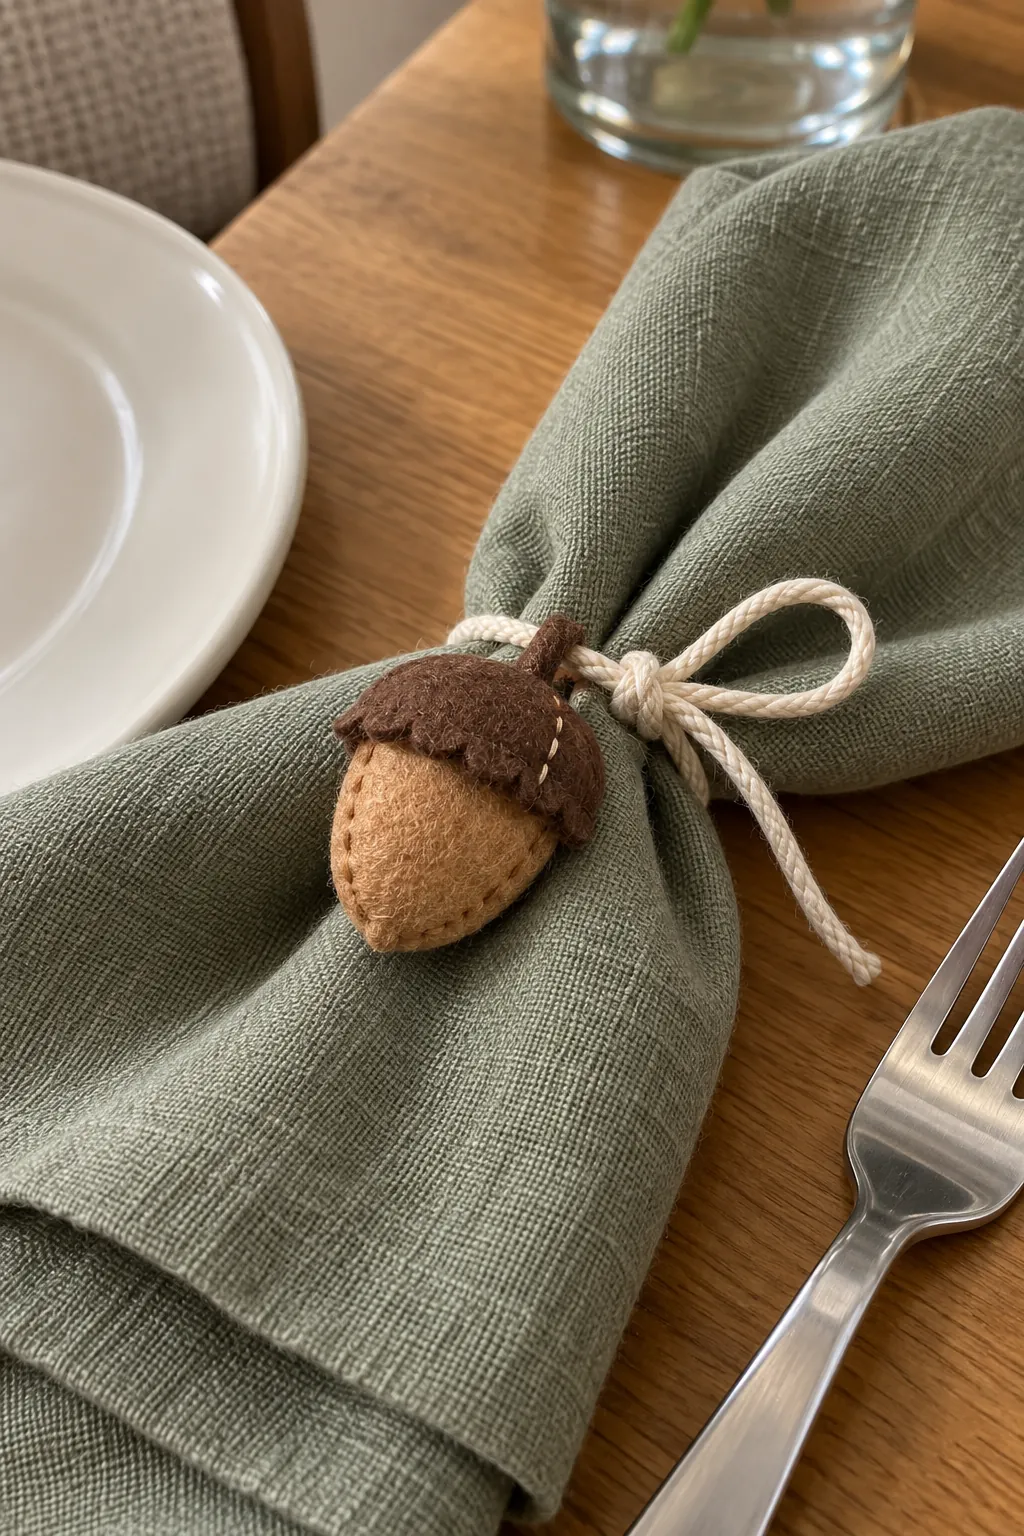
Cut small oval acorn bodies from tan felt and cap them with darker scalloped pieces. Stitch or glue each pair to a length of cotton cord, allowing enough cord to tie loosely around a folded napkin. Keep the felt ornament on top of the fold rather than tucked against the eating surface. Bundle each finished tie separately so the cords do not become a knot when you unpack them.
A Pressed Leaf Display Strip
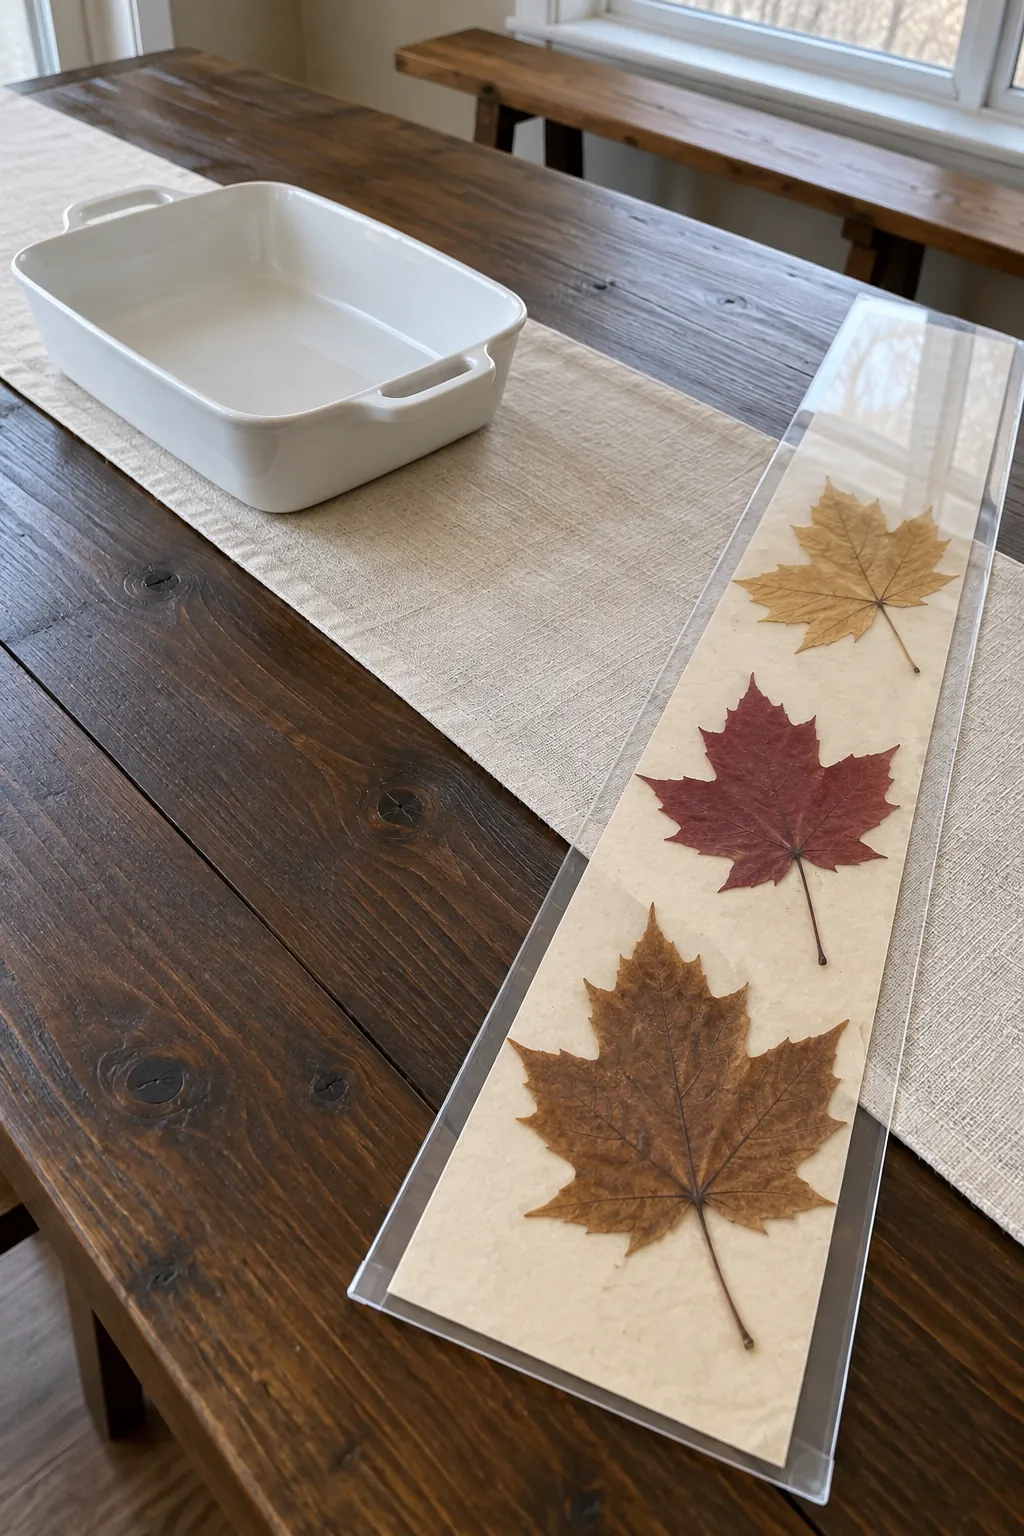
Use leaves that are already completely dry and pressed, since fresh leaves can curl after assembly. Mount them on a narrow strip of heavyweight paper with small dots of craft glue. Slip the strip into a clear display sleeve or place it beneath a clean transparent runner made for table use. Keep the leaves contained rather than scattering brittle pieces beside glasses and food.
Wooden Bead Napkin Loops
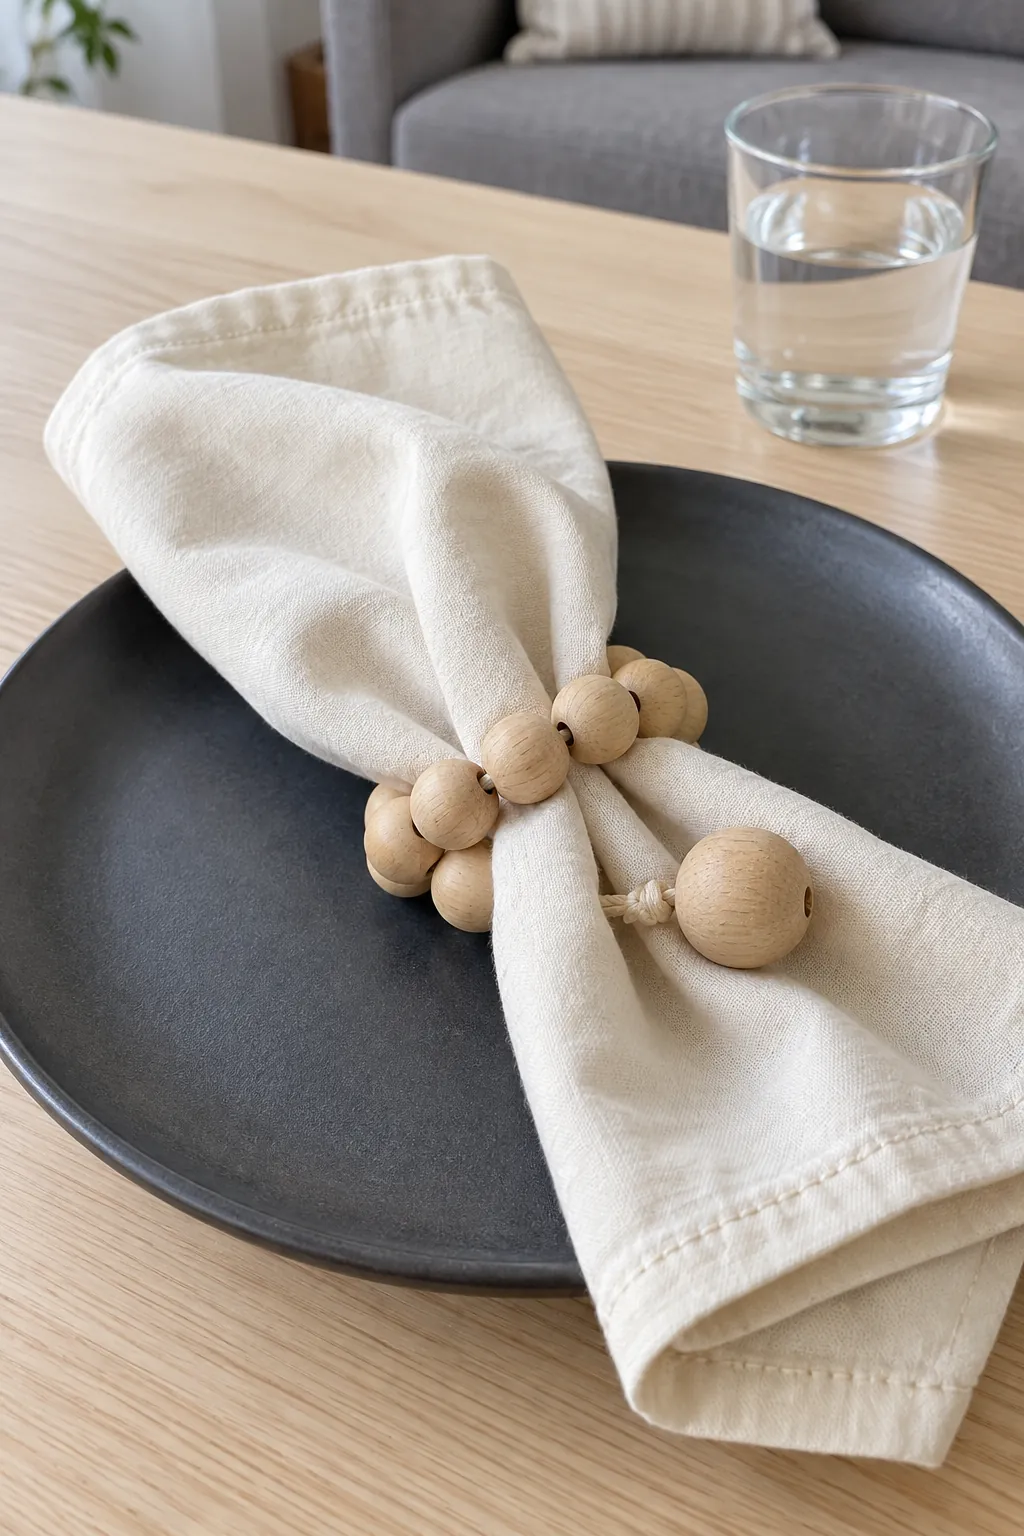
Thread unfinished wooden beads onto strong cotton cord and tie a secure loop around the size of your folded napkin. Include one larger bead as the focal point instead of adding dangling charms. Slide every loop on and off a napkin to check that the knot is stable and the fit is comfortable. Stack the loops in a divided box so you can count the place settings before guests arrive.
A Painted Wooden Pumpkin Cluster
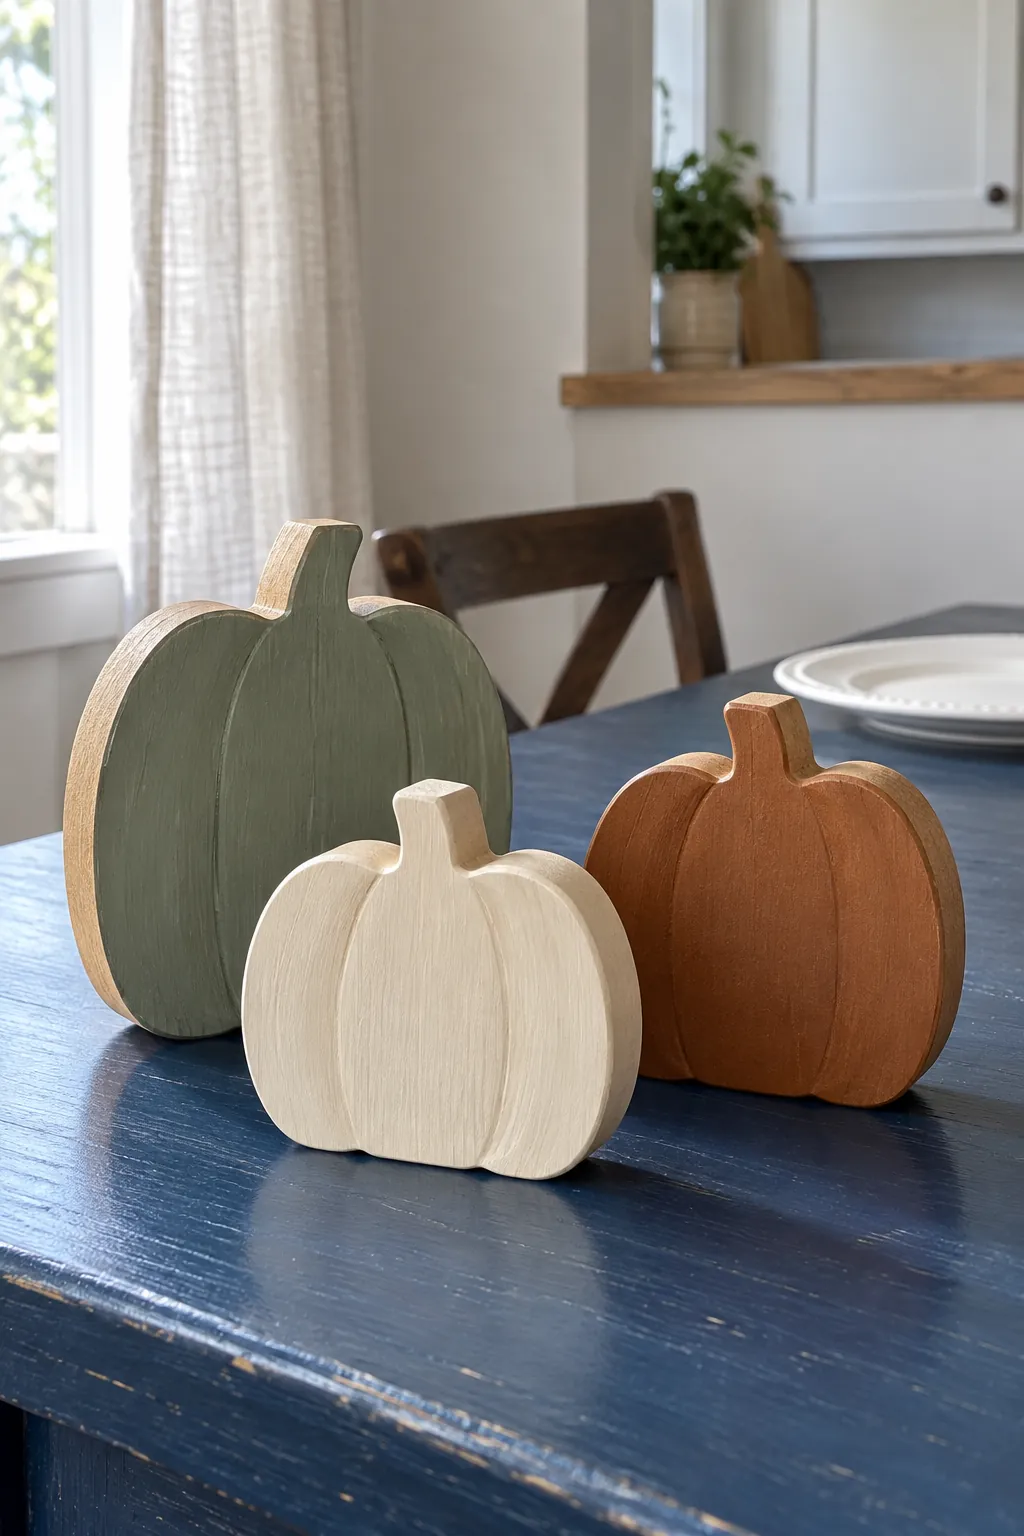
Paint small wooden pumpkin shapes in muted sage, cream, and deep cinnamon, leaving their edges neatly covered. Follow the paint label for drying and curing before putting the pieces on furniture. Give each shape a broad flat base so it can stand without leaning on a glass. Group three in an open patch of the table, then wrap them separately for storage to protect the finish.
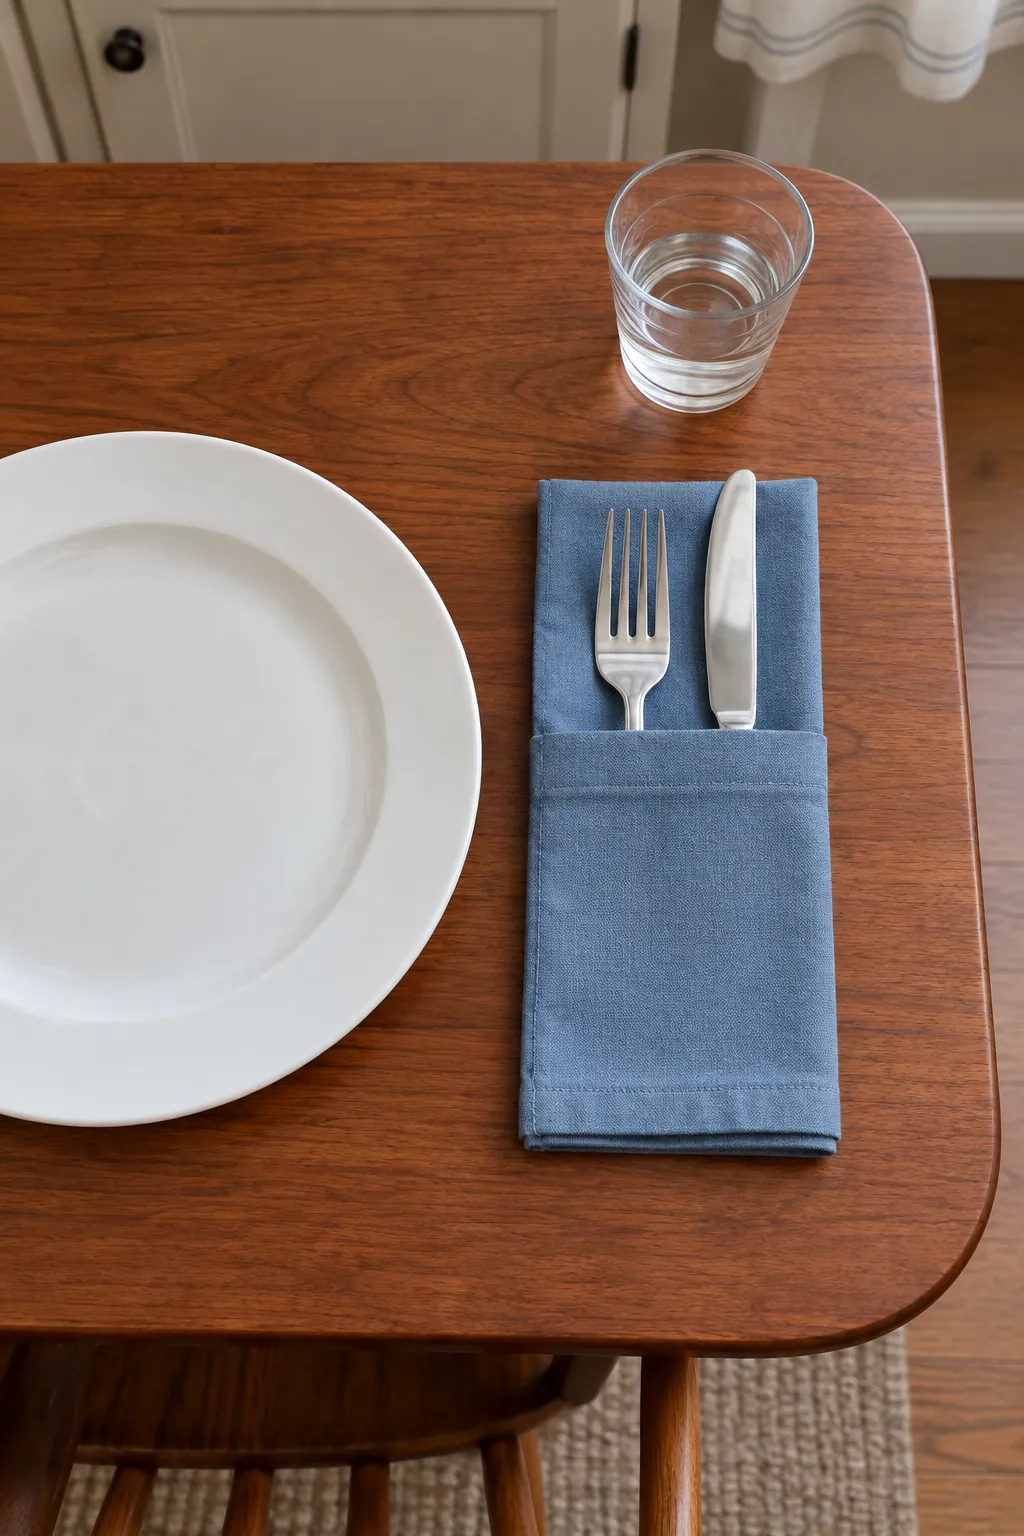
A Folded Cloth Napkin Pocket
Fold a square cloth napkin into a flat pocket that holds the cutlery beside the plate. Practice with one napkin first, because thick linen needs a wider fold than lightweight cotton. Iron the crease if the care label allows it and stack the finished pockets with tissue between layers. Add the utensils close to dinner time so the fabric stays clean while other weekend Thanksgiving projects are underway.
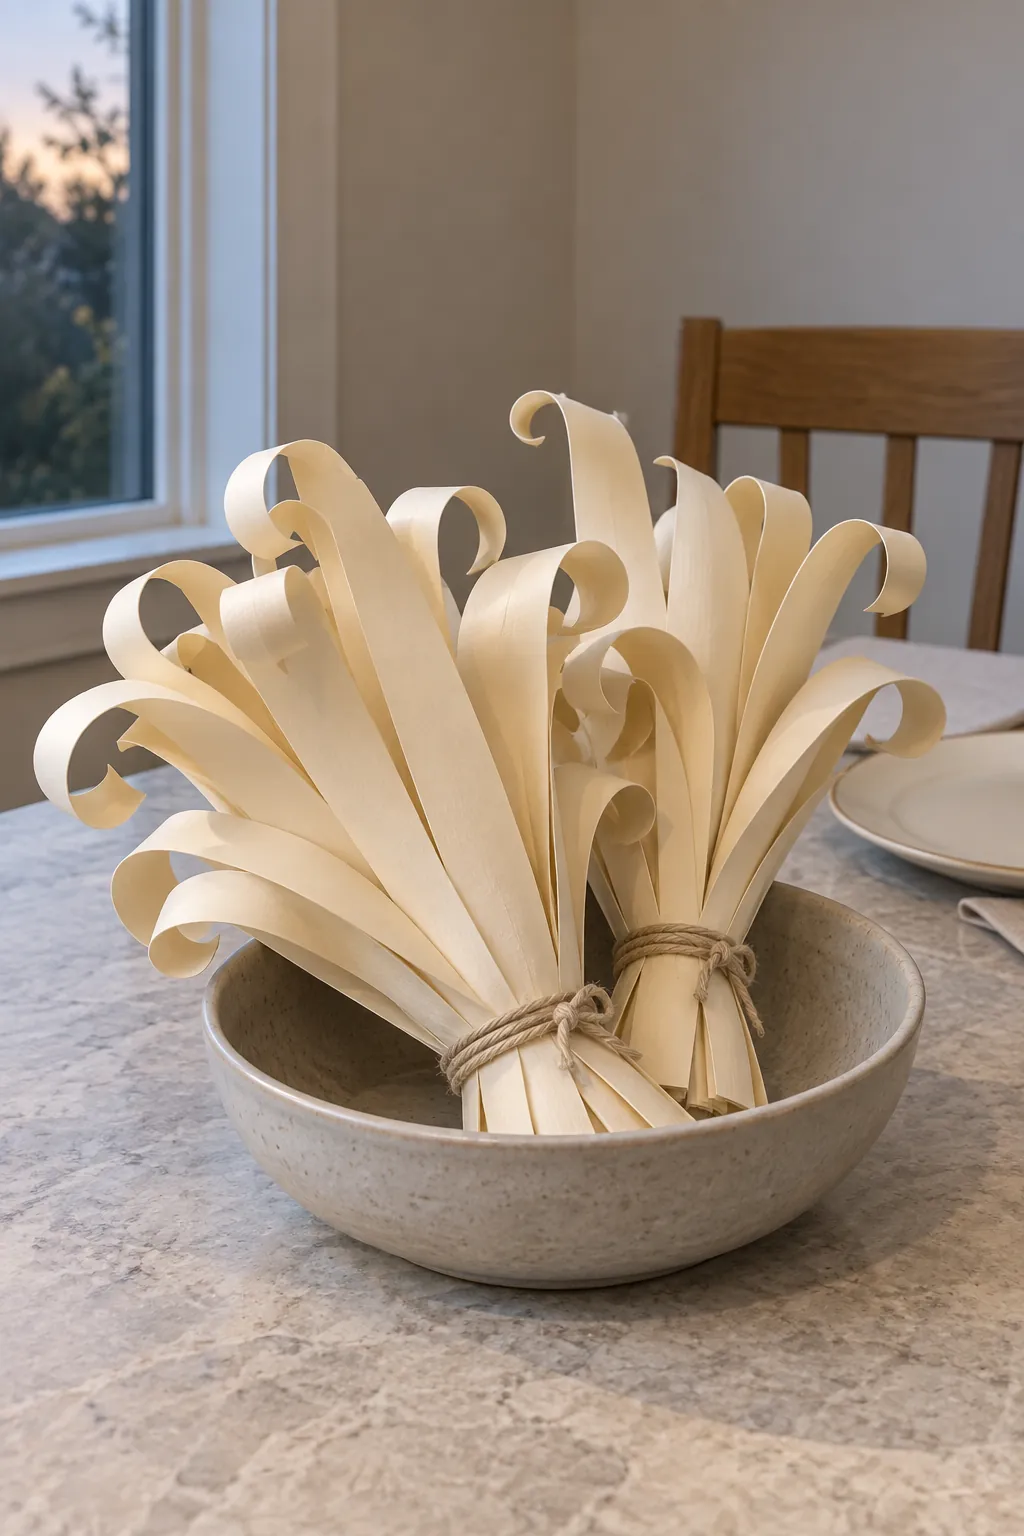
Paper Corn Husk Bundles
Cut long tapered strips of cream paper and gently curl their tips around a pencil. Gather the strips around a short cardboard core and tie the base with linen string. Place two small bundles in a shallow dish rather than spreading individual strips down the table. Pack the dish in a box with room above the curled tips, since a tight lid will crush their shape.
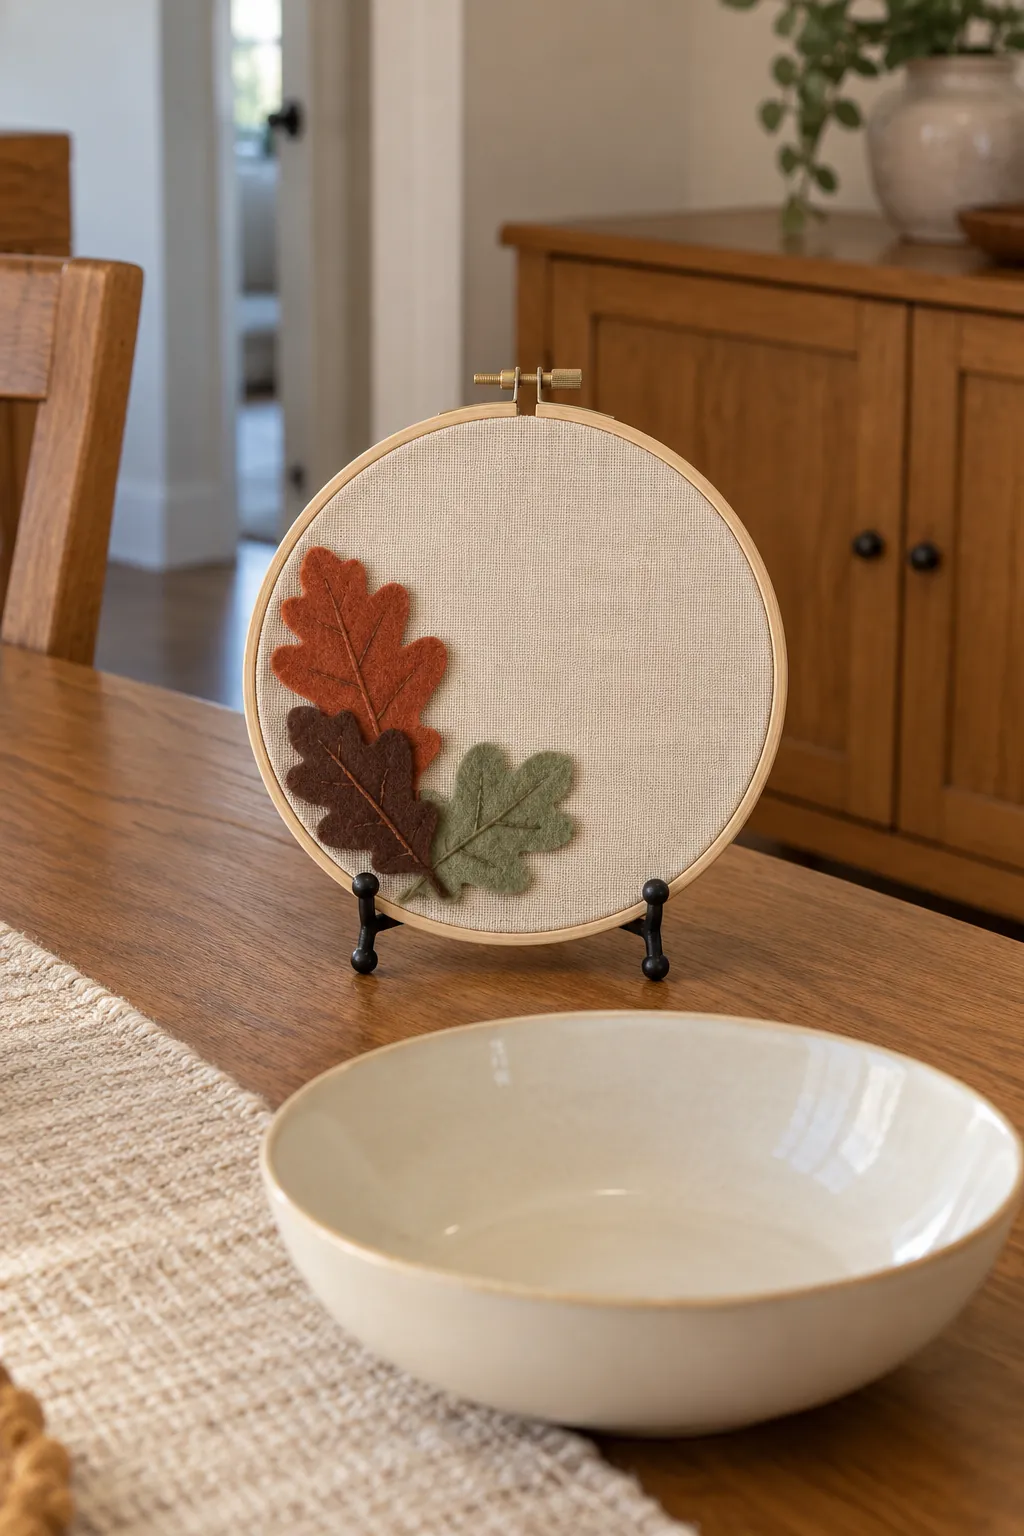
A Small Embroidery Hoop Accent
Stretch a piece of plain oatmeal fabric inside a small embroidery hoop and trim the excess neatly at the back. Glue three felt oak leaves along one lower edge, leaving most of the fabric visible. Rest the hoop in a stable plate stand behind a low centerpiece rather than balancing it against a drinking glass. Remove it before serving if the stand makes reaching for shared dishes awkward.
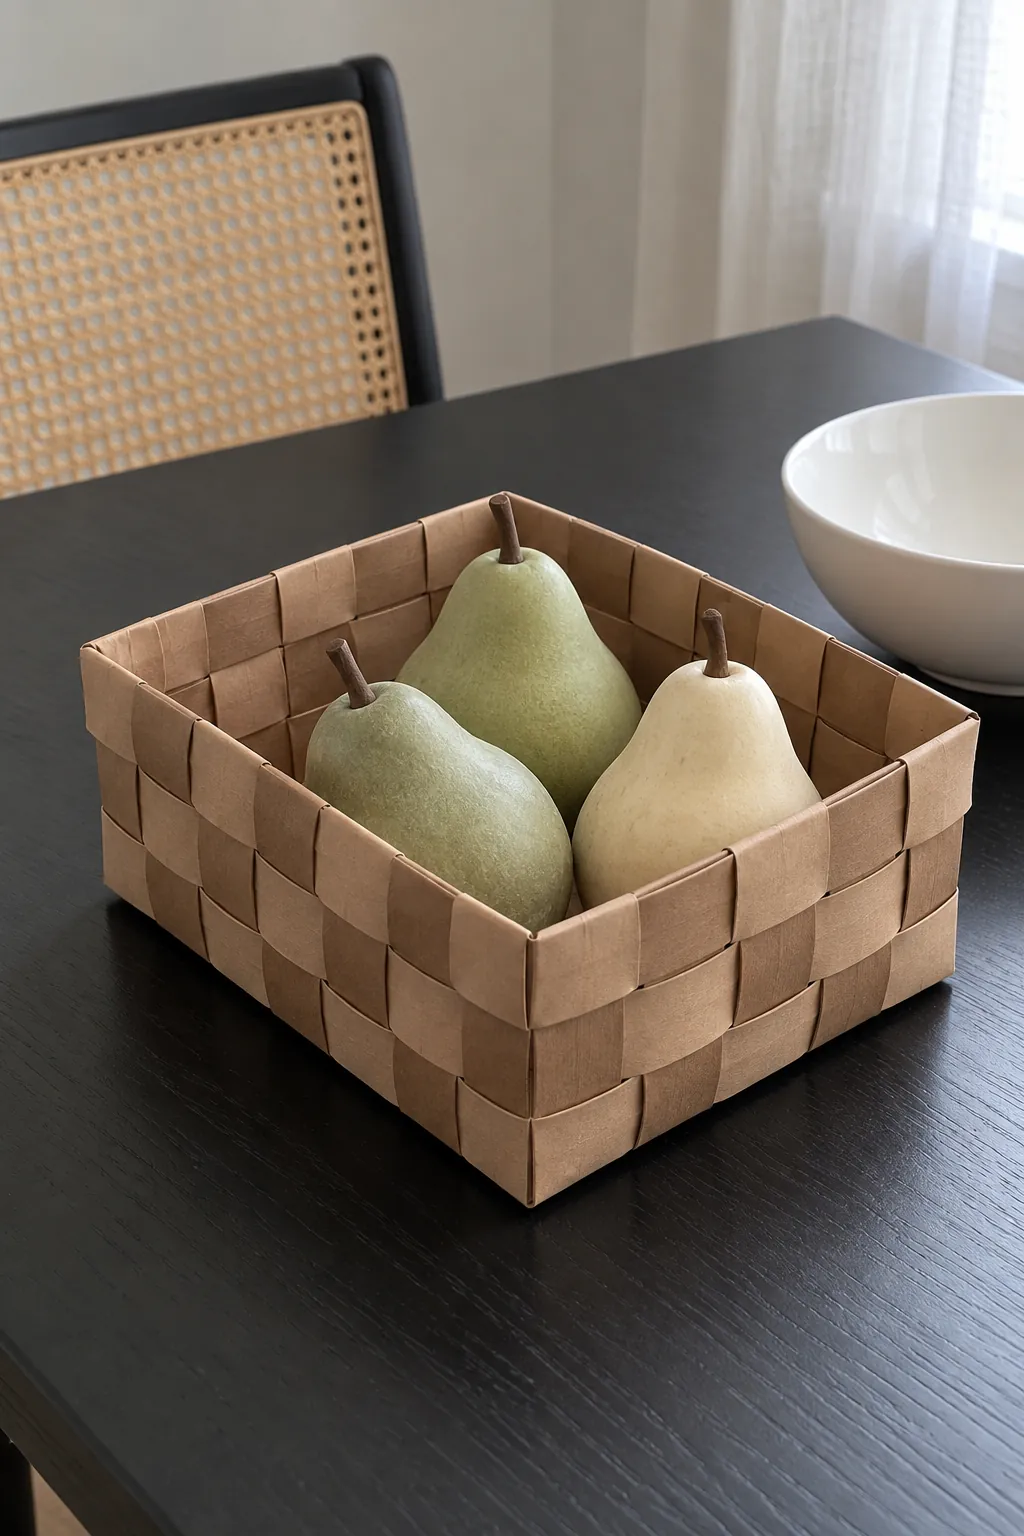
A Woven Paper Basket of Faux Pears
Weave broad cardstock strips into a shallow basket, reinforcing the underside with a second layer of card. Fold the rim inward and glue it securely so there are no sharp projecting corners. Fill it with a few lightweight faux pears that you can wipe clean before setting out. Keep the basket decorative only, since ordinary craft paper and glue are not a food serving surface.
A Linen Ribbon Table Garland
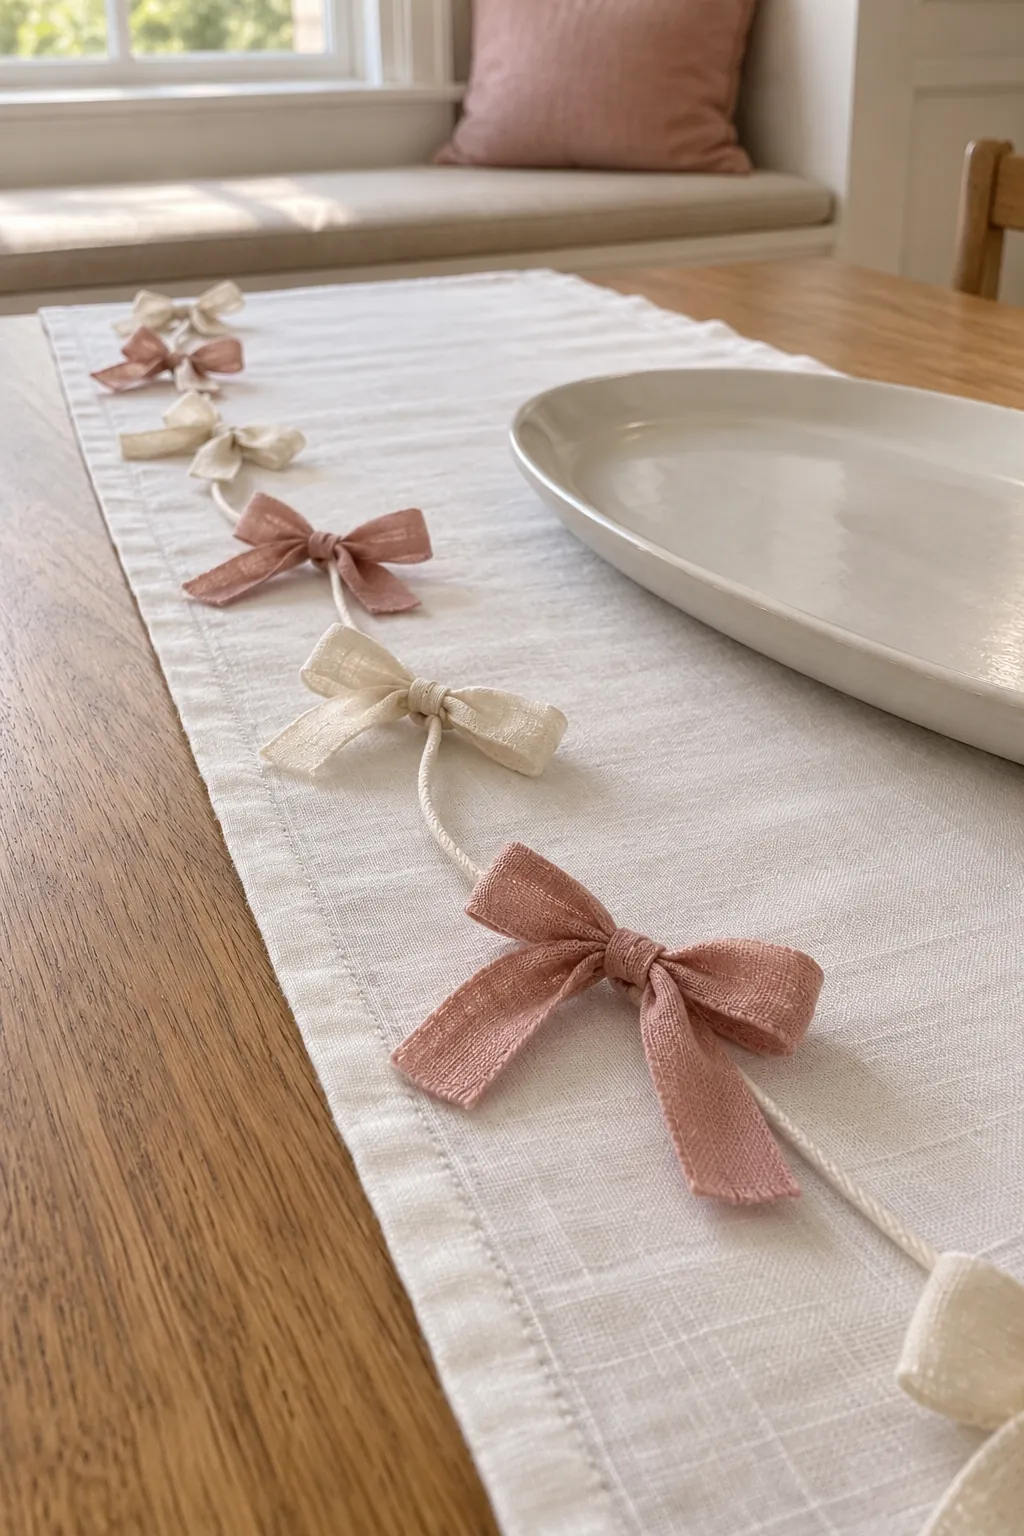
Tie short linen ribbon bows along a strong cotton cord, spacing them so the knots do not form a thick ridge. Lay the garland along one edge of the runner instead of across the places where bowls will sit. Choose soft loops without trailing ends that could catch a sleeve. Wind the completed garland around a piece of cardboard so it stays untangled until the holiday.
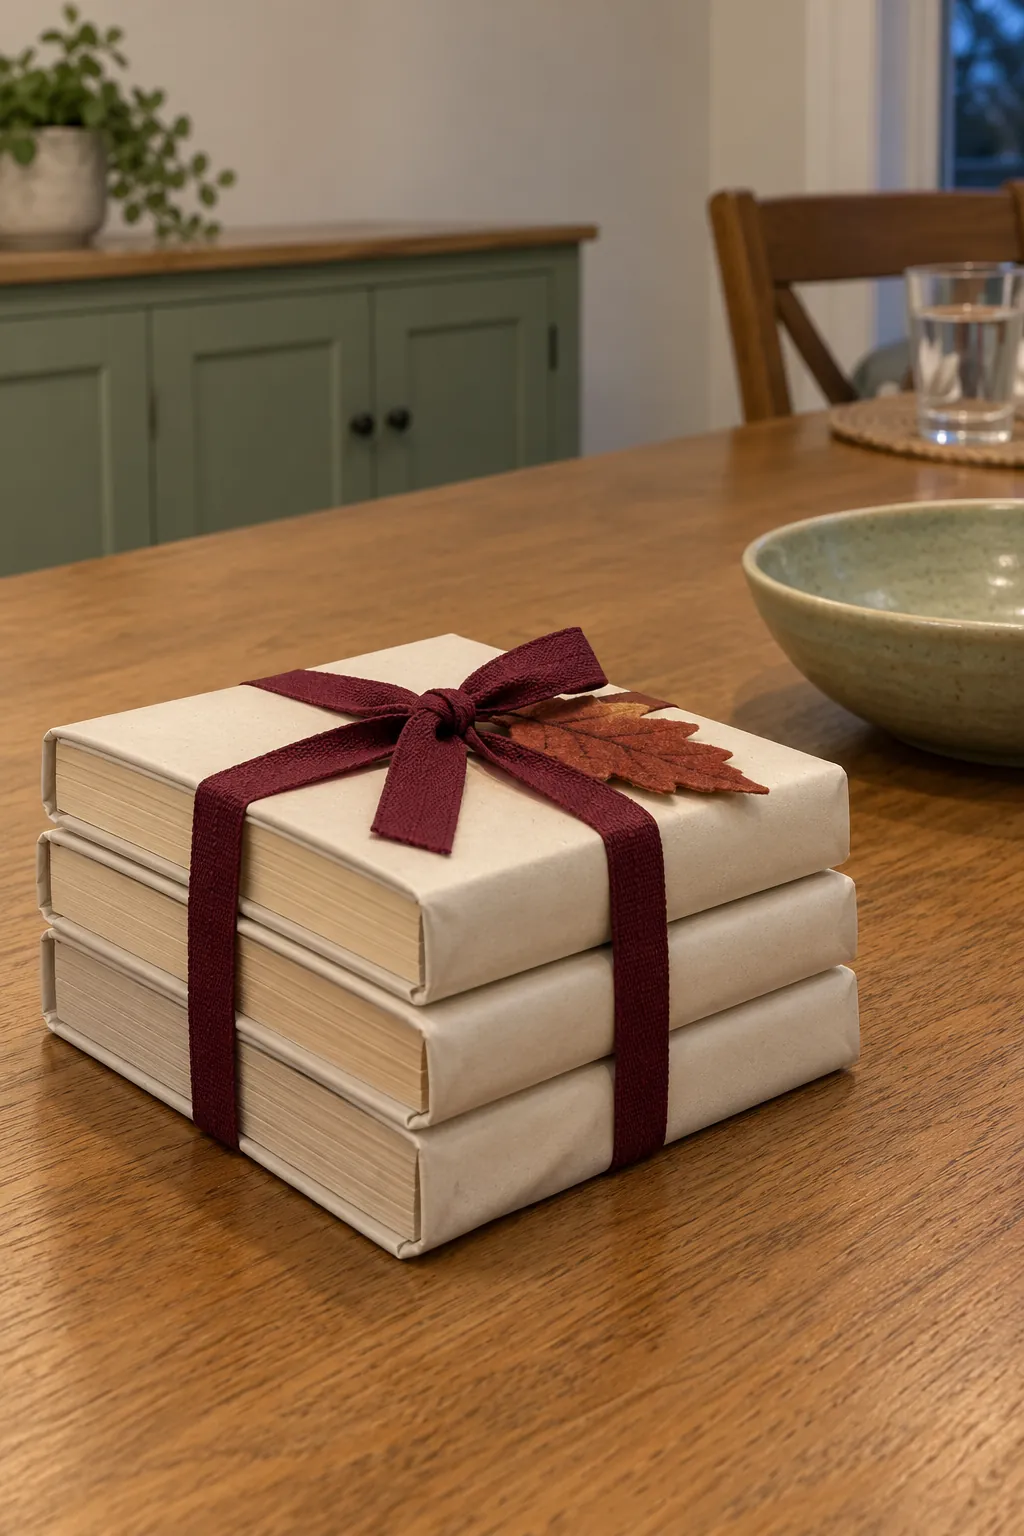
Decorative Miniature Book Stacks
Cover two or three small discarded books with removable plain paper jackets. Wrap each stack with a narrow burgundy ribbon and tuck a felt leaf under the knot. Use the stack as a decorative anchor beside a low bowl, keeping it separate from wet glasses and hot serving dishes. Do not use books as food risers, since moisture and spills can damage both the covers and the table beneath them.
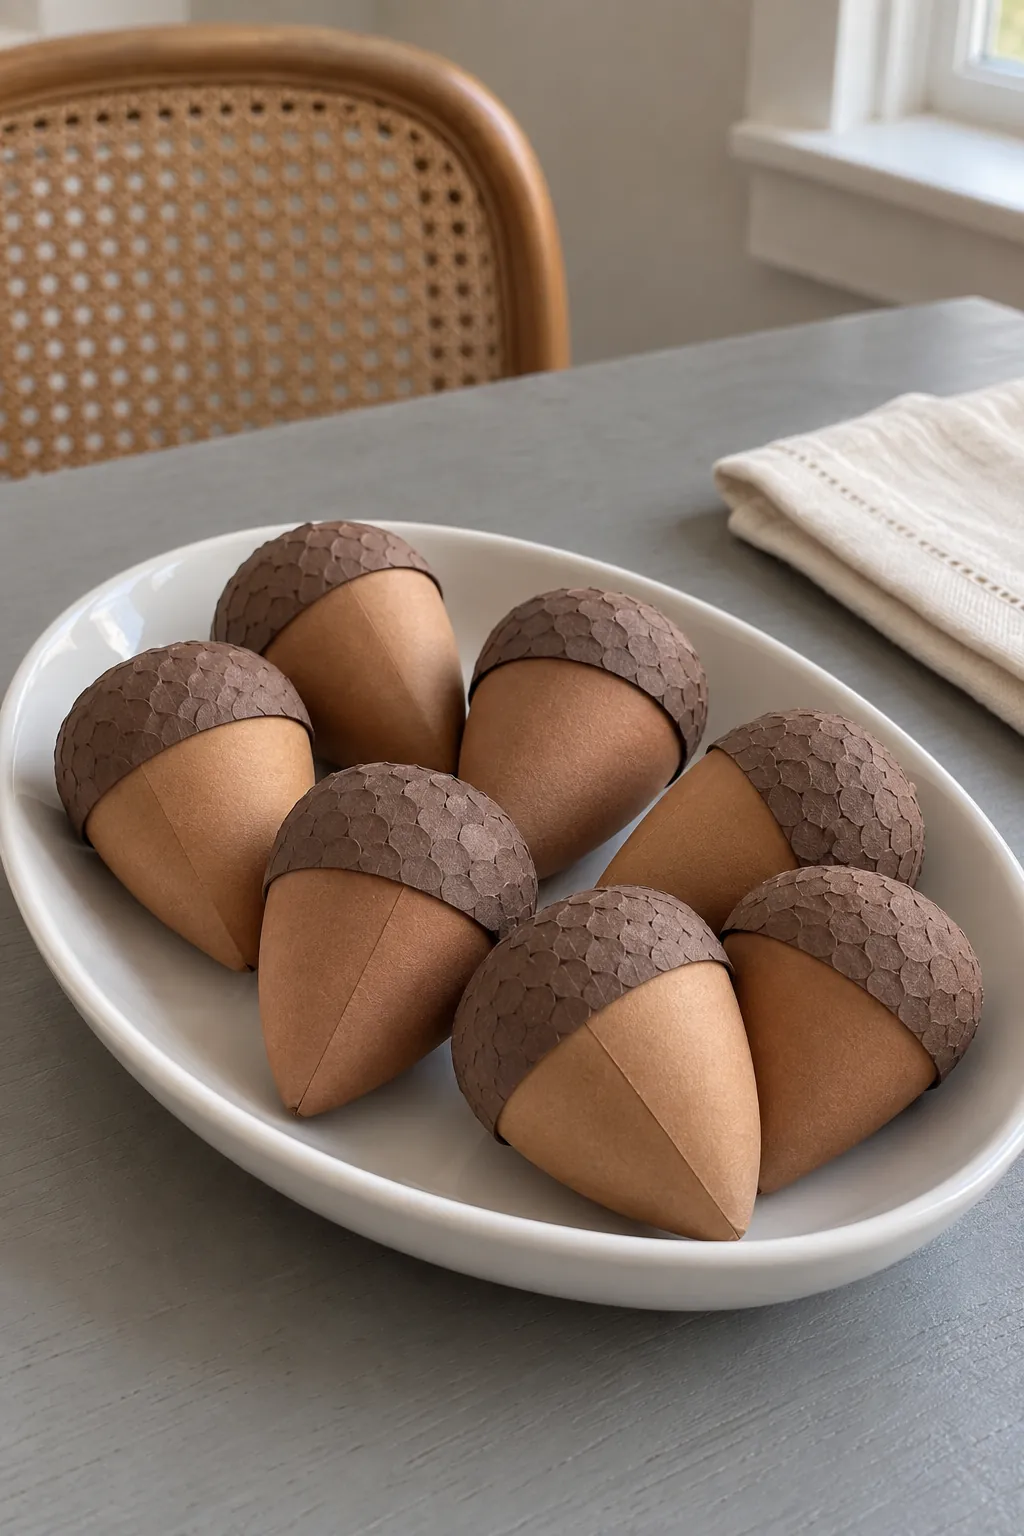
A Shallow Dish of Paper Acorns
Roll small paper cones for the acorn bodies and glue rounded caps made from textured cardstock over the openings. Choose a warm brown body and a darker cap so the shapes stay recognizable without painted details. Make the pieces large enough to read as decorations rather than loose crumbs on the table. Store them in the shallow dish you will use for dinner, with a cover that does not press on the caps.
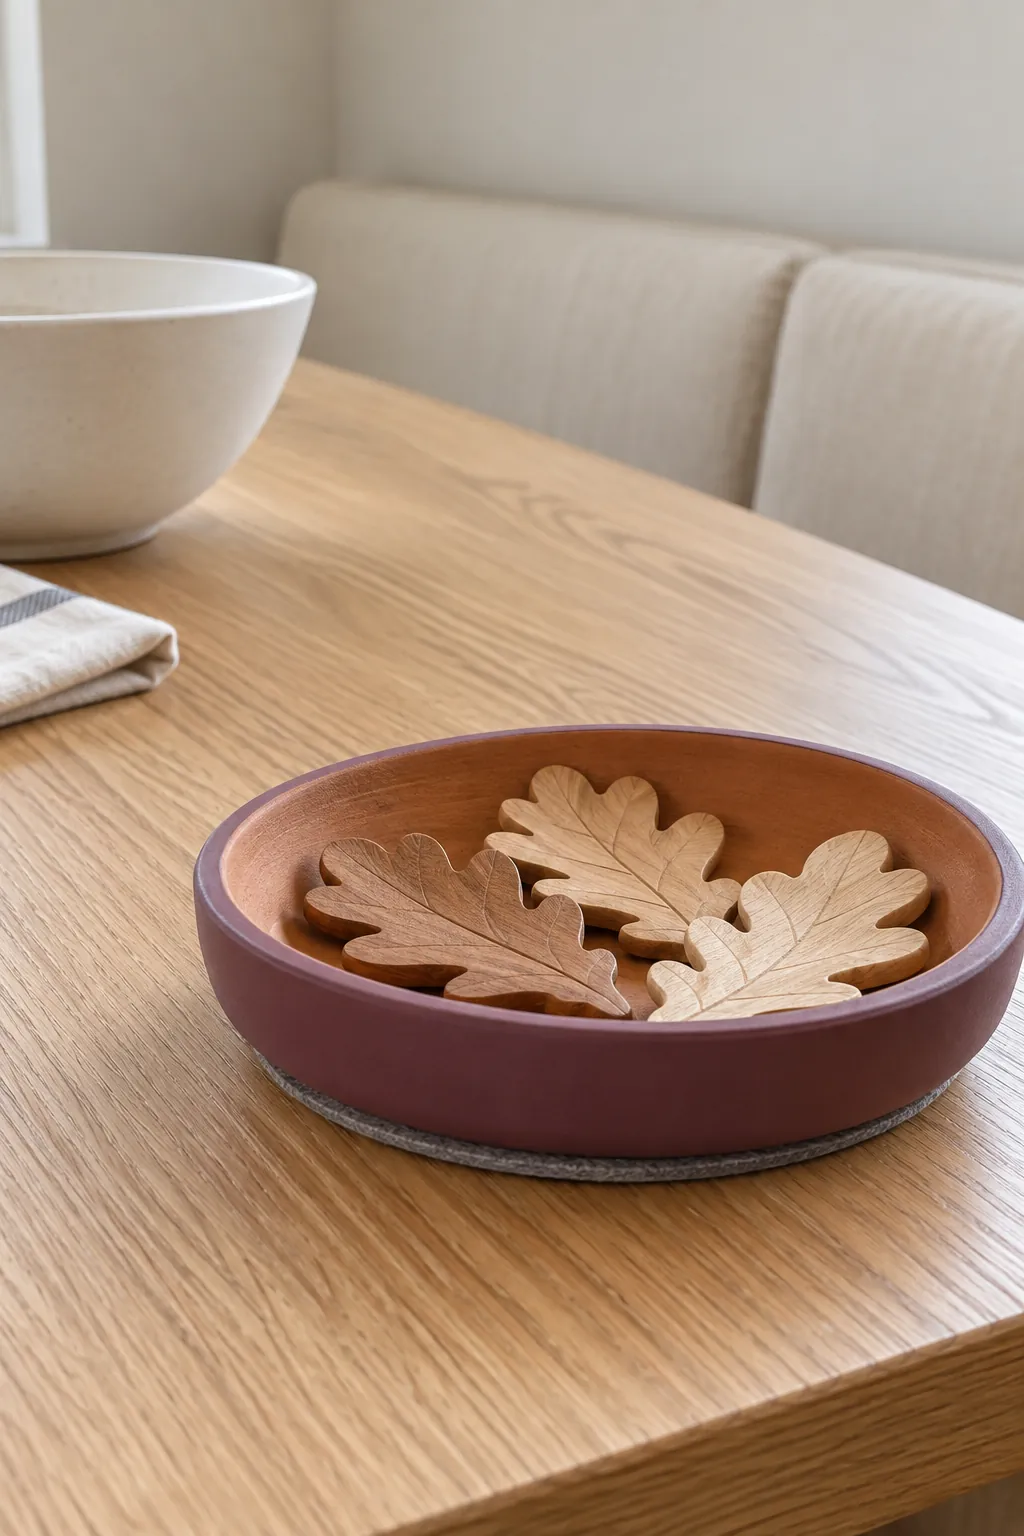
A Painted Terracotta Saucer Arrangement
Paint the outside and rim of a small terracotta saucer, leaving the base dry and smooth. Once the finish has cured according to its label, fit a felt pad underneath to protect the table. Arrange clean wooden leaf shapes inside with their points directed inward. The saucer contains the decoration in a compact footprint and can move to a sideboard when extra serving space is needed.
A Fabric Scrap Table Mat
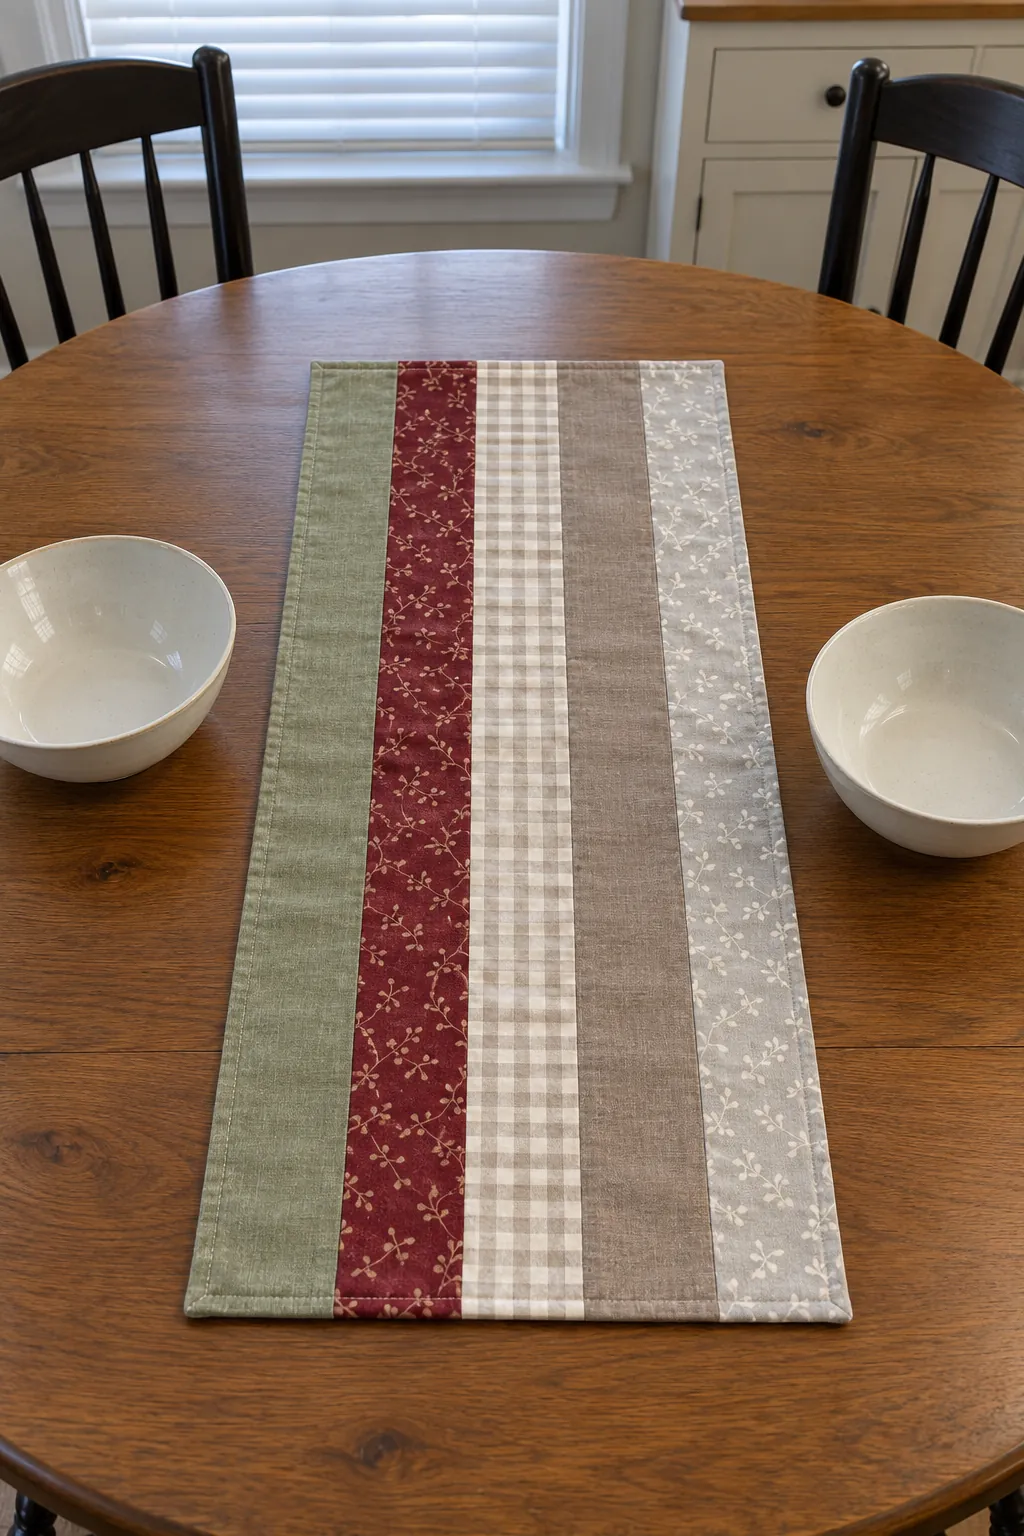
Sew several coordinating fabric strips into a narrow rectangular mat, then add a plain backing and turn the edges inward. Press it flat so bowls placed nearby will not catch on curled corners. Use it as a decorative center layer rather than claiming it will protect the table from heat. Wash or spot clean it according to the fabrics used, then store it flat to keep the seams from forming ridges.
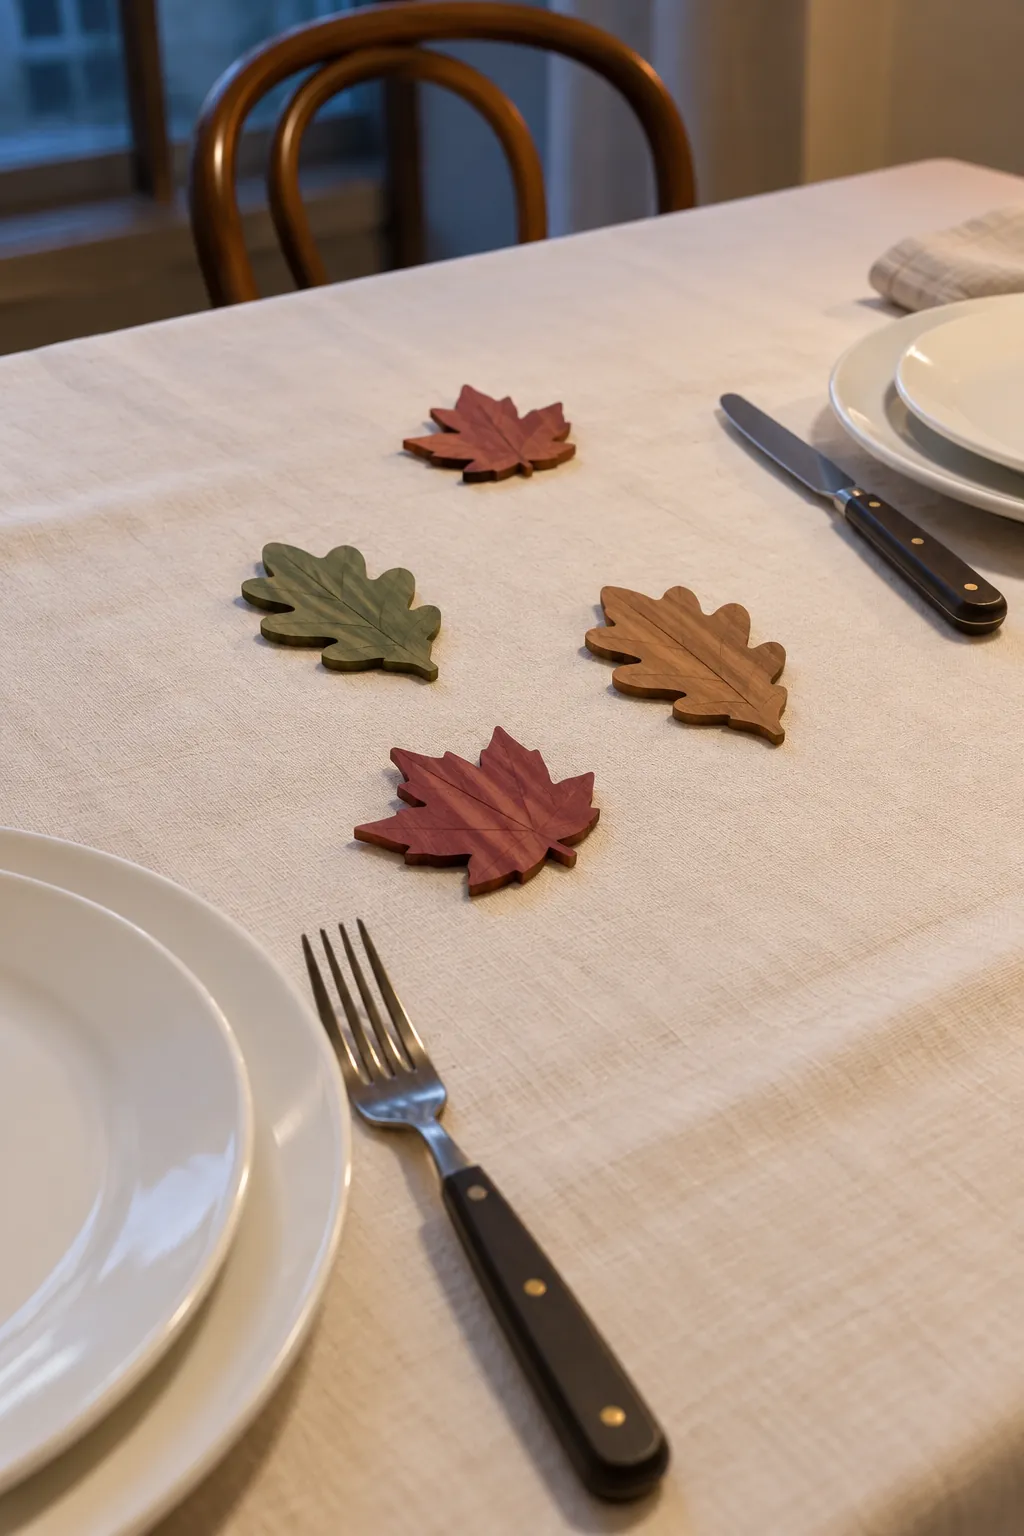
A Reusable Wooden Leaf Scatter
Sand small wooden leaf shapes until their edges feel smooth, then apply a thin wash of muted fall color. Let them dry completely and check that the color does not rub off on a damp cloth. Place only a few between settings, leaving the area around utensils empty. Collect them into a small pouch after the meal so the same set is ready for another year.
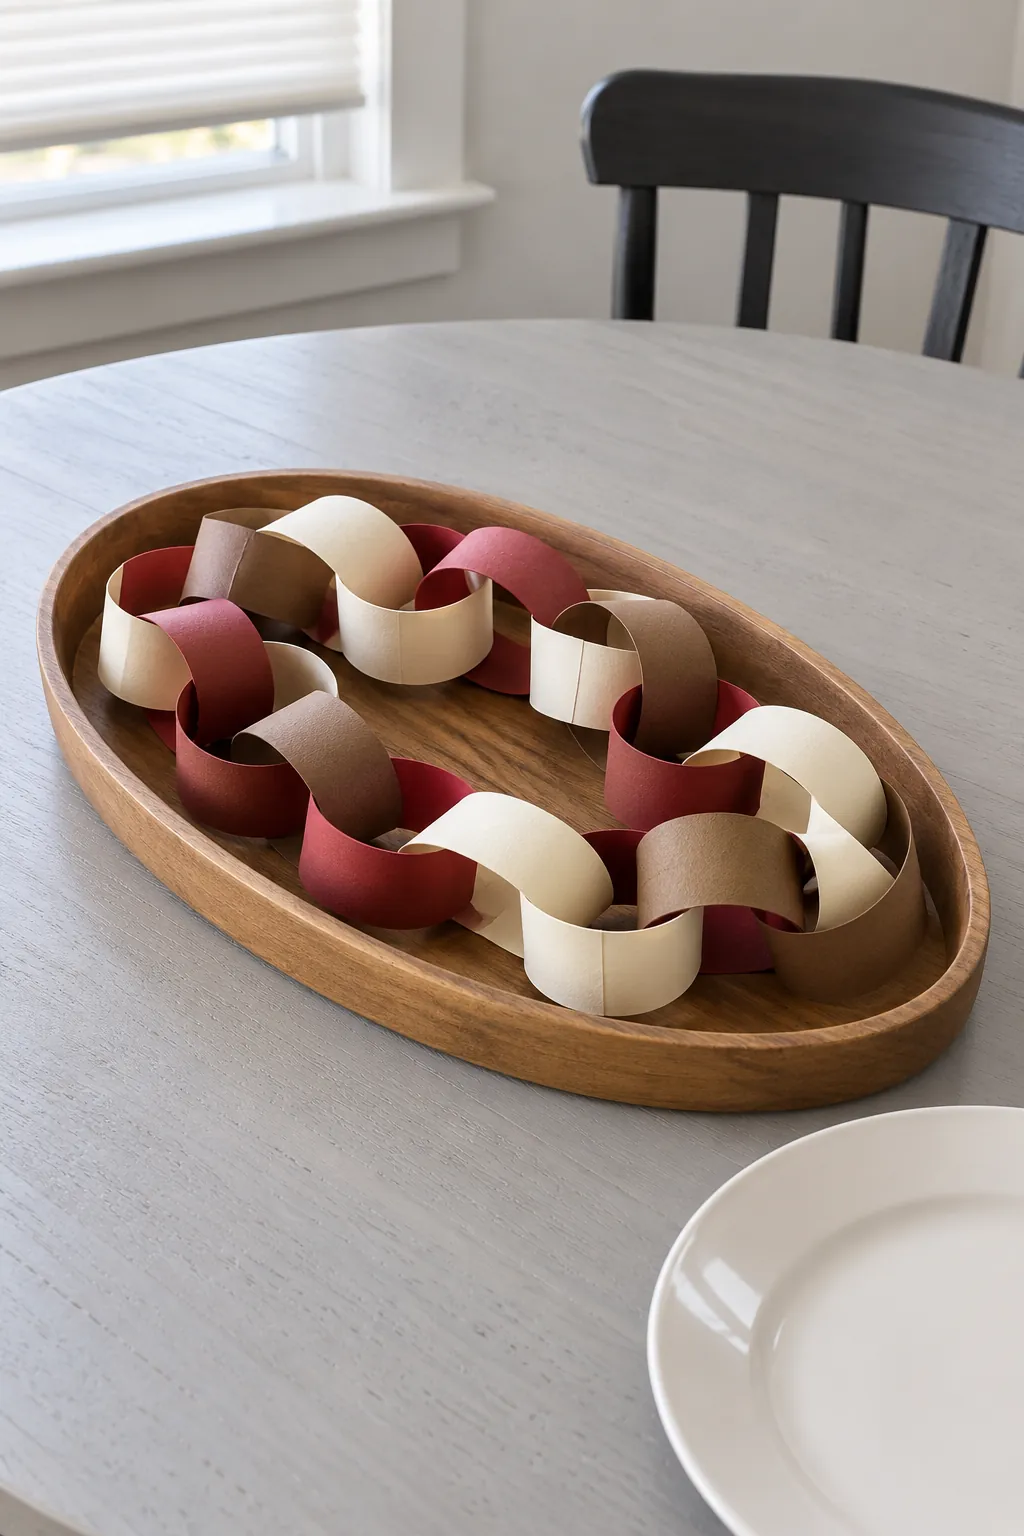
A Compact Paper Chain Centerpiece
Cut short cardstock strips and link them into a chain with each join facing downward. Alternate cream, cranberry, and soft brown links for a defined palette without glitter. Coil the chain loosely inside an oval tray so it reads as a centerpiece instead of crossing the serving area. Photograph the arrangement for your own setup reference, then store the tray covered without stacking anything on top.
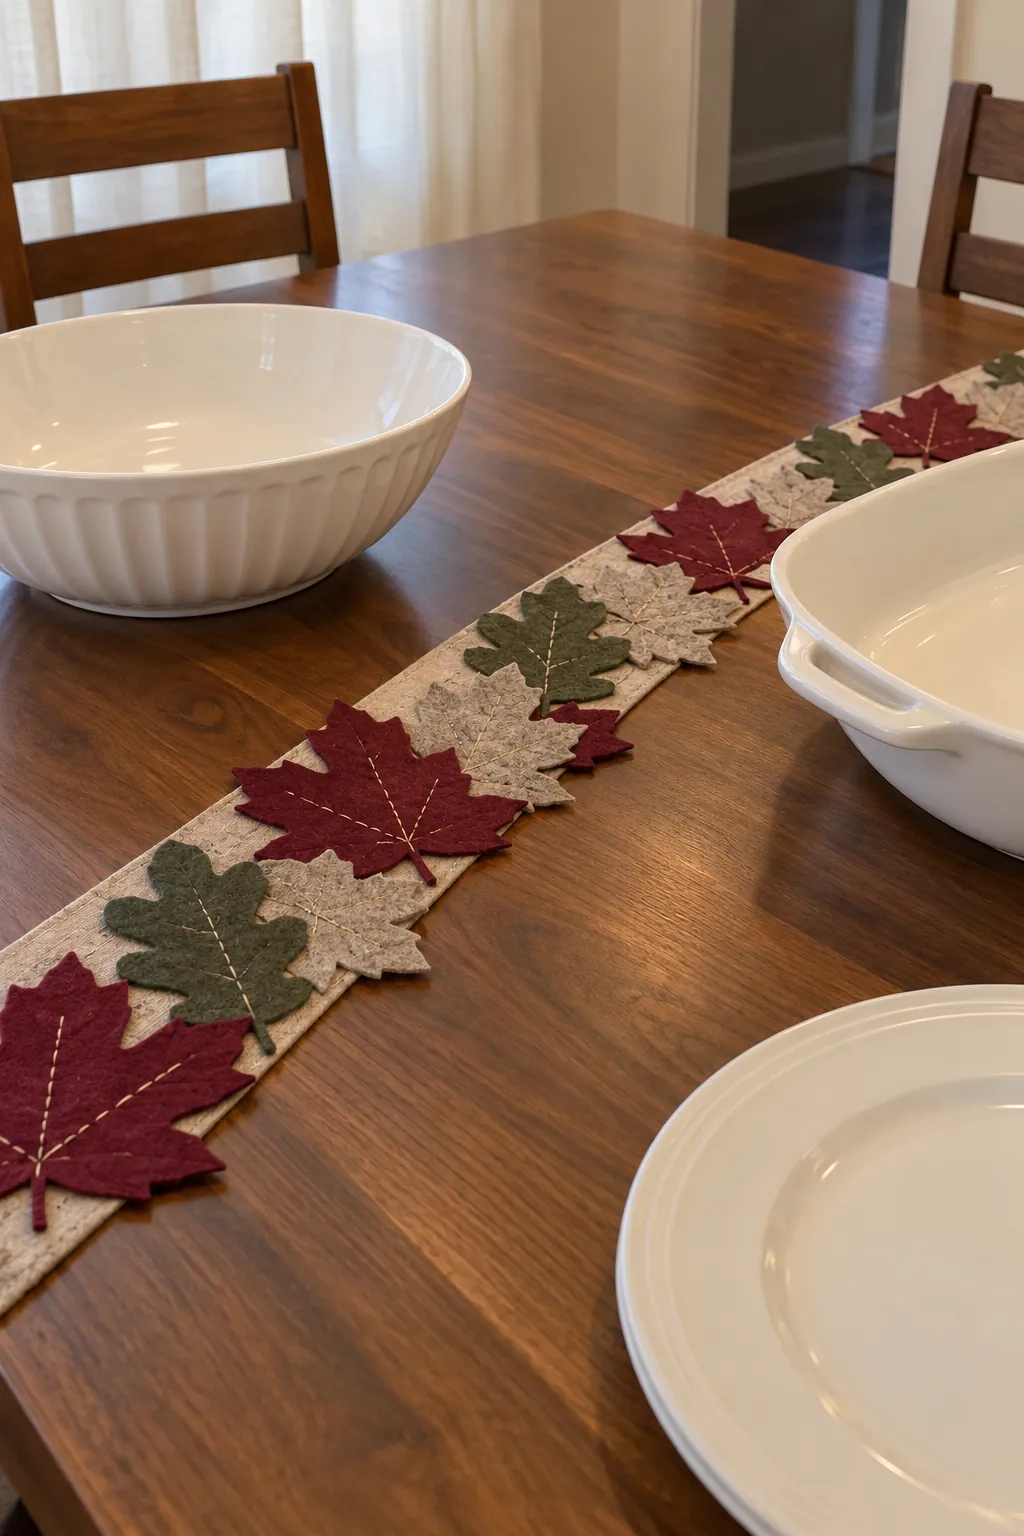
A Flat Felt Leaf Table Border
Cut a family of oak and maple leaves from firm felt, using two sizes for a more natural rhythm. Stitch the leaves onto a narrow fabric strip with their edges slightly overlapping. Lay the border near the middle of the table and check that every serving dish still rests on a flat surface. Roll it loosely with tissue between layers, keeping the leaf points relaxed rather than folded under. When you unpack it, put your empty serving dishes in place first and let the decoration fill only the space that remains.