A box of favorite photographs is easy to collect; a wall that makes them feel at home takes a little editing. Decide what deserves attention before buying more frames, then use scale, spacing, and a few repeated details to hold the display together. Work with the pictures you already care about and the space you actually have.
Give tiny photographs generous mats
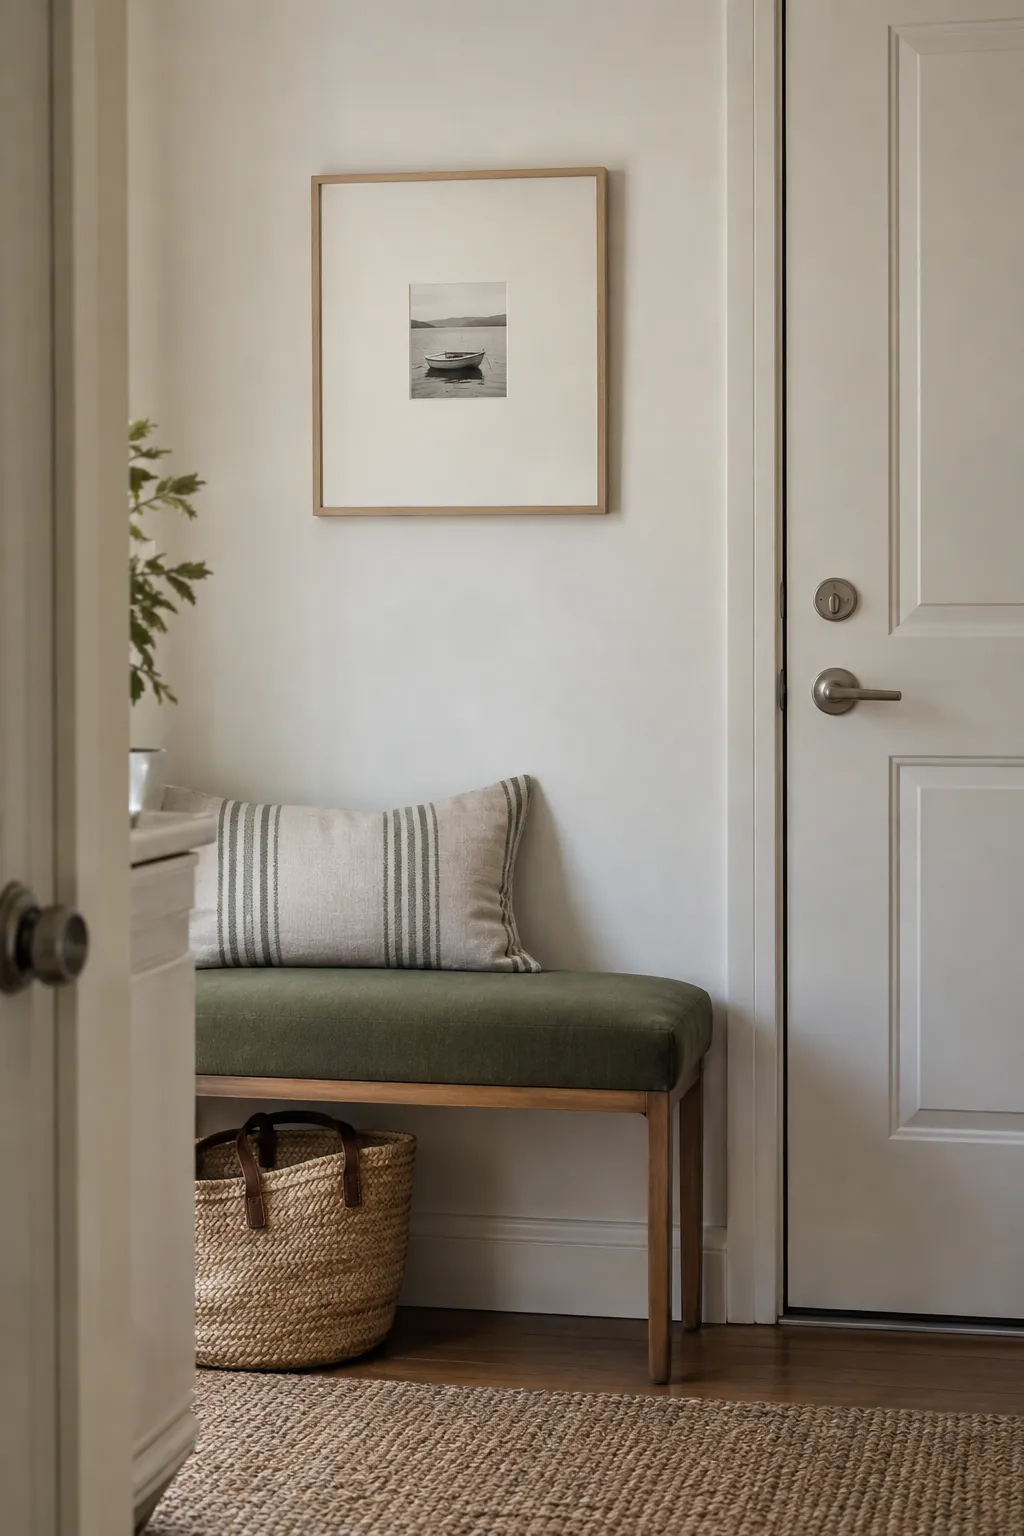
A small photograph can hold a large wall when the surrounding mat gives it room to breathe. Place a favorite print inside a much larger frame with an archival mat, choosing the opening before ordering the frame. An off white border softens a high contrast photograph, while bright white looks sharper against pale walls. Test the finished outer dimensions with paper before assuming the photograph itself is too small.
Build a quiet grid of matching frames
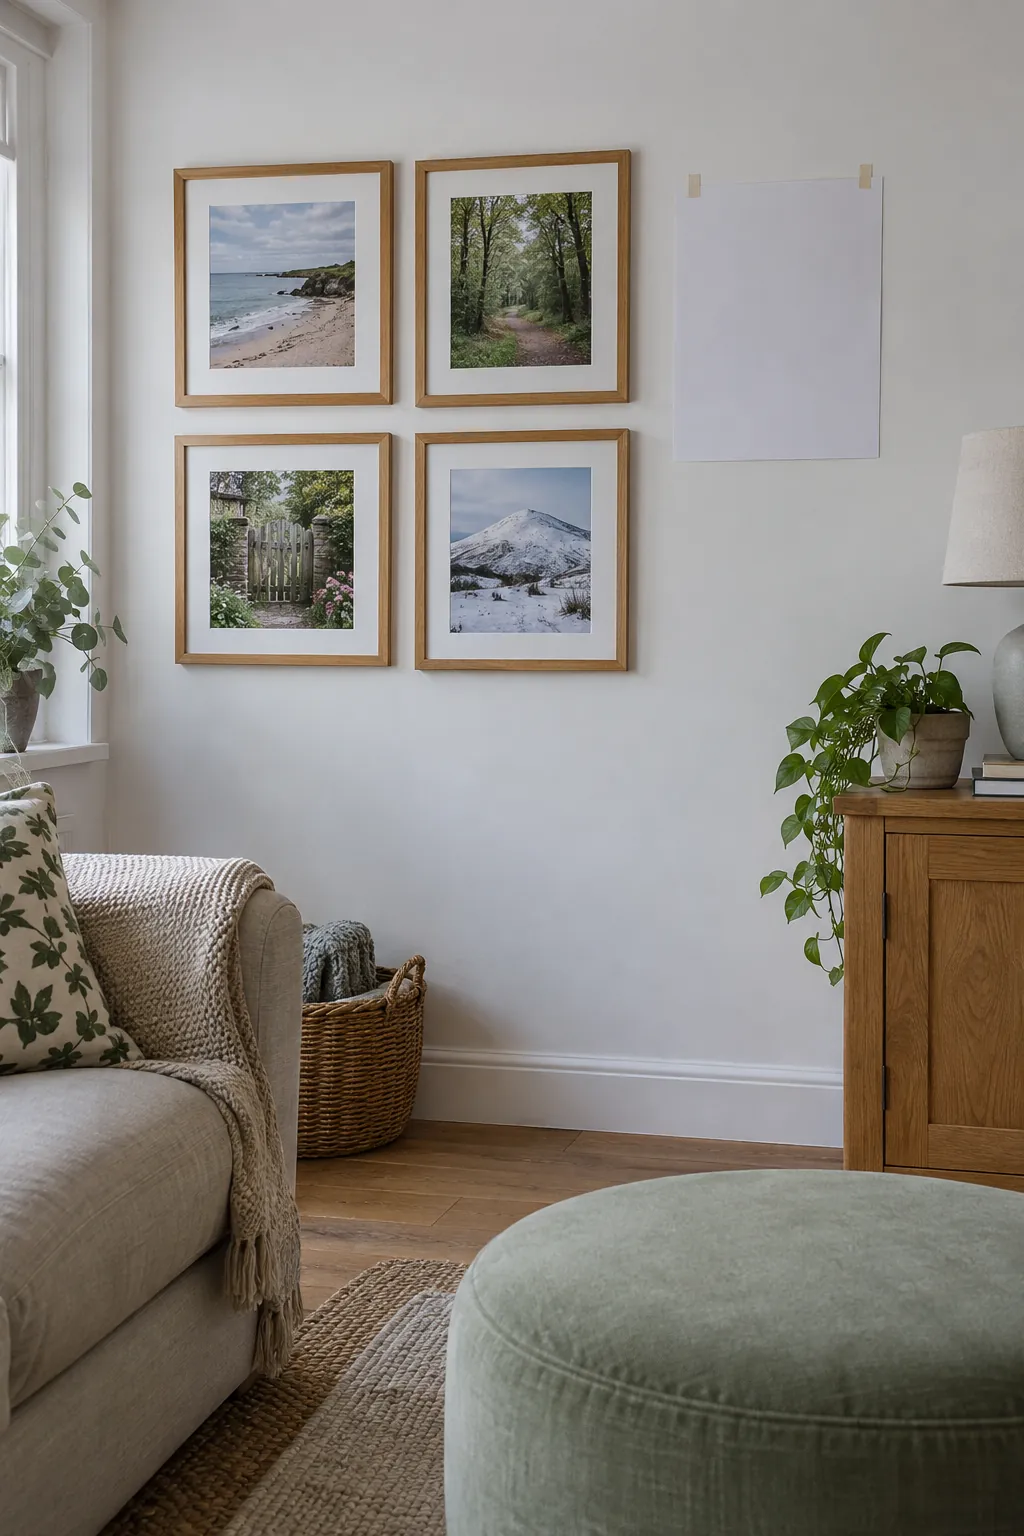
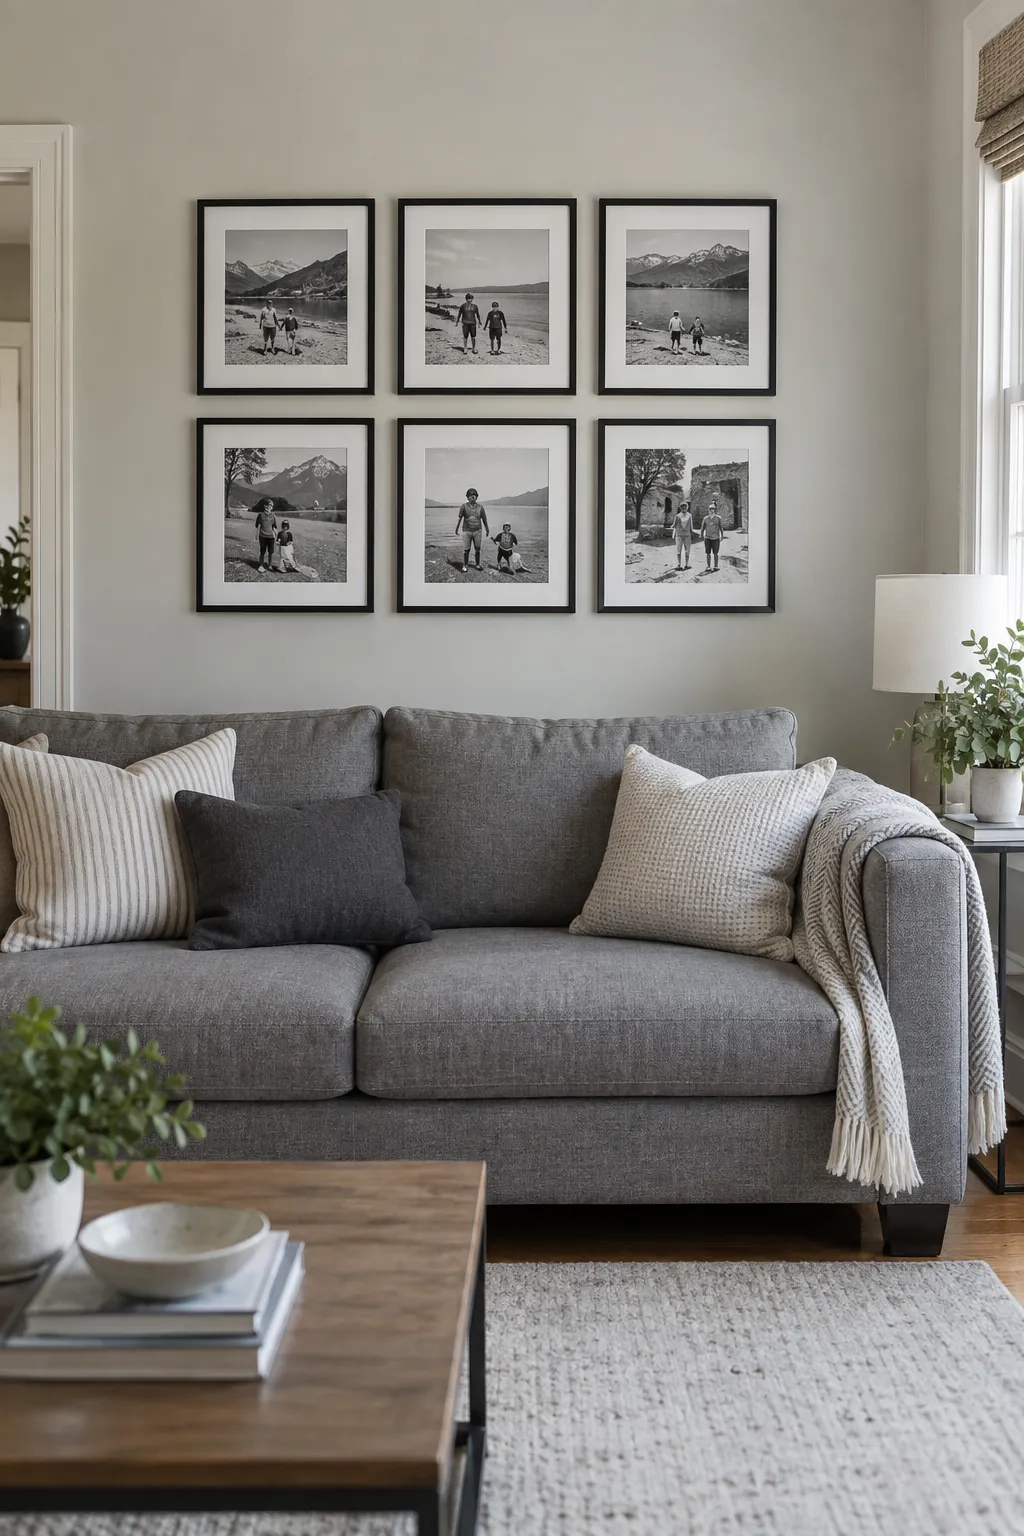
Matching outer frames make family photographs from different years feel like one collection. Start with four or six frames, lay them on the floor, and measure the gaps between the outer edges rather than between the pictures. A cardboard spacer makes those gaps easier to repeat on the wall.
Keep the whole group related to the furniture below it instead of spreading the frames across every available inch. Leave space to open nearby doors without clipping a corner. Photograph the paper layout from across the room to spot a crooked row before drilling.
Repeat one finish through a mixed collection
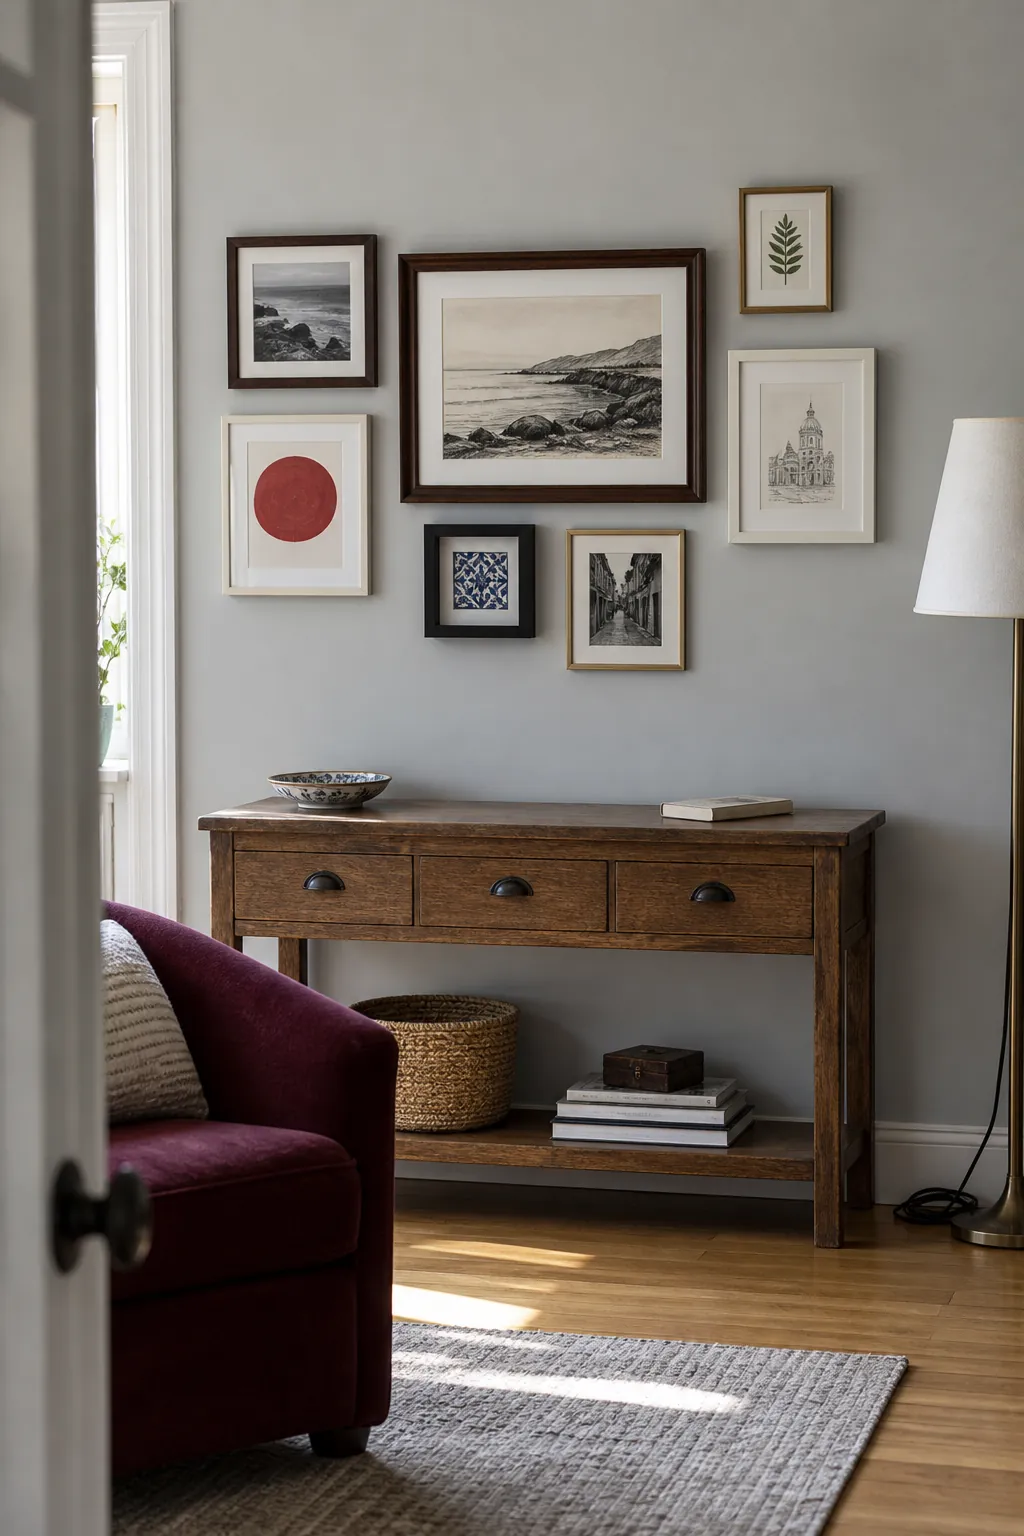
A mismatched gallery wall needs a relationship that the eye can follow. Repeat a walnut finish in a few positions, then let the remaining frames vary in width and shape. Distribute the heaviest looking frames across the arrangement so one corner does not feel overloaded.
Lean overlapping pictures on a ledge
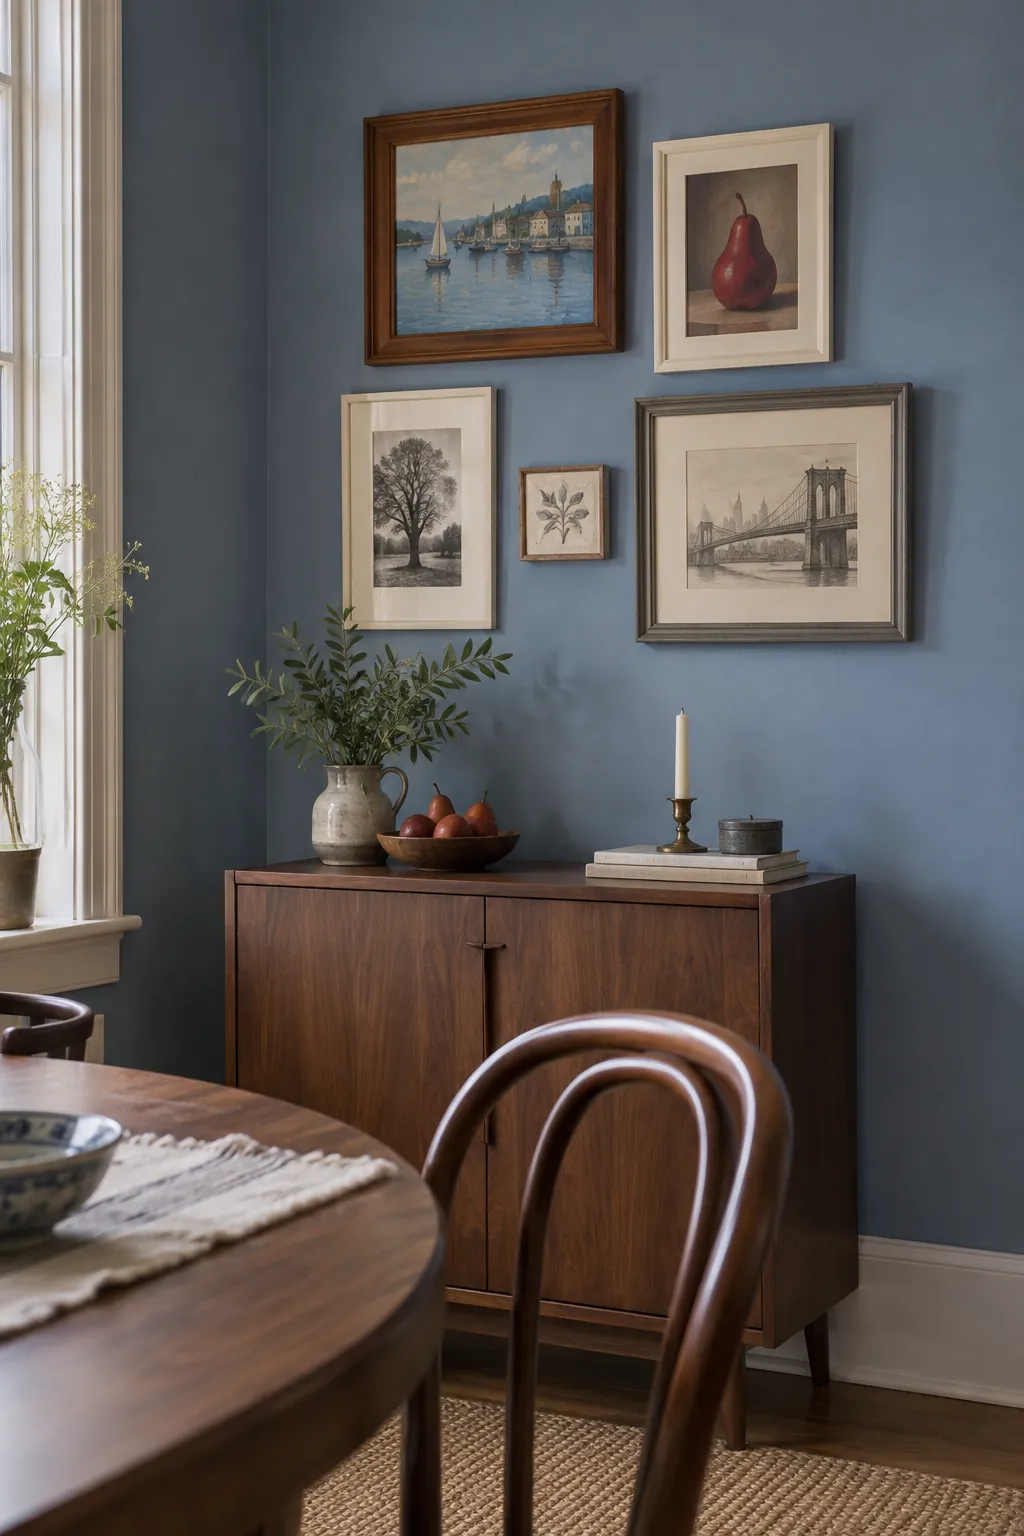
A picture ledge lets you change the display without creating a new set of wall holes. Put the tallest frame at the back and overlap only the quieter edges with smaller pieces so the artwork remains legible. Check the ledge depth against the frame bases before buying either item. Secure the shelf to suitable fixings and restrain frames where children or pets could knock them forward.
Turn a deep frame into a memory box
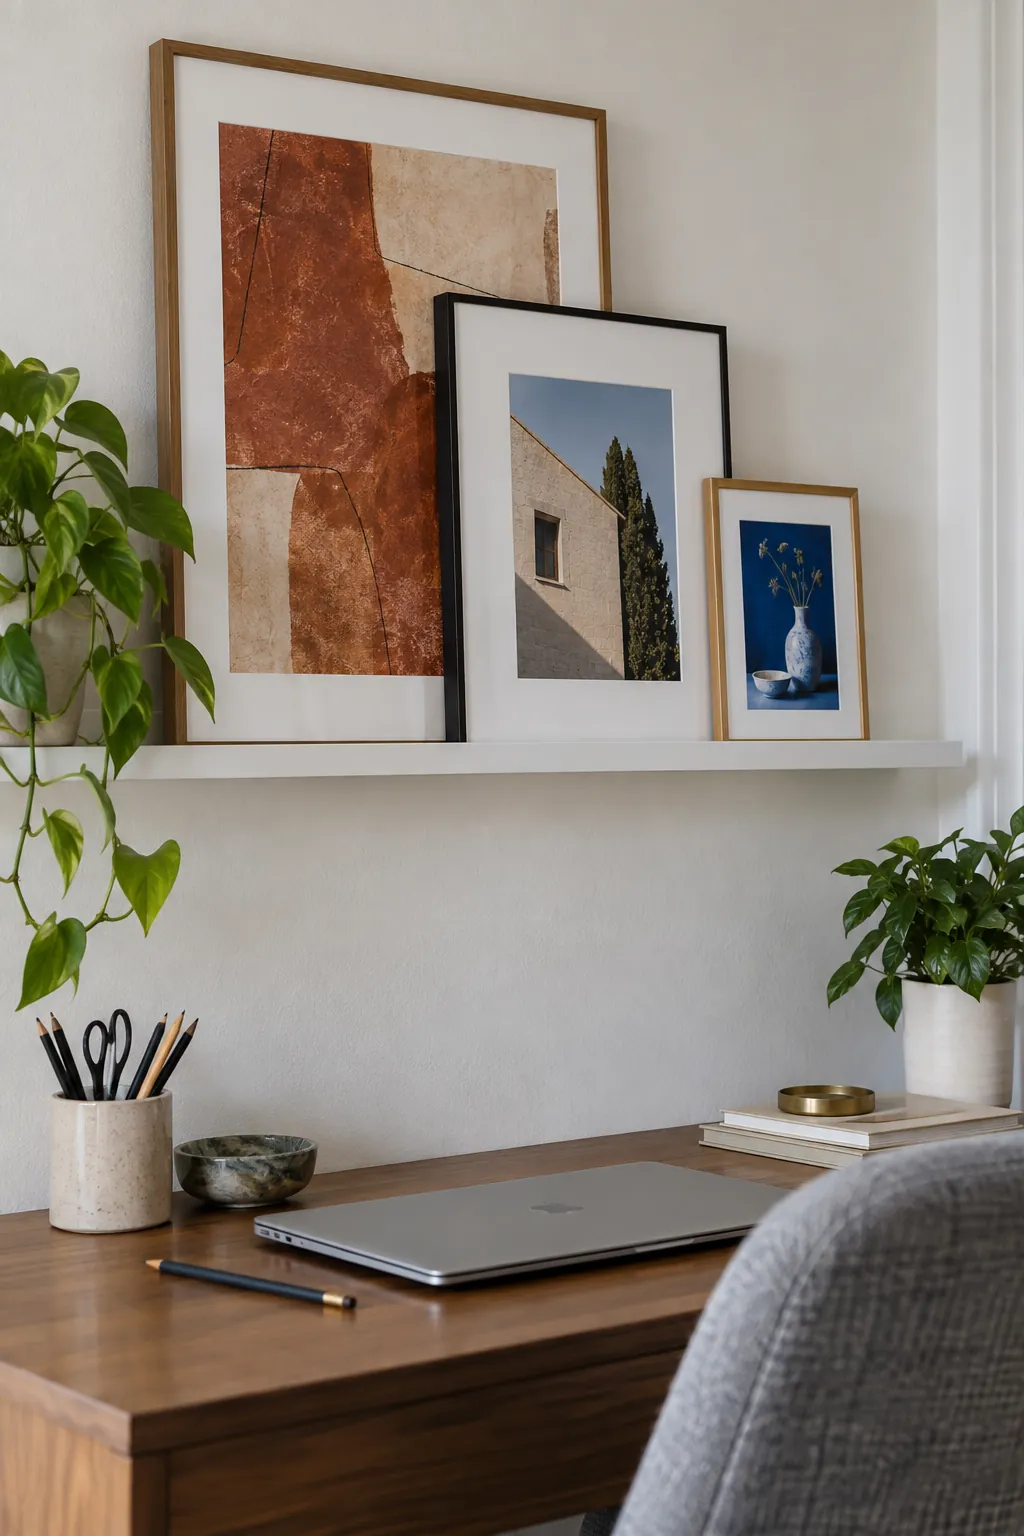
A shadow box gives small keepsakes a place beside a photograph instead of leaving them in a drawer. Combine a ticket, a postcard, and one object from the same occasion so the display tells a specific story. Use reversible mounts suitable for the materials rather than gluing irreplaceable pieces. Leave a little space between the contents and the glazing. Keep vulnerable paper away from direct sun, even when the frame has protective glazing.
Frame a favorite fabric remnant
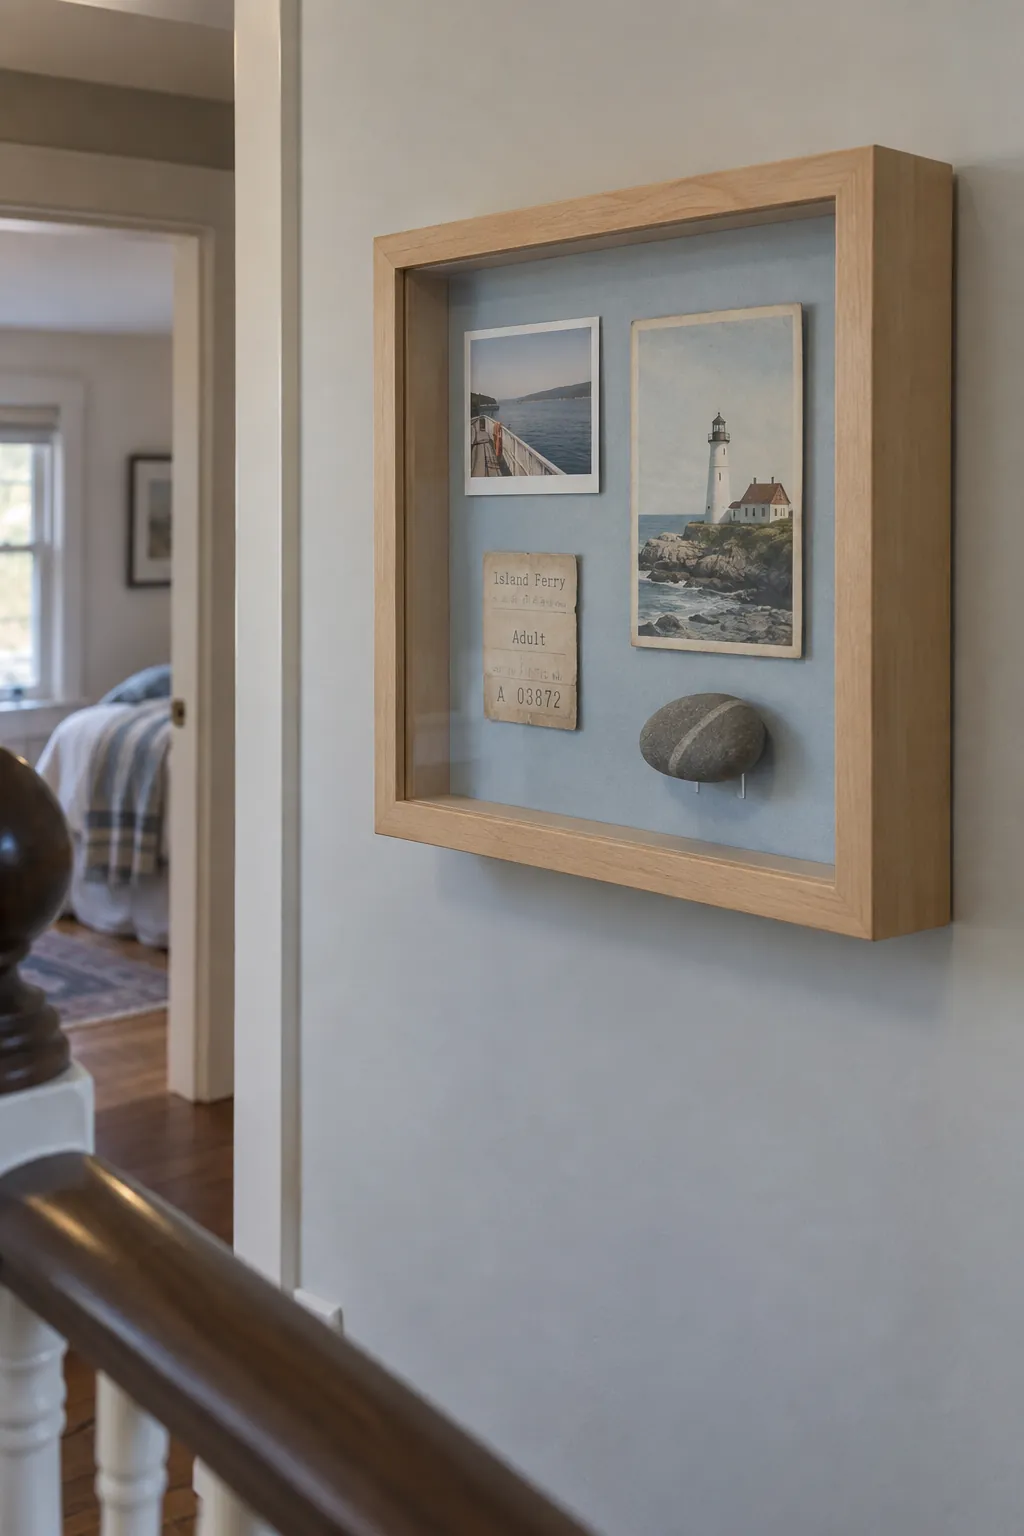
Fabric brings pattern to a wall without committing to wallpaper. Stretch a remnant evenly over a suitable backing and choose a mat or spacer that keeps it away from the glass. A bold woven motif can carry a narrow hallway on its own, so resist adding several competing prints nearby.
Make one large frame the anchor
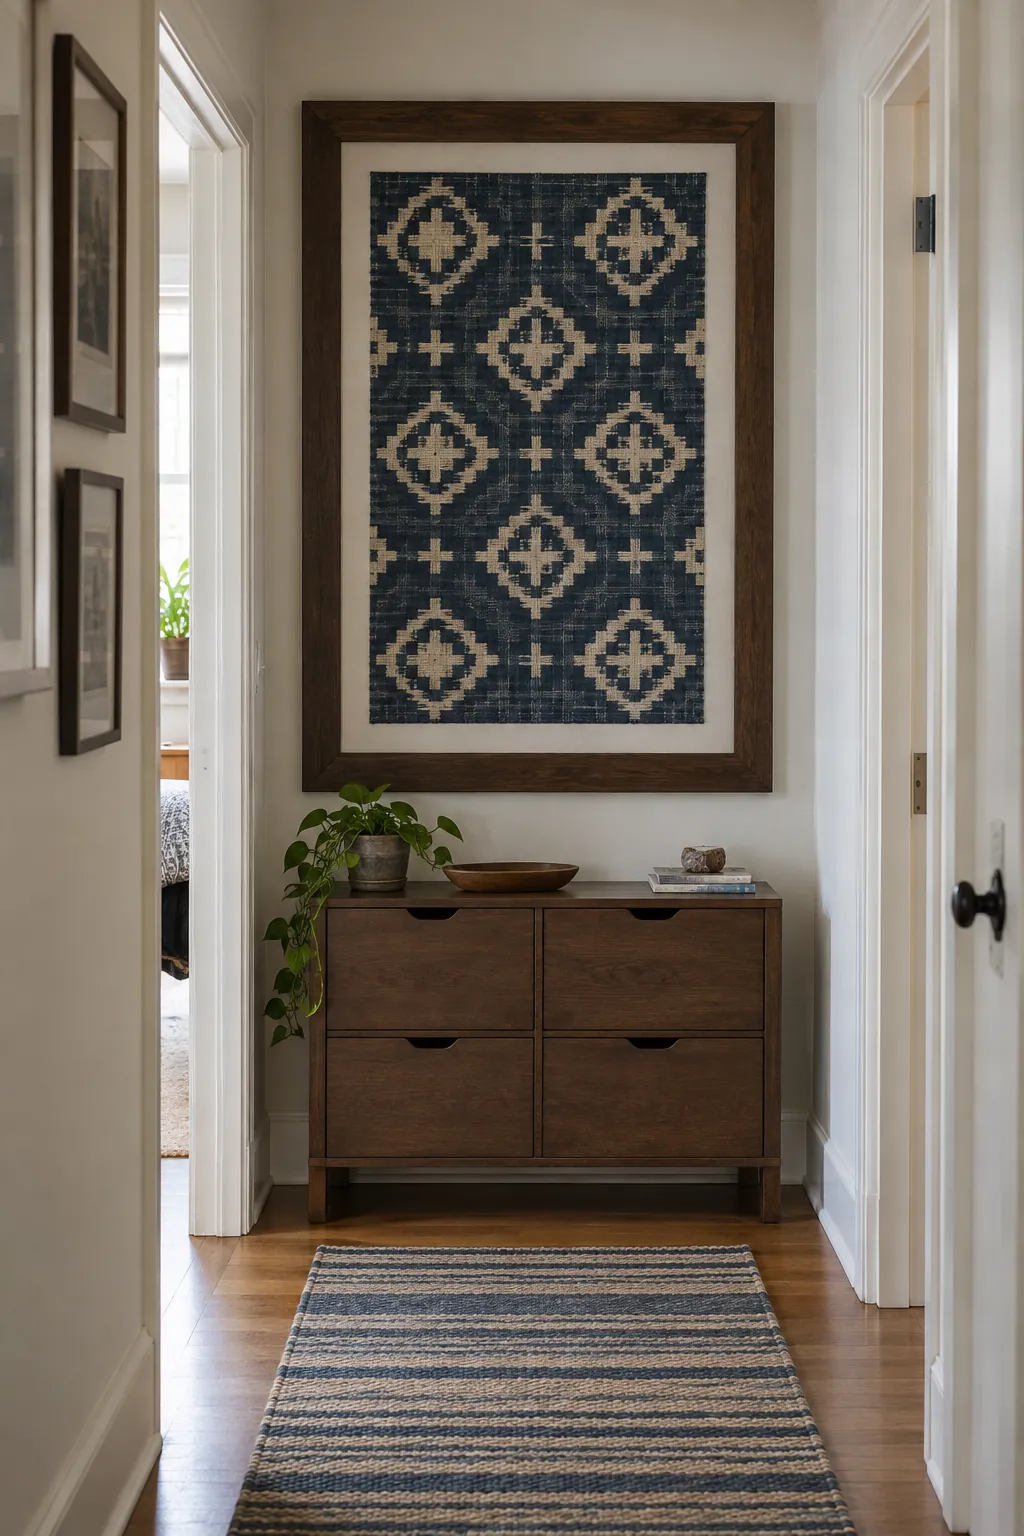
One substantial picture gives smaller frames something to gather around. Position the large piece first, then build outward using paper templates until the group feels balanced from the doorway. The smaller frames do not need to form a perfect rectangle. Keep their gaps visually related so the edges feel connected rather than scattered.
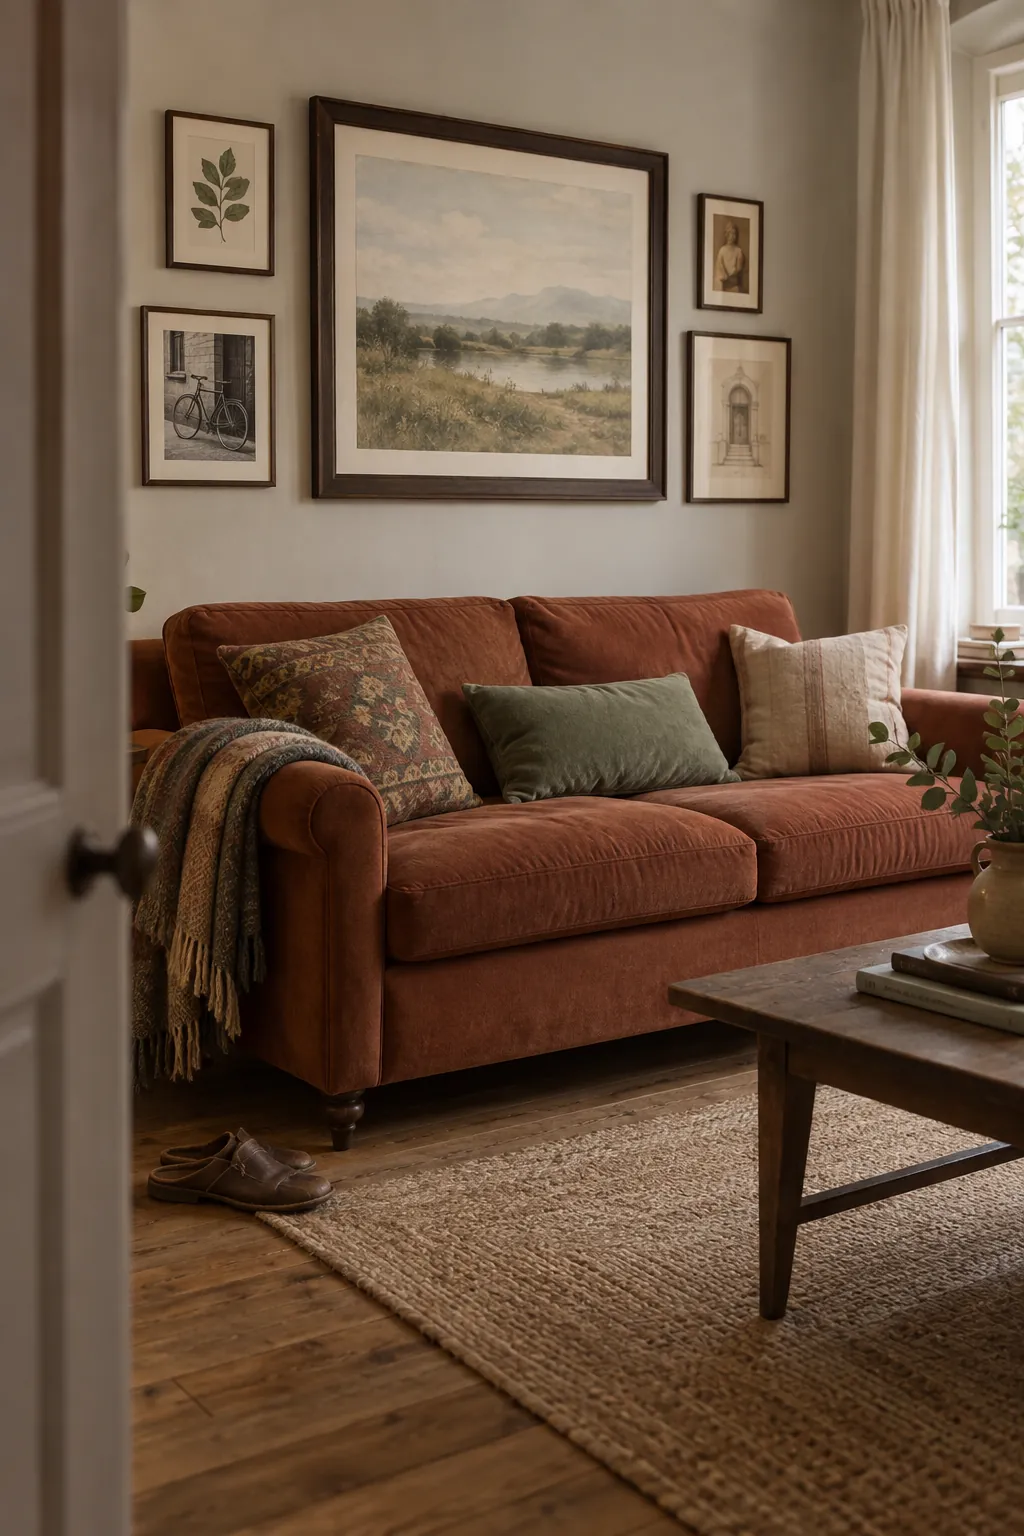
Paint thrifted frames a single color
A shared paint color can rescue a collection of inexpensive frames with unrelated profiles. Remove the artwork and glazing before cleaning, preparing, and coating the surfaces with products suitable for their material. Test adhesion on an inconspicuous area before doing the full batch. Skip sanding old painted frames of unknown age unless their coating has been assessed for lead. A muted blue or deep green often leaves more character visible than a glossy coat.
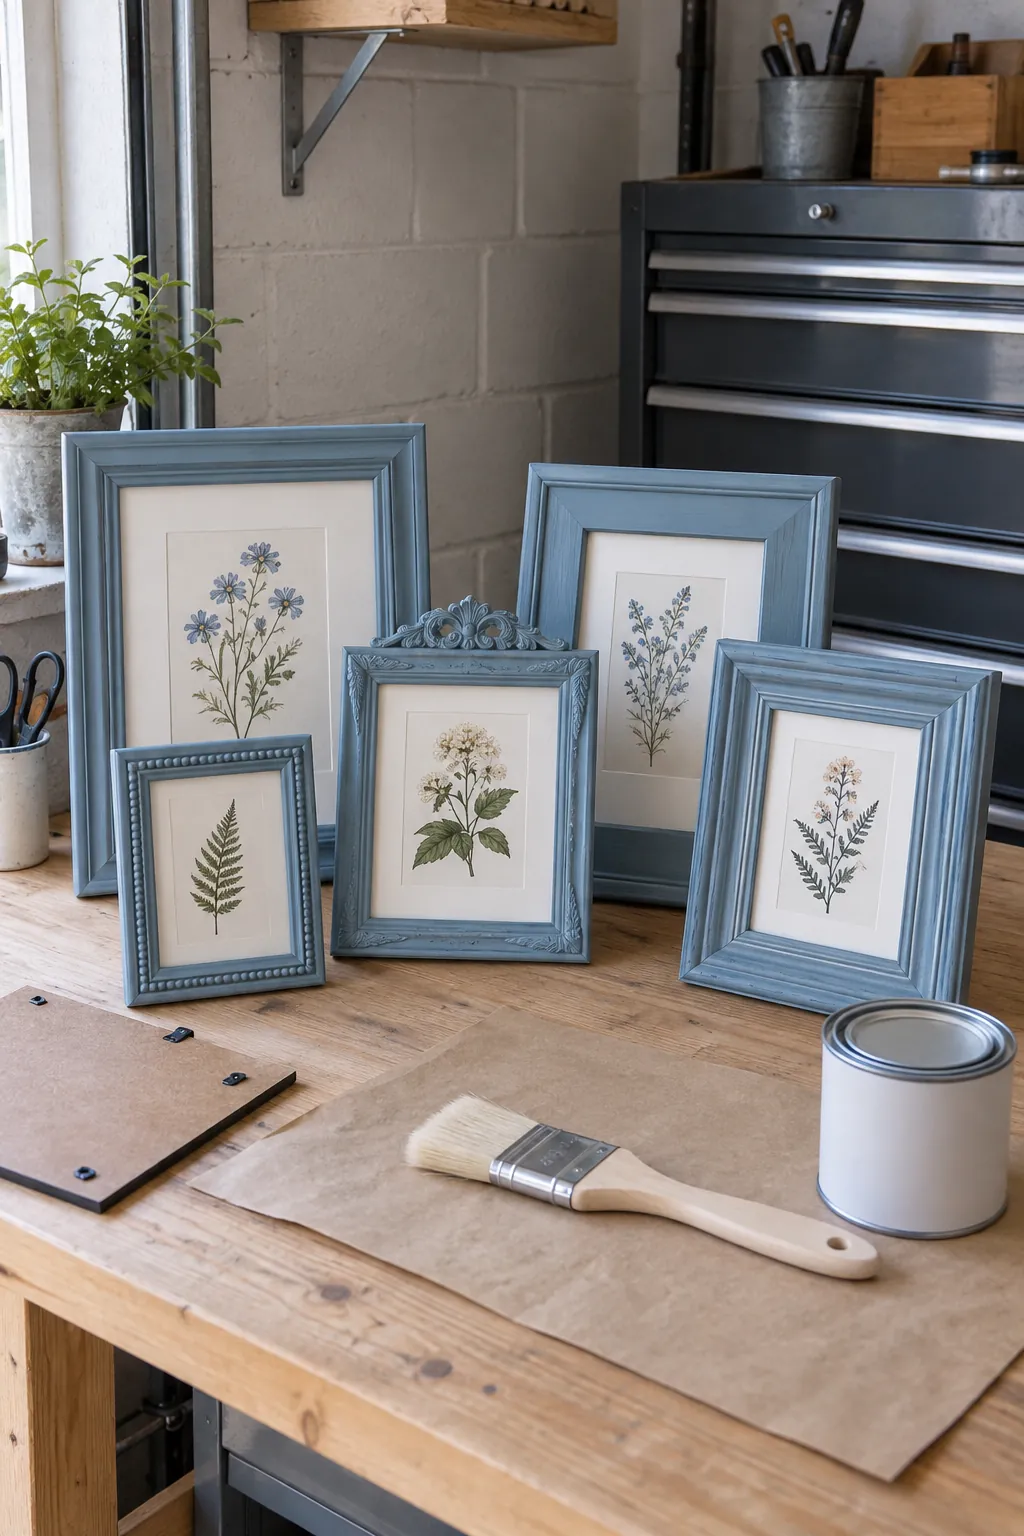
Add a narrow painted inner border
An inner color border can connect a plain frame to a detail inside the art. Try a separate painted slip or a professionally cut colored mat rather than painting directly onto a valuable picture. Keep the accent narrow enough that it behaves like punctuation instead of becoming a second subject.
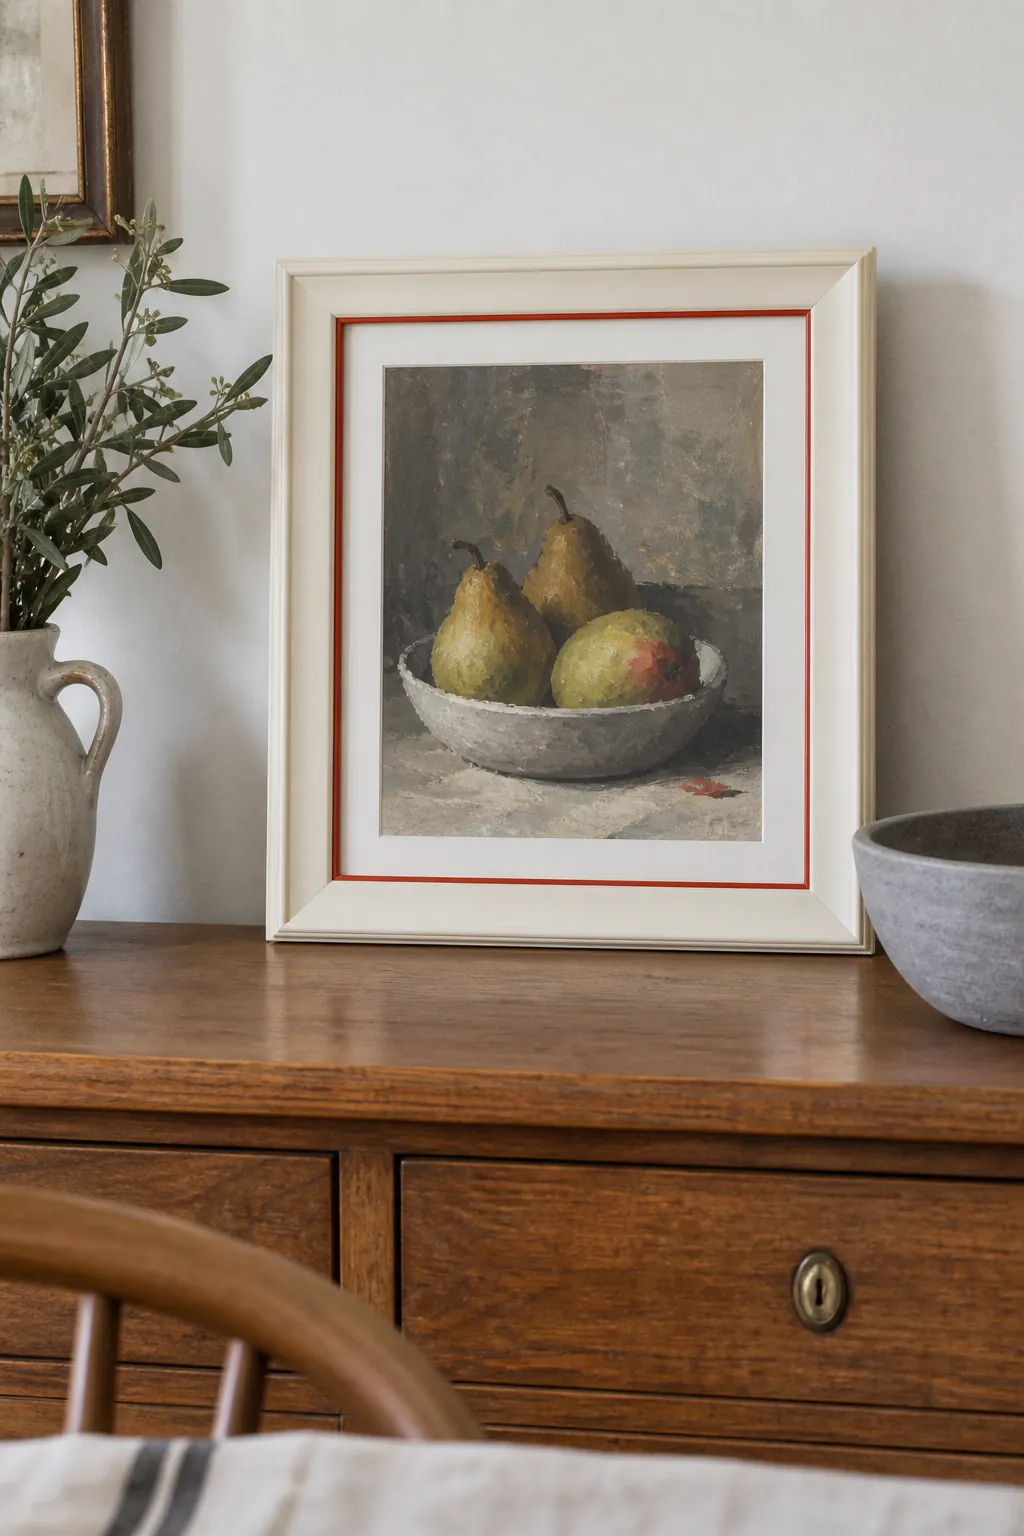
Float a textured paper drawing
A float mount shows the uneven edges of handmade paper and makes the material part of the display. Ask for archival hinges and enough depth to keep the drawing clear of the glazing. A backing close to the wall color creates a quieter effect than a strong contrasting border. This treatment works especially well when the edges are beautiful enough to justify the extra framing depth.
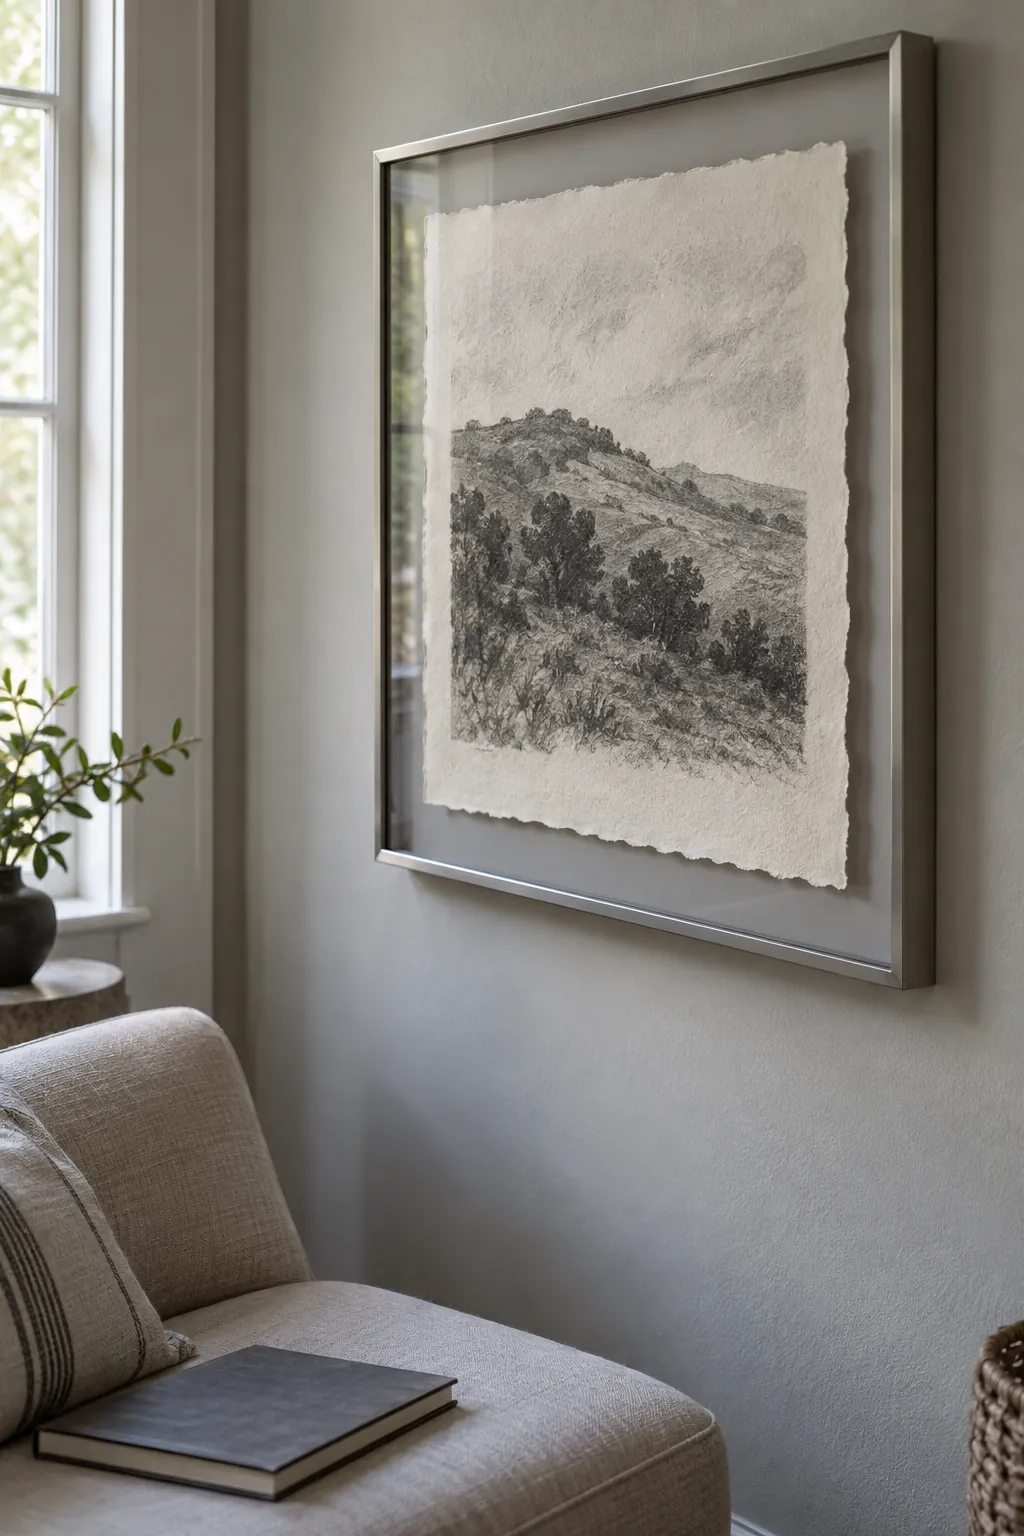
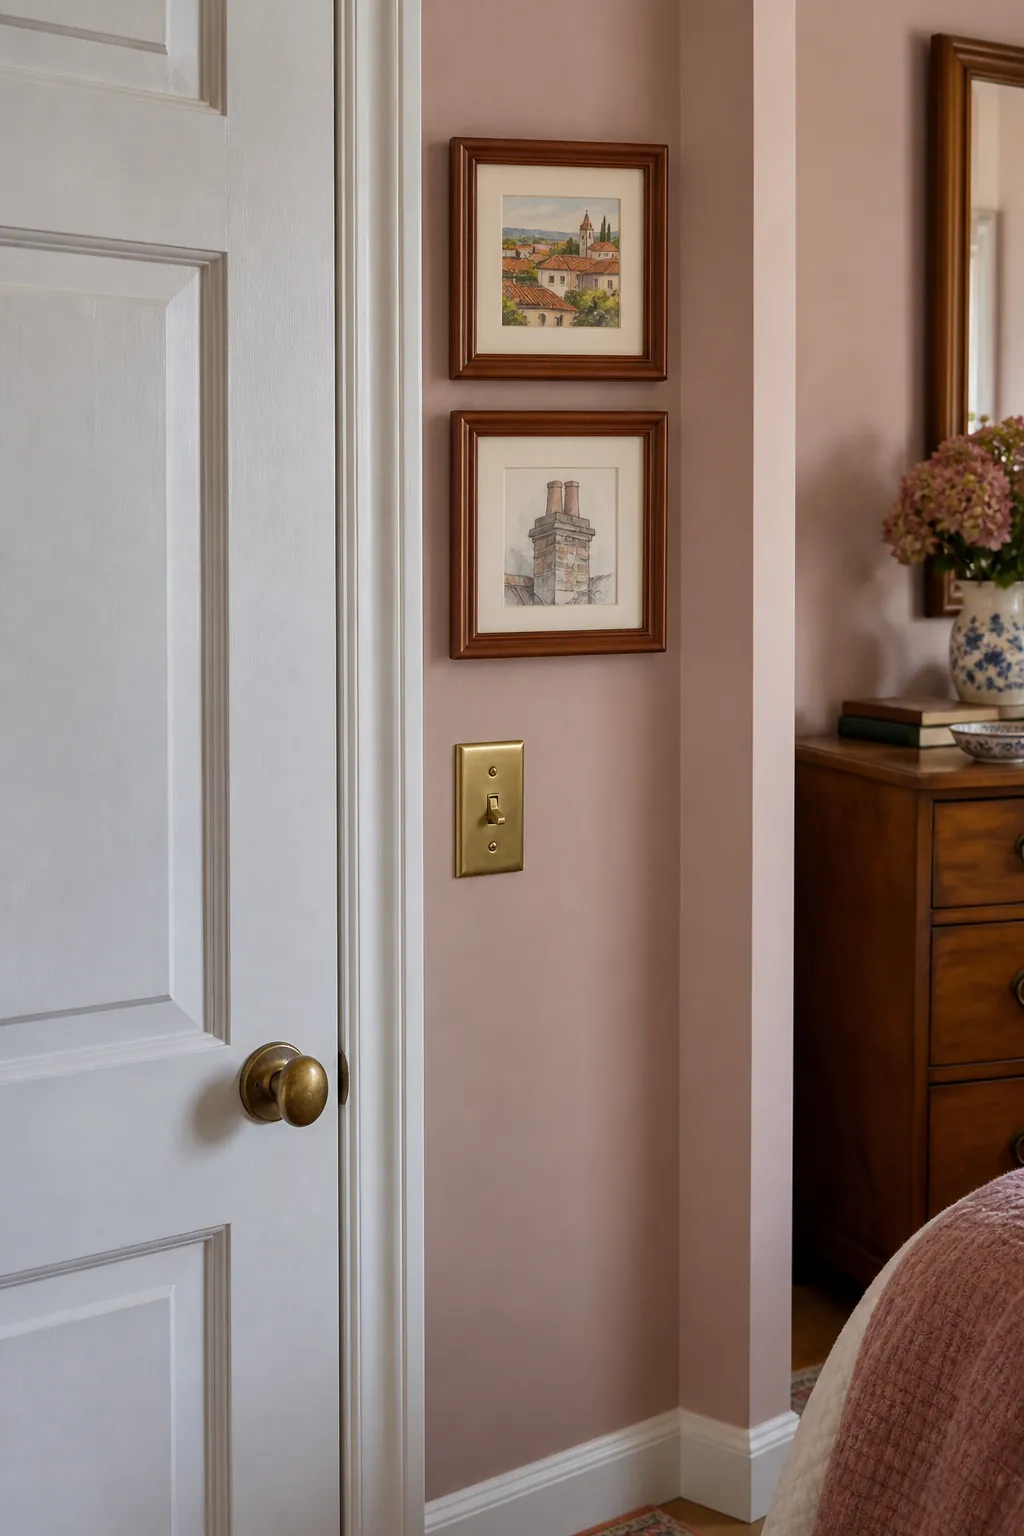
Stack a pair in a narrow wall strip
A slim piece of wall beside a doorway can accommodate two small frames more comfortably than one wide picture. Choose a pair with a similar visual weight and line up their centers. Check the door swing and nearby switches before choosing the final height. A vertical stack draws attention upward without requiring a tall piece of art.
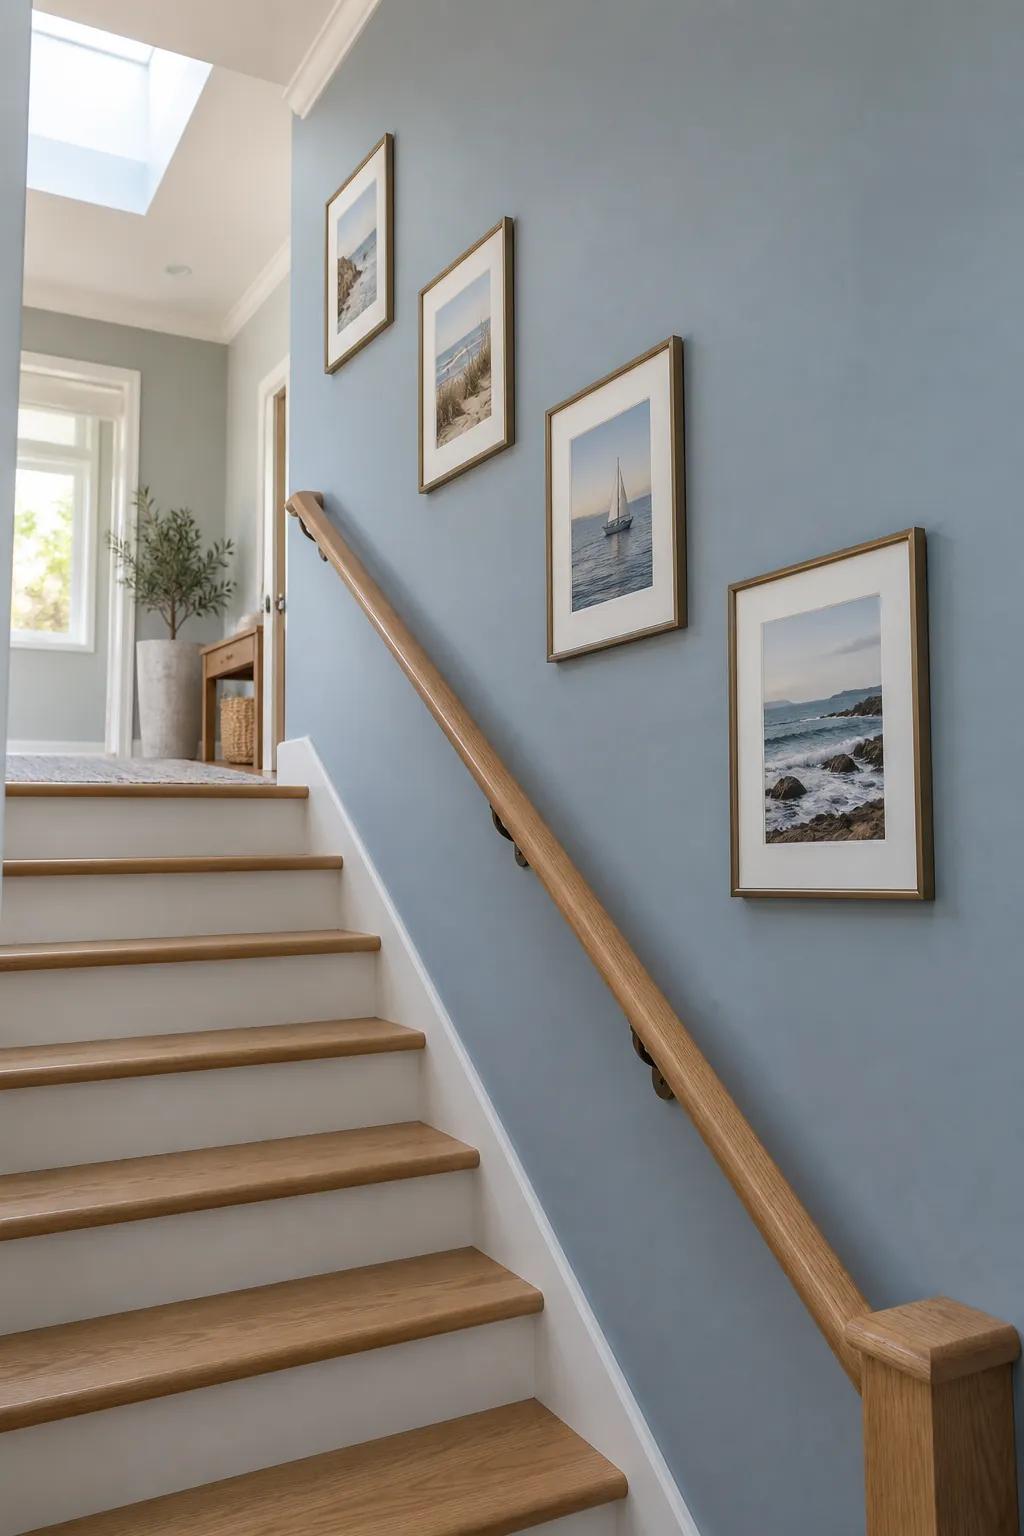
Follow the stair with a measured sequence
A staircase display works best when the frames relate to the slope rather than the ceiling. Mark a consistent imaginary line above the stair nosings and test the arrangement from both landings. Use suitable access equipment and professional help where hanging would require reaching over open stairs. Keep projecting frames clear of the handrail and walking space. A smaller, deliberate sequence is easier to enjoy than a crowded wall that competes with safe movement.
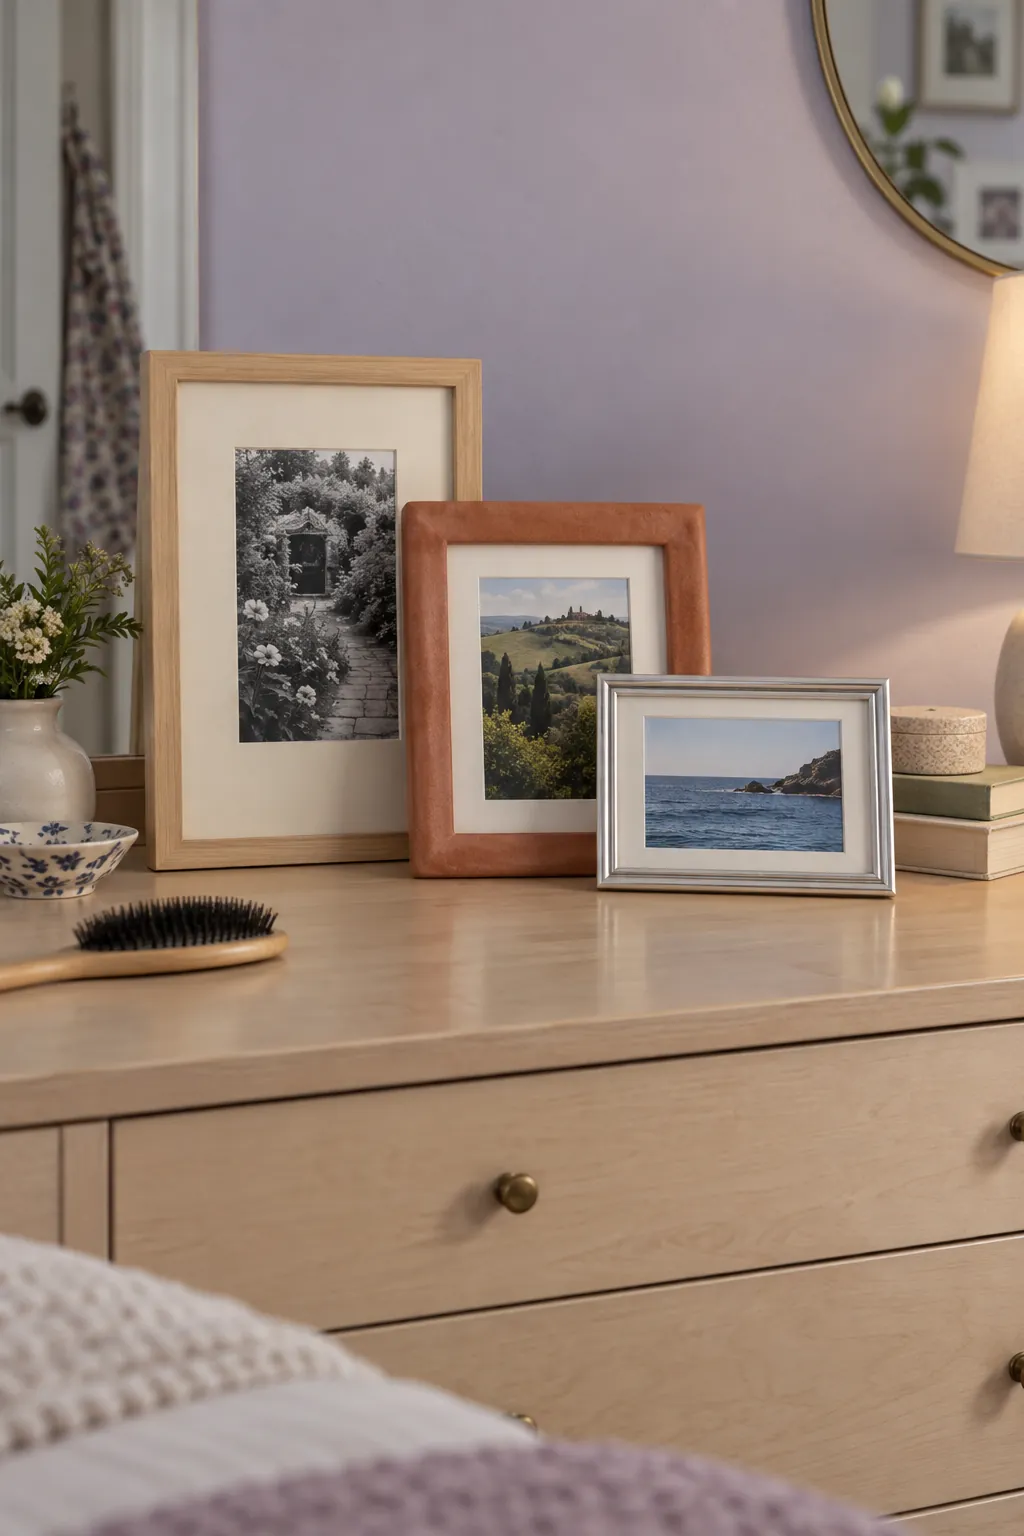
Create a tabletop trio with different heights
Three freestanding frames can make a dresser feel personal without covering the wall. Use different heights and give the strongest photograph the clearest view. Keep the front piece low enough that it does not hide the faces or focal detail behind it.
View the trio from the bedroom doorway as well as directly in front of the dresser. A frame that looks balanced at close range can disappear behind its neighbor from the usual viewing angle. Move the bases slightly apart until each image earns its place.
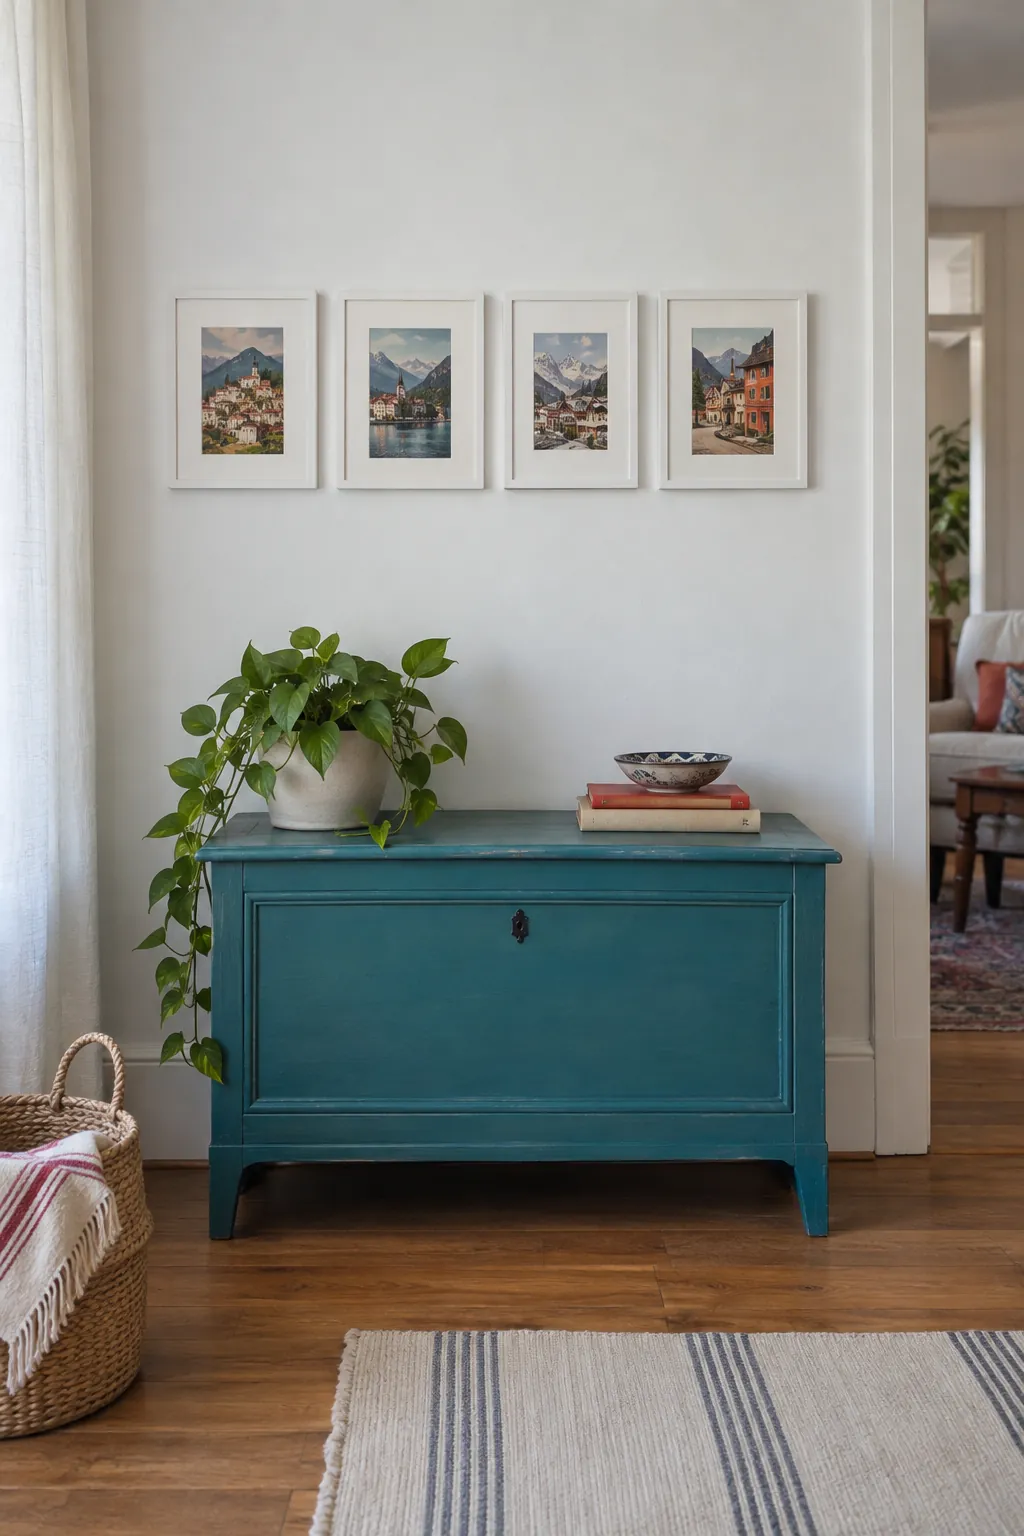
Frame postcards as a travel series
Postcards make an affordable collection when they share a place, palette, or period. Separate mats let differently sized cards sit inside matching outer frames. Use copies for sunny spots and save fragile originals in safer conditions.
Arrange the series in the order that makes visual sense rather than forcing every trip into the display. A strong blue sky in one card can balance a darker scene at the other end. Leave a weaker card out if it breaks the visual rhythm.
Hang art from an existing picture rail
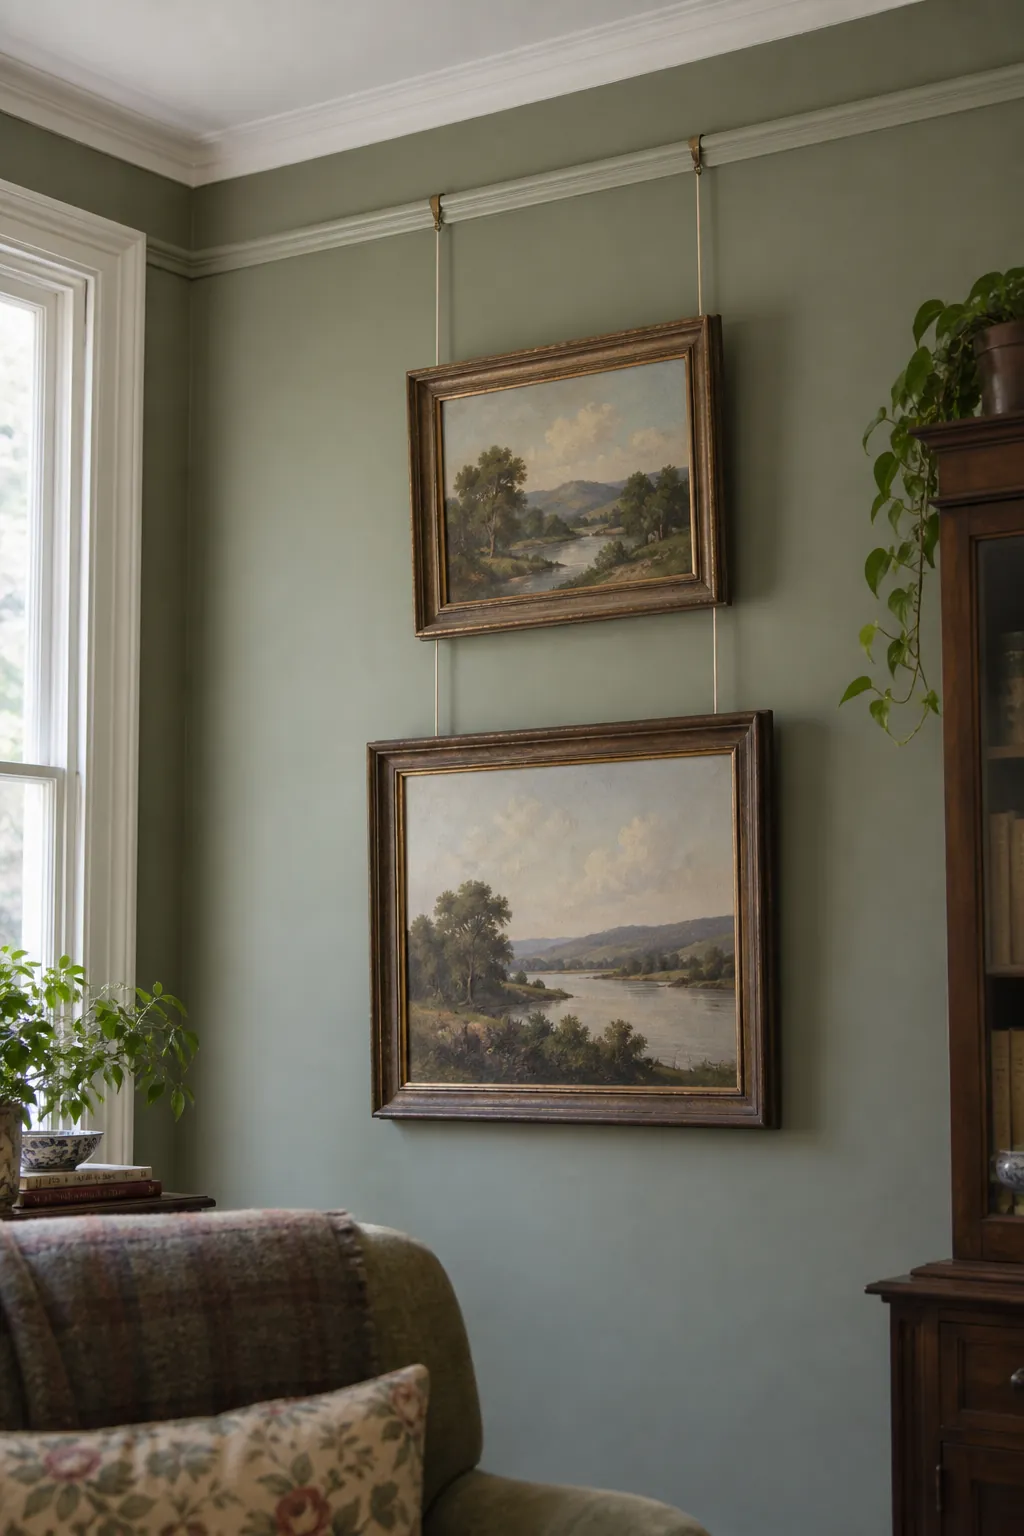
A functioning picture rail allows a room to gain art while preserving the wall below it. Use rail hooks and hanging wire or cord rated for the combined frame weight, and confirm that the rail itself is secure. Two suspension points can help a wider frame stay level. Position the cords deliberately because they become part of the composition. Decorative trim that merely resembles a picture rail should not be treated as a structural support.
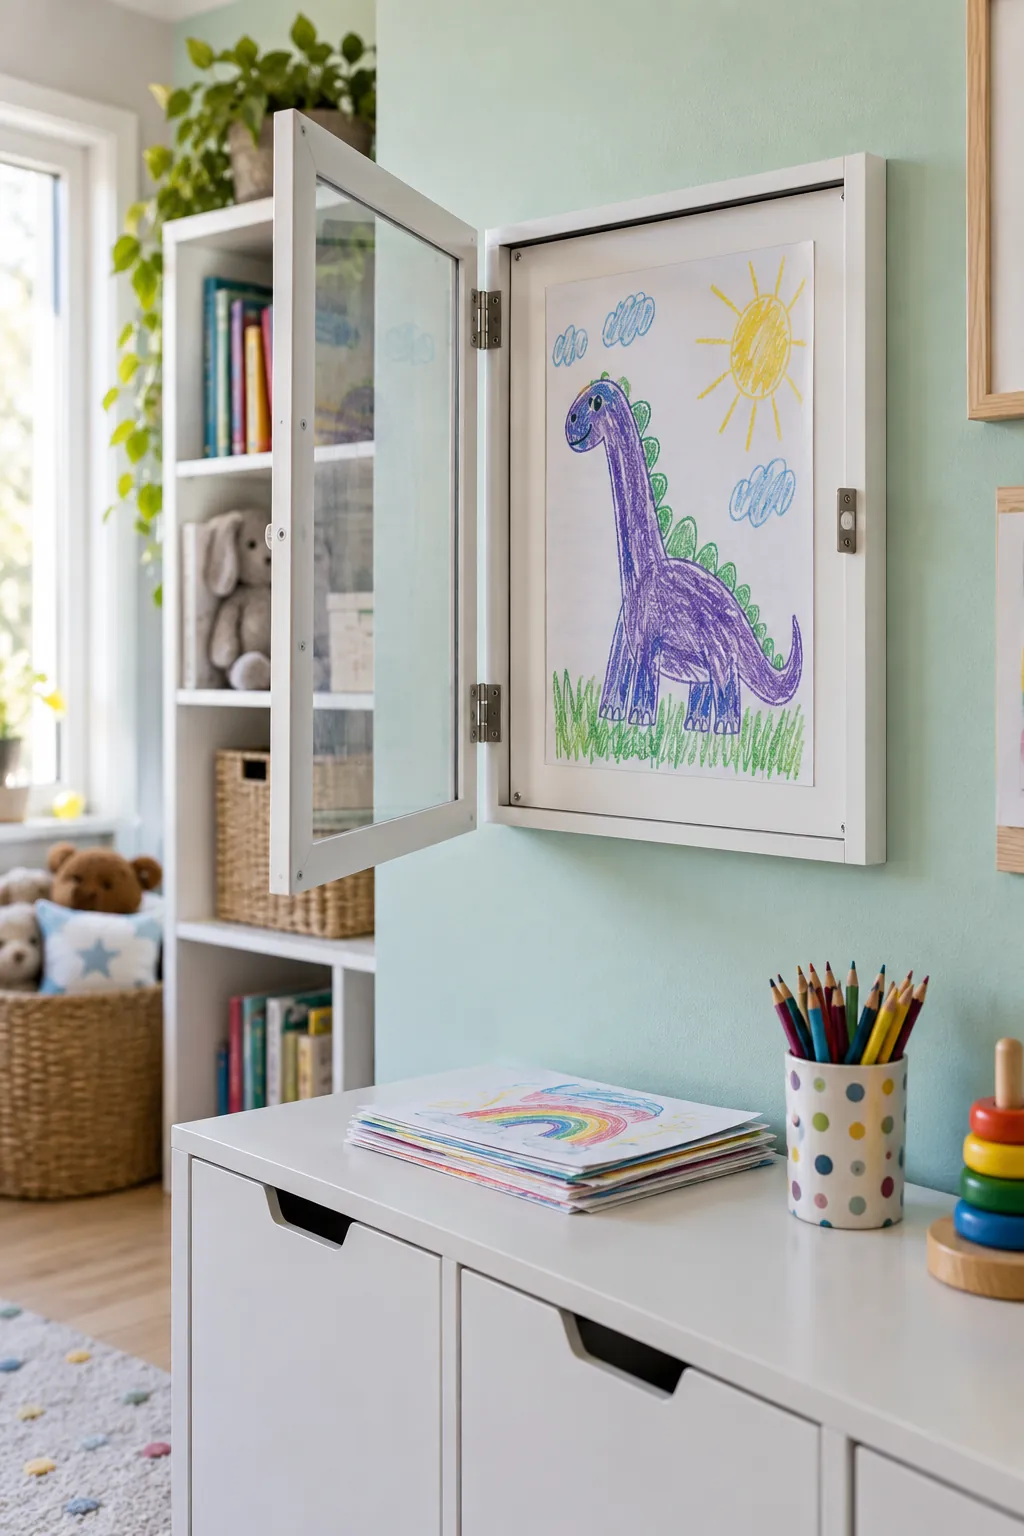
Make a rotating display for children’s artwork
An opening art frame makes it easier to celebrate new drawings without dismantling the display each week. Choose a lightweight design with secure closures and place it where an adult can operate it comfortably. Let one large drawing fill the opening instead of squeezing several unrelated sheets behind the glass. Photograph retired pieces before storing a smaller selection of originals.
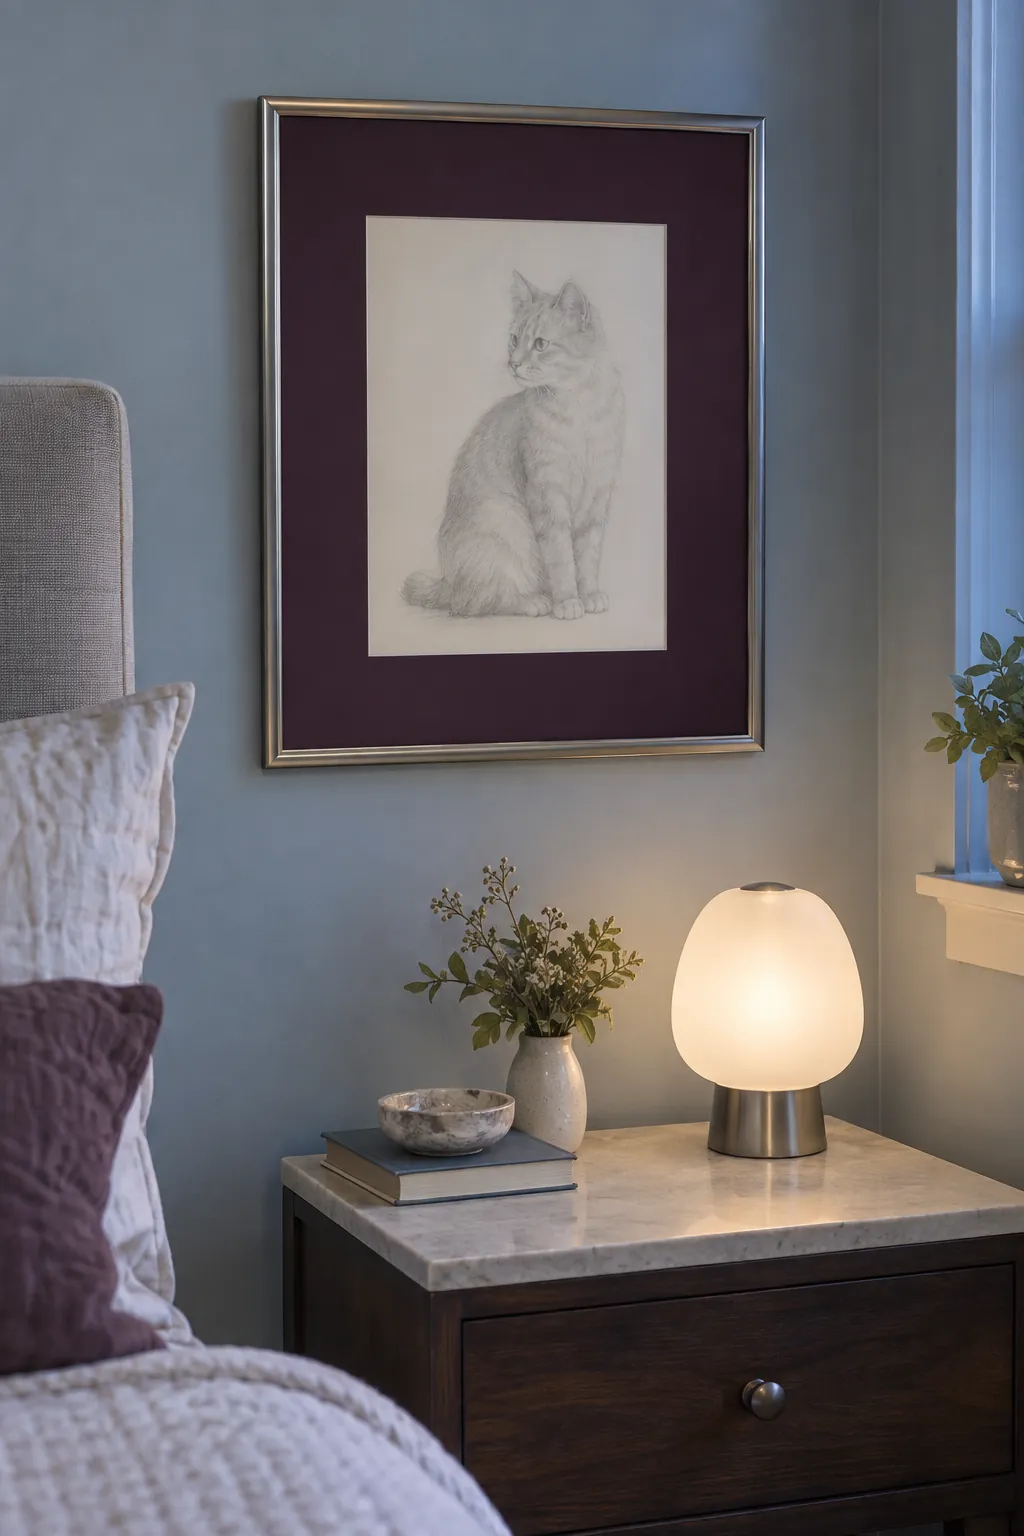
Use a dark mat around a pale sketch
A dark mat can give a faint pencil drawing enough contrast to stand out. Pull the mat color from the darkest mark in the picture or a nearby room detail, then check the combination in daylight. Avoid choosing black automatically if it makes delicate lines feel weaker.
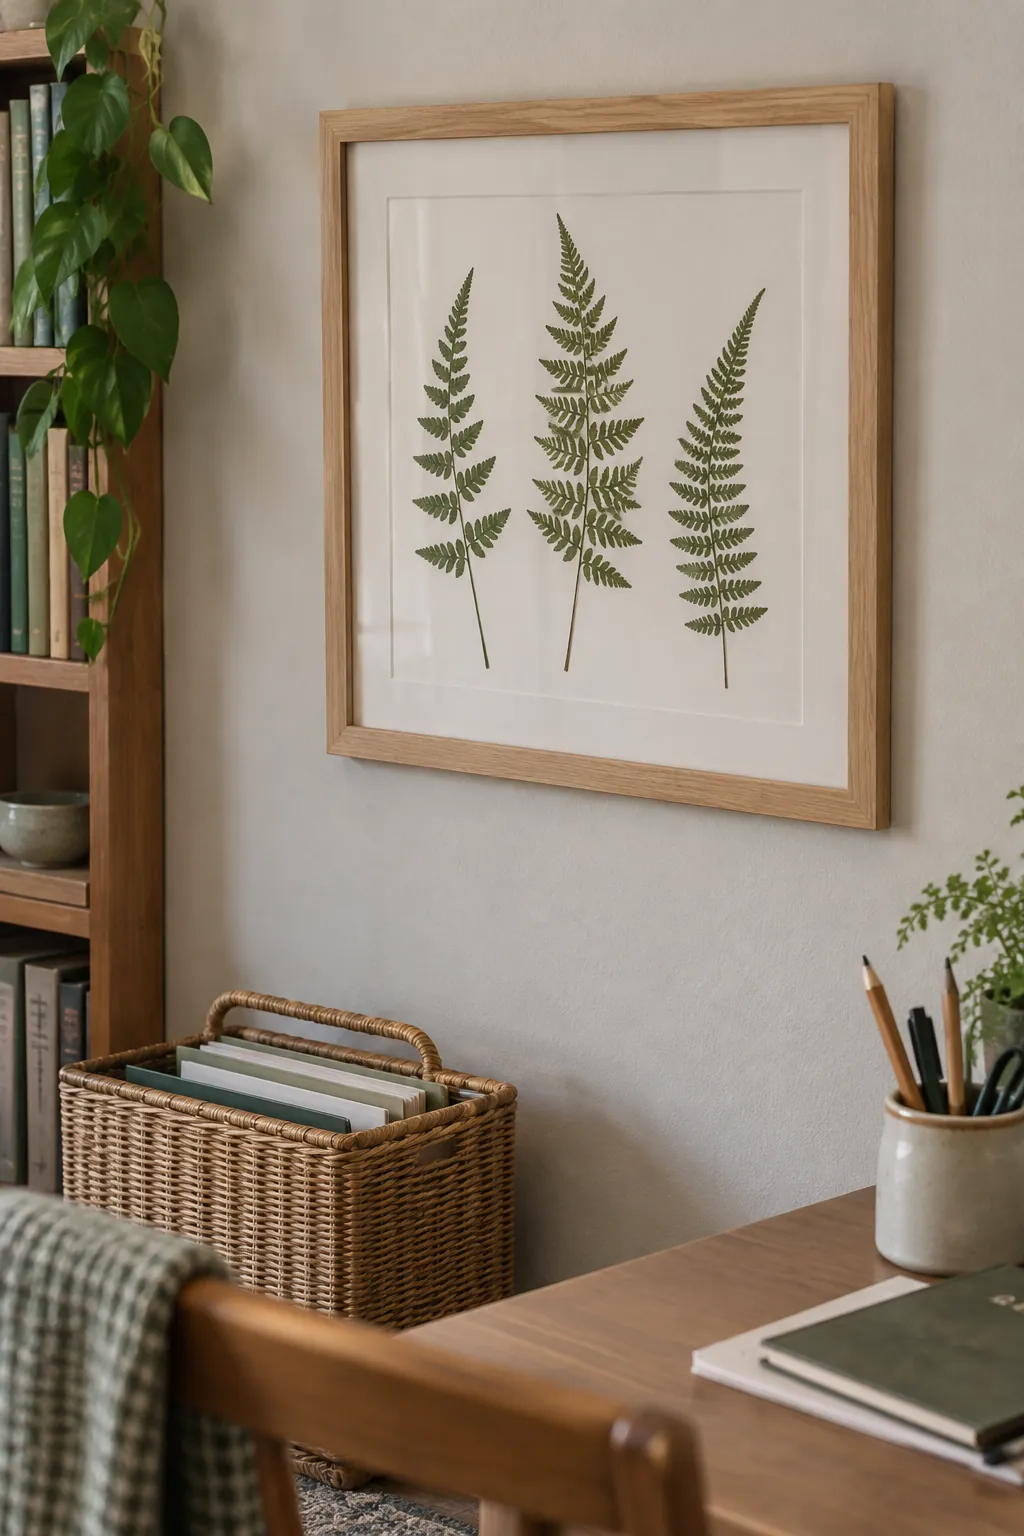
Give pressed botanicals breathing room
A few pressed leaves look more deliberate when their shapes have clear space around them. Use fully dried specimens and suitable mounting materials, leaving the stems and edges visible. Keep the frame away from damp rooms and intense sunlight because natural material can fade and deteriorate. A simple frame lets the silhouette carry the display.
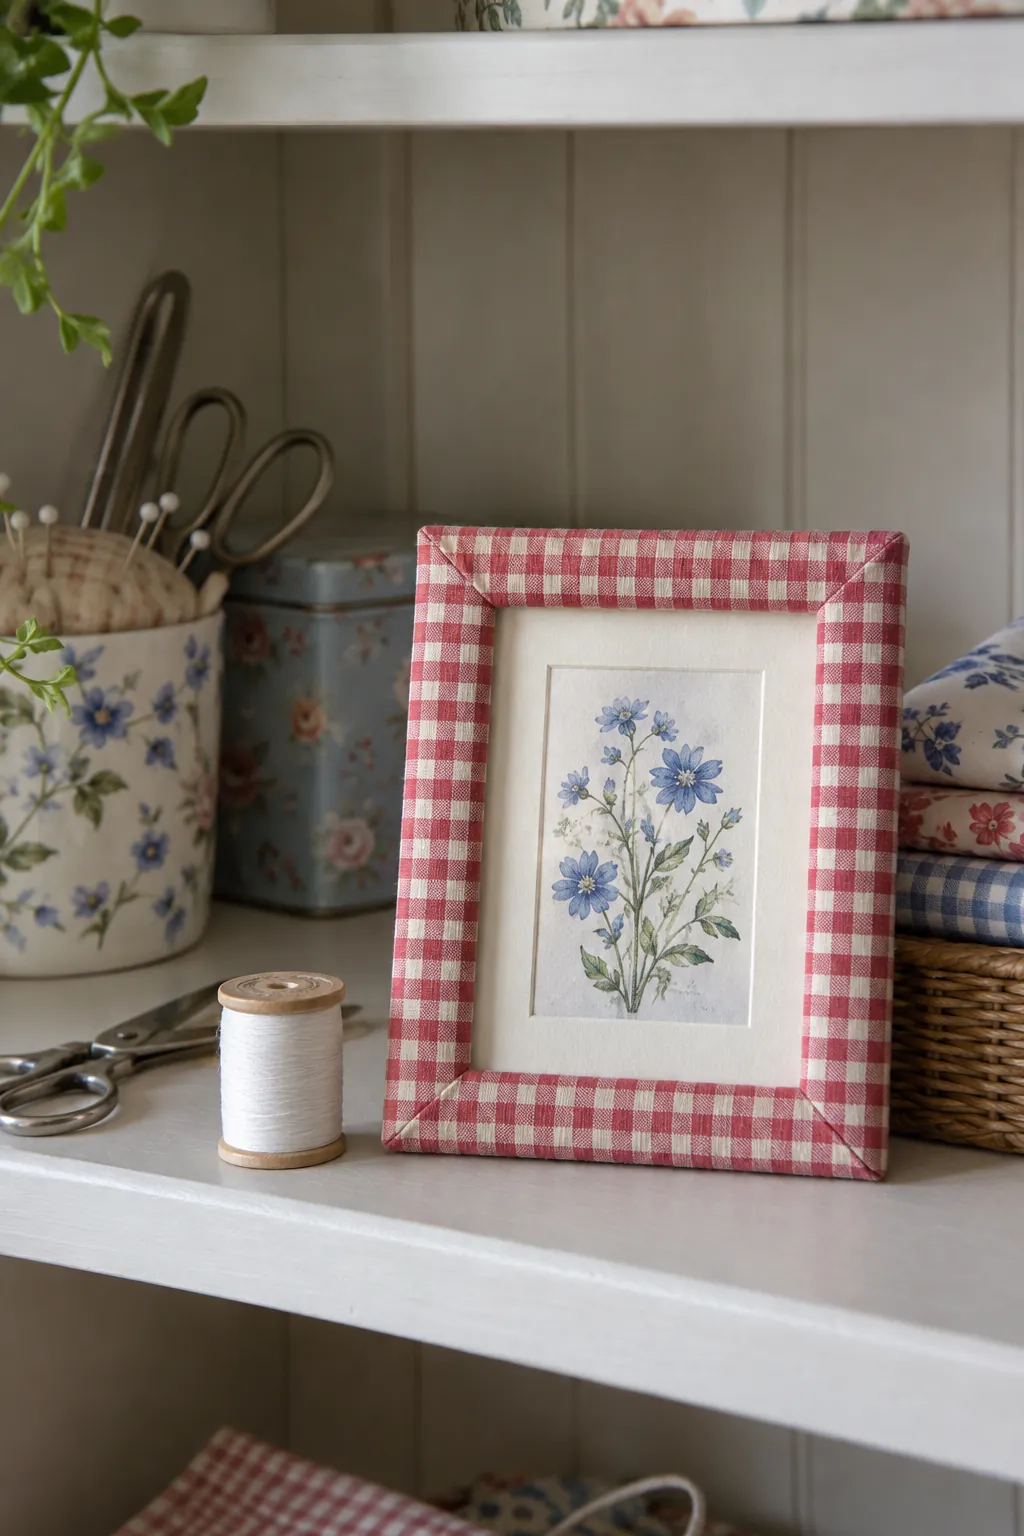
Wrap a plain frame with fabric
A fabric wrapped frame adds softness to a small decorative display. Start with a sturdy inexpensive frame and choose a fabric thin enough to fold neatly around the corners. Remove the glazing and backing while working, and keep adhesive away from the picture opening. Test the fold at one corner before cutting the full piece. This is a practical picture frame craft for replaceable prints rather than valuable originals.
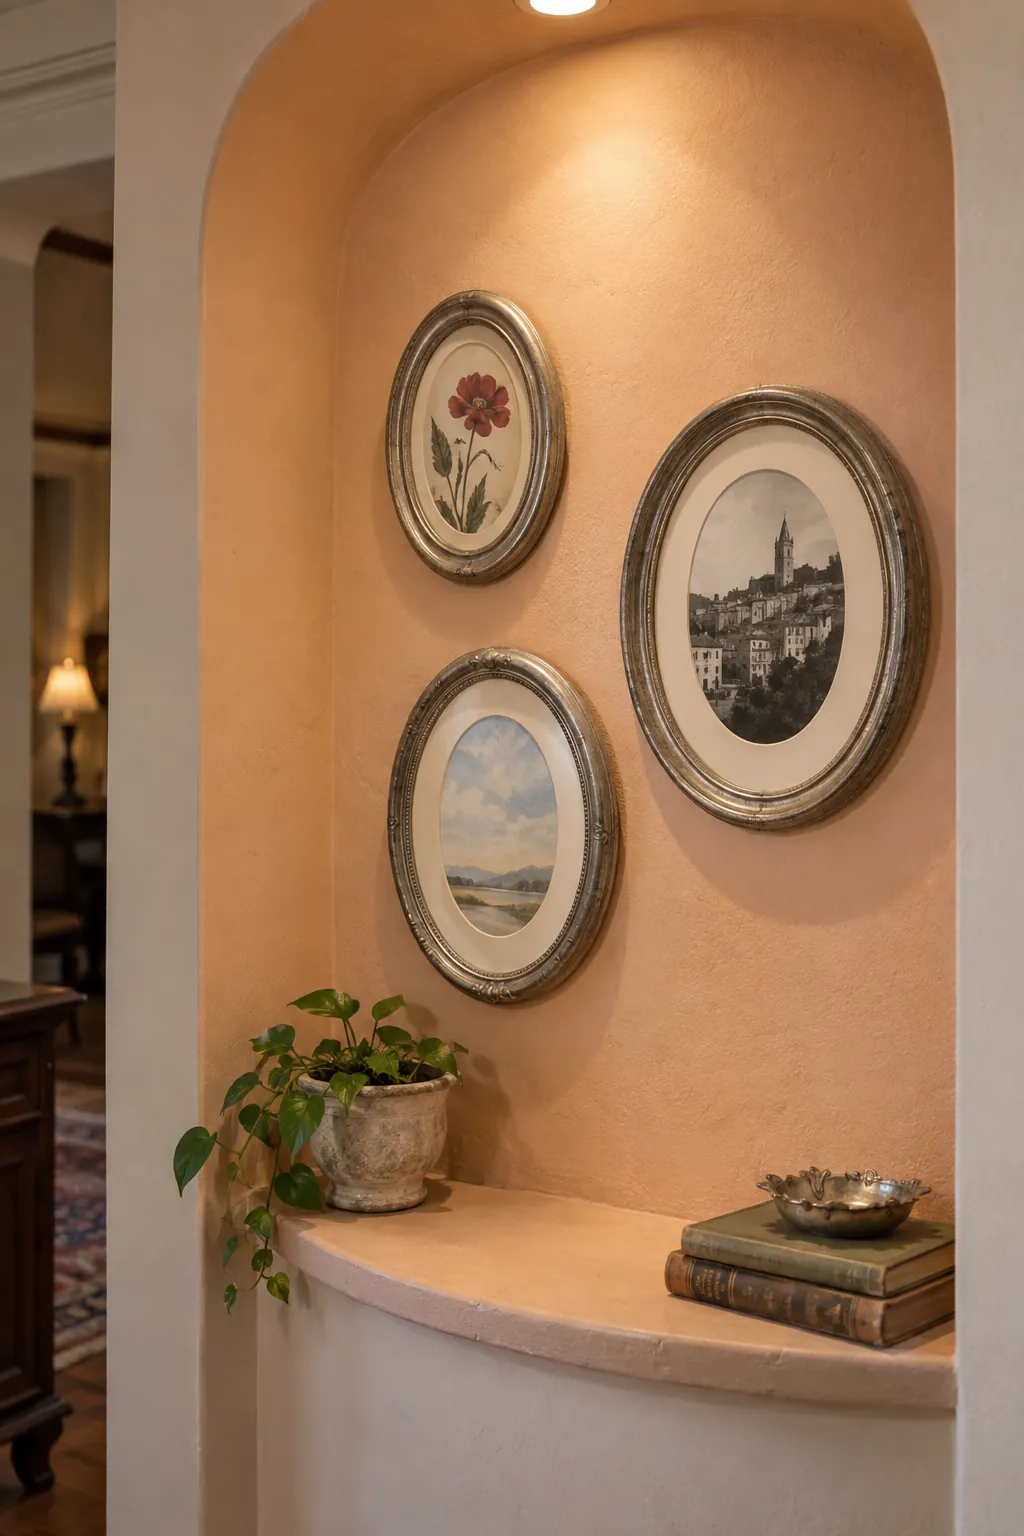
Group oval frames in a small alcove
Oval frames interrupt the straight lines that dominate shelves, doorways, and cabinets. A small cluster looks convincing when the pieces share a tonal family even if the profiles differ. Give each curved edge enough space to remain visible instead of packing the ovals into a tight rectangle.
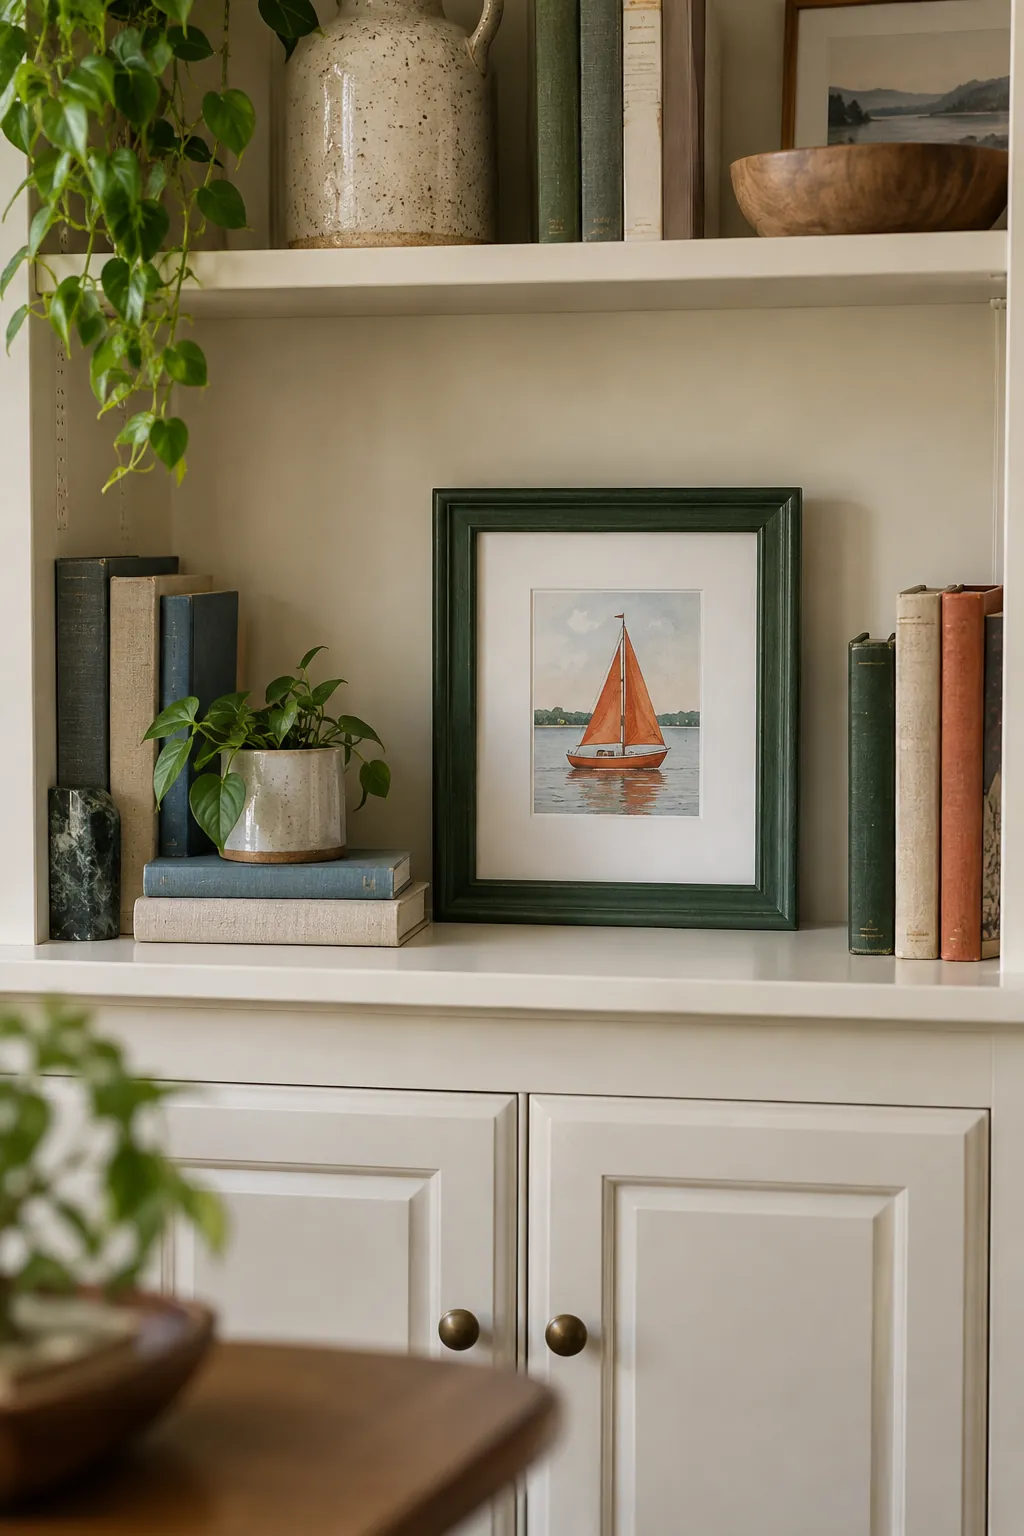
Place one frame inside a bookcase opening
A framed picture can break up the repeated spines of a bookcase. Rest a small frame against the back panel and keep the surrounding books lower than its main subject. Check that the base is stable and does not project beyond the shelf. Leaving one opening relatively spare makes the picture feel chosen rather than wedged in.
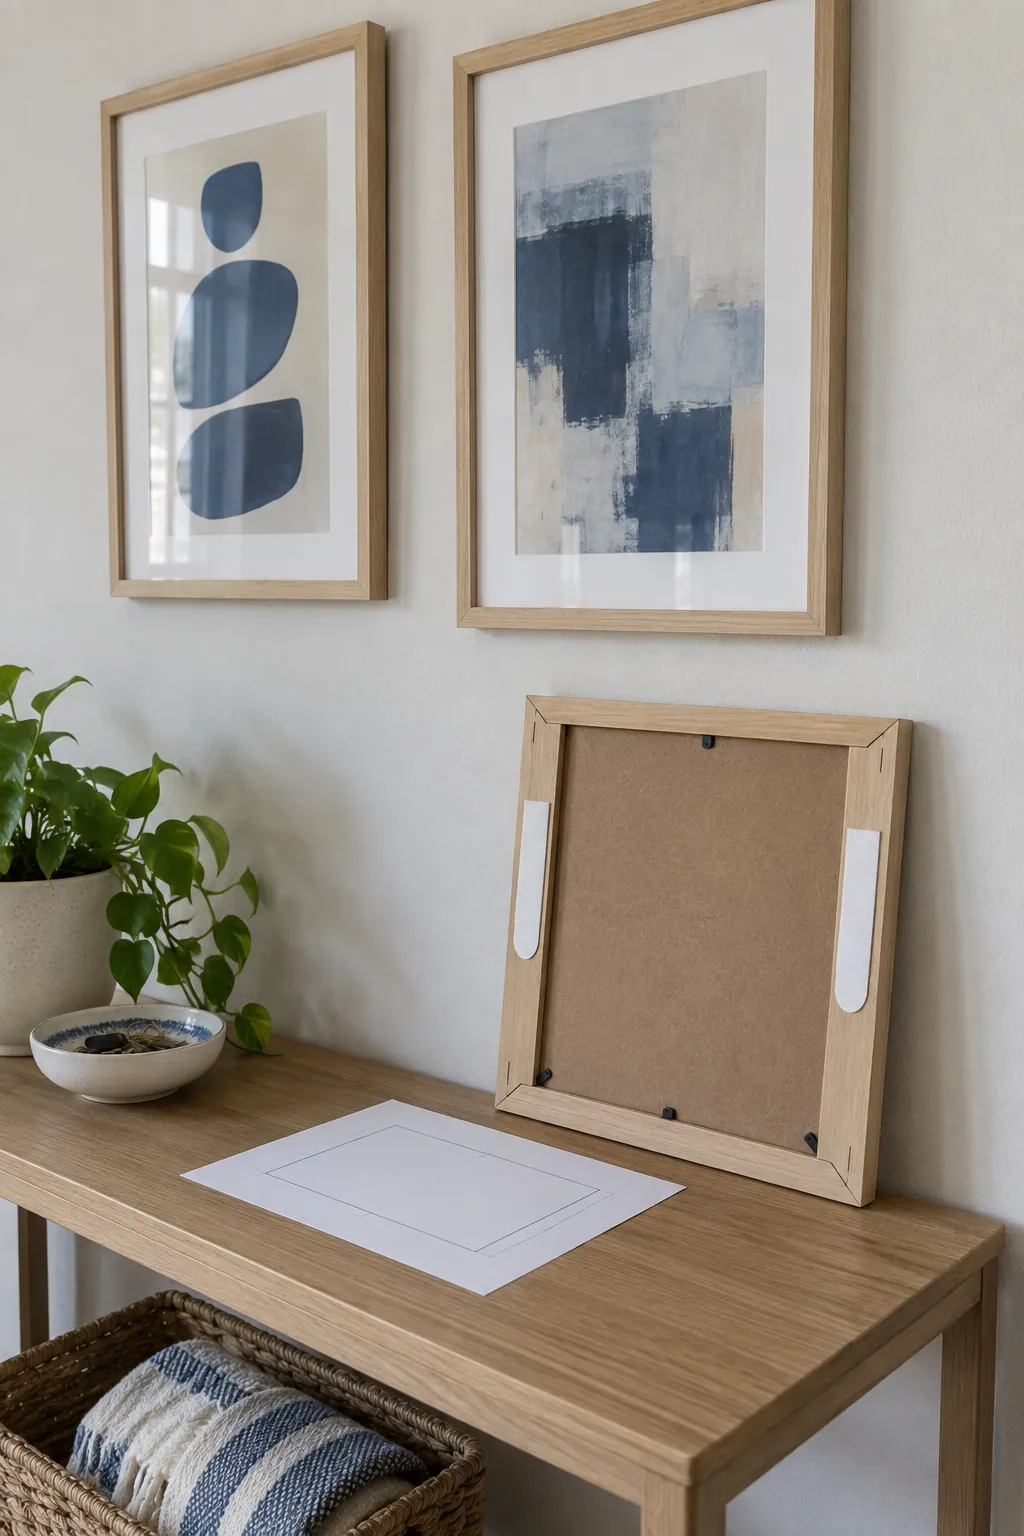
Use removable hanging strips thoughtfully
Lightweight frames can suit a rental when the wall finish and hanging product are compatible. Follow the manufacturer’s surface preparation, load limit, placement, and removal instructions exactly. Do not assume that a removable strip will leave every paint finish undamaged. Avoid fragile or valuable artwork, and keep frames away from positions where a fall could cause injury. Paper templates help settle the layout before the adhesive touches the wall.
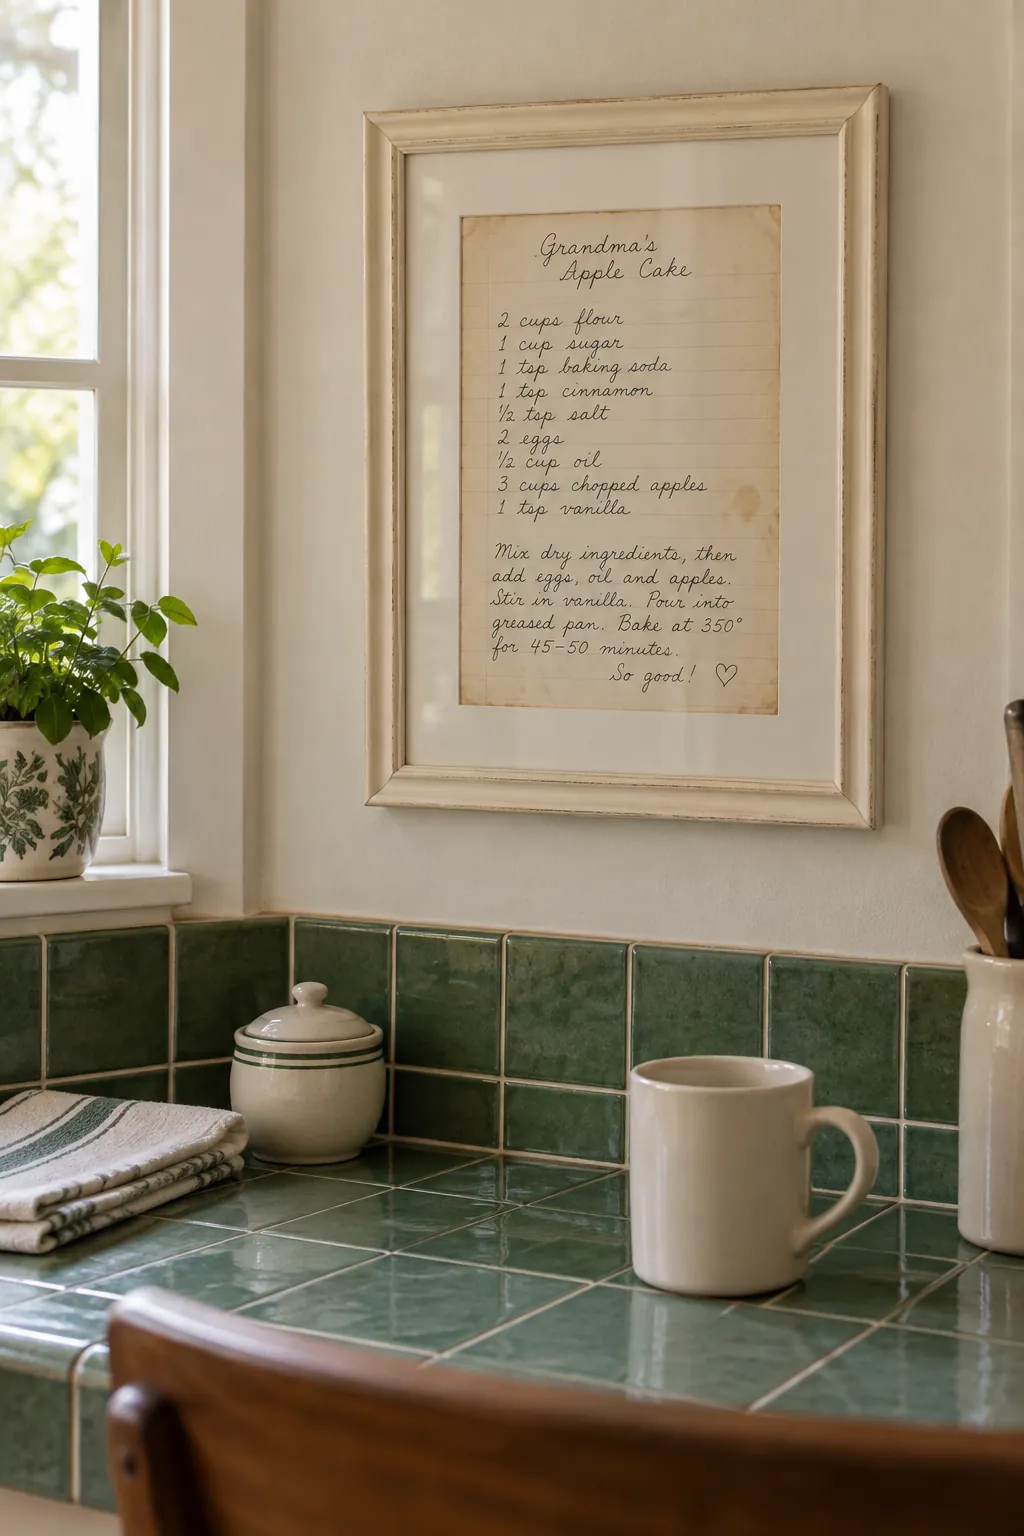
Frame a recipe as kitchen art
A handwritten recipe carries more meaning than a generic kitchen slogan. Display a high quality scan so steam, light, or splashes do not put the original at risk. Place the frame on a dry wall away from the sink and hob, using a finish that can tolerate ordinary cleaning.
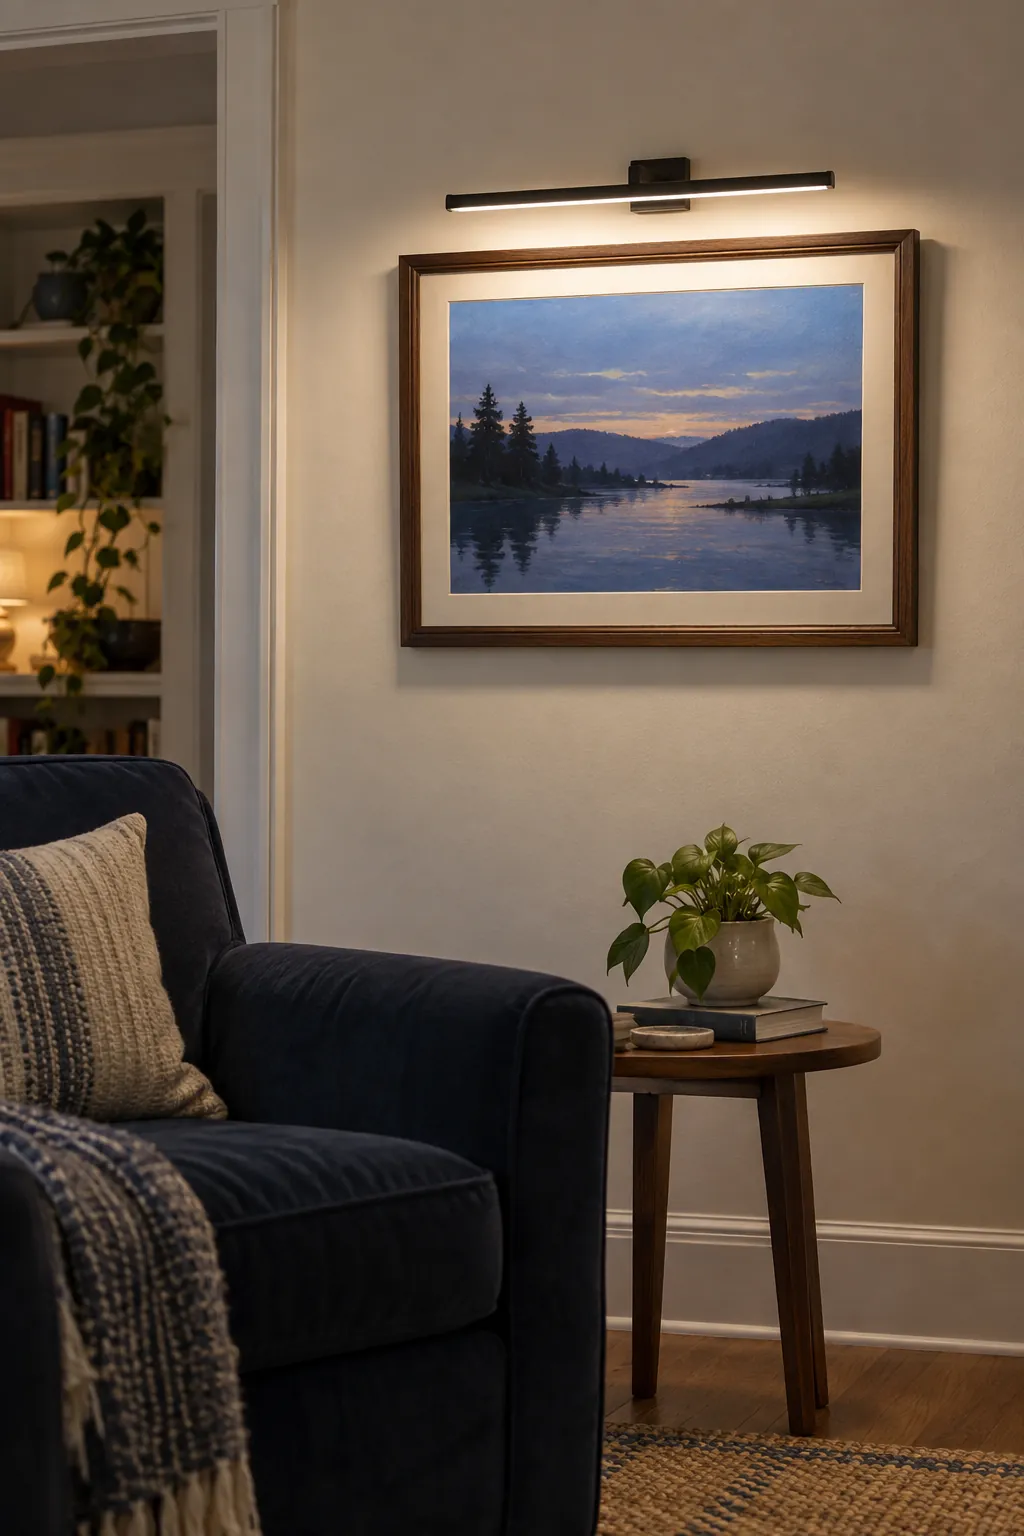
Pair a frame with a slim picture light
A picture light can turn a favorite artwork into the evening focal point. Check the beam spread against the full frame width so the corners do not disappear into shadow. Position the light to reduce reflected glare from the seating area. Follow fixture instructions and use a qualified electrician for wiring that requires one. Test the lighting before committing to additional pictures around it.
Leave deliberate room for the next photograph
A collection can feel finished without filling the entire wall. Start with a compact group whose outer boundary leaves one clear direction for growth. Keep a note of frame sizes and the chosen spacing so later additions feel related. Before buying another frame, place a paper template in the gap and look at it from the seat where you will actually enjoy the pictures.