
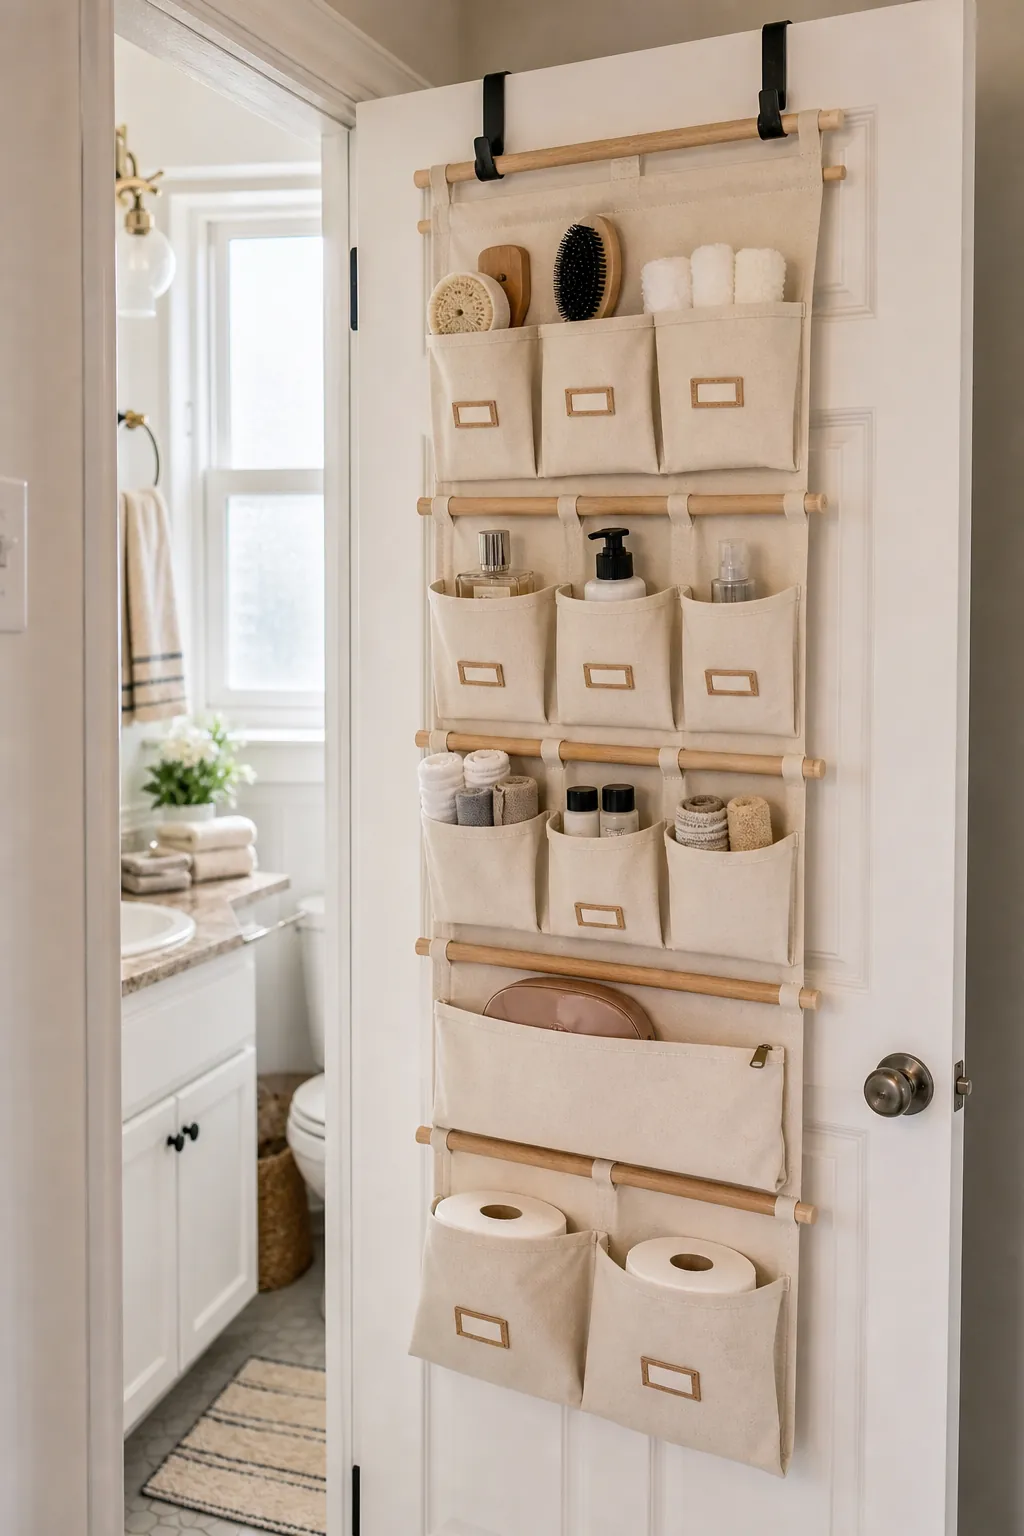
A good DIY over door organizer should solve a real small-bathroom problem, not create a new one every time the door swings shut. The best version is shallow, quiet, washable, and planned around what you reach for every day.
That is the mistake most behind-the-door storage ideas make. They add baskets first and ask questions later. Then the door will not close, the rack bangs against the panel, bottles fall forward, and the whole thing starts looking like a temporary fix you meant to replace months ago.
This build takes the opposite approach: measure the door first, choose thin hooks, build soft pockets around your actual bathroom routine, and keep the heavy things low. The result is a hanging organizer that feels intentional enough for a visible bathroom door but still comes down cleanly when you move.
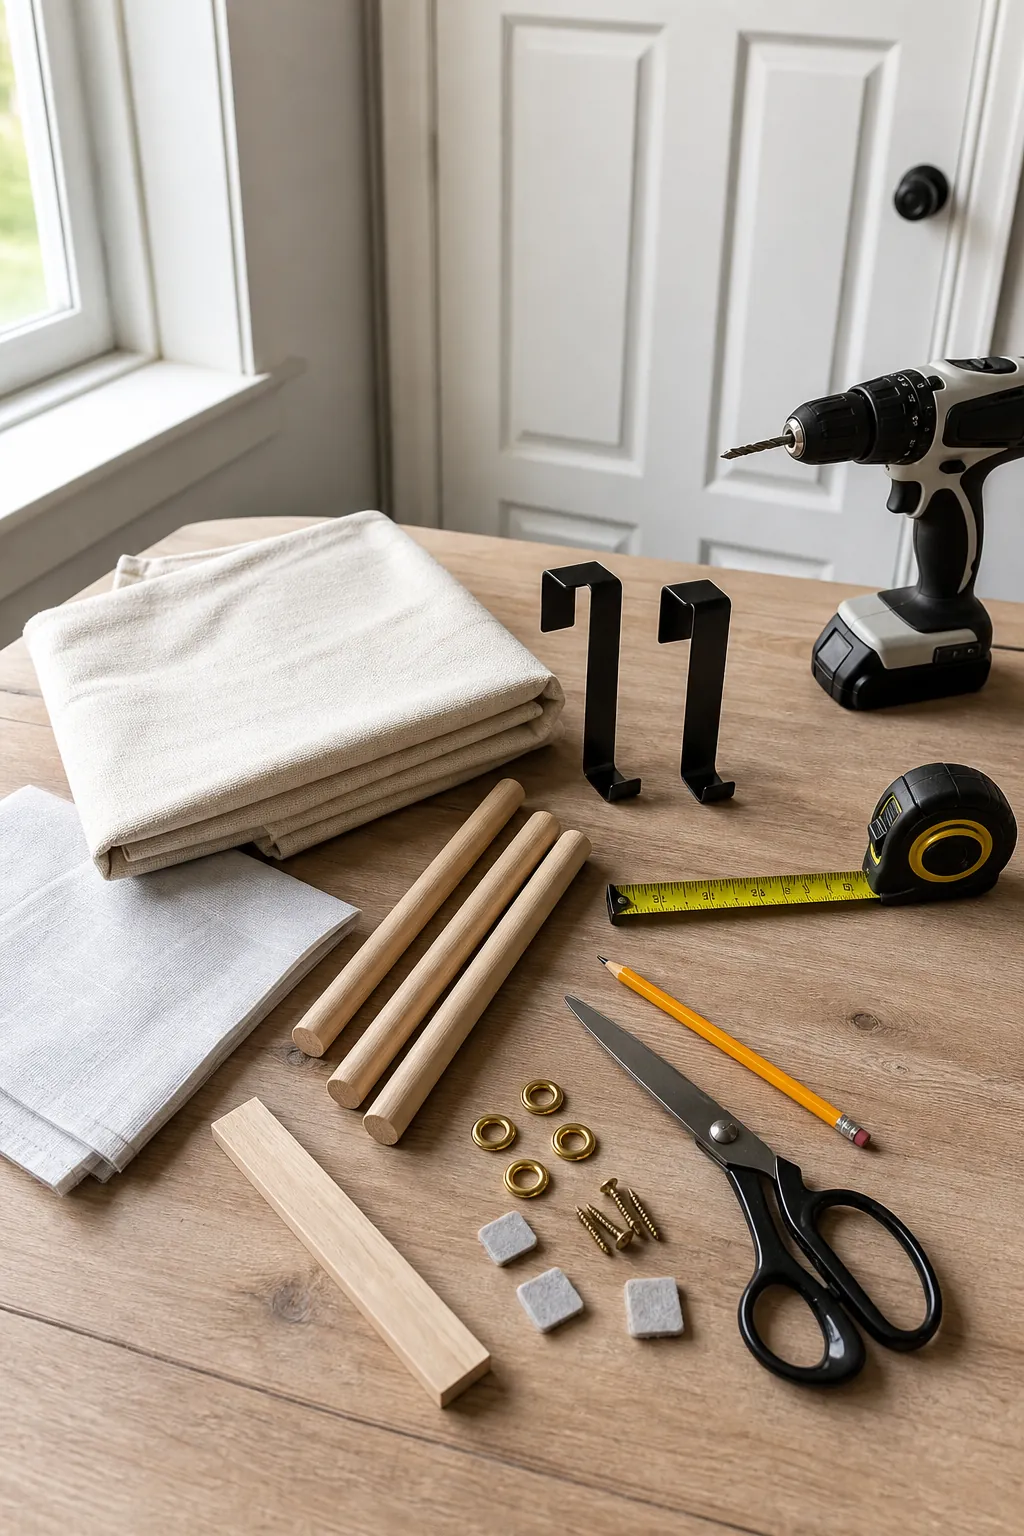
Start With the Door, Not the Organizer
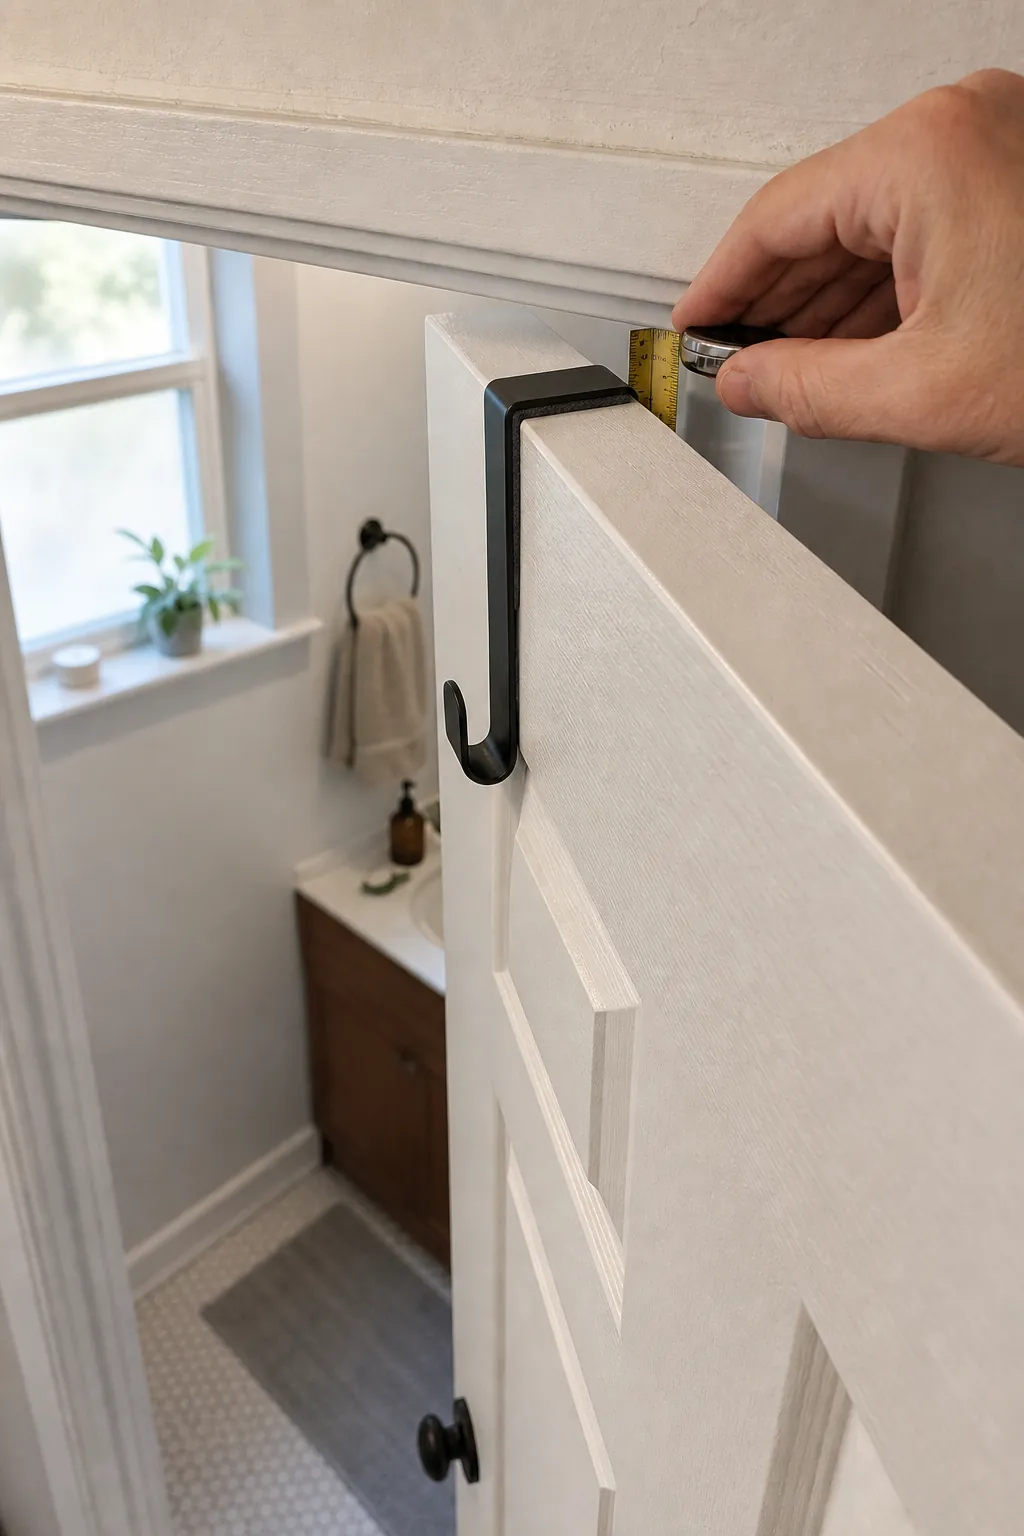
Before buying fabric or cutting wood, check the three limits that decide whether an over-the-door shelf or hanging organizer will work: top clearance, swing clearance, and wall clearance. A slim bathroom can fail on any of the three.
- Top clearance: close the door slowly with one hook in place. If it scrapes the trim, choose thinner hooks or stop the project there.
- Swing clearance: open the door fully and mark anything the organizer could hit, such as a vanity, towel bar, wall hook, or toilet tank.
- Wall clearance: add soft bumpers where the organizer may touch the door or wall so it does not chatter every time someone enters.
This is why a custom DIY version often beats a bulky store-bought rack. You can make the organizer only as deep as your room allows, instead of forcing a six-basket rack into a door path that needed two inches of breathing room.
The Simple Build: Canvas Pockets on Wood Dowels
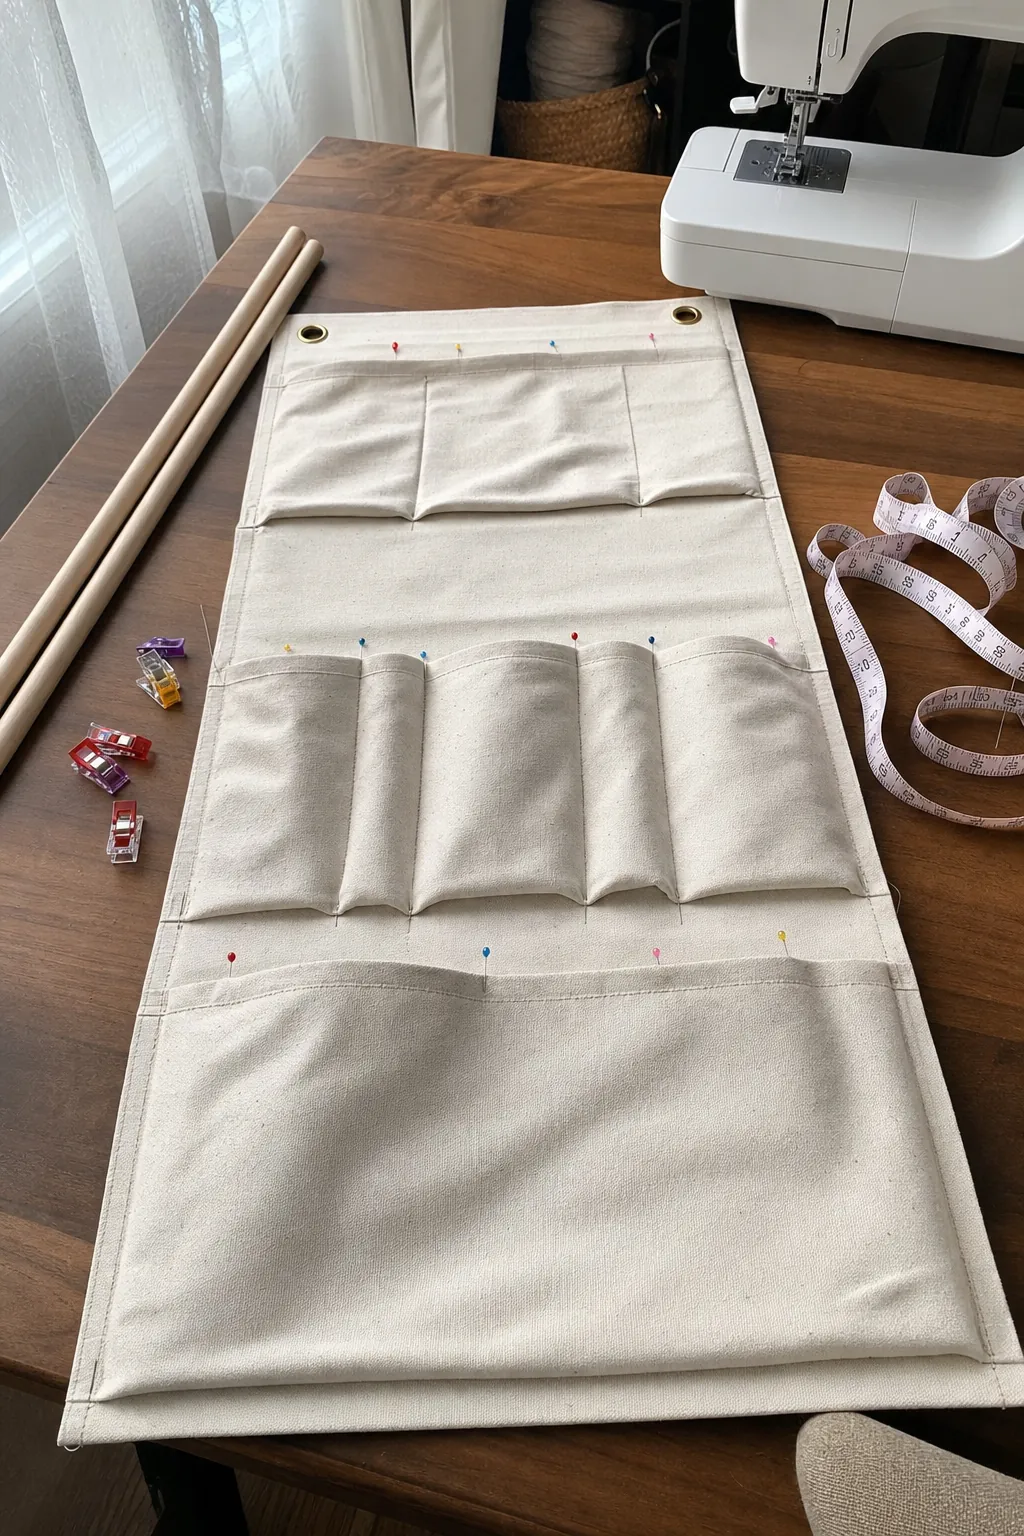
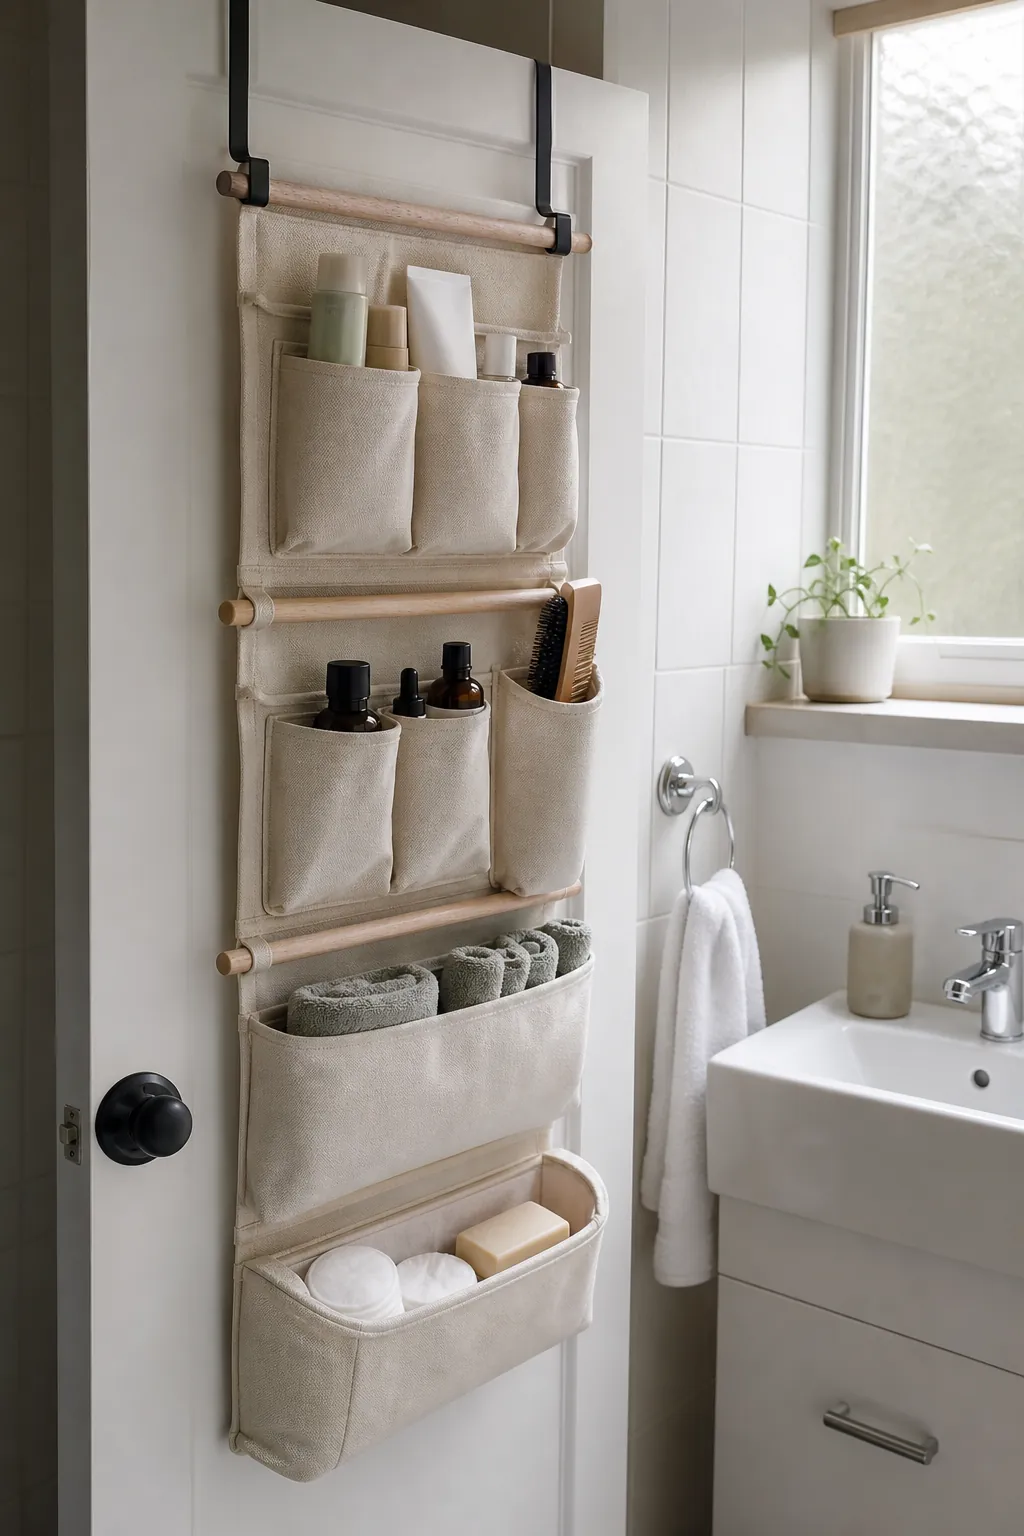
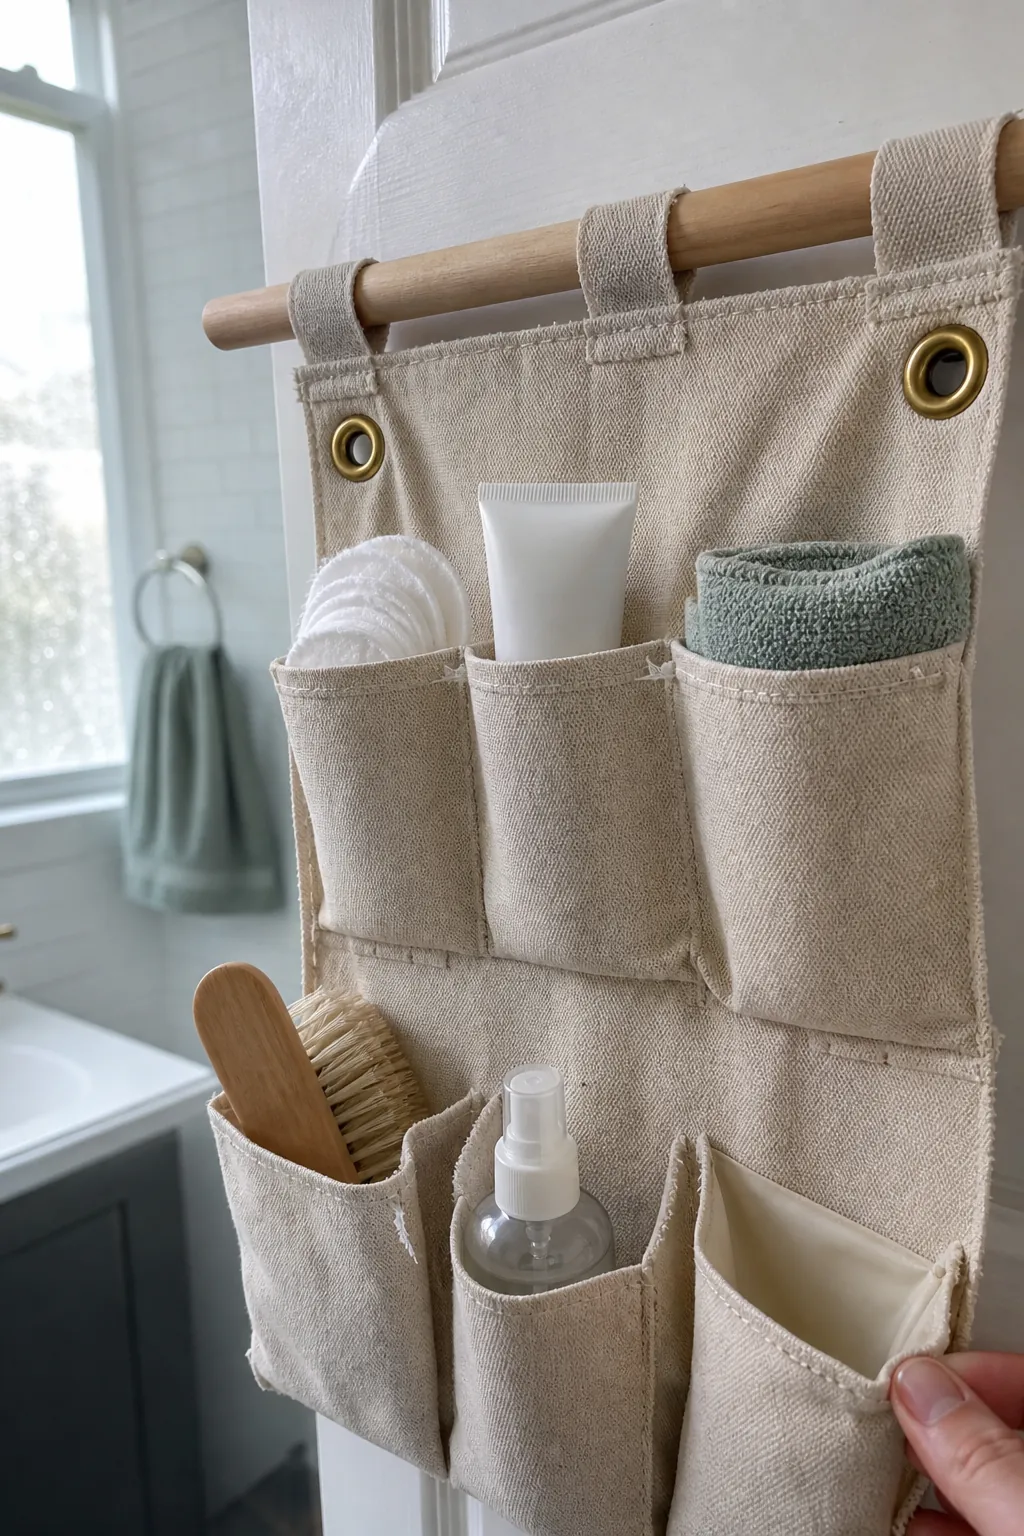
For a bathroom, soft storage is usually kinder than wire baskets. Canvas will not clang against the door, it can be washed, and it lets you customize pockets for the exact items that clutter the sink. Use a heavyweight cotton canvas, removable liners in pockets that may hold bottles, and smooth dowels to keep the panel from sagging.
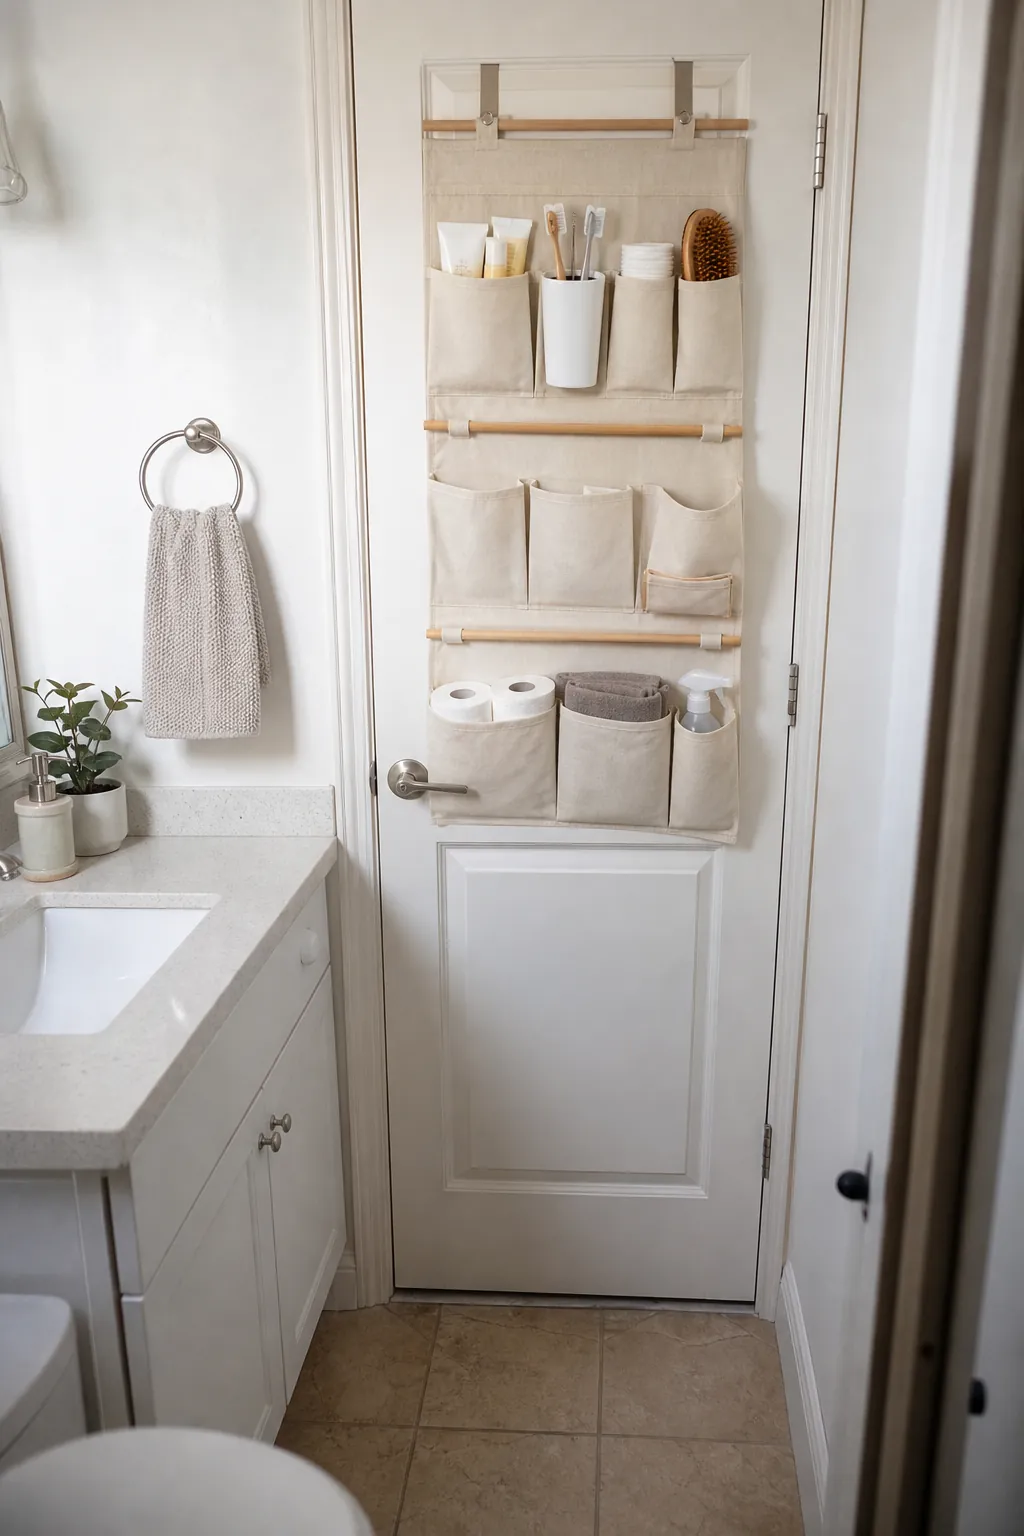
A strong basic layout is one wide back panel with three horizontal pocket bands. Put small, light things near eye level, daily toiletries in the middle, and towels or backups low. The lower pockets should carry the weight; the upper pockets should carry the routine.
- Cut one canvas back panel a little narrower than the door, leaving room for the knob side.
- Sew pocket bands onto the panel with reinforced side seams and extra stitching at stress points.
- Add grommets or fabric loops at the top so the panel can hang from hooks or a dowel.
- Slide dowels through top and middle sleeves to keep the organizer flat.
- Add felt pads behind the top hooks and bumpers near the bottom corners.
Plan Pockets by Behavior, Not by Product Type
Most door organizer ideas sort by category: skincare here, hair items there, towels below. That works only if your mornings are calm. A better approach is to sort by how often you touch each item.
Put the things you use with wet hands in the easiest middle pockets. Store backups higher or lower. Keep anything that can leak inside a removable liner. Keep cords low and contained. If a bottle is heavy enough to pull the fabric forward, it belongs in a lower pocket or somewhere else entirely.
What to Store Behind the Door
Behind the door is best for light, narrow, repeat-use items. It is not the place for a full bulk-buy stash. The door moves, which means the contents need to survive motion without sliding, spilling, or making noise.
- Good choices: washcloths, cotton pads, brushes, combs, travel-size toiletries, spare soap, a microfiber cloth, hair ties, and daily skincare tubes.
- Use carefully: hair tools, cleaning sprays, glass bottles, and tall pump bottles. Keep these low and secure.
- Skip: heavy jars, full-size refills, anything breakable, and damp towels packed tightly with no air flow.
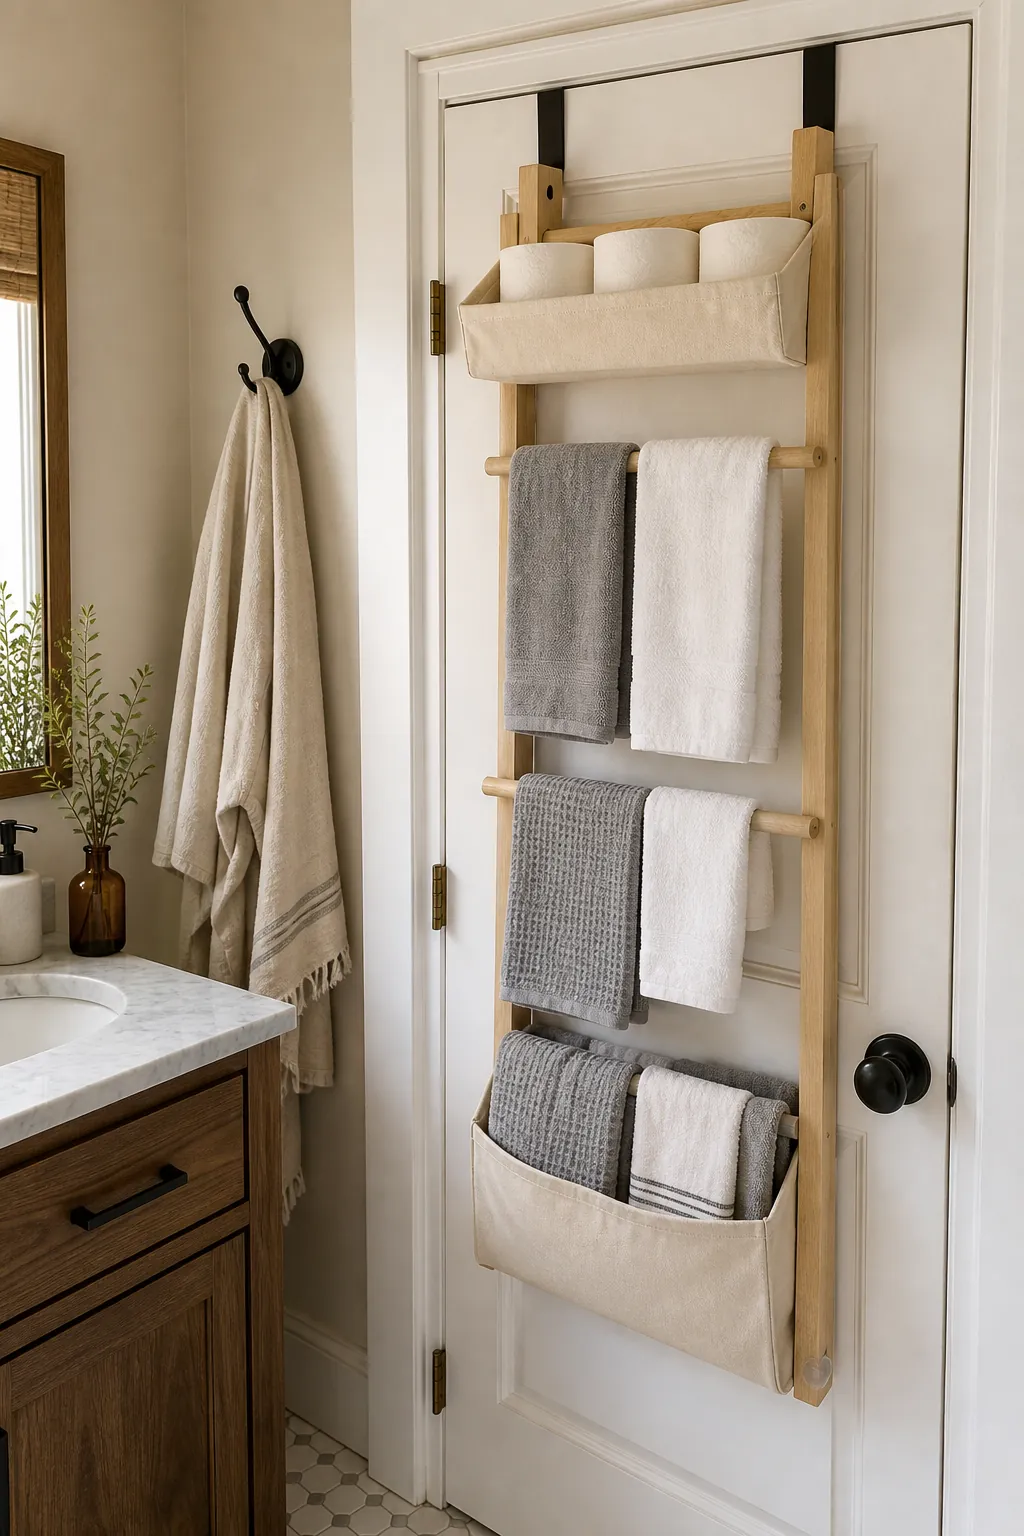
For towels, choose rails or slings instead of deep closed pockets. Towels need space to dry. A pretty pocket that traps moisture will turn into a maintenance problem.
When an Above Door Storage Shelf Makes Sense
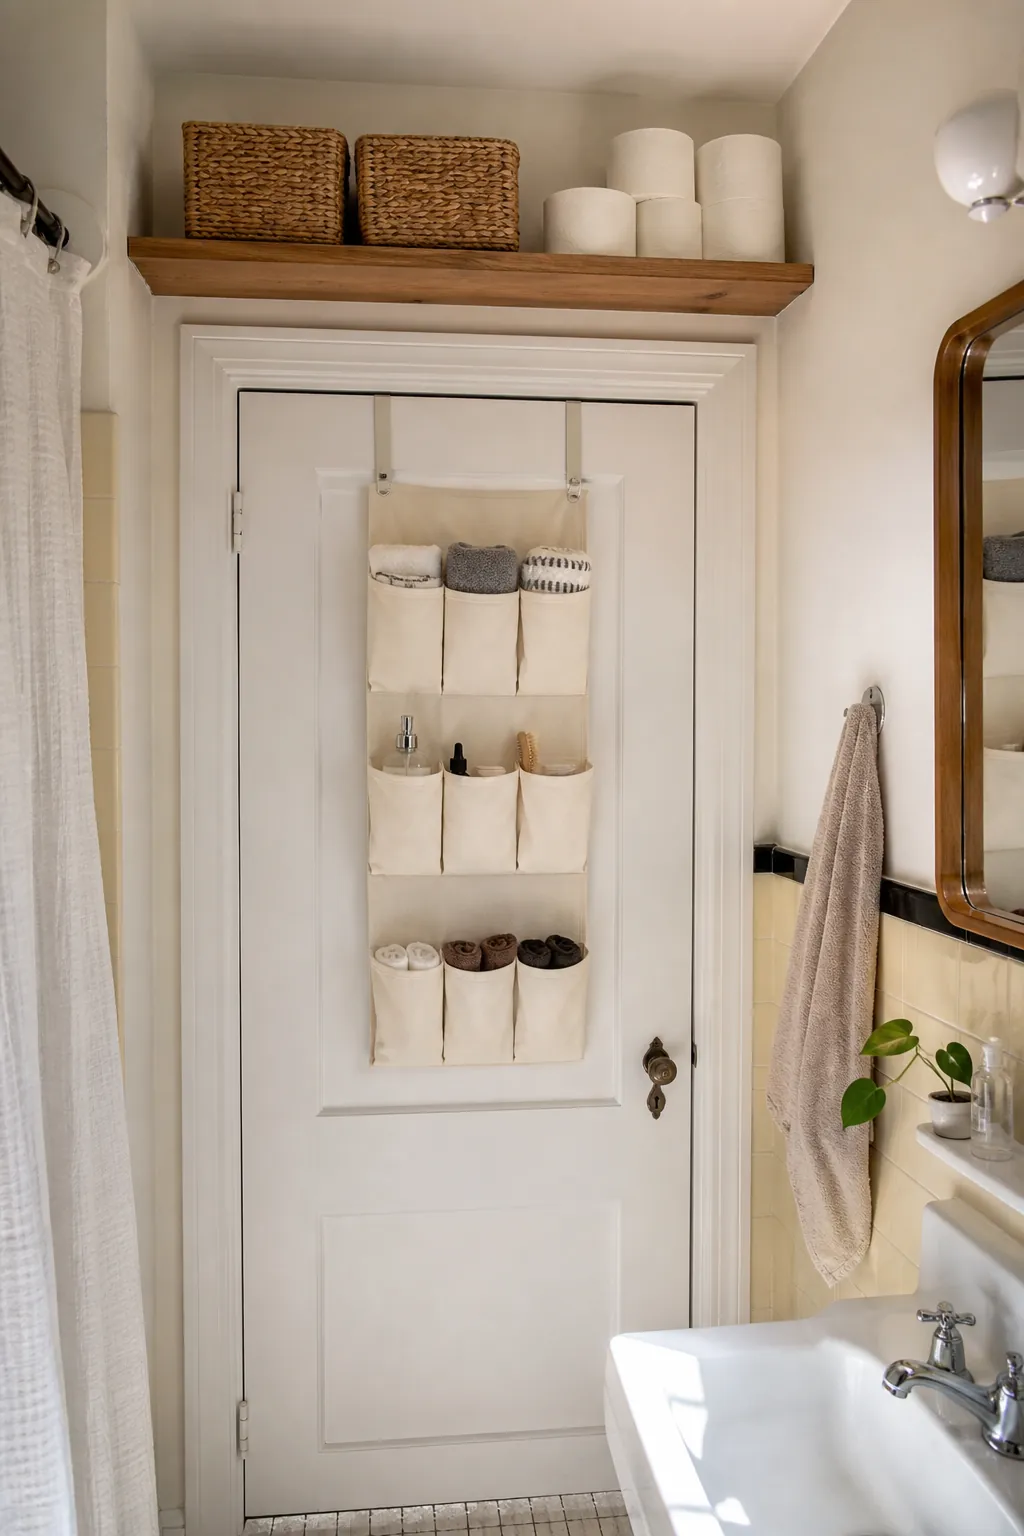
Above door storage is different from an over door organizer. A shelf above the trim is for backup items you do not need while standing at the sink: extra toilet paper, guest towels, seasonal supplies, or a small basket of refills. The back of the door is for daily grab-and-go items.
If you own your home or have permission to anchor a shelf, this combination can be excellent in a tiny bathroom. Just keep the shelf shallow, secure it properly, and avoid storing heavy glass or anything you would not want falling from above head height.
Make It Quiet Before You Call It Finished
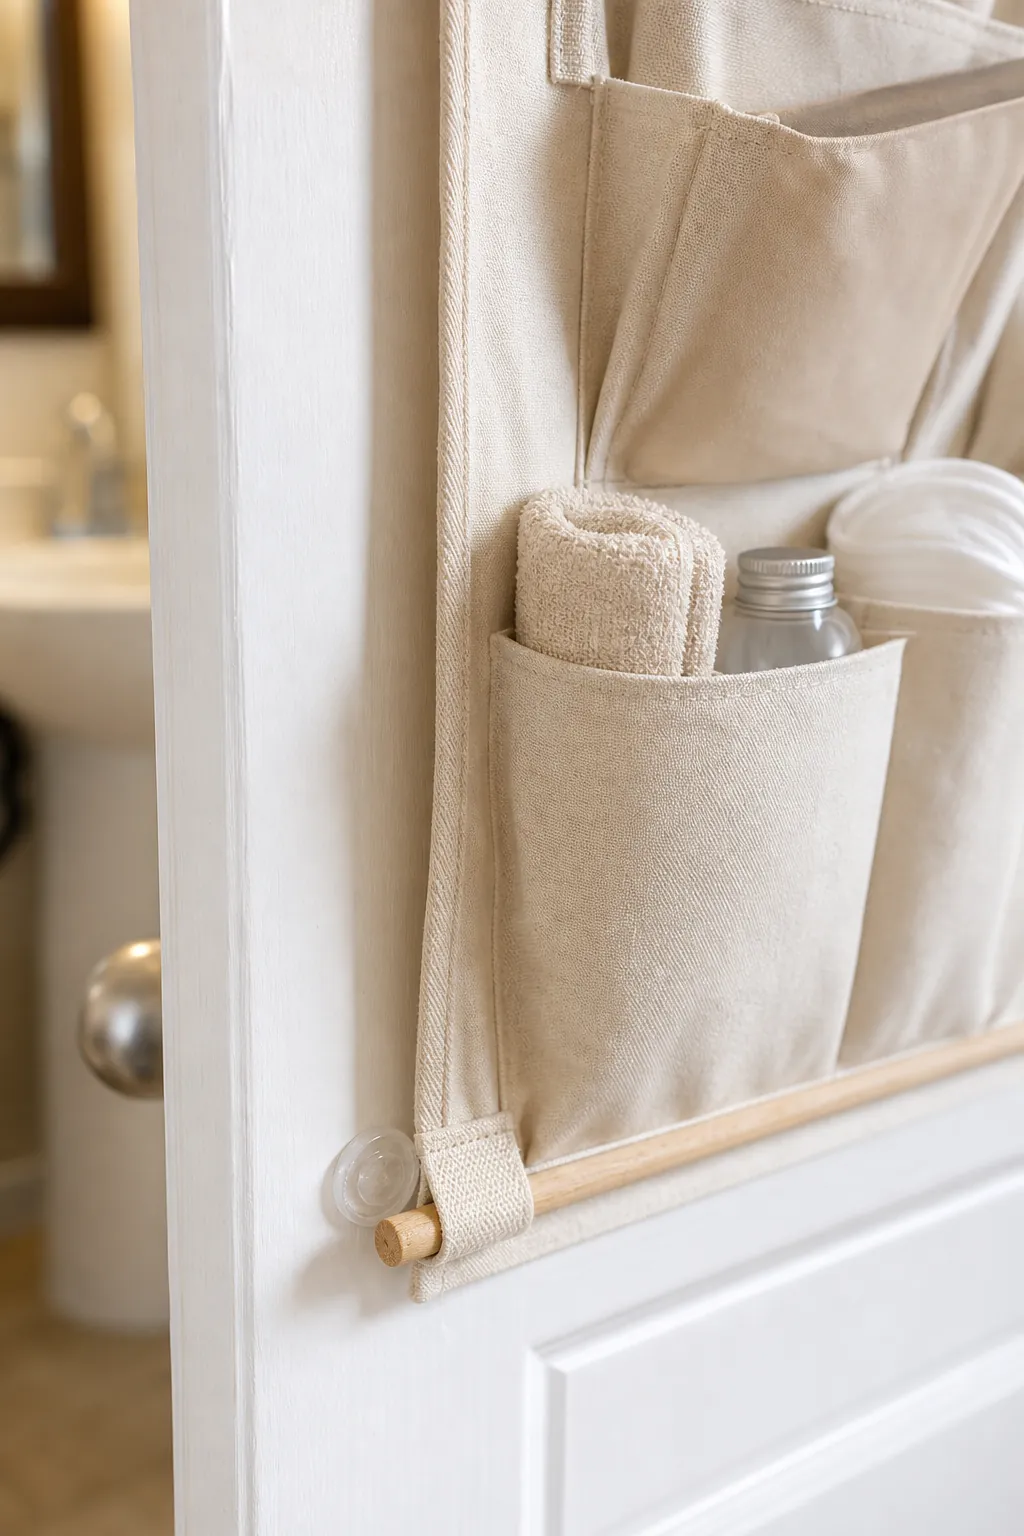
The difference between a clever organizer and an annoying one is usually not the pocket layout. It is the noise. Add adhesive felt where metal touches painted door, use clear bumpers at the lower corners, and test the door with the organizer loaded.
Open and close the door ten times. If the panel bounces, add a lower stabilizer strap, shorten the contents, or move weight downward. A door organizer that only works when empty does not work.
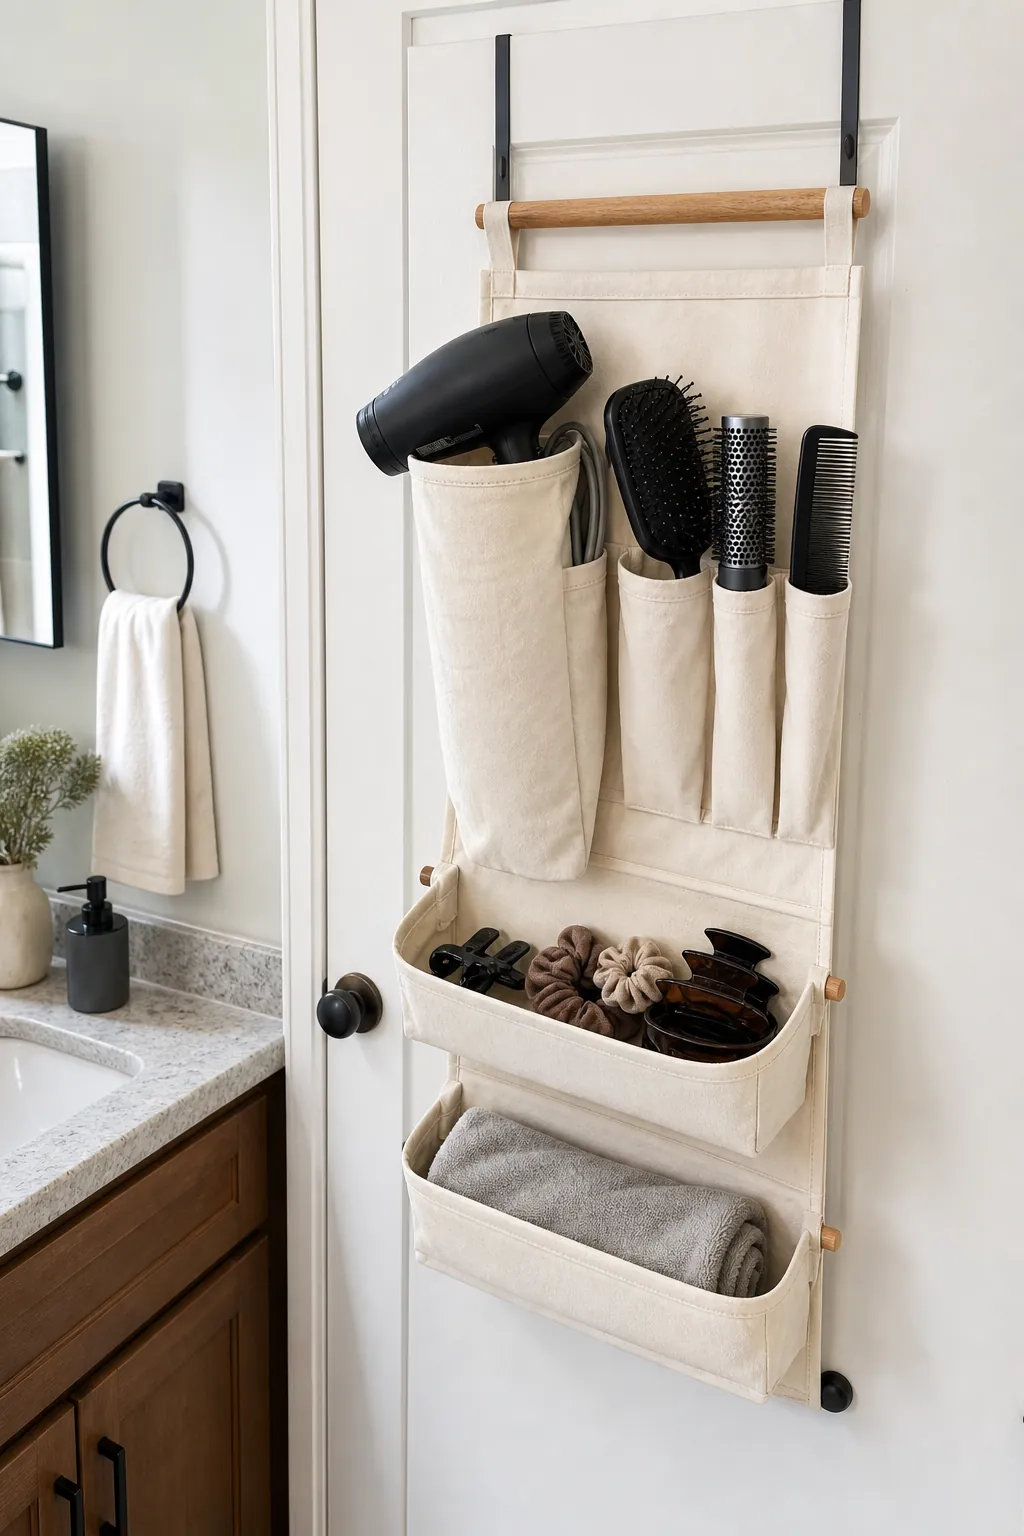
A Safer Hair Tool Version
Hair tools are where door organizers can go wrong fast. They are heavier than they look, they have cords, and some stay warm after use. If you want a hair-tool version, build it differently from a skincare pocket panel.
- Use a heat-resistant sleeve only for tools that are unplugged and cooling, never for active use.
- Place the sleeve low so the door does not become top-heavy.
- Add a cord pocket or strap so cords do not catch in the door.
- Keep styling clips and brushes in shallow pockets where they are easy to return.
The Decluttering Rule That Keeps It From Becoming a Junk Door
The organizer should not become a second medicine cabinet with worse visibility. Give every pocket a job, then leave one pocket partly empty. That extra space is what keeps the system usable on rushed mornings.
A good test is the clear-counter test. If the organizer lets you keep the sink area clear without hiding things you forget to use, the design is working. If it simply moves every loose item from the counter to the door, edit it down.
Bathroom-Safe Details Worth Adding
Bathrooms are humid, so the finishing details matter. Choose washable canvas, add liners where liquids live, and avoid raw wood in places that will get splashed. If you use wood dowels, seal them lightly and let them dry fully before assembly.
Skip tiny closed pockets that are hard to clean. A pocket should be wide enough for your hand to reach the bottom. If you cannot wipe it, wash it, or remove the liner, it does not belong in a bathroom organizer.
Quick Build Checklist
- Measure the top gap with a hook in place before cutting anything.
- Keep the finished organizer shallow enough for the door swing.
- Use soft, washable pockets instead of noisy deep baskets.
- Store daily items in the middle, light backups high, heavier items low.
- Add felt pads and bumpers before loading the organizer.
- Test the door fully loaded, not just during the empty dry fit.
The smartest DIY over door organizer is not the one with the most pockets. It is the one that disappears into your routine: the door still closes, the bathroom stays calm, and the things you actually use are exactly where your hand expects them to be.