
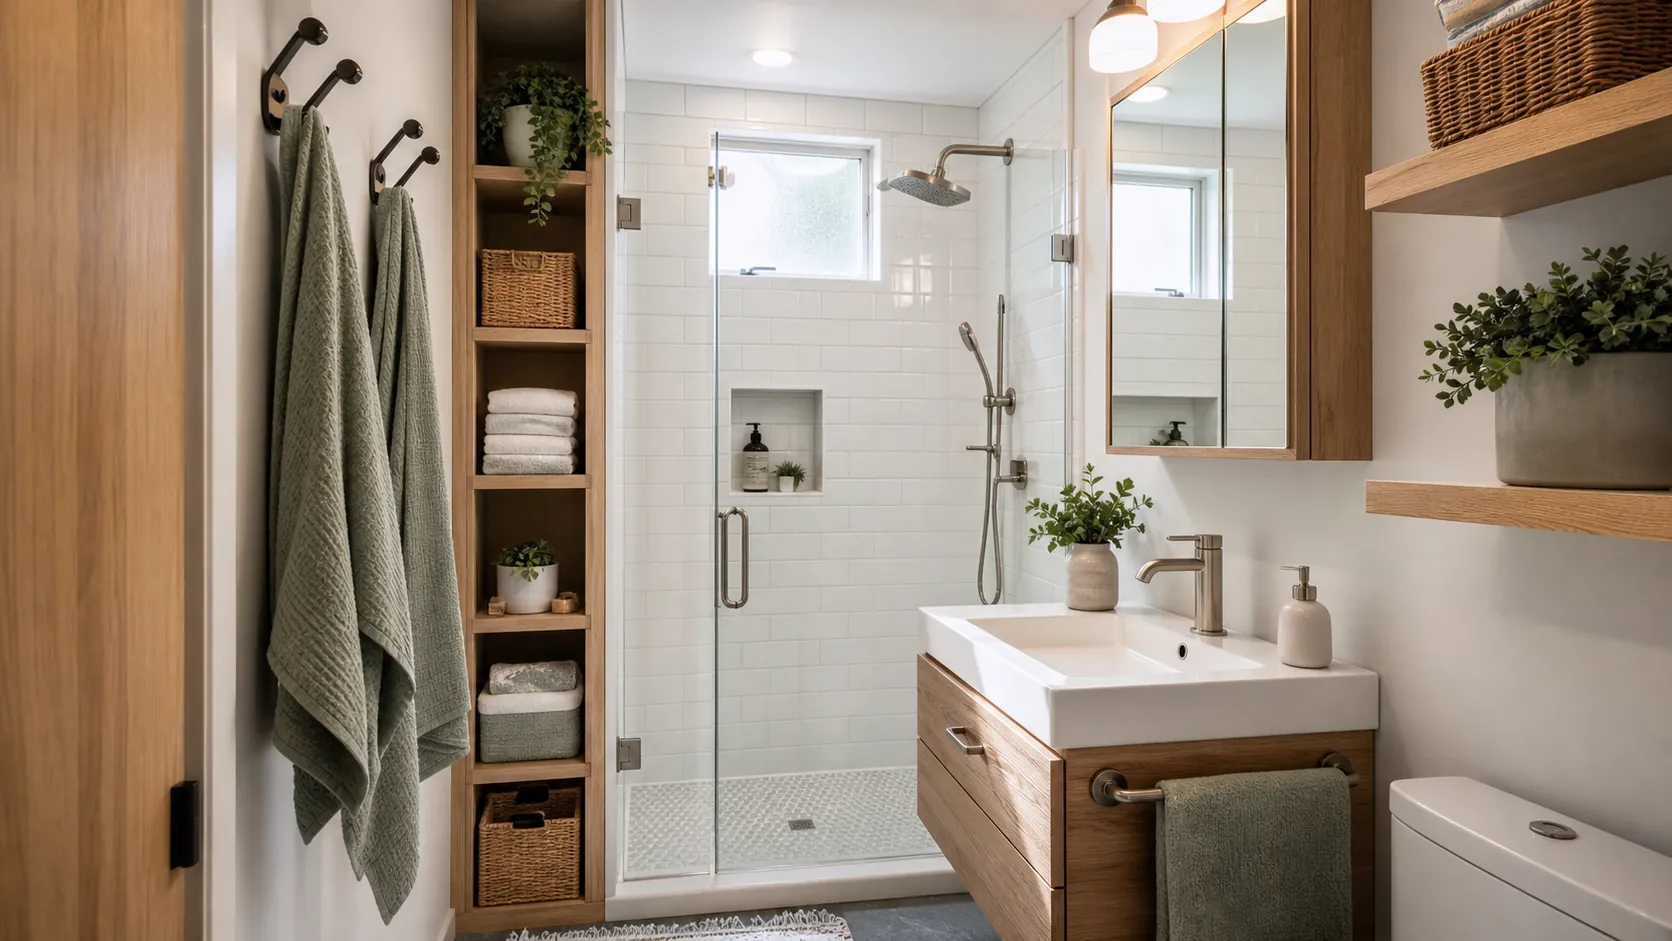
A tiny home bathroom is not hard because the shower is small. It is hard because everything around the shower has to survive water, towels, bottles, humidity, cleaning supplies, toilet paper, and a door that still needs room to swing.
That is why the best tiny home bathroom ideas start with behavior, not decor. Where do you stand after the shower? Where does the towel dry? Which products actually need to live inside the shower? What storage must stay dry? When those answers come first, a compact bathroom can feel intentional instead of improvised.
Use this guide as a practical planning pass for a tiny home bathroom with a shower and storage. It focuses on layout, shower storage, bathroom organization, and the small details that make a tiny house bathroom easier to use every day.
Start With The Shower Footprint
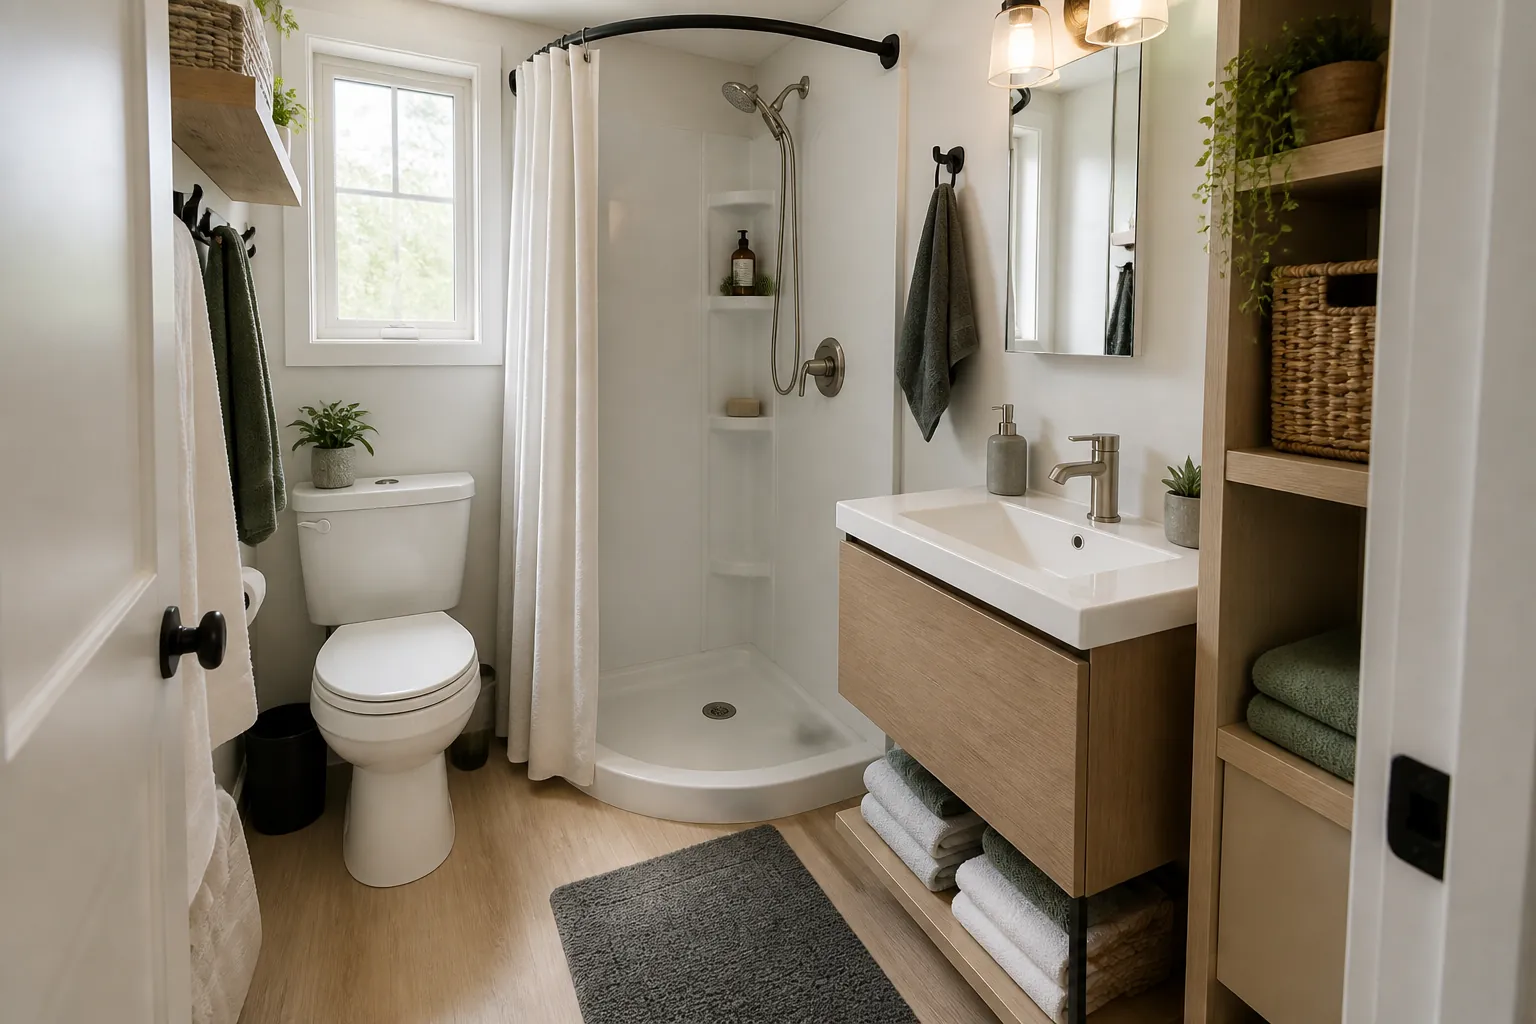
The shower usually eats the biggest fixed chunk of a tiny bathroom, so decide its footprint before choosing shelves, tile, or vanity style. A compact shower can work beautifully, but only if it leaves a usable dry zone outside the spray.
For many tiny home layouts, a corner shower around 30 to 32 inches wide is the practical starting point. A larger shower feels better, but it may steal the only place where you can stand, dry off, open a cabinet, or help a child. In tiny-house discussions, this is the tradeoff that keeps appearing: people want a comfortable shower, but they regret losing the floor space they use during the other 23 hours of the day.
If your bathroom is extremely tight, consider a shower curtain before a glass door. A curtain can move with your shoulder, stay out of the way, and avoid the clearance problem of a swinging door. A curved rod gives a little more elbow room without changing the footprint. Add magnetic weights or a heavier liner if the curtain blows inward.
- Keep the shower opening easy to enter without stepping around the toilet.
- Protect a dry standing zone for towels, clothing, and daily routines.
- Use a pocket door or outswing door only when it truly improves clearance and privacy.
- Check local code, plumbing access, and waterproofing details before locking the plan.
Choose A Wet Bath Only If It Matches Your Habits
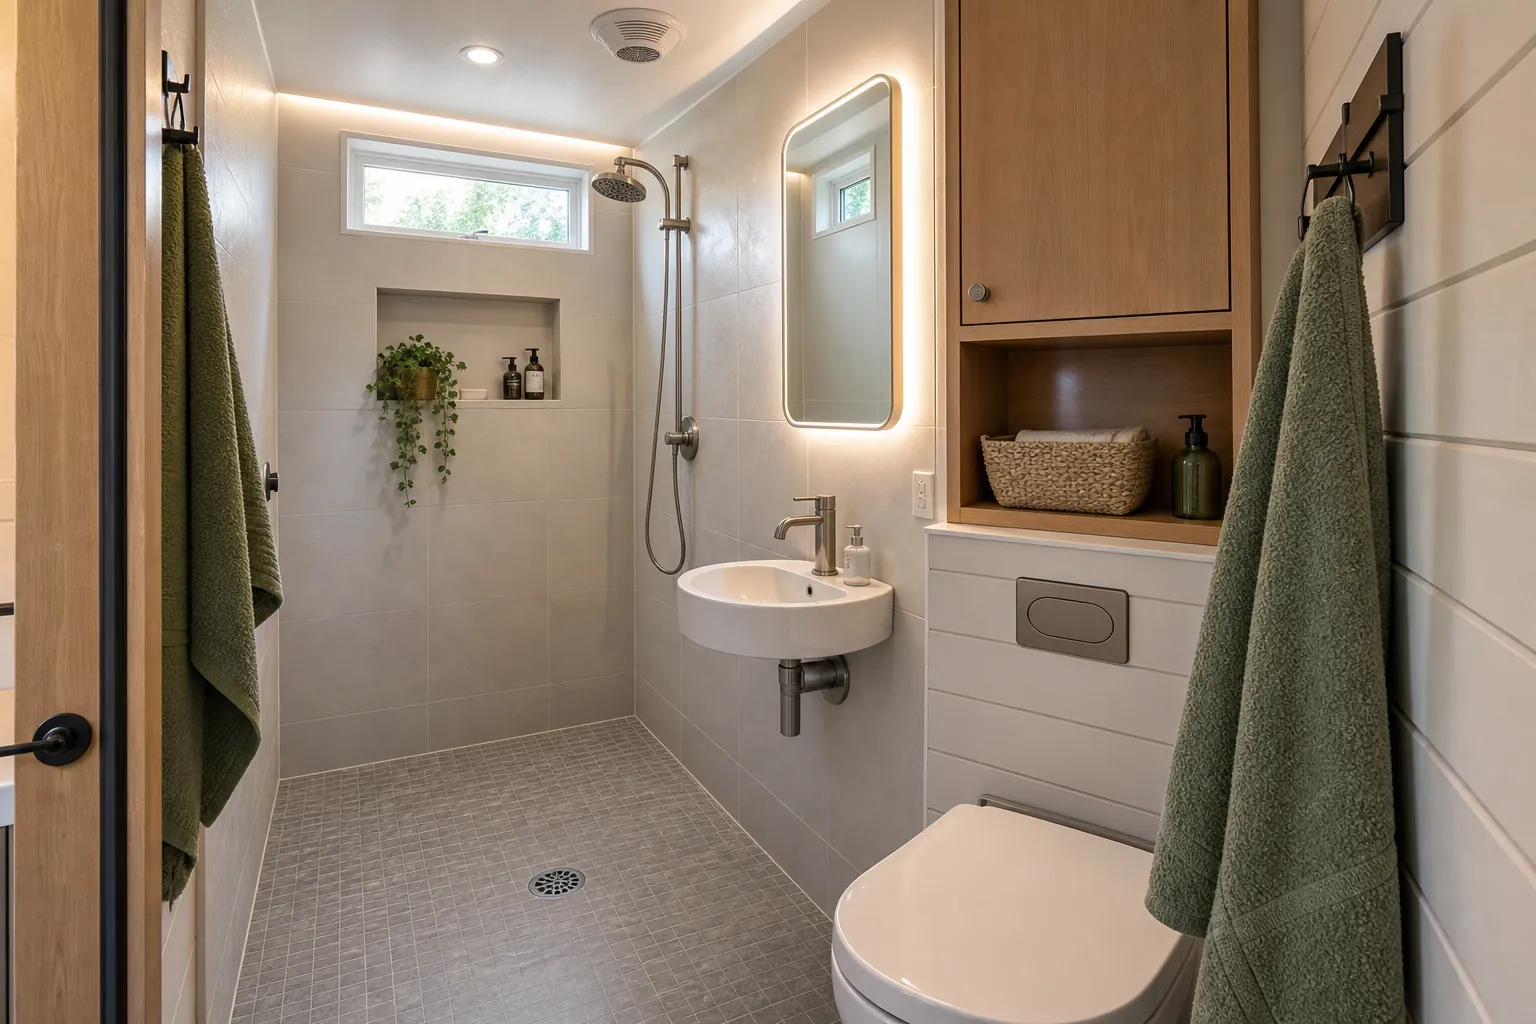
A wet bath can make sense in a tiny home because the whole room becomes the shower zone. You gain more open shower space and remove the need for a separate stall. The catch is simple: everything in the room has to be waterproof, washable, or protected.
That makes wet baths better for minimal routines than product-heavy routines. If you use one shampoo, one body wash, one towel, and you are willing to squeegee the room, a wet bath can feel smart. If you want open baskets of skincare, paper goods, hair tools, makeup, spare towels, and decorative bathroom shelves, a dry bath will usually be easier to live with.
The compromise is a wet shower area with a protected dry storage edge. Put sealed storage behind a mirror or cabinet door. Keep towels outside the spray path. Store toilet paper in a lidded container or outside the bathroom entirely. The goal is not to make every item waterproof. The goal is to stop wet and dry items from competing for the same square foot.
Build Shower Storage Into The Wall
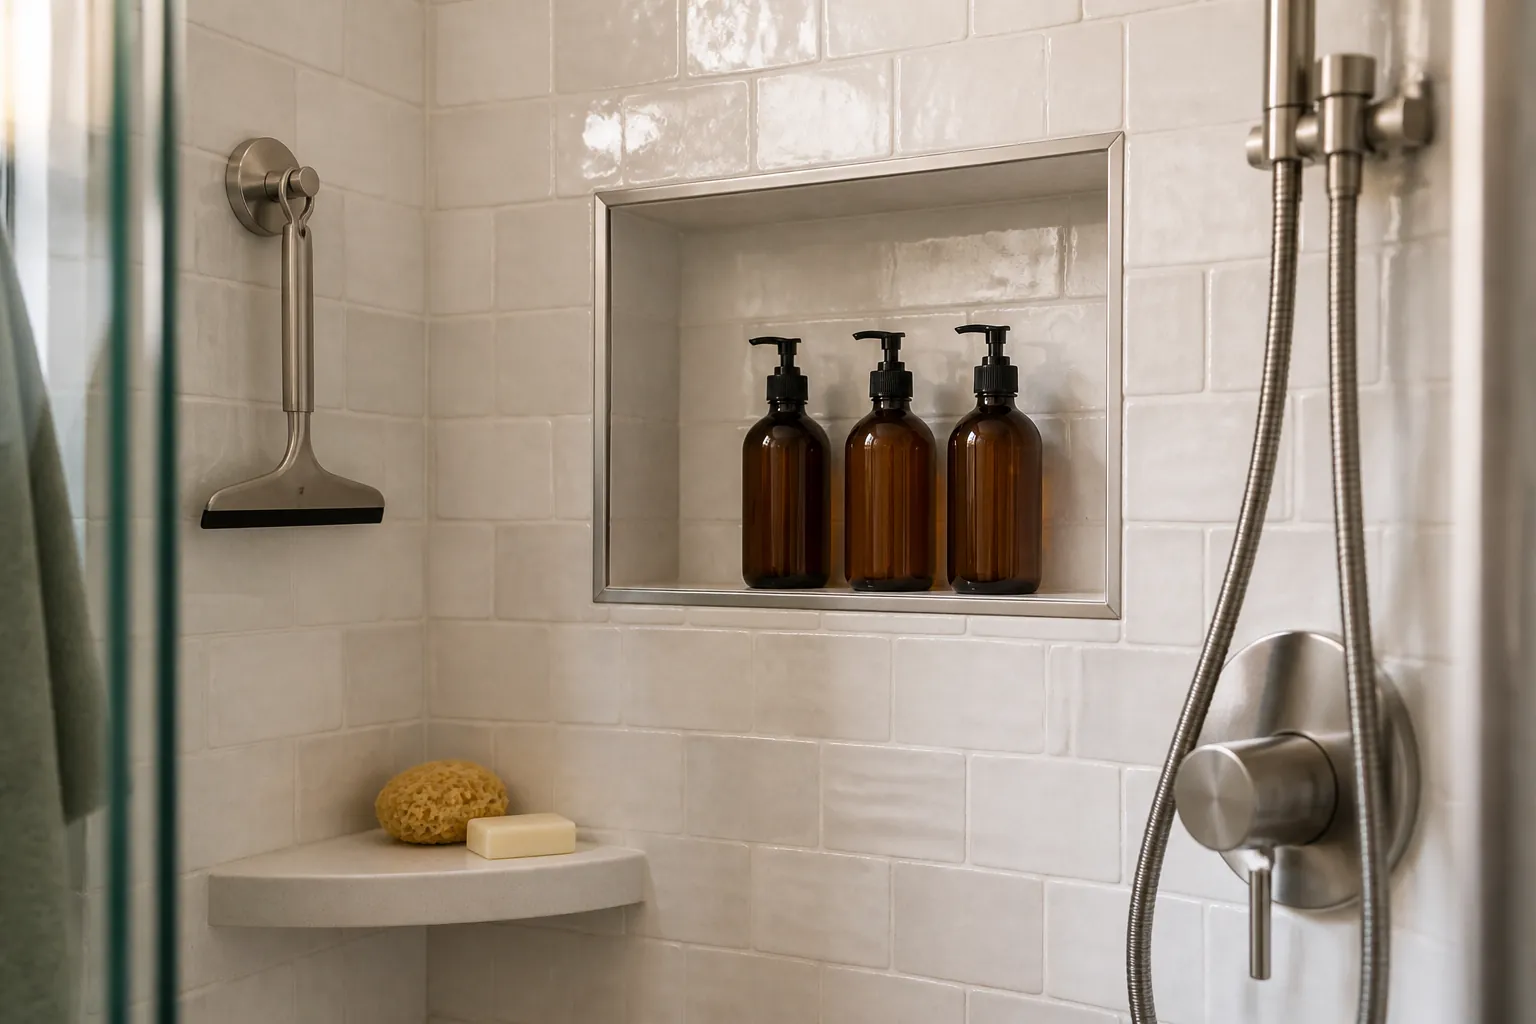
In a compact bathroom, shower storage should not steal shoulder room. A recessed niche is usually better than a bulky caddy because it keeps bottles inside the wall plane. If you are building or renovating, plan the niche before waterproofing. Place it high enough that bottles are easy to reach but not directly in the heaviest spray.
For a finished bathroom, keep the solution lighter. A slim corner shelf, tension pole, or adhesive shelf can work, but only if you edit the number of products. The most useful tiny bathroom organization rule is not a product. It is a limit: keep only daily-use bottles in the shower. Backups live in a bin, drawer, or cabinet outside the wet zone.
Add a squeegee hook inside or just outside the shower. It sounds small, but it changes the room. A one-minute wipe-down keeps glass, tile, and waterproof panels clearer, and it reduces the damp feeling that makes a tiny home bathroom seem smaller than it is.
Use A Vanity That Makes The Room Feel Lighter
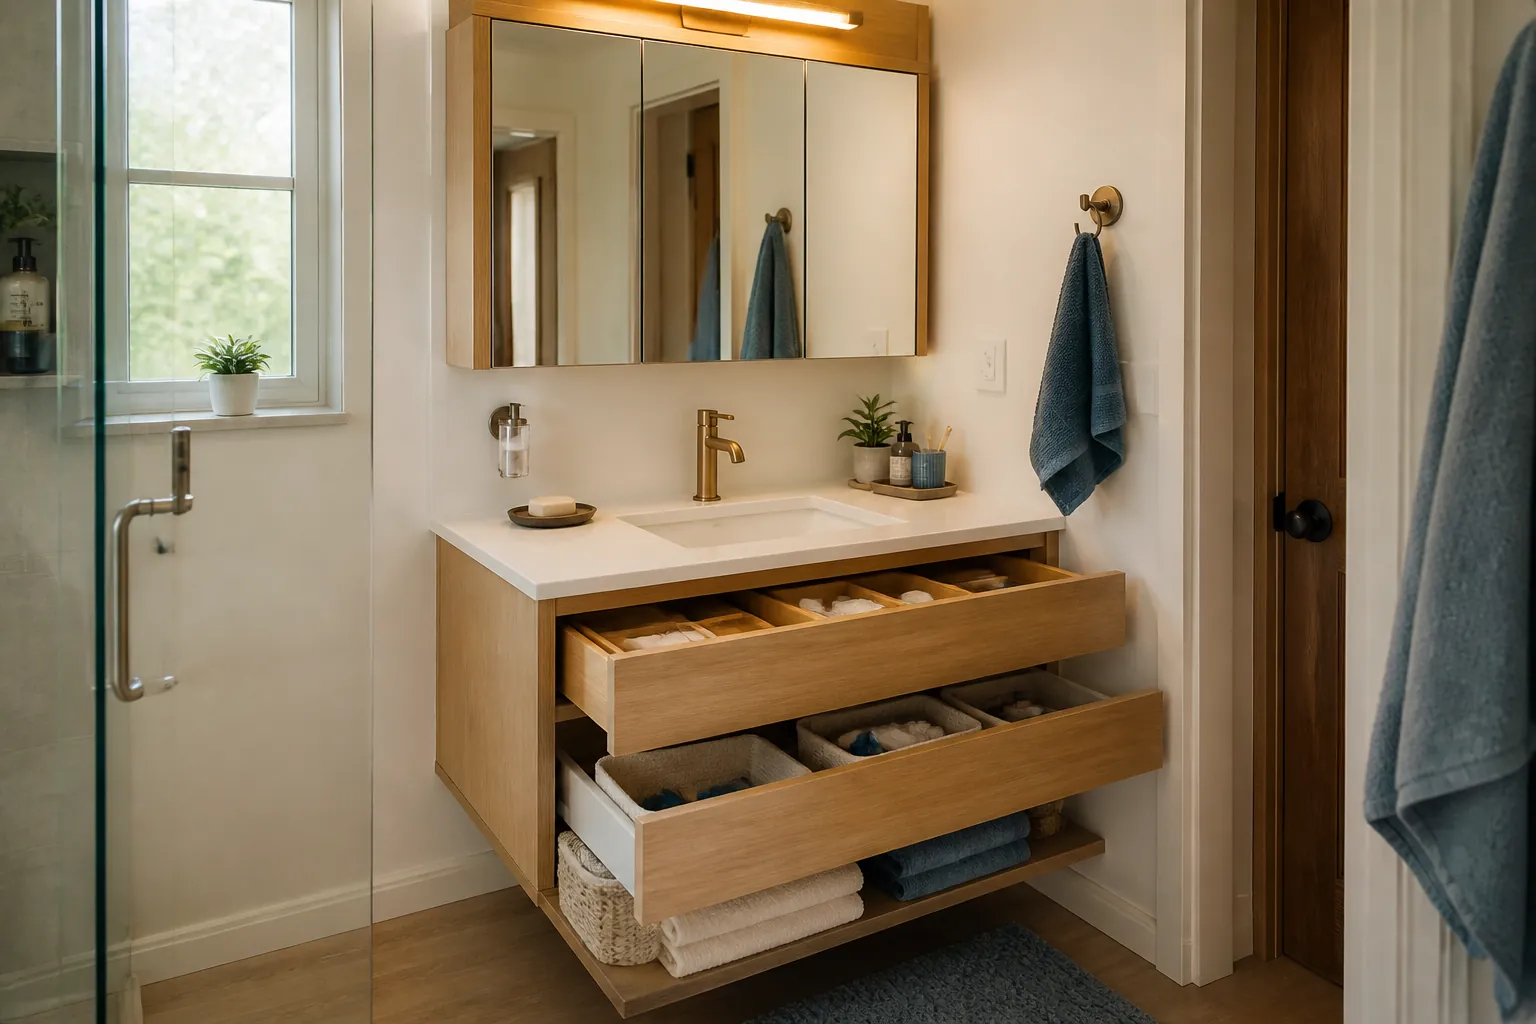
A tiny vanity has to do more than hold a sink. It should hide the daily clutter, protect the floor visually, and leave enough room for knees, elbows, and cleaning. A floating vanity is often the easiest way to make a small bathroom storage plan feel lighter because the floor continues underneath it.
Look for shallow depth before you look for drawer count. A deep vanity can make a compact bathroom feel blocked, especially if it sits opposite the toilet or shower door. An 18 to 24 inch wide vanity with drawers, a mirrored medicine cabinet, and one open shelf can store more useful items than a bulky cabinet with one dark cavern underneath.
- Use drawer dividers for toothbrushes, razors, small skincare, and first aid.
- Mount soap and toothbrush holders on the wall when counter space is tight.
- Choose a medicine cabinet instead of a flat mirror if the wall depth allows it.
- Keep one small tray on the counter and make everything else earn a closed home.
Move Storage To The Door, Toilet Wall, And High Corners
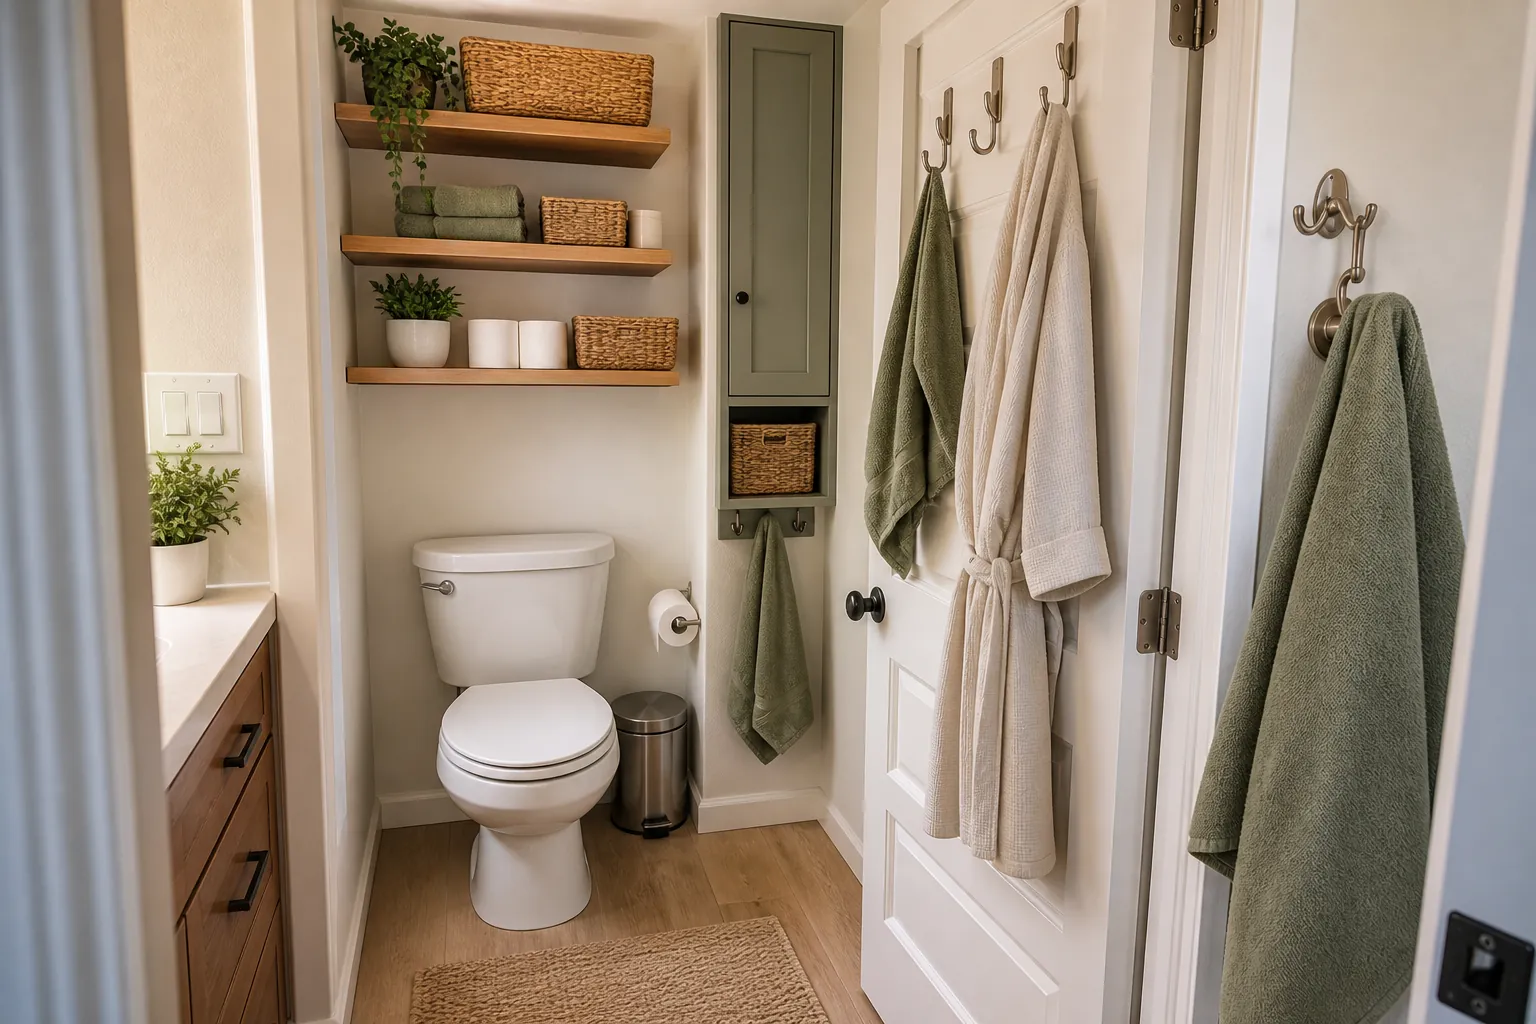
Once the shower and vanity are set, the easiest storage gains are vertical. The back of the door, the toilet wall, and the space above eye level can hold a surprising amount without crowding the floor. This is where tiny home design becomes practical instead of cute.
Over-toilet shelves can work well, but edit them hard. Loose bottles above a toilet look messy and feel risky. Use matching baskets, closed boxes, or a shallow wall cabinet. Keep the lowest shelf for toilet paper or folded hand towels, the middle for daily items in one basket, and the top for backups you do not touch every morning.
The door is better for towels and lightweight items than for deep racks. Hooks beat towel bars in many compact bathrooms because they fit more drying points in less width. If you need more storage, use a narrow over-door organizer for hair tools, cleaning cloths, or backup toiletries, but keep heavy items in fixed cabinets instead.
Make Moisture Control Part Of The Storage Plan
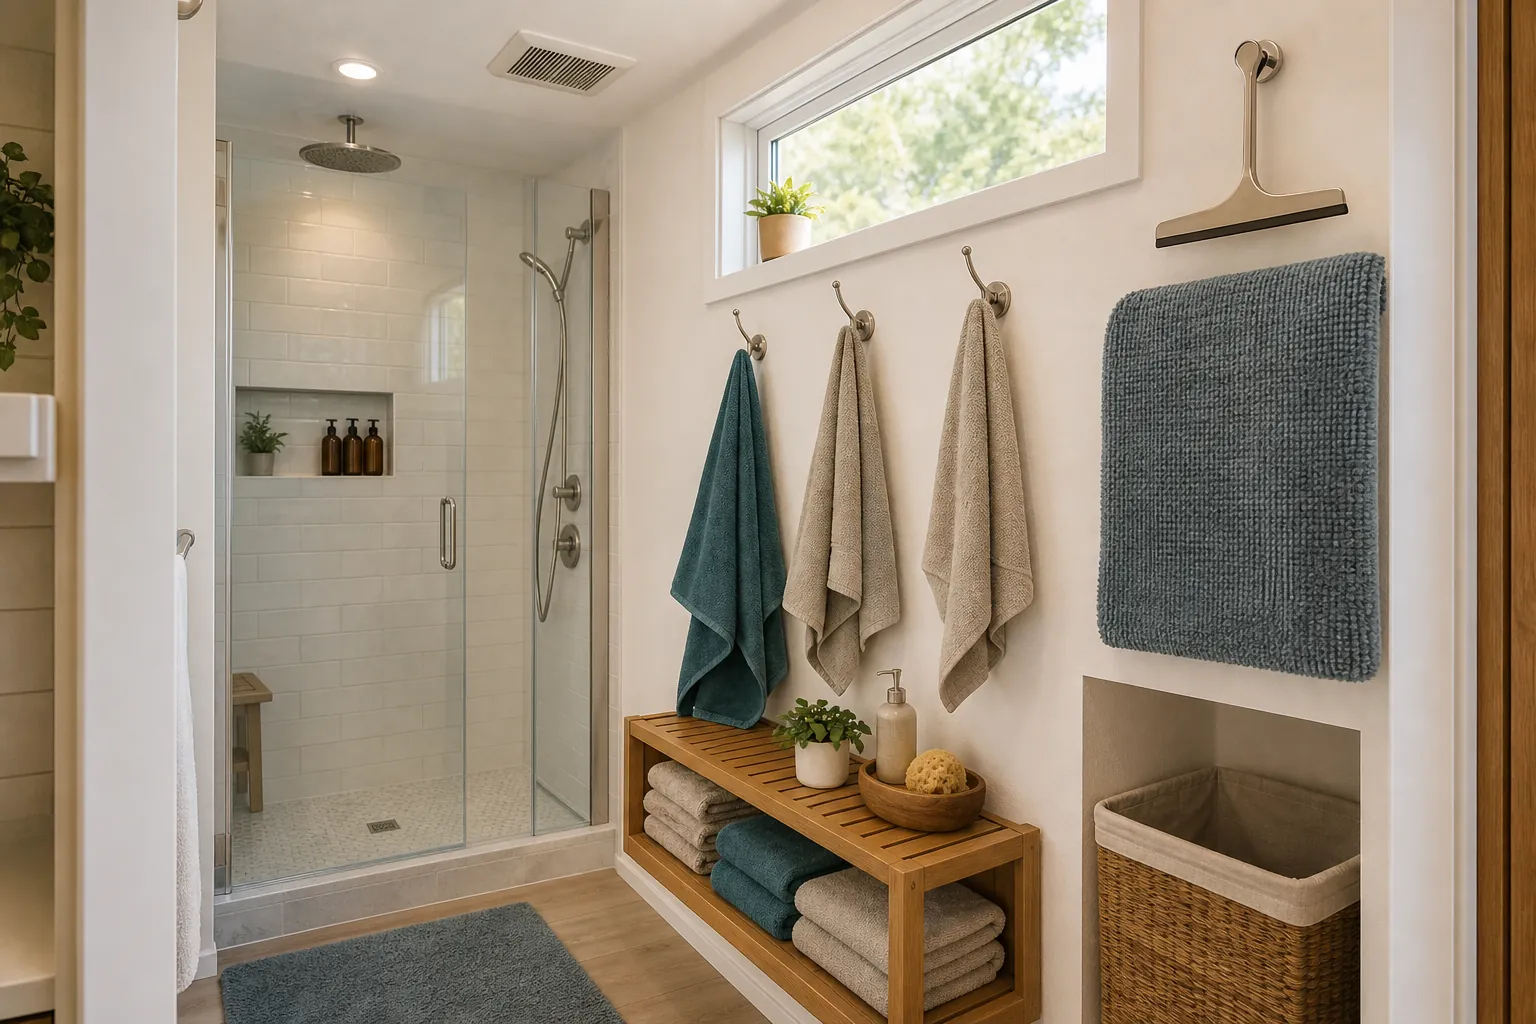
Storage fails in a tiny home bathroom when damp items have nowhere to dry. Towels stay wet, bottles collect residue, bath mats never fully air out, and shelves start feeling sticky. A good bathroom storage plan includes airflow, not just containers.
Use spaced hooks near the shower exit so towels can hang open instead of folding against each other. Add an open slatted shelf for fresh towels only if the room has ventilation. If your bathroom has a fan, make sure it vents outside, not into an attic or closed cavity. If you are choosing fixtures, a WaterSense-labeled showerhead can also reduce water use while keeping shower performance, since the EPA label is for showerheads that use no more than 2.0 gallons per minute.
Do not store everything in closed plastic bins. They hide clutter, but they also trap dampness if towels, washcloths, or cleaning rags are not fully dry. In a compact bathroom, closed storage is best for dry backups. Open storage is best for items that need air.
A Tiny Bathroom Layout You Can Copy
If you are starting from an empty shell, try this sequence before buying anything:
- Place the shower first, then mark the dry standing zone outside it with painter’s tape.
- Choose the toilet location based on plumbing, knee clearance, and door swing.
- Add the shallowest vanity that still gives you closed daily storage.
- Put recessed shower storage or a slim shelf where it will not hit your elbows.
- Use the wall above the toilet for edited backup storage.
- Add hooks near the shower exit, then decide where damp towels and laundry go.
This order keeps the bathroom honest. It prevents the common mistake of designing a pretty compact bathroom that has no place to dry a towel, no room to open a drawer, and no dry home for toilet paper.
What To Skip In A Tiny Home Bathroom
- Oversized freestanding cabinets that block the only clear floor space.
- Deep open shelves filled with loose products, especially near the toilet.
- Glass shower doors that need swing clearance you do not have.
- Decor baskets that hold damp towels without airflow.
- Too many duplicate products in the shower.
- Dark storage towers that make the room feel narrower.
The strongest tiny bathroom ideas are usually not dramatic. They are disciplined. A compact shower, a protected dry zone, vertical storage, fewer bottles, better airflow, and one place for every daily item will do more than another shelf squeezed into the last blank wall.
Design the bathroom around the shower, then design the storage around what happens after the shower. That is the difference between a tiny home bathroom that only fits on paper and one that works every morning.