
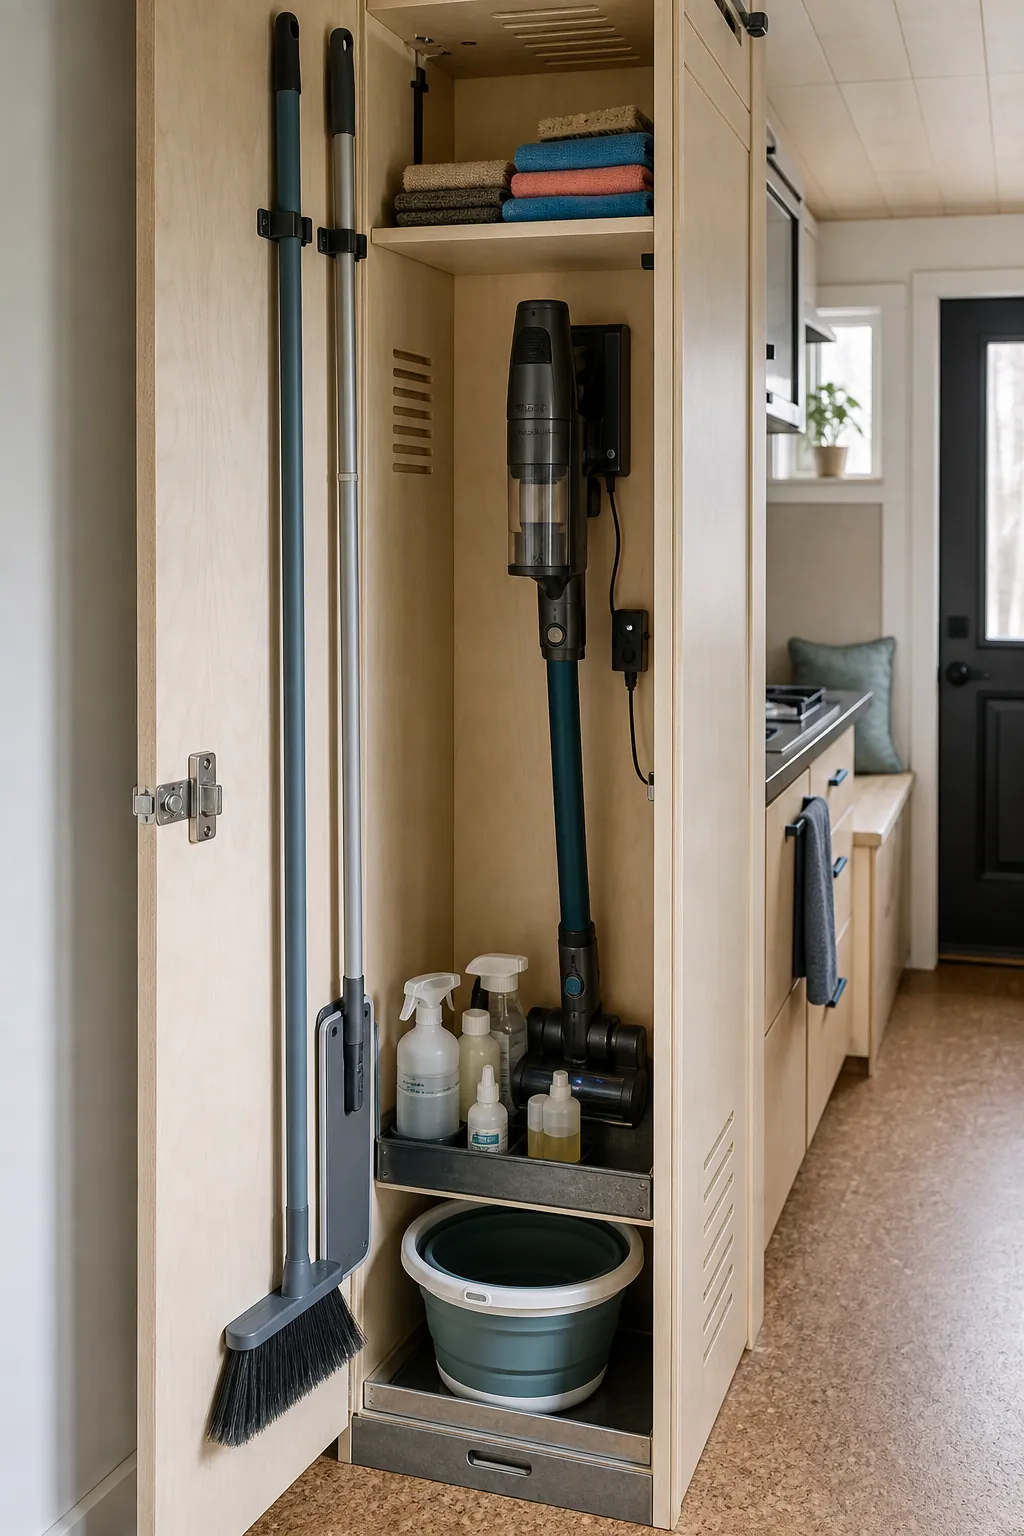
Cleaning supplies create an odd storage problem in a tiny house: the tools are long, the bottles are small, some products must stay away from children or heat, and damp items need air before being enclosed. Stuffing everything under the sink makes each cleanup harder and can hide leaks or incompatible chemicals. The useful goal is not one miniature cleaning closet; it is a few safe storage zones placed where each task happens.
Keep a Small Daily Kit Where Spills Happen
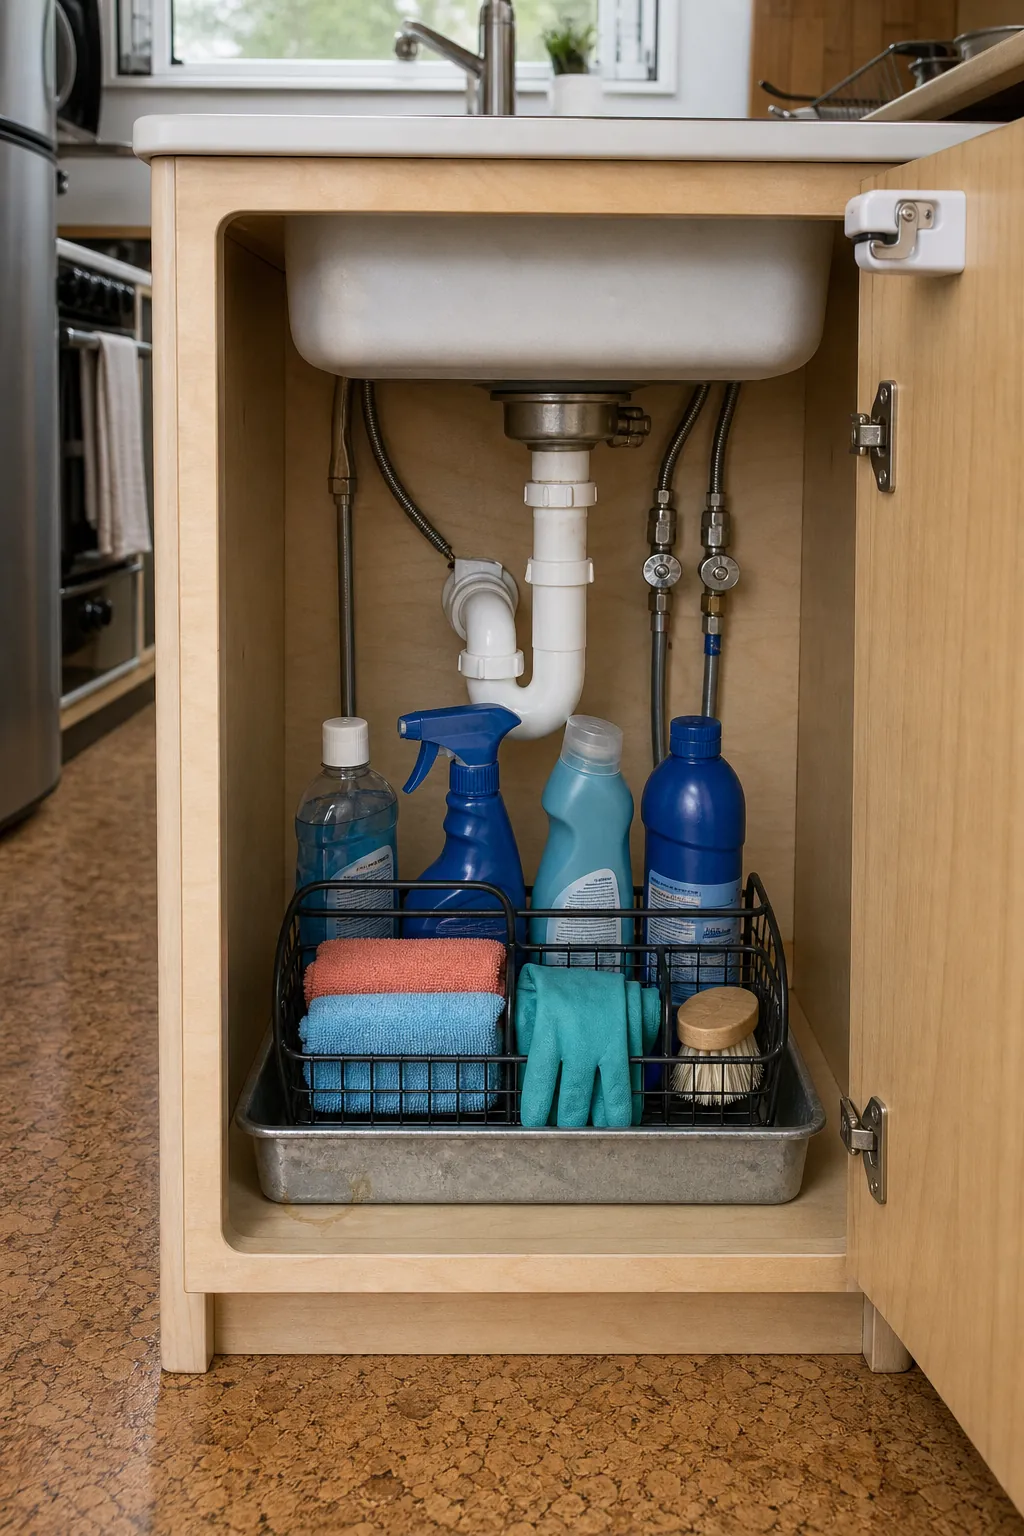
Store only the products used several times a week in the kitchen: dish soap, an all-purpose product appropriate for your surfaces, microfiber cloths, and a hand brush. A handled caddy makes the group easy to remove when checking plumbing. Use a shallow tray beneath bottles to contain drips, but do not let the tray conceal an active leak.
Keep original labels and follow every storage warning. Never combine products to save containers, and do not decant cleaners into food or drink bottles. If children or pets live in the home, use a locked location that complies with product directions rather than relying on a high shelf alone.
Hang Long Handles in a Narrow Vertical Bay
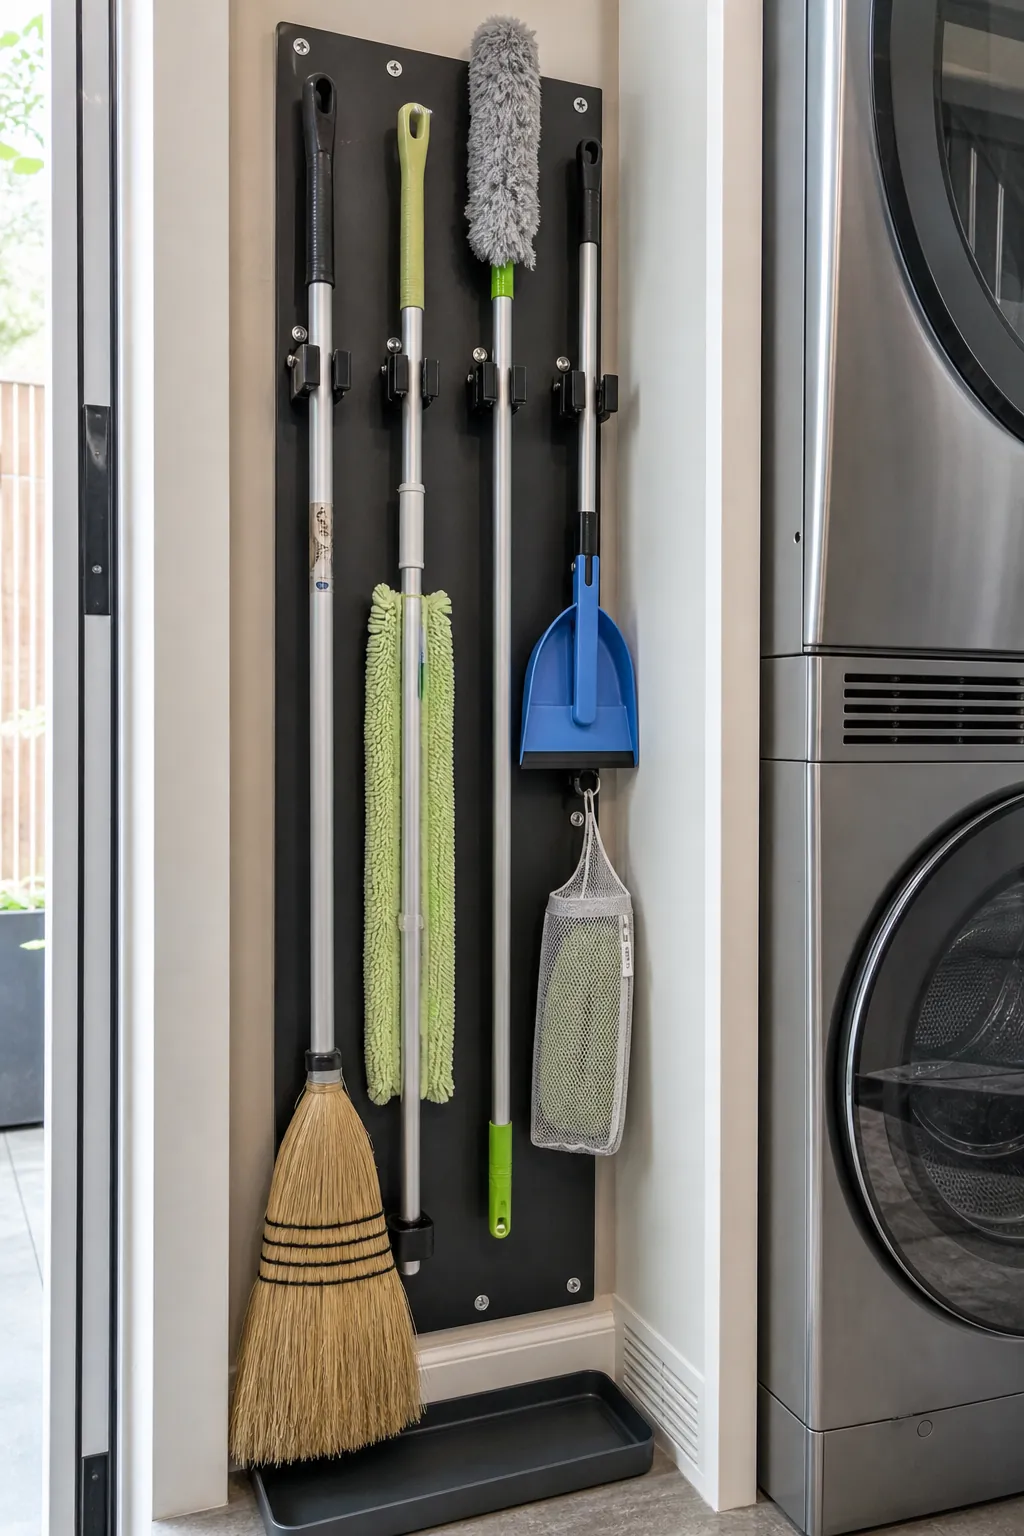
Brooms and mops occupy little volume but become unruly when their handles cross. A wall-mounted gripper rail lets each tool lift out independently. Use a narrow gap beside a stacked washer, refrigerator enclosure, or utility cabinet only when the tool cannot interfere with ventilation, appliance service clearance, heat, wiring, or moving doors.
Mount holders into suitable structure and follow their load ratings. Keep the heaviest item lowest, hang a dustpan with its broom, and leave wet mop heads exposed until fully dry. Door-mounted holders can work, but check that the loaded door still opens completely and that handles do not strike shelves.
Build a Ventilated Mini Utility Cabinet
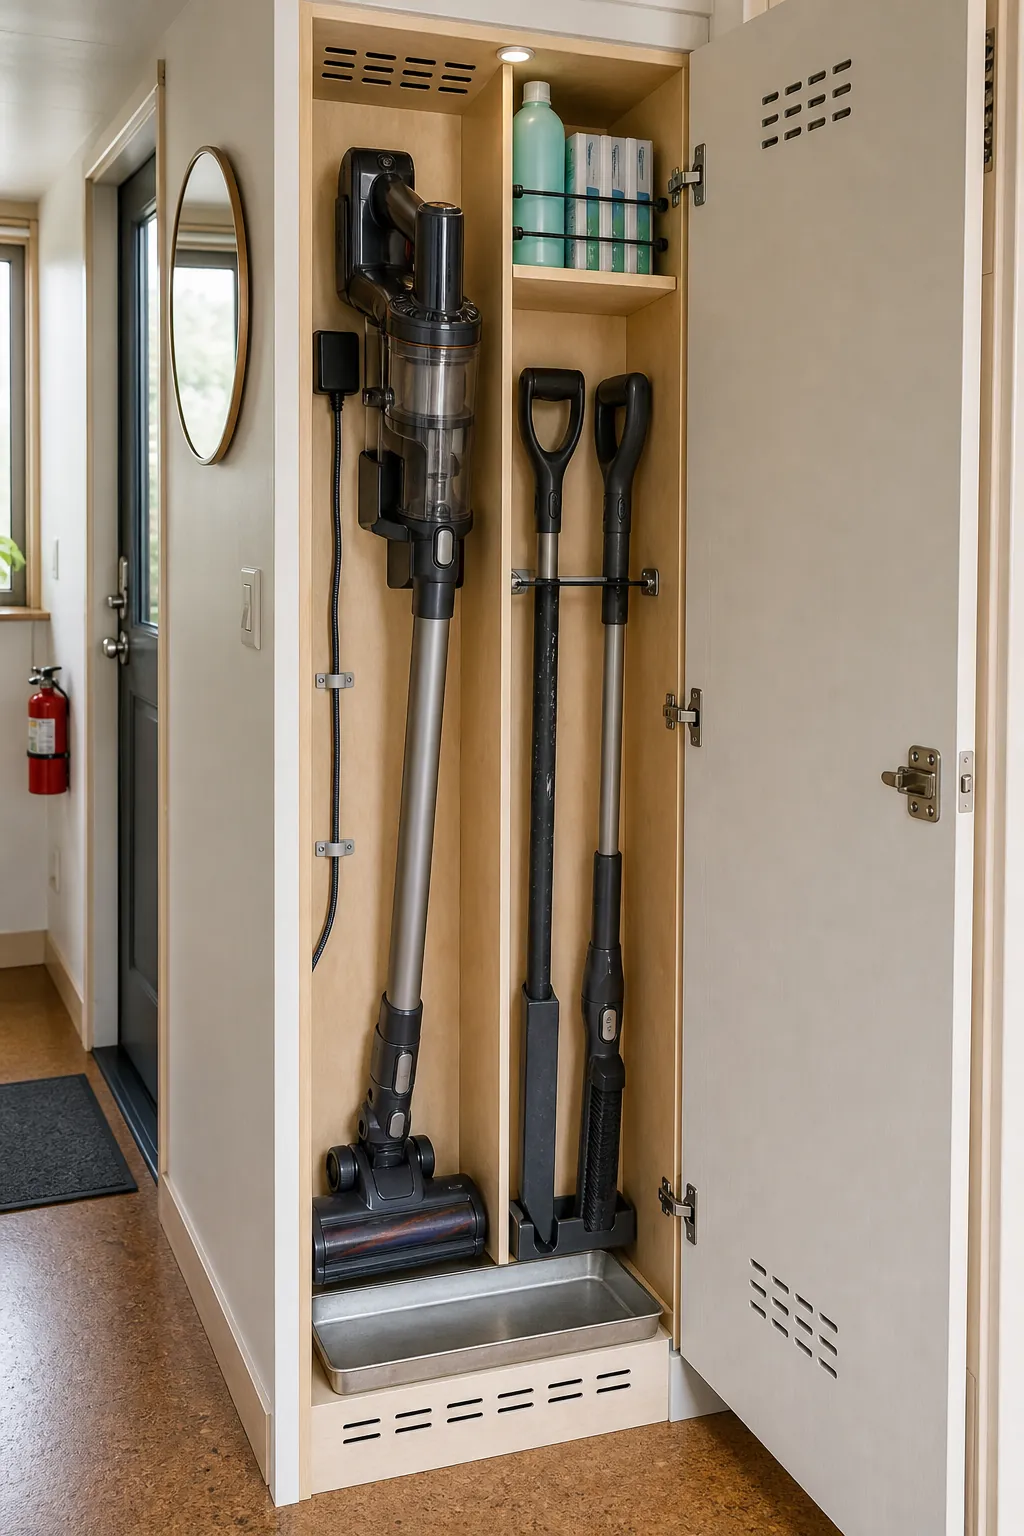
A cabinet only a few inches deeper than the vacuum can hold more than a random full-depth closet. Give tall tools one vertical side, place the vacuum and charger on the other, and use shallow shelves above for unopened refills. Vent openings help residual moisture and charging heat disperse, but equipment must be stored according to manufacturer instructions.
Do not place cleaners beside an electrical panel, water heater, or furnace merely because the cavity looks empty. Preserve required service and combustion clearances. Install a leak tray for a wet bucket, let every mop dry first, and make the cabinet interior washable enough to reveal spills quickly.
Use the Bathroom for Bathroom-Only Supplies
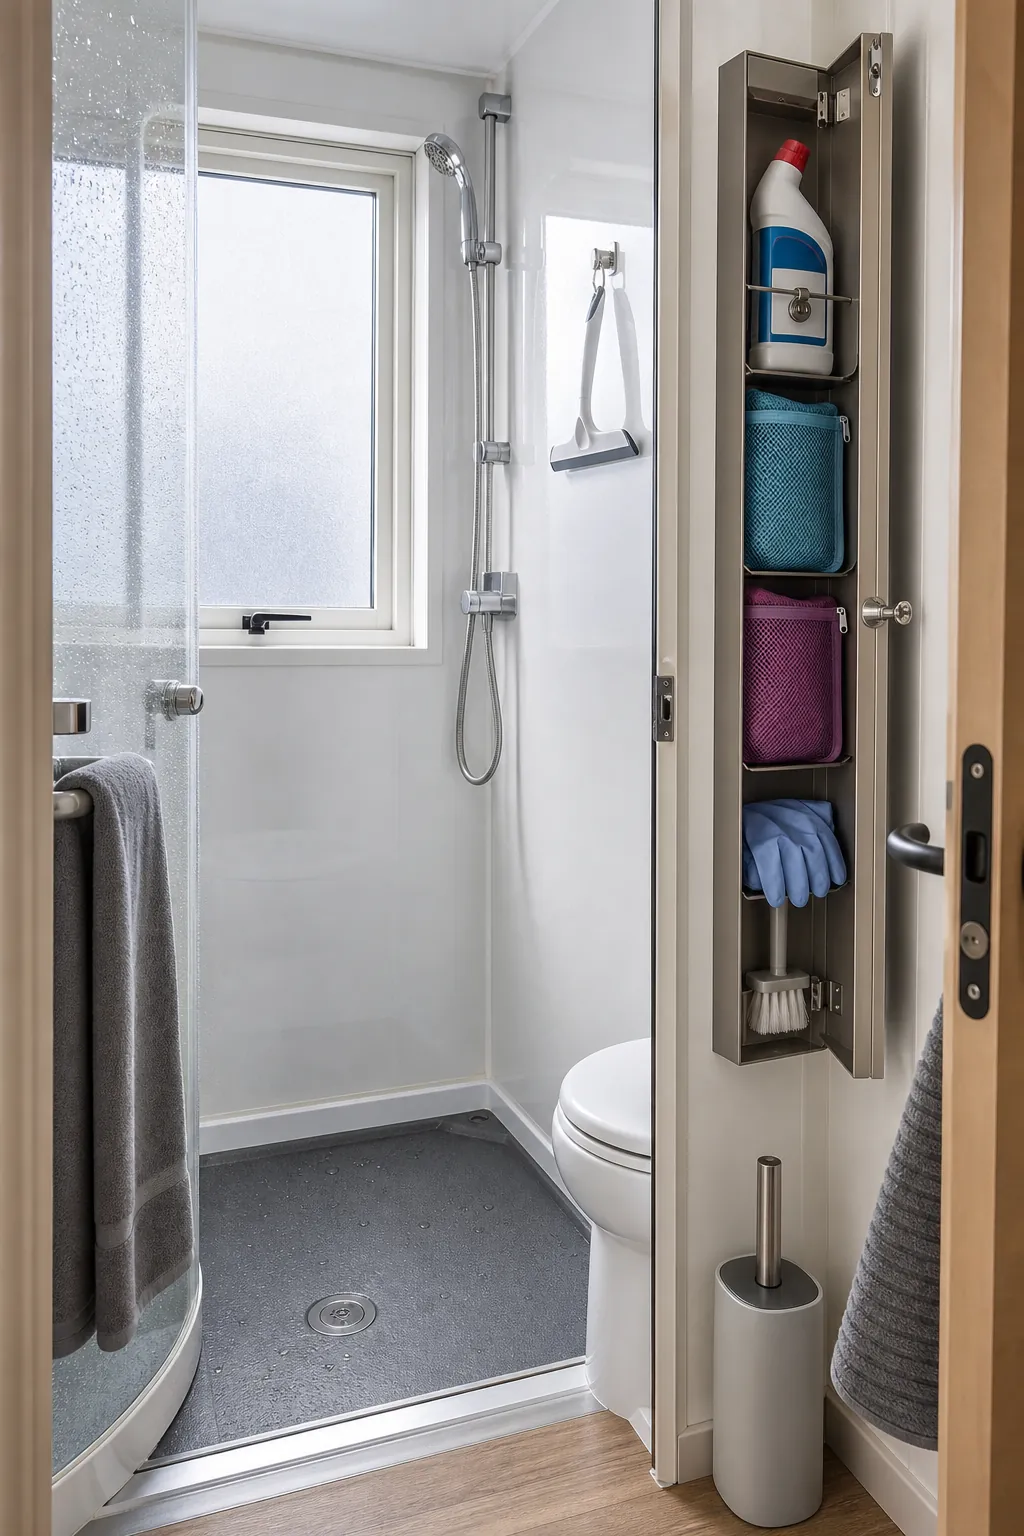
Keeping the toilet brush, shower squeegee, and bathroom cloths near their task reduces the central supply pile. A slim wall cabinet or closed basket can hold a limited set, while a hook allows the squeegee to drain. Avoid storing paper goods directly beside the shower where repeated humidity can damage them.
Separate toilet-cleaning cloths from kitchen cloths with distinct colors or dedicated washable bags. Wash and dry reusable items as directed. In a wet bath, choose rust-resistant hardware and mount containers outside the direct spray zone so stored products remain dry and labels stay readable.
Turn an Entry Bench Into Dry Tool Storage
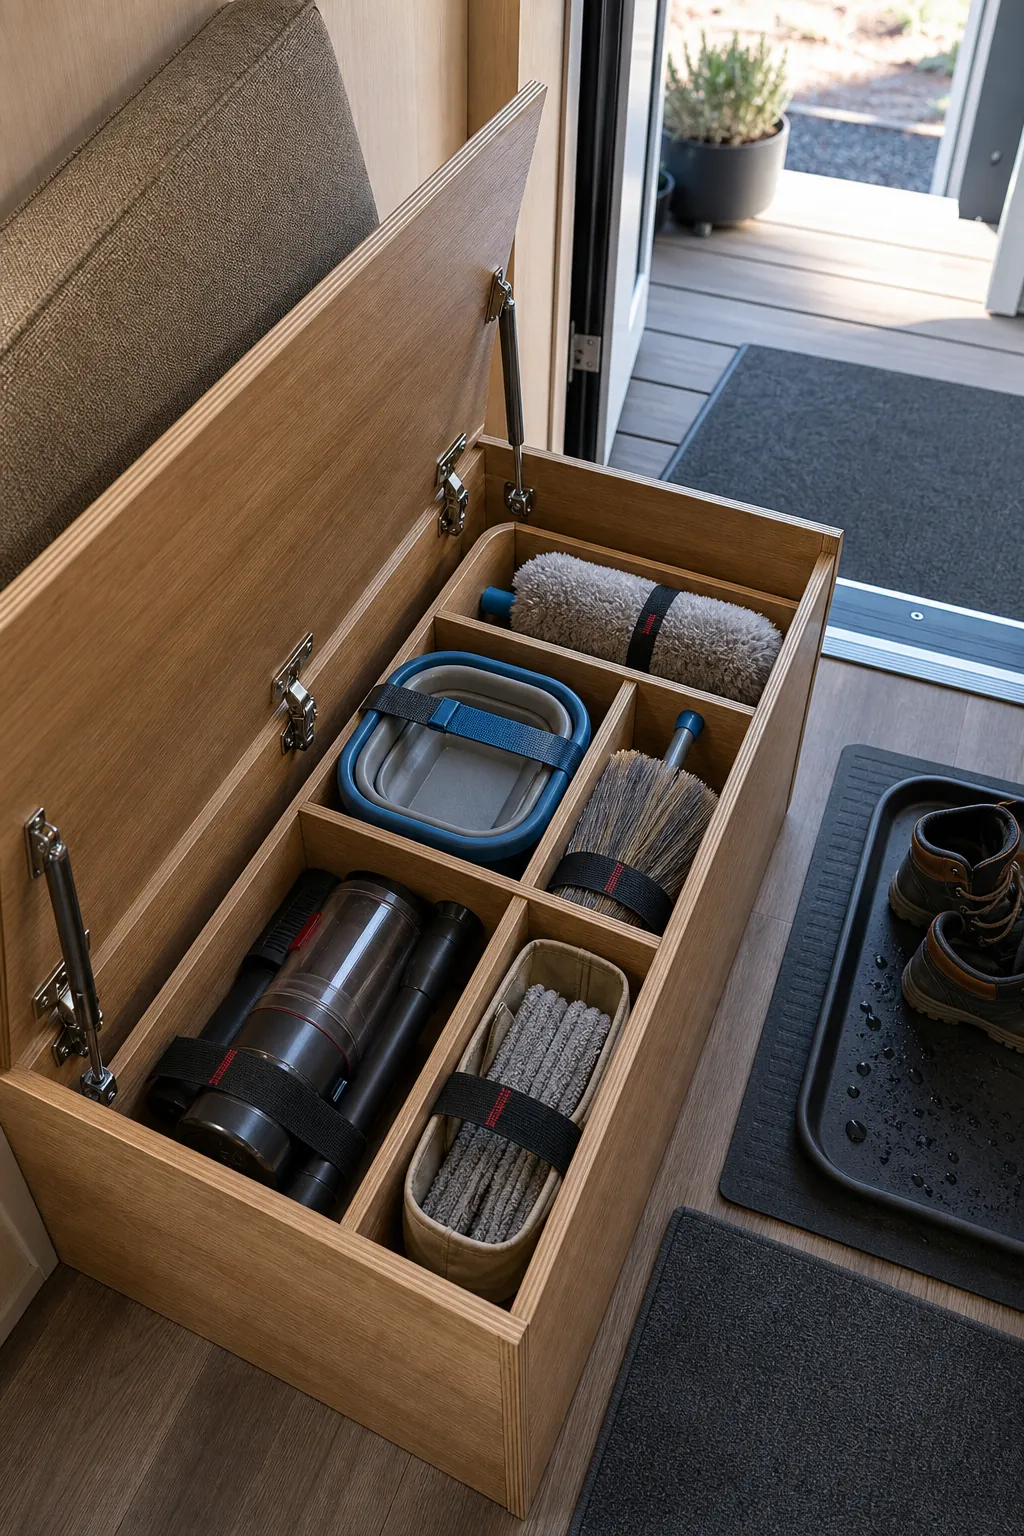
A long, shallow compartment beneath an entry bench can fit a compact stick vacuum, collapsible bucket, duster, and spare mop pads. This works best for dry equipment, with dividers preventing tools from sliding in a movable tiny house. The bench lid should have safe hardware that cannot slam shut and must not block the exit when open.
Keep outdoor grit near the door by pairing the compartment with a small hand broom and washable mat. Do not mix cleaning chemicals with shoes, pet food, or loose textiles. A closed equipment bay can be convenient, but any battery charger needs its specified ventilation and electrical setup.
Create a Refill Shelf Away From Daily Supplies
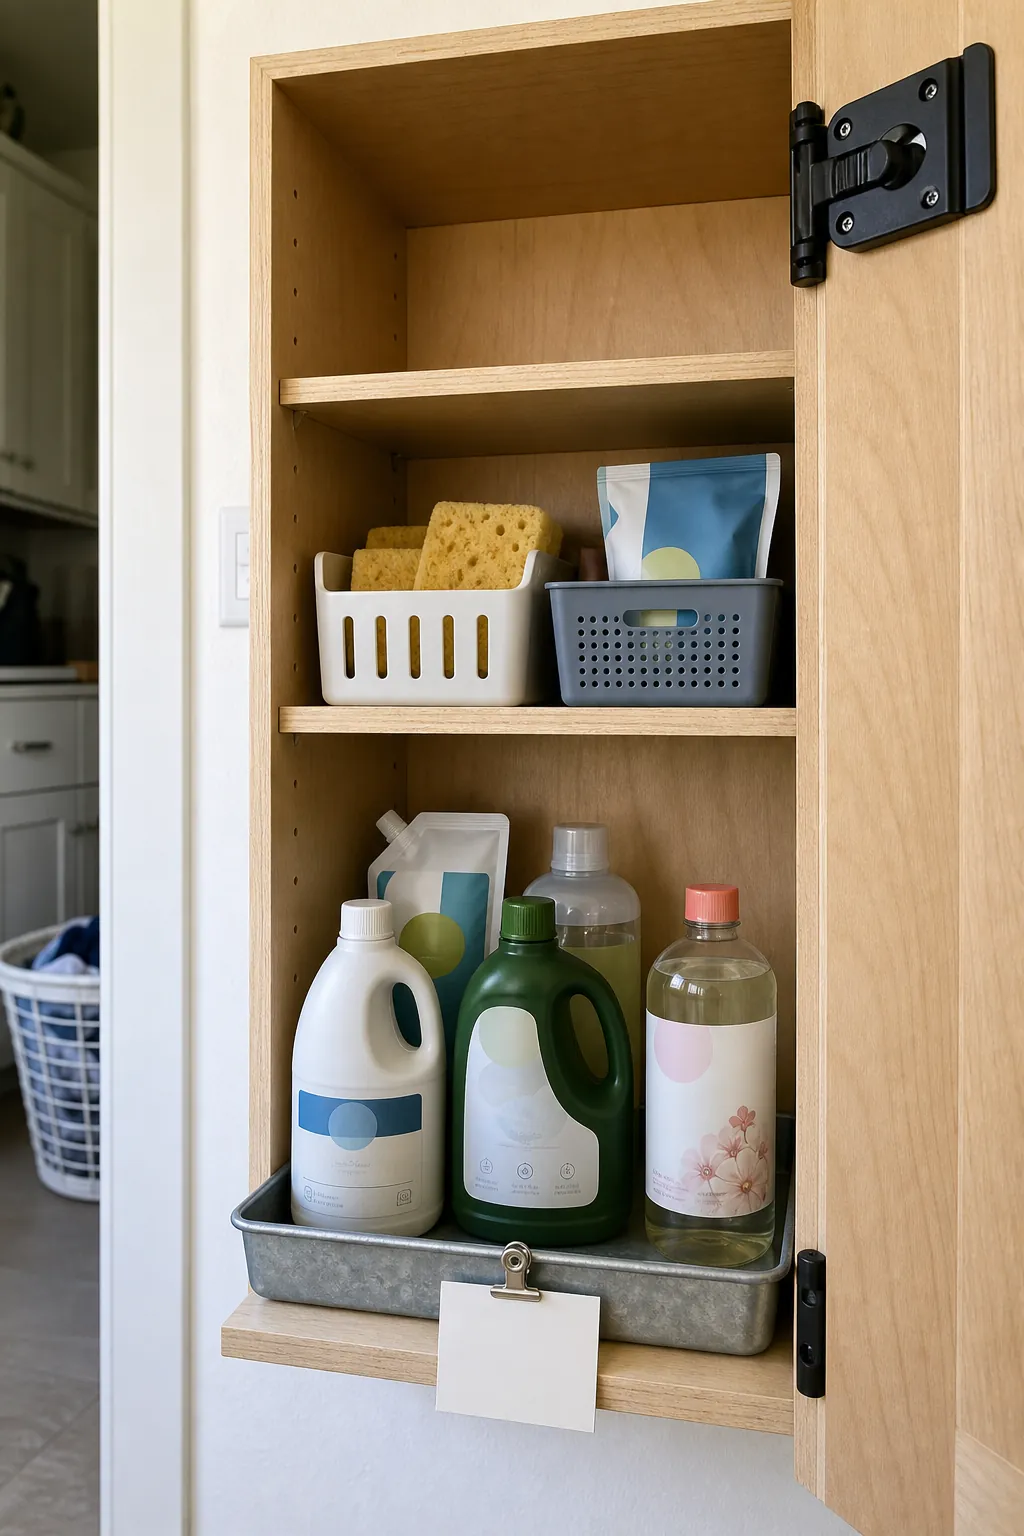
Bulk refills and specialty products do not deserve prime waist-height space. Keep a modest back stock in one secured, cool, dry shelf that meets label requirements. Before buying another bottle, check the shelf. This simple inventory boundary prevents small space storage from becoming a warehouse.
Group products by use, not by matching container. Retain labels and safety information, place heavier liquids low, and use a lipped washable tray. Never store incompatible chemicals together; follow label guidance and local poison-control advice. Dispose of unwanted products through appropriate local programs rather than pouring them together.
Reduce the Tool Count Before Adding Organizers
Lay out every vacuum, mop, brush, bucket, and specialty machine. If two tools solve the same job, keep the one that is easier to use and maintain. A compact interchangeable handle system may replace several long tools, but only if its attachments perform the tasks you actually have.
Measure the largest keeper before purchasing a cabinet. Then assign each item a home based on frequency: daily caddy, task-specific bathroom kit, vertical tool bay, dry equipment compartment, or refill shelf. Good tiny home organization makes the next cleanup one-step easy and makes leaks, dampness, and unsafe storage immediately visible.