

A shower can look dirty again only days after you scrub it because the real problem is rarely “not enough cleaner.” Soap film, body oils, mineral deposits, damp grout, and trapped water each behave differently. The most useful shower cleaning tips match the method to the surface and make drying part of the routine, so buildup never gets another full week to harden.
Start with one rule that matters more than any hack: never mix bleach with vinegar, ammonia, acids, or another cleaner. Use one product at a time, follow its label, ventilate the room, wear gloves, and rinse before switching products. Test any homemade bathroom cleaner in a hidden spot, especially on natural stone, colored grout, acrylic, and metal finishes.
Clear the shower and identify what you are cleaning
Remove bottles, razors, toys, mats, and the drain cover if it lifts easily. Hair and product residue hide under these items, while wet bottle rings keep shelves damp. Sort the mess before spraying: cloudy glass often means minerals or soap scum; a greasy gray film is usually soap and body oil; pink residue thrives in persistently wet areas; and dark spots in caulk may indicate staining or growth below the surface.
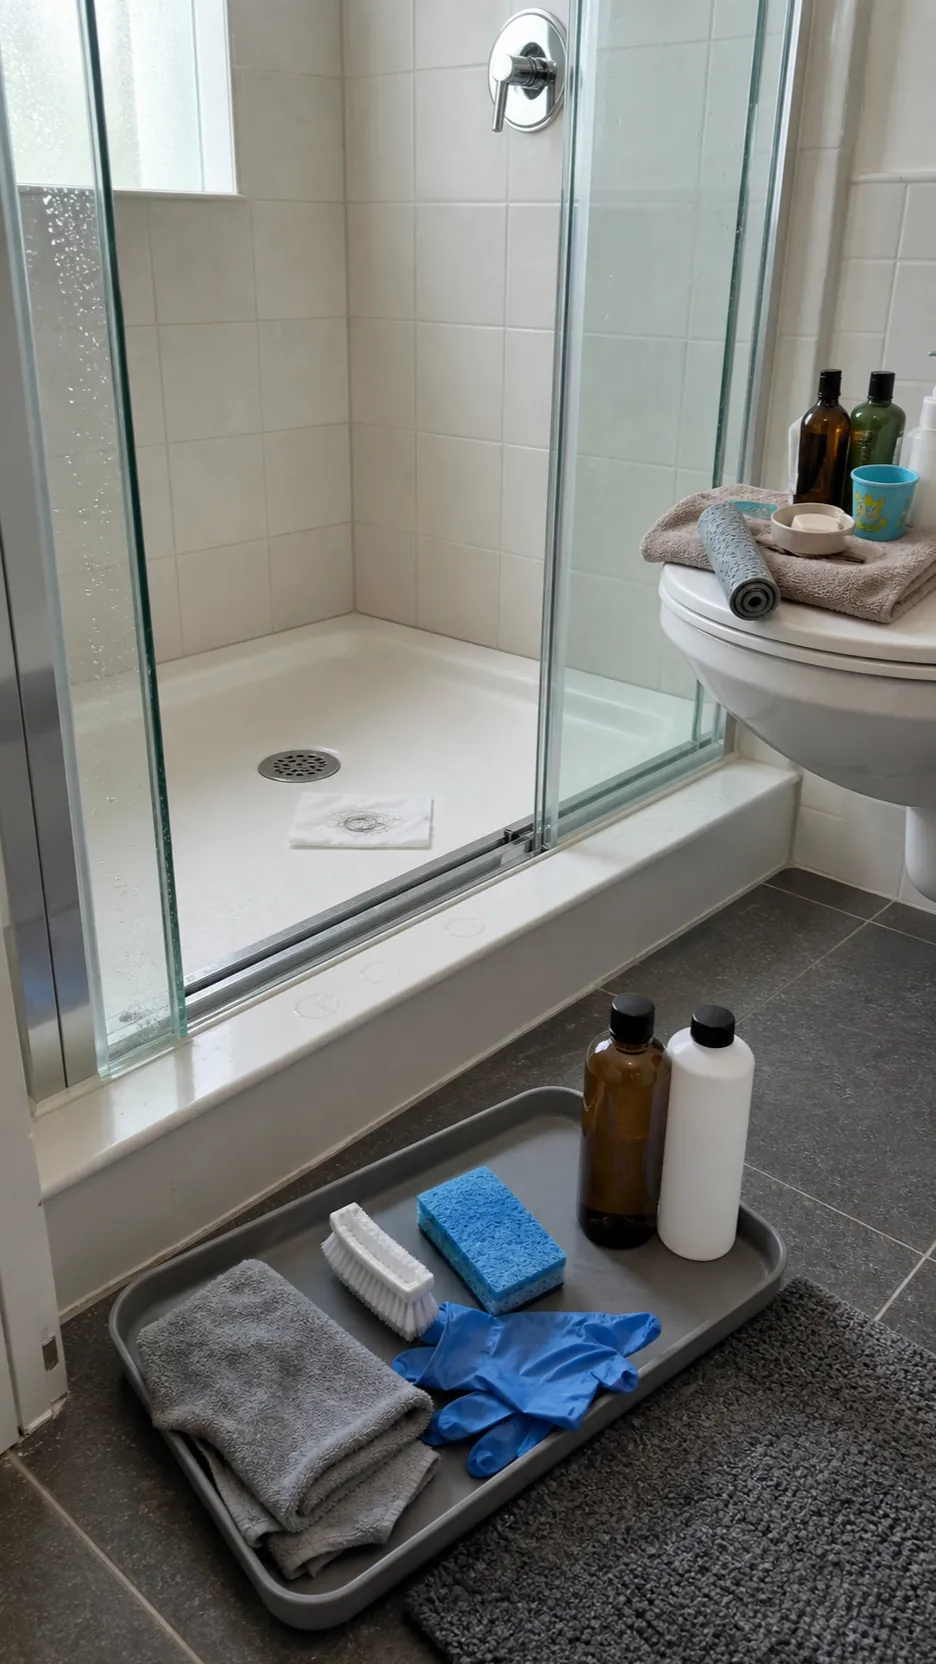
Check the care guidance for your enclosure before choosing a chemical. Acidic cleaners can etch marble, travertine, and other calcium-based stone. Abrasive pads can haze acrylic and scratch some coated glass or dark fixtures. When uncertain, begin with warm water and a small amount of mild dish soap on a soft microfiber cloth. It removes oily film and gives you a clean baseline without forcing a risky guess.
Let warm water and dwell time do the hard work
Rinse the enclosure with comfortably warm water. This loosens fresh residue and prevents cleaner from landing on a bone-dry, hot surface. Apply a product that is labeled safe for the material, then give it the stated dwell time. Immediate frantic scrubbing wastes cleaner and energy; a few undisturbed minutes allow surfactants to lift grime.
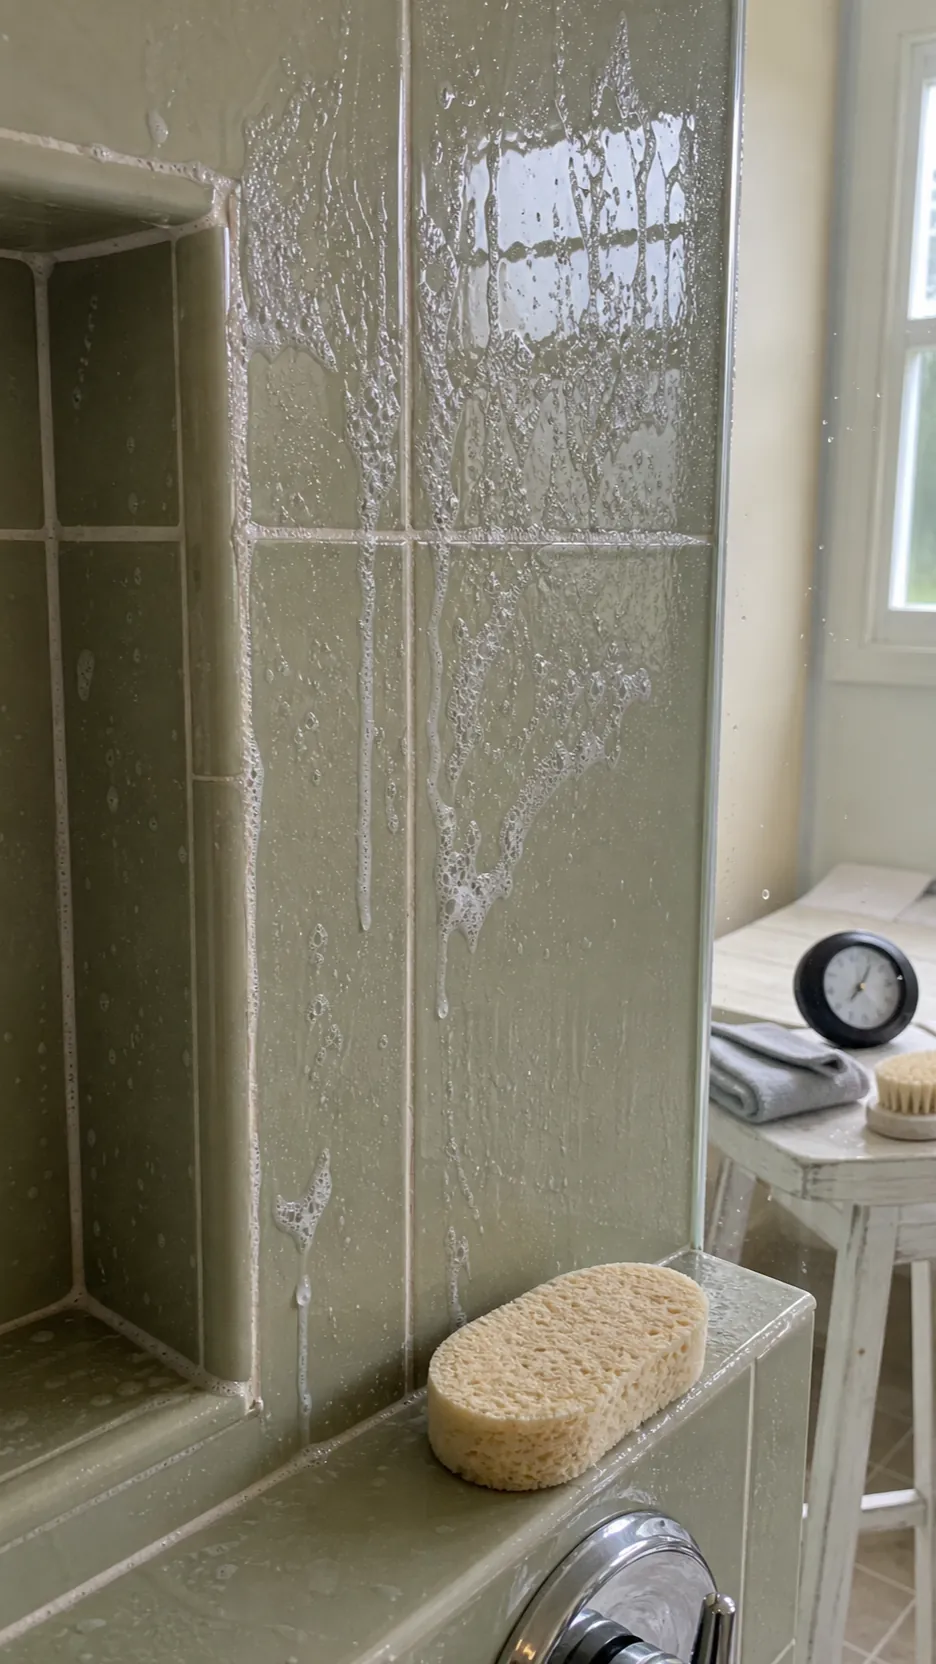
Work from the upper walls downward so dirty rinse water does not cross finished areas. Agitate broad surfaces with a non-scratch sponge and use a soft brush around corners, tracks, and texture. Keep the surface wet enough for the product to work, but do not let cleaner dry onto glass or metal. Rinse thoroughly; leftover detergent becomes another sticky layer that catches dust and body oils.
Treat glass, tile, grout, and fixtures as separate zones
One spray rarely suits every material. For ordinary glass soap film, mild dish soap and a soft sponge are a sensible first pass. Mineral scale may require a manufacturer-approved descaler, but keep acidic products away from natural stone, cement-based grout, and vulnerable metal finishes. Use a cloth at the edges rather than flooding the whole enclosure.
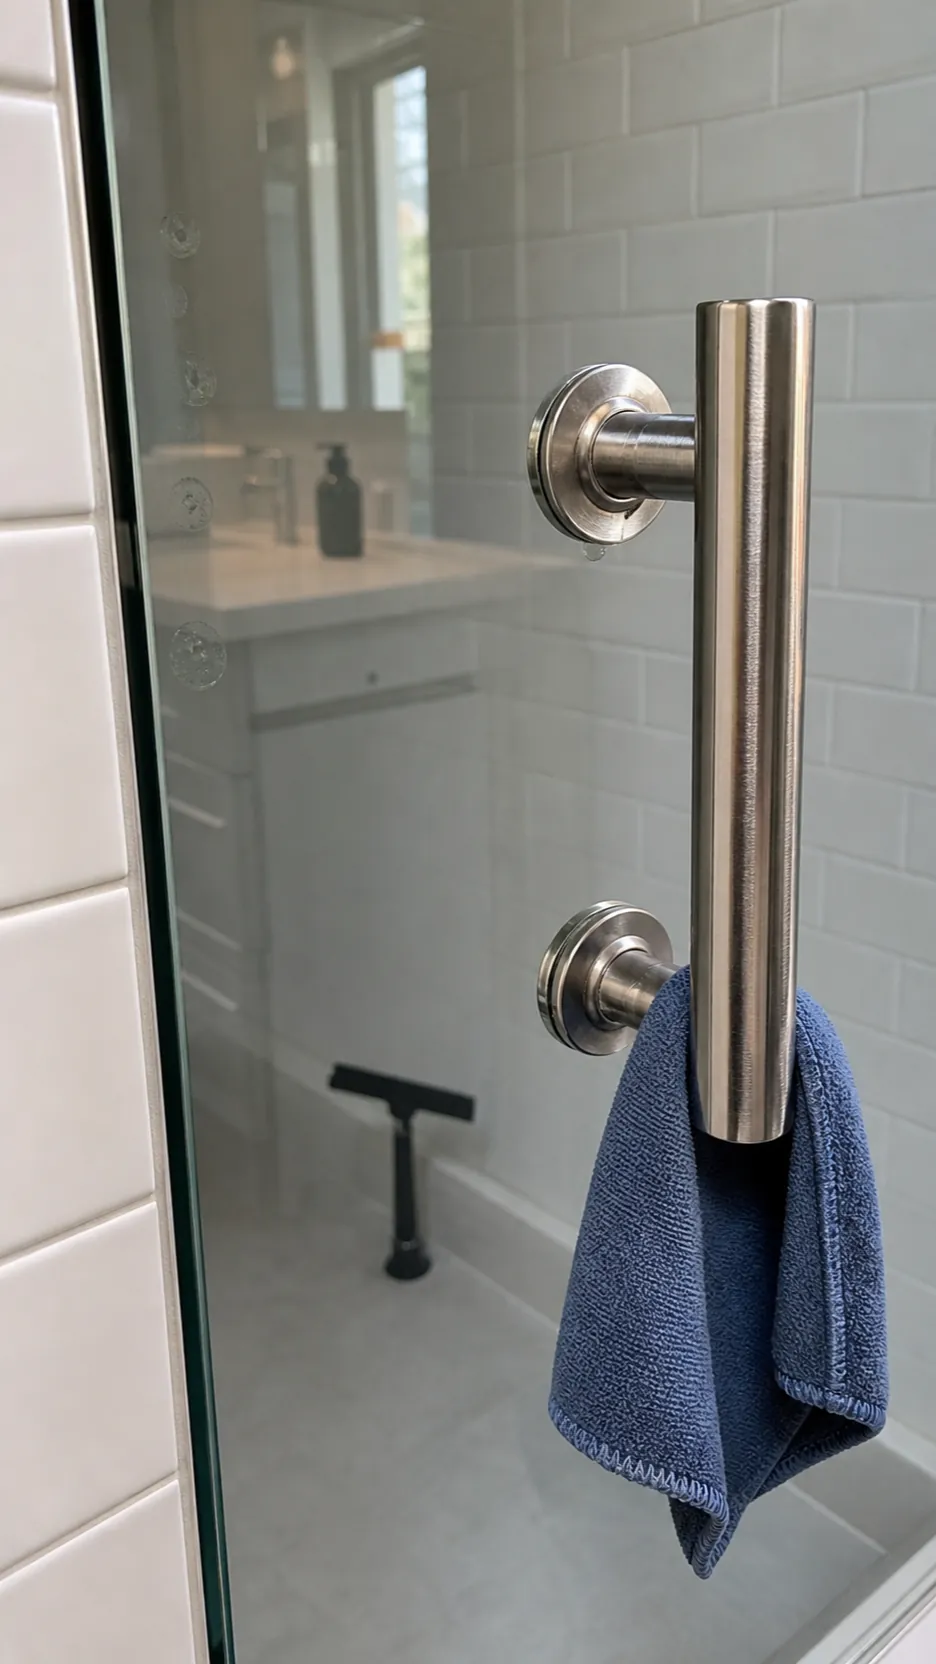
On tile, concentrate on the surface finish and rinse lines clean. On grout, use a grout-safe cleaner and a narrow nylon brush with controlled pressure; aggressive wire tools can erode joints. Clean fixtures with a damp microfiber cloth, then buff dry. The small step of drying faucets prevents new water spots from replacing the ones you just removed.
Clean the floor, drain, tracks, and overlooked edges
The floor comes last because it catches everything from above. Remove hair by hand with gloves or a disposable towel rather than pushing it into the drain. Scrub the shower pan with a tool and product approved for its material, paying attention to the textured standing area. Rinse toward the drain and confirm that water clears promptly; recurring puddles can signal a drainage or leveling problem, not a cleaning failure.
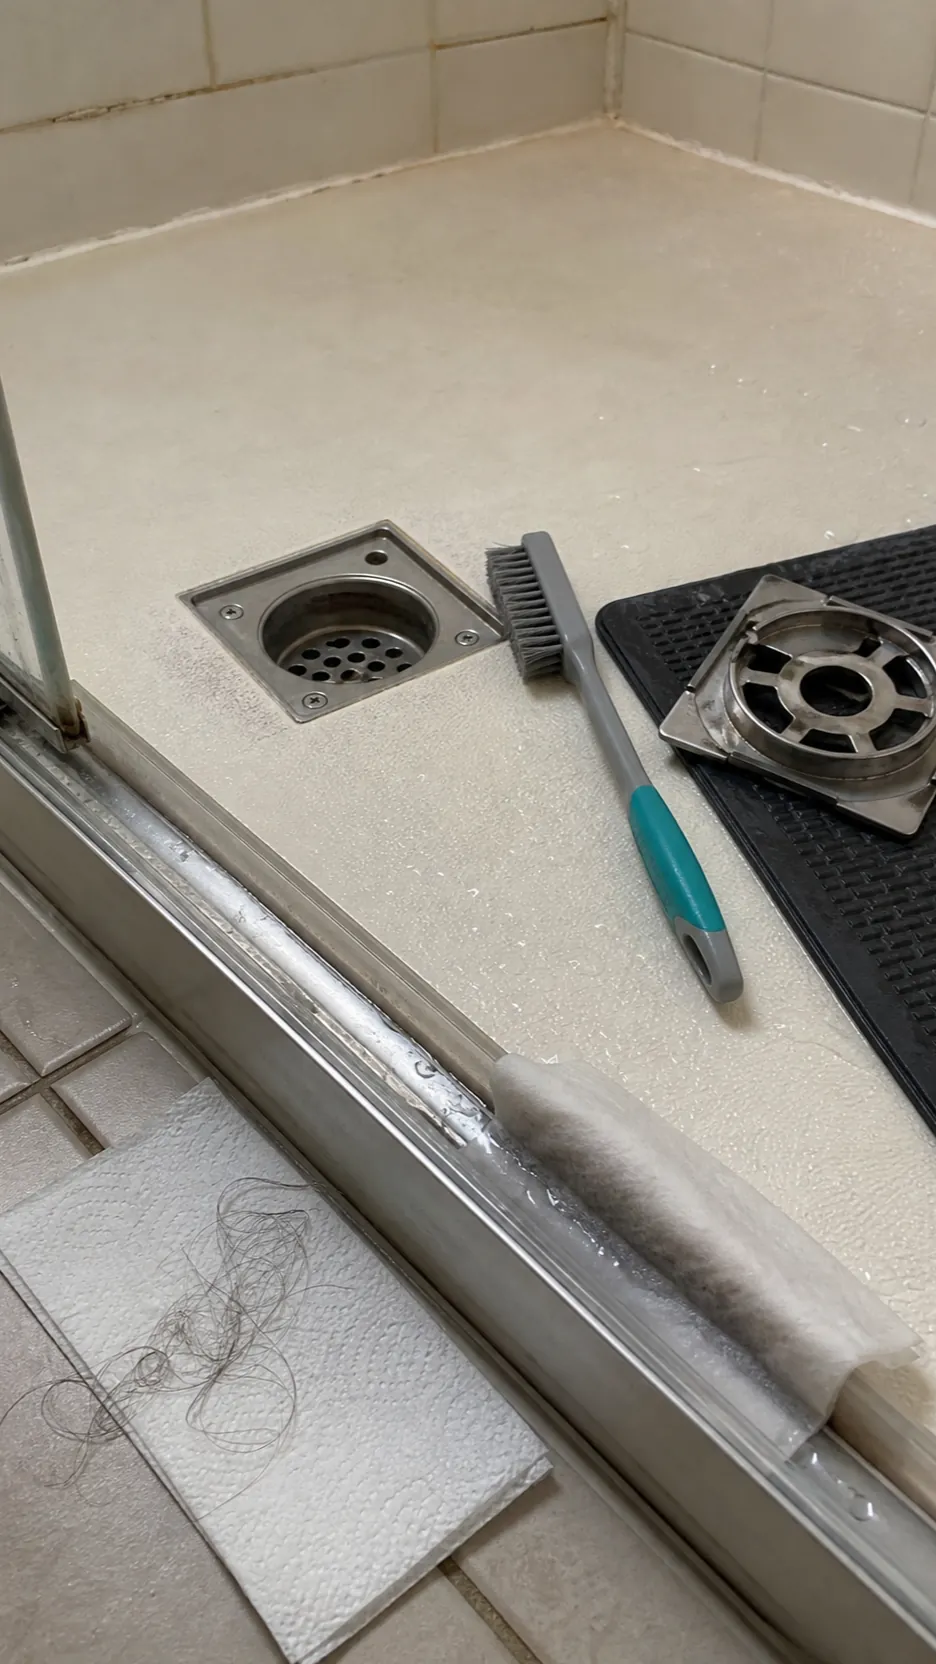
Flush door tracks with a small amount of clean water and absorb the dirty liquid with a cloth. Do not send debris into weep holes. Wipe the lower seal, hinge edges, bottle ledges, curtain rings, and the underside of grab bars. These narrow damp zones explain why a deep cleaning bathroom session can look incomplete even after the large walls shine.
Control moisture instead of repeatedly attacking mold
Visible growth is a moisture warning. For a small area on a hard surface, detergent and water plus complete drying may be sufficient; follow public-health guidance and product labels for anything more serious. Large, recurring, hidden, or water-damage-related growth deserves professional assessment. Dark staining embedded through failed caulk may not scrub away because the sealant itself needs replacement after the moisture source is fixed.

Run an exhaust fan that vents outdoors during and after bathing, or open a window when conditions allow. Spread the curtain open to dry, keep the door ajar when safe, and hang towels where air reaches both sides. Moisture control is the prevention step that no stronger chemical can replace.
Build a five-minute clean shower routine
After the last shower of the day, squeegee glass and smooth tile from top to bottom. Wipe the ledge, faucet, and lower corners with a dedicated microfiber cloth. Move bottles so rings can dry, remove visible hair, and start the fan. This takes less time than dissolving a week of hardened mineral spots.
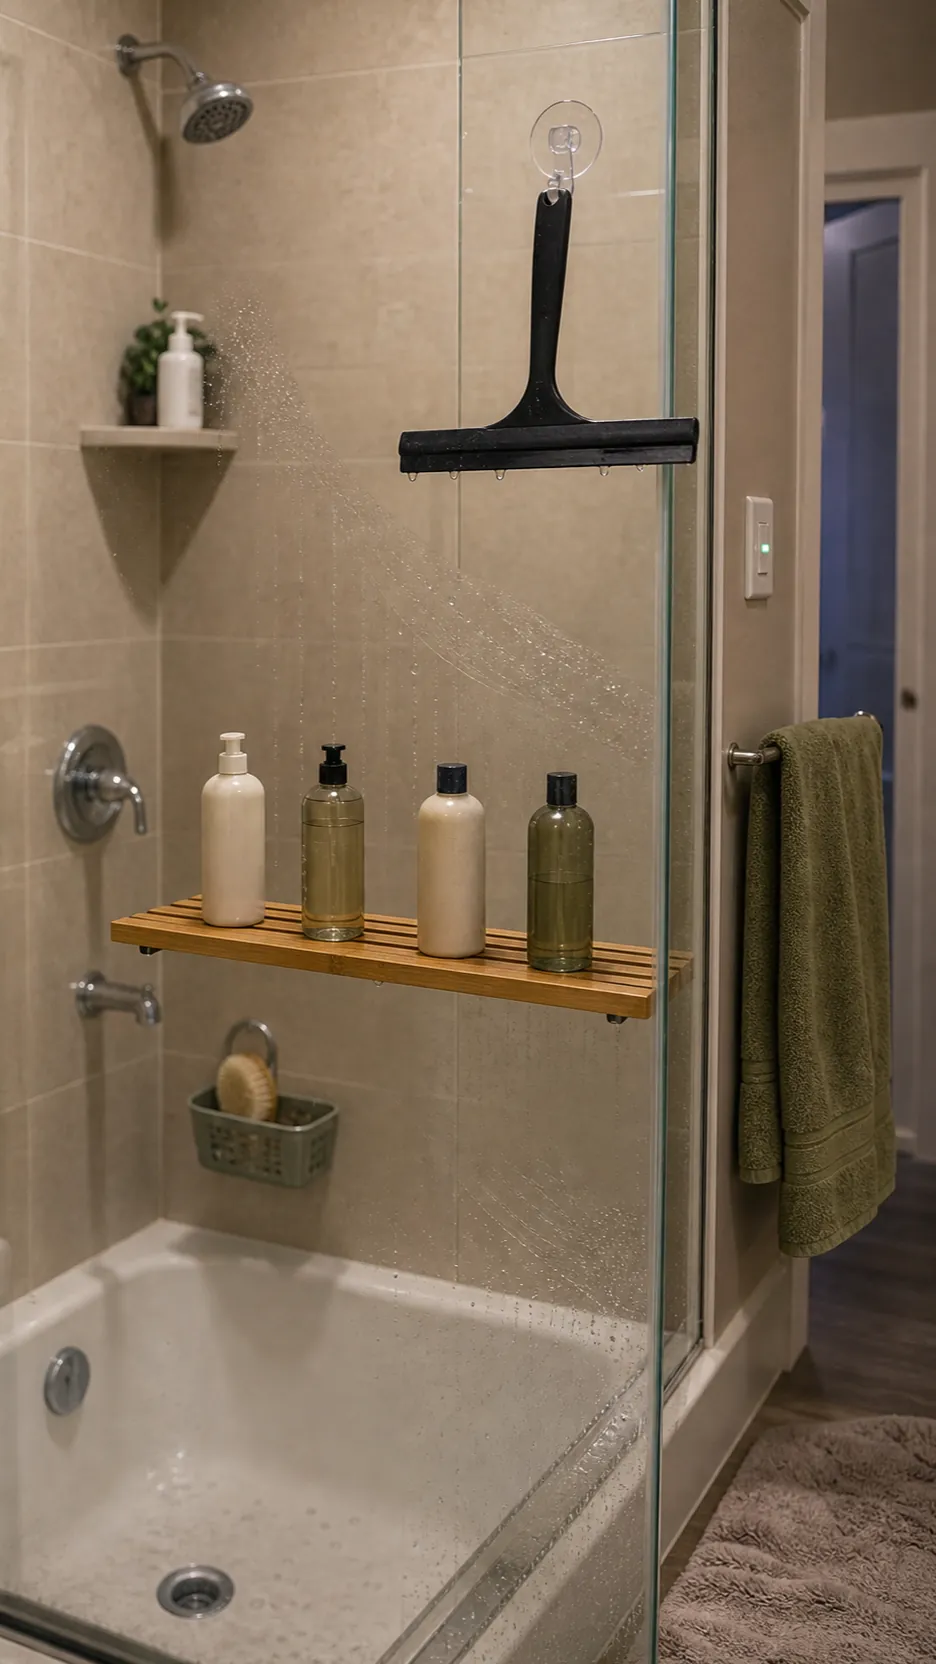
Once a week, wash the high-touch and high-buildup zones: floor, lower wall, glass, controls, shelf, drain cover, and seals. Rotate detail work instead of deep-cleaning every inch each time. One week brush grout lines; the next wash the curtain or wipe the track. A caddy with a squeegee, soft brush, microfiber cloth, gloves, and one surface-safe cleaner removes the friction that makes people postpone the job.
Know when a cleaning hack is doing damage
Stop if a finish becomes dull, a cloth picks up color, grout crumbles, caulk separates, or fumes irritate your eyes or breathing. Rinse, ventilate, and consult the surface manufacturer. Avoid razor blades unless the manufacturer explicitly allows them, and never use toilet-bowl cleaner as a general shower cleaner; its chemistry may damage surfaces and hardware.
The best bathroom cleaning hacks are boring in the right way: use the correct cleaner, allow dwell time, agitate gently, rinse completely, and dry the enclosure. Once that sequence becomes routine, deep cleaning hacks turn into occasional recovery tools rather than the only thing standing between you and another cloudy shower.