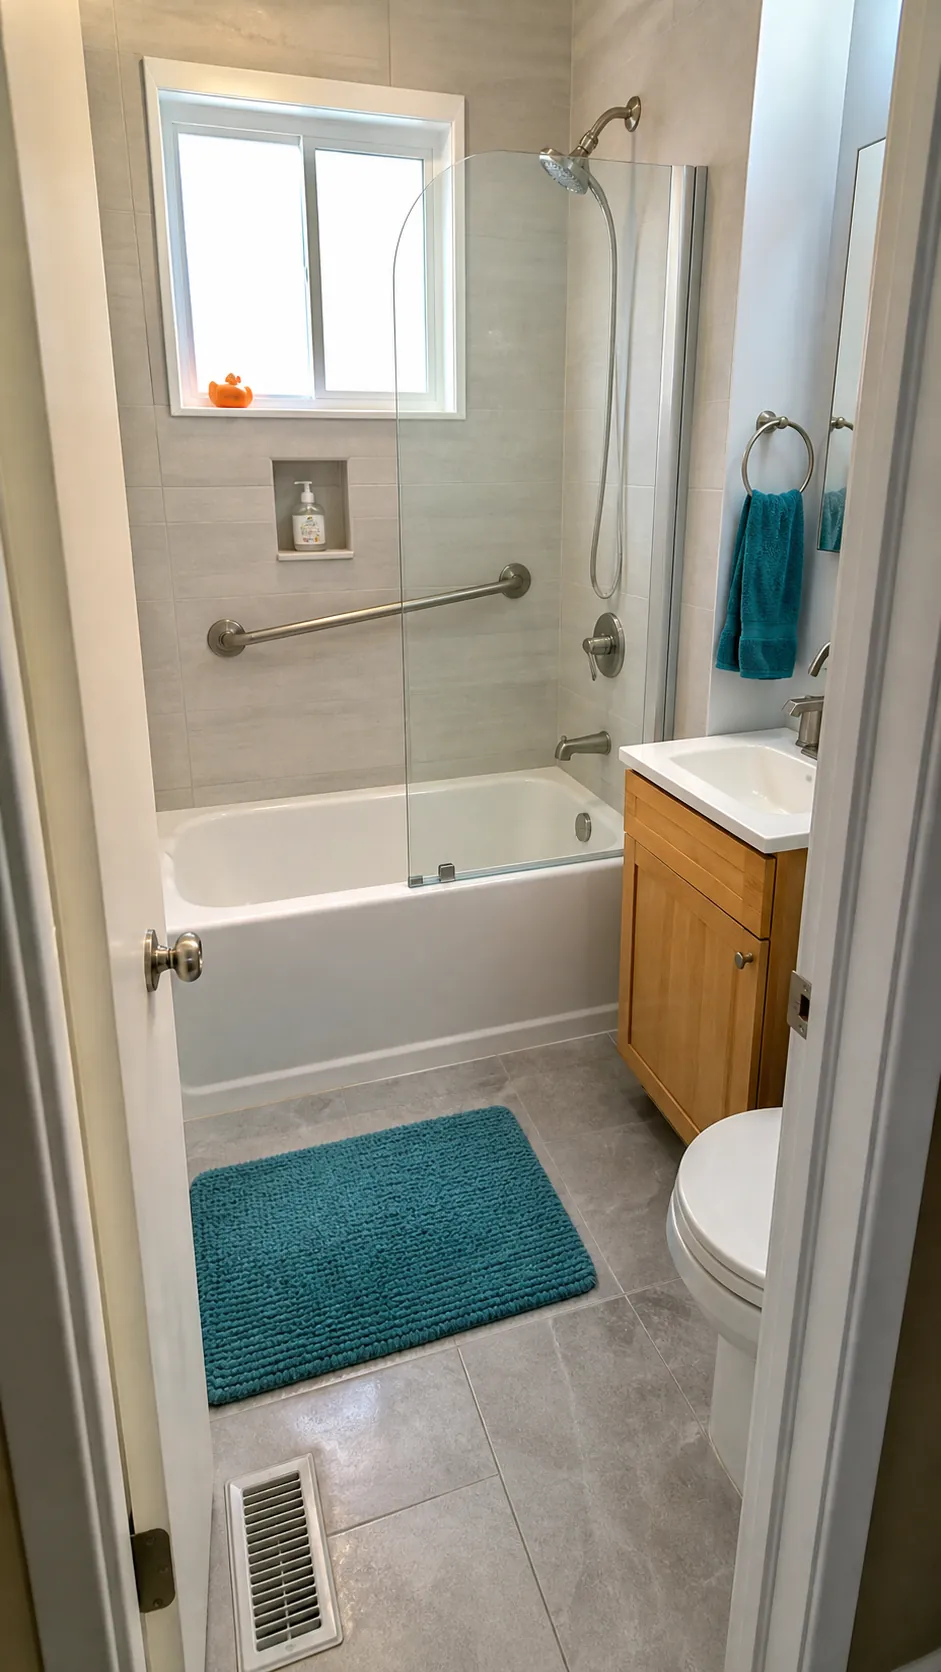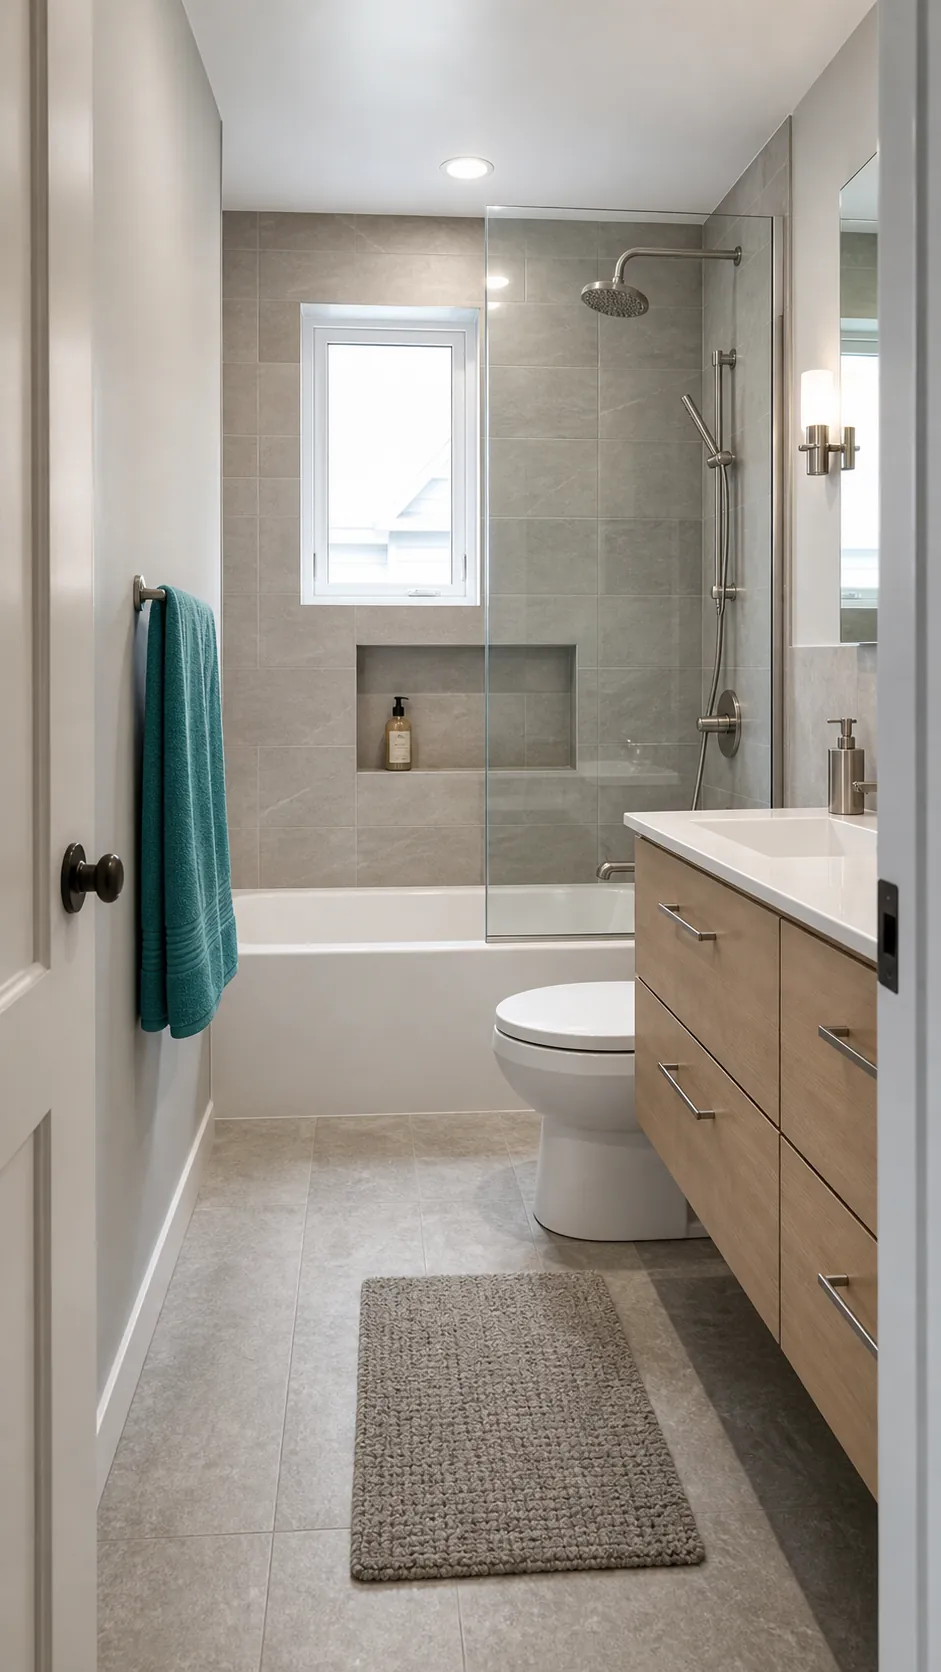
The smartest small bathtub is not simply the shortest model you can buy. It must fit the room, support the way your household actually bathes, contain shower water when needed, and leave enough space to move safely. These 19 small bath tubs space saving ideas show how tub shape, layout, storage, glass, and plumbing decisions can make a compact full bathroom work without feeling like a fixture warehouse.
Fit a Deep 48-Inch Soaking Tub
A short tub can still feel satisfying when it trades length for depth and a supportive upright back. This format suits people who prefer soaking while seated rather than stretching out. Check the interior dimensions, overflow height, step-over height, filled weight, and floor capacity—not just the outside length. Sit in a showroom model if possible, because two tubs with the same footprint can feel completely different.
Choose a Straight-Sided Alcove Tub
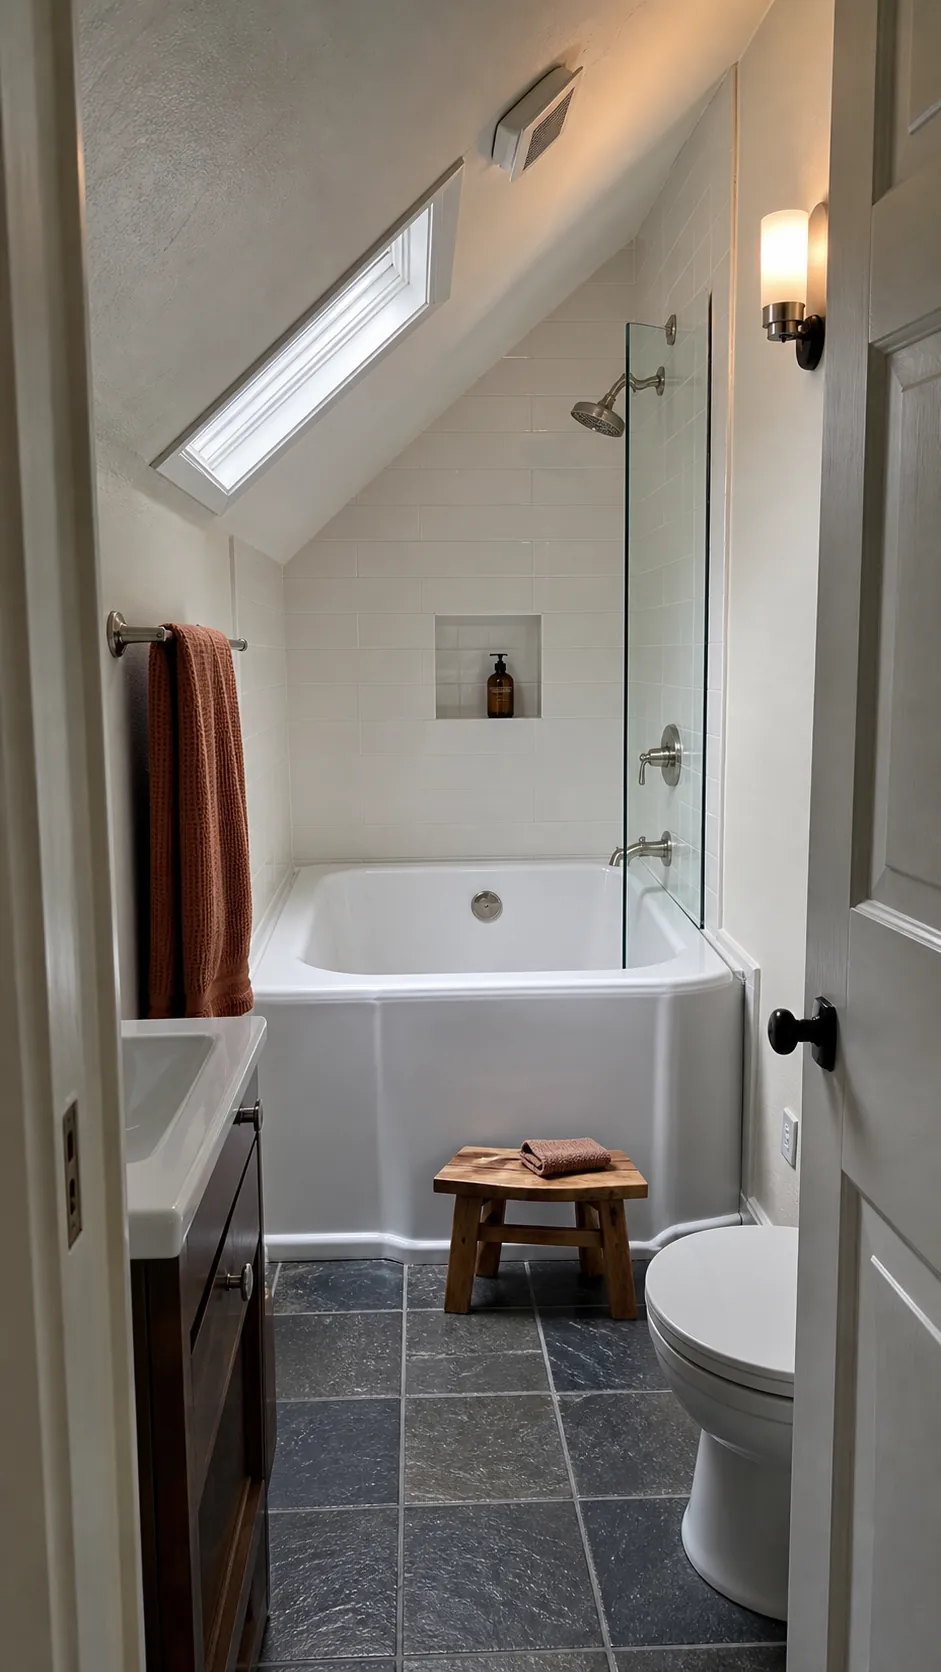
A three-wall alcove uses corners efficiently and eliminates the cleaning gaps around a freestanding bath. Straight interior sides preserve more standing room for a shower than heavily sloped backrests. Compare the bathing well at floor level, the rim width, and the actual flat standing zone. A simple apron front also keeps installation and future access more straightforward in a small bathroom remodel with tub.
Combine the Tub and Shower
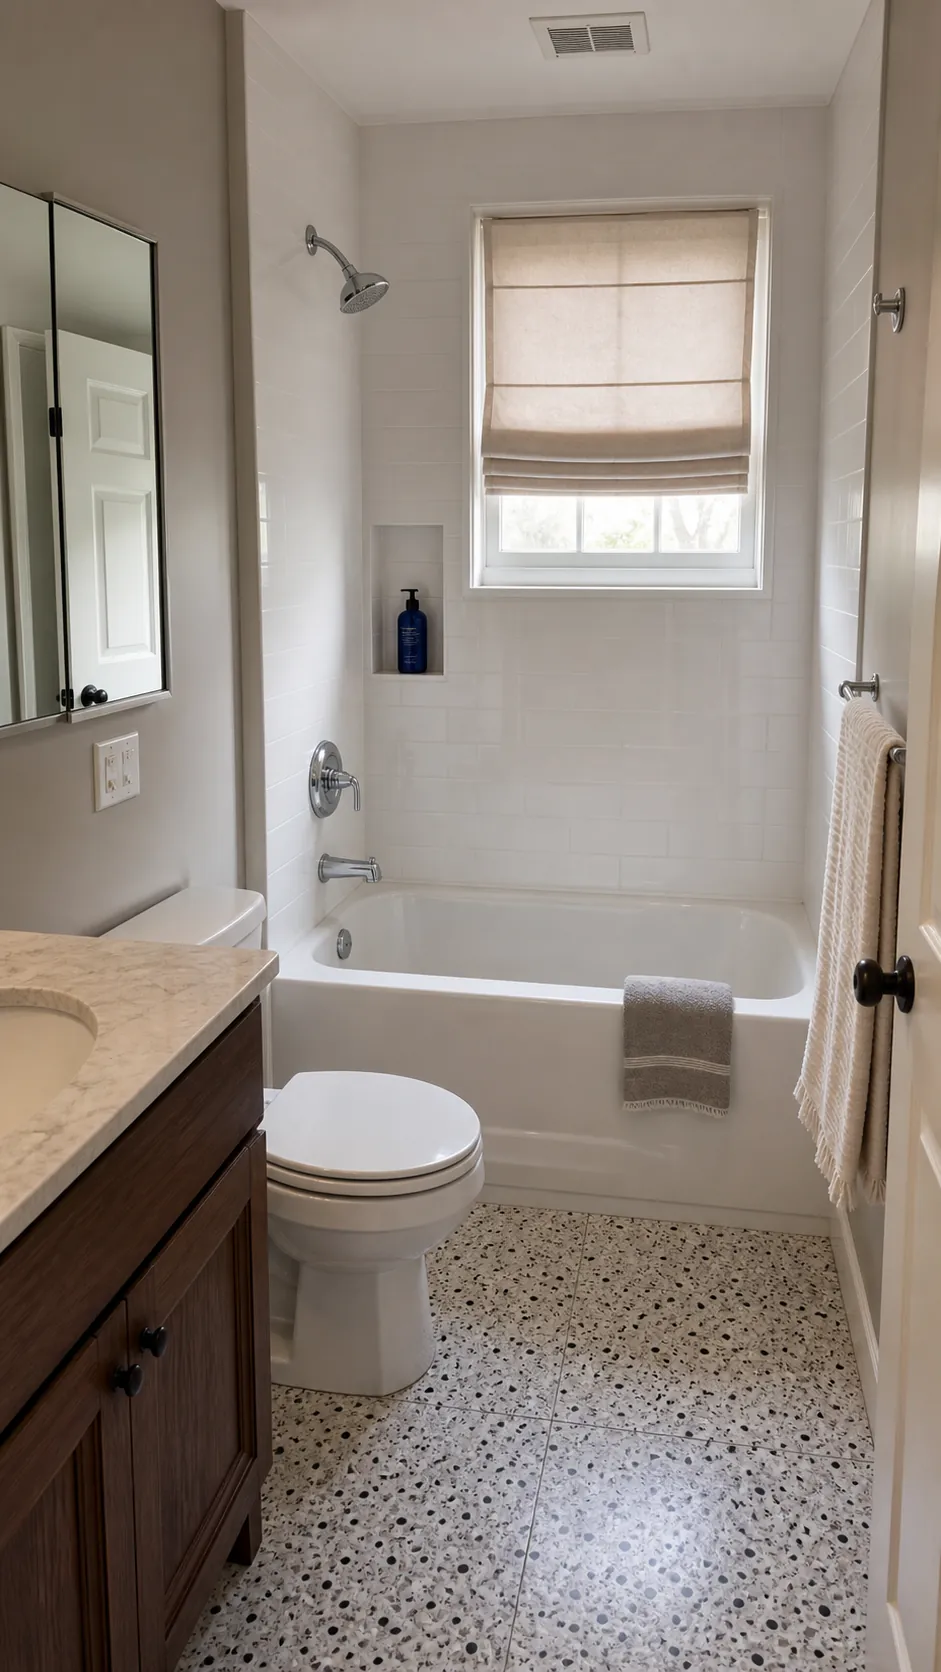
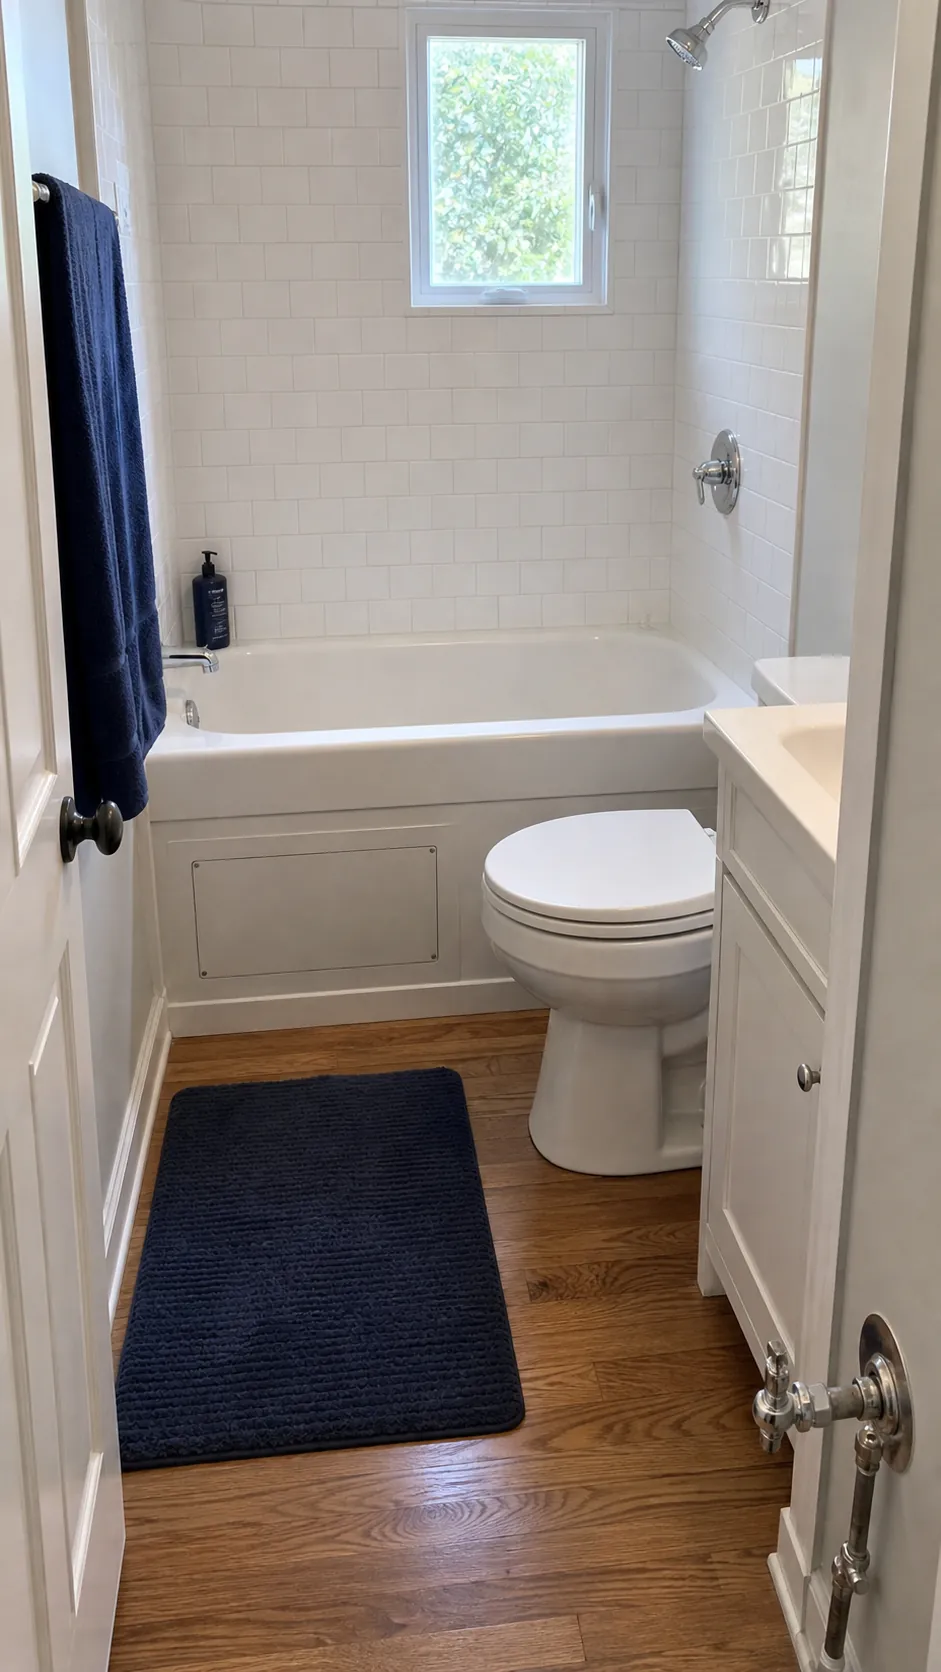
In the only full bathroom, a well-planned tub and shower combo often gives the most function per square foot. Use a shower-rated tub with a level standing area, waterproof the surround to the required height, place controls where they can be reached before stepping in, and choose a diverter that operates cleanly. A handheld showerhead helps with children, rinsing, and cleaning the tub itself.
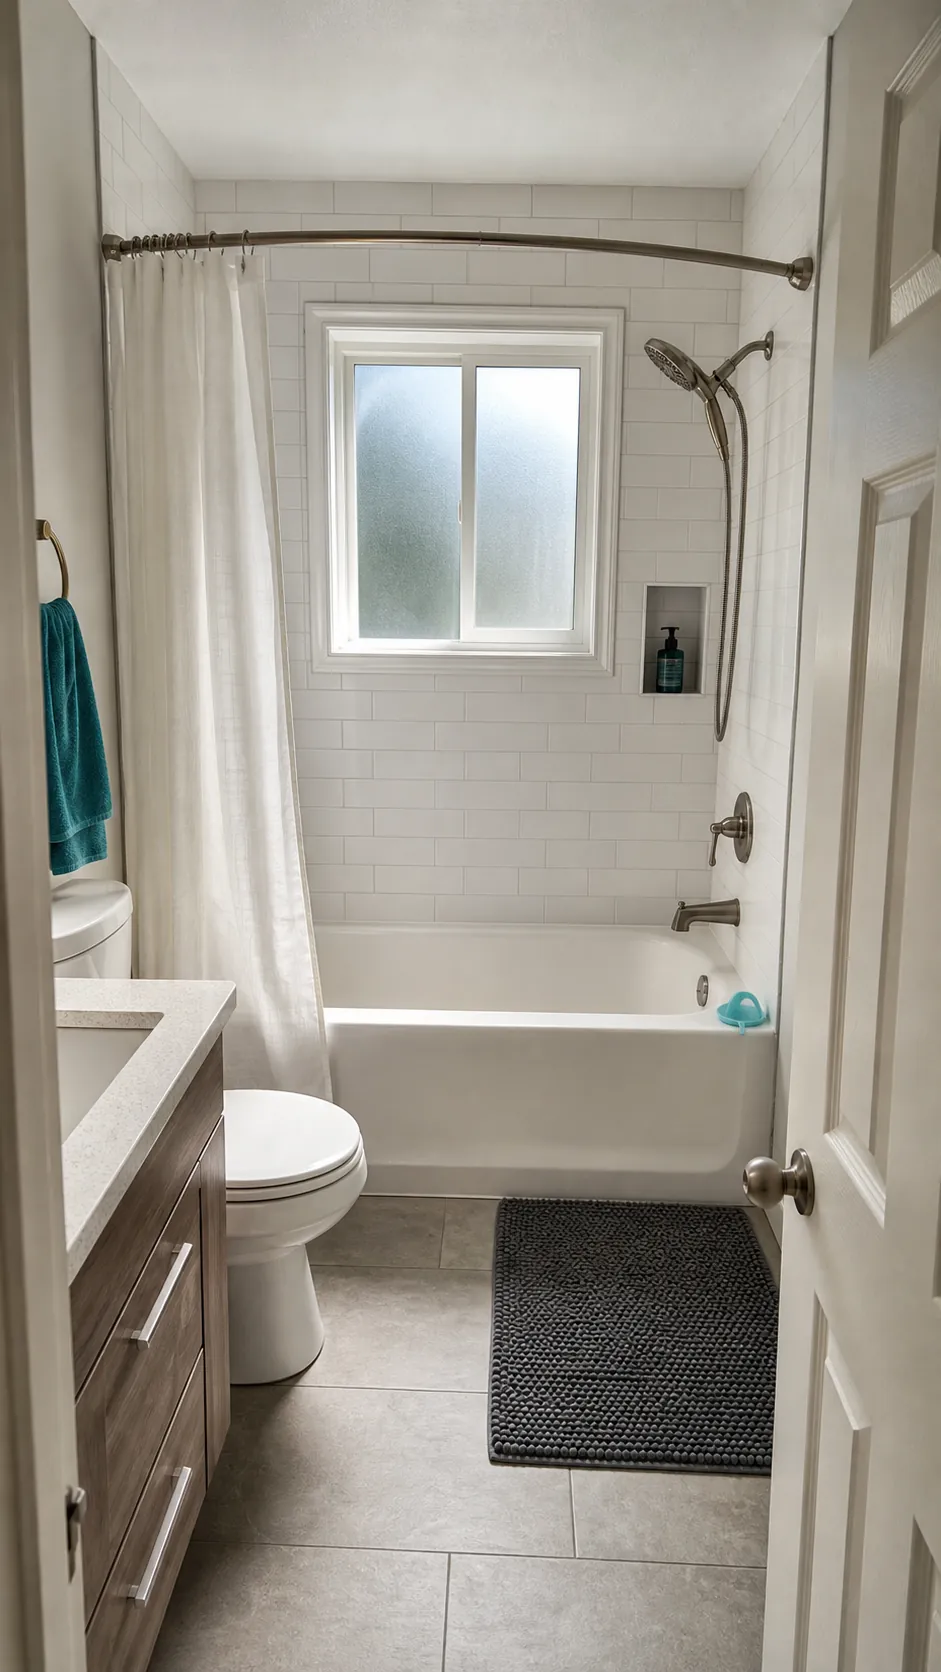
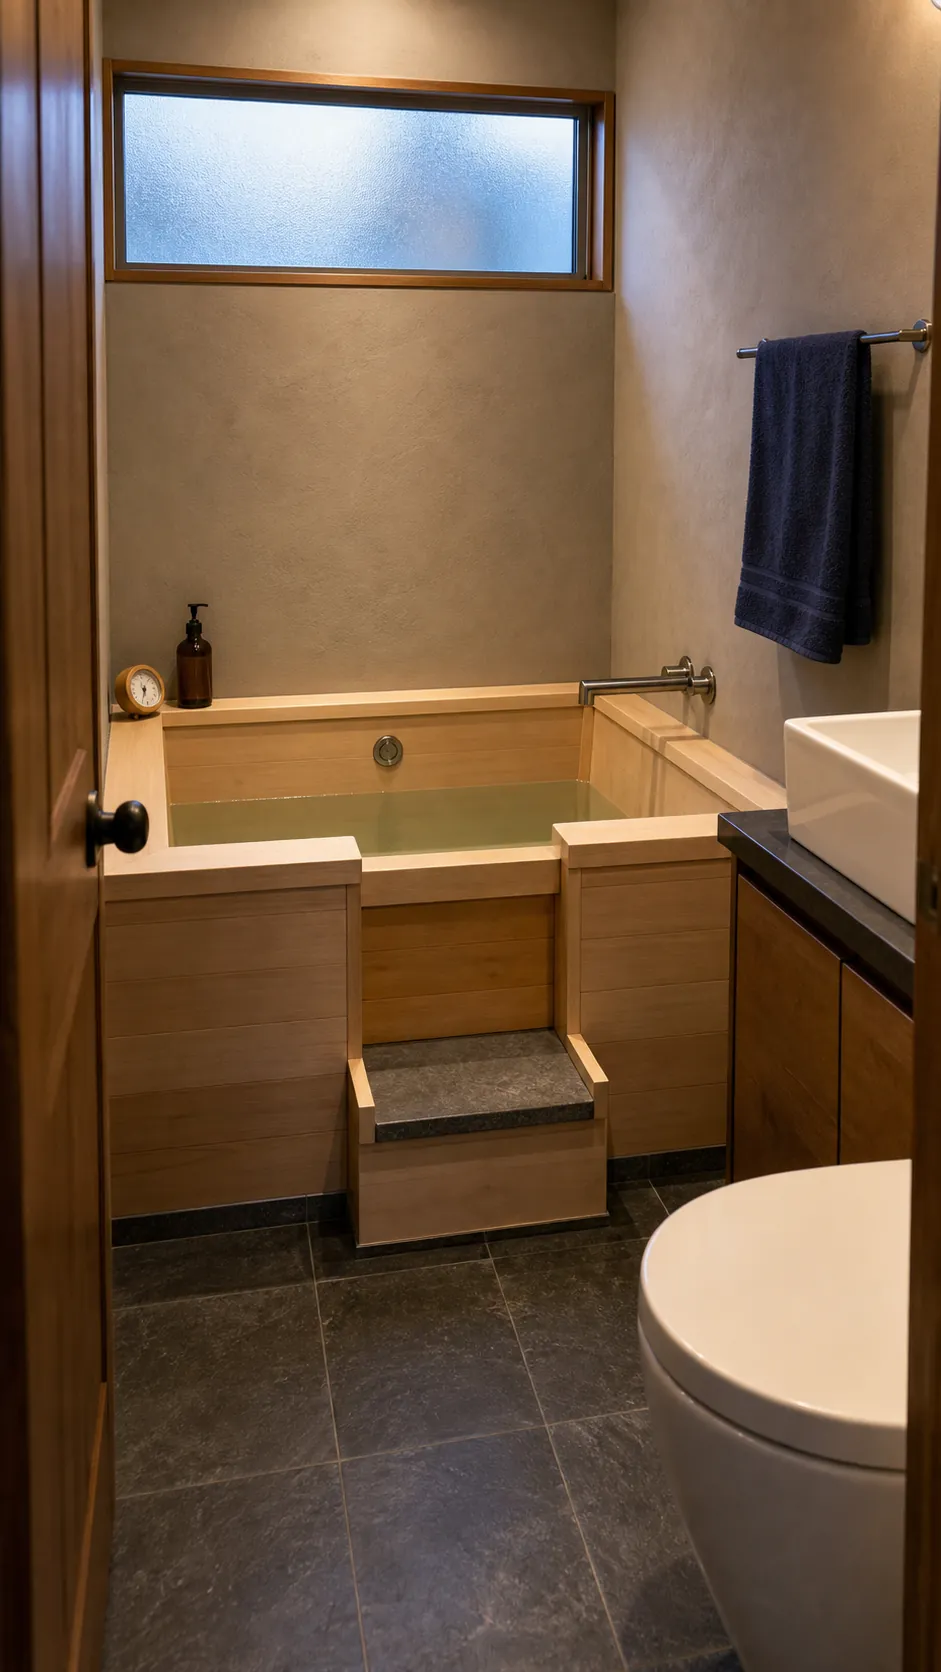
Tuck an Ofuro-Style Tub Into a Corner
An Ofuro-inspired soaking tub uses a small floor footprint but holds deeper water for upright bathing. It can work in a compact ensuite when a separate shower already exists or showering is not required in the tub. The high rim demands careful entry planning, and the filled weight can be substantial. Add a secure handhold and confirm structure, drainage, and water-heater capacity with qualified professionals.
Use a Back-to-Wall Freestanding Tub
A back-to-wall tub gives a sculptural profile without leaving an unreachable gap behind it. The flat rear edge simplifies sealing and can provide a small ledge for bathing essentials. It still needs sensible side access for cleaning and plumbing service, so map those spaces before purchase. This hybrid shape works best when the visual appeal of a freestanding tub matters but the room cannot spare circulation on four sides.
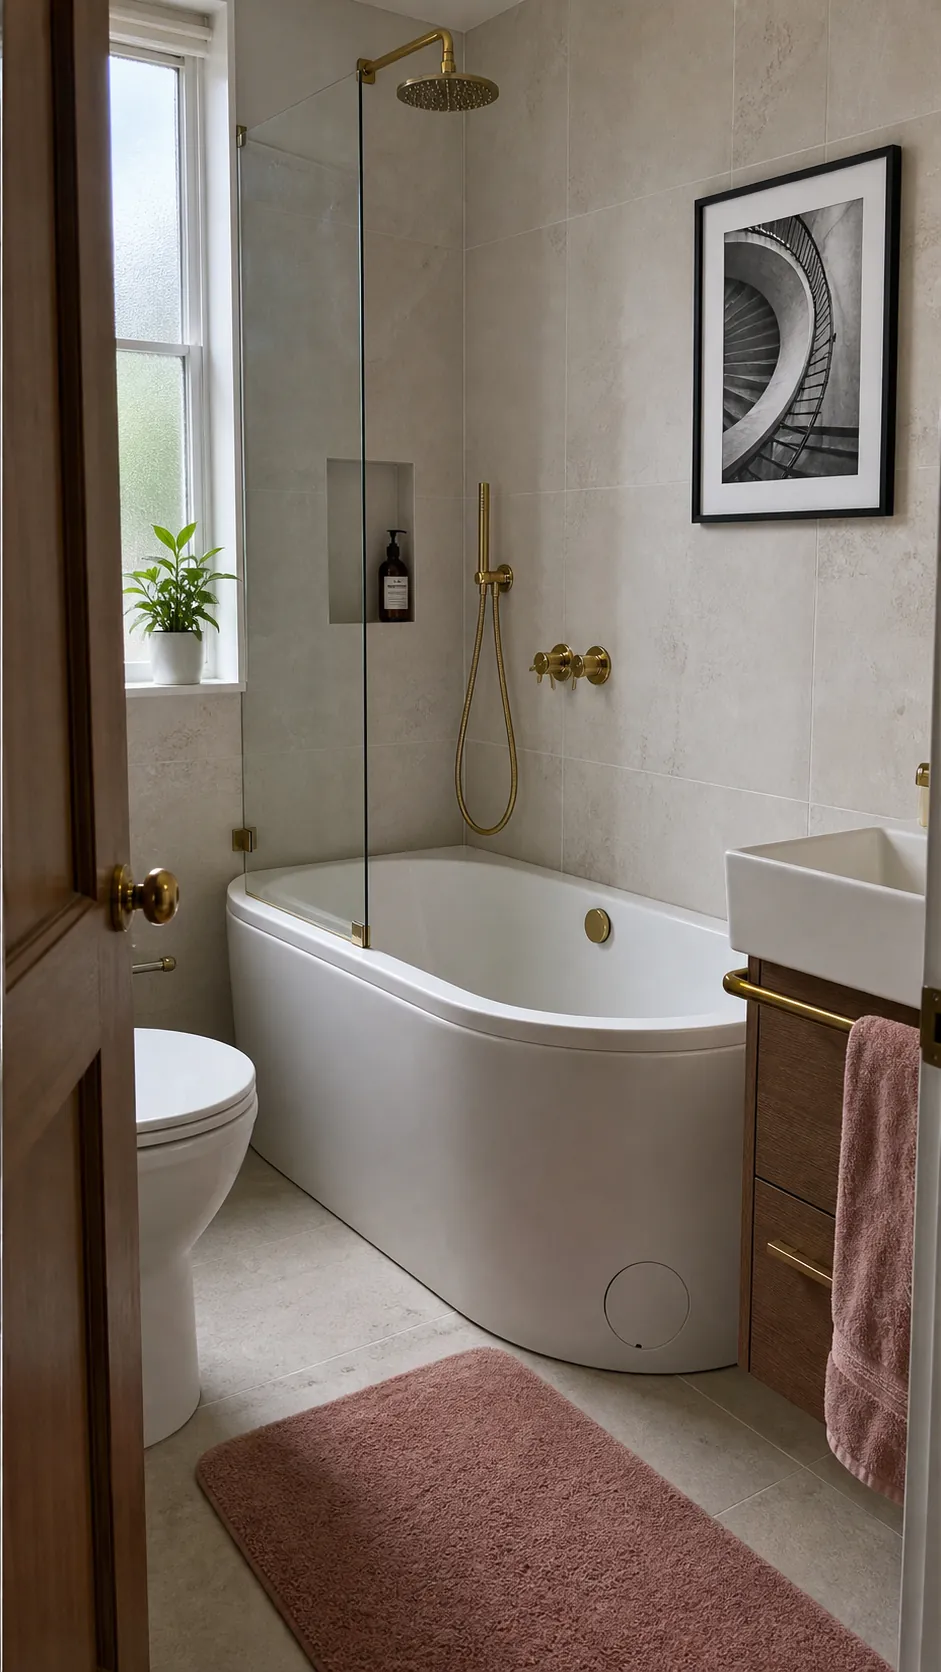
Select a D-Shaped Tub for a Tight Wall
A D-shaped bath places its straight side against the wall while keeping a softer curved front. That curve can reduce the sense of a hard obstacle beside the doorway or vanity. Do not assume every curved shape saves space: compare the maximum projection and usable internal width. Floor-template the exact model so the elegant outline does not steal knee room from the toilet.
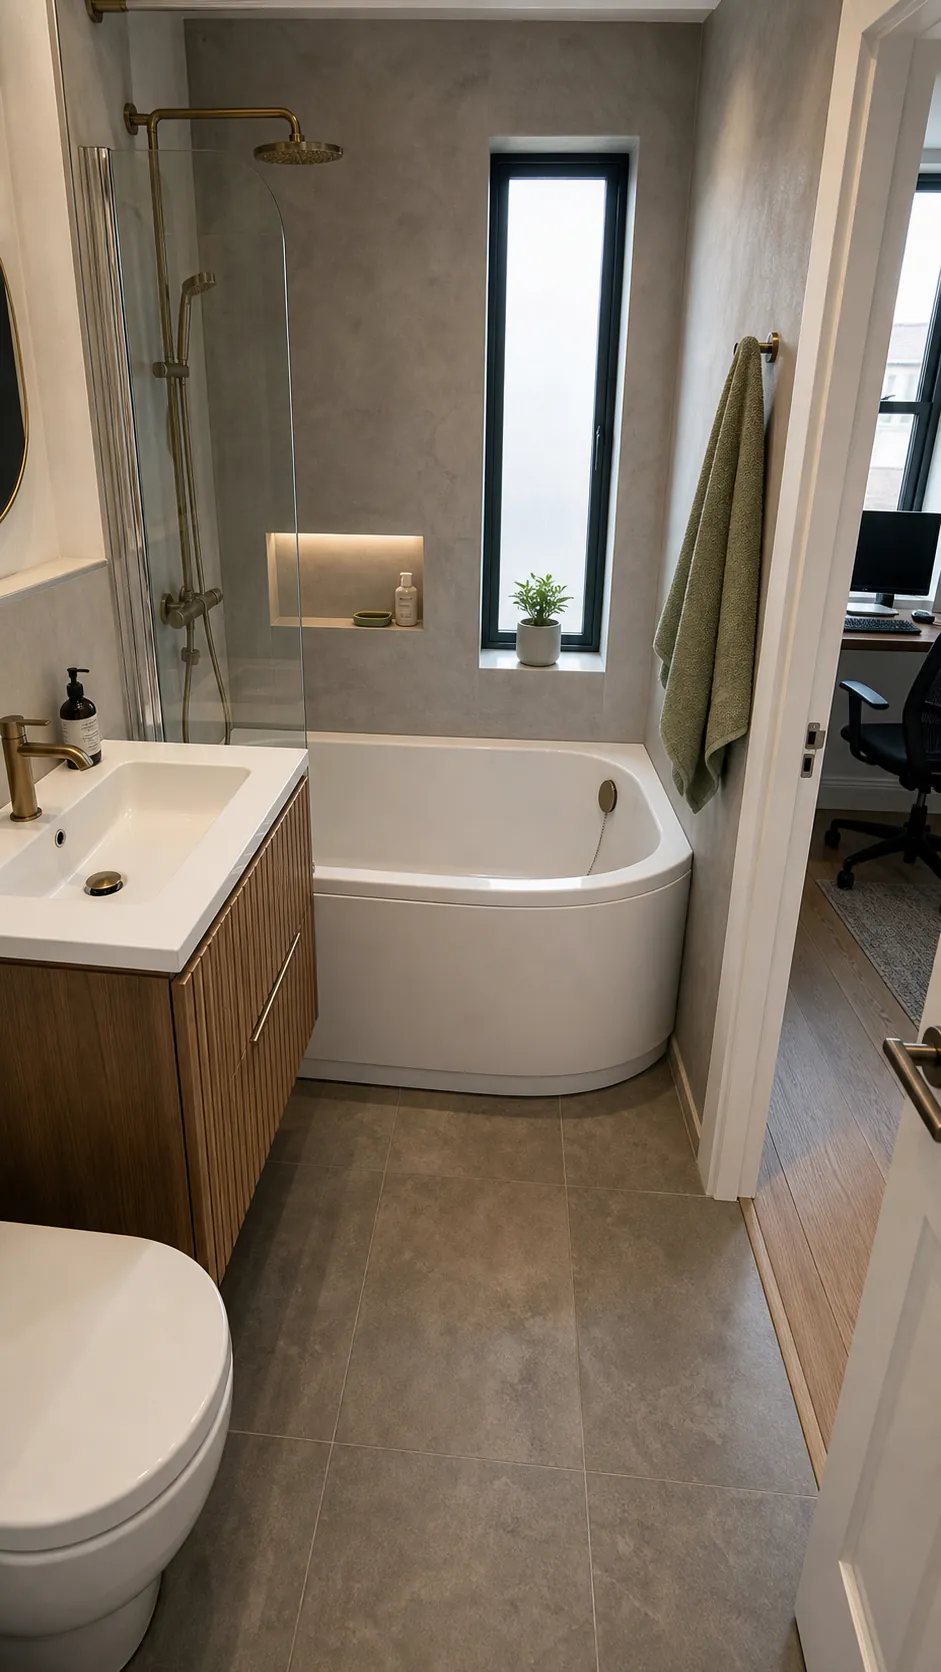
Place the Tub Across the Short Wall
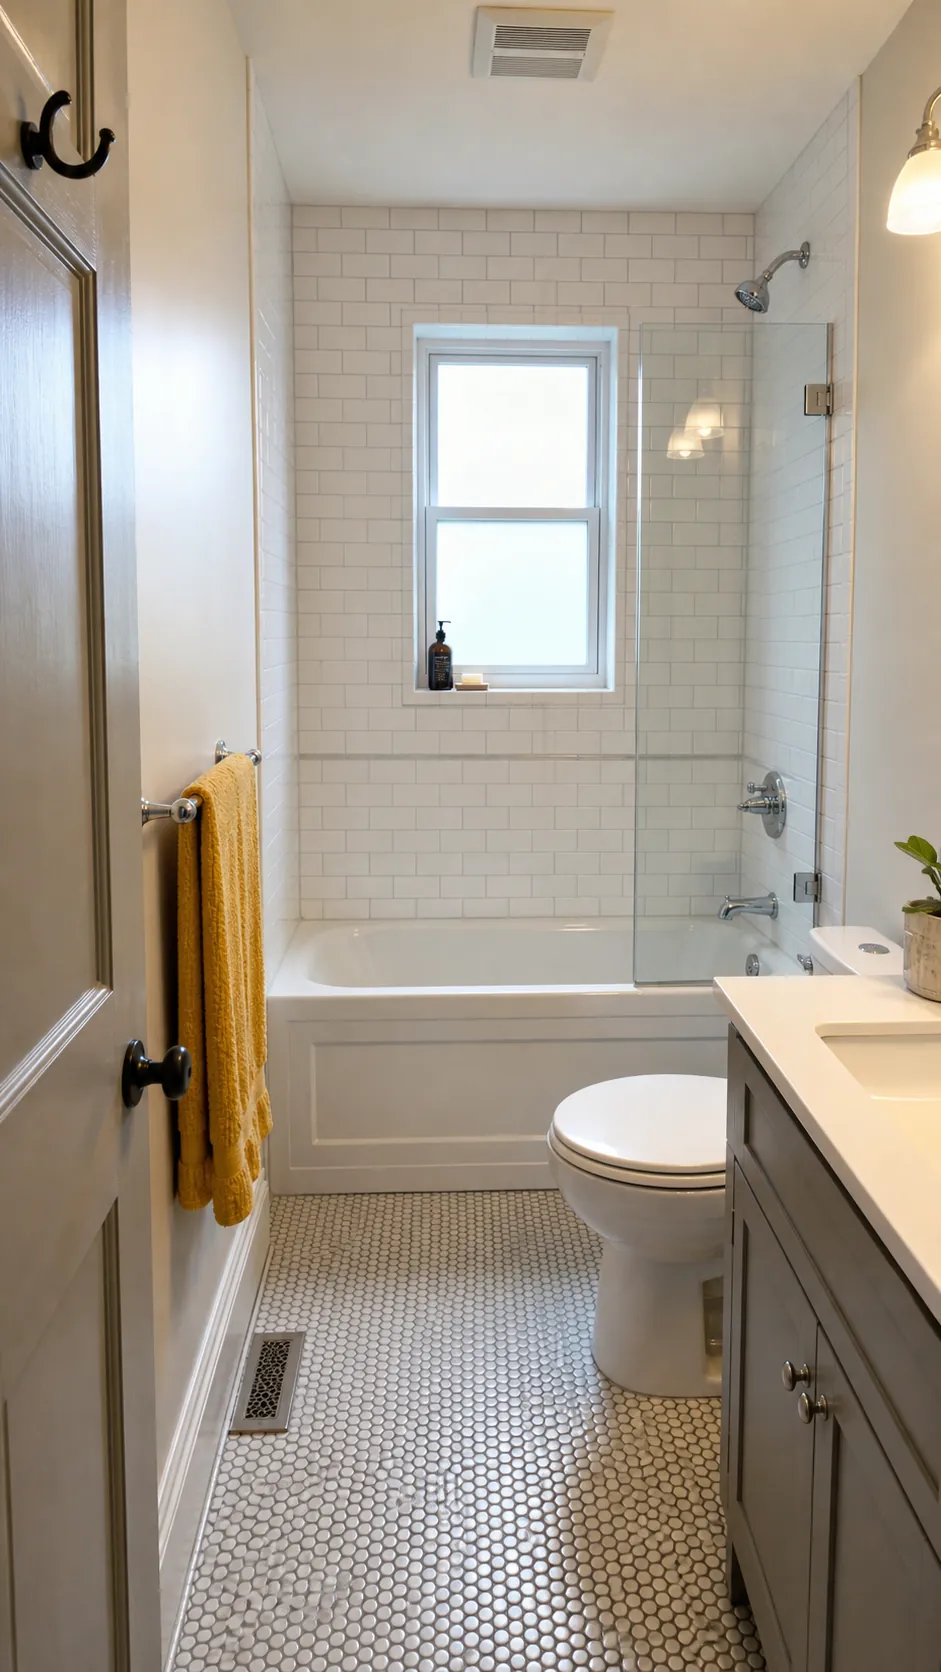
Running the tub across the far wall can turn an awkward narrow bathroom into a simple sequence: vanity, toilet, then bathing zone. The tub visually closes the end of the room instead of creating a long barrier along the side. Check the exact wall width after finishes, door and window relationships, and drain location. A correctly sized built-in model will look intentional where an undersized tub with filler strips may look improvised.
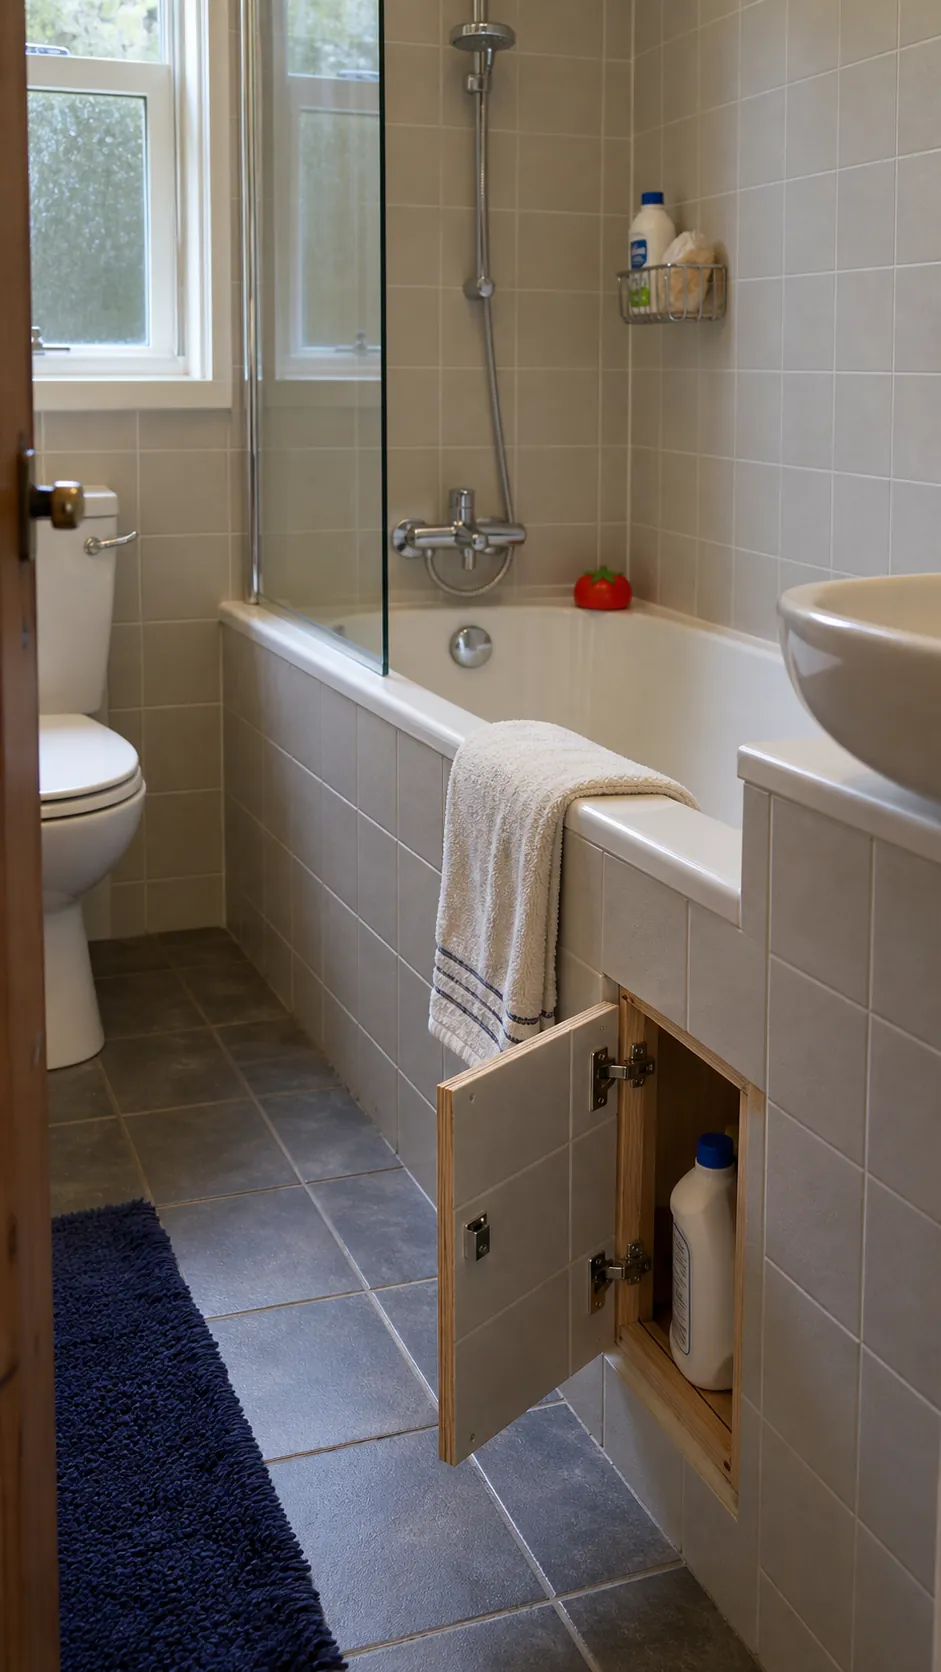
Build Storage Into the Tub Apron
A custom tub surround can include a shallow access panel or end-facing niche for bath toys and cleaning supplies, provided it does not compromise structure or plumbing access. Keep storage away from direct spray and use moisture-tolerant materials. The goal is not to fill every cavity; it is to remove the plastic caddy and loose bottles that make a small tub zone feel crowded.
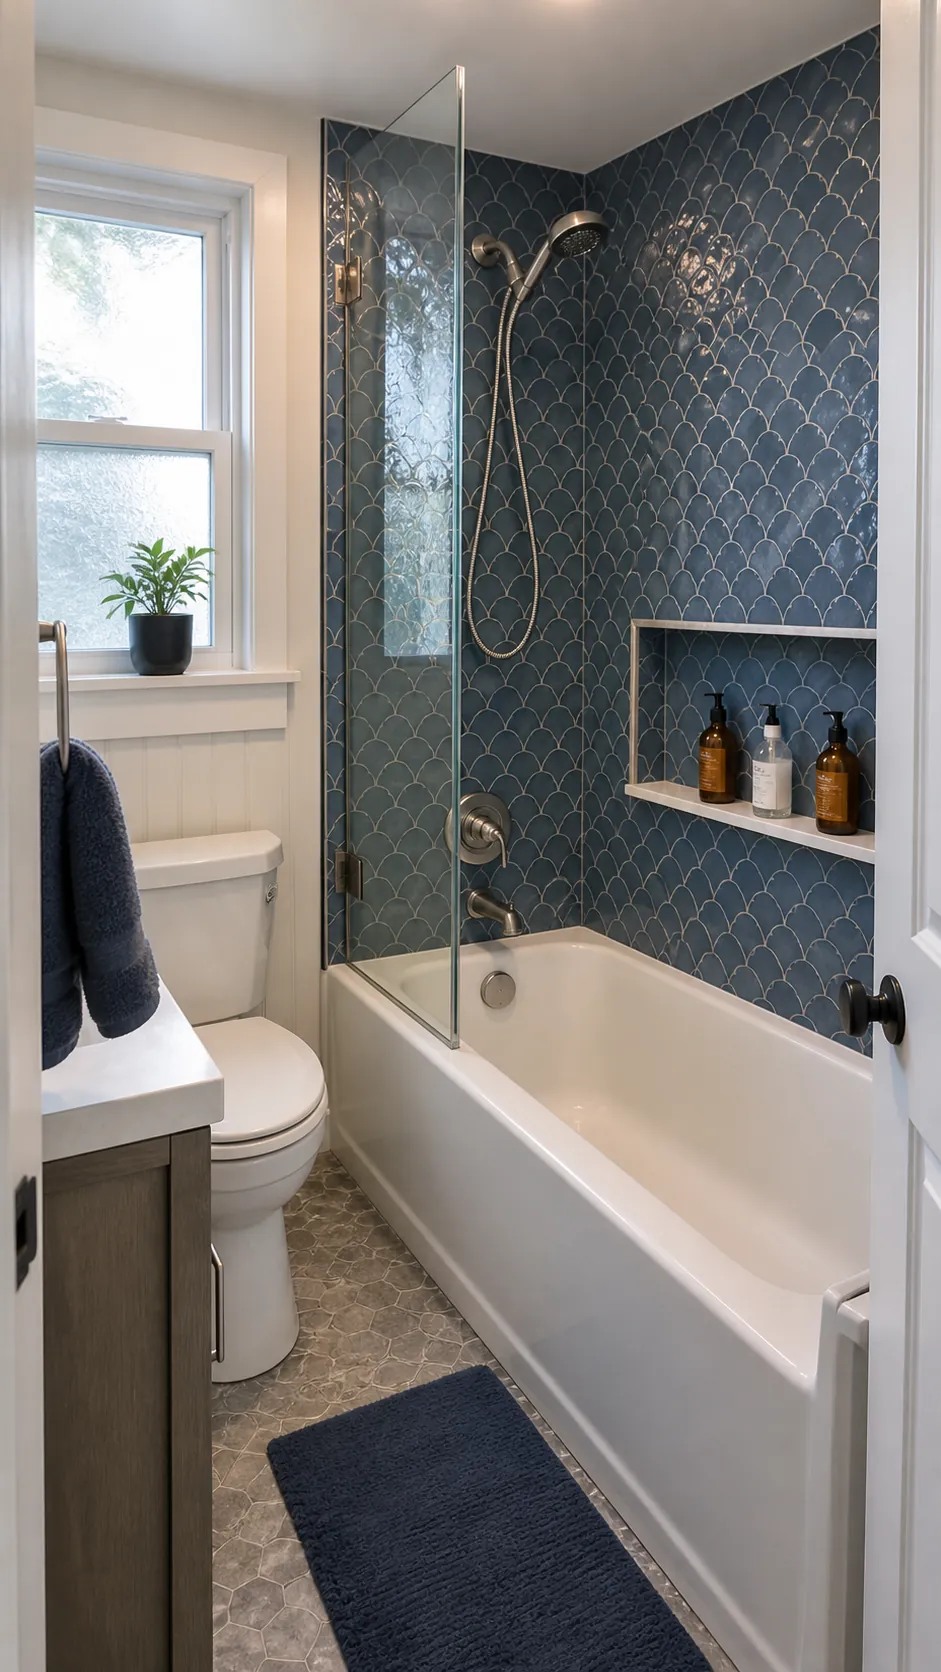
Add a Recessed Niche Above the Bath
A wall niche holds shampoo inside the wall plane, preserving shoulder room and keeping the rim clear. Size it for the products you actually use, slope horizontal surfaces toward the tub, and integrate waterproofing carefully. Position it where both bathers and shower users can reach without twisting. One well-proportioned niche usually looks calmer than several tiny recesses scattered through the surround.
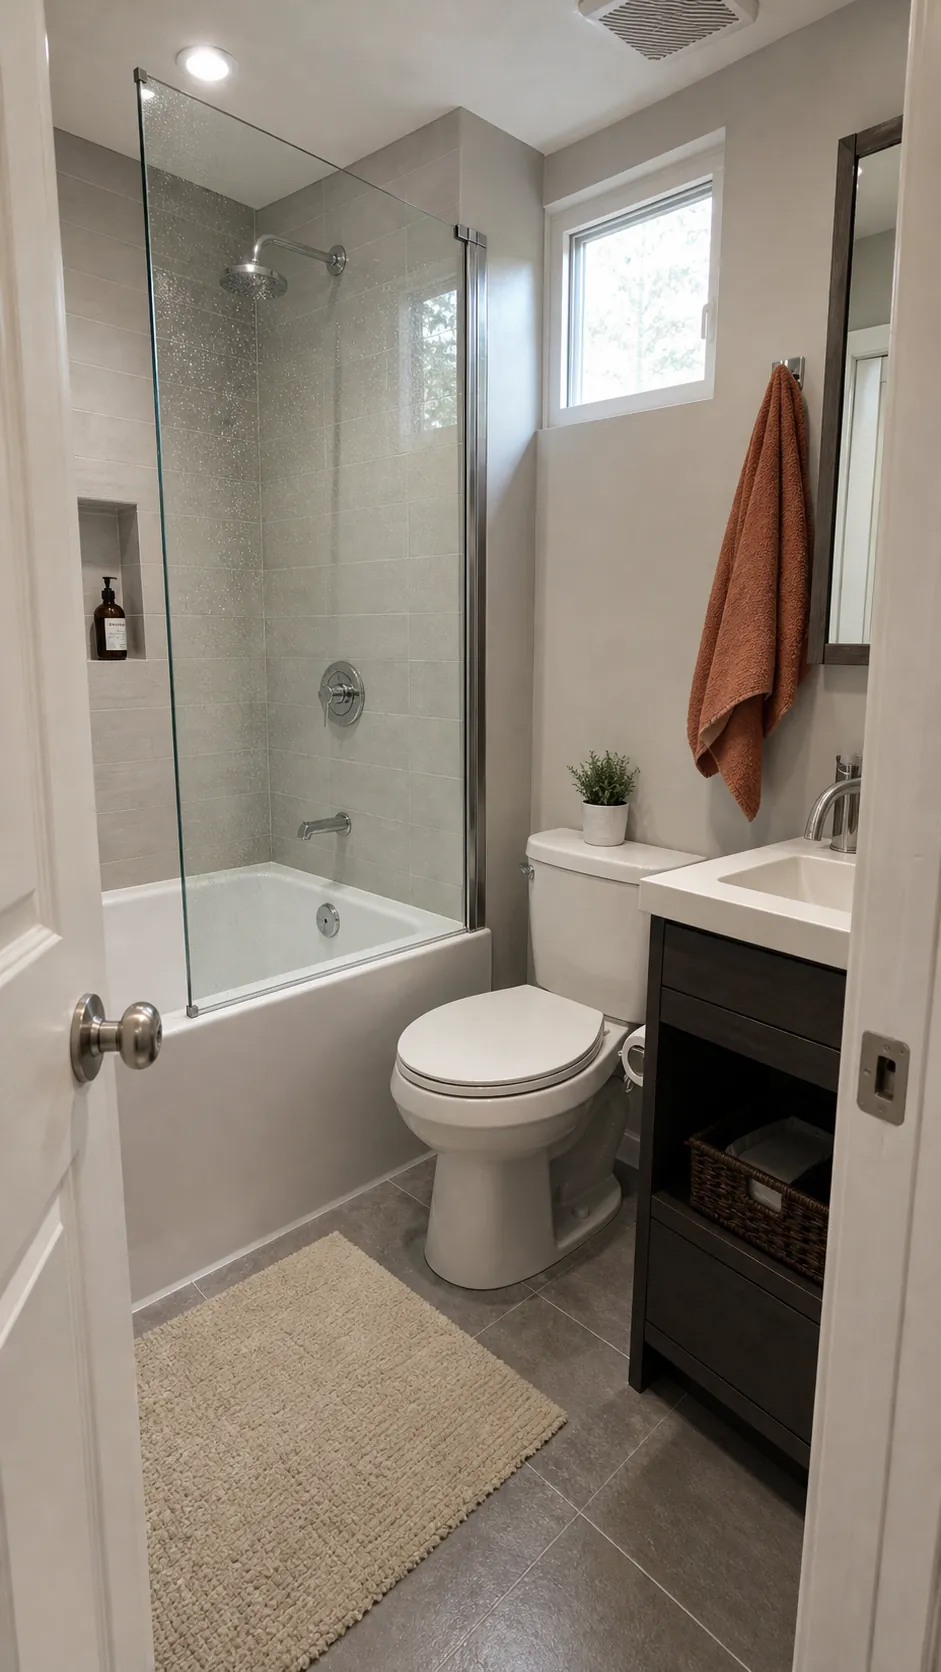
Use One Fixed Glass Screen
A fixed screen avoids the swing clearance of a hinged door and keeps sightlines longer than an opaque curtain. The panel must be wide enough and placed correctly to manage spray; a fashionable sliver of glass that leaves the floor wet is not space saving. Consider showerhead direction, user height, and how the screen affects cleaning and entry before fixing its dimensions.
Hang a Ceiling-Mounted Shower Curtain
A curtain mounted close to the ceiling emphasizes height and can be drawn fully away from the tub, giving a small room a softer, more open view. Use a washable liner that remains inside the tub during showers and a properly secured track. This is a forgiving choice for families because it avoids glass edges, adapts to unusual footprints, and makes the entire tub accessible for bathing children.
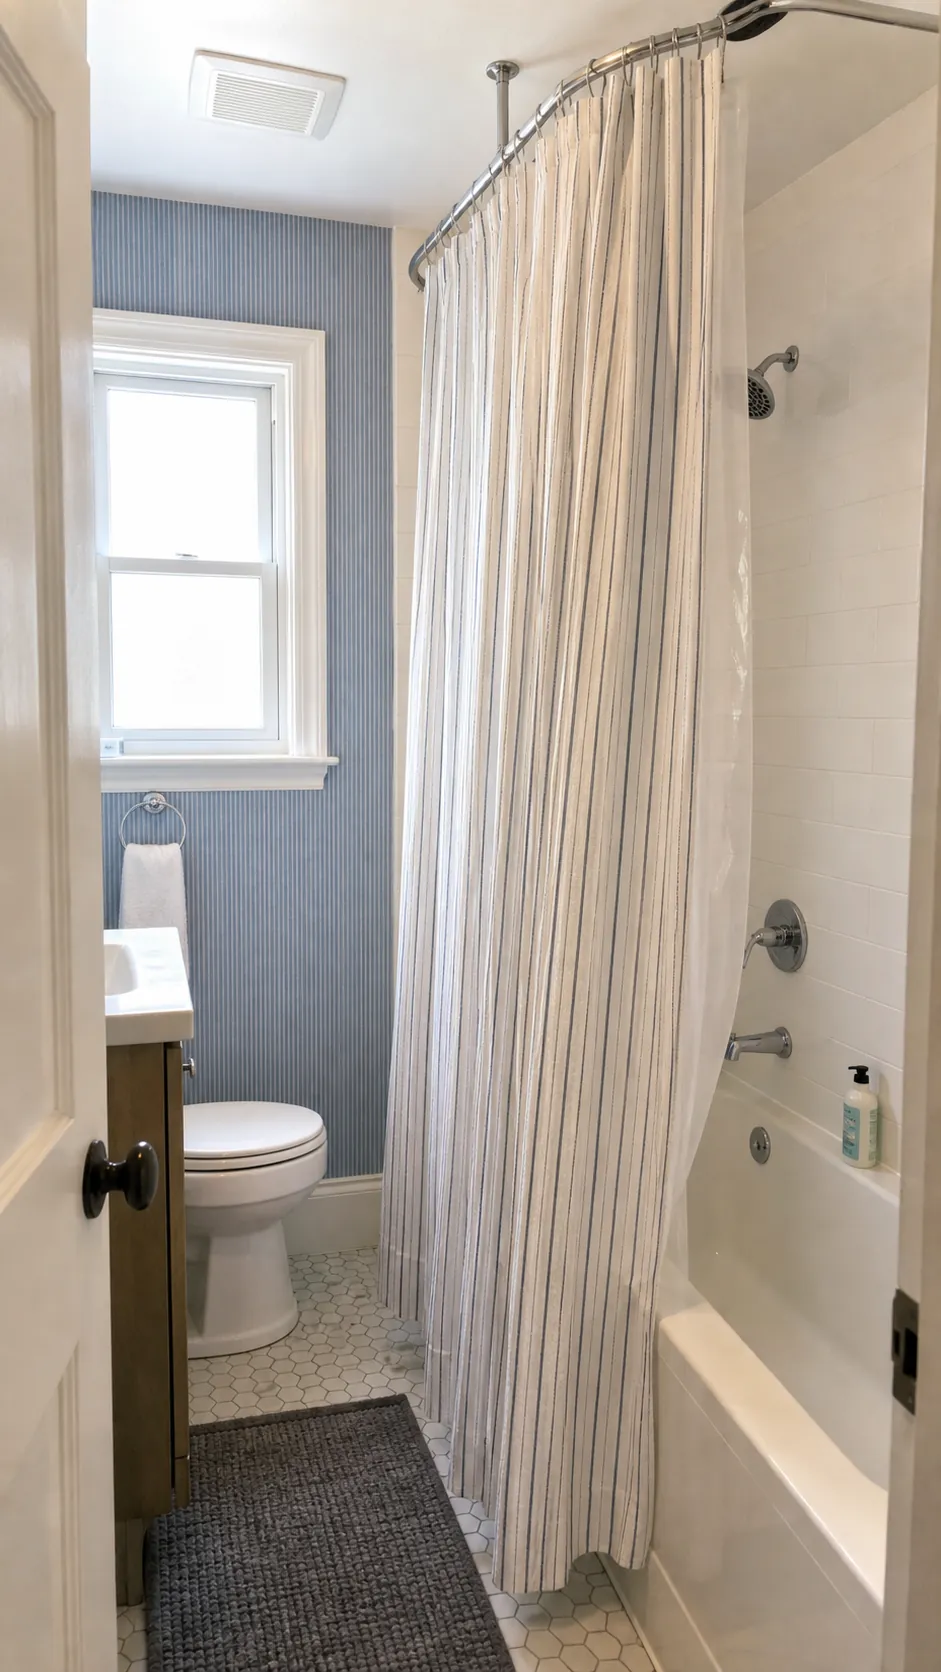
Install Controls Near the Tub Entry
Controls placed near the open end let users start and adjust water without leaning beneath the showerhead or stepping into a cold tub. This small planning move improves comfort and reduces awkward reaching. Coordinate valve location, spout, shower riser, framing, and access before the wall closes. Keep electrical devices and fittings outside regulated wet-zone locations and follow local requirements.
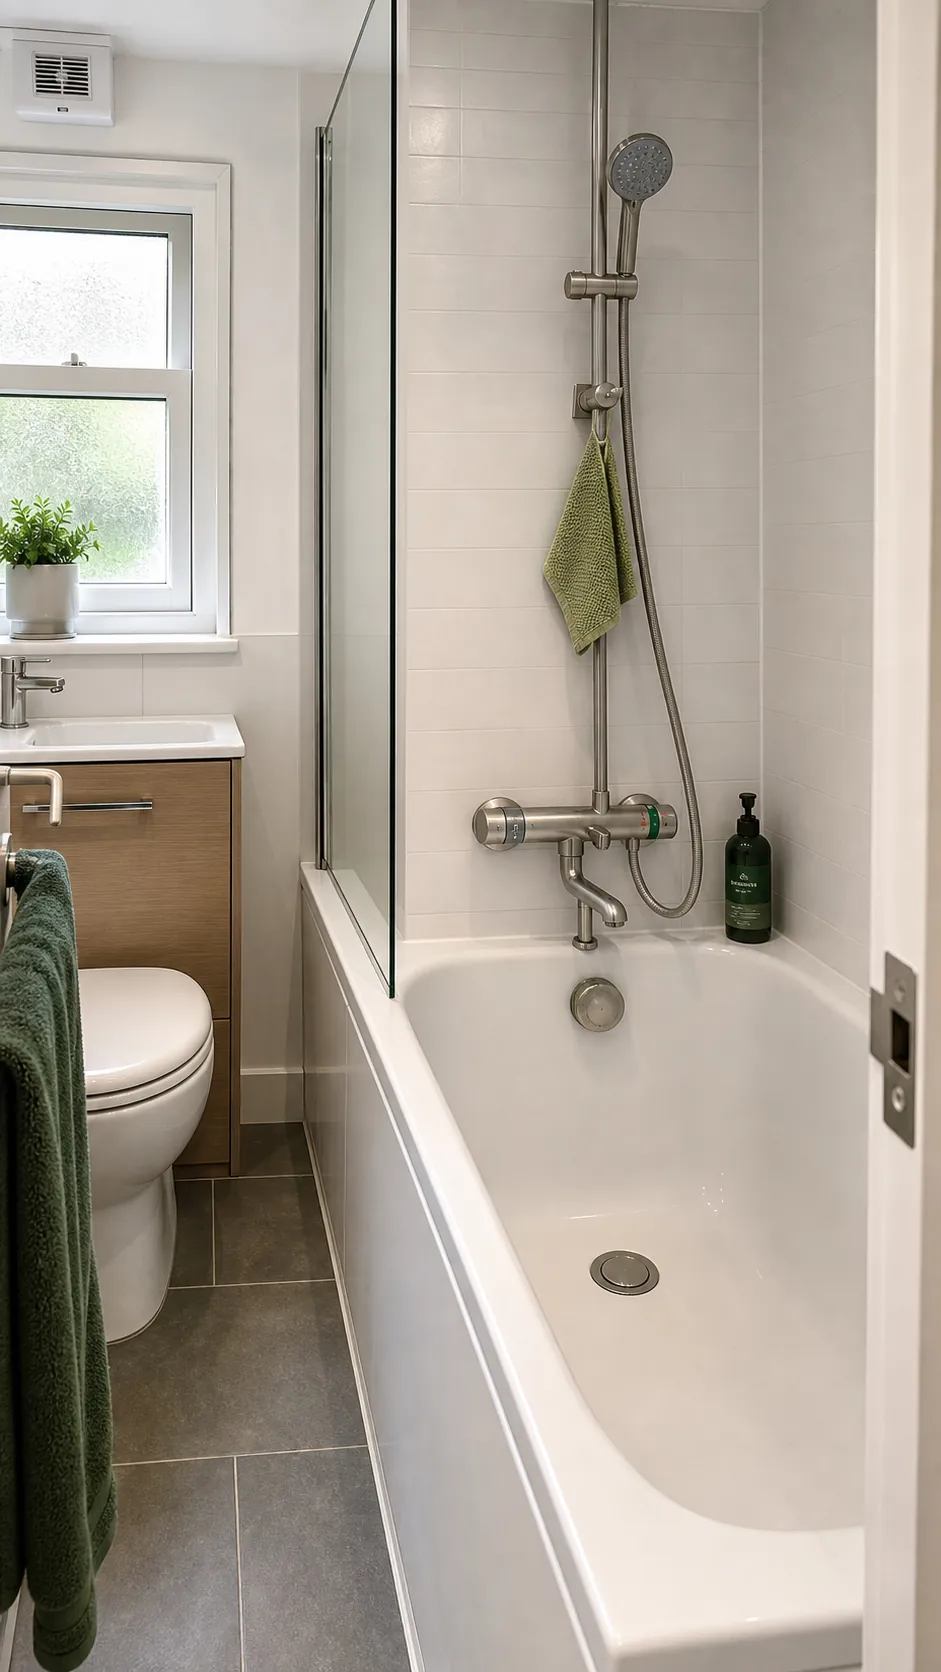
Pair the Tub With a Floating Vanity
When the bathtub must occupy a full wall, the vanity can give visual space back. A wall-hung cabinet exposes flooring and offers toe room, while a shallow basin preserves the passage beside the tub. Choose drawers shaped around the plumbing instead of sacrificing the entire cabinet interior. Repeat one finish from the tub zone so the fixtures read as a coordinated plan.
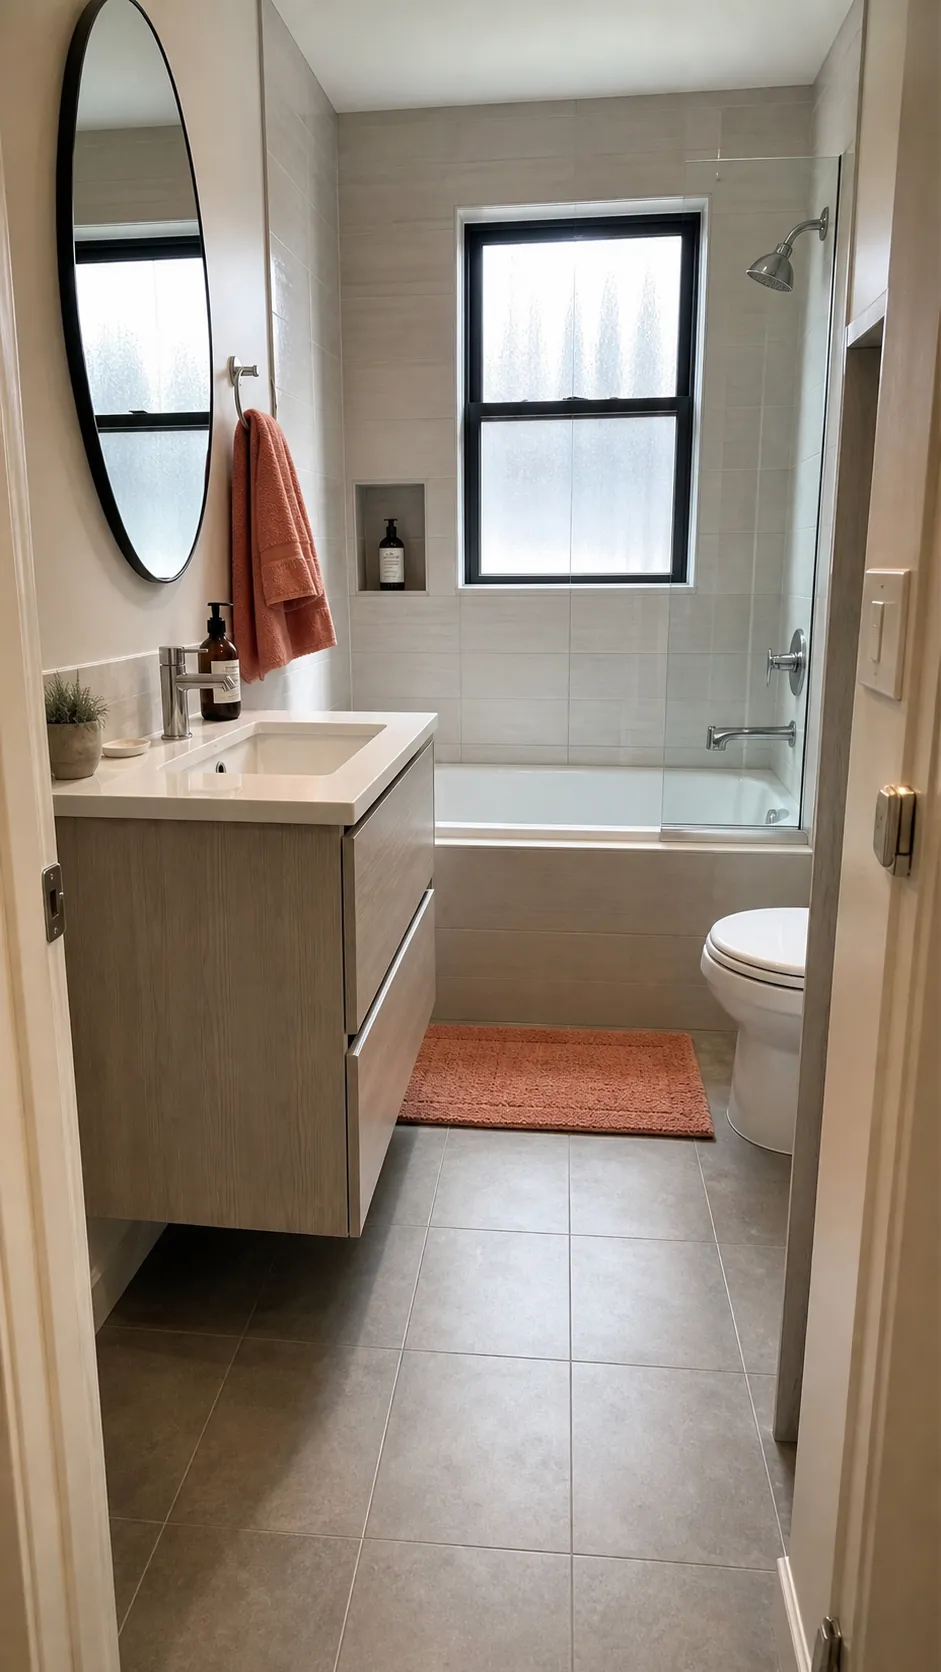
Continue Tile From Floor to Tub Wall
Using one tile family across the floor and up the bathing wall reduces visual breaks. Change scale or orientation if you need grip underfoot or easier slopes, but keep the color relationship tight. Waterproofing, not tile alone, protects the assembly. A continuous surface treatment can make the bathtub feel integrated into the room instead of like a large appliance pushed against one end.
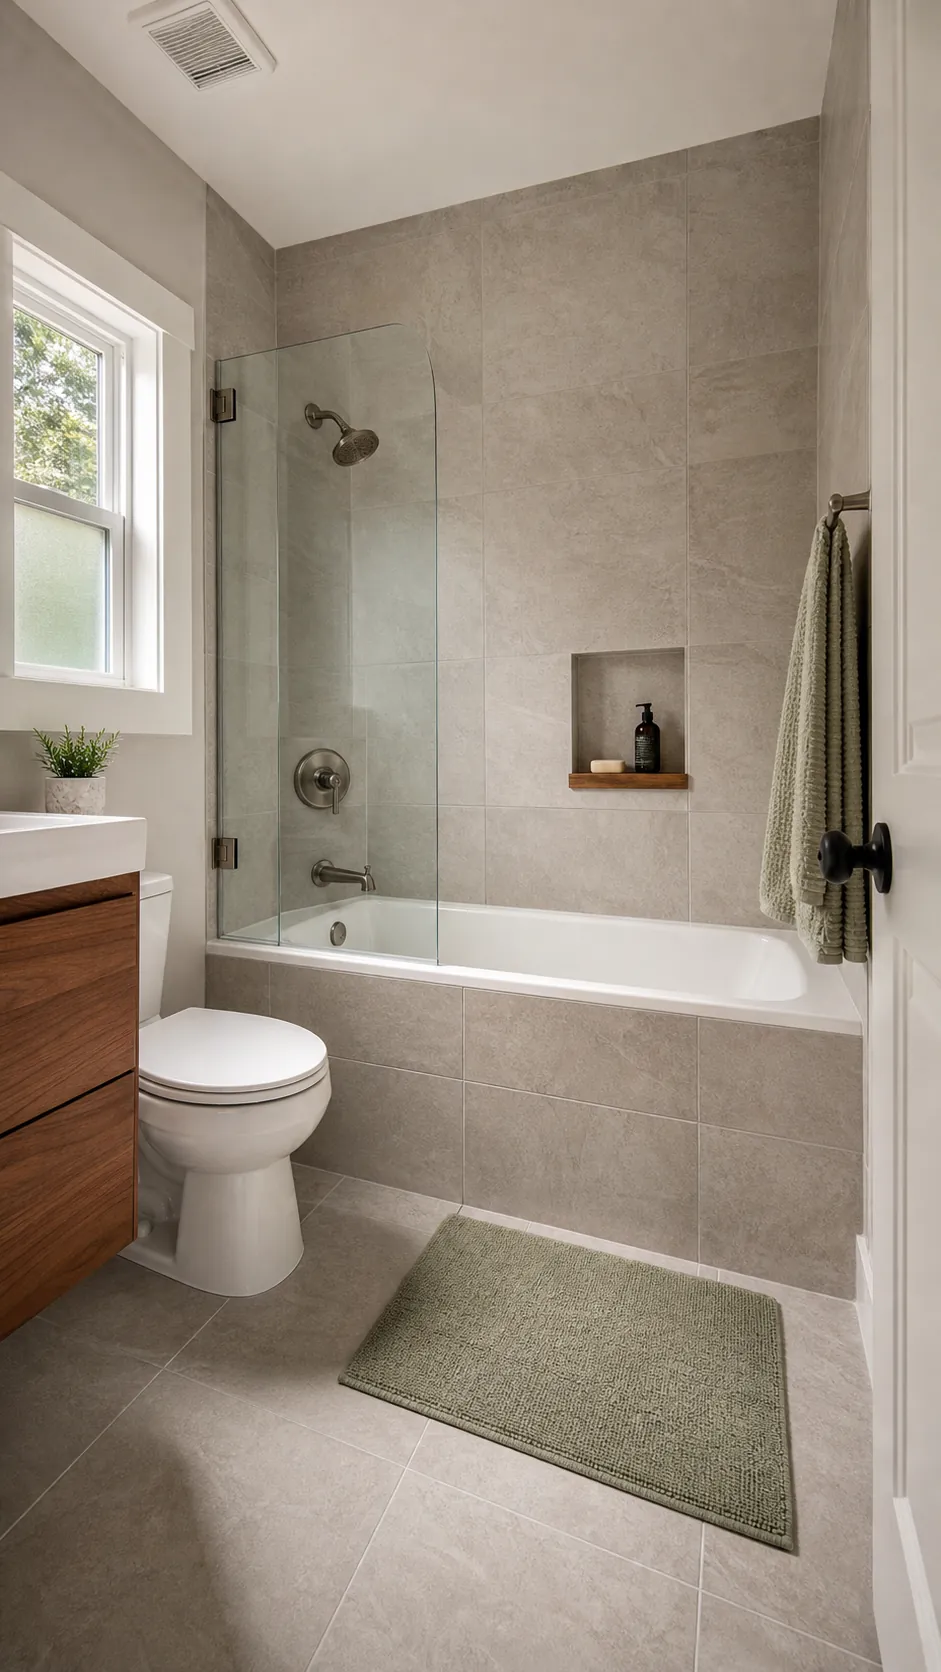
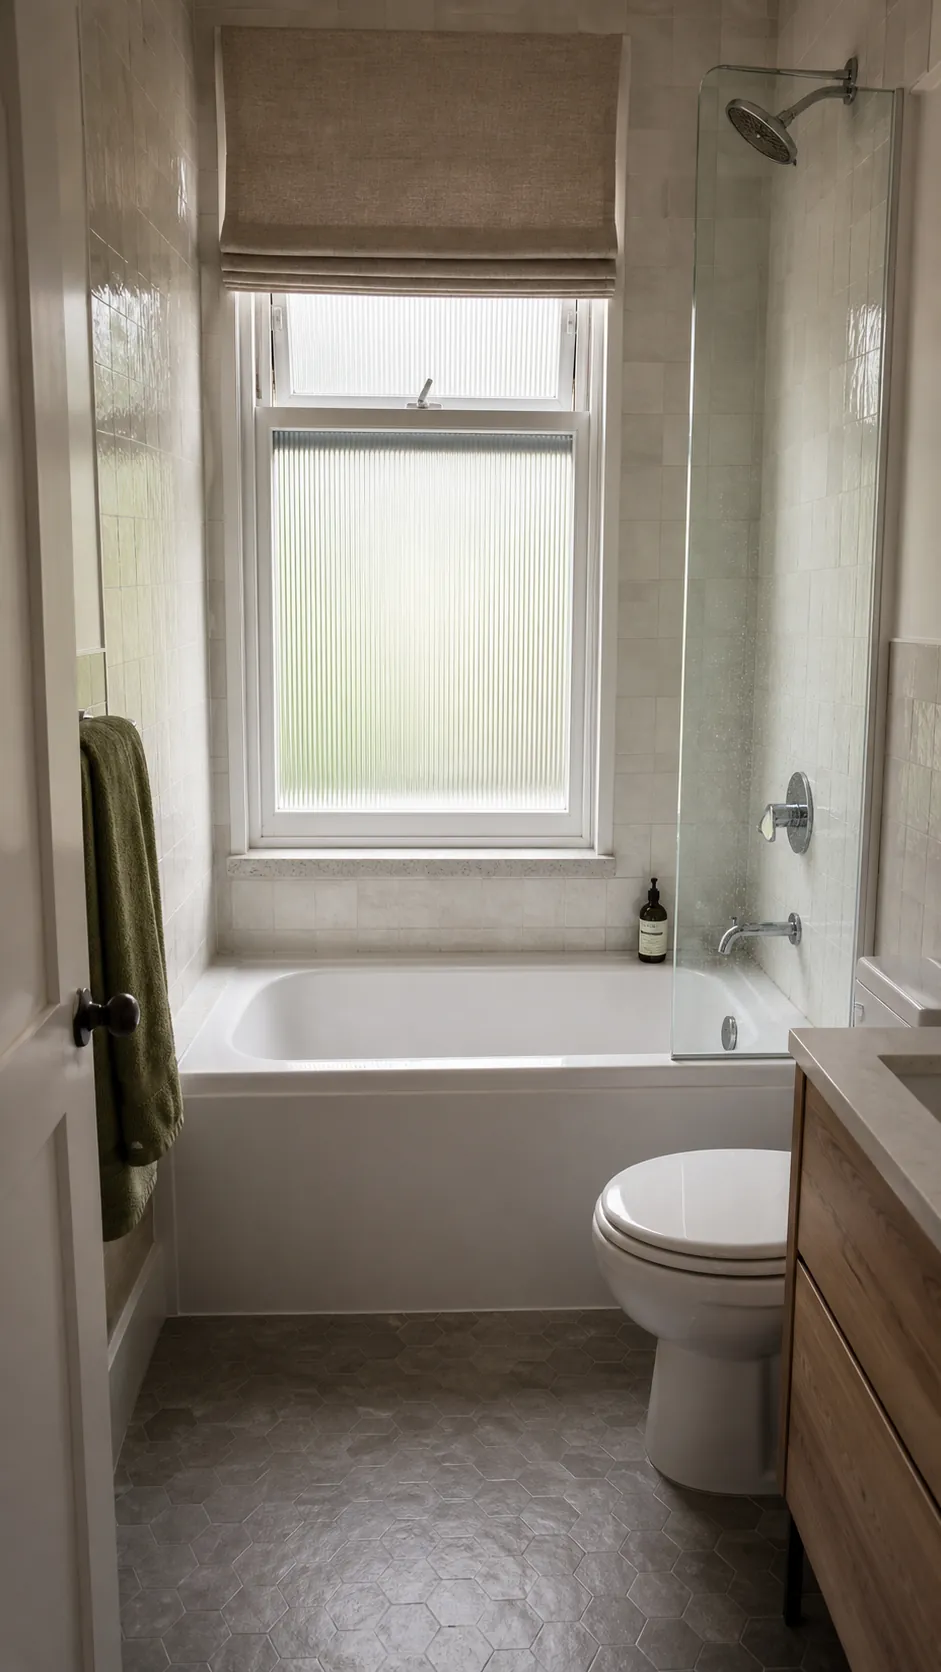
Carve the Bath Into a Window Nook
A tub placed under a suitable privacy window can use an end recess that would otherwise be difficult to furnish. Confirm that glazing, sill materials, waterproofing, and window placement suit the wet environment. Use obscure glass or a reliable privacy treatment without blocking ventilation needs. The window should make bathing feel brighter, not create a ledge that collects standing water and deteriorates.
Keep the Drain Where It Is
Moving a tub drain can conflict with joists, require ceiling access below, and consume budget without improving daily use. When the existing position is sound, shop for models with a compatible left- or right-hand outlet. Spend the savings on waterproofing, a better valve, ventilation, or safer entry. Verify dimensions at the rough-in stage; product drawings matter more than nominal tub length.
Add a Secure Vertical Grab Bar
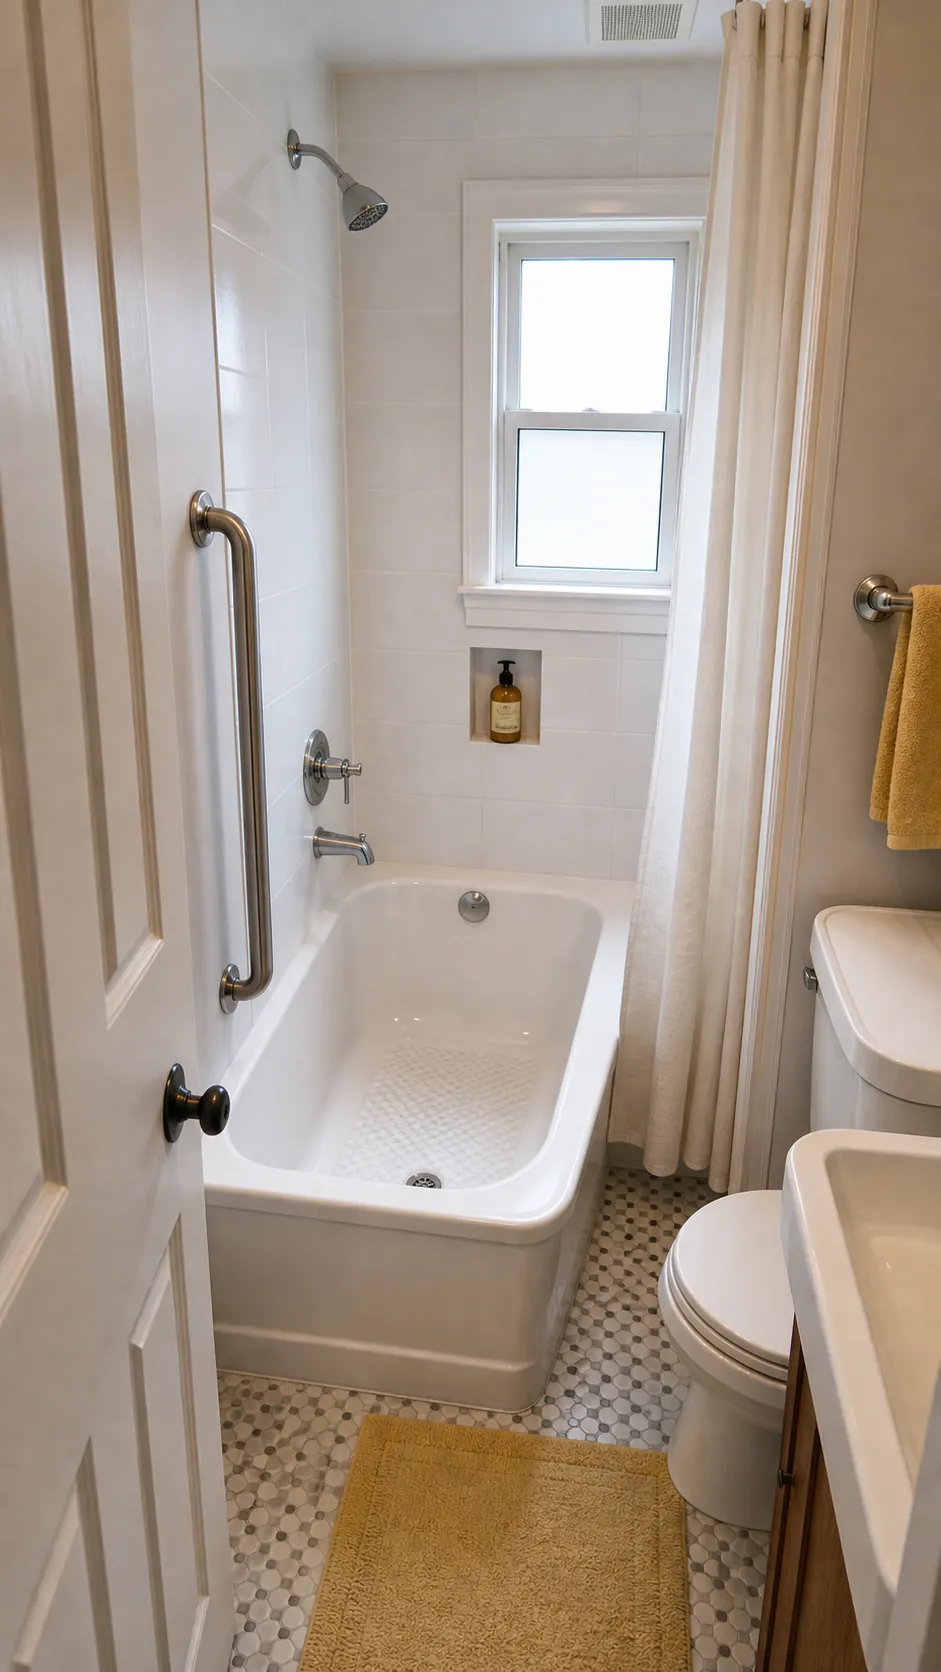
A properly anchored vertical grab bar near the entry supports different hand heights during the step over the rim. Plan blocking before walls close and select hardware intended for wet areas. A towel bar is not a substitute. Combine secure support with a slip-conscious tub floor, reachable controls, good light, and a dry landing area—especially when a deeper mini bathtub raises the entry height.
Use a Wall-Mounted Towel Warmer
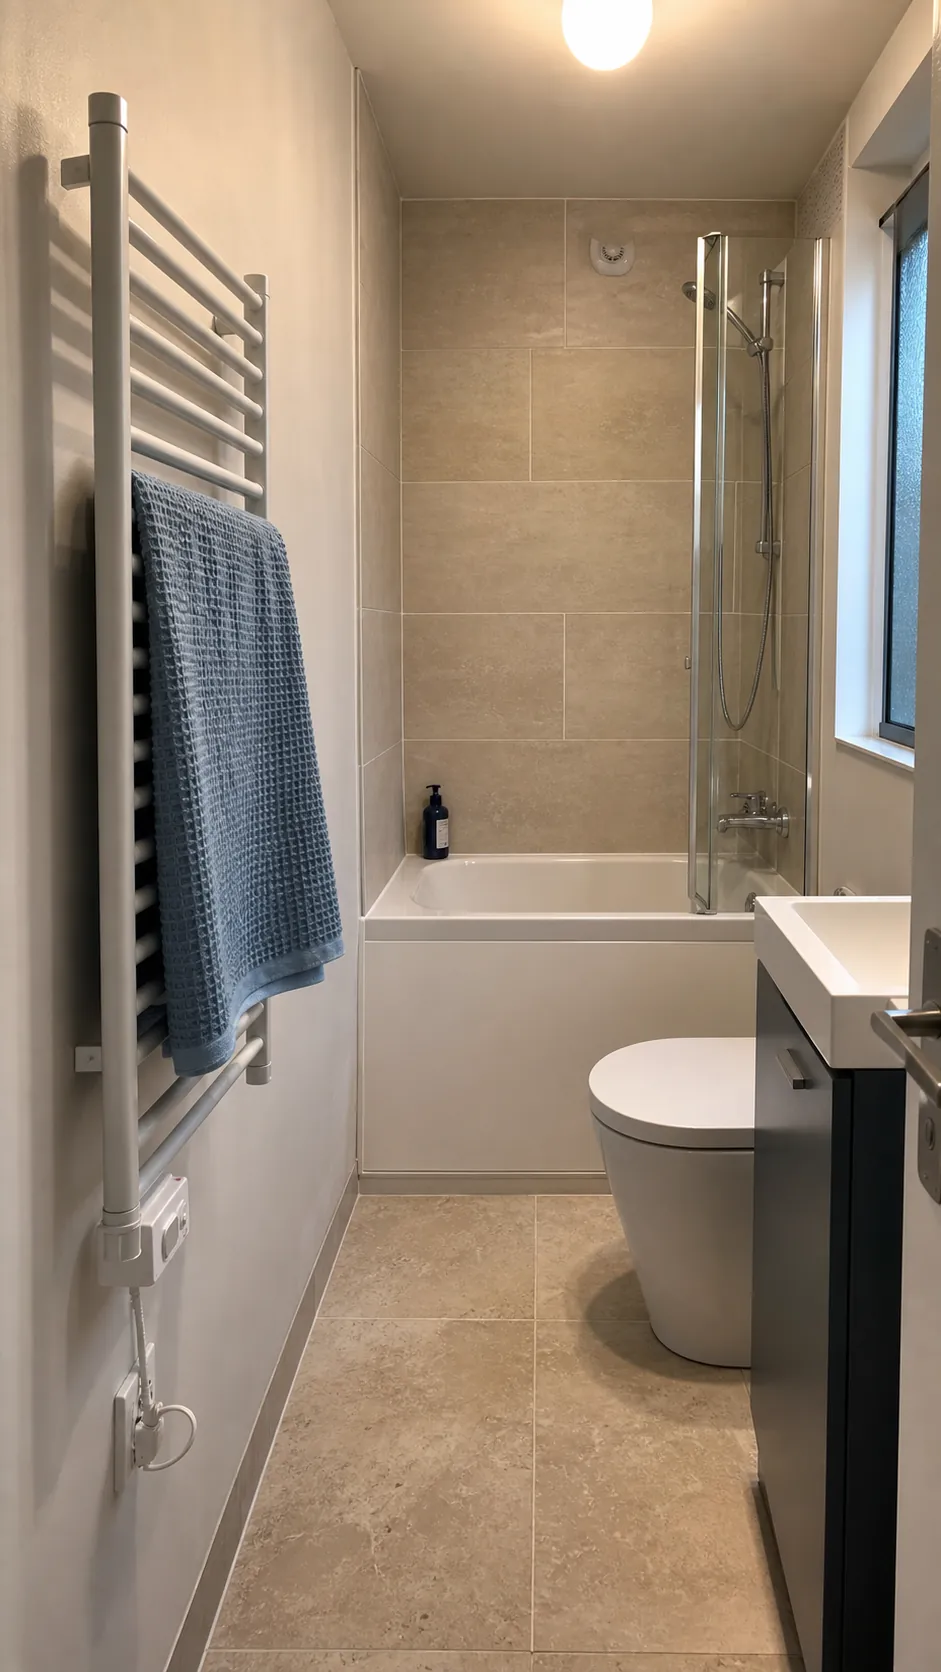
A slim wall-mounted rail can dry towels without taking the floor area of a stool or ladder rack. Position it outside direct spray and away from the tightest circulation point, following electrical and installation rules for the room. Even an unheated compact rail helps when hooks leave damp towels bunched together. Choose a width that fits the wall rather than allowing the rail to crowd the tub entry.
Plan the Tub Around Real Bathing Habits
Before choosing a fashionable compact tub, decide who will use it, how often, and whether it must double as the household shower. Measure the room, doorway, route into the house, flat standing area, interior bathing well, rim height, cleaning access, and clear floor space. Confirm filled weight, hot-water demand, ventilation, waterproofing, structure, plumbing, electrical zones, and local rules with qualified professionals. The most space-efficient bathtub is the one your household can enter, use, clean, and maintain comfortably.