
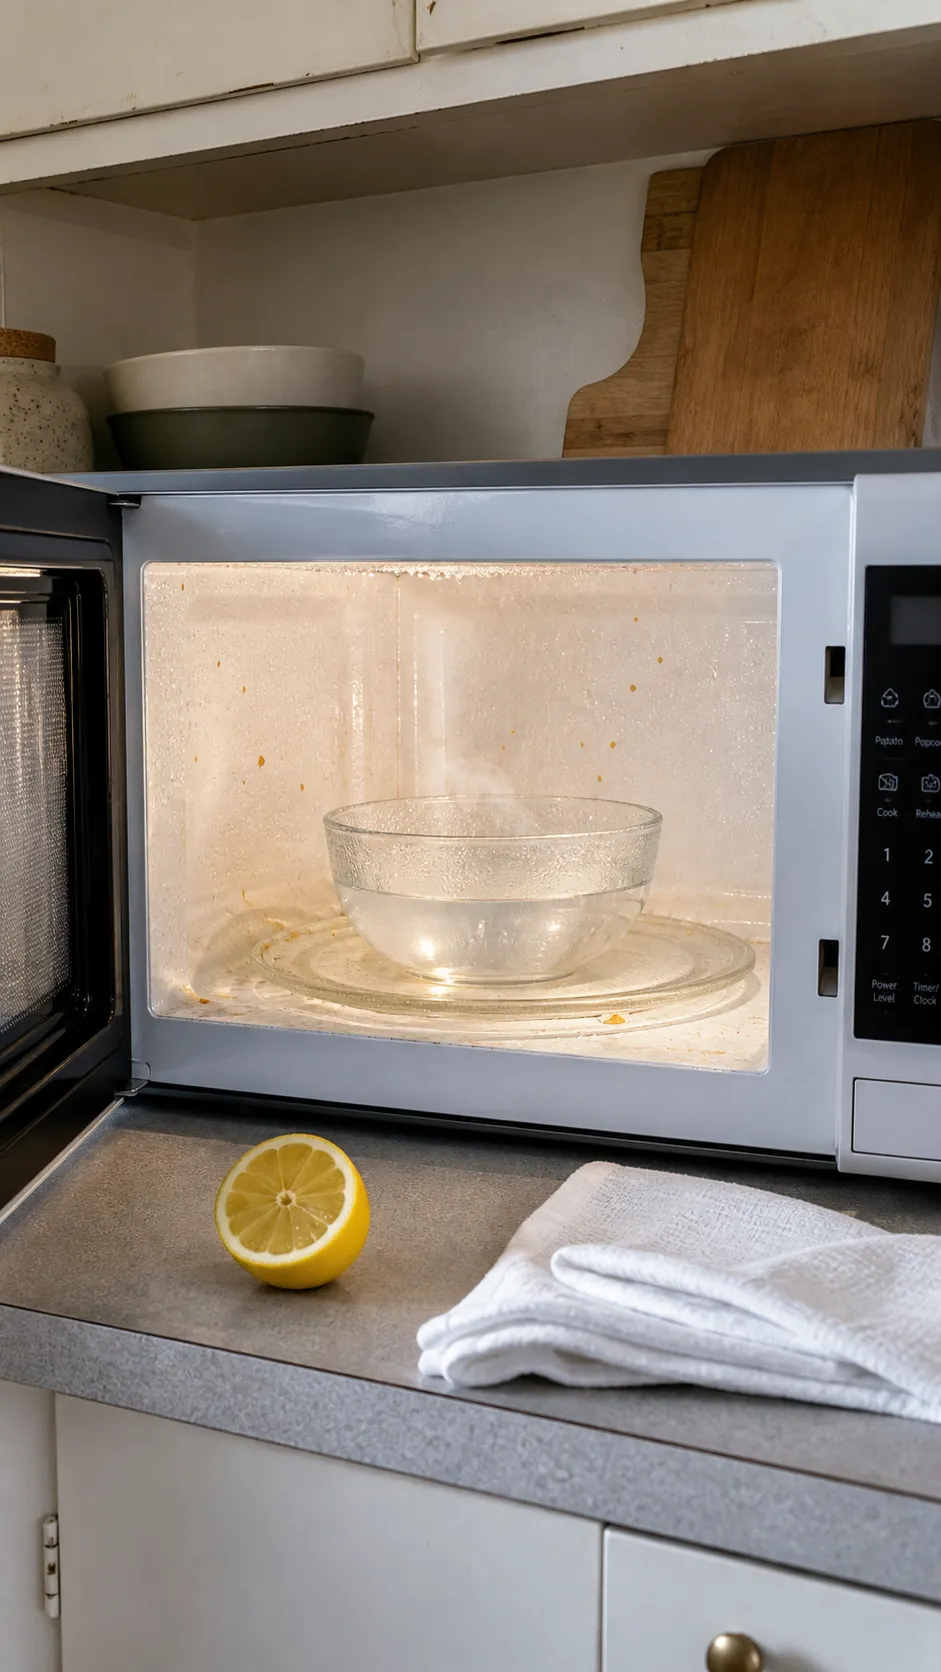
A microwave can look “mostly clean” and still announce last week’s burnt popcorn every time the door opens. The reason is simple: steam loosens residue, but it does not magically remove it. Odor hangs on wherever grease and food film remain—often the ceiling, the door lip, under the turntable, or around the roller ring.
These microwave cleaning hacks start with the gentlest useful method and escalate only where the mess demands it. Before cleaning, check your model’s care guide. Let hot bowls cool before handling them, use only microwave-safe containers, and unplug the appliance first if your manufacturer recommends it.
Let Plain Steam Do the First Half of the Work
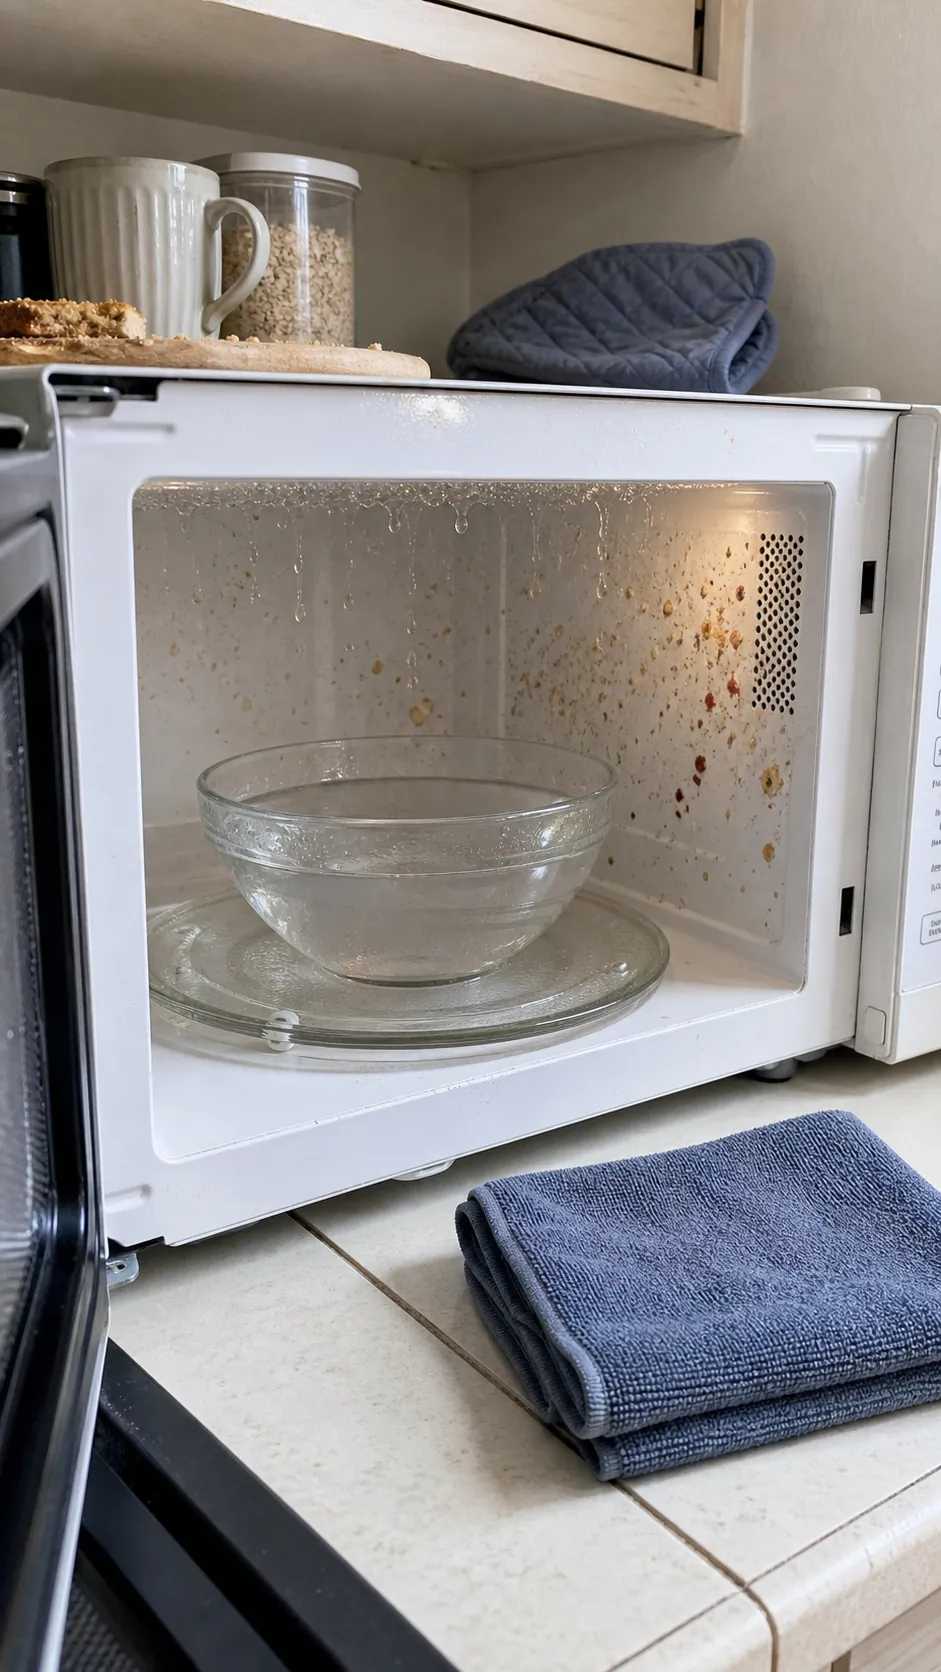
For ordinary sauce dots and dried oatmeal, begin with water. Put about one cup in a roomy microwave-safe glass bowl, heat it until the cavity is steamy, then leave the door closed for several minutes. The pause matters: it gives warm condensation time to soften the crust instead of merely warming it.
Open the door carefully and remove the hot bowl with dry oven mitts. Wipe the ceiling first, then the side walls, floor, and inside of the door with a soft microfiber cloth. Working top-down keeps loosened crumbs from falling onto an area you already cleaned. If the cloth stops gliding, rinse it; moving dirty water around creates streaks rather than a clean finish.
This is the best easy way to clean a microwave that is grimy but not greasy. If a patch remains after a light second pass, resist reaching for a scouring pad. Move to a targeted grease treatment instead.
Use Lemon Steam When Food Odor Is the Problem
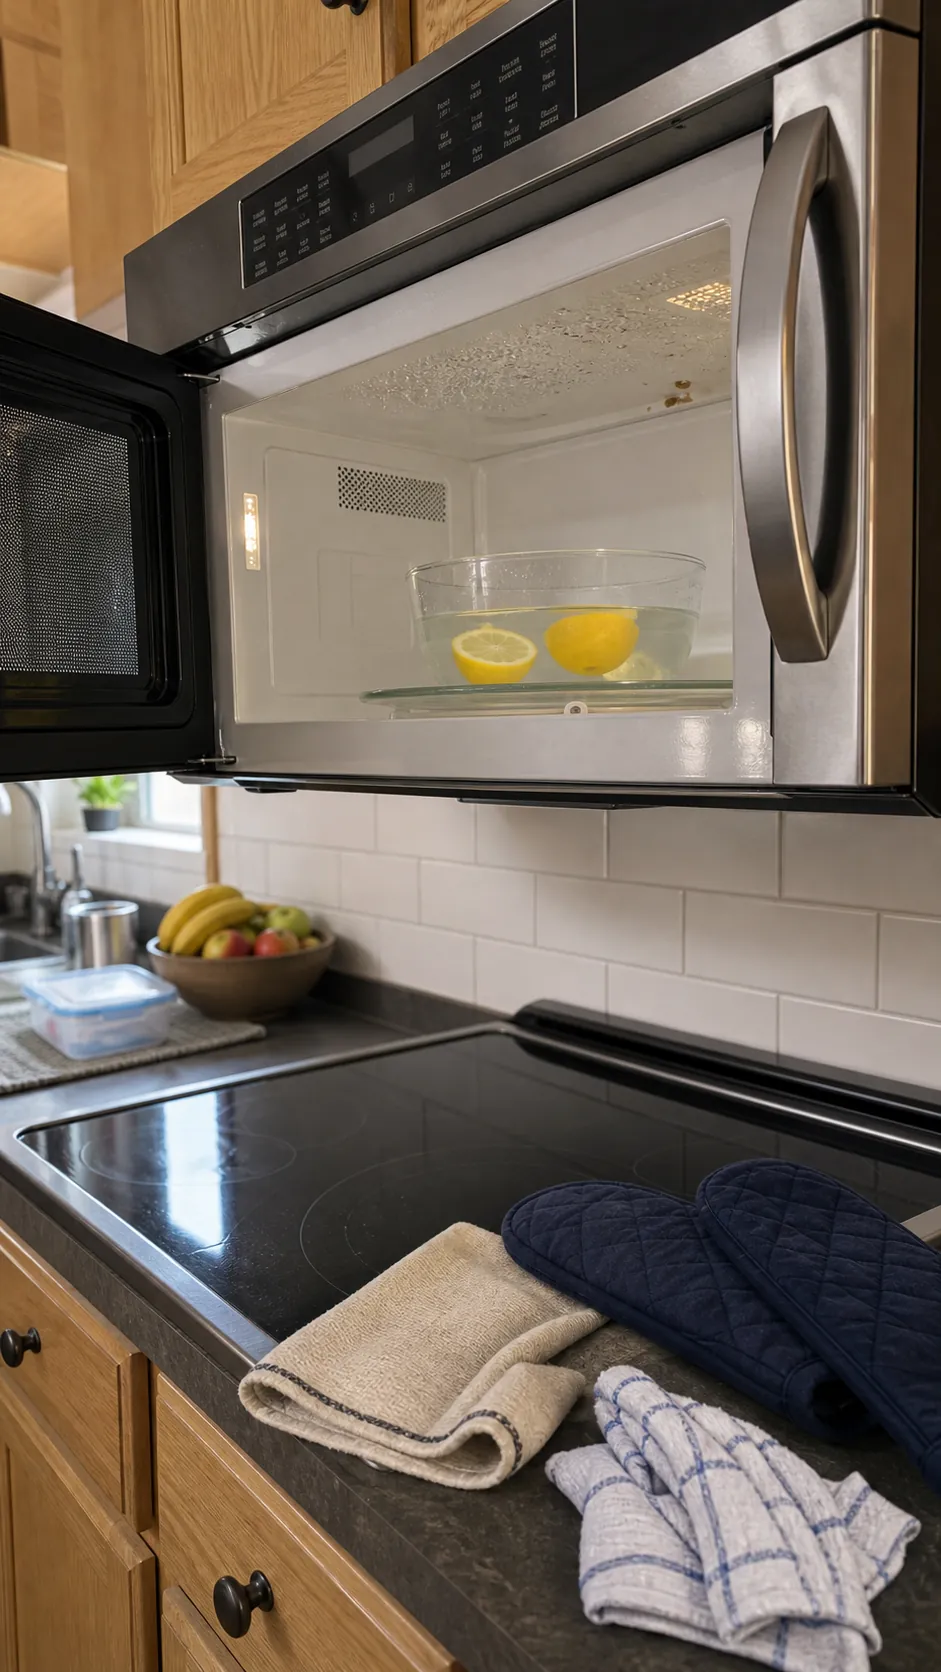
If you dislike the sharp smell of vinegar, lemon is a more pleasant DIY microwave cleaner. Add lemon juice and the squeezed halves to a bowl of water, heat until steaming, and let the closed microwave sit. The goal is not to perfume burnt residue. It is to soften the film so you can physically wipe away the material holding the odor.
Pay special attention to the ceiling above the turntable and the corners nearest the door. Those are easy to miss, especially in an over-the-range unit mounted above eye level. Follow with a clean damp cloth so citrus residue does not dry sticky. Then dry the cavity and leave the door open briefly to air.
A fresh scent is not proof that the microwave is clean. If the bad smell returns during the next use, inspect hidden removable parts and the vent or grease filter rather than repeating stronger bowls of acid.
Cut Greasy Film With Diluted Dish Soap
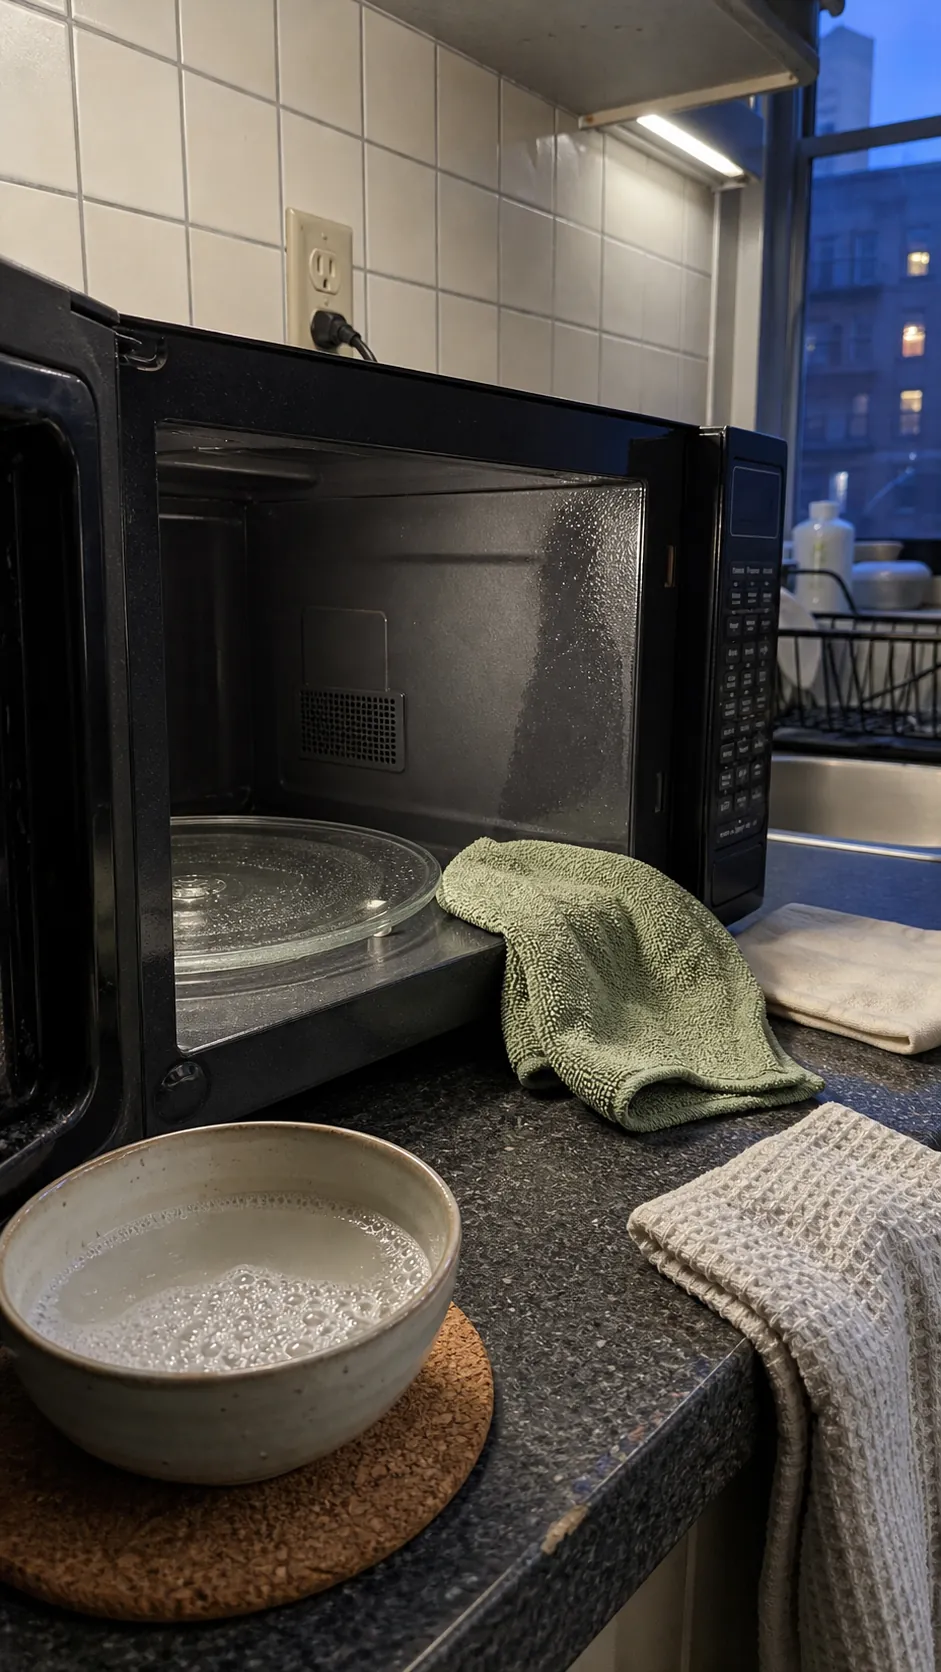
Steam softens dried food, but a greasy haze often needs surfactant. Mix a few drops of mild dishwashing liquid into warm water. Dampen—not soak—a soft cloth, then wipe the greasy area in overlapping passes. Keep liquid away from vents, openings, the control panel, and any seams where it could enter the appliance.
Use a second cloth dampened with plain water to remove soap film, followed by a dry cloth. This rinse step is what separates a genuine deep-cleaning hack from a shortcut that leaves the walls tacky. A tacky surface catches the next cloud of cooking vapor and becomes dirty again faster.
Never substitute oven cleaner, steel wool, or an abrasive scouring pad. The USDA’s general care guidance recommends mild soap or dishwashing liquid for heavier soil and warns against abrasive cleaners and oven cleaners. Your model manual takes priority if it specifies different materials.
Lift One Burnt-On Spot With a Baking Soda Paste
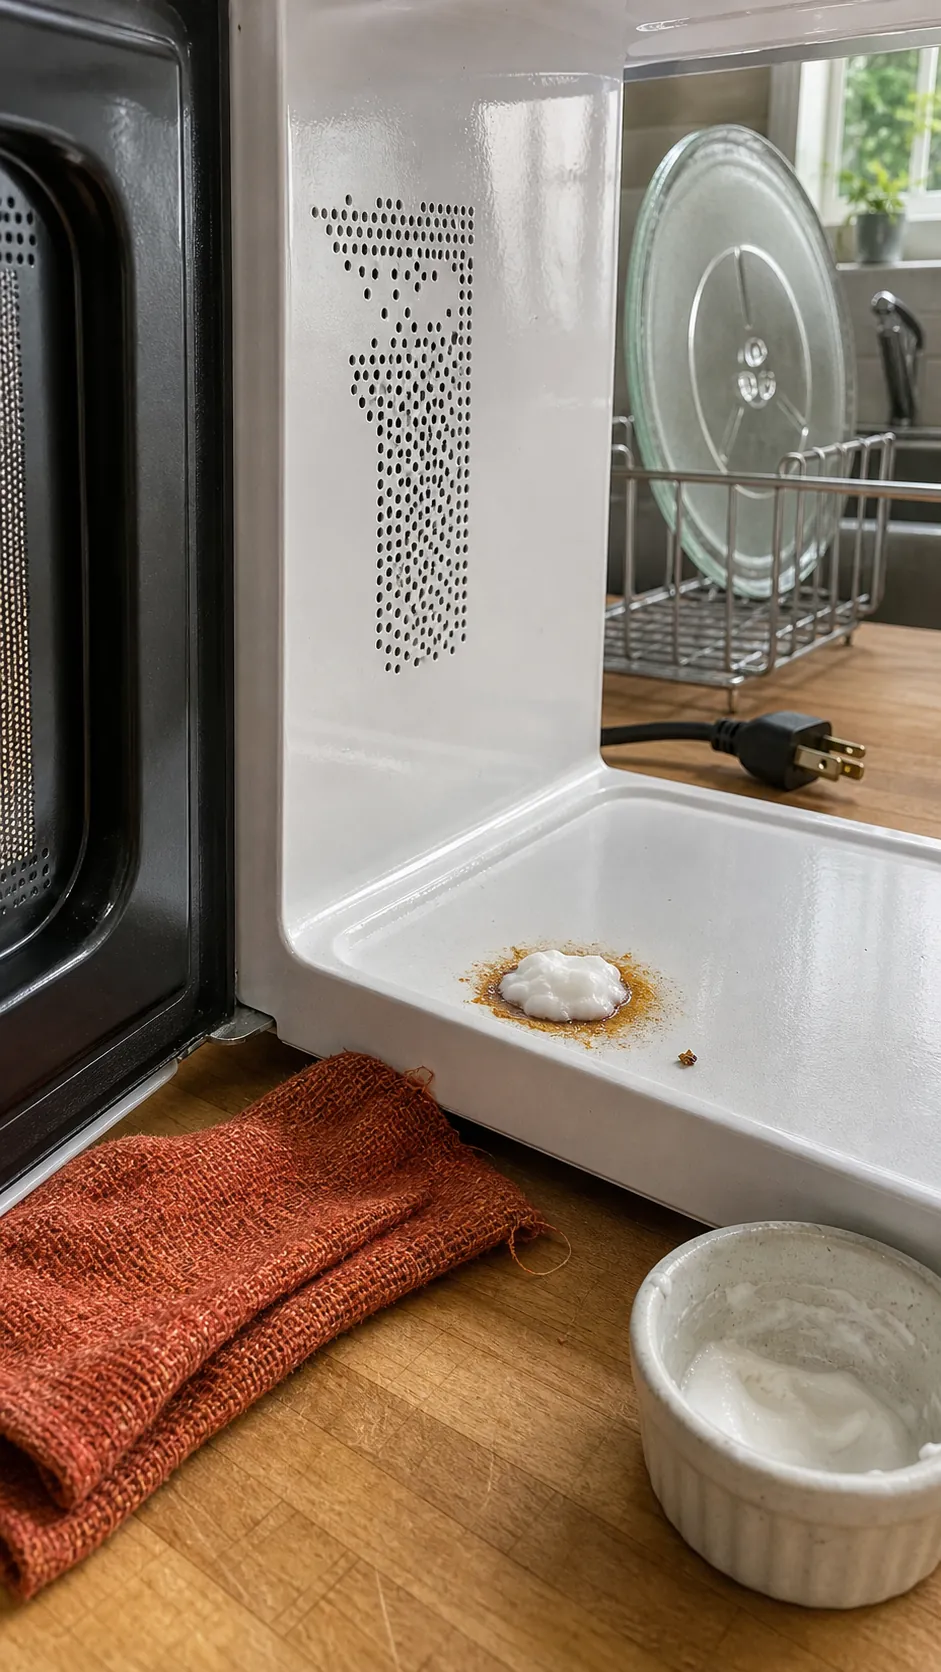
For one stubborn patch, make a soft paste from baking soda and a little water. Apply it only to the residue and let moisture do the work for a few minutes. Wipe gently with a damp cloth rather than grinding the paste into the interior coating. Repeat once if needed.
This targeted approach is safer than turning the entire cavity into a scrub zone. Stop if the spot appears to be damaged coating rather than food. Peeling, chipping, scorch damage, unusual sparking, or a damaged door is an appliance issue, not a cleaning challenge; consult the manufacturer or a qualified service provider.
Remove every trace of paste with a clean damp cloth and dry the area. Do not mix baking soda and vinegar in the hope of doubling their strength: the dramatic fizz is mostly the two substances neutralizing each other. Use one method for a defined job.
Take Out the Turntable and Clean the Forgotten Ring
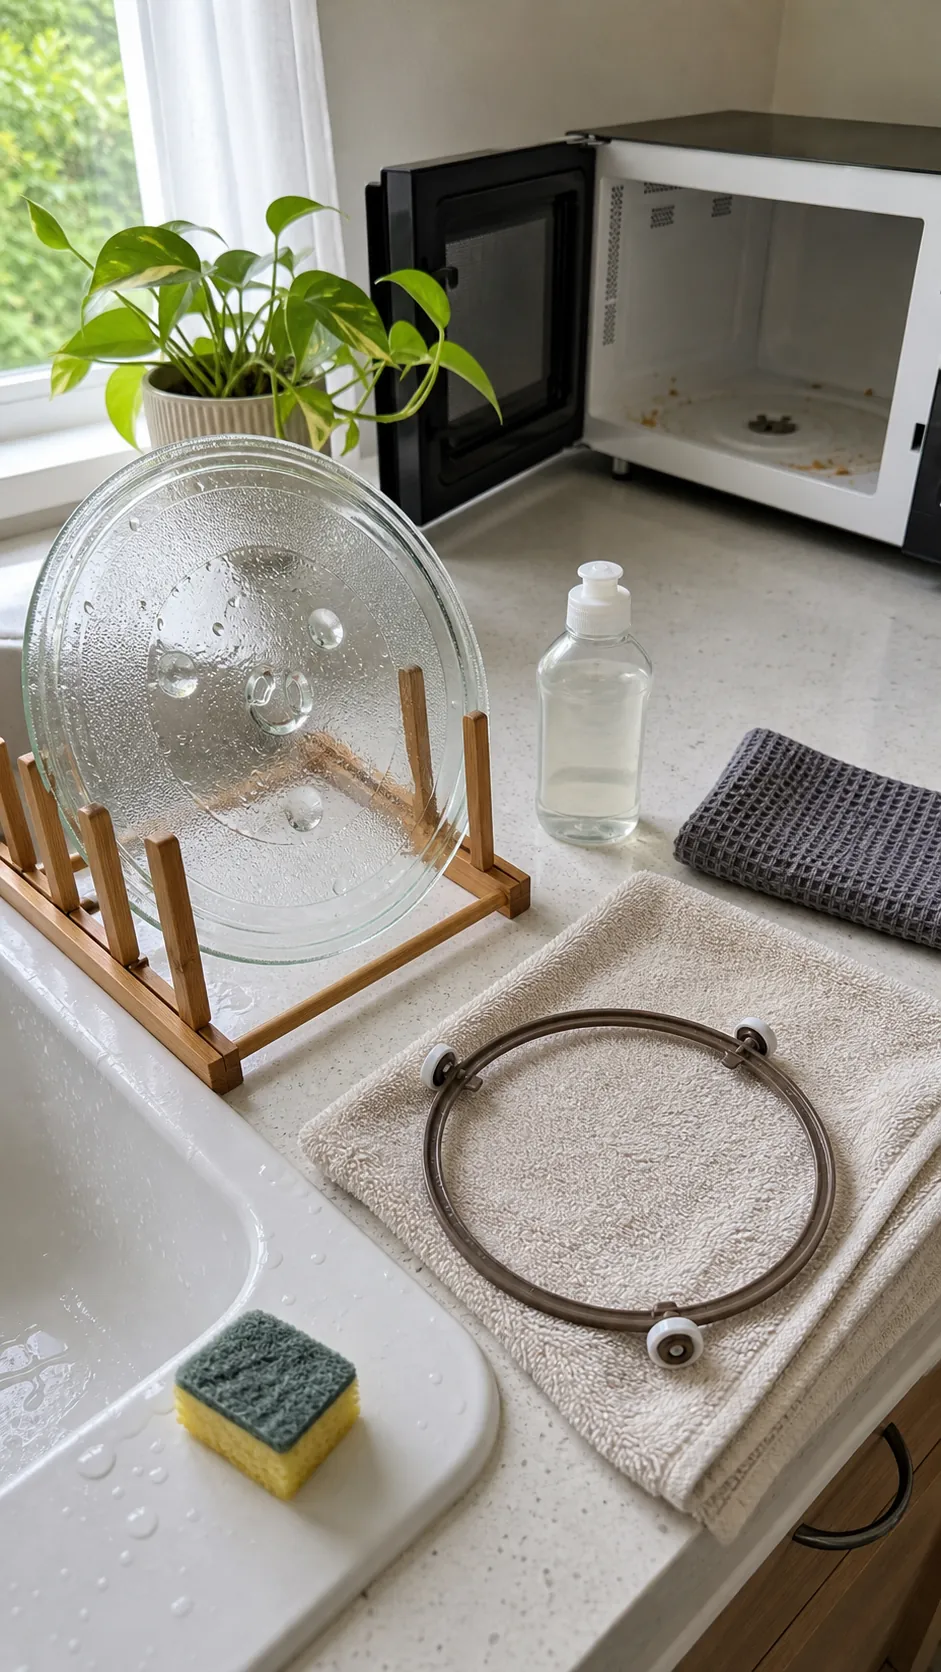
Once the glass tray is cool, lift it out along with the roller ring. Wash both according to the manual, typically with warm water and mild detergent. Avoid sudden temperature changes that can stress glass. While the parts are out, wipe crumbs and sticky spills from the bare microwave floor.
Dry the tray, ring, and cavity before reassembly. Seat the ring correctly and check that the turntable engages with its center coupler. A tray that wobbles after cleaning usually means the ring is upside down, off track, or sitting on a trapped crumb.
This small disassembly often solves the mystery smell that survives a full interior wipe. Liquids creep under the tray, and the warm hidden residue can sour. It is also one of the most satisfying cleaning aesthetic moments: the appliance looks ordinary again because the details are actually clean.
Prevent the Next Mess Before It Bakes On
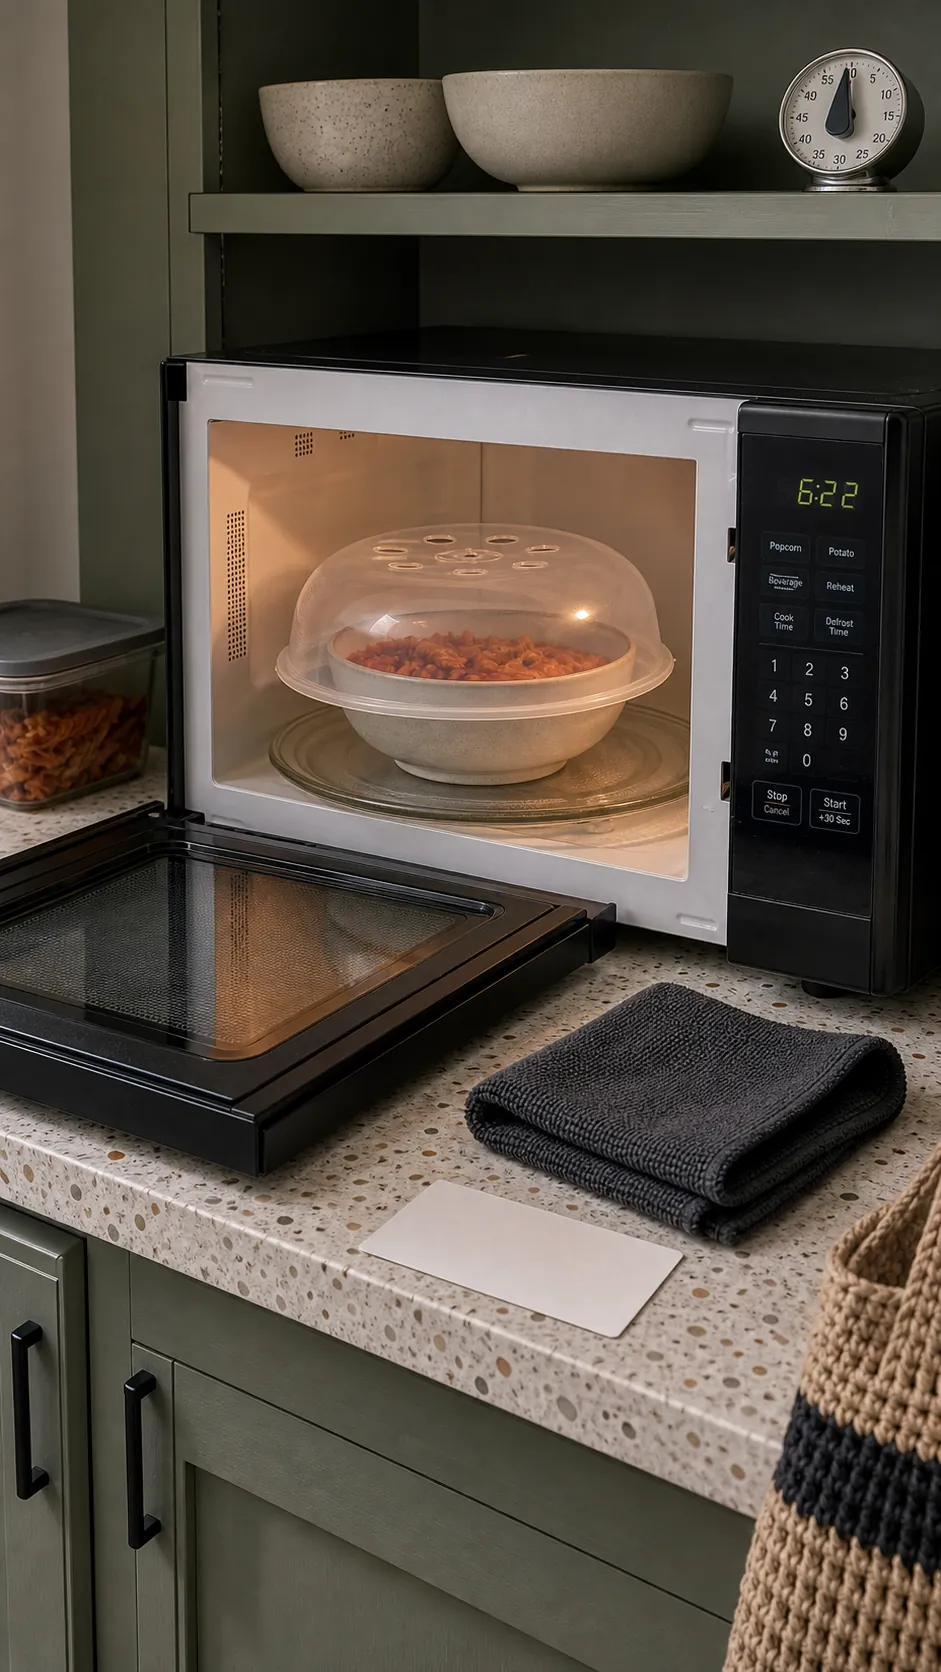
The best microwave cleaning hacks reduce the amount of scrubbing you need later. Cover food with a vented microwave-safe lid, use a container with enough headroom for bubbling, and wipe a fresh spill after the appliance cools. A thirty-second wipe keeps sugar, starch, and fat from turning into a baked-on layer during the next heating cycle.
Build the microwave into a simple kitchen cleaning routine: check the ceiling and door weekly, wash the turntable when it feels tacky, and clean an over-the-range grease filter on the schedule in its manual. Keep one clean microfiber cloth nearby so the task does not become a decluttering project before it even begins.
A truly clean microwave should smell like almost nothing. That is the useful finish line—not a stronger fragrance, a harsher product, or a longer scrubbing session.