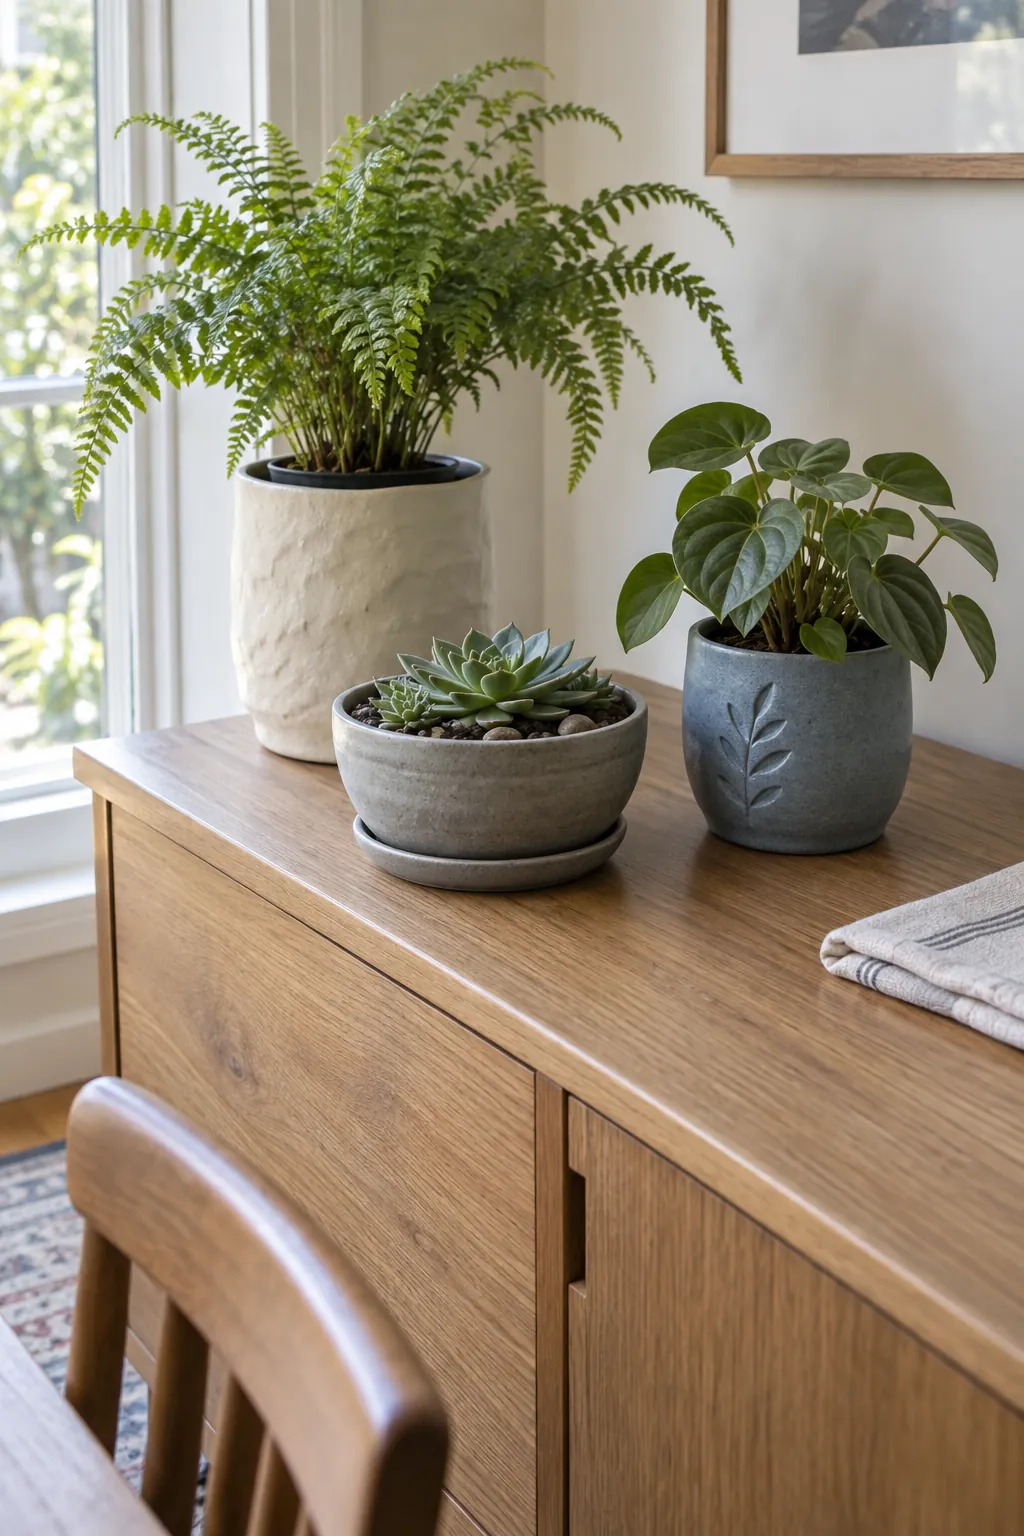
The first watering can undo a lovely clay project if the material was never meant to stay wet. Decide whether your piece will hold soil directly or act as a dry cover before you shape the base. Fired ceramic pots can be made for planting with appropriate drainage, while ordinary air dry clay is better kept outside a separate waterproof container.
A thumb shaped cover for a tiny nursery pot
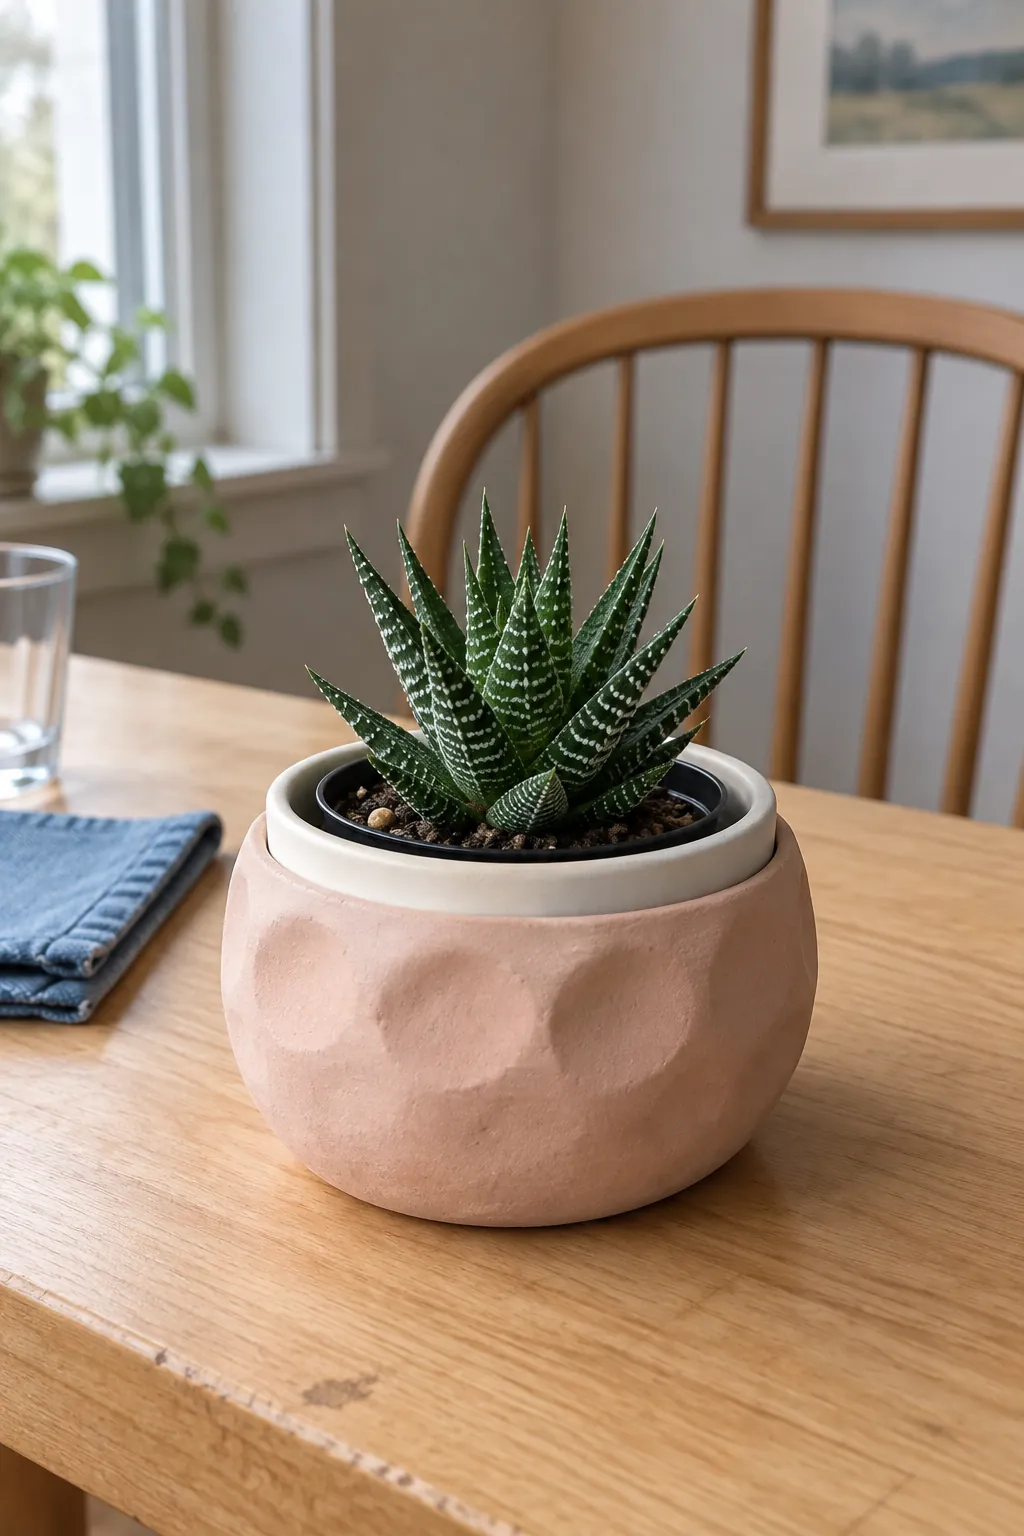
A small rounded cover is a forgiving place to try clay pinch pot ideas because gentle thumb marks suit its shape. Keep the wall reasonably even as you turn the piece, rather than thinning the rim while leaving a heavy lump at the bottom. Make the opening generous enough for a removable nursery pot and a separate waterproof liner after the clay has dried and shrunk. With air dry clay, remove that whole inner assembly for watering and return it only when its outside is dry.
A folded slab sleeve with an open base
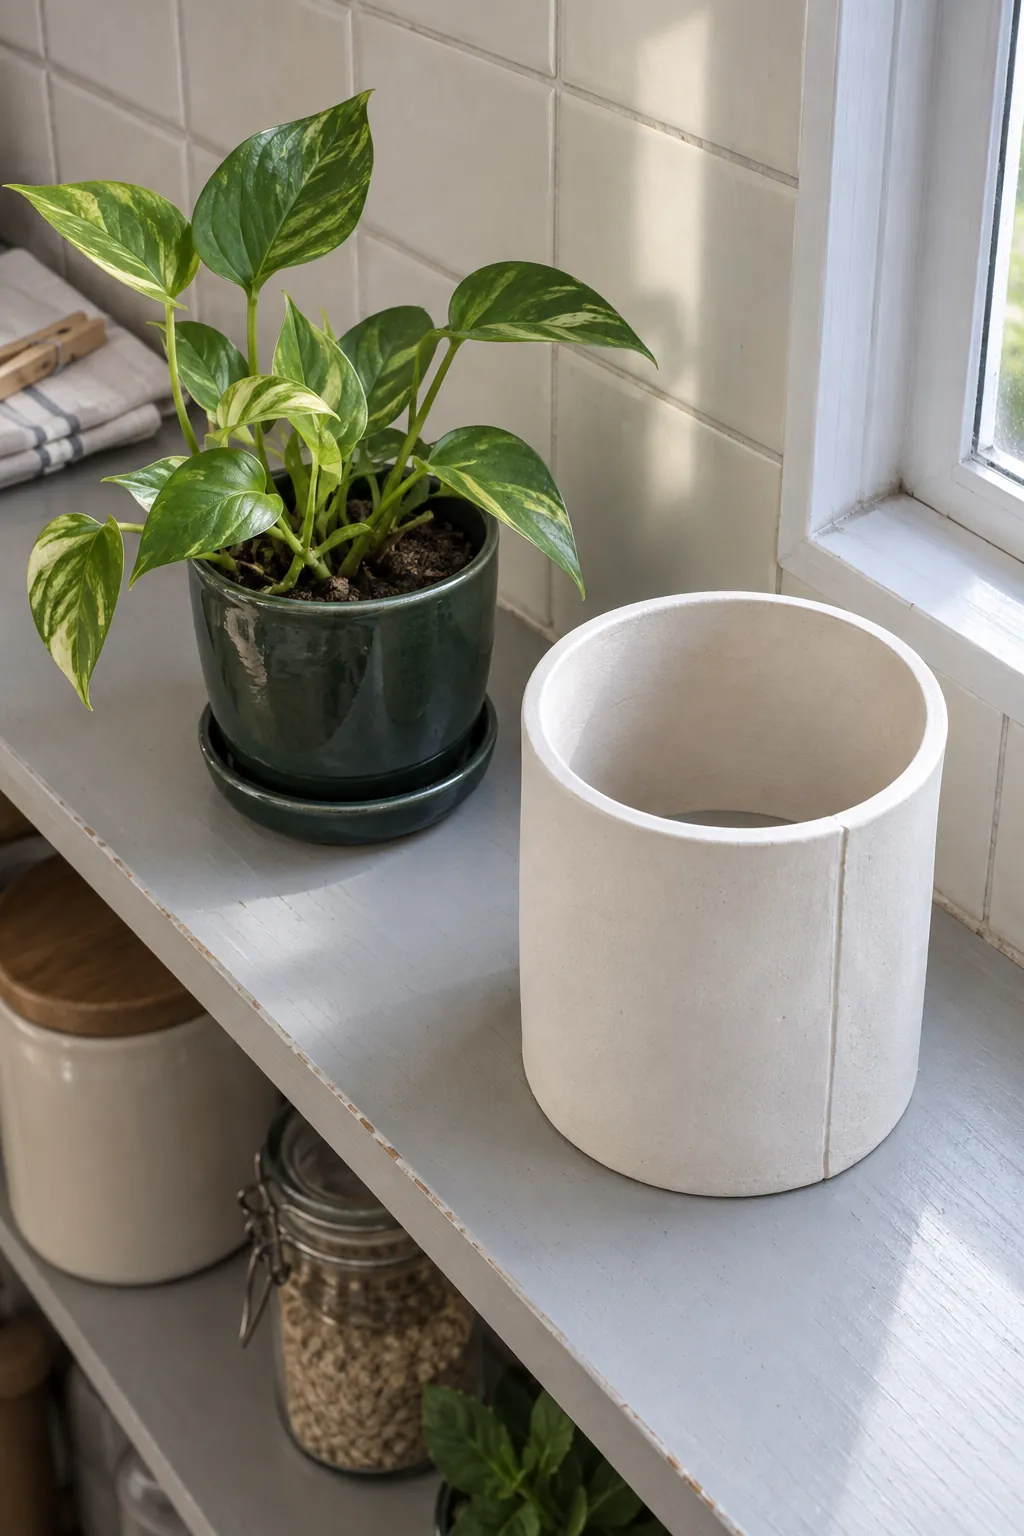
Rolling a slab gives you control over a simple cylindrical silhouette without a wheel. Join the short edges using the method recommended for your clay, then leave the bottom open so the sleeve can lift away from its separate plant container. Do not dry the clay tightly around a rigid pot, because the shrinking sleeve needs room to move. A narrow vertical seam can become a deliberate design detail when it sits at the back.
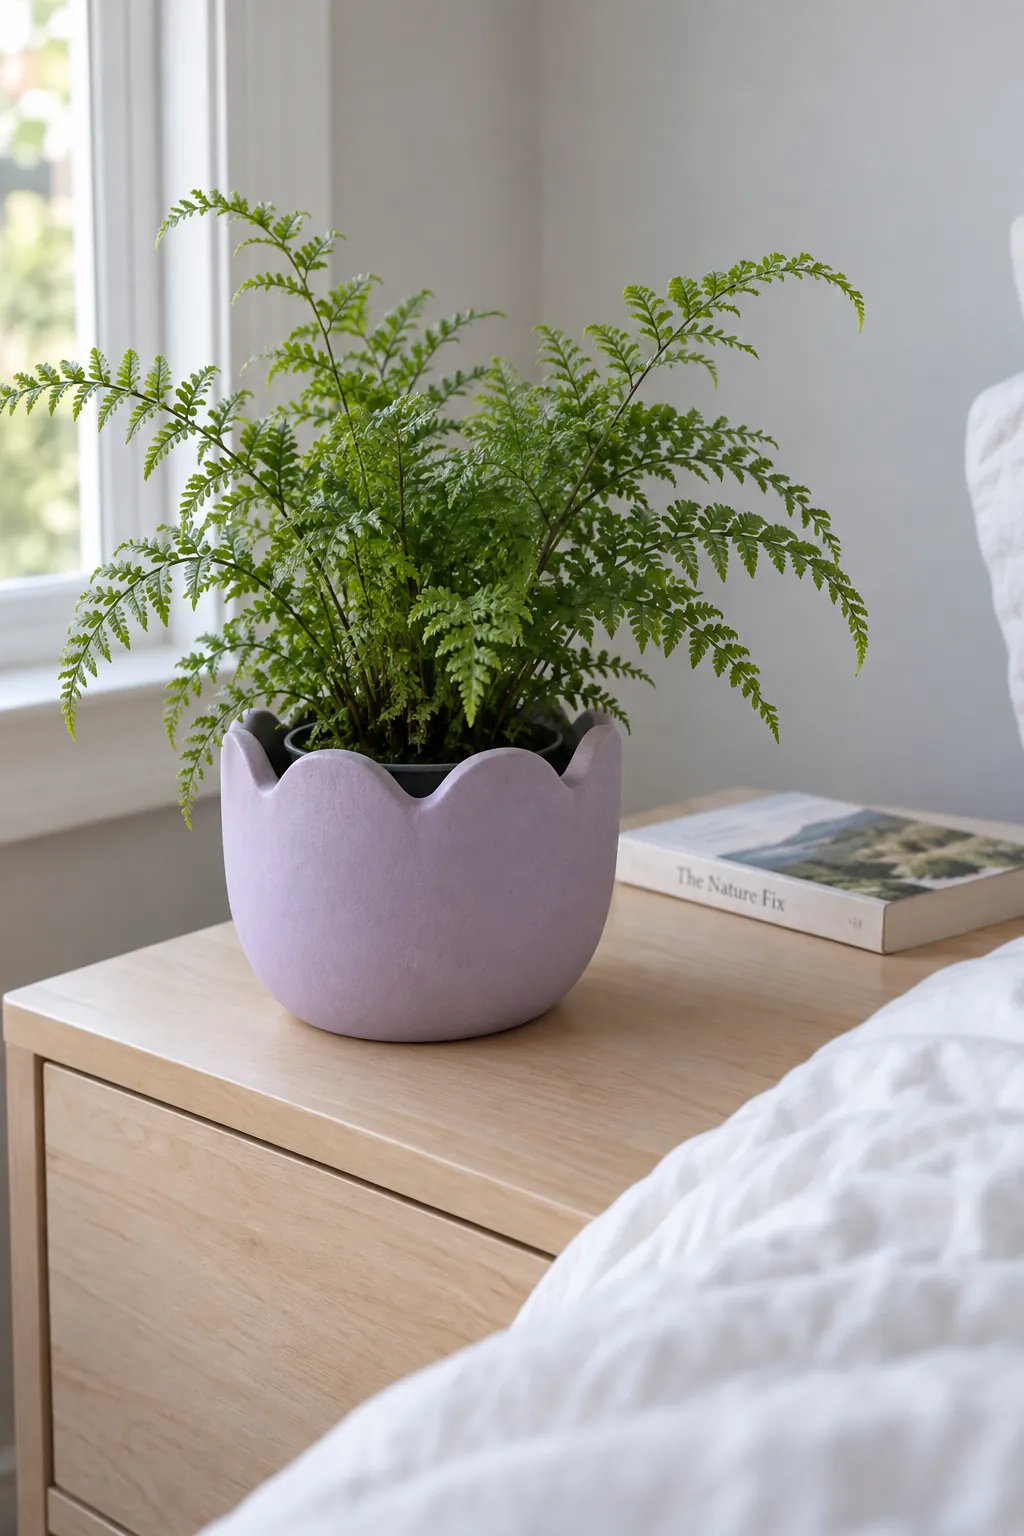
A scalloped rim with broad curves
Wide rounded scallops add softness without the fragile points of a sharply cut crown. Establish the rim while the clay is workable and keep each dip shallow enough to leave a continuous strong band beneath it. A small fern inside a separate waterproof container makes the curve easy to appreciate. Treat this air dry version as a decorative cover, especially when the plant needs frequent watering.
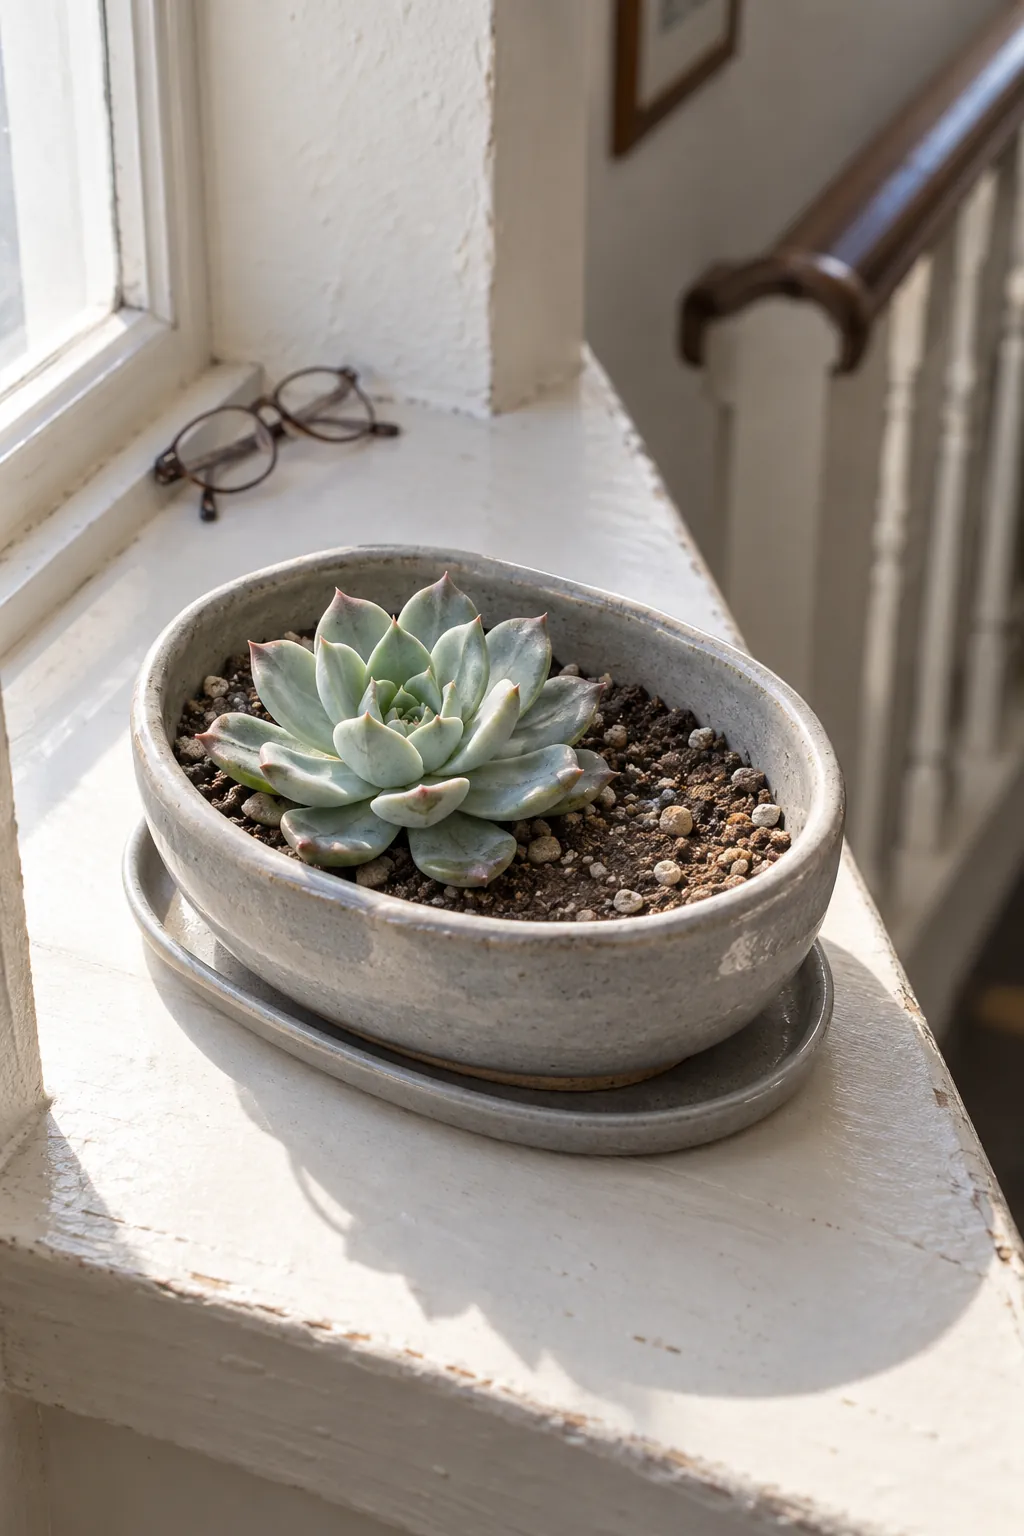
A low pebble bowl for a succulent
An oval pinch bowl looks calm beside fleshy succulent leaves, but its shallow shape still needs enough room for the roots. Use fired ceramic clay with drainage if you want to plant directly into it, and ask the studio how much shrinkage to allow before shaping. An uneven outline can look intentional while the base remains flat and stable. Choose one compact plant rather than crowding the bowl with incompatible varieties.
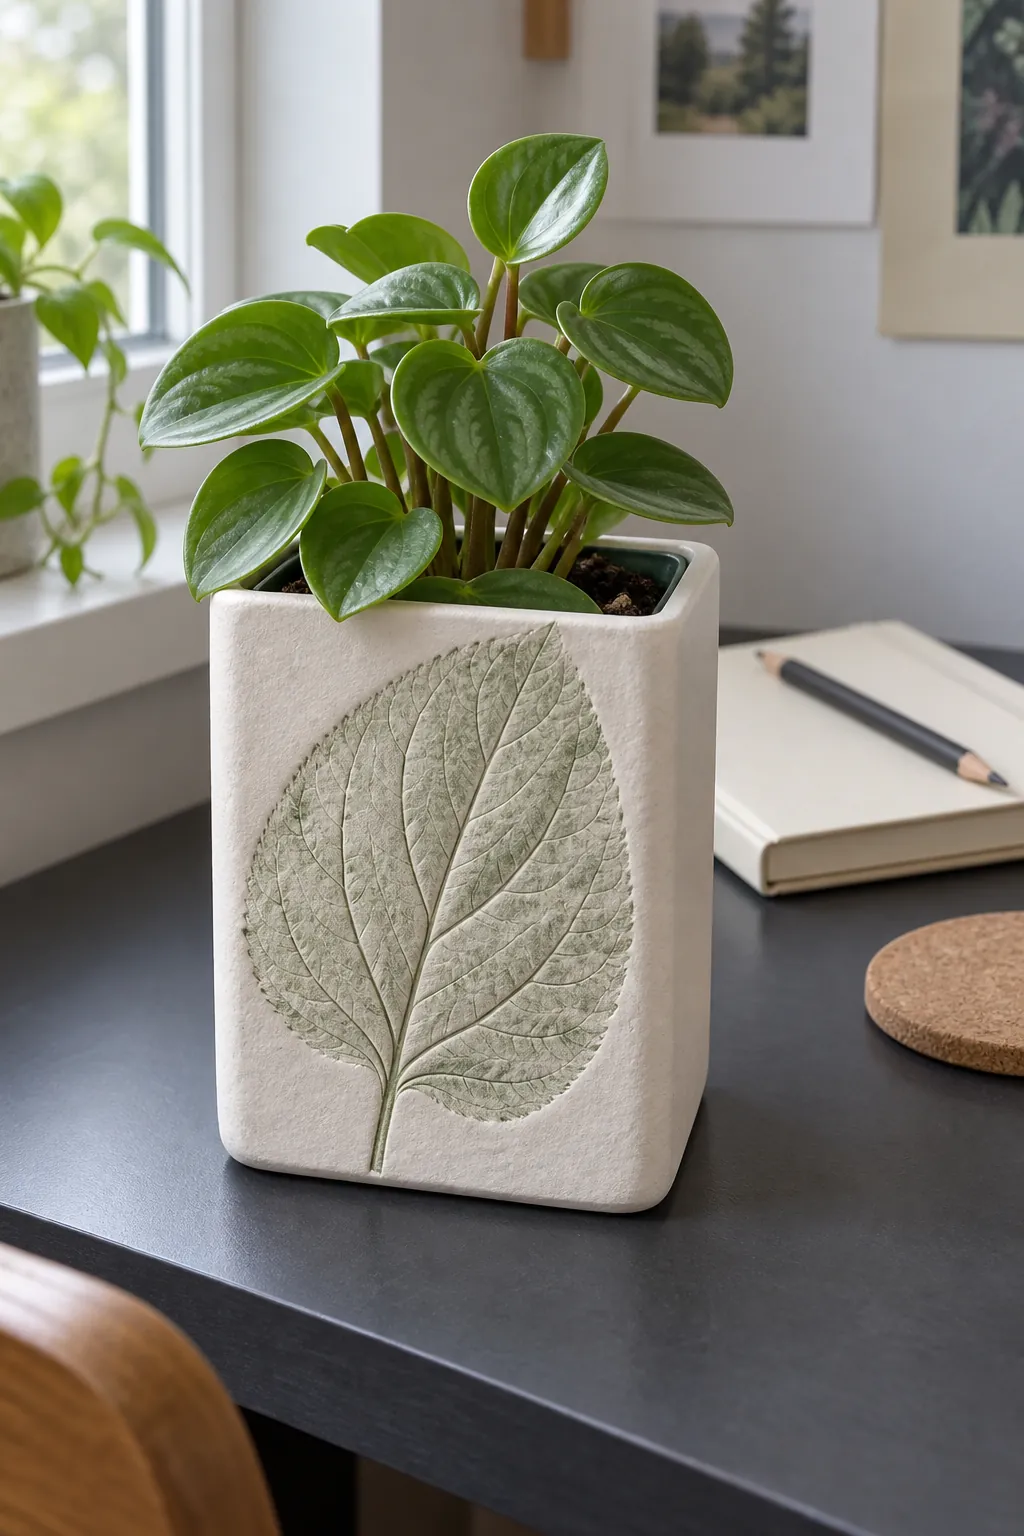
A pressed leaf panel
Pressing a fresh leaf into a soft slab captures the vein pattern without requiring drawing skills. Lift it away cleanly and use that slab as the front of a modest cover, keeping the relief shallow so the wall stays sound. Test the impression on a scrap first because heavily raised veins can leave surprisingly deep grooves. A restrained wash of color after drying can reveal the pattern on an air dry cover that houses a separate waterproof pot.
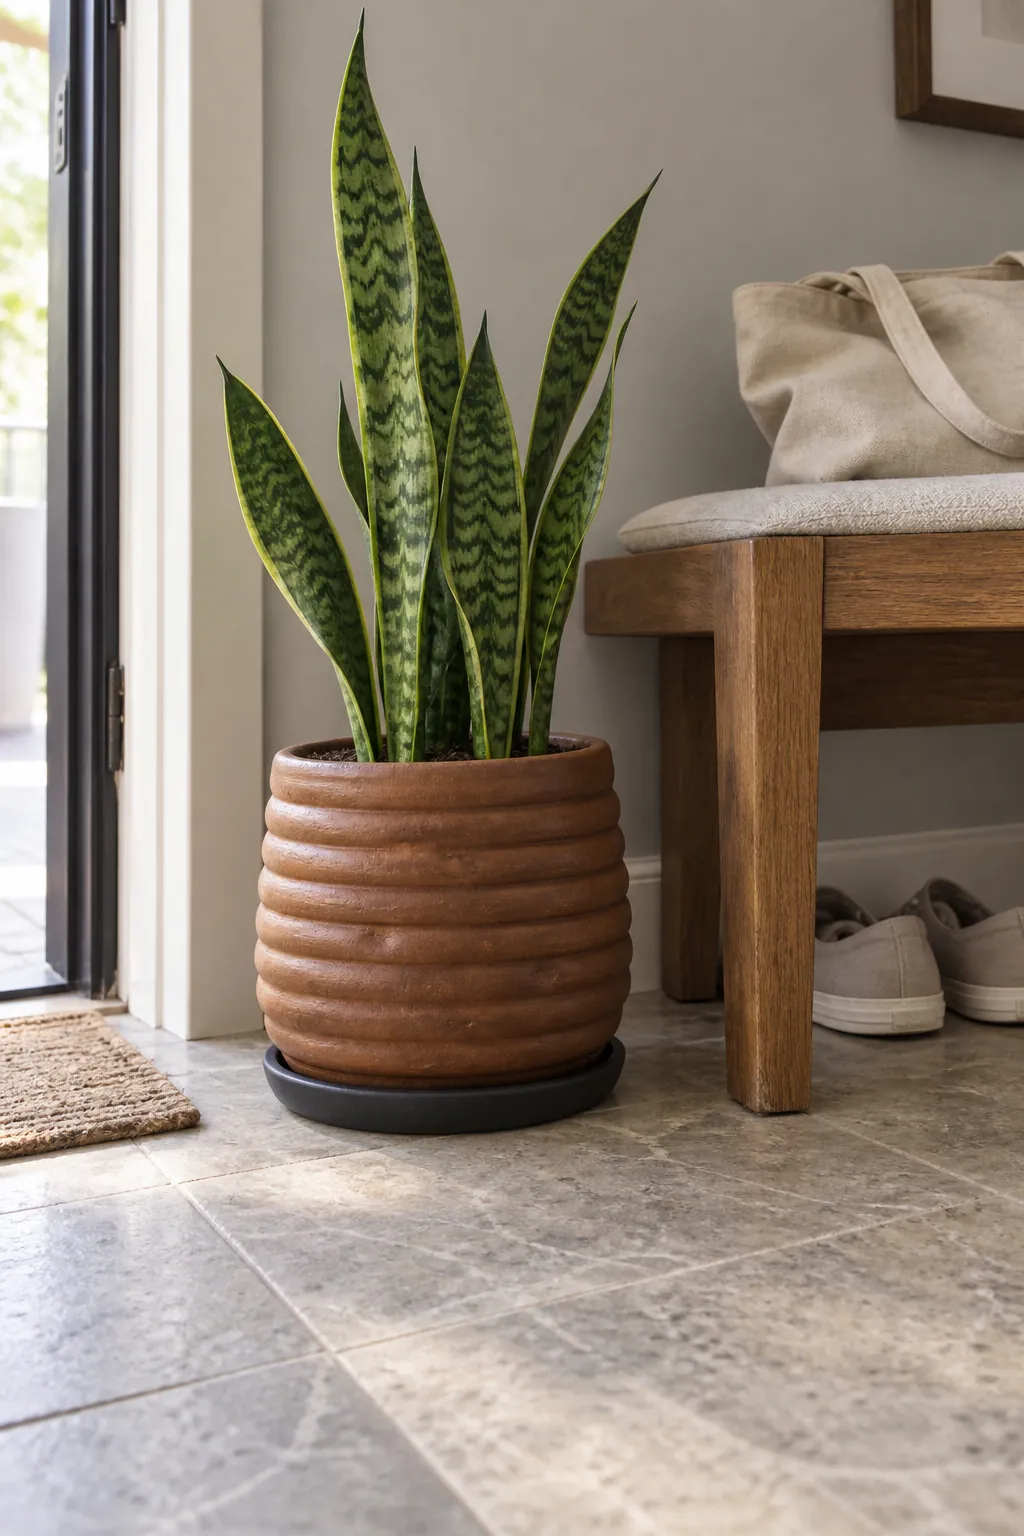
A coil pot with a smooth inner wall
Visible coils give a handmade planter its character, while a well joined interior does the structural work. Compress the connections on the inside as you build rather than relying on stacked ropes of clay to hold together. Keep the height modest for a first attempt and let the lower wall firm up as your material requires. For direct planting, use a studio approved ceramic body, add drainage before firing, and pair the finished pot with a suitable saucer. The horizontal ridges look especially clear beside upright leaves.
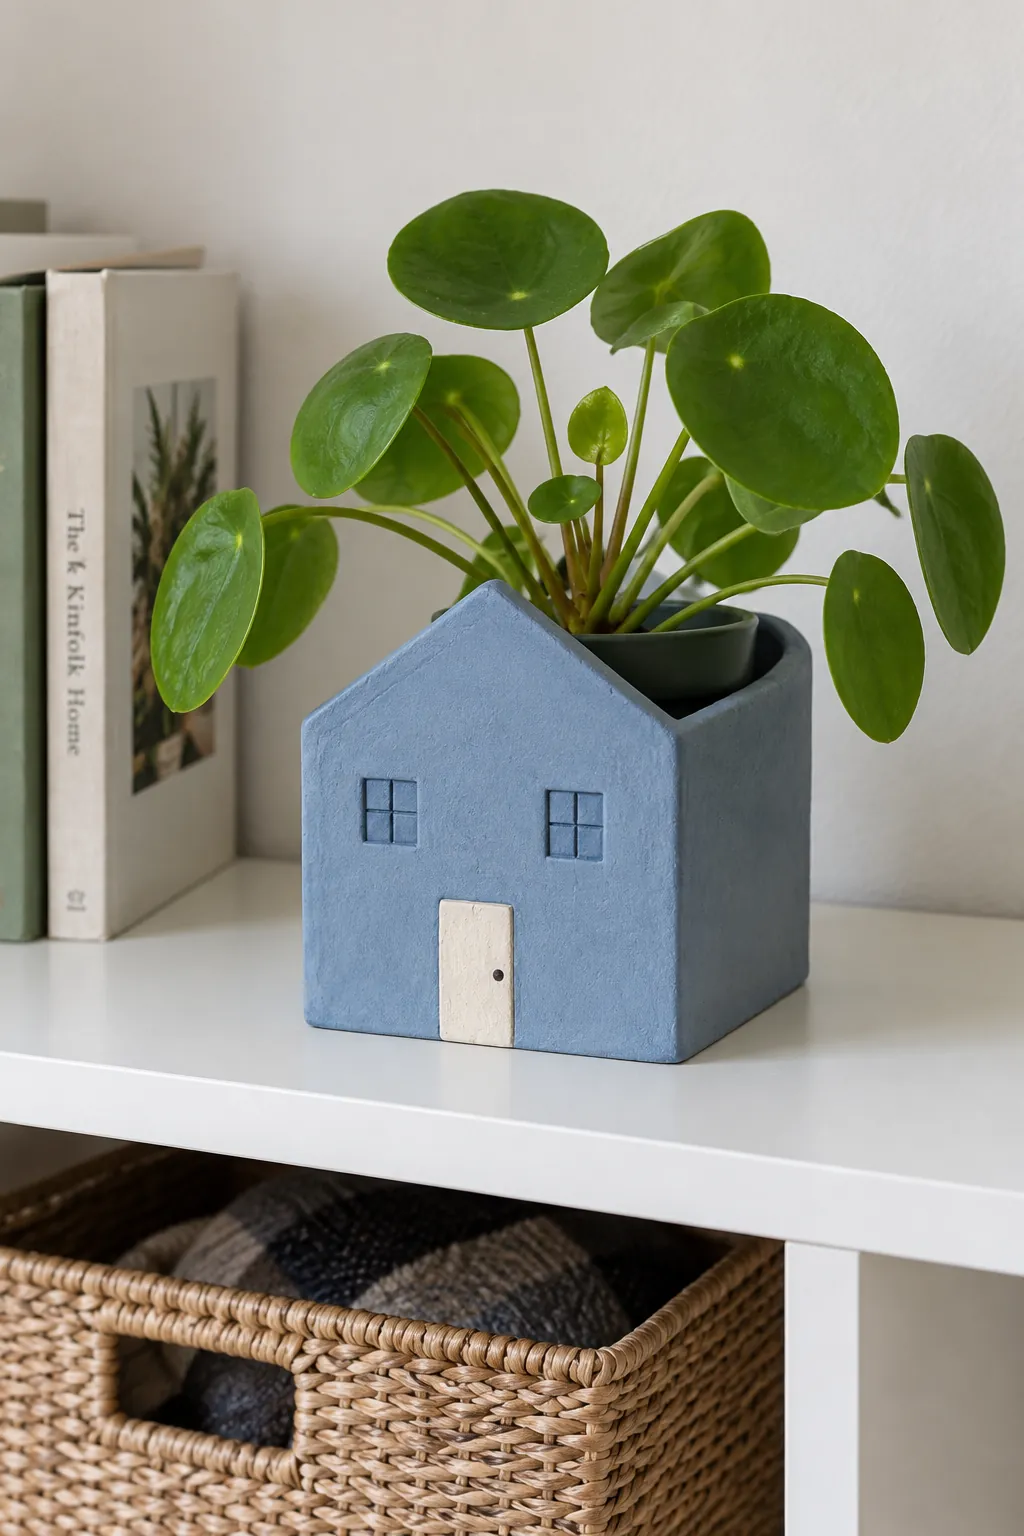
A little house cover
A house silhouette turns cute plant pot designs into something more personal than a painted face. Build a straight sided container with a shallow roof shaped front, leaving the plant opening broad and accessible behind it. Cut or impress windows only as surface details so you do not weaken the corners unnecessarily. An air dry house belongs indoors with a removable waterproof insert, away from splash zones.
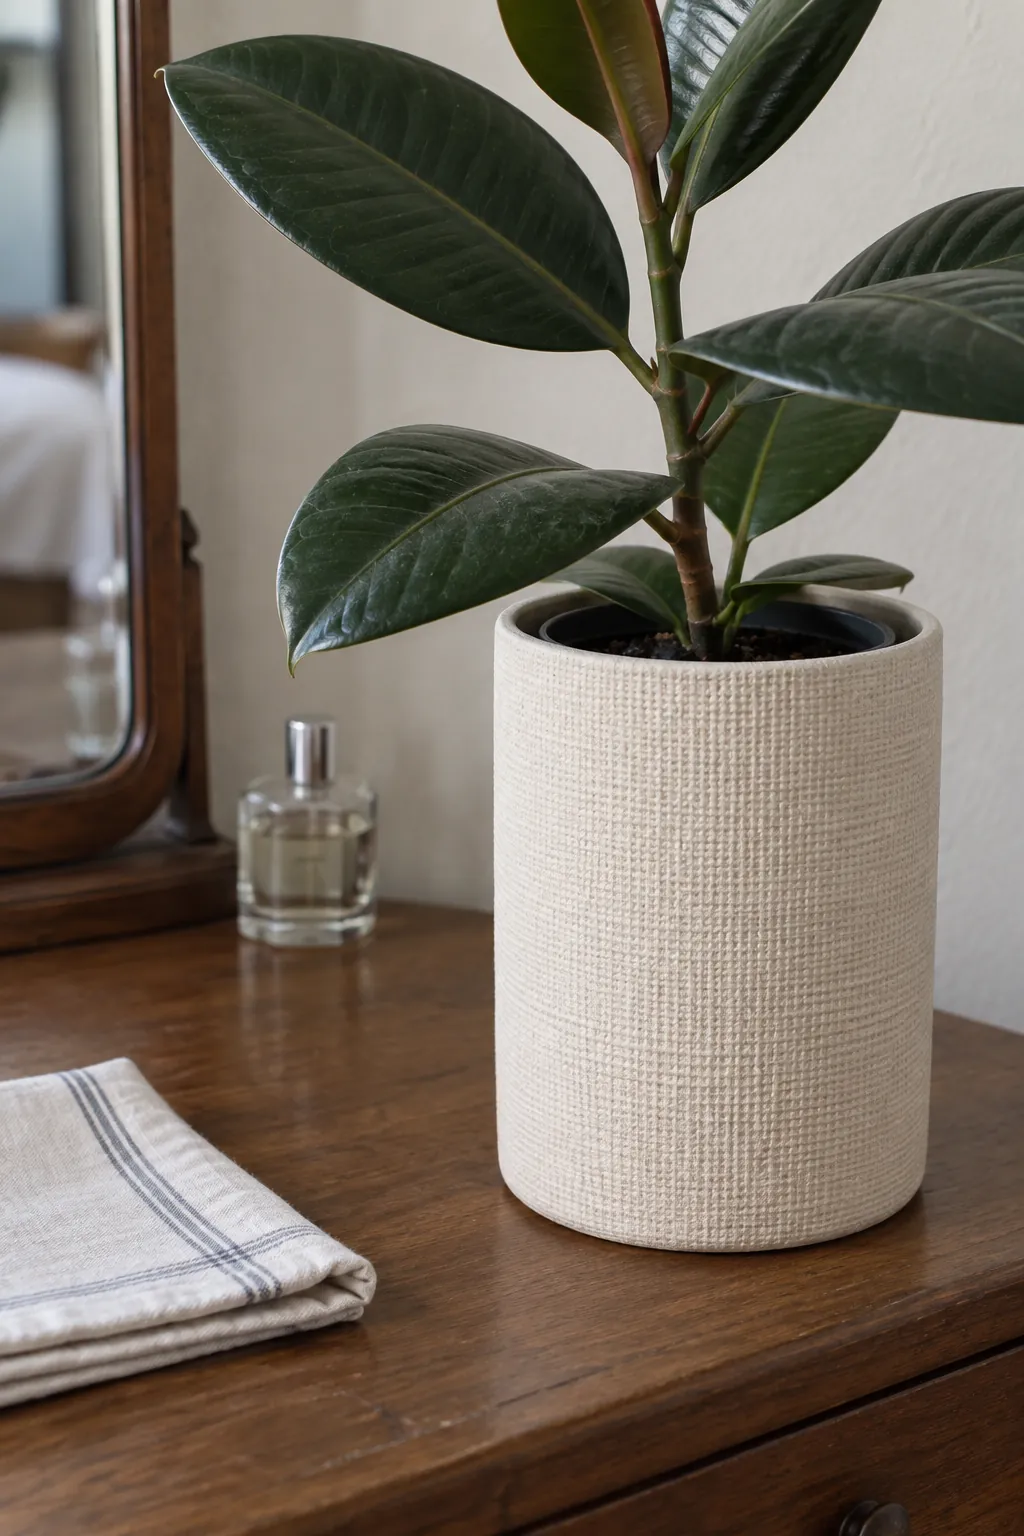
A wrapped linen texture
A scrap of woven fabric can give a plain slab a quiet surface pattern. Press it evenly and peel it away before assembly, then smooth the joining edges so loose impressions do not interfere with the seam. Keep the finish a single pale shade if you want the weave to remain the main feature. This is one of the air dry clay crafts that works well as a dry outer sleeve around an existing planter, provided you leave clearance for shrinkage.
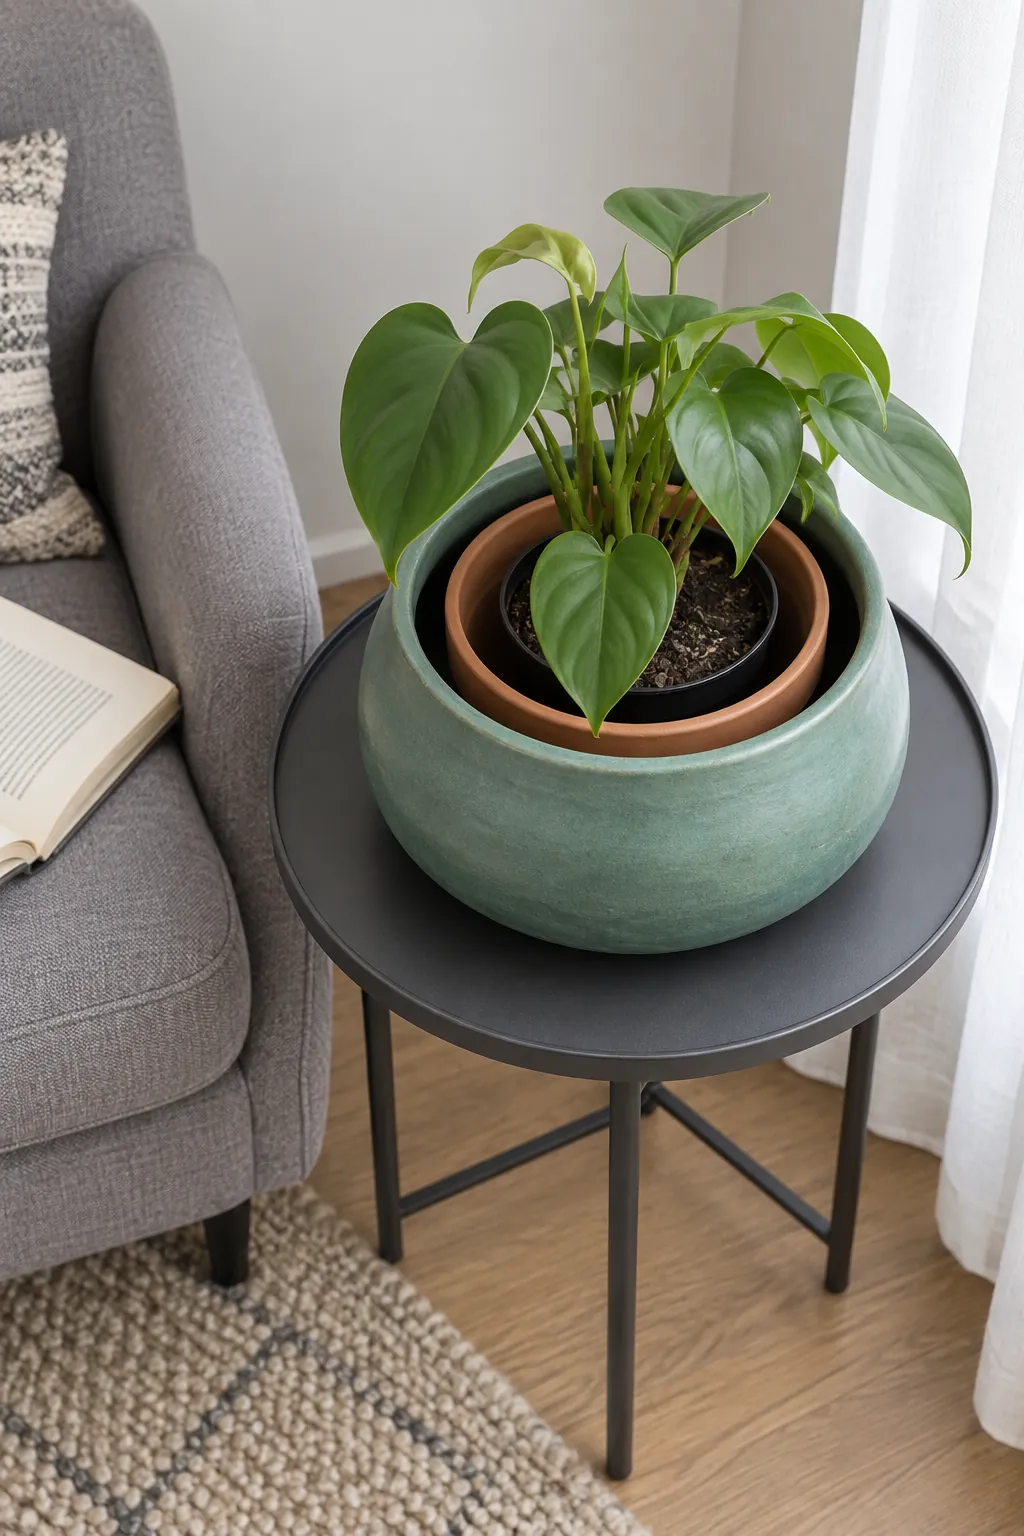
A wide mouth pot for easy lifting
A beautiful cover becomes annoying when the nursery pot gets trapped inside its neck. Give this rounded clay pot design an opening at least as accessible as its widest interior area, then check the expected finished size against your insert. Leave space to reach the insert rim with your fingers. A contrasting inner container can become part of the design instead of something you struggle to hide.
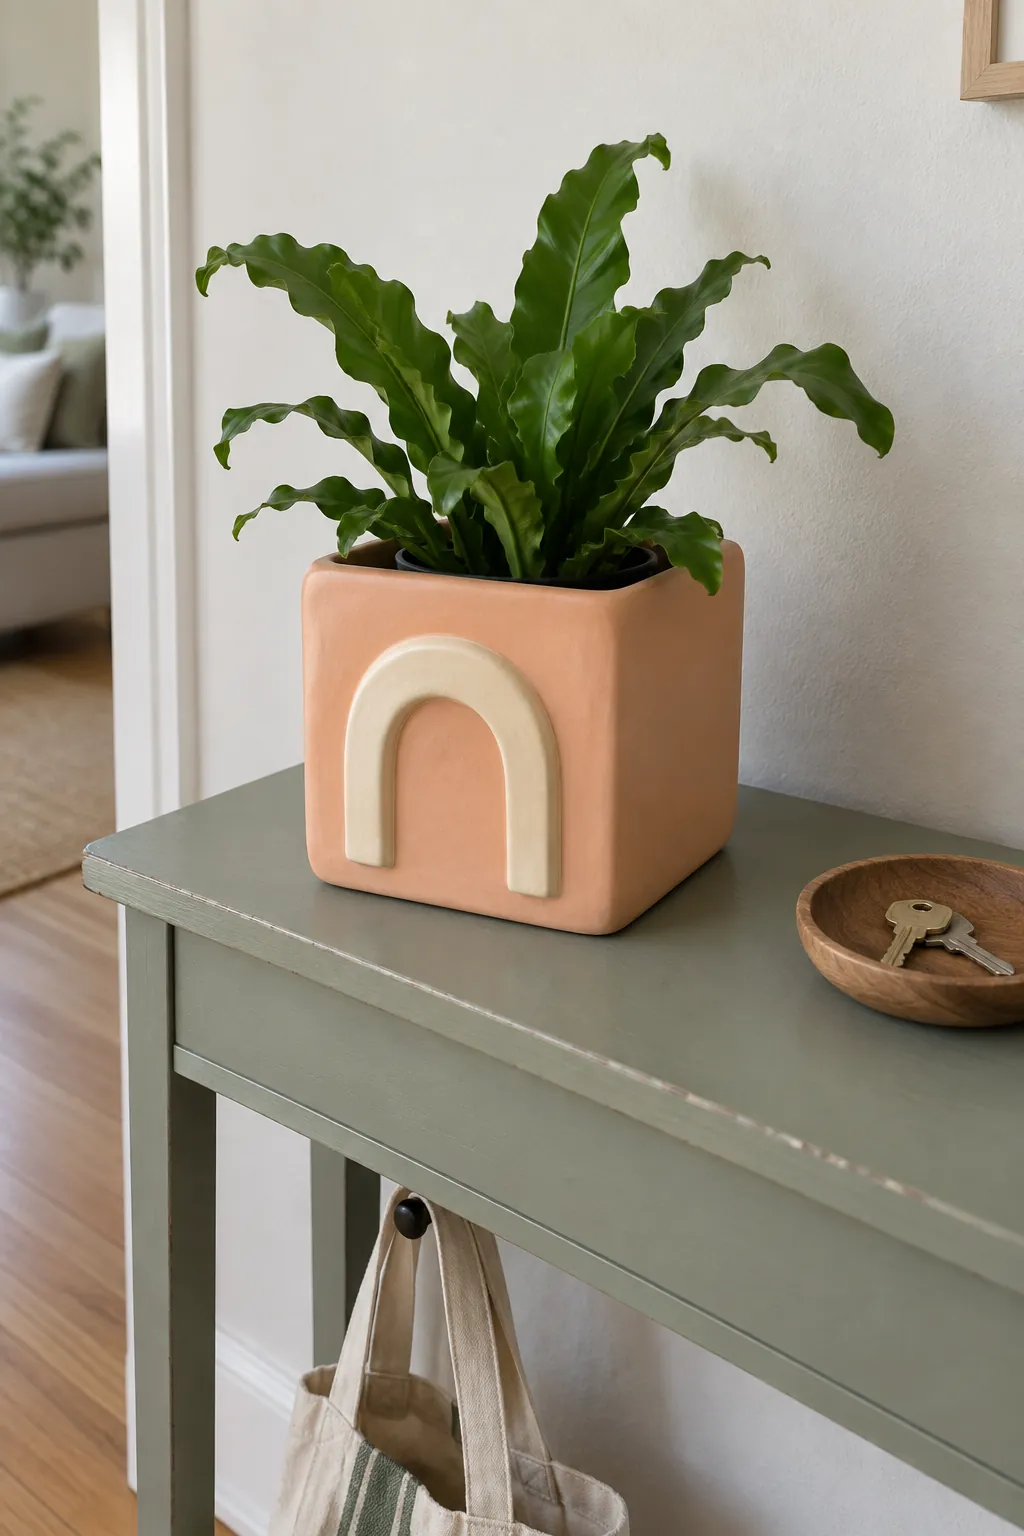
A shallow arch on a square cover
An applied arch gives a boxy form a focal point without adding elaborate carving. Attach it while both pieces have compatible moisture levels using your clay maker's joining guidance, and compress the edges instead of leaving a thick loose ridge. Rounded interior corners are easier to finish than sharp pockets where the slab walls meet. Keep an air dry version on a dry shelf with a waterproof inner pot and a plant small enough to lift out easily.
A tiny pot with a matching dish
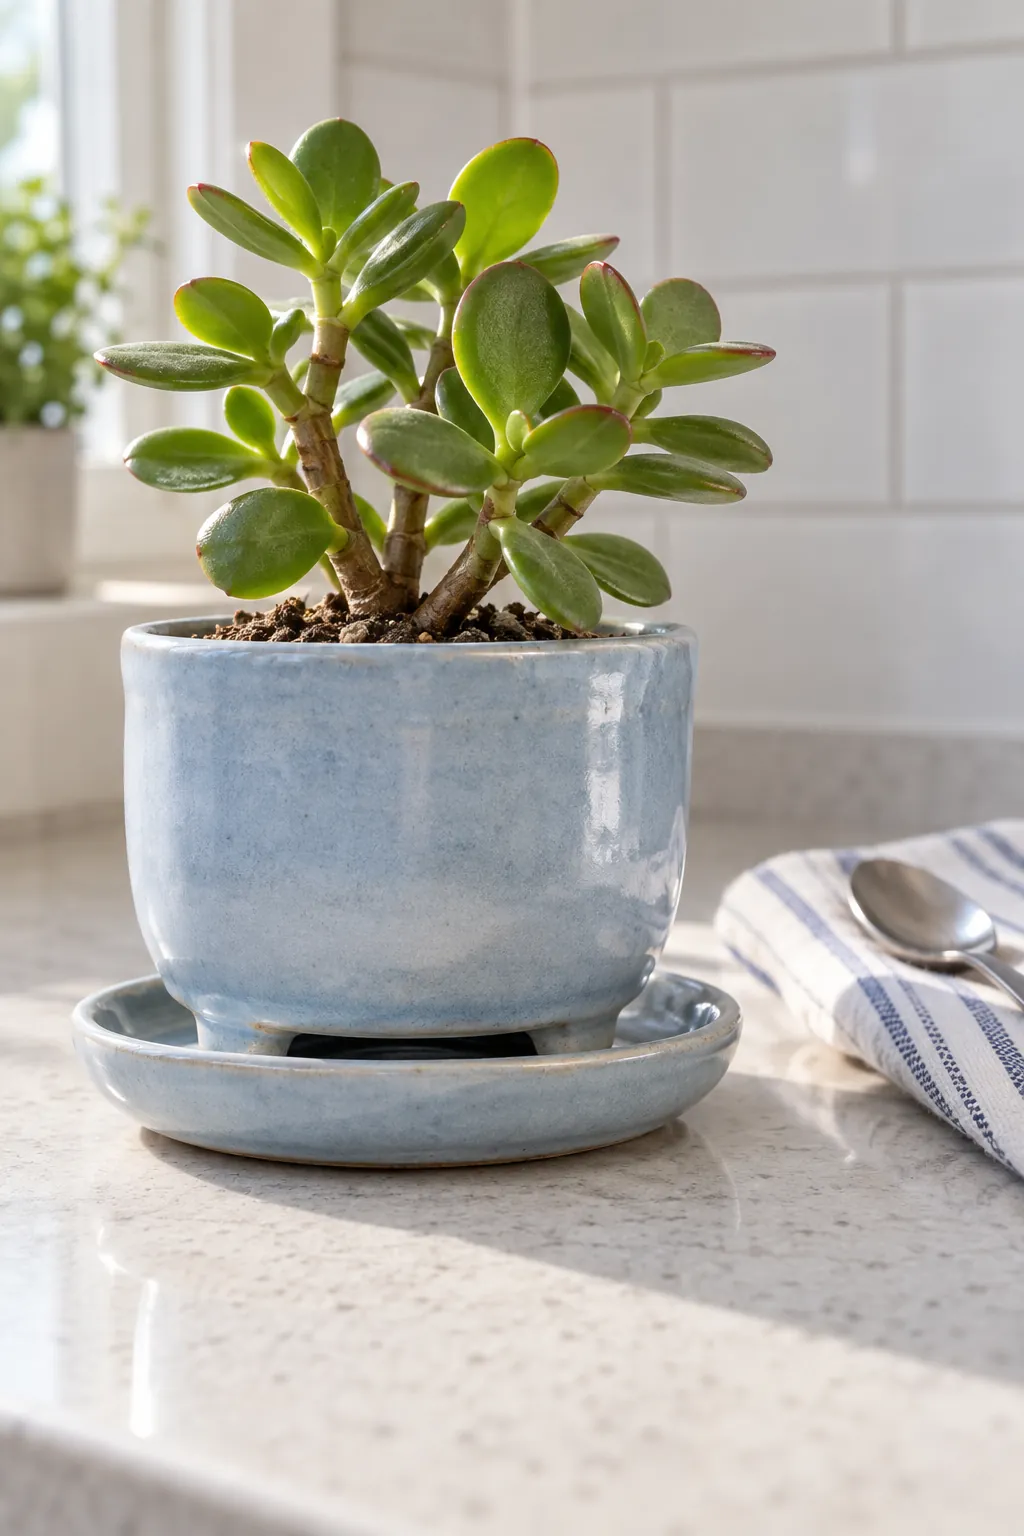
Making the saucer alongside a fired planter helps the two pieces feel related, but they need separate room to shrink and dry. Form the drainage hole while the pot is still workable and avoid a base so flat that it seals the opening against the dish. Check the fired saucer for seepage before placing it on furniture, because unglazed clay can transmit moisture. A small raised foot can give draining water a route out of the hole.
A painted checker cover
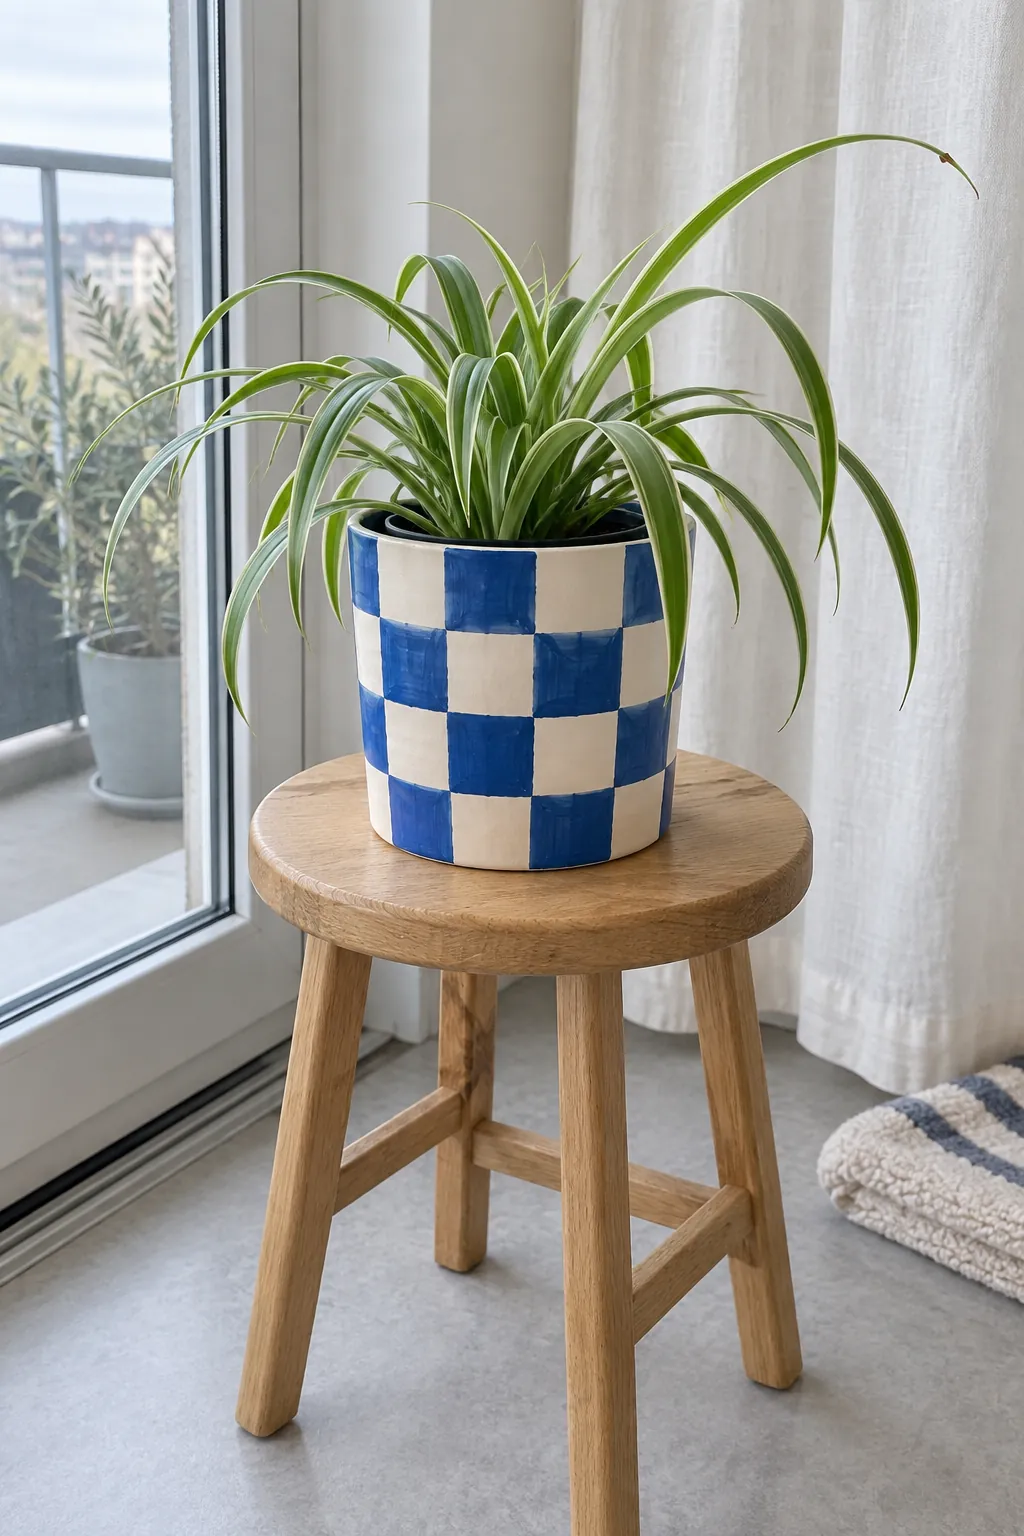
A checker pattern works best when the pot shape stays uncomplicated. Mark broad squares lightly after the air dry clay is fully dry, then paint alternating blocks with the finish system intended for that material. Slight variations in the brush edges look more convincing than an overcrowded pattern of tiny squares. Keep the plant in a separate waterproof container and remember that a decorative topcoat does not make the cover a water holding vessel.
A pair of low resting feet
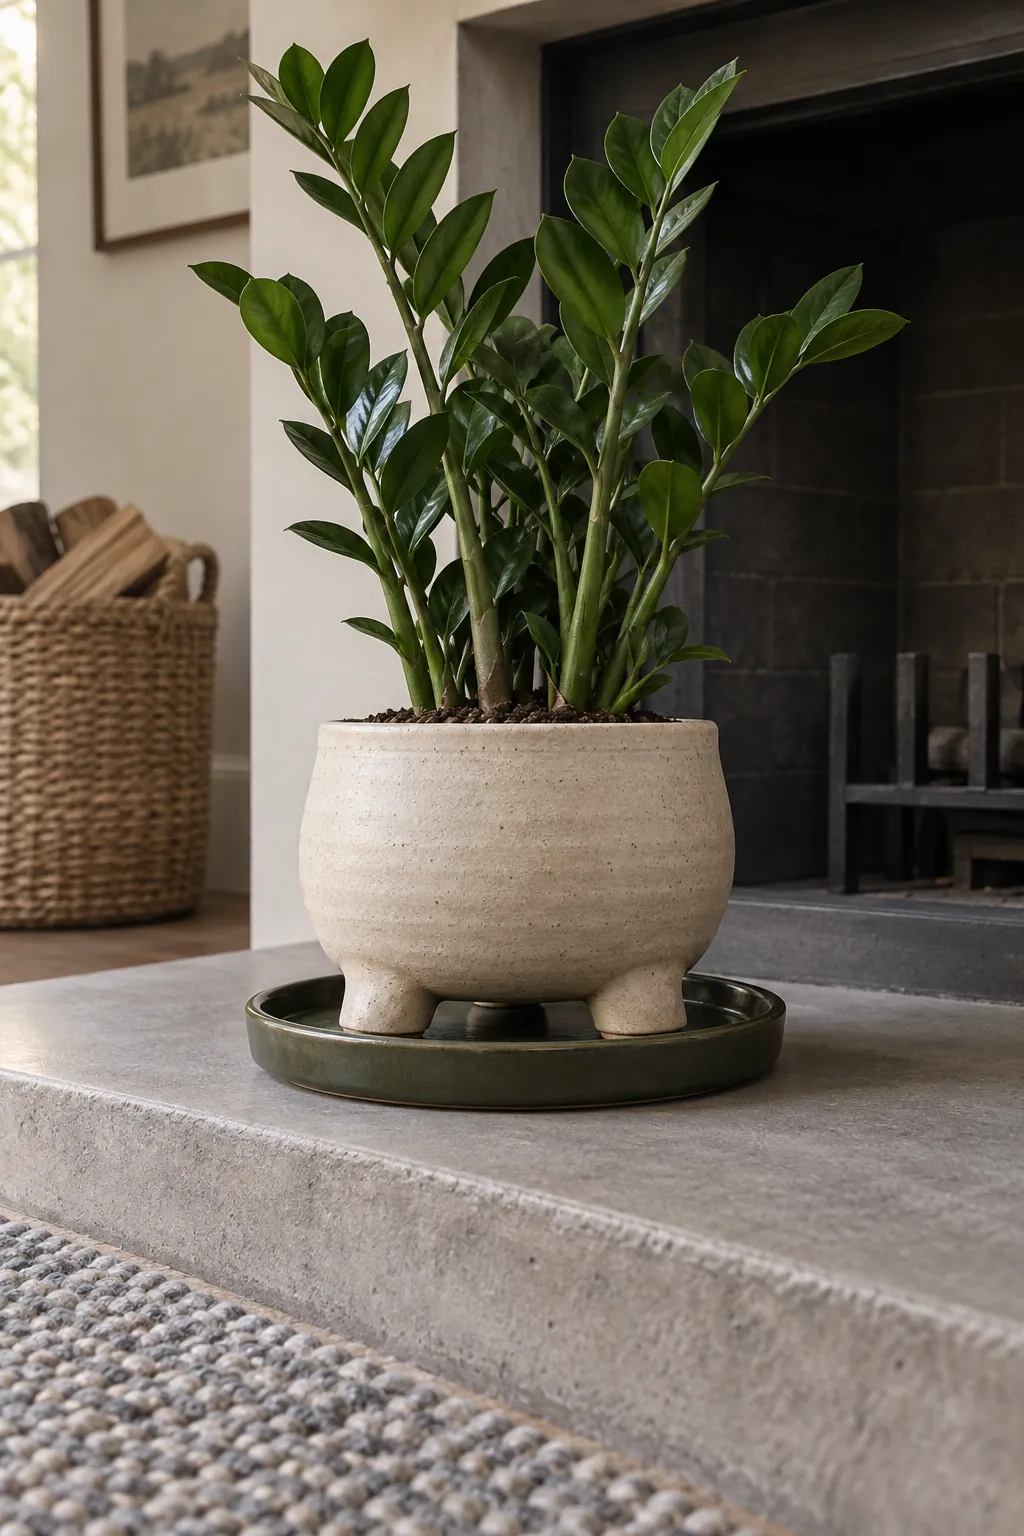
Short broad feet give a pot a little lift without the instability of tall narrow legs. Position them so the planted container sits securely within their footprint, and join them thoroughly while the clay is in a compatible state. Test the dry form gently for rocking before finishing it. A fired version can use that raised base to keep its drainage hole clear above a saucer, but the feet still need to support the weight of damp soil.
A soft rectangular herb trough
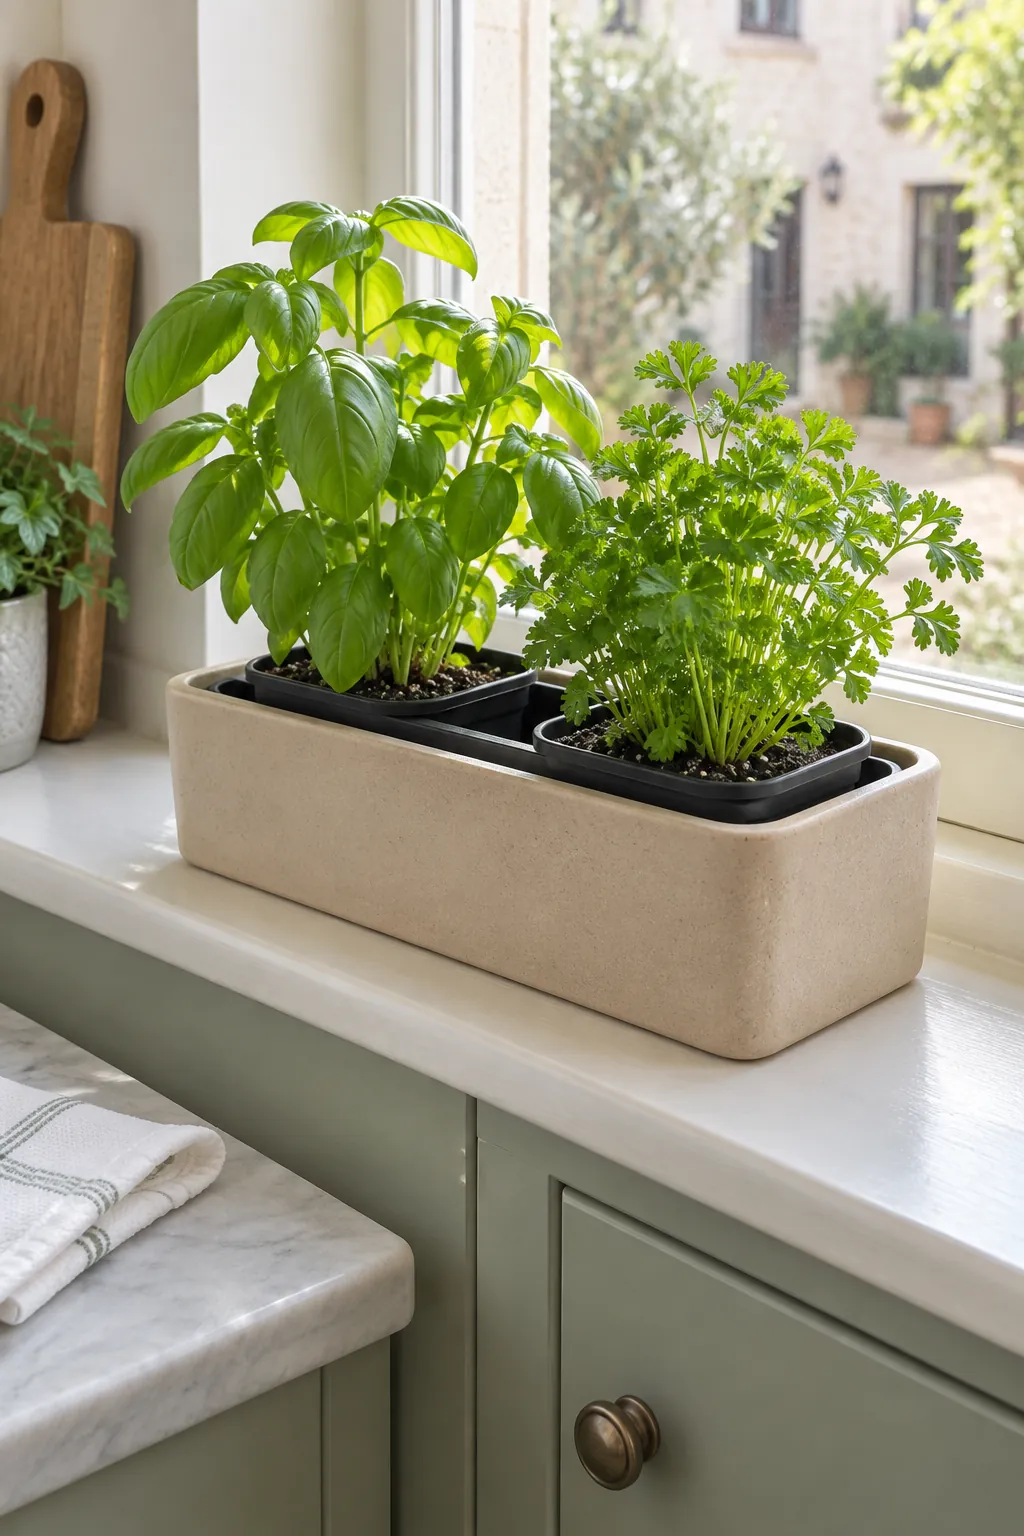
A rounded rectangular trough makes use of a sunny ledge where a circular pot feels bulky. Build it around the finished dimensions of individual removable herb pots, allowing room for a waterproof tray that lifts out with them. Long slab walls need careful support and even drying, so a short two pot version is a sensible first project. Grow herbs with similar light needs together, then water the inserts elsewhere rather than soaking an air dry clay trough.
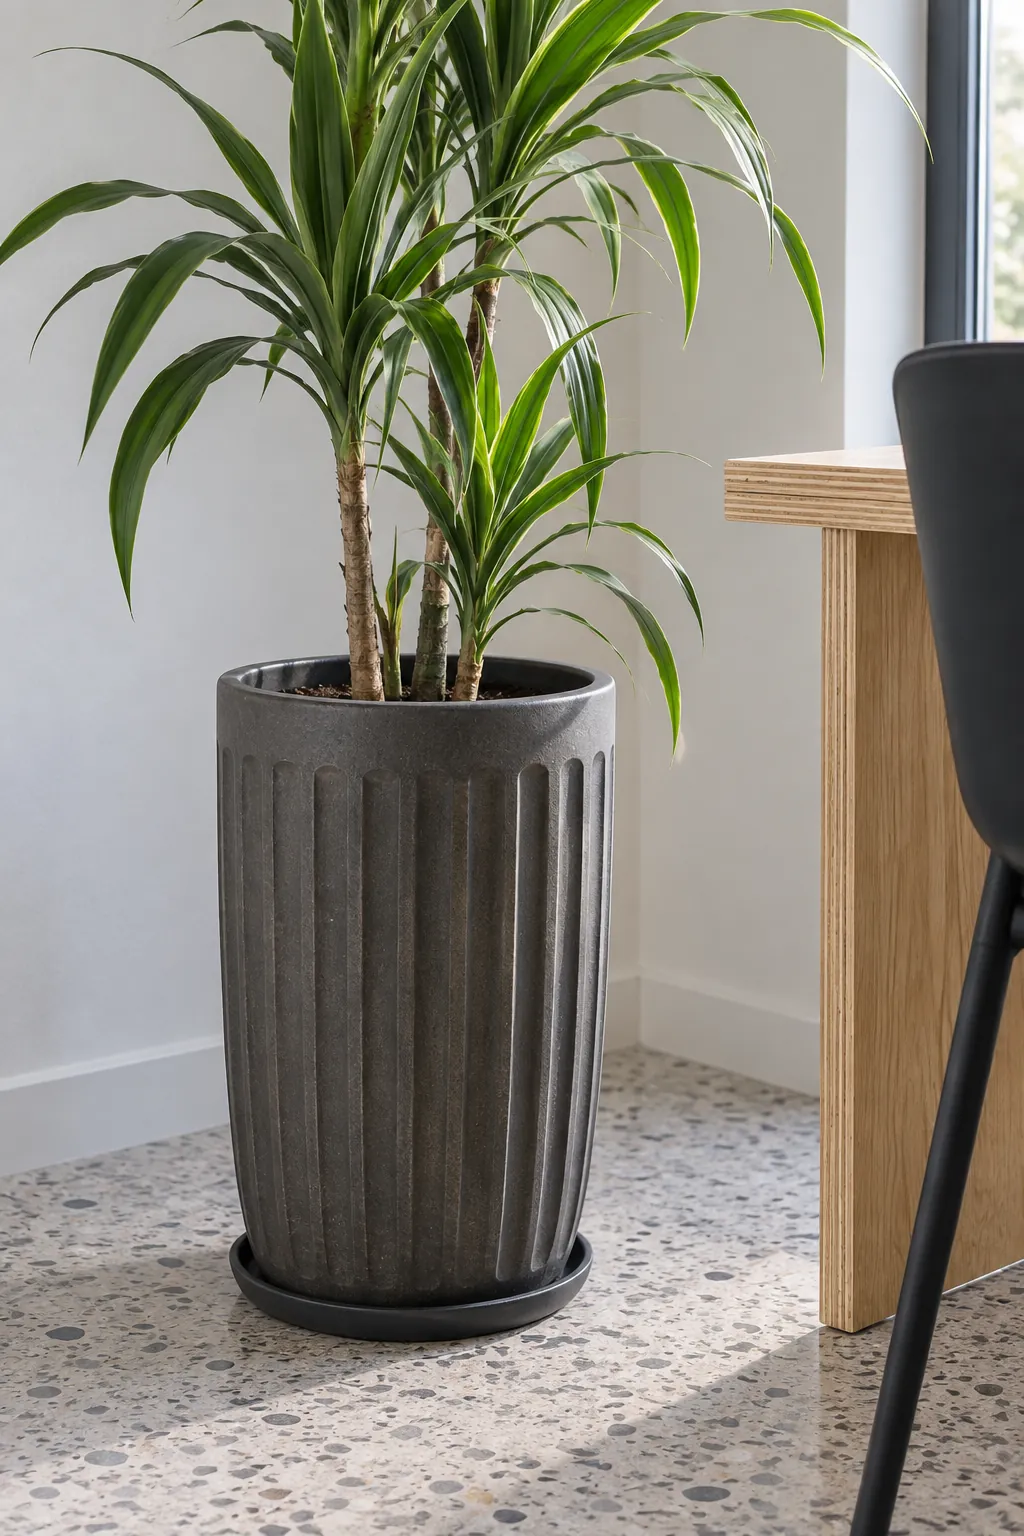
A fluted vessel with a plain rim
Vertical flutes give light a place to fall without needing a painted motif. Press or carve shallow channels while preserving enough wall thickness between them, and stop below the lip to leave a comfortable smooth rim. A fired stoneware version suits direct planting when the body, glaze and drainage arrangement are appropriate. Ask your studio about its clay and firing schedule before committing to the final dimensions.
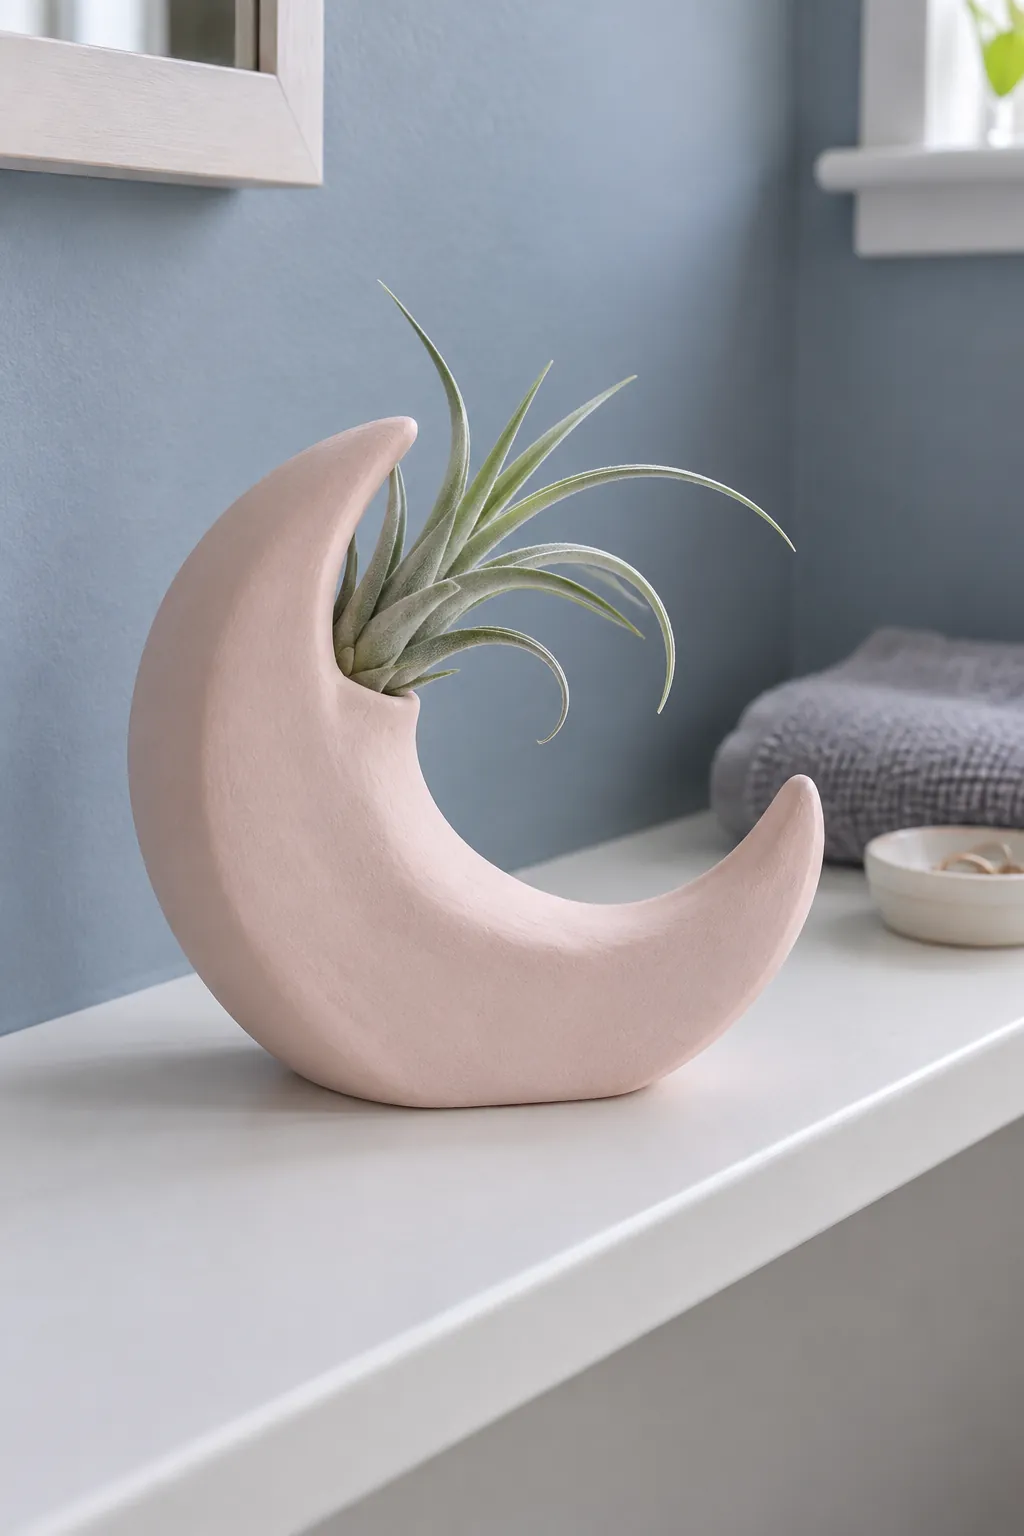
A moon shaped dry display
A crescent shaped cover is an appealing sculptural project if you keep a flat stable base beneath it. Reserve a small opening near the top for an air plant, using the clay only as a dry display support. Remove the plant for its watering routine and let it dry properly before returning it. Avoid closing the opening tightly around the foliage because air circulation matters more than hiding every part of the support.
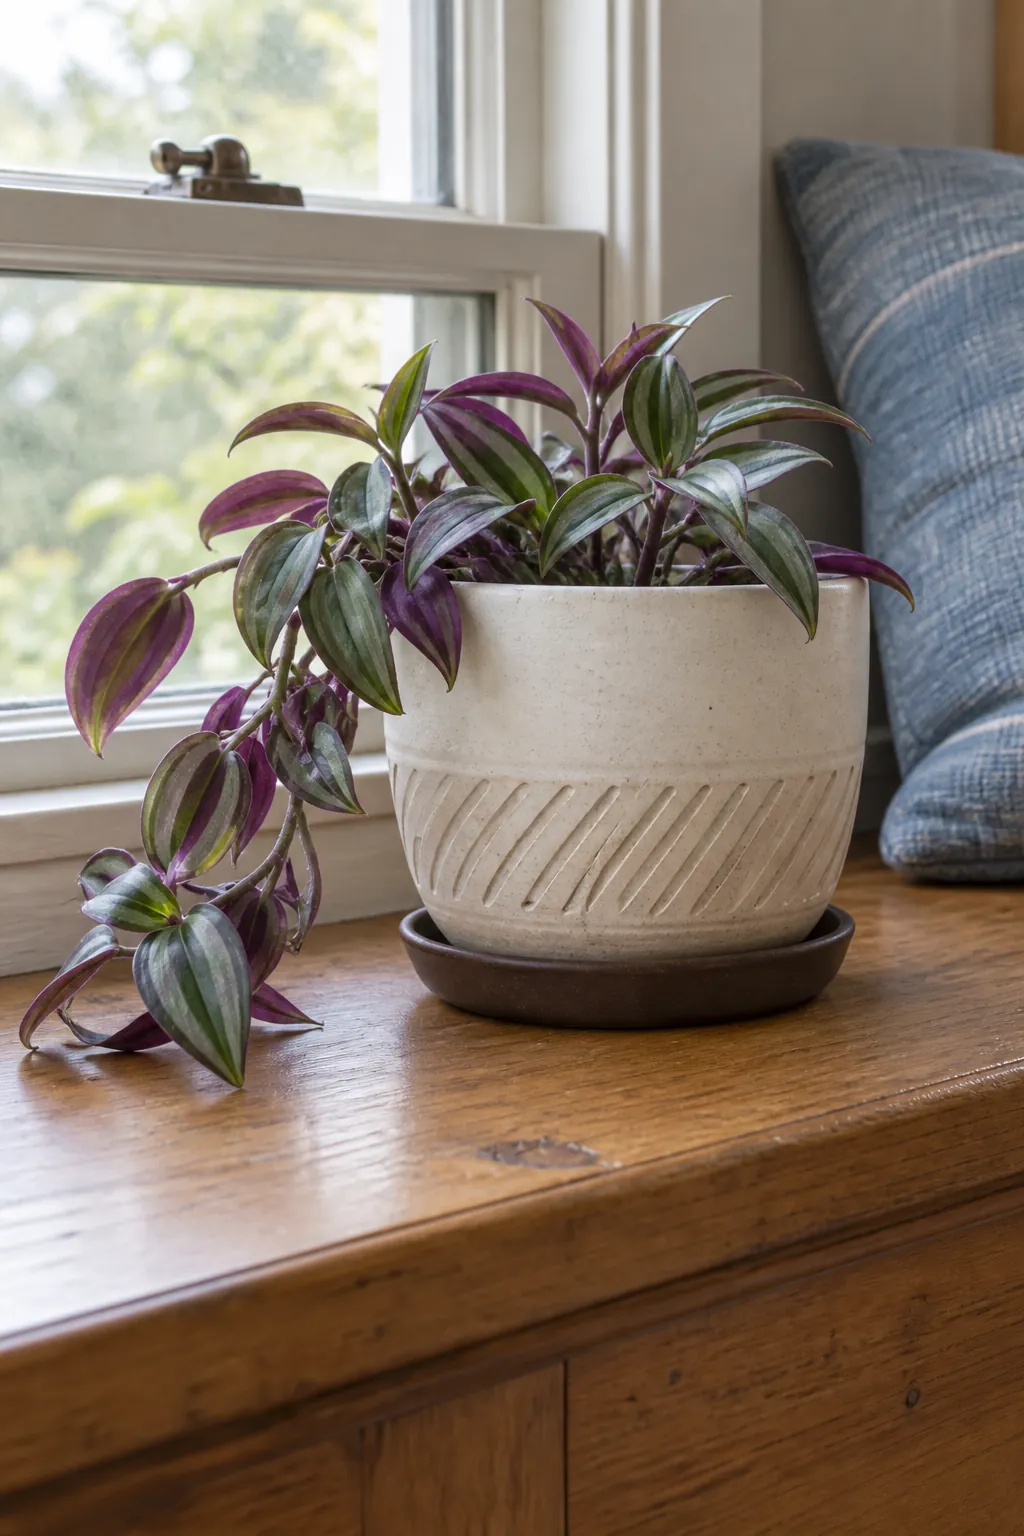
A carved band with a quiet upper half
Limiting decoration to a single band gives you room to practice marks without covering the entire pot. Draw a few broad repeating cuts into a firm but workable ceramic wall, checking that the pattern does not approach the inner surface. The undecorated upper half makes the carved rhythm easier to read. After studio firing, use a drainage tray and inspect the base before planting so a decorative exercise becomes a usable container.
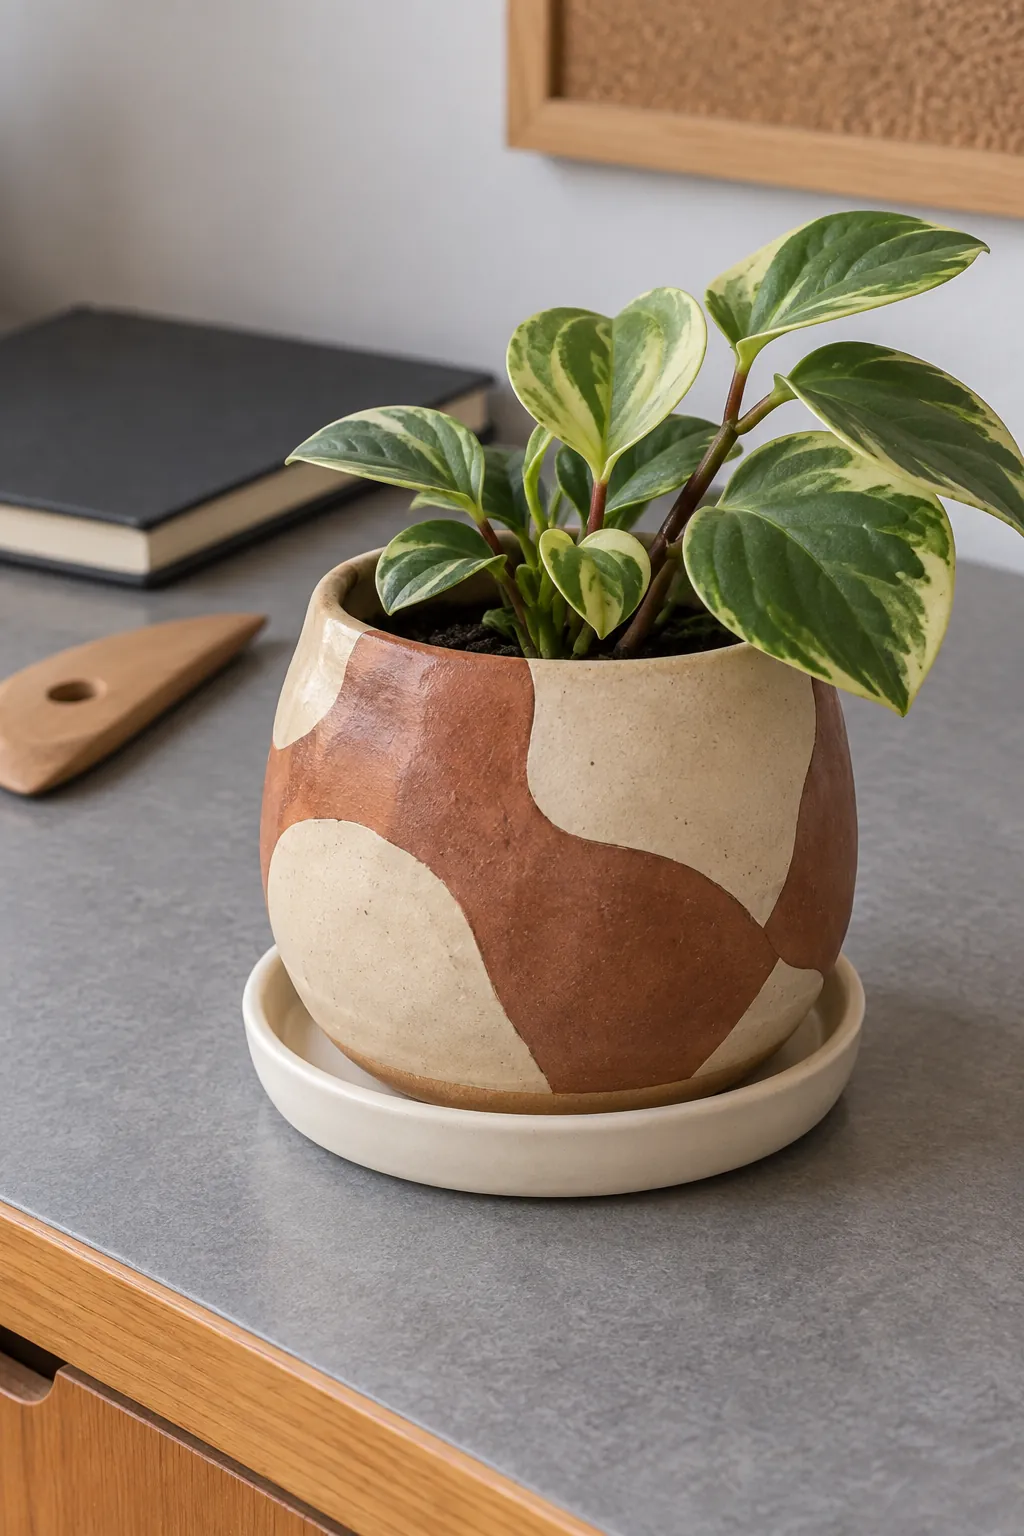
A patchwork of colored clay
Two compatible ceramic clay colors can create a patchwork surface that stays visible without heavy glaze. Confirm with the studio that the bodies have suitable firing temperatures and shrinkage behavior before combining them. Compress every join carefully and avoid thick lumps where several patches meet. This is a more demanding pottery planter project, so a small trial piece is useful before making a large vessel.
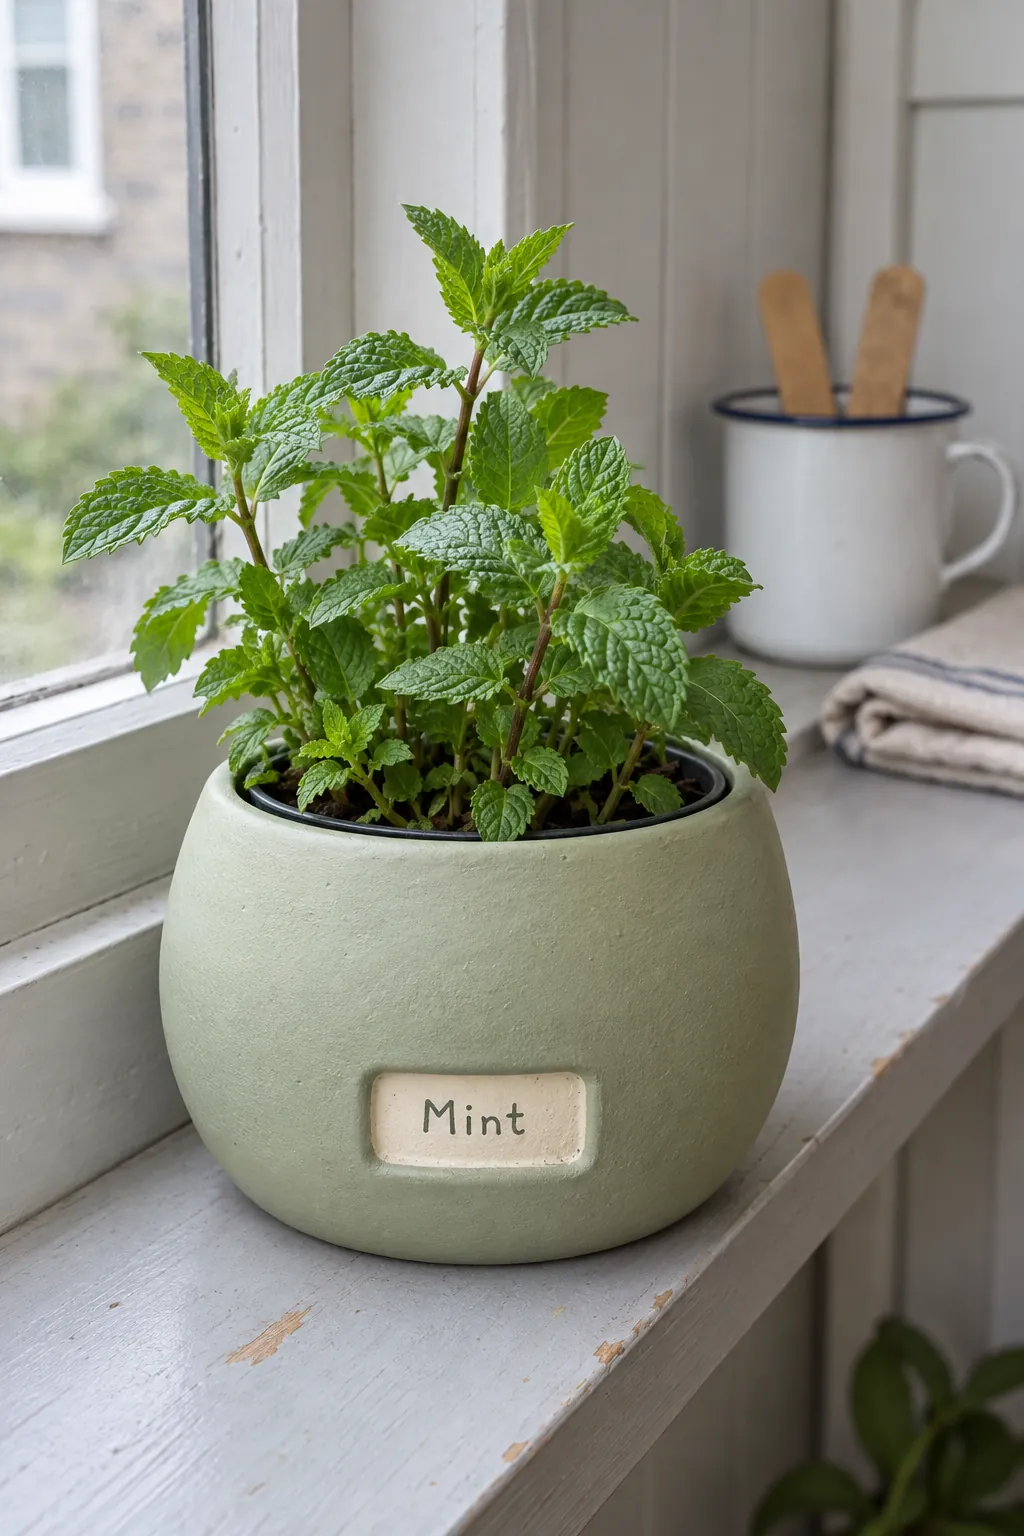
A rounded cover with a recessed label
A shallow label area gives a plant name somewhere to sit without tying tags around the foliage. Press the panel into the wall rather than cutting through it, then add lettering after drying with a compatible paint. Leave the rest of the cover plain so the label is readable at a glance. For an air dry clay planter cover, the nursery pot and waterproof liner should remain removable even after you decorate the rim.
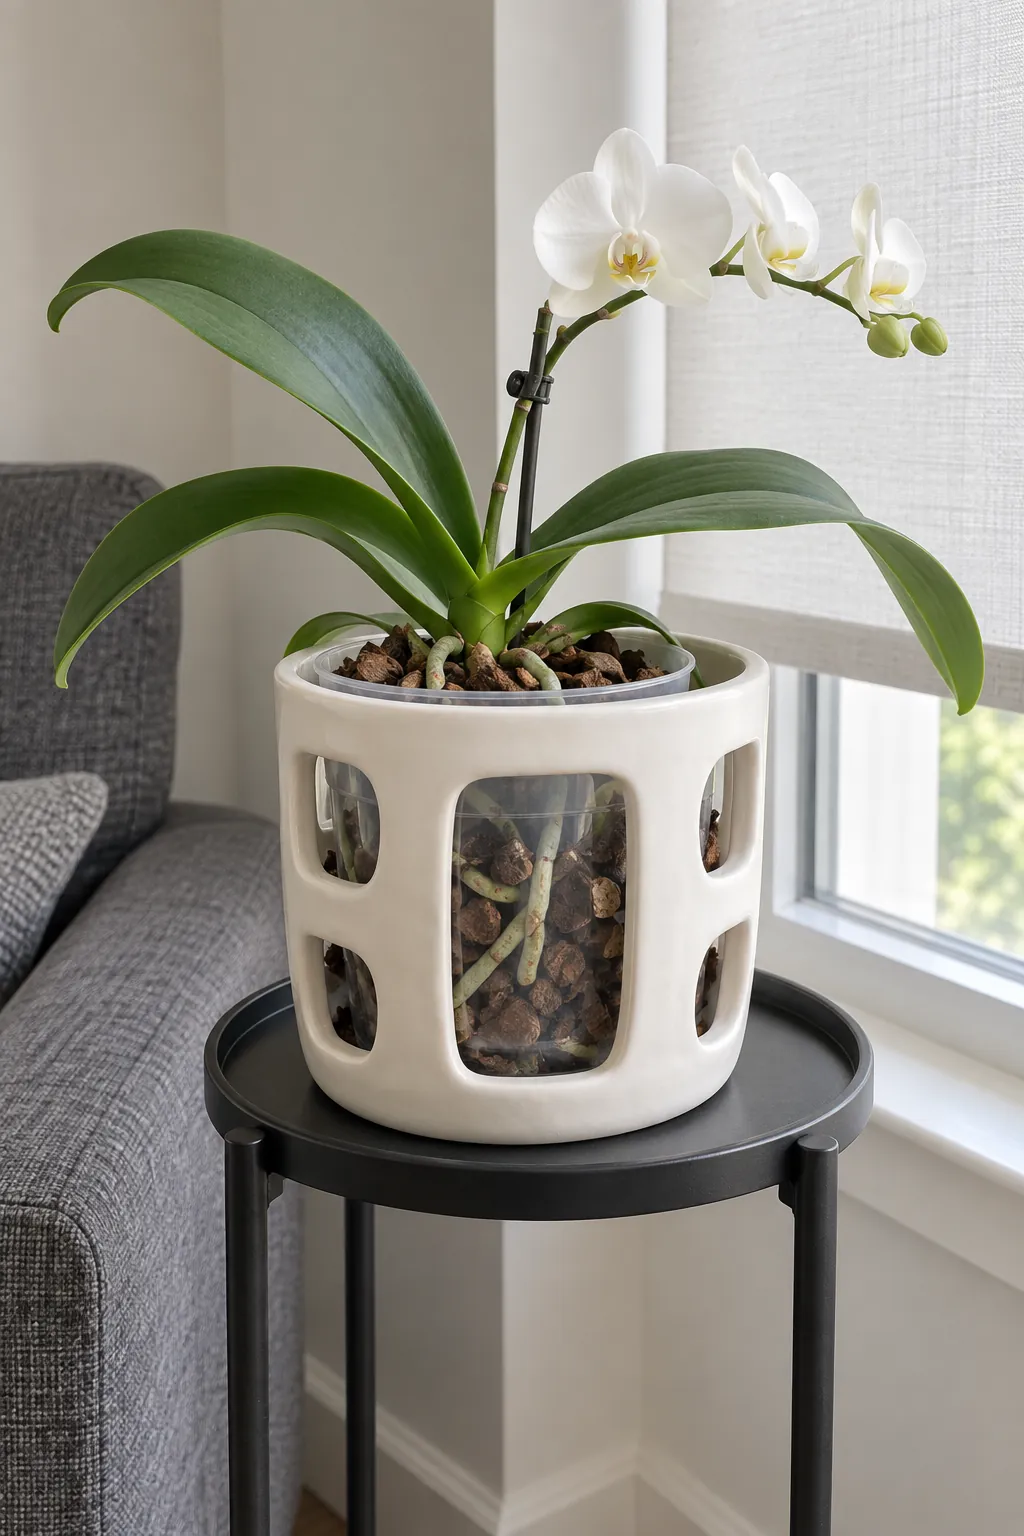
A hand built orchid cover with side openings
Openings can become the design when they reveal the slotted nursery pot inside. Use fired ceramic clay for this version and leave generous solid bridges around each opening so the wall retains strength. Smooth the edges while workable and keep the top wide enough to remove the orchid container without catching roots. Match the inner pot and growing method to the orchid rather than assuming decorative ventilation alone solves its care needs.
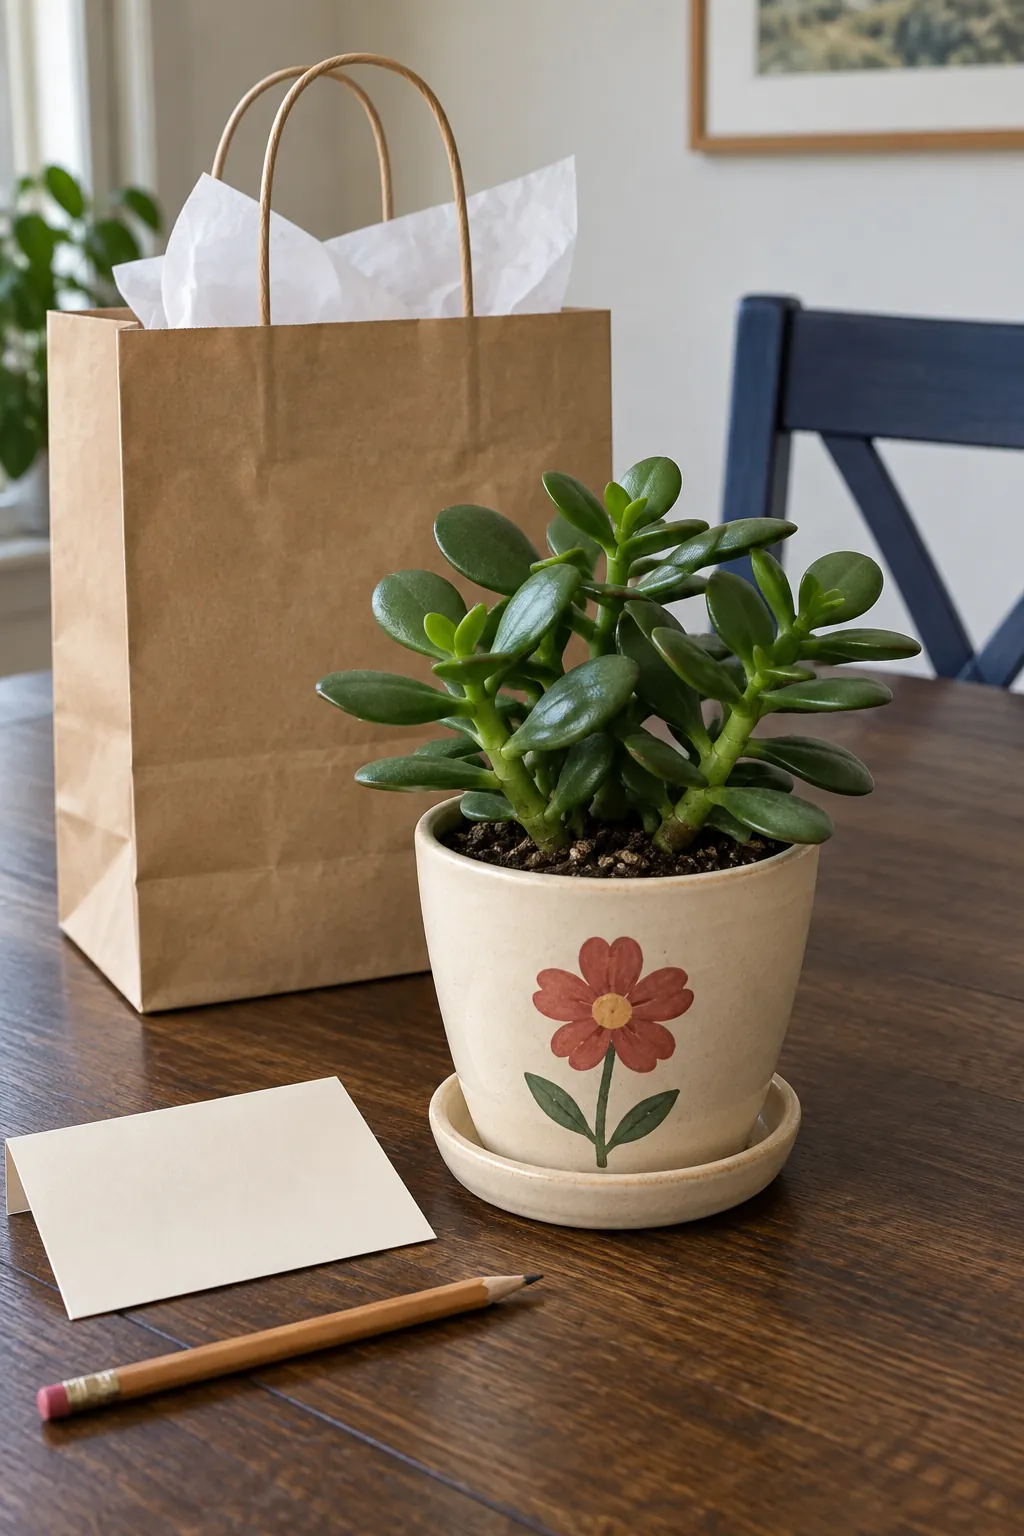
A personal gift pot sized to its plant
A handmade gift is easier to enjoy when the plant already fits and can be watered without guesswork. Choose a small fired planter with drainage or an air dry decorative cover with a separate waterproof insert, then test the complete setup before wrapping it. Include a short note explaining which pieces come out for watering and whether the container is for indoor use. Add one personal detail, such as a simple painted flower in the recipient's favorite color, instead of making the shape harder to use. The useful finishing touch is a pot they can care for as confidently as the plant.