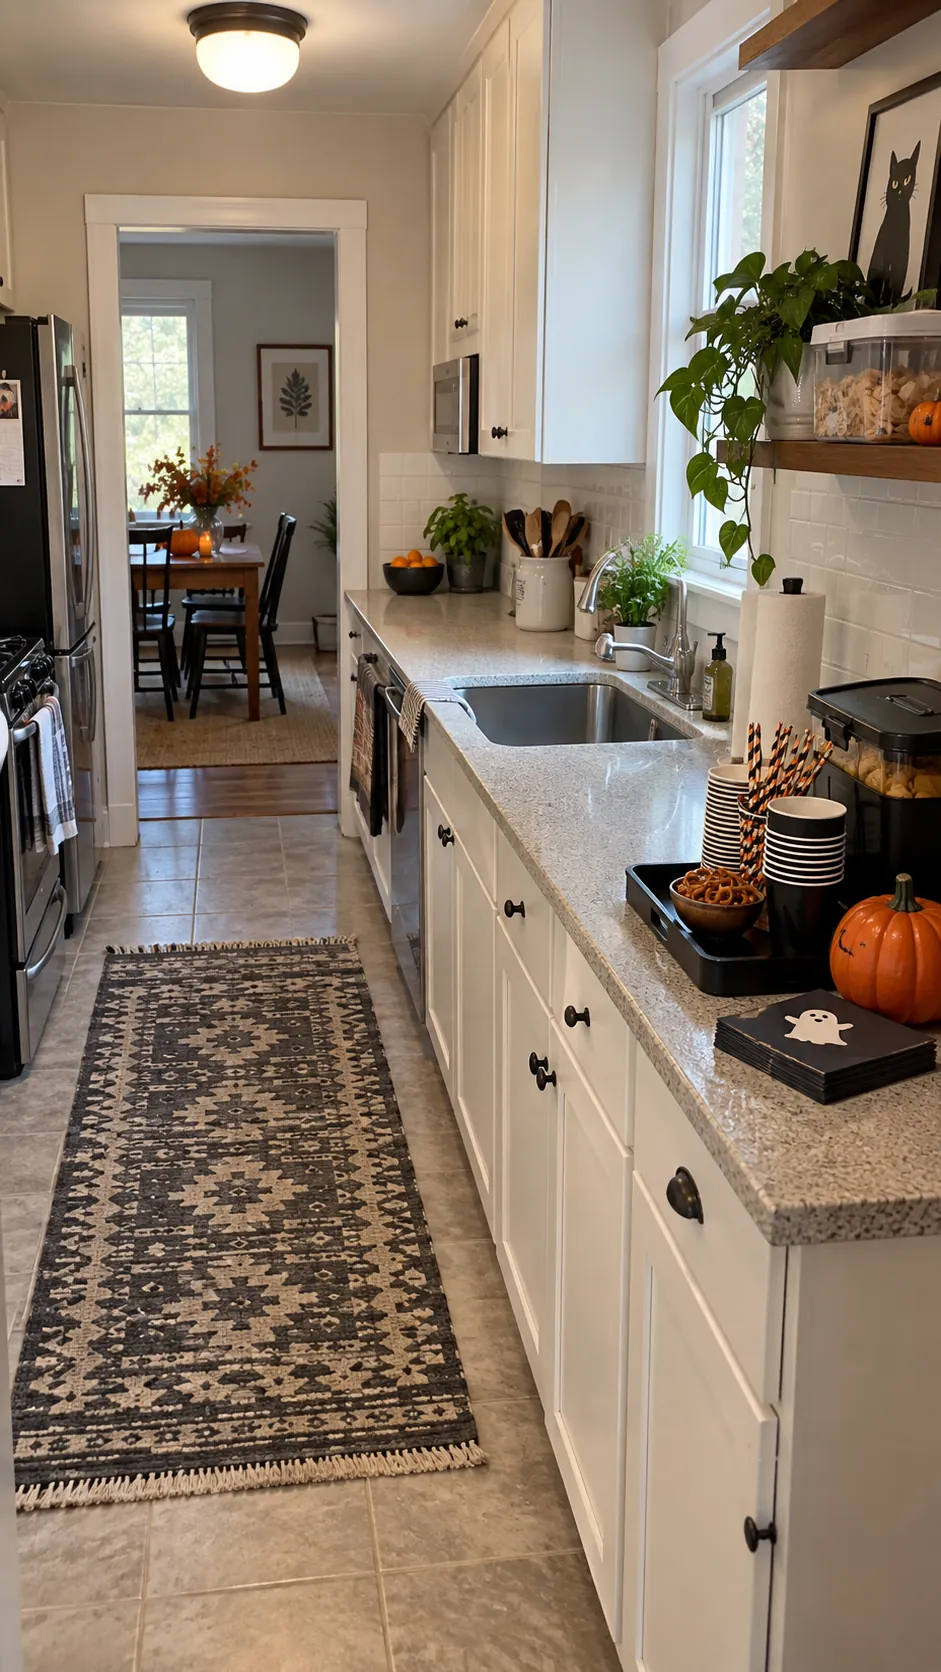
Guests tend to arrive just as the counter fills with cups, snacks, serving tools, and the things that were supposed to stay in a cabinet. In a small kitchen, the solution begins with a clear work area and a specific home for each supply. Organize for the movements that will happen during the party, including refills, spills, and cleanup.
Reserve one clear preparation lane
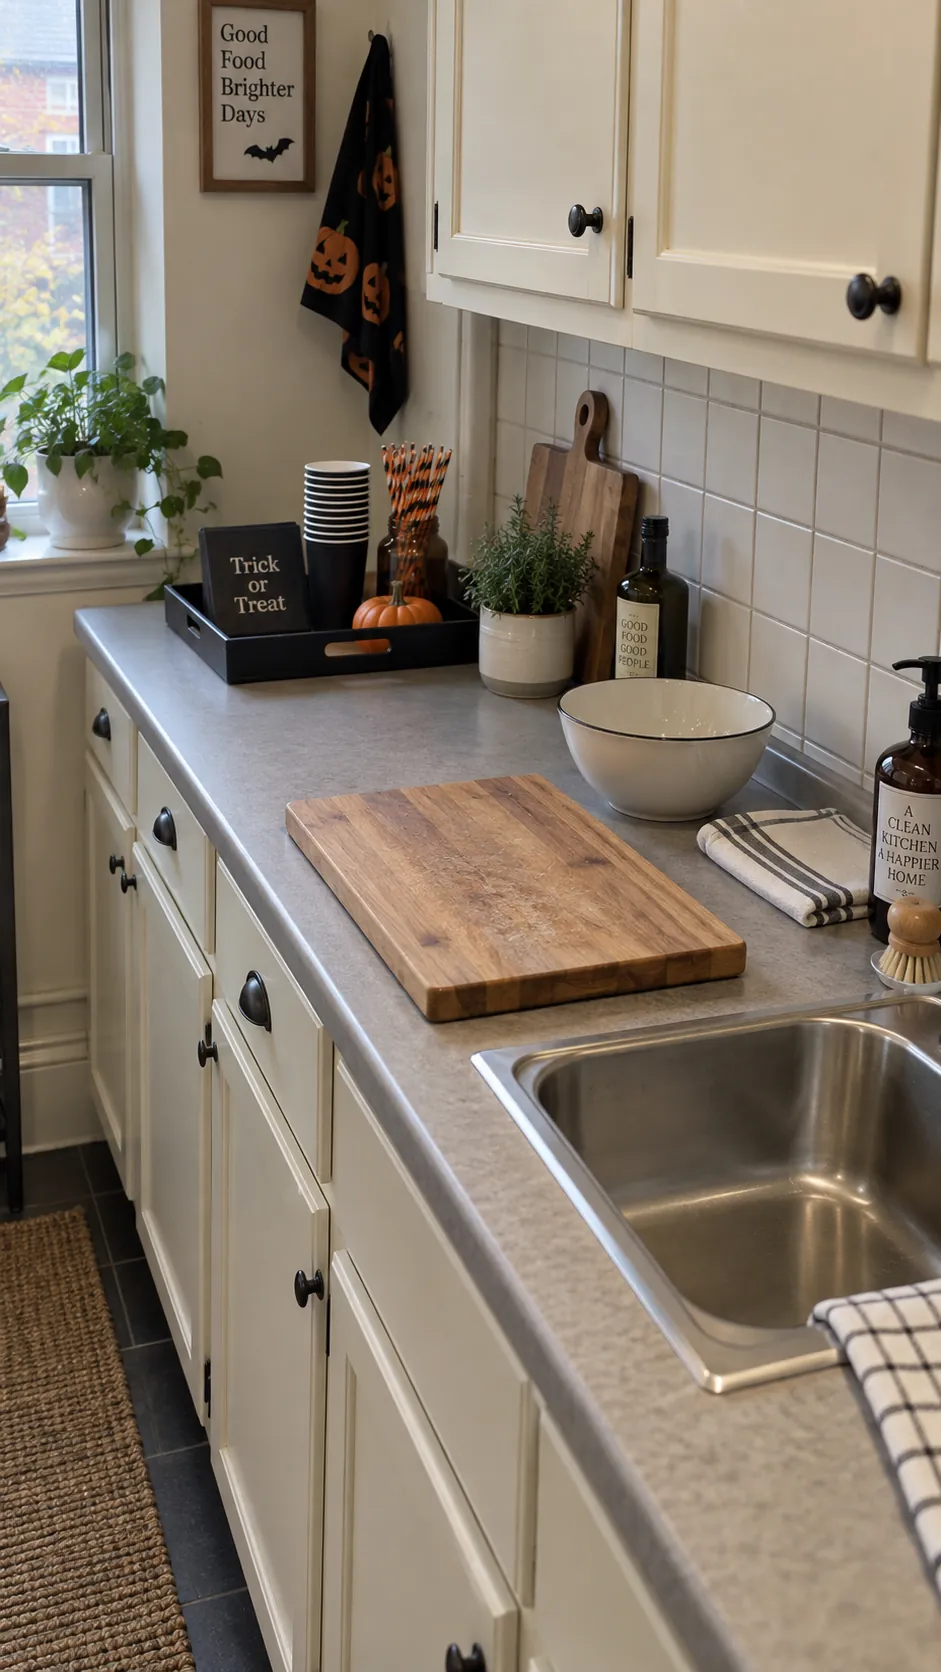
Before guests arrive, decide which counter stretch must stay open for chopping, plating, and setting down hot food. Move decorative pieces, unopened paper goods, and spare glassware away from that lane. A clear strip beside the sink or stove keeps party preparation from spreading over every surface. Mark the boundary with a tray at one end rather than filling the entire worktop.
Group cups where drinks will be poured
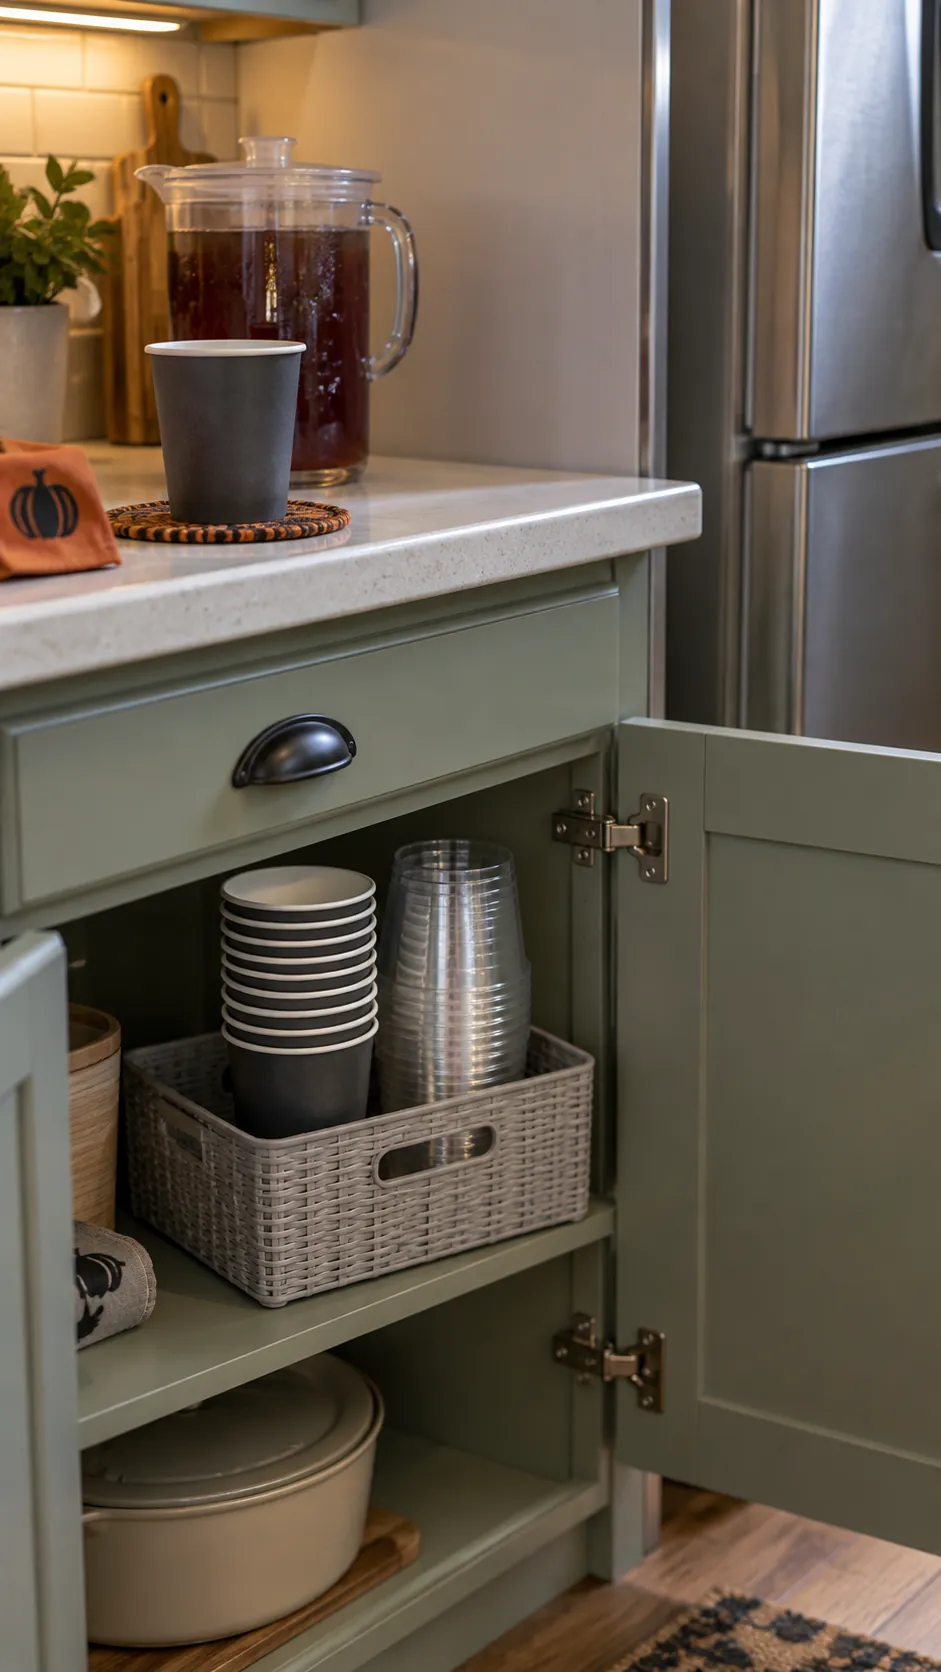
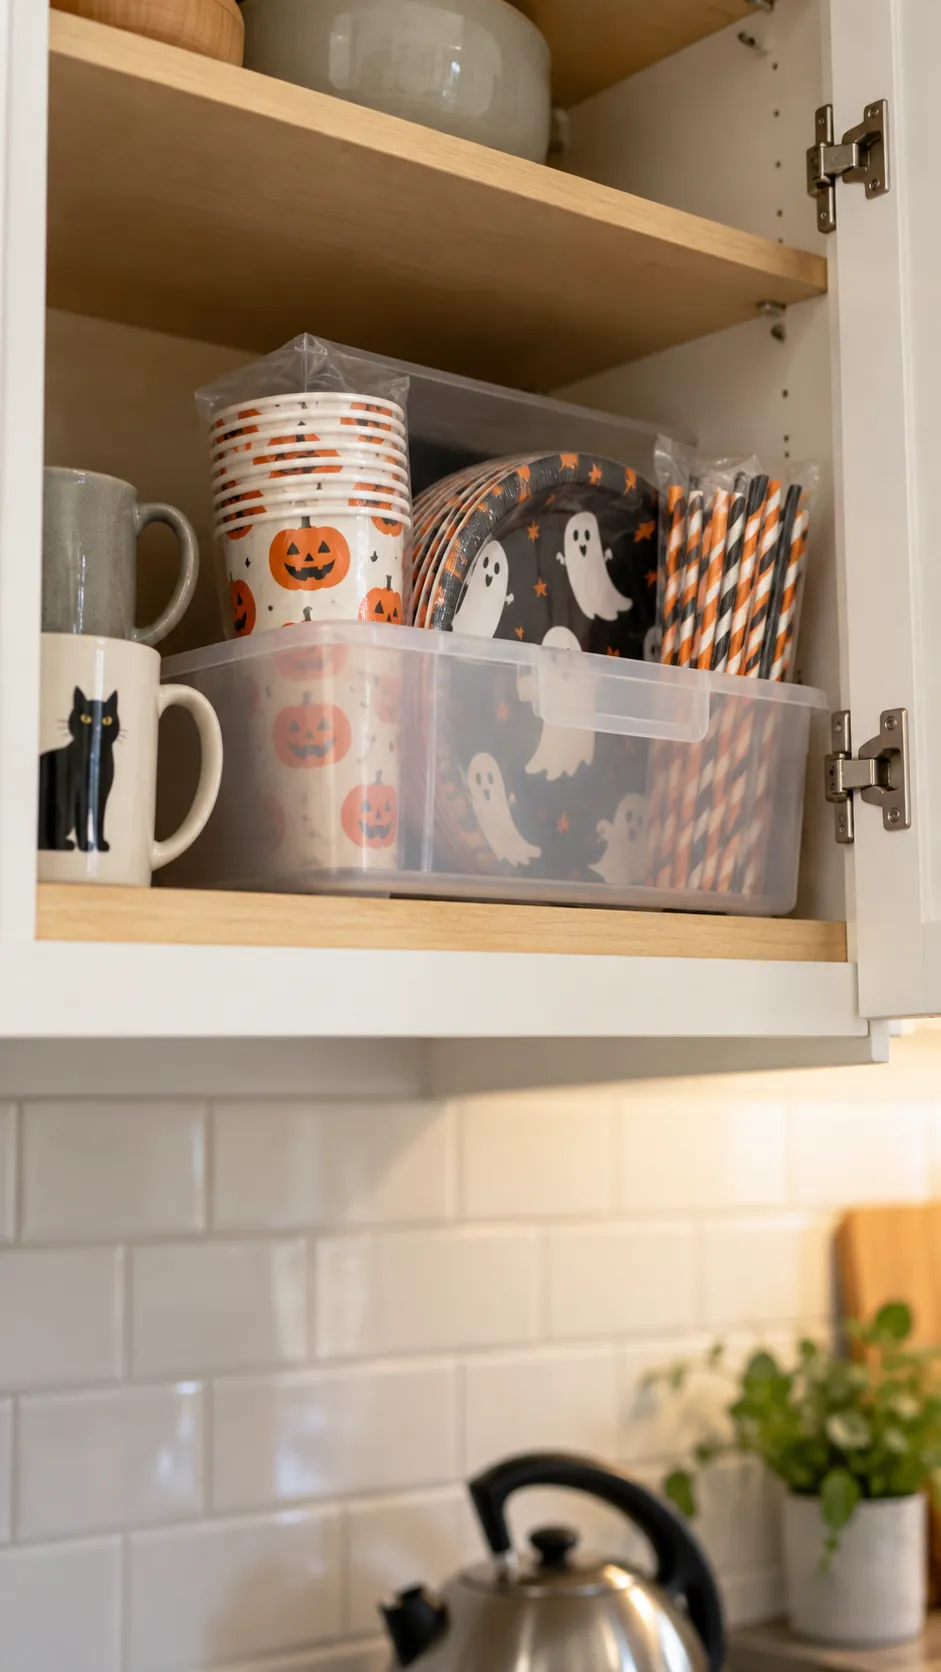
Store party cups together in one shallow cabinet caddy near the drink station. Put a small stack out first and keep the reserve clean behind it. Guests can refill without opening several cupboards or crossing the cooking area. If the kitchen is especially narrow, keep the caddy on a nearby shelf until drinks are served.
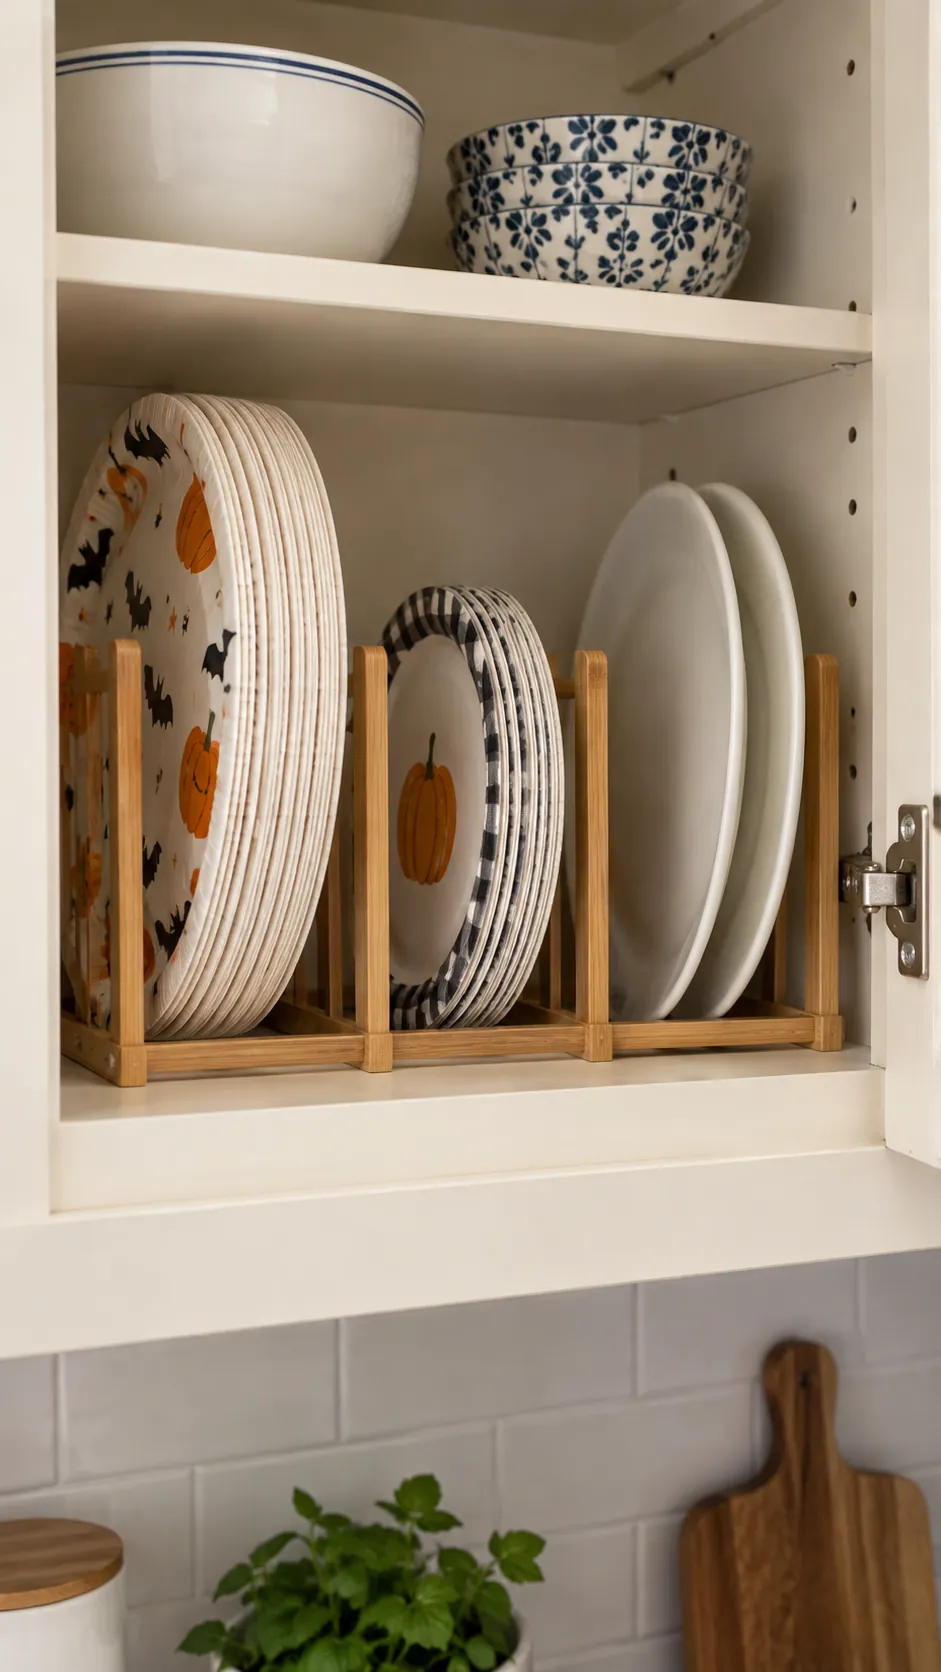
Stand plates in a cabinet divider
A vertical divider can keep paper plates, small serving platters, and reusable dessert plates from forming a slippery tower. Place the most used size at the front so it can be lifted with one hand. Check the divider height against the cabinet shelf before buying anything new. A sturdy bookend can do the job if it does not scratch the surface.
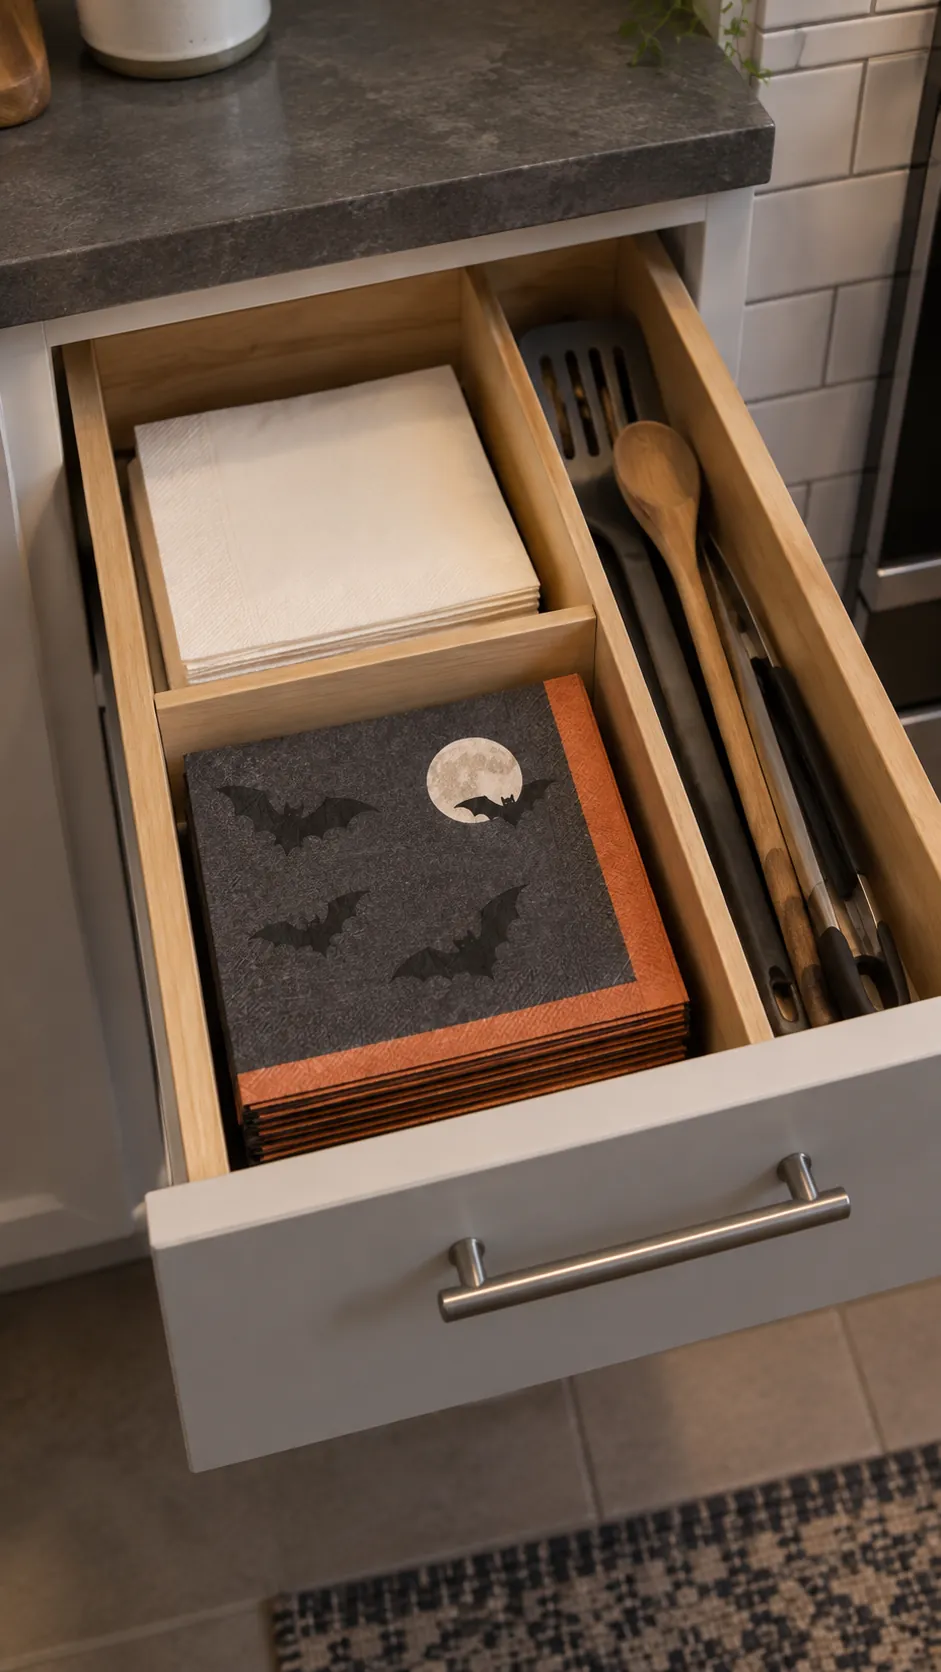
Give napkins a dedicated drawer section
Use one shallow drawer compartment for napkins instead of placing a bulky stack beside the food. Keep plain extras below a smaller visible Halloween stack so the festive supply does not run out early. Flat storage protects the napkins from spills and crumpling. It also gives a helper an obvious place to restock during the party.
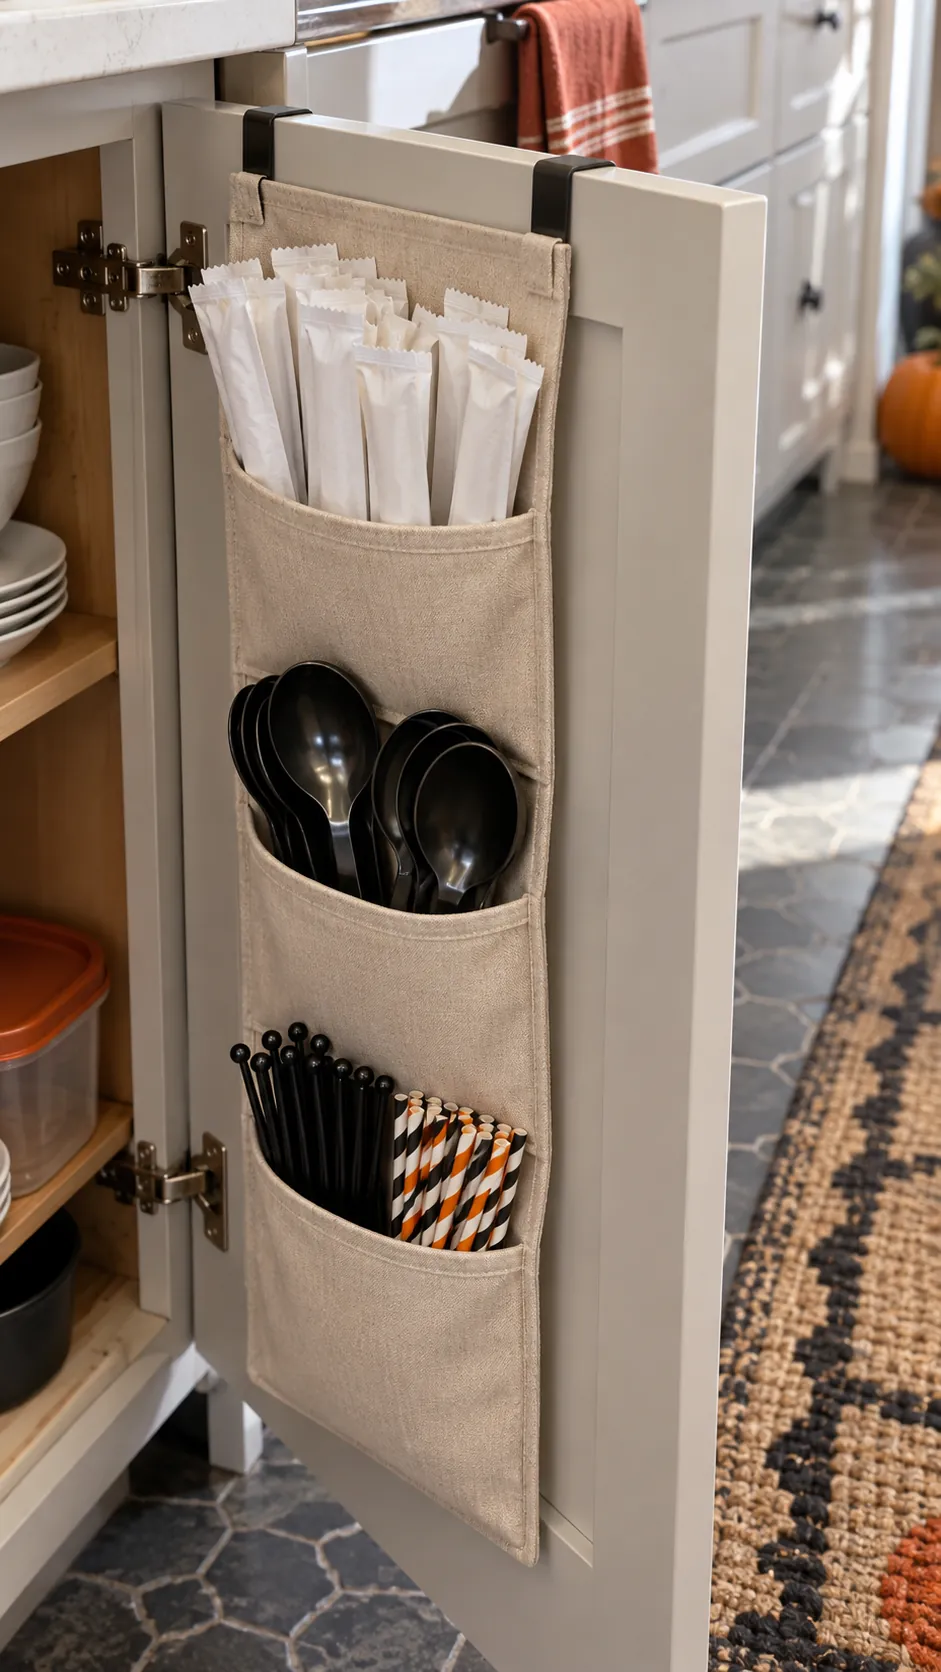
Put utensils in a removable pocket organizer
A short hanging organizer on the inside of a suitable cabinet door can hold wrapped forks, serving spoons, and stirrers. Confirm the door still closes and that the pockets do not strike shelves. Separate food contact utensils from tape and decorations. When the party ends, remove the organizer or use the pockets for everyday supplies.
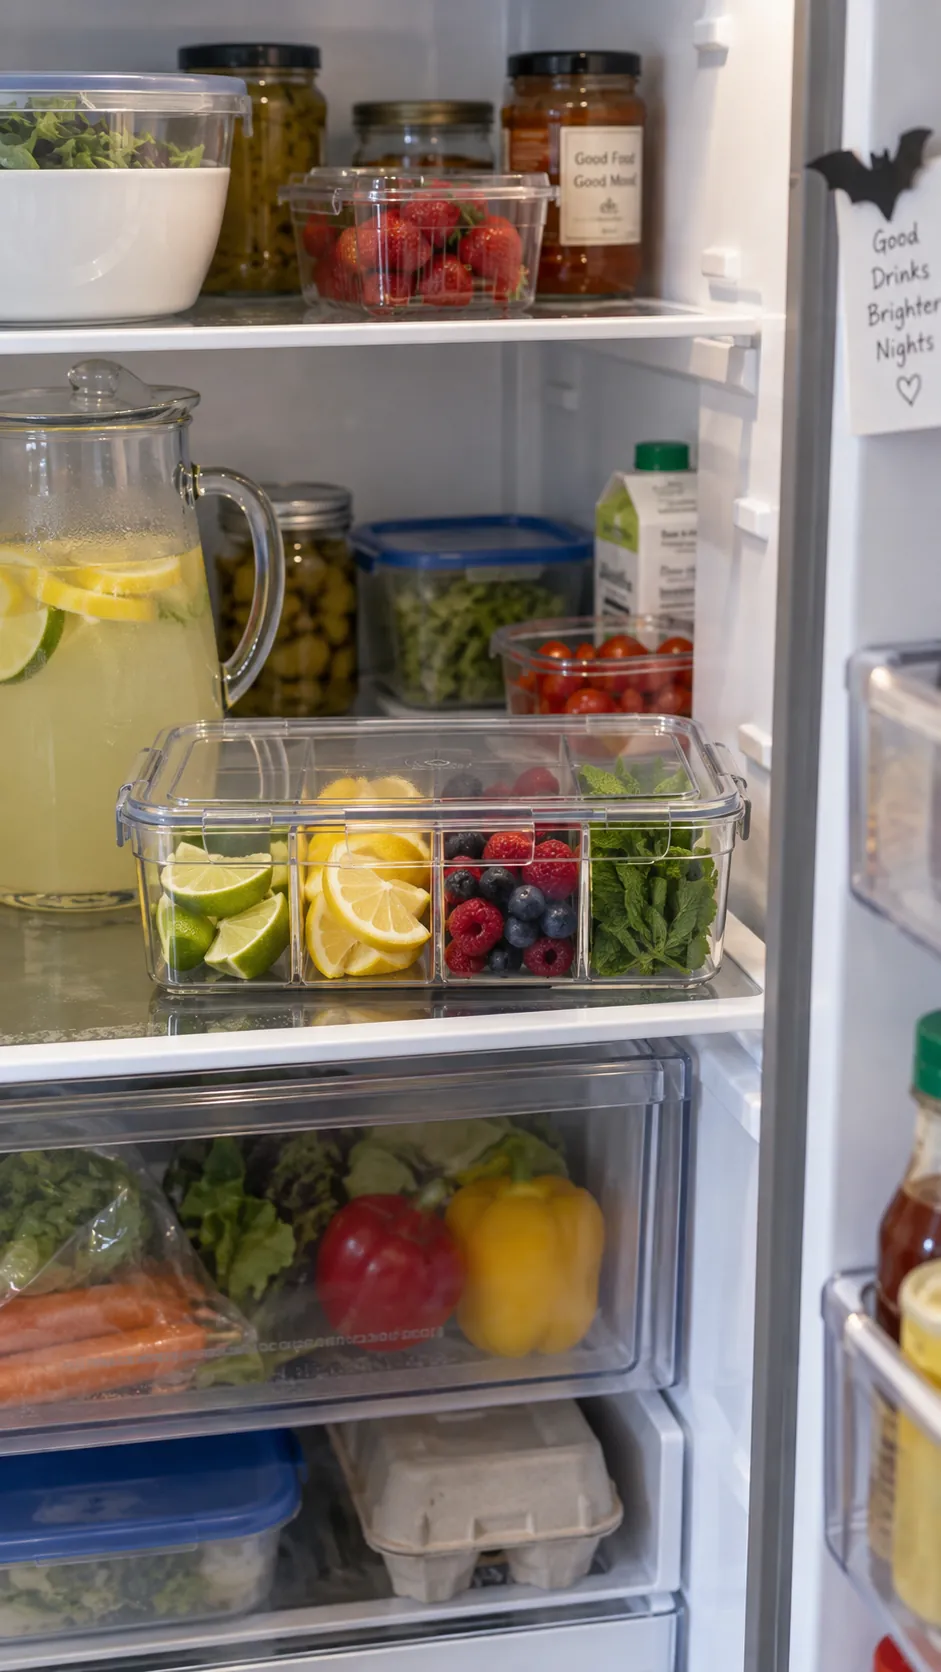
Keep drink garnishes together in the fridge
A shallow washable container can hold citrus wedges, cherries, and other garnishes on one refrigerator shelf. Cover the food and keep the container away from raw ingredients. Set it beside the drink station only when guests need it. Returning one container to the fridge is easier than finding space for several small bowls.
Box reserve paper goods away from splashes
Put unopened cups, plates, and straws into one lidded bin on an upper cabinet shelf. Label the bin plainly if household members will help with refills. Keep the opened working stack near guests and the dry reserve away from the sink. A container sized for the actual quantity prevents party supplies from taking over permanent kitchen storage.
Use a shelf riser for small serving pieces
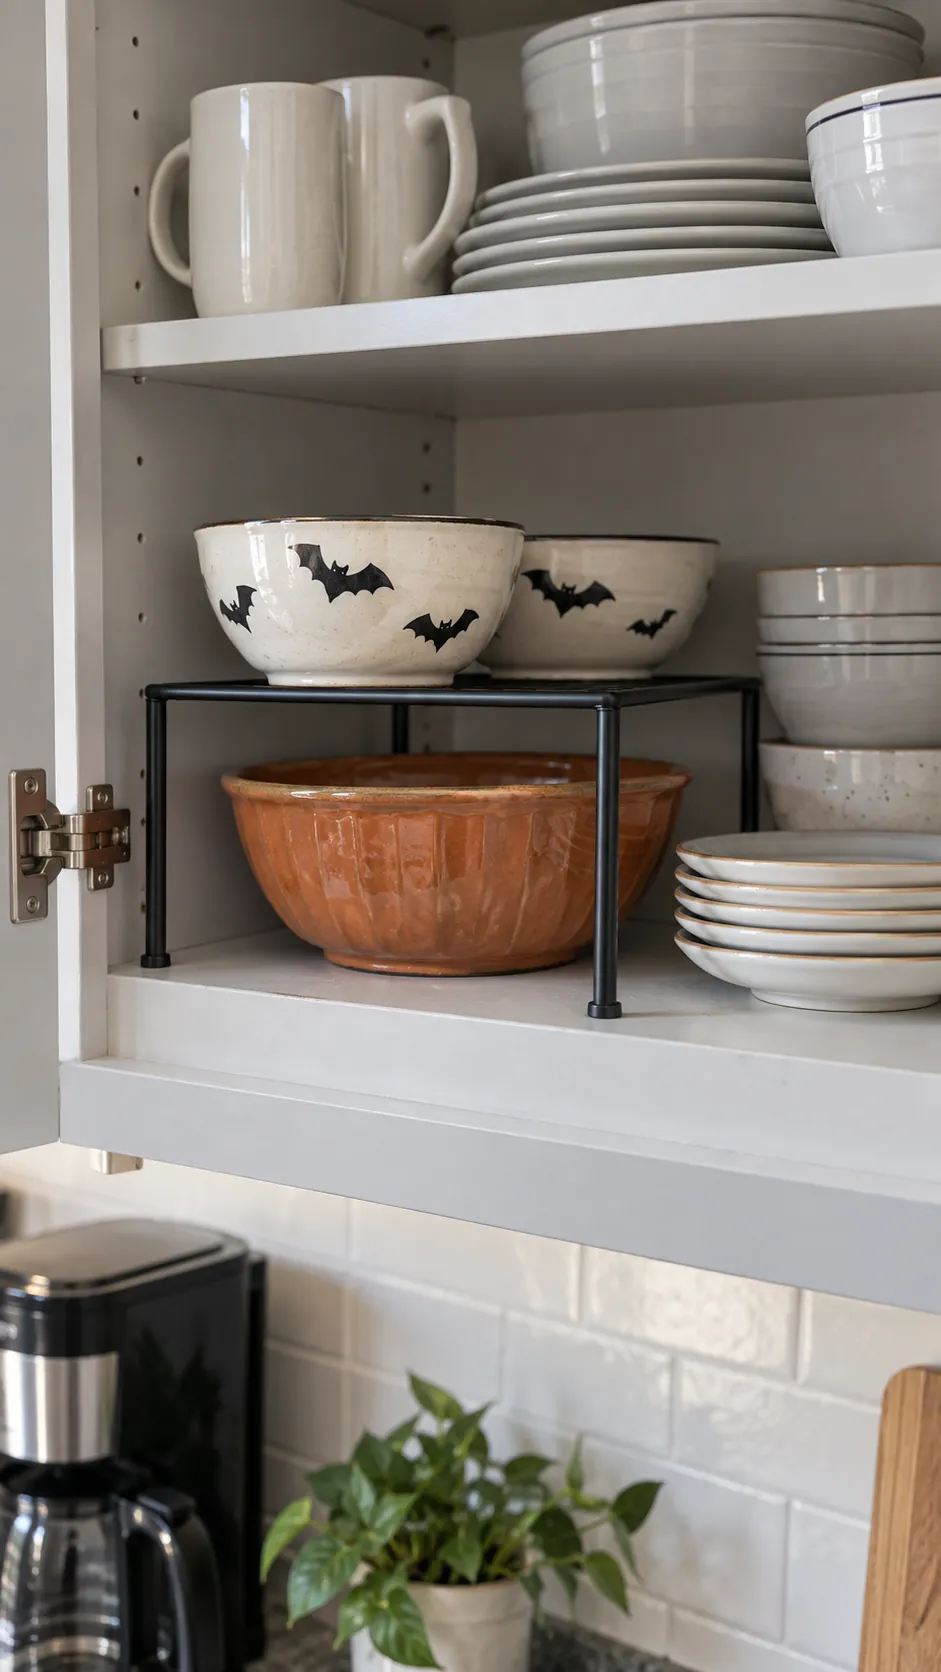
A compact shelf riser makes a second level for small bowls or dessert dishes inside one cabinet. Put heavier pieces below and light pieces above, and check that both levels can be reached safely. This gives party dishes a home without stacking fragile rims against each other. Remove the riser after the event if it makes everyday access harder.
Stage snack ingredients in shallow bins
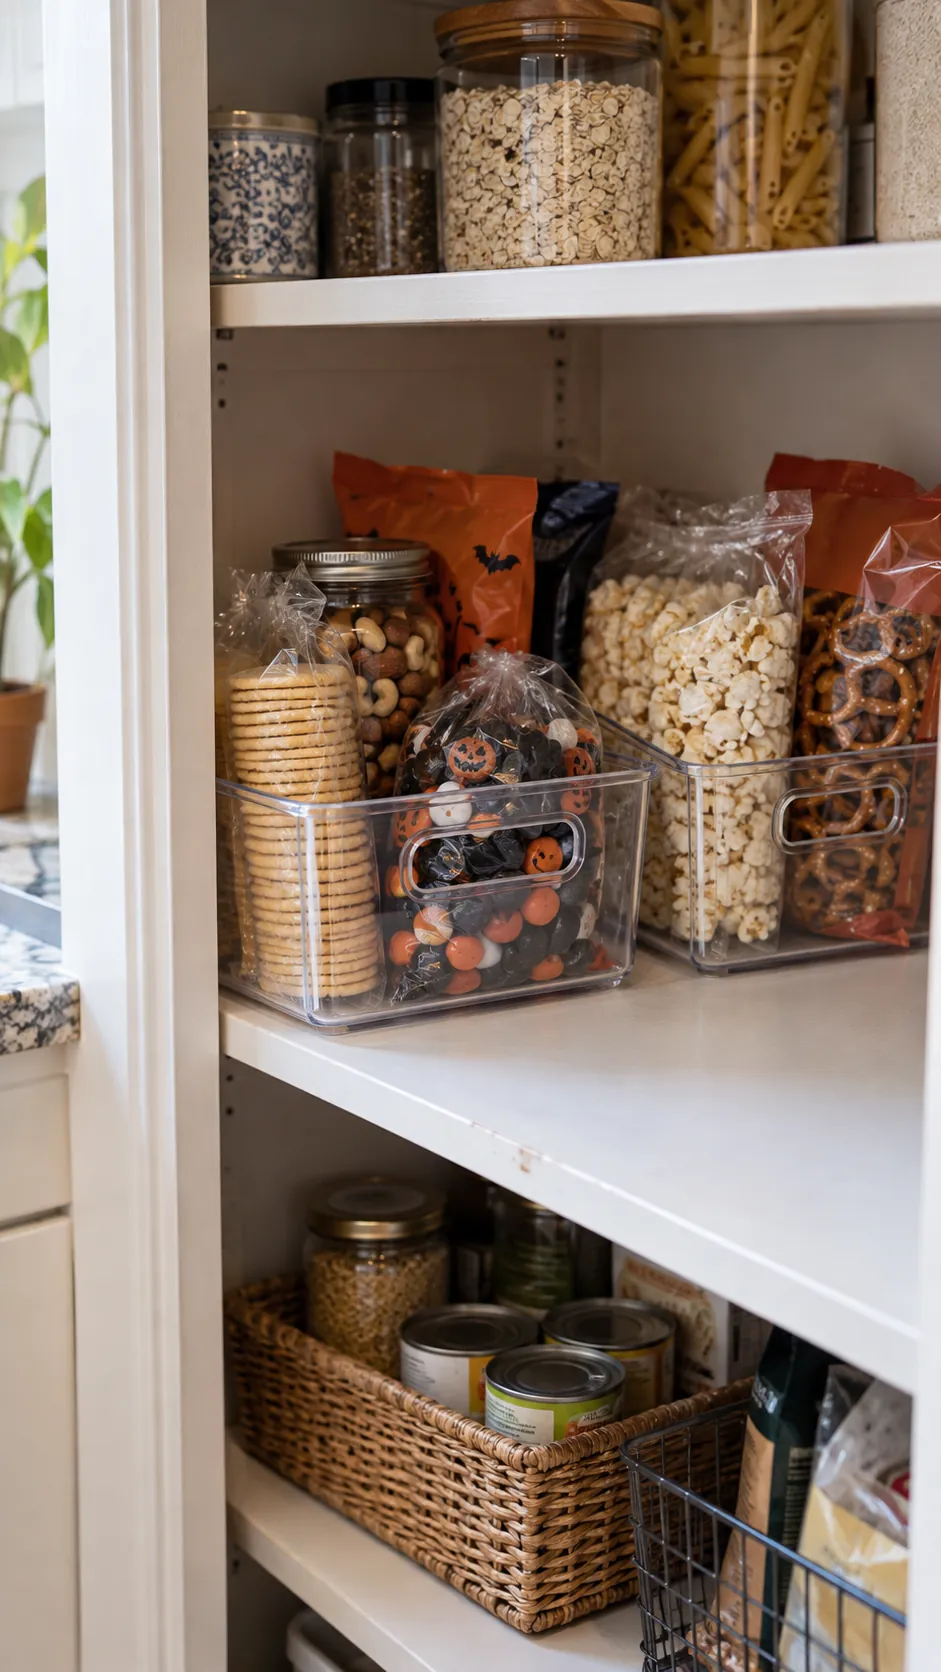
Gather sealed snack ingredients into two shallow bins by recipe or serving time. One bin can hold items for early guests while the second waits for refills. Keep perishable ingredients at their required temperature and transfer only what is needed. Grouping by use prevents repeated searches through a crowded pantry.
Park serving tools beside the food
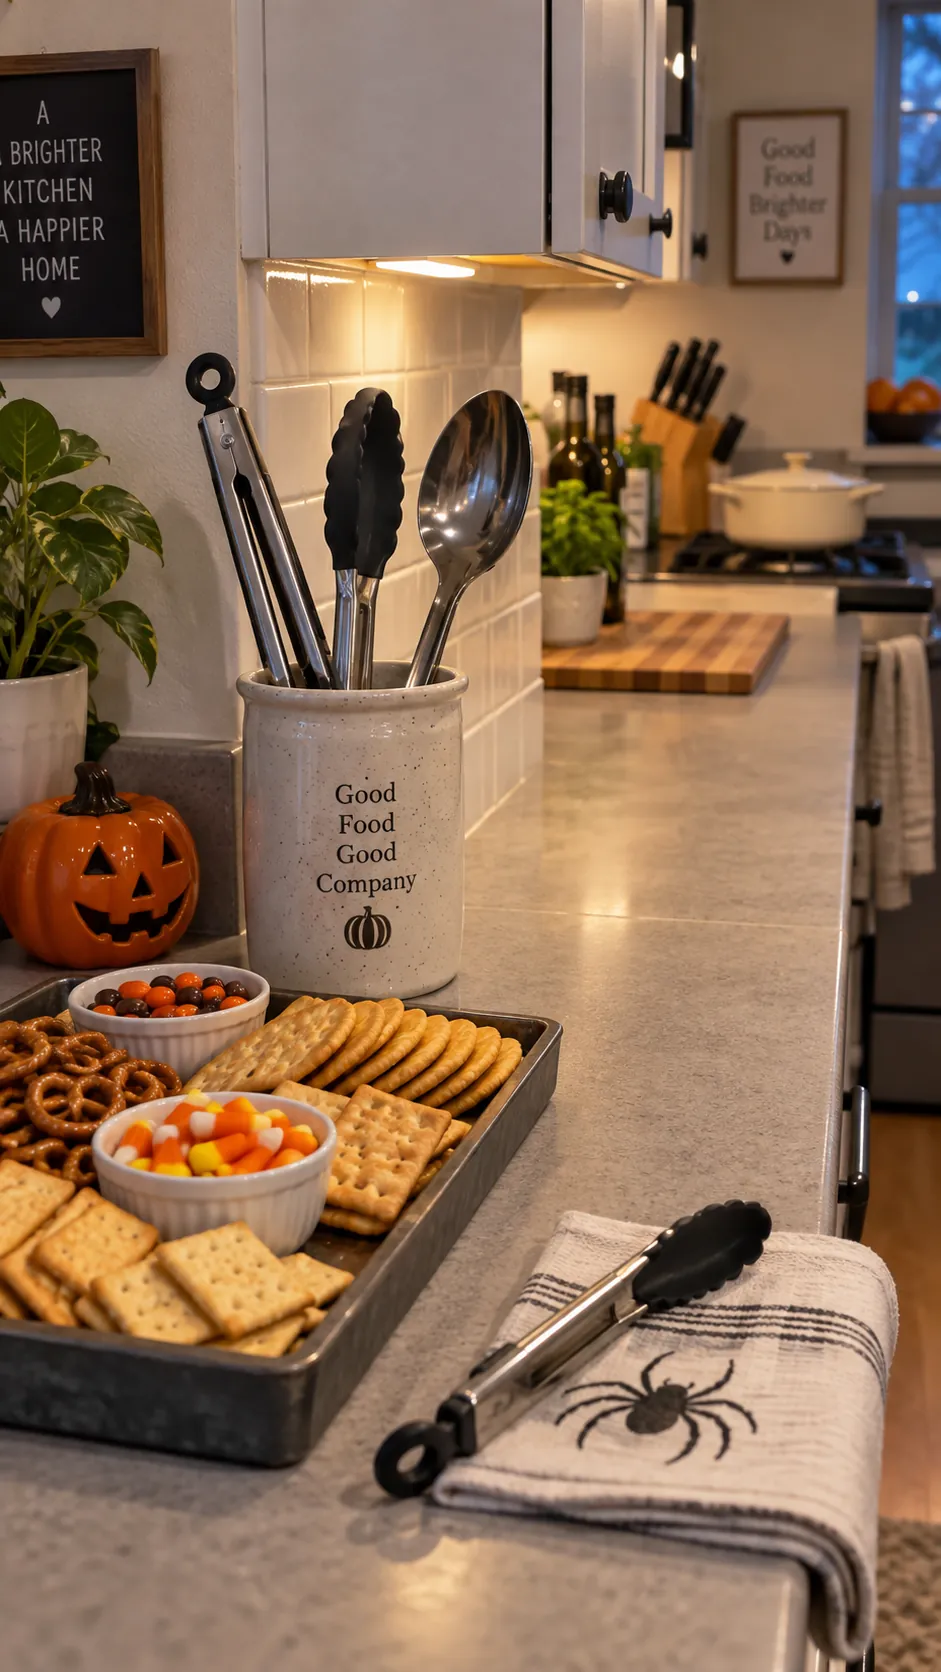
A stable crock or narrow tray can hold tongs, scoops, and serving spoons at the buffet edge. Match each tool to a dish before the party begins. Keep handles out of food and away from the counter’s working lane. If the tools are clean backups, store them in a cabinet until a replacement is needed.
Nest bowls by size and purpose
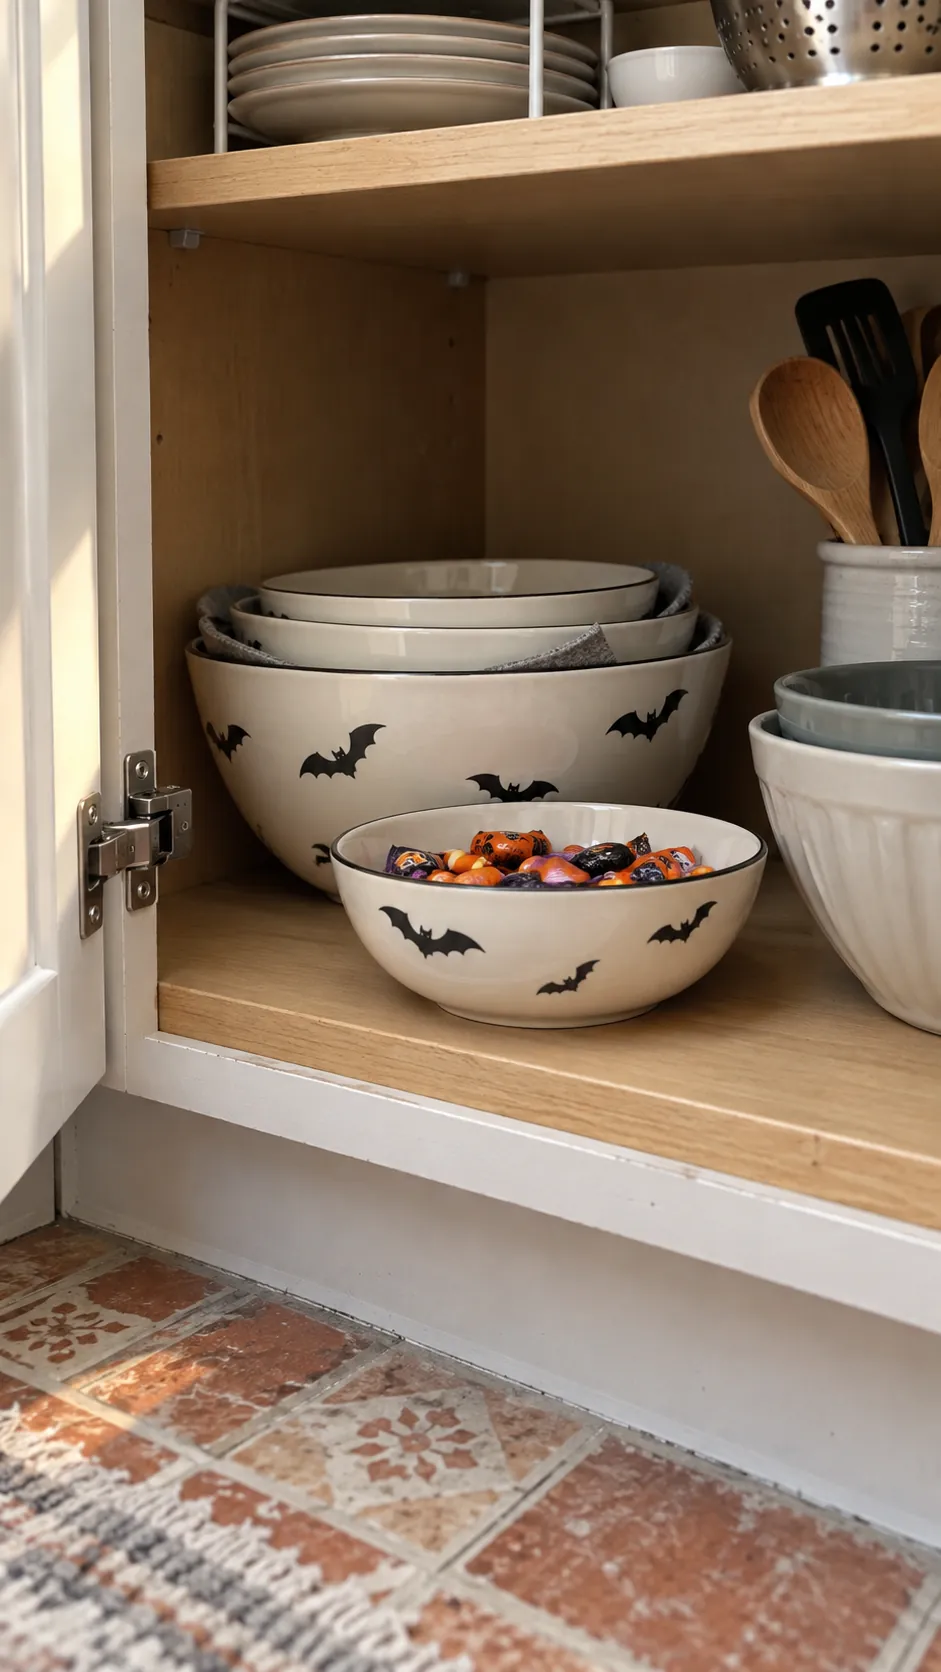
Choose a few bowls that nest securely for candy, chips, and dips rather than collecting many unrelated shapes. Put the largest at the bottom with a soft liner only if surfaces need protection. Keep the bowls for the first course within reach and store later serving pieces higher up. This reduces cabinet space without risking a wobbly stack.
Hang towels on an approved removable hook
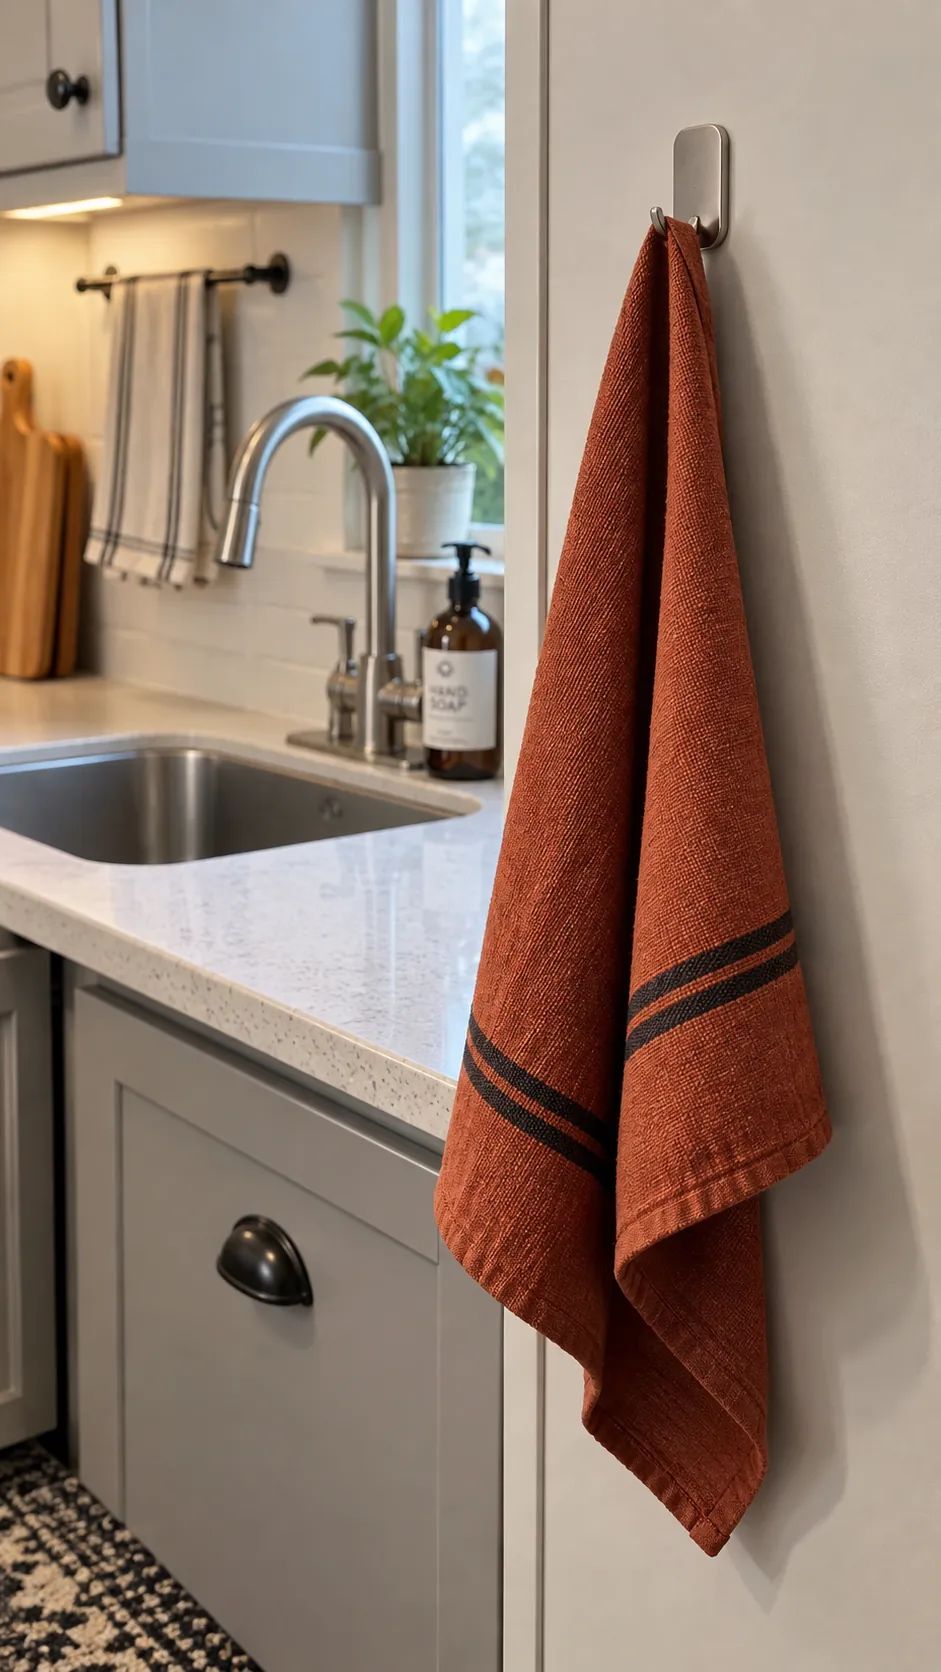
A clean hand towel and a separate drying cloth should be easy to find when the kitchen gets busy. Use a removable hook only on a surface that permits it, away from heat and cabinet hardware. Keep towels clear of the sink basin and food preparation area. A distinct dark or rust color makes the party towel easy for guests to spot.
Collect decorations in one small caddy
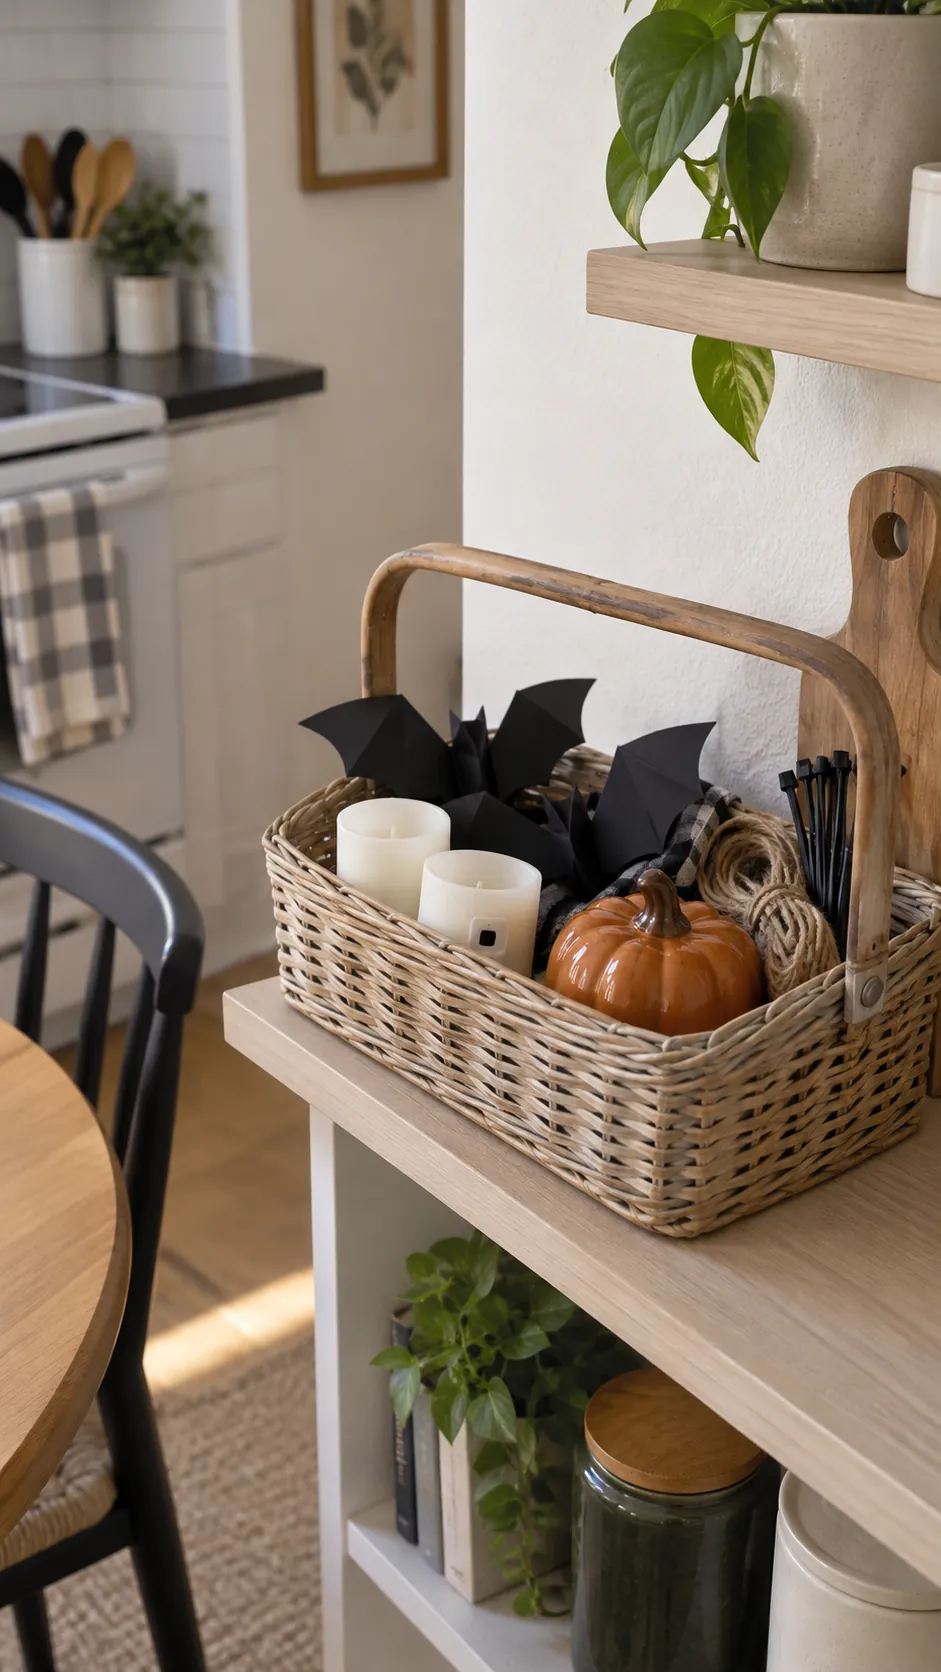
Place battery lights, small tabletop signs, and the ties used for them in a handled caddy before decorating. Bring out only pieces that fit the chosen counter corner or shelf. This prevents decorative extras from mixing with cooking tools and food. After guests leave, the same caddy becomes the first step of cleanup.
Prepare a cleaning kit under the sink
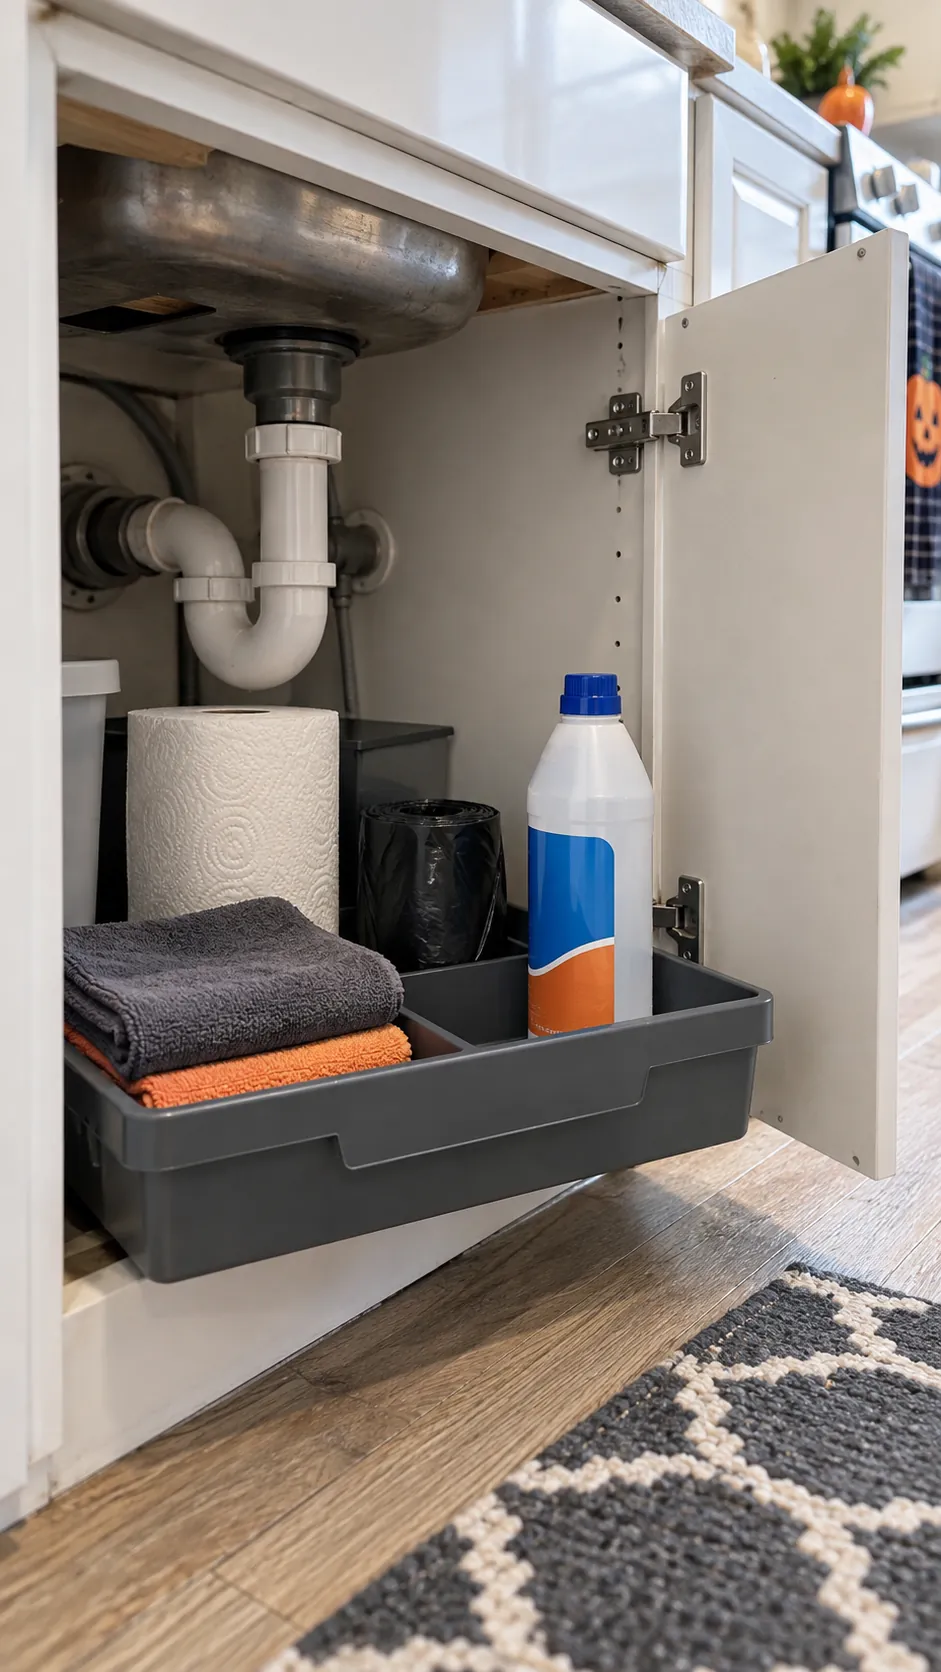
Stock a small under sink tray with cloths, a suitable cleaner, spare liners, and a roll of paper towels. Keep chemicals in their original containers and away from food. Check that the tray can be pulled out without knocking plumbing. A ready kit makes a spill easier to handle without emptying a whole cabinet.
Give rubbish and recycling clear places
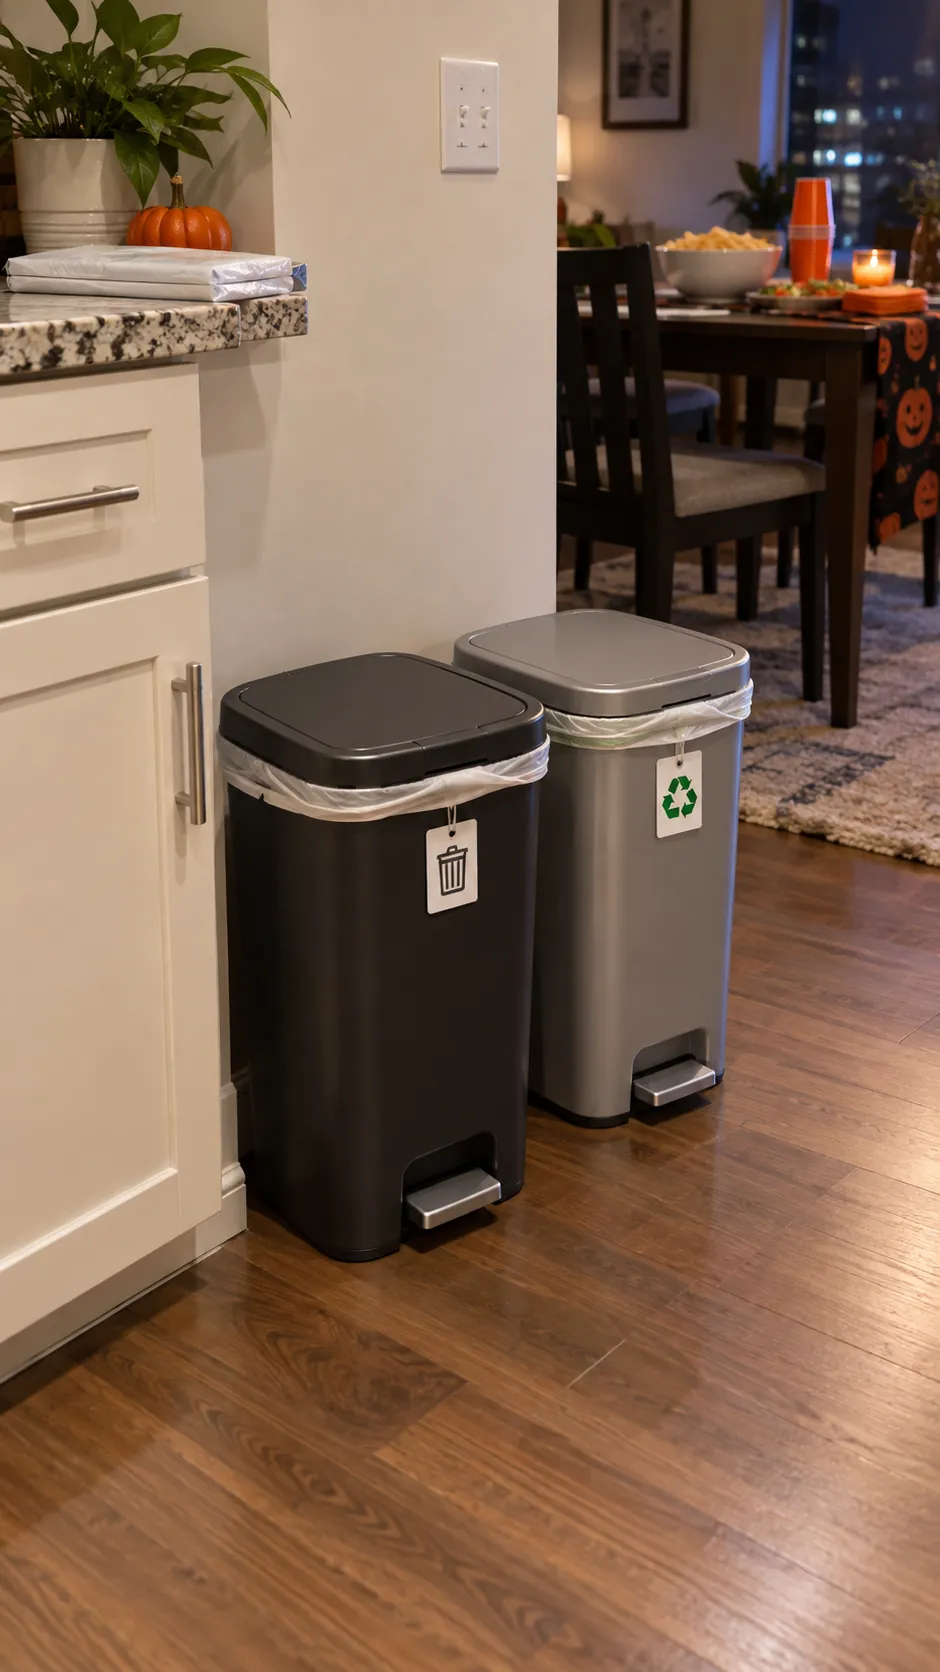
Place two small lined containers where guests can see them without blocking cabinet doors or the cooking route. Use simple signs if the accepted local recycling items are not obvious. Empty the containers before they overflow, especially when disposable cups and plates are in use. A clear waste zone prevents used items from accumulating on the serving counter.
Pack the party supplies while the layout is fresh
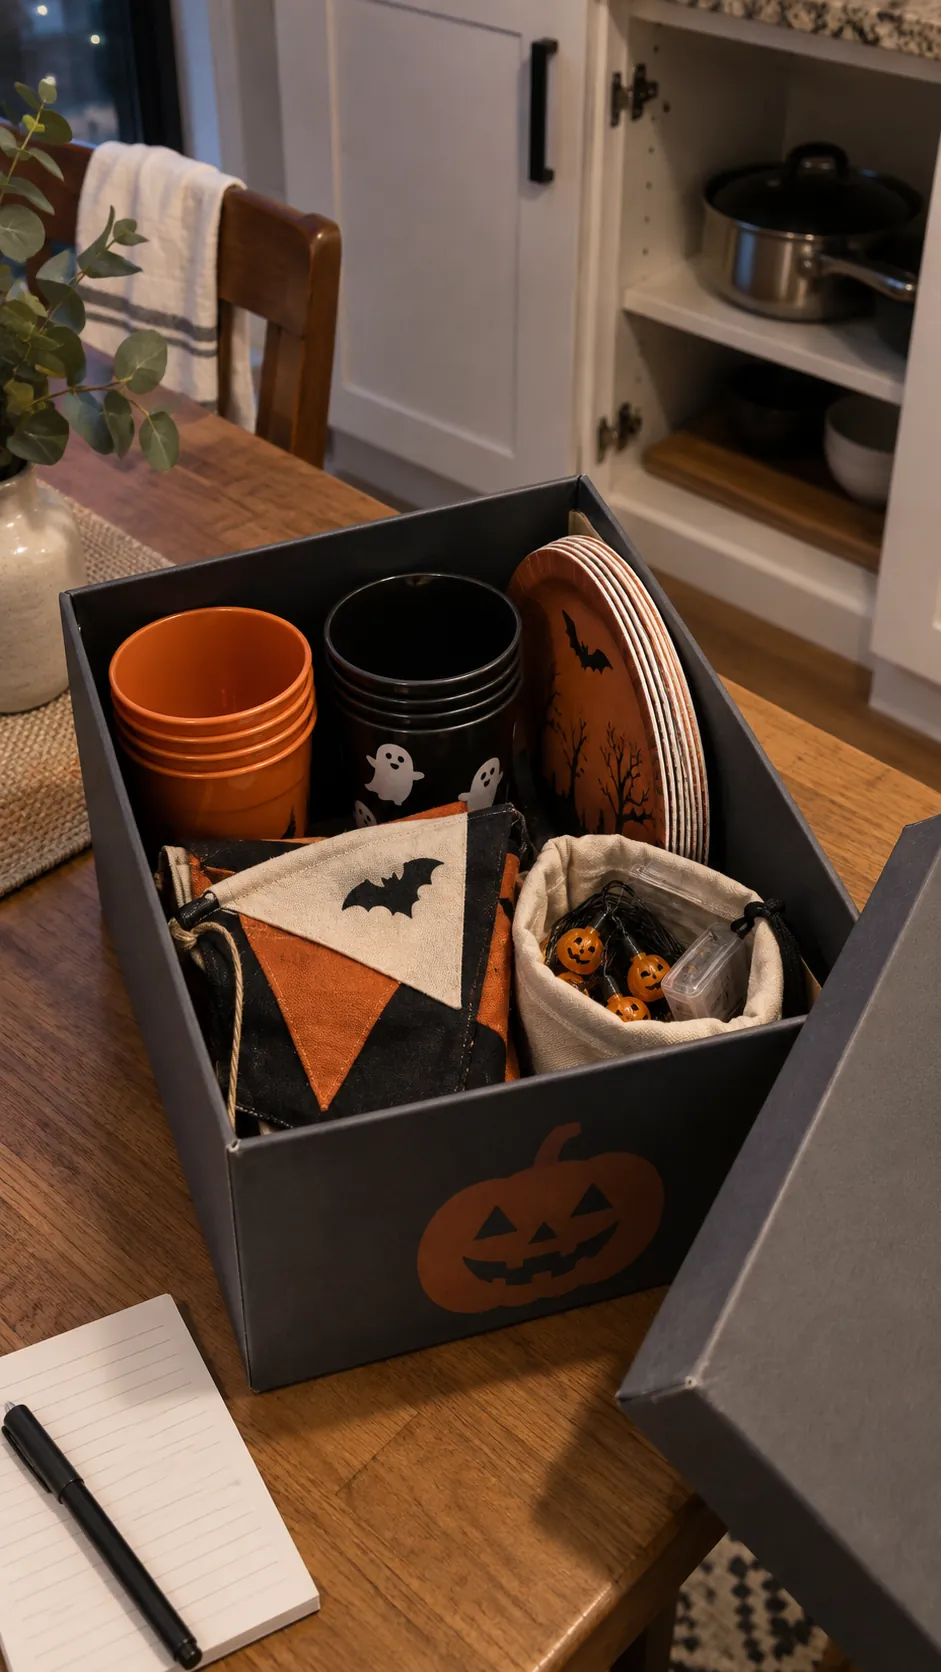
Once everything is clean and dry, return reusable pieces to one labeled box by function. Put delicate lights in a small inner pouch and stand flat paper goods against a firm side. Note what ran short so the next event starts with a useful inventory. Store the box where it does not displace daily cookware or block access to the pantry.