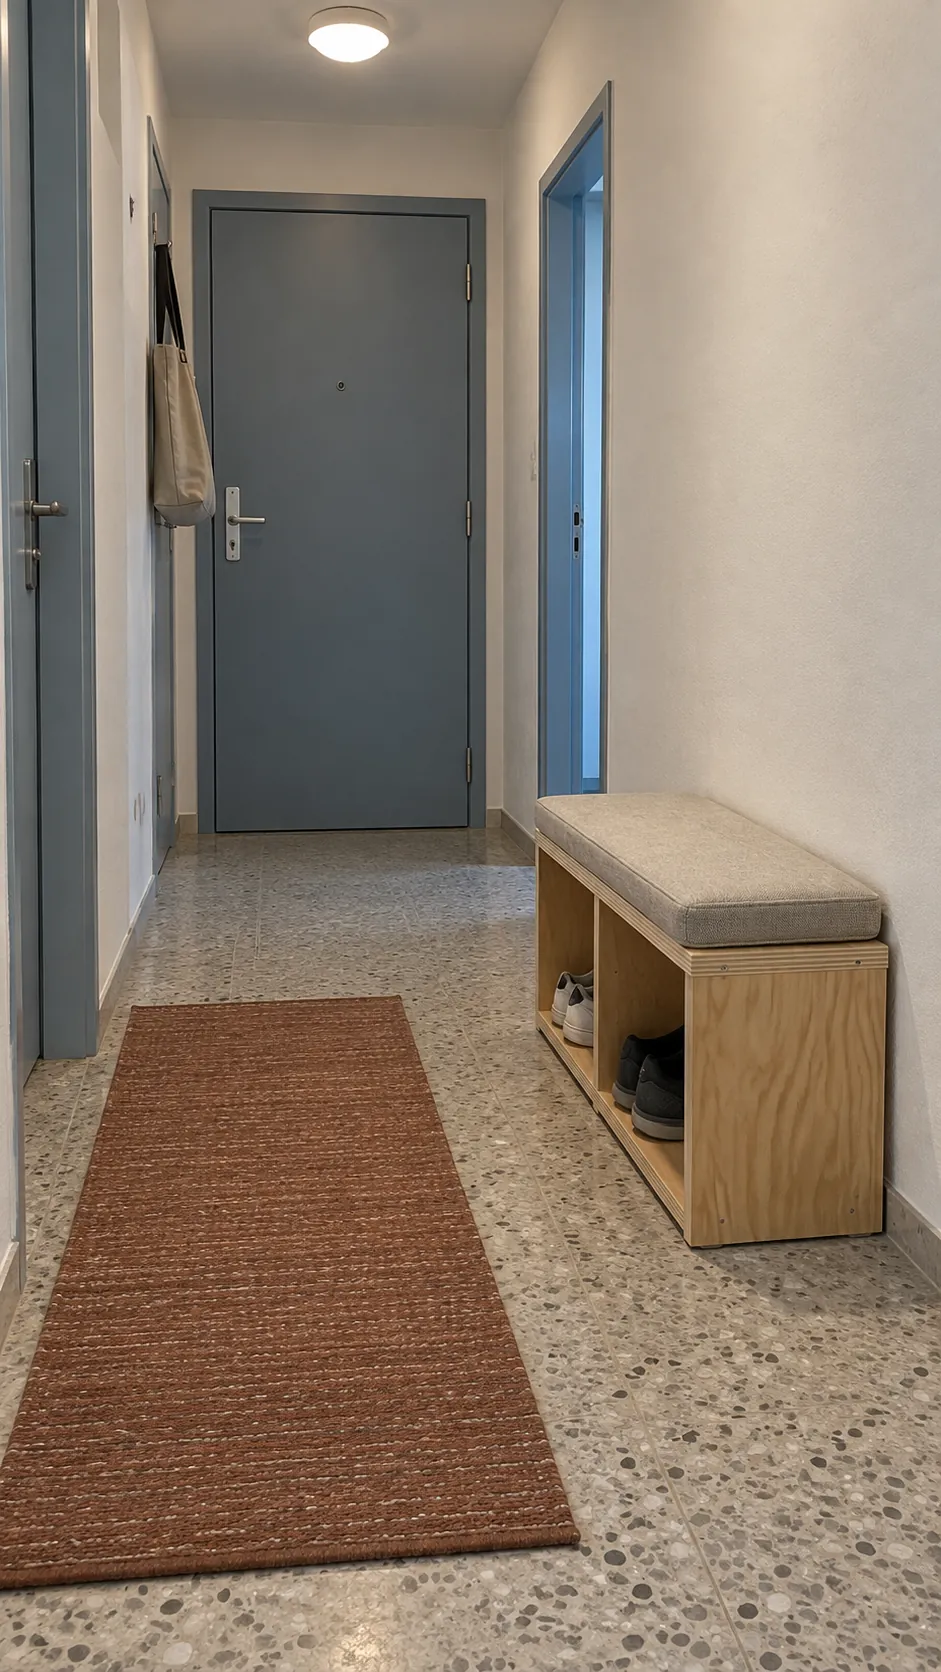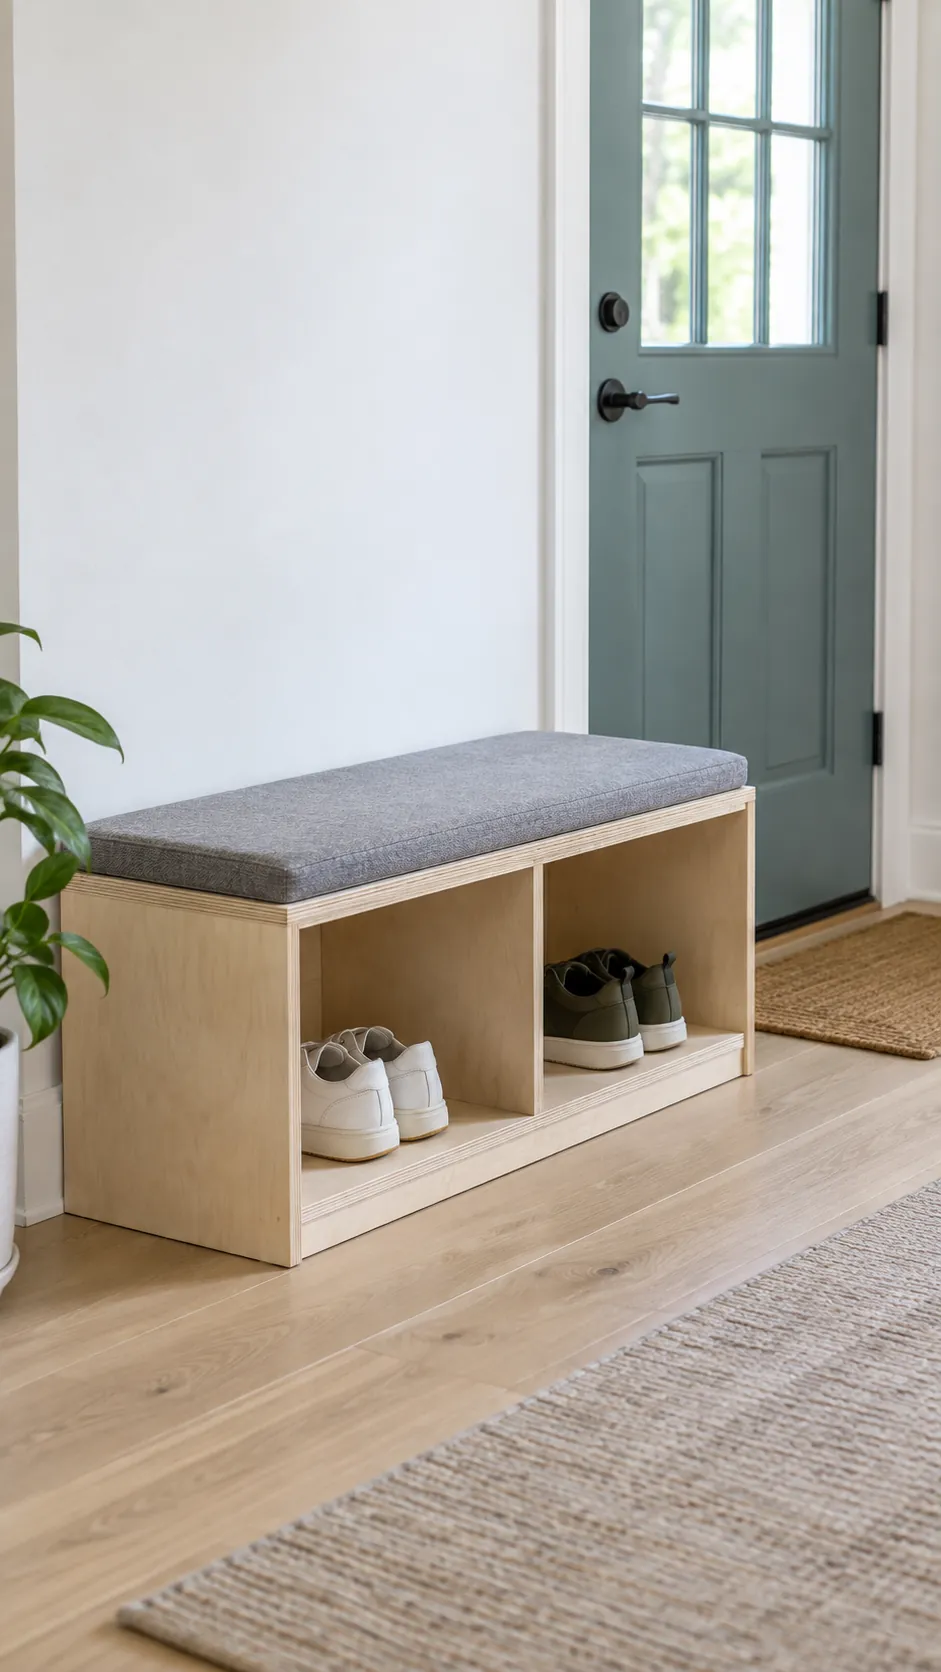
The place where you take off your shoes needs two things: somewhere to sit and somewhere the next person will not trip. A compact plywood box with open compartments handles both, provided the seat is supported and the frame cannot wobble sideways.
Choose the footprint before buying wood
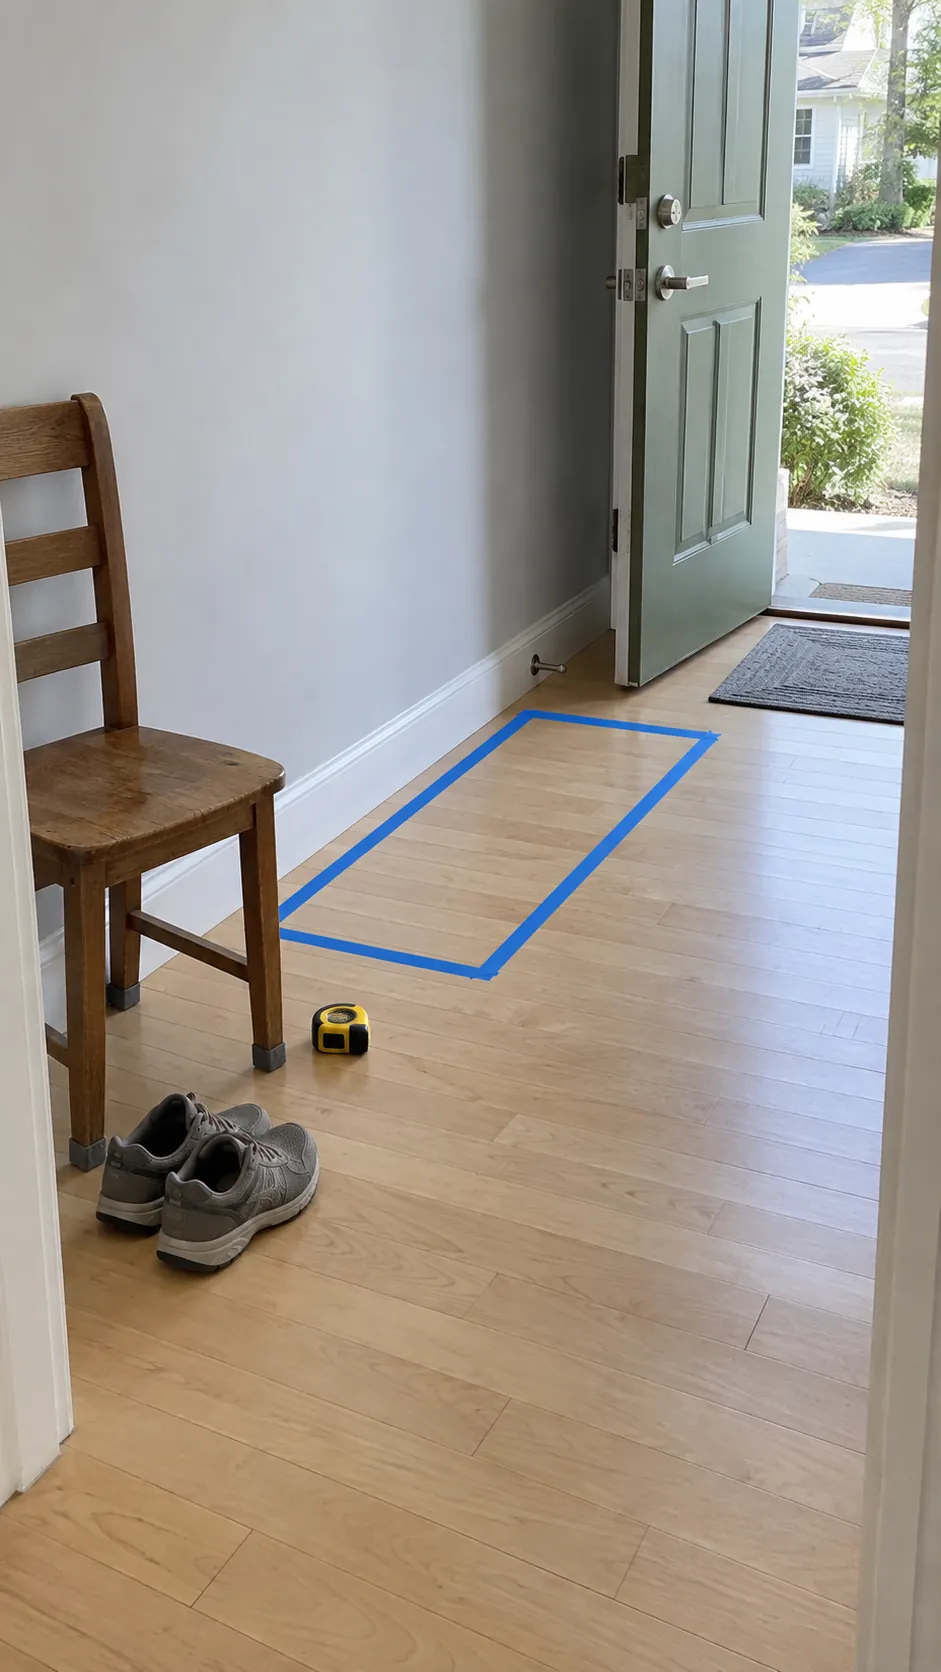
A bench can solve a shoe pile and still make the doorway harder to use. Measure the available wall, open the door fully, and mark the proposed footprint with tape. Sit on a chair near that spot to check whether you can bend forward to put on shoes without blocking the route through the hall.
For this example, the finished wooden bench is 36 inches wide, 14 inches deep, and 18 inches high without a cushion. It has a top, two full depth side panels, one center divider, and two open shoe compartments. This is a small hallway bench for sitting briefly, not a climbing platform or a rated commercial seat.
Use a cut list that accounts for plywood thickness
Use sound furniture grade plywood, wood glue, suitable wood screws, and a full back panel to resist sideways movement. Avoid particleboard, damaged plywood, and boards with loose knots at joints. You will also need a tape measure, square, clamps, drill, countersink bit, sanding equipment, and a saw with a suitable guide. Wear eye protection and use dust control and hearing protection when cutting.
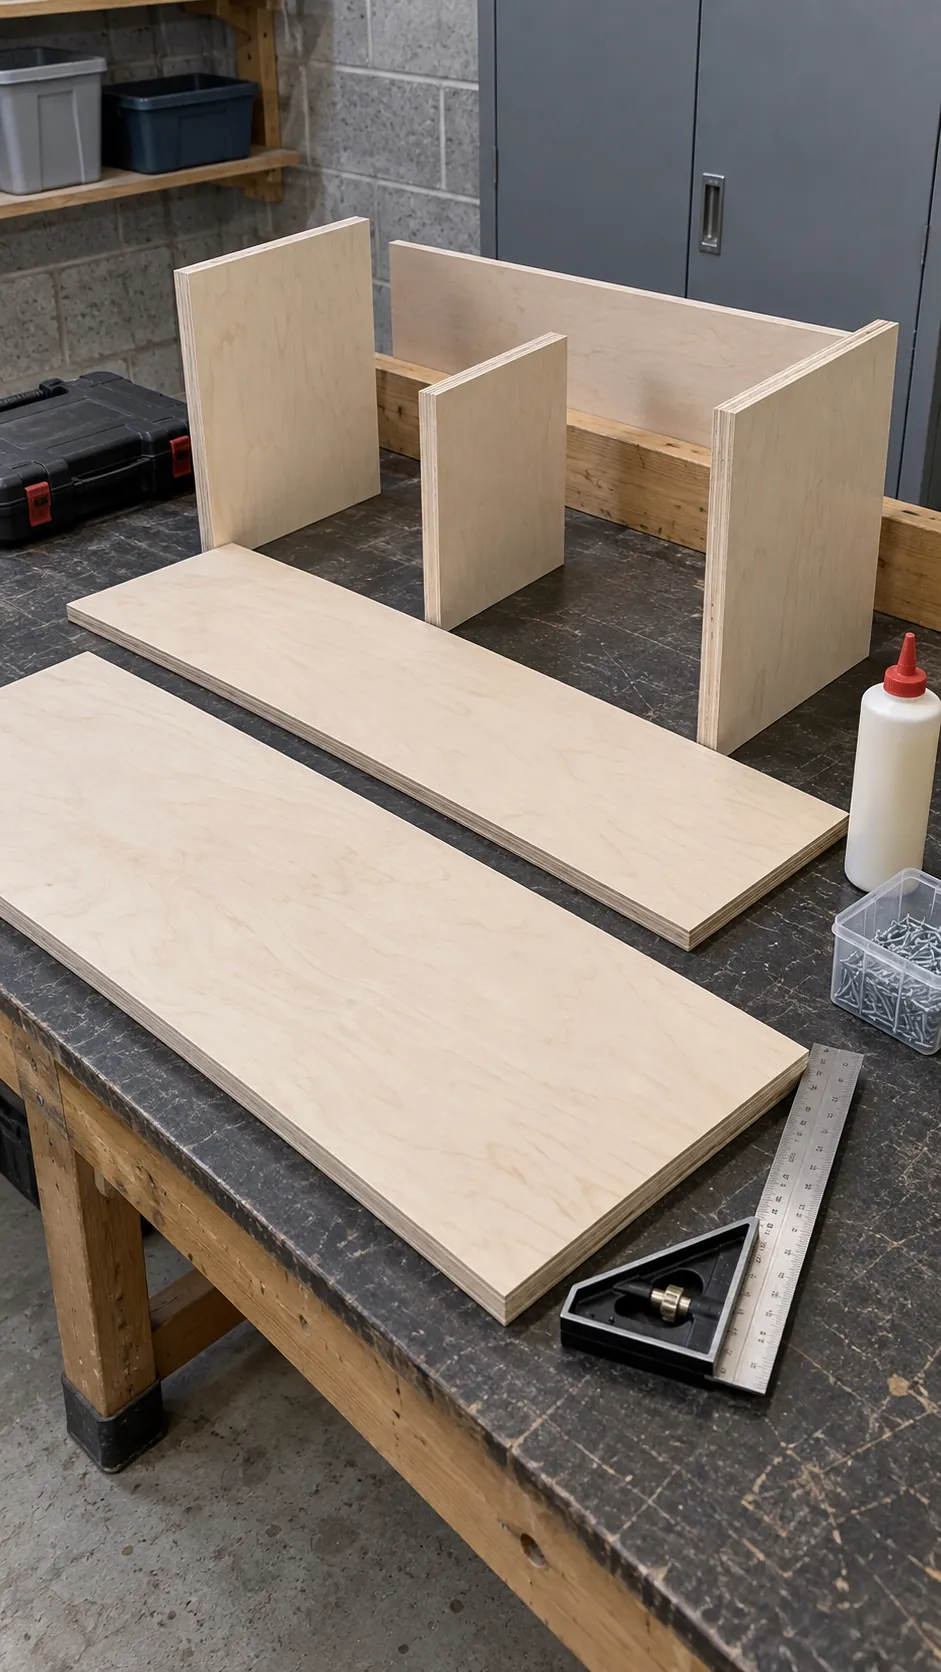
The example assumes plywood that measures exactly 3/4 inch thick. Cut one top at 36 by 14 inches, two sides at 17 1/4 by 14 inches, one divider at 16 1/2 by 14 inches, and one bottom at 34 1/2 by 14 inches. Cut a 1/4 inch plywood back at 36 by 17 1/4 inches. The back adds 1/4 inch to the overall depth, so the finished footprint is 14 1/4 inches deep.
The top sits over the sides. The bottom fits between them with its underside flush with their lower edges, and the divider rests on the bottom directly beneath the top. Each opening is 16 7/8 inches wide and 16 1/2 inches high. Actual plywood often differs from its nominal thickness: measure it first, adjust the fitted pieces, and cut the back only after checking the assembled carcass.
Cut and sand while the pieces are easy to reach
Mark each piece with its name on an edge that will be hidden. Support the entire sheet and both sides of each cut so the offcut cannot fall or pinch the blade. Follow the saw manufacturer’s setup and blade depth instructions, and keep clamps outside the cut path. A helper can assist with moving the sheet; do not ask someone to hold an unstable offcut close to the blade.
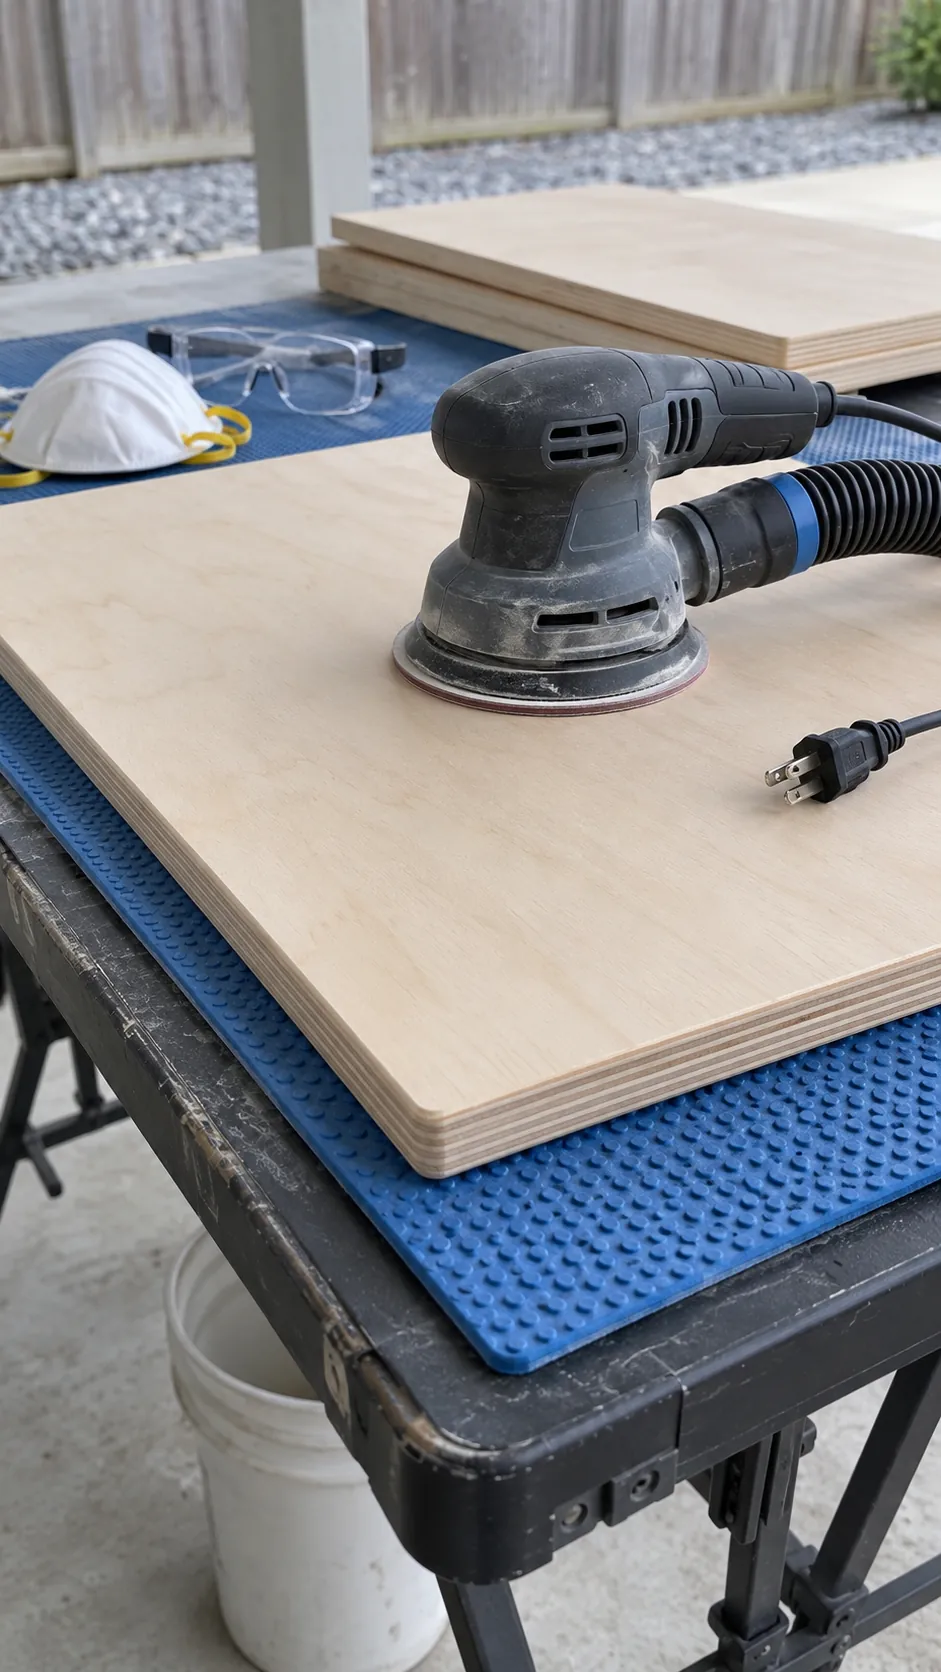
Dry fit the pieces before applying glue. Sand the inside faces now, because the center divider will make them harder to reach later. Ease exposed edges just enough to remove sharp corners, and remove dust before assembly.
Assemble the box square, then support the seat
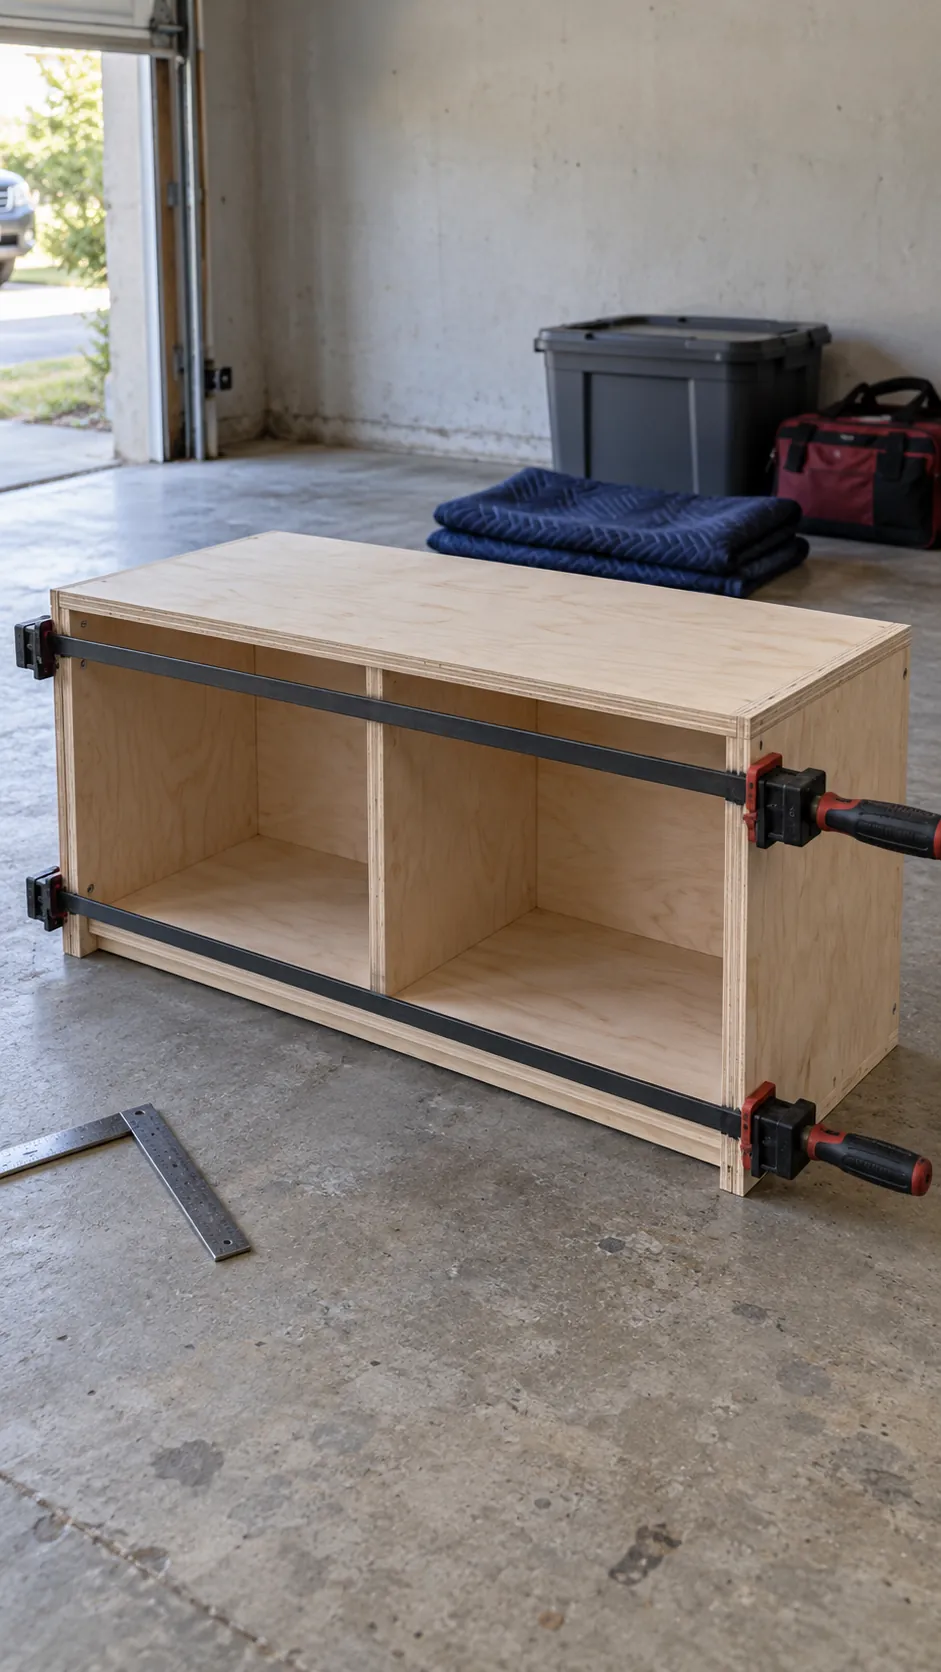
Start with the two sides and the bottom on a flat work surface. Apply glue to the mating edges, clamp the pieces, and drill pilot holes through the side panels into the bottom edges. Use screws intended for plywood furniture assembly and a length that gives secure engagement without emerging from the opposite face. Keep each pilot centered in the receiving plywood edge, countersink gently, and stop if the layers split.
Position the divider halfway across the inside width and fasten it through the bottom. Add the top with equal alignment at the outside side edges, then glue and fasten it to both sides and the divider. Check the manufacturer’s guidance for screw spacing and the chosen joint system; a few badly placed screws are not a substitute for sound joints. Measure both diagonals before the glue sets and adjust the clamps until they match.
The center divider carries the middle of the seat down to the bottom rather than leaving a wide unsupported span. Fit the full back across the rear of the sides and bottom, beneath the top, while the assembly remains square. Glue and fasten it with appropriate small fasteners into all three vertical panels and the bottom. This panel limits racking; it does not establish a tested weight capacity.
Finish for damp shoes and everyday cleaning
Fill countersunk holes if you want a painted finish, then sand the exterior and remove all sanding dust. Seal the exposed plywood edges as well as the broad faces. Apply a finish suitable for indoor furniture according to its label, including the stated drying, ventilation, and curing requirements. Do not put shoes or a cushion on a coating that has not cured.
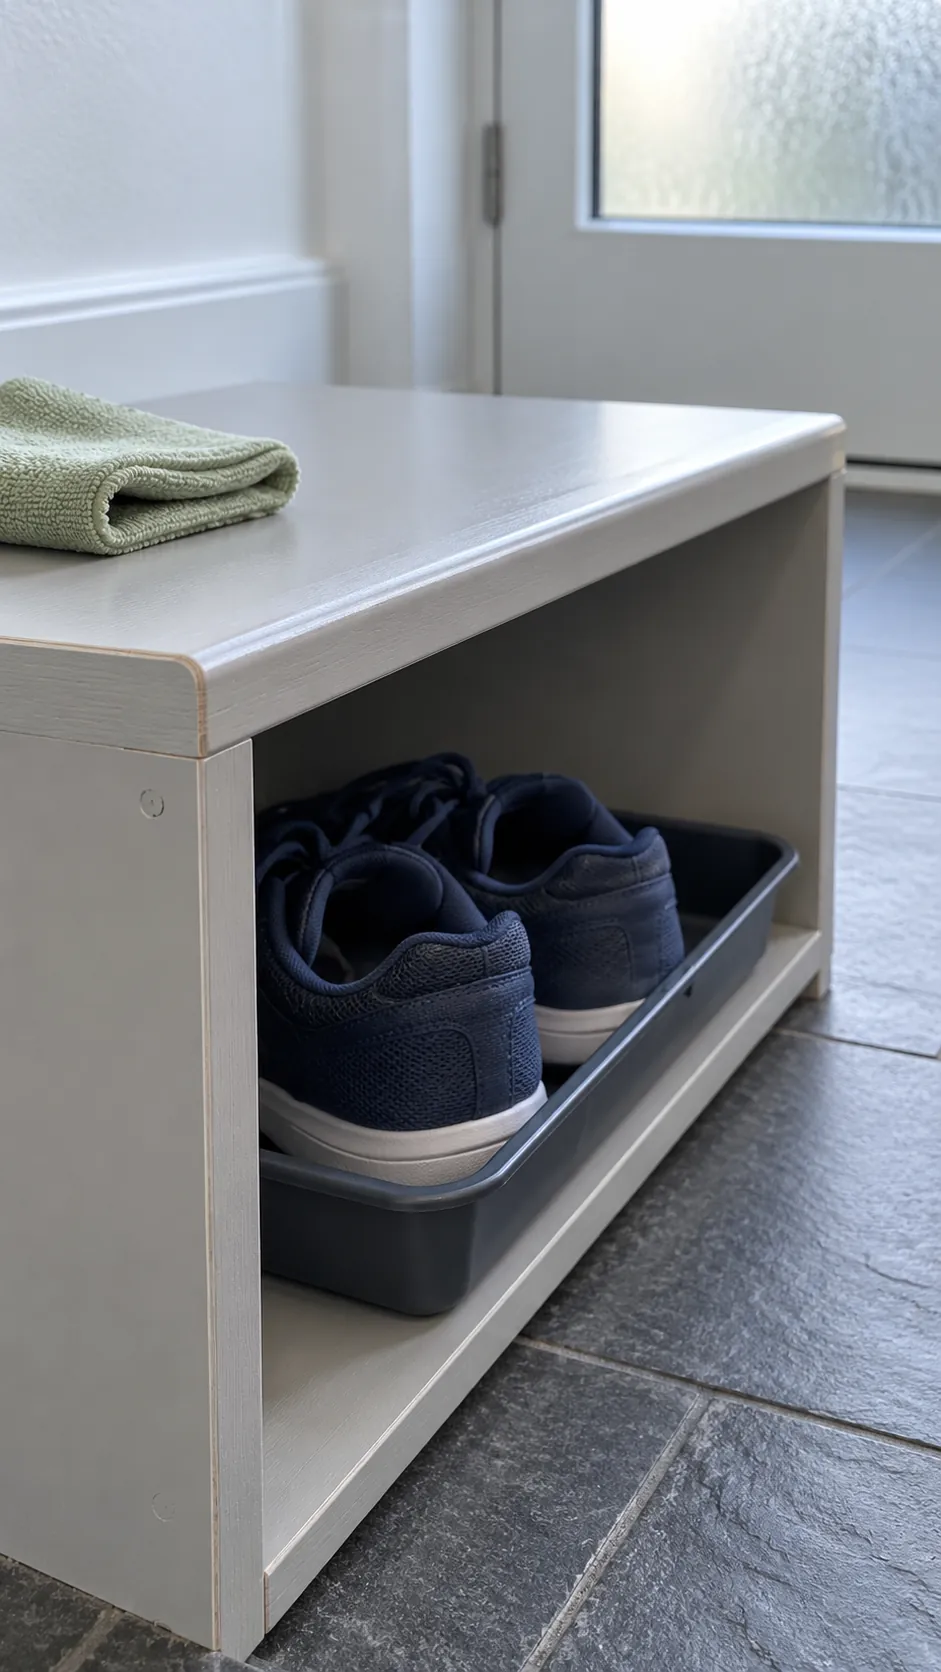
A removable tray protects the bottom from grit and moisture, but wet footwear should dry somewhere ventilated before being stored. Keep the cubbies open enough to wipe out without dismantling the bench. A thin removable cushion can soften the seat; include its thickness when deciding the final sitting height.
Check stability before making it part of the doorway
Place the finished bench on a level surface and check every joint for gaps, cracks, loose fasteners, or movement. Press gently at each corner and check for rocking before anyone sits. If the top flexes, the frame racks, or the plywood separates, take the bench out of use and repair the cause. Get an experienced woodworker to inspect an unfamiliar joint or any uncertain seat construction; this example has no verified load rating.
For an entryway bench with cubbies, keep only the shoes used most often in the two openings and store seasonal pairs elsewhere. A lift top storage bench requires a different design with suitable hinges and protection against a falling lid, so do not improvise one by removing the fastened top from this build. Leave the walking route clear and avoid treating wall anchoring as a cure for weak joinery. The useful test is whether you can sit, reach your shoes, and stand again without shifting the bench or moving a pile.