Keeping a bath often comes down to the entrance and the route past the sink, rather than the amount of tile you can see. Start with finished room measurements, the door position, the toilet drain, and the exact bathtub model. Here, full size means a conventional 60 inch alcove tub, not a large freestanding bath; the photos illustrate arrangements and do not replace a measured construction drawing. Clearances depend on local requirements and the selected fixtures, so have a qualified installer check the plan before work begins.
End wall tub with one plumbing wall
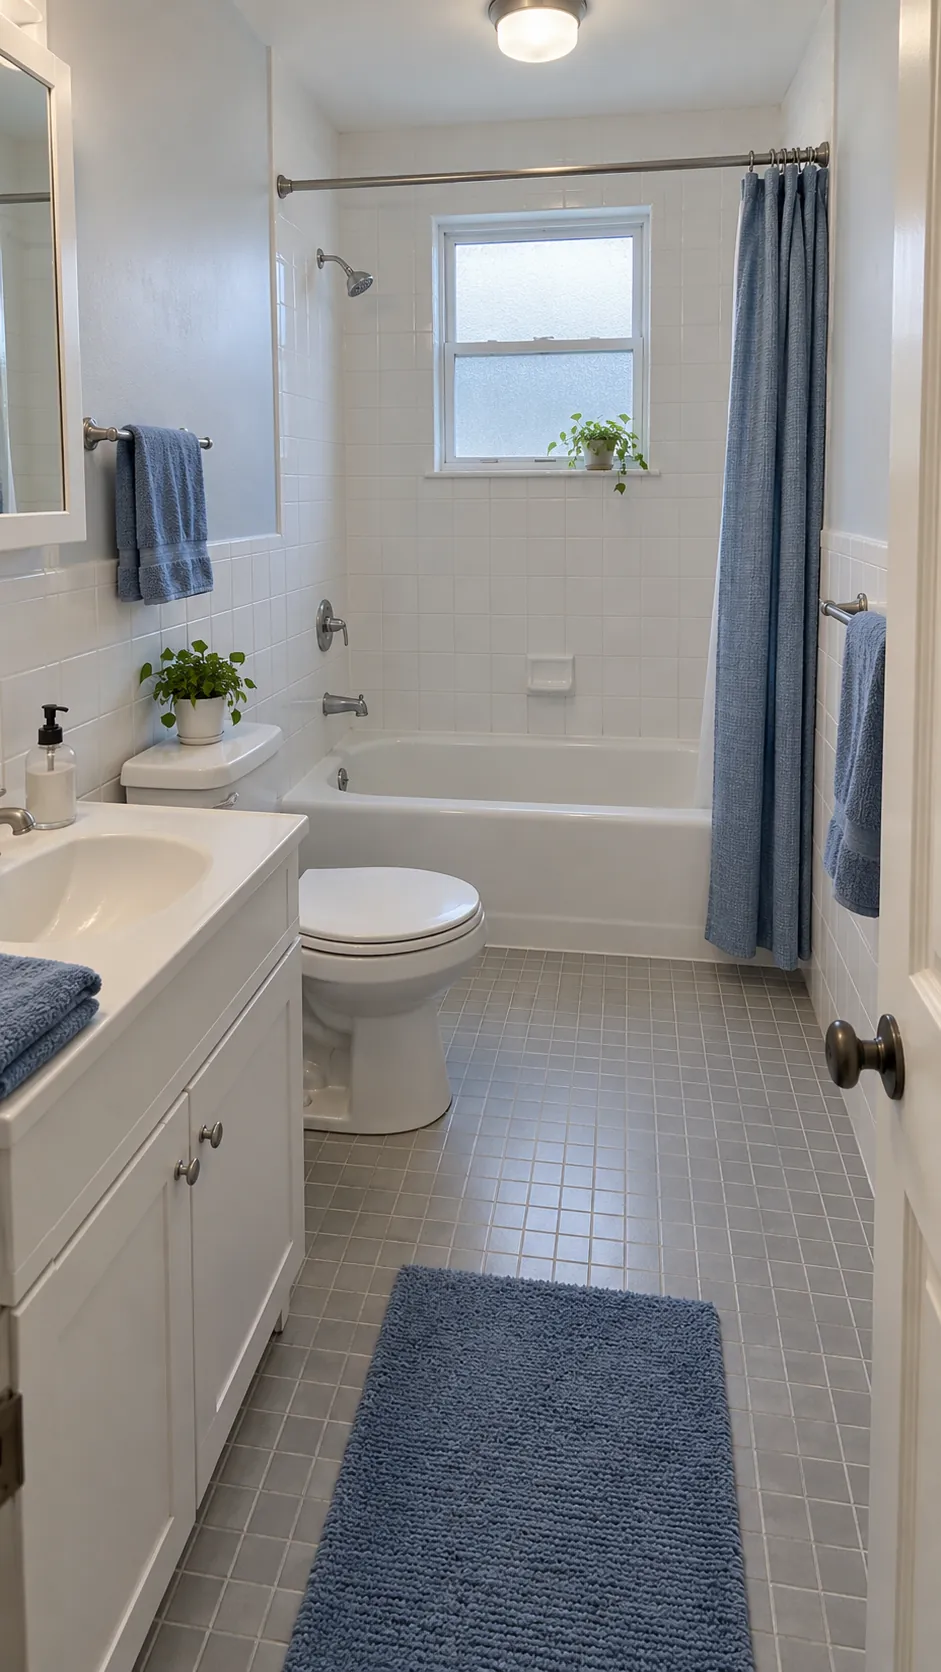
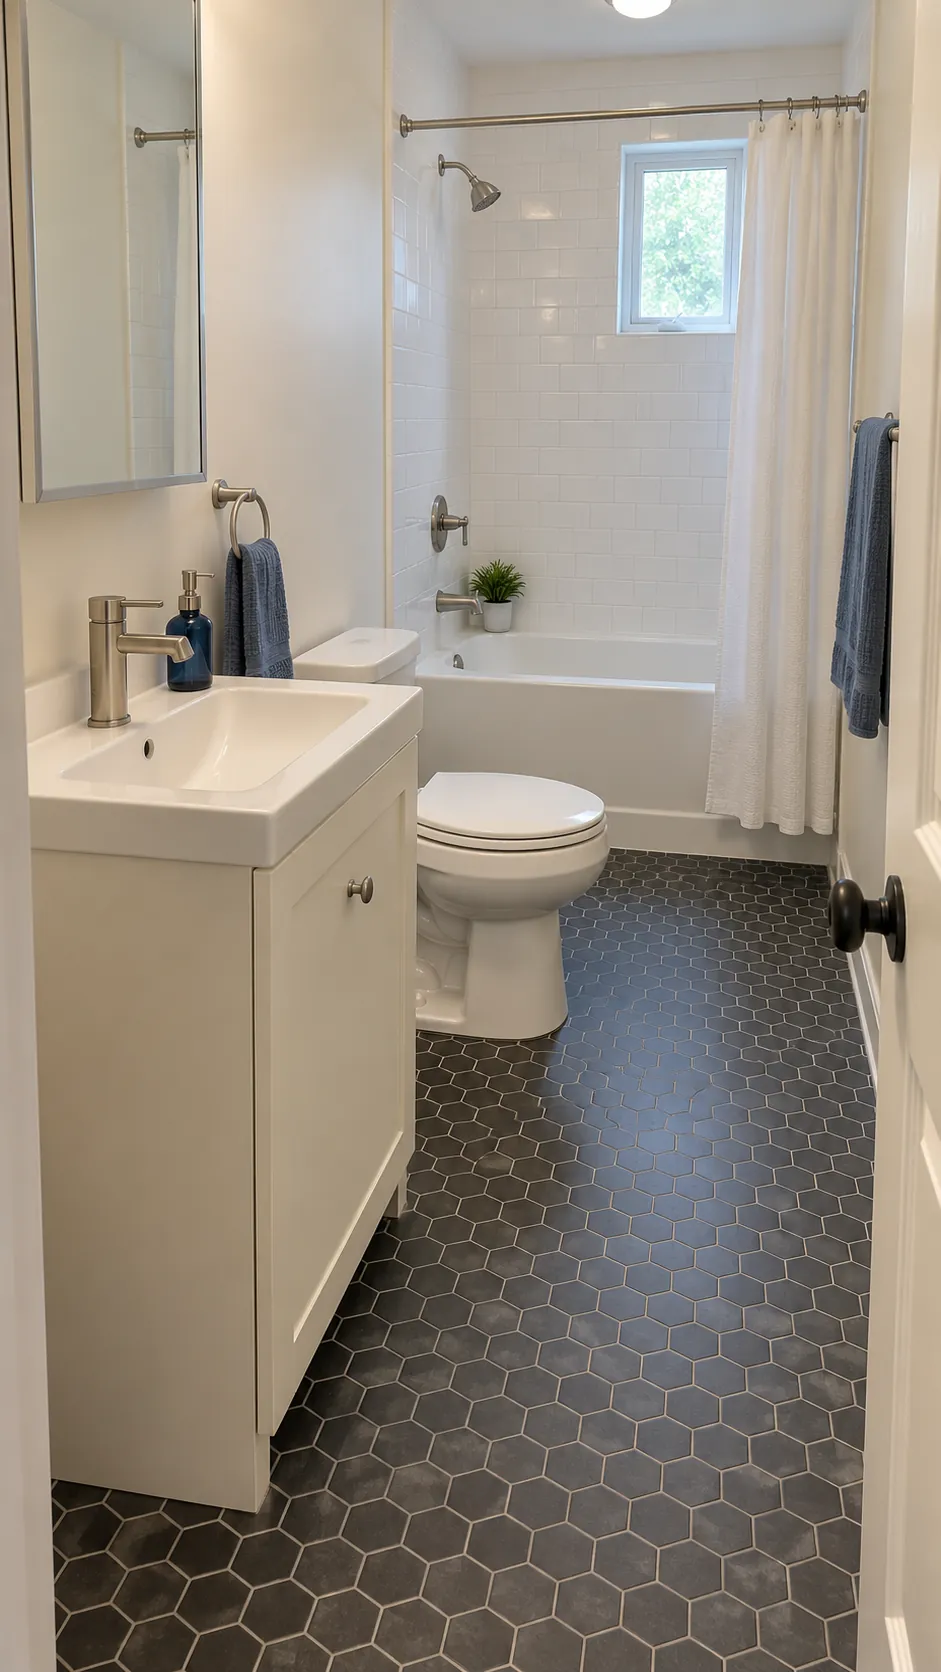
Place a conventional 60 inch alcove tub across the far 5 foot wall, then put the toilet and a compact vanity along one 8 foot wall. This arrangement leaves a continuous route beside the fixtures and can reduce plumbing changes when the existing supplies already share that wall. A nominal 5 foot room does not prove that a particular tub fits, because the manufacturer specifies the framing opening and finished surfaces consume space. Measure the actual alcove and select the tub before closing any walls. Keep the toilet approach and vanity drawers clear of the entrance door, rather than treating the empty strip of floor as spare storage.
Mirrored fixture run for a corner entrance
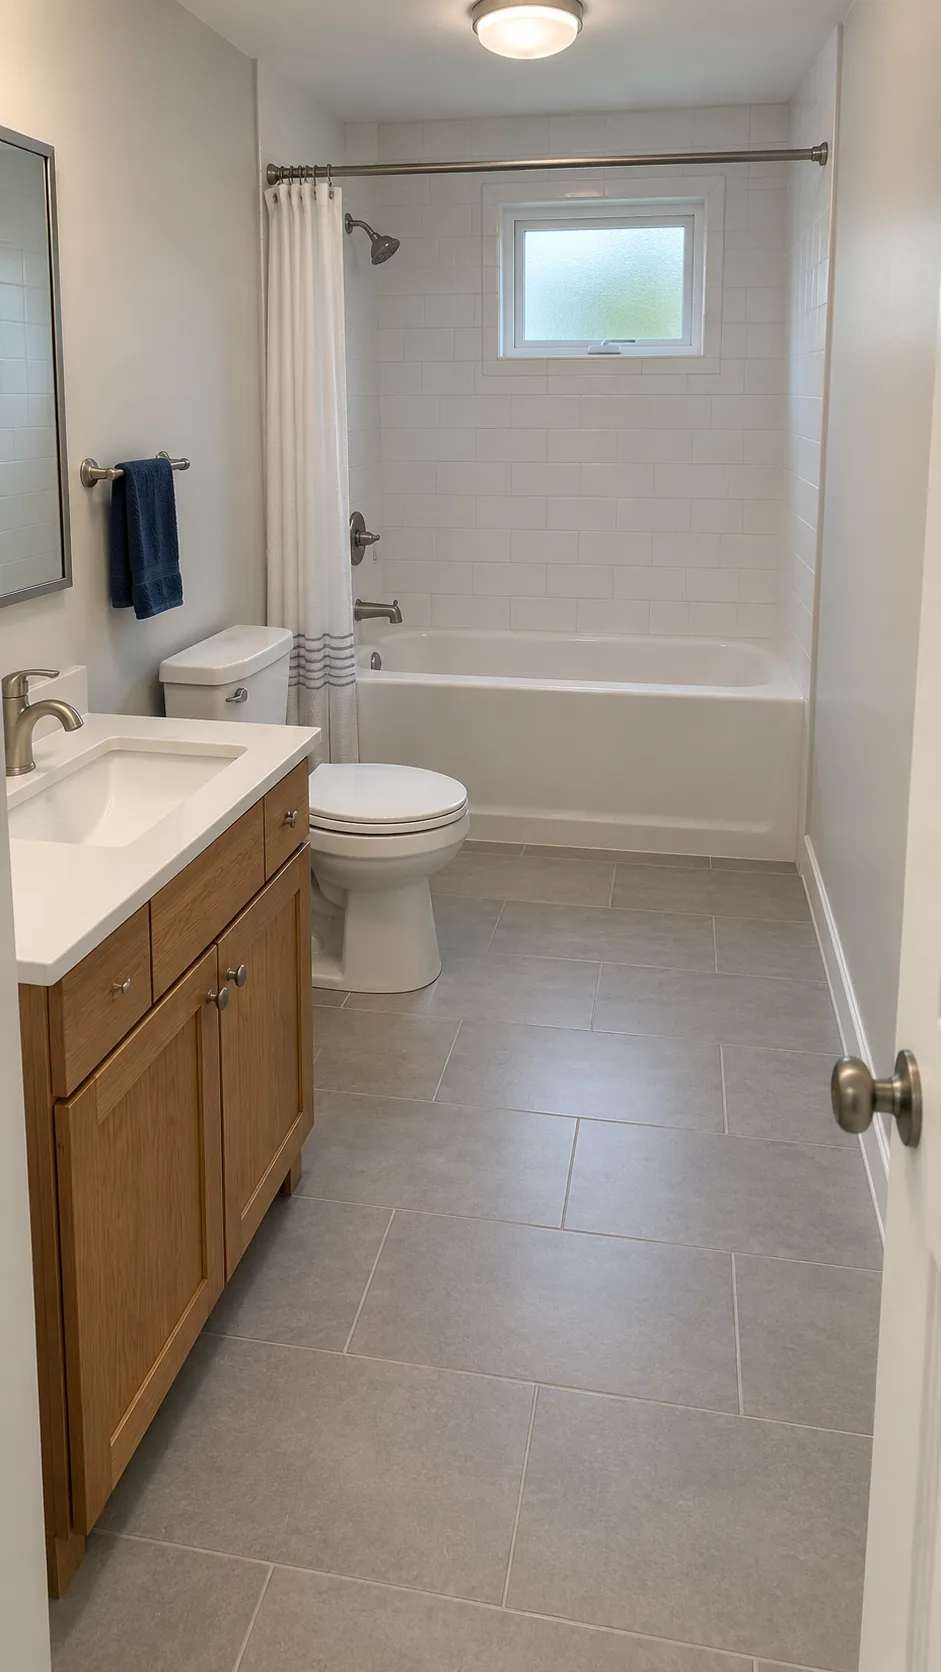
Keep the tub across the rear wall but move the vanity and toilet run to the opposite long wall when the entrance is nearer that corner. The mirror image can put the sink within reach of the doorway while keeping the toilet farther inside. Check the door leaf at its widest swing, since changing fixture sides can exchange one collision for another.
Moving the toilet across the room may require a new drain route that is difficult in a slab or a shallow floor cavity. Ask the plumber to confirm that route before choosing this version of the small bathroom floor plan. Keep access to any existing service shutoffs in the new arrangement.
Pocket entry with a tub at the back
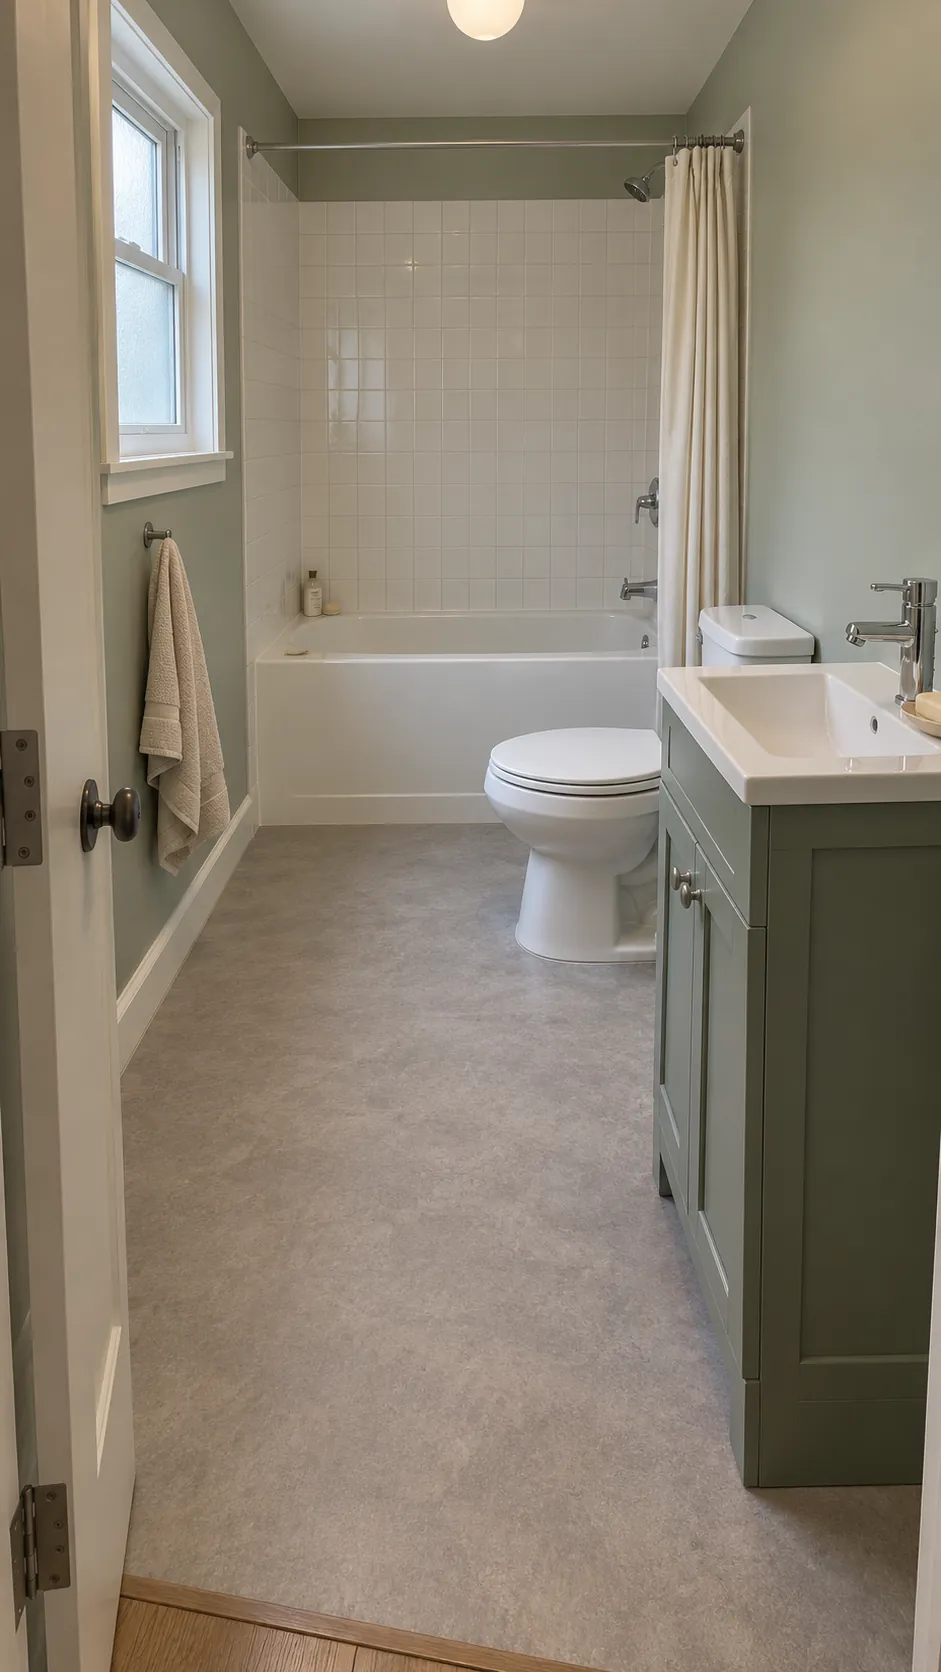
A pocket door can remove an entrance swing from the floor while the bathtub stays across the far end. It suits an entrance wall with enough uninterrupted length for the leaf to slide fully into its cavity. The pocket cannot share its space with ordinary plumbing, wiring, or wall fixings, so check the wall construction before assuming the conversion is simple. Put the vanity outside the pocket wall and choose a handle that is practical to use with wet hands. This option changes access rather than creating extra room around the toilet.
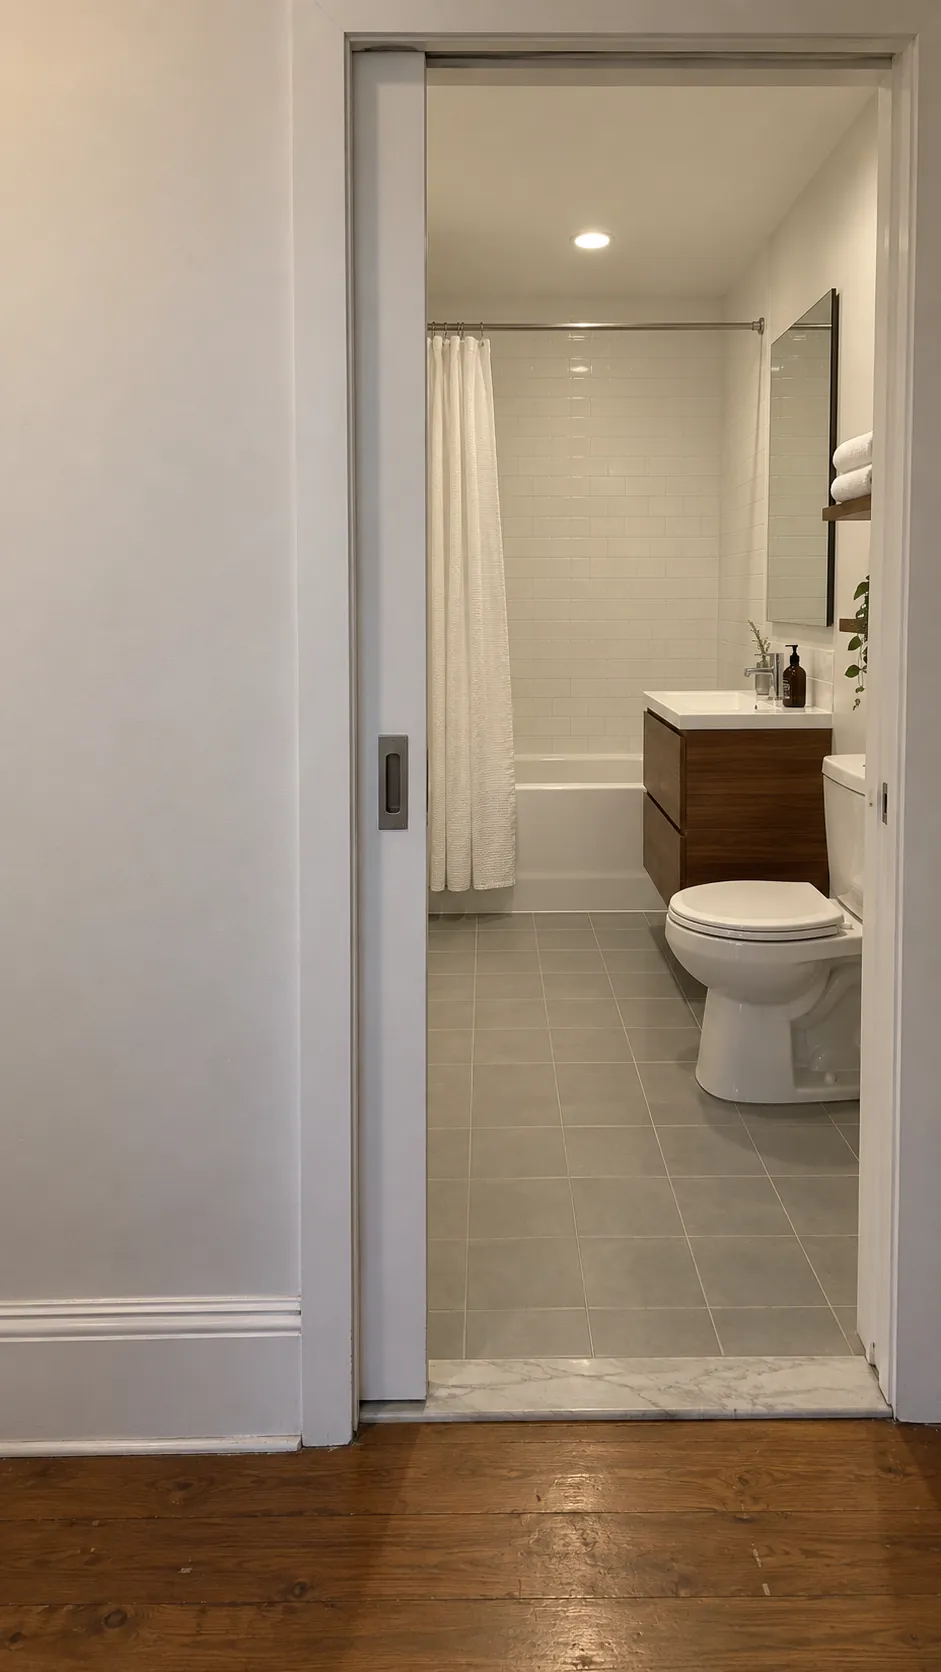
Outward opening door with a clear hall
Let the entry door open into the hall when that swing can stay clear of people, nearby doors, and the required circulation route. Inside, retain the end wall tub and arrange a compact sink followed by the toilet along the existing plumbing wall. The benefit is a bathroom entry that does not sweep across the sink approach. The tradeoff moves outside the room, where a narrow corridor may make the idea unsuitable. Review local requirements and the household traffic pattern before changing the hinges.
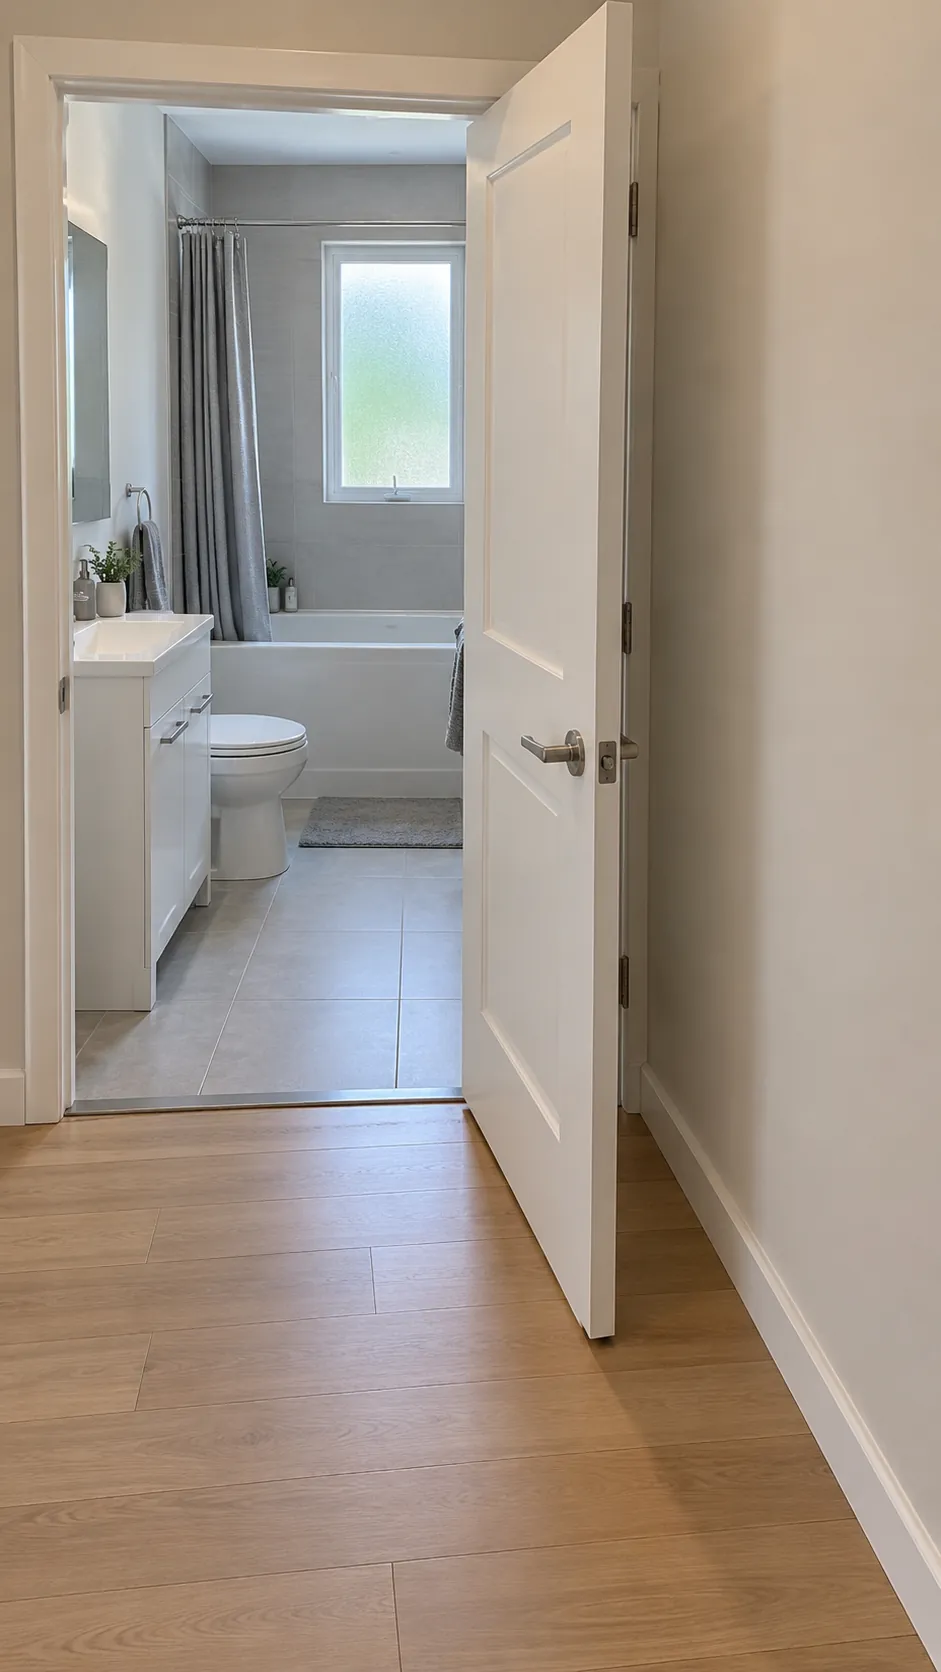
Shallow vanity beside the entrance
Use a shallow vanity near the entrance, with the toilet farther along the same wall and the full length tub across the back. Reducing cabinet depth can improve the route past the basin without changing the bathtub footprint. Choose the basin and tap together so the shorter counter does not create a splash problem or leave too little hand space.
Tape the proposed cabinet outline on the floor and rehearse opening its drawers while someone passes. A smaller cabinet also needs a deliberate storage plan, such as a recessed medicine cabinet in a suitable wall. Check the wall cavity for services before specifying the recess.
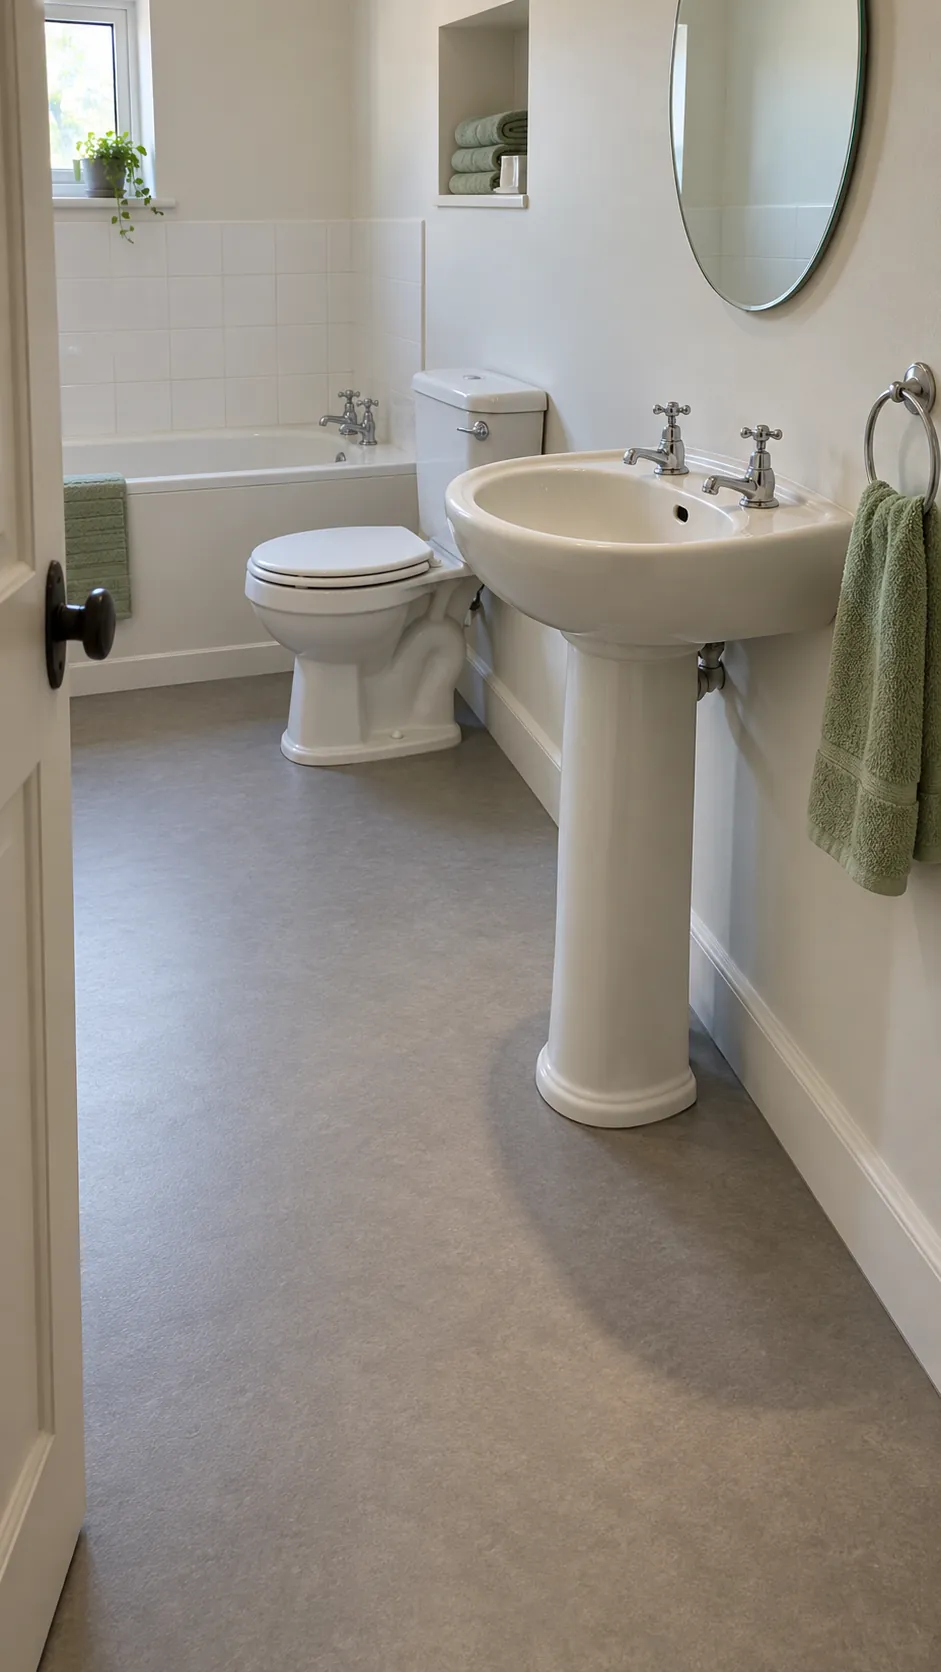
Pedestal basin for an unobstructed approach
A pedestal basin can replace the front vanity in the conventional tub, toilet, and sink sequence. Its narrow base removes cabinet corners from the entrance path, though the bowl still determines the space needed at hand height. Check the underside plumbing and use a basin with enough rim area for everyday washing. Store towels outside the route and avoid adding a freestanding basket beside the toilet. This is a useful compact full bathroom option when circulation matters more than enclosed sink storage.
Split walls with a short side entrance
Where the door enters a long wall near the front, test a vanity on the opposite long wall and a toilet on the entry side, with the tub spanning the rear. Splitting the fixtures can give the sink a distinct approach, but their projecting fronts must not pinch the central route. Plot each actual product outline and its required clearances rather than using generic floor plan symbols. The drain and supply lines may now serve two walls, increasing the work beneath the floor. Reject the split layout if the door or toilet approach overlaps the vanity use area.
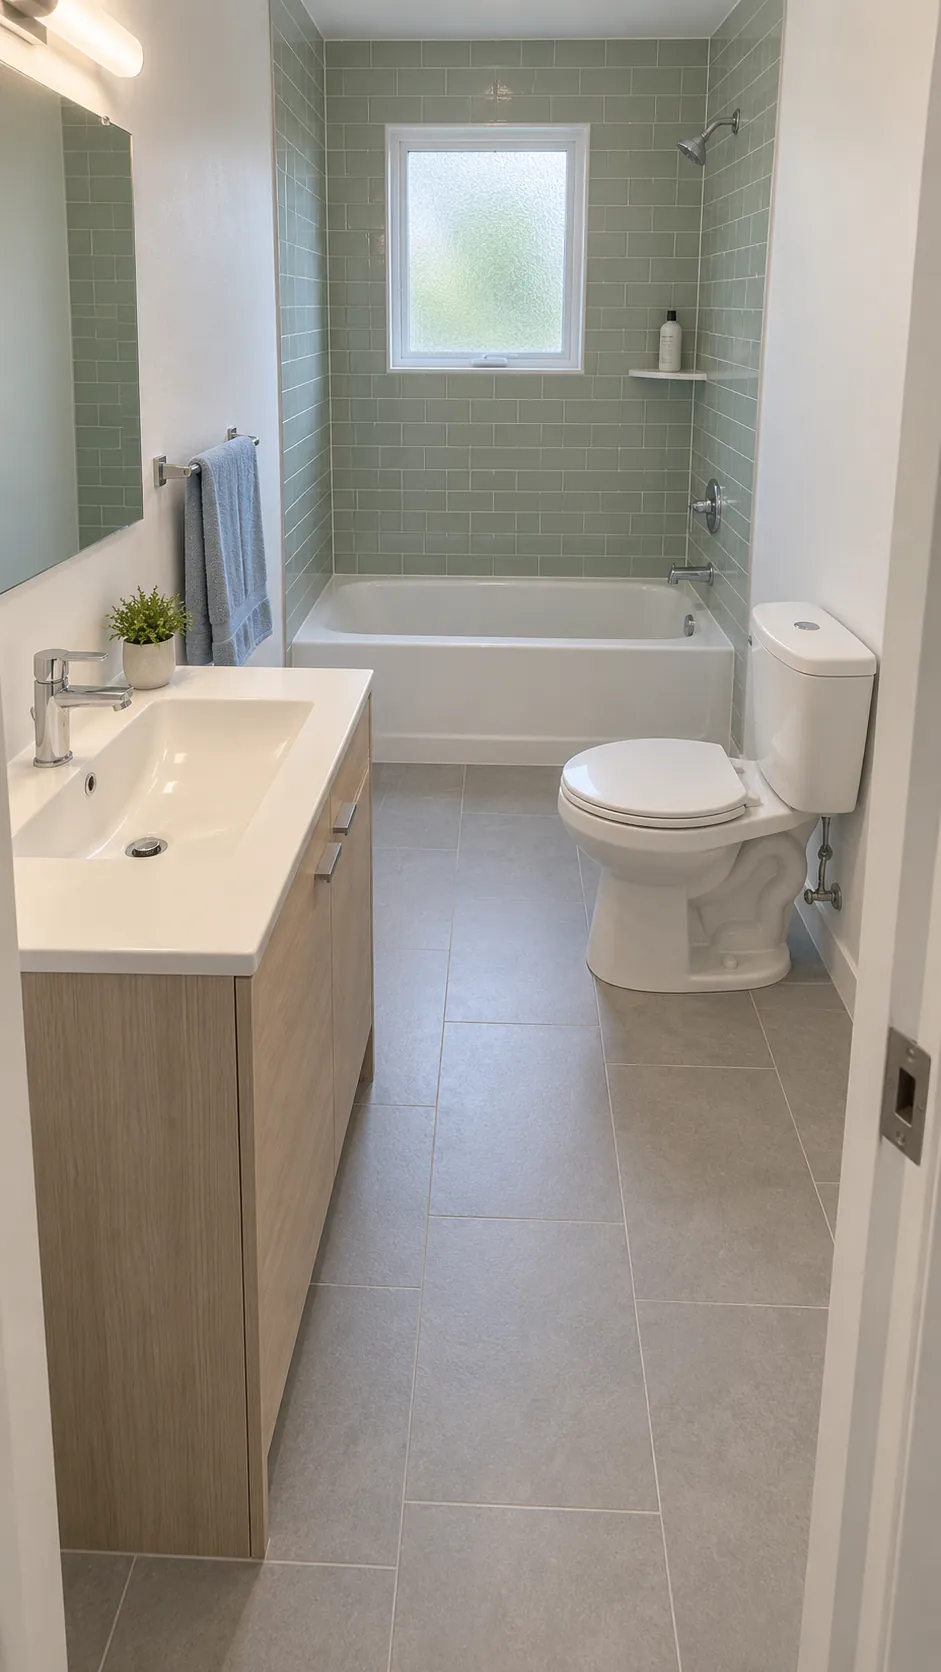
Long wall tub with a compact front zone
A 60 inch tub can run lengthwise along an 8 foot wall when the entrance and existing drain arrangement favor that orientation. Its roughly 30 inch width leaves a narrow strip beside it, so this is a conditional layout rather than a universal improvement. Place a compact basin and toilet in the remaining end zone only if their measured footprints and required approaches fit without overlap. Check the shower curtain position and access to the tub controls as well as the dry floor. If the end zone cannot support comfortable use, return the tub to the short wall instead of forcing the plan.
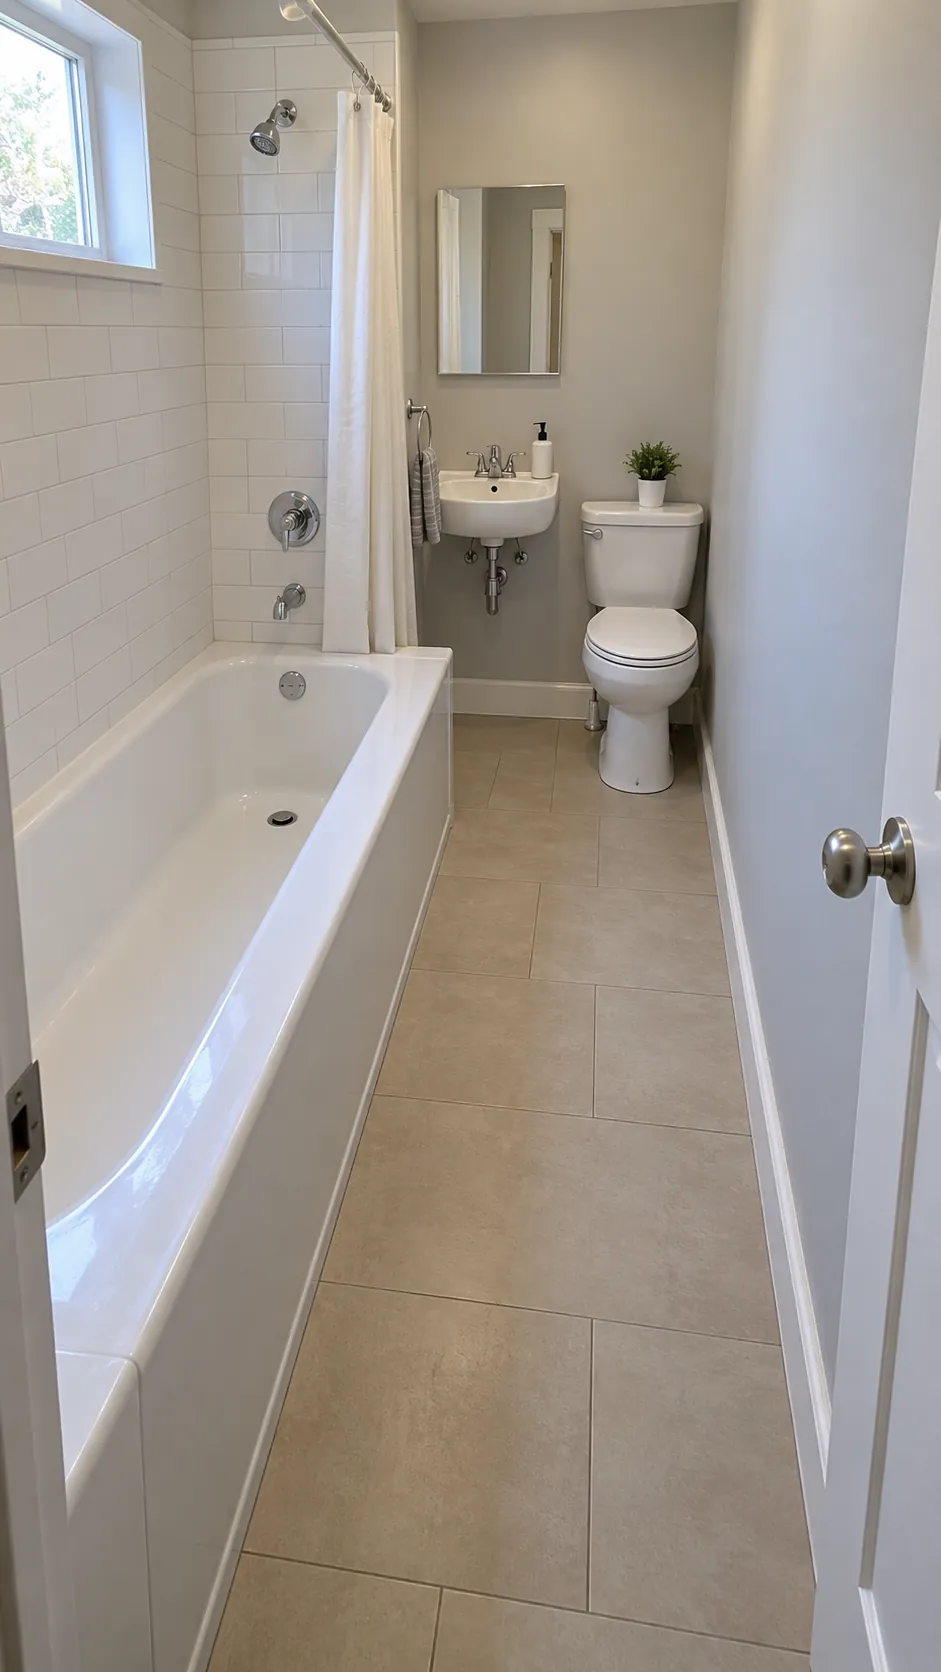
Existing plumbing layout with a sliding bath screen
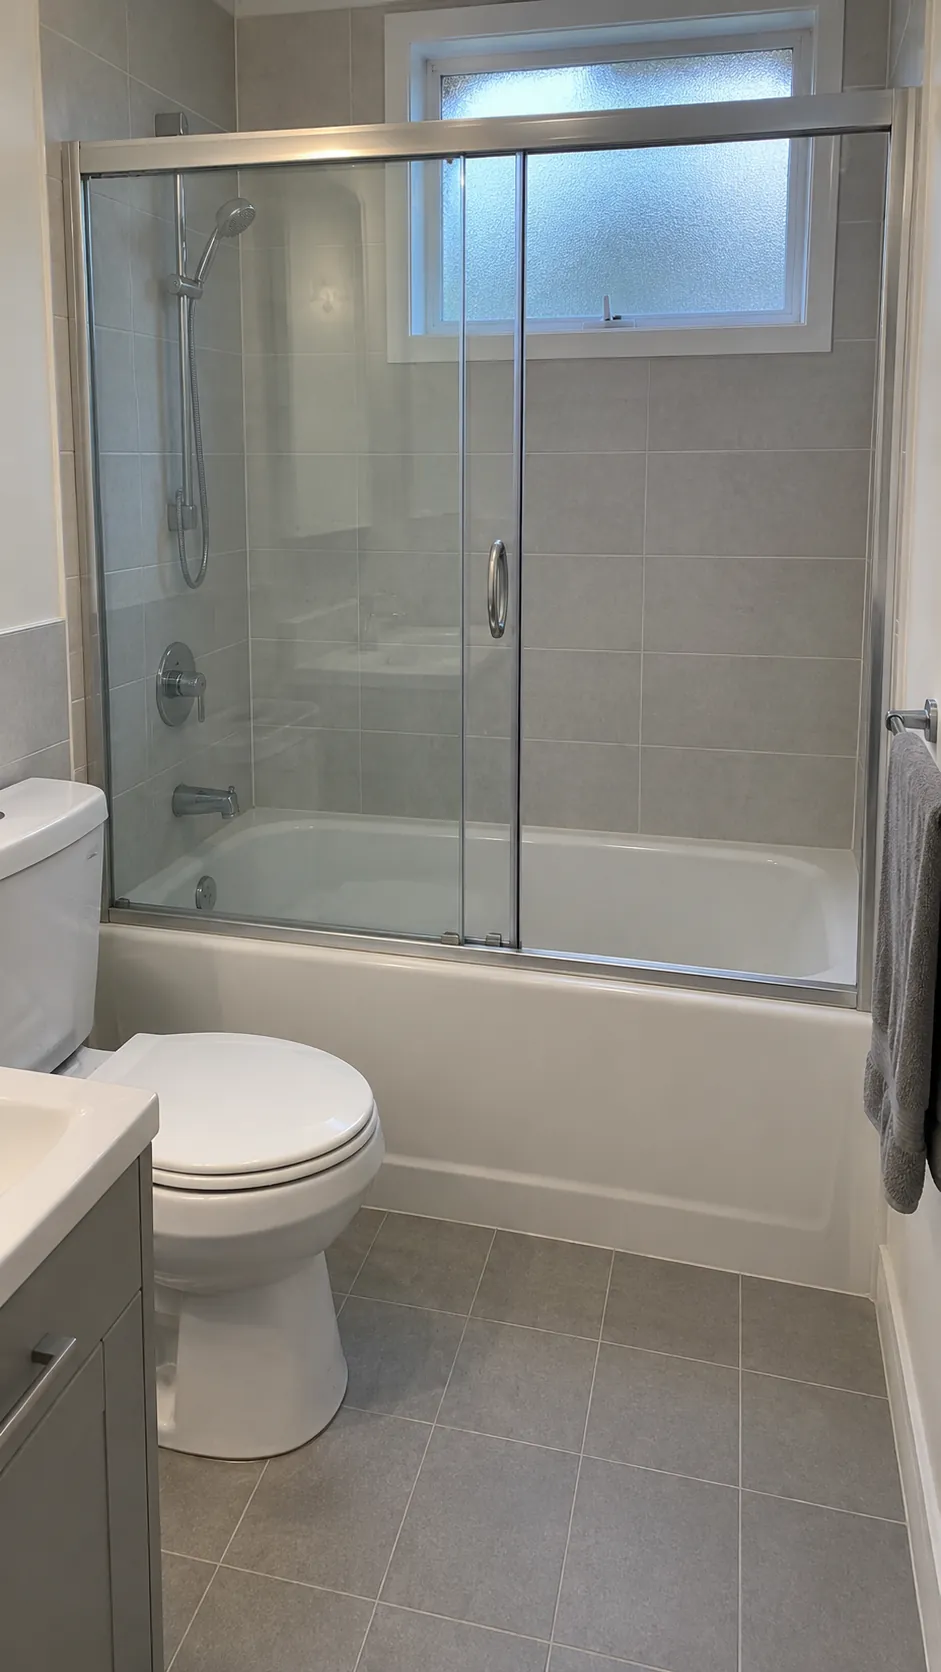
Keep the established end tub, side toilet, and front vanity arrangement when the main conflict comes from a hinged bath screen opening into the room. A compatible sliding screen or a well fitted shower curtain can remove that extra swing while preserving the full size bathtub. Check the screen track, usable entry opening, cleaning access, and the tub manufacturer’s installation conditions.
This approach may avoid a drain relocation that adds cost without improving the floor plan. Before ordering, mark every fixture and door movement on the measured plan and ask the installer to verify local spacing, ventilation, waterproofing, and product requirements. Compare the cost of correcting the screen conflict with the cost of rebuilding the entire fixture arrangement.