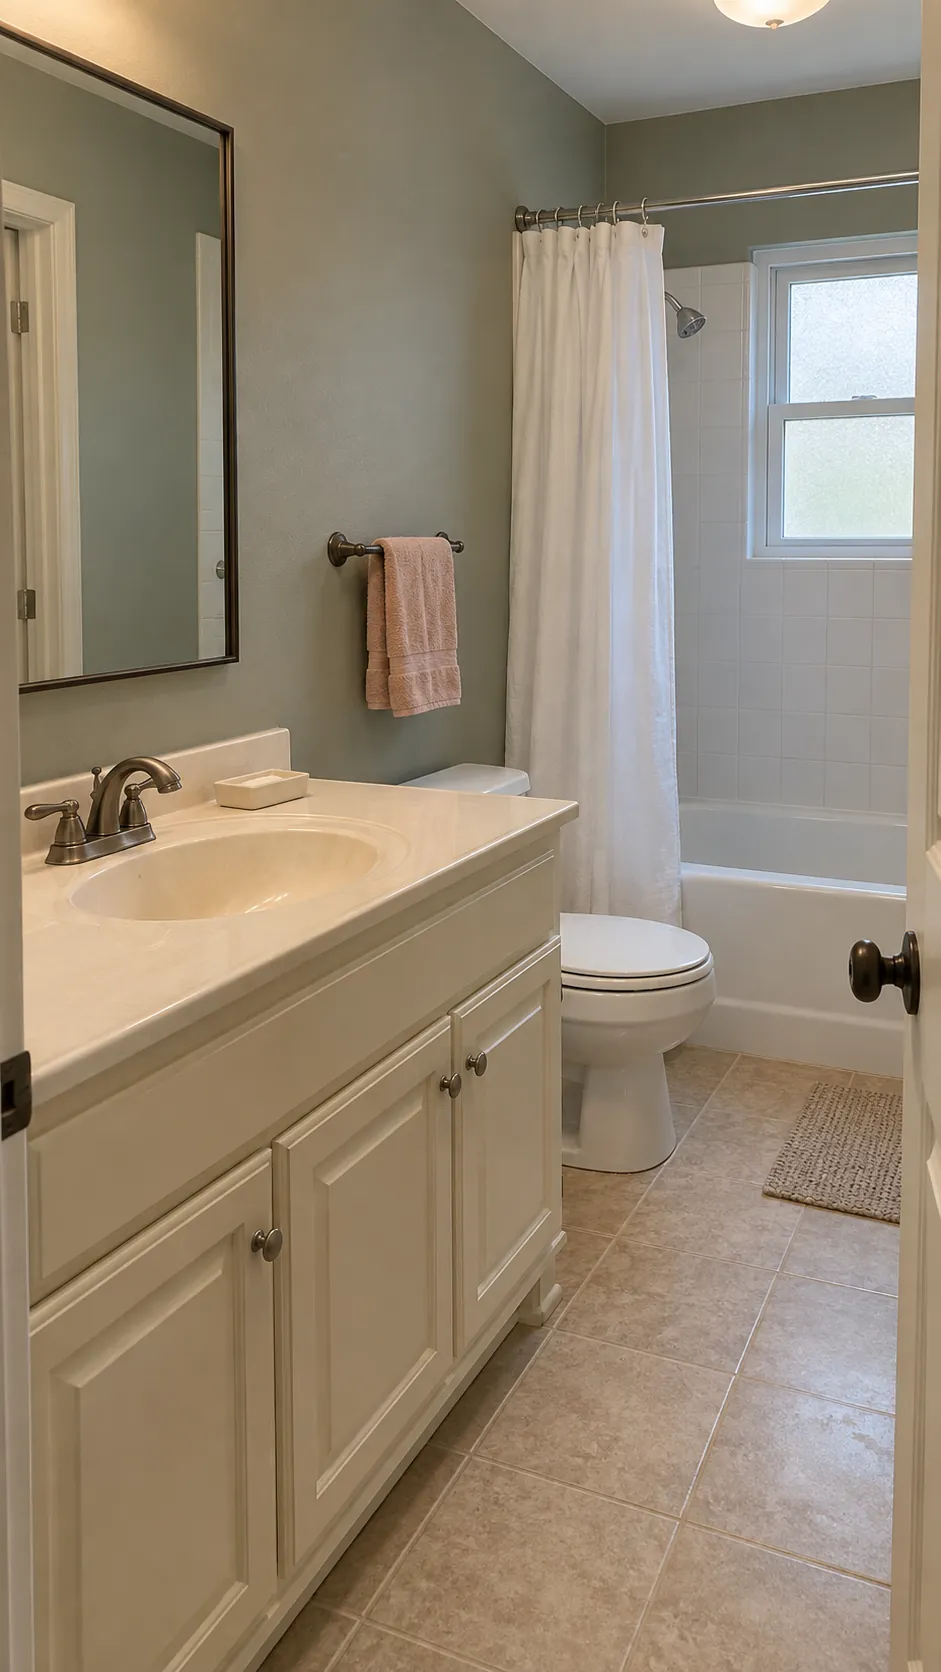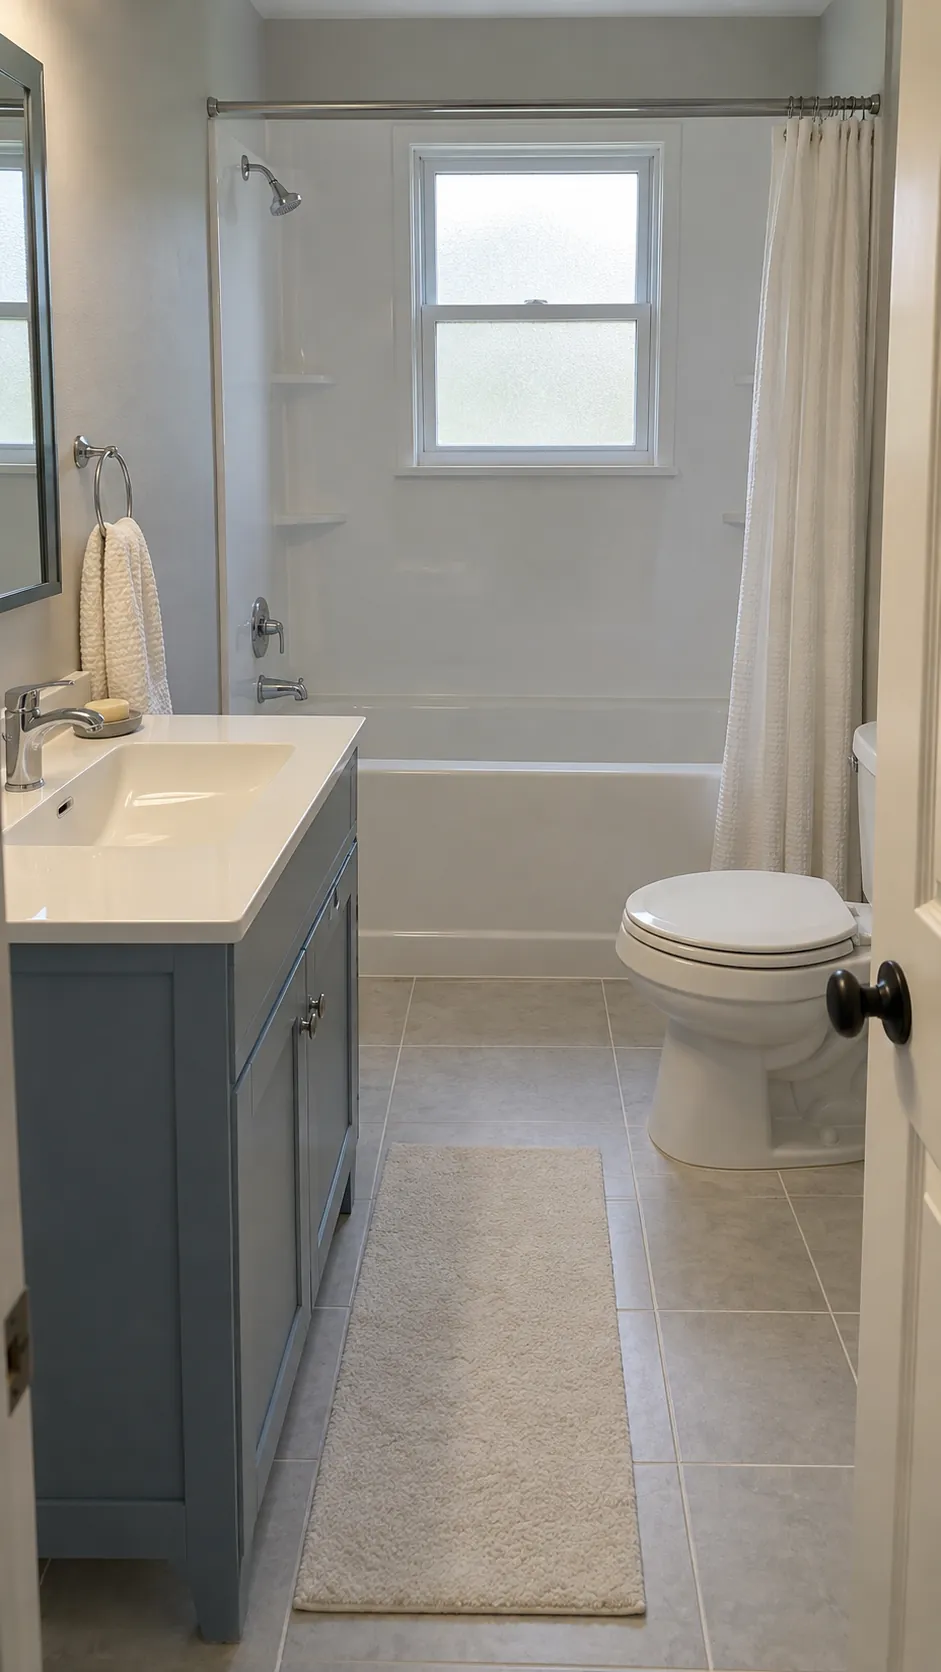
Changing the room does not always require moving the toilet or opening a new drain route. Start with what makes the bathroom frustrating: a crowded aisle, awkward storage, worn surfaces, or poor lighting. Keep the fixture positions where they work, then choose improvements that solve those problems. Existing locations can reduce disruption, but damaged plumbing, waterproofing, or electrical work still needs proper assessment.
Keep the fixture centres and improve their surroundings
Start by marking the existing toilet outlet, basin drain, and tub drain on a measured sketch. Keeping those positions can reduce the scope of a small bathroom remodel, but it does not make damaged pipes safe to reuse. Have the installer assess leaks, valves, venting, and concealed condition before you commit to covering anything. Use the sketch to compare finishes and storage changes around the fixed locations.
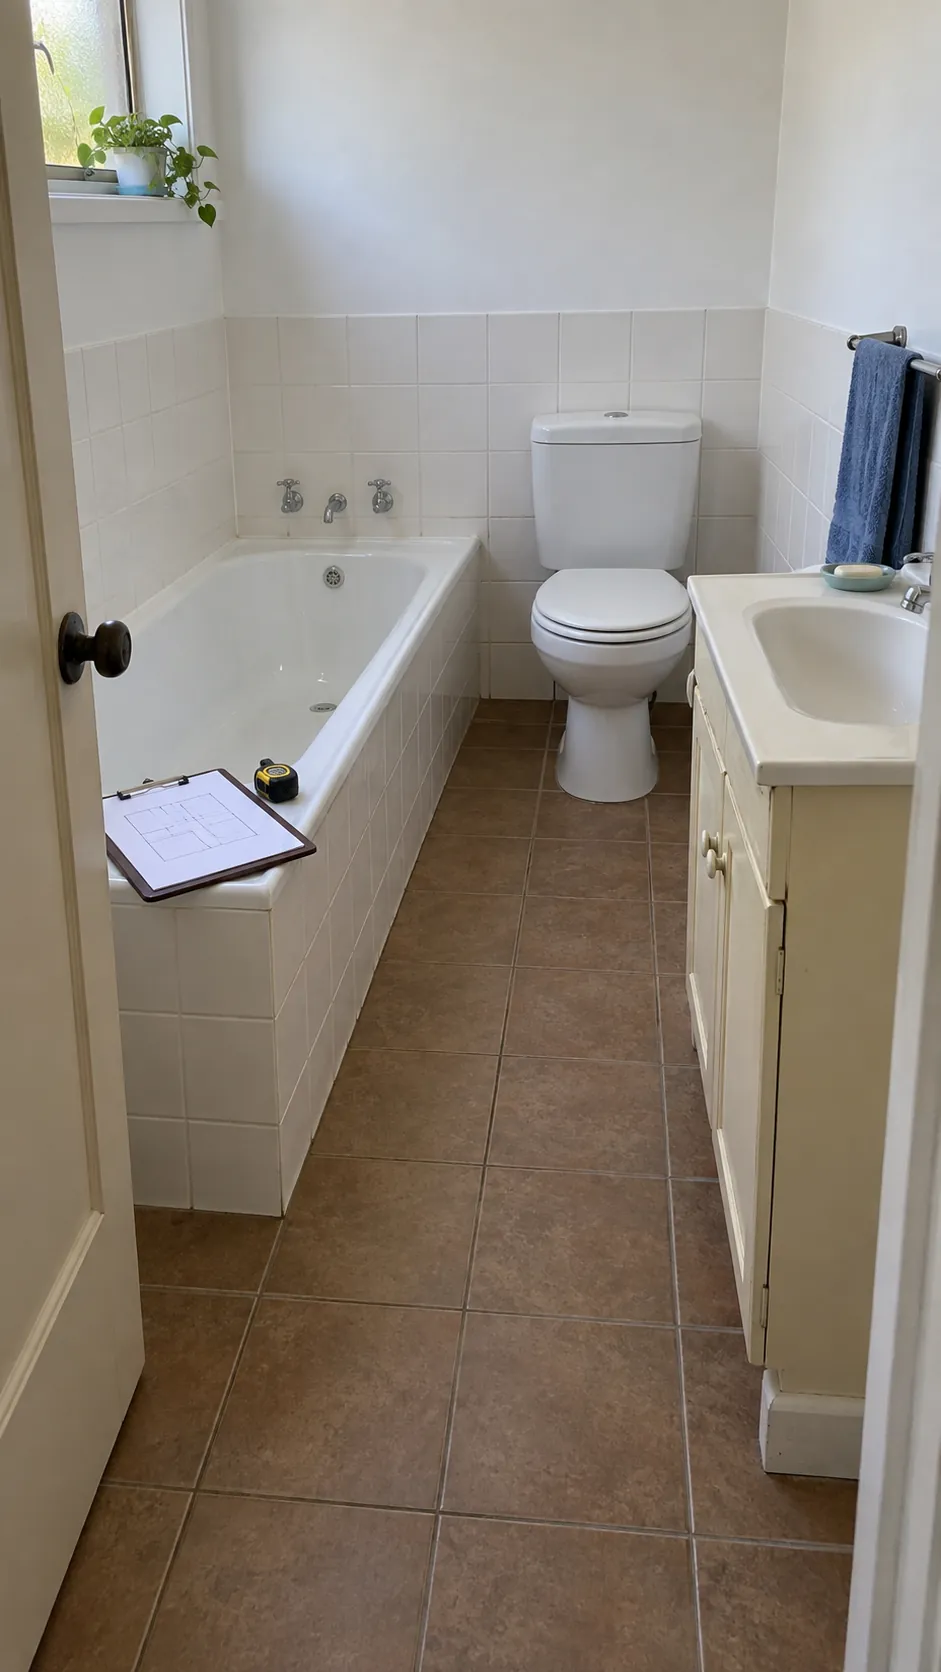
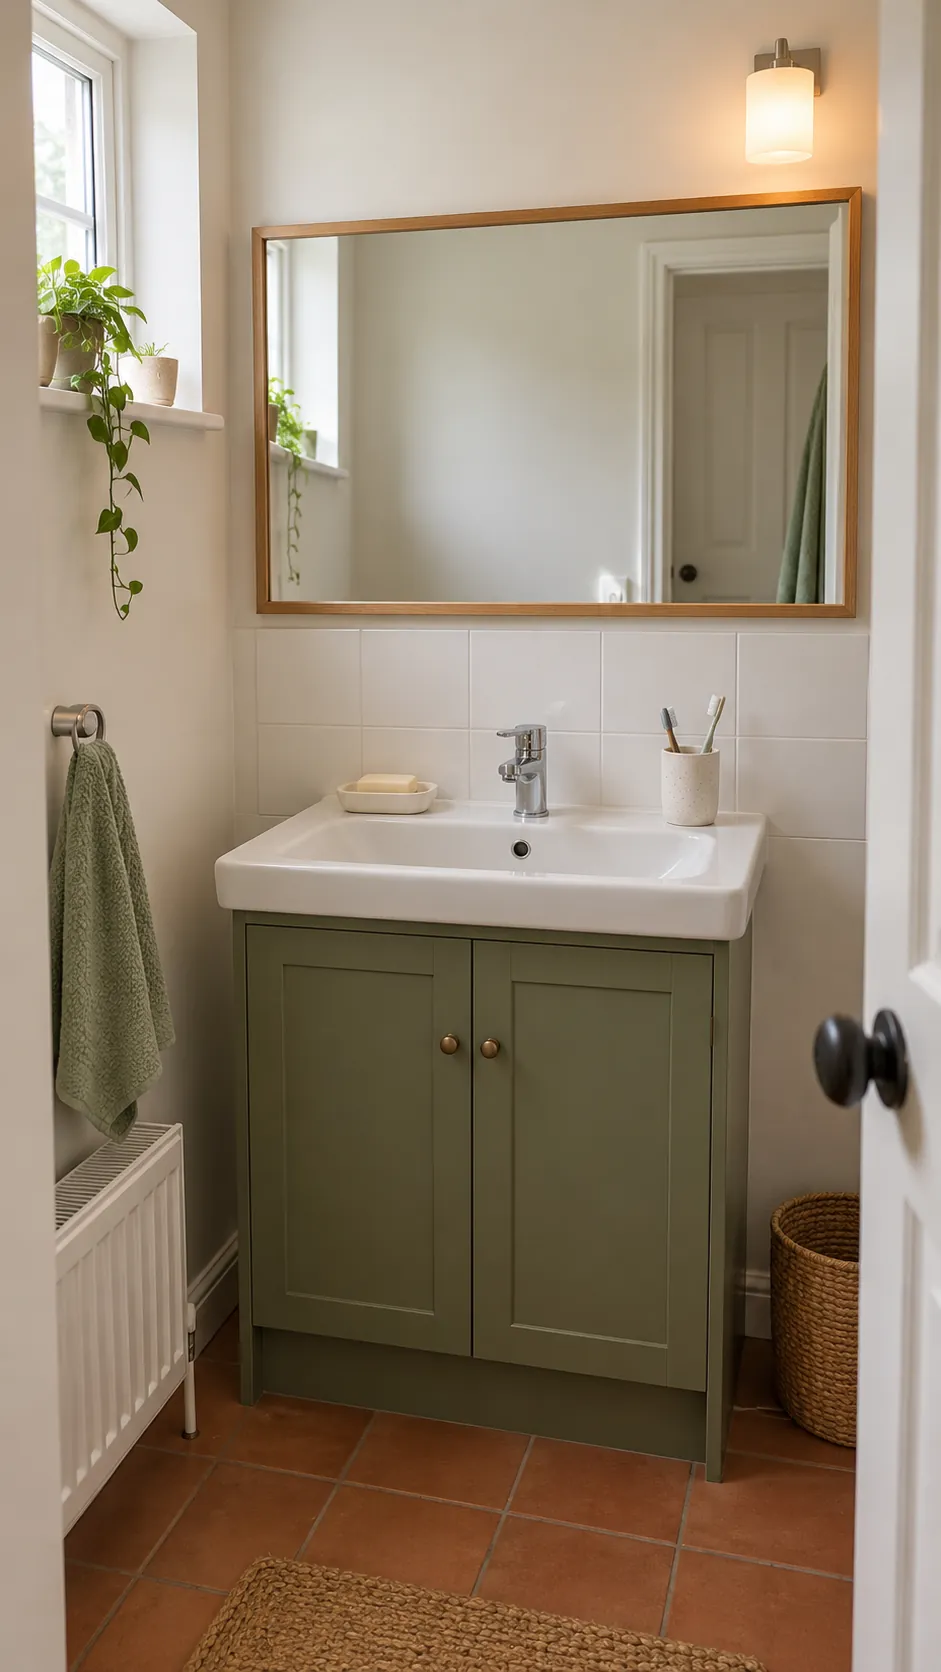
Repaint a sound vanity cabinet
A solid cabinet can often stay while its finish changes the room. Clean the surface, repair minor damage, and use a coating system suited to its material and bathroom conditions. Remove doors and hardware so paint does not bridge hinges or stick moving parts together. A new color gives the sink wall a different identity without moving the basin connections.
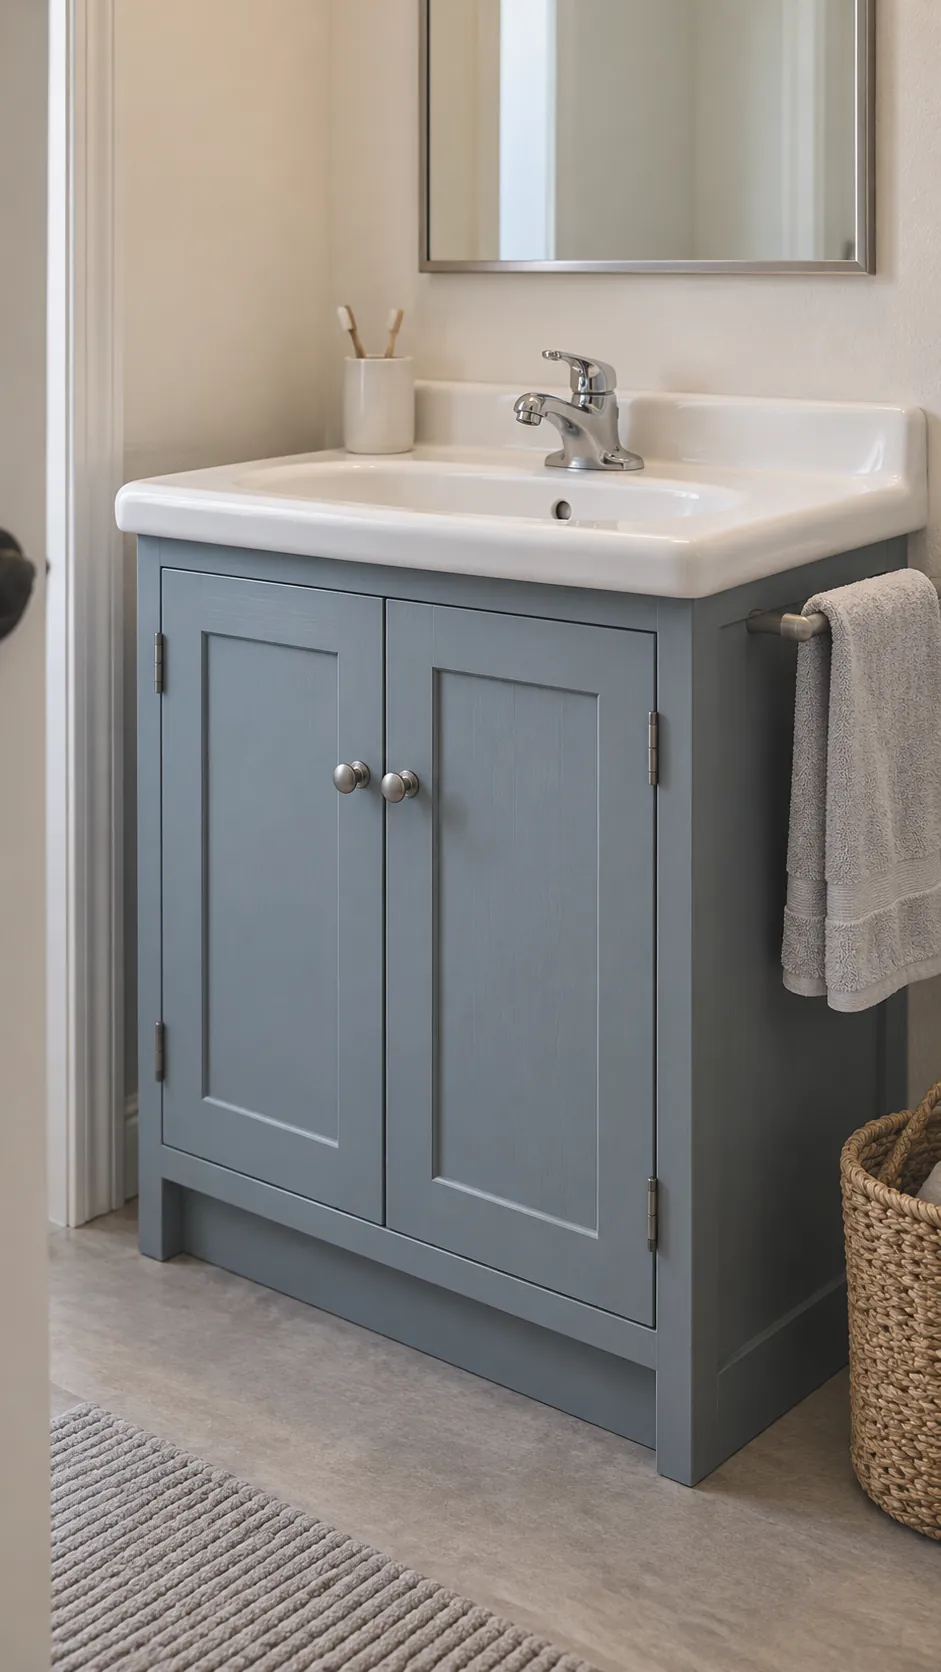
Choose a shallower replacement vanity
Reduce the projection into a tight aisle while keeping the basin in the same general position. Check the complete depth of the top, bowl, and handles rather than trusting the cabinet measurement alone. Compare the new cabinet interior with the existing trap and shutoff locations before ordering. A smaller exterior helps only if the basin remains usable and the plumbing fits without structural cabinet cuts.
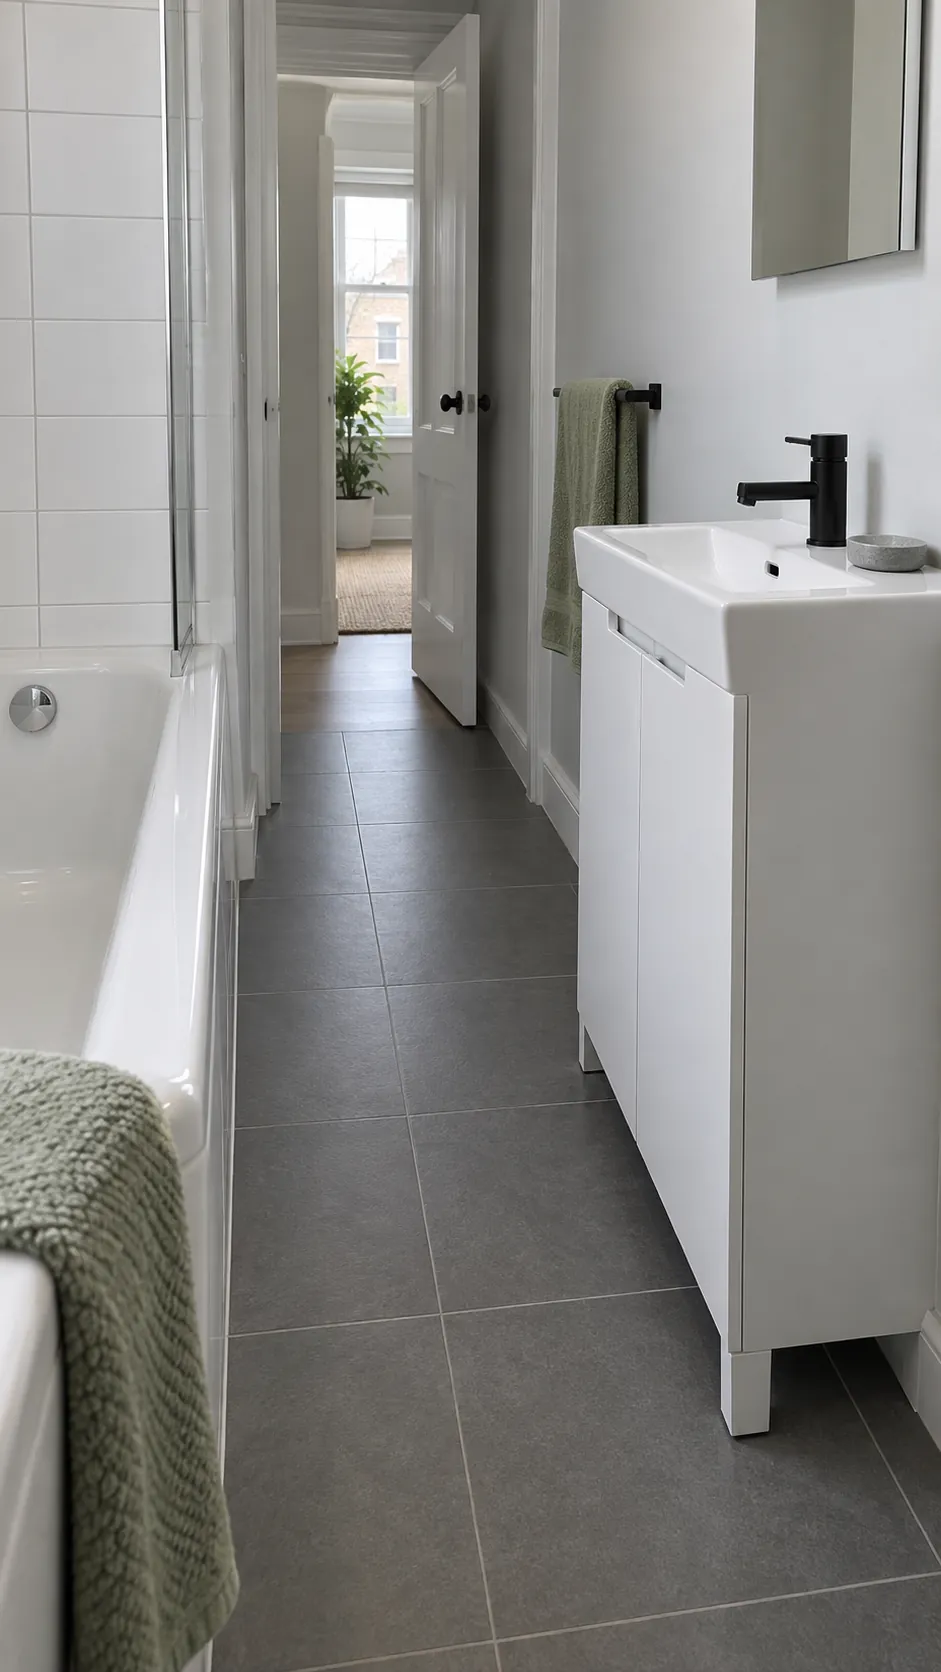
Use legs to reveal more floor
An open space below a vanity can make a compact bathroom easier to read visually. Choose a freestanding cabinet whose legs and basin position work with the existing connections. Leave enough access for cleaning beneath it rather than creating a slot too narrow for a mop. Visible floor is an optical benefit; it does not increase the actual clearance in front of the sink.
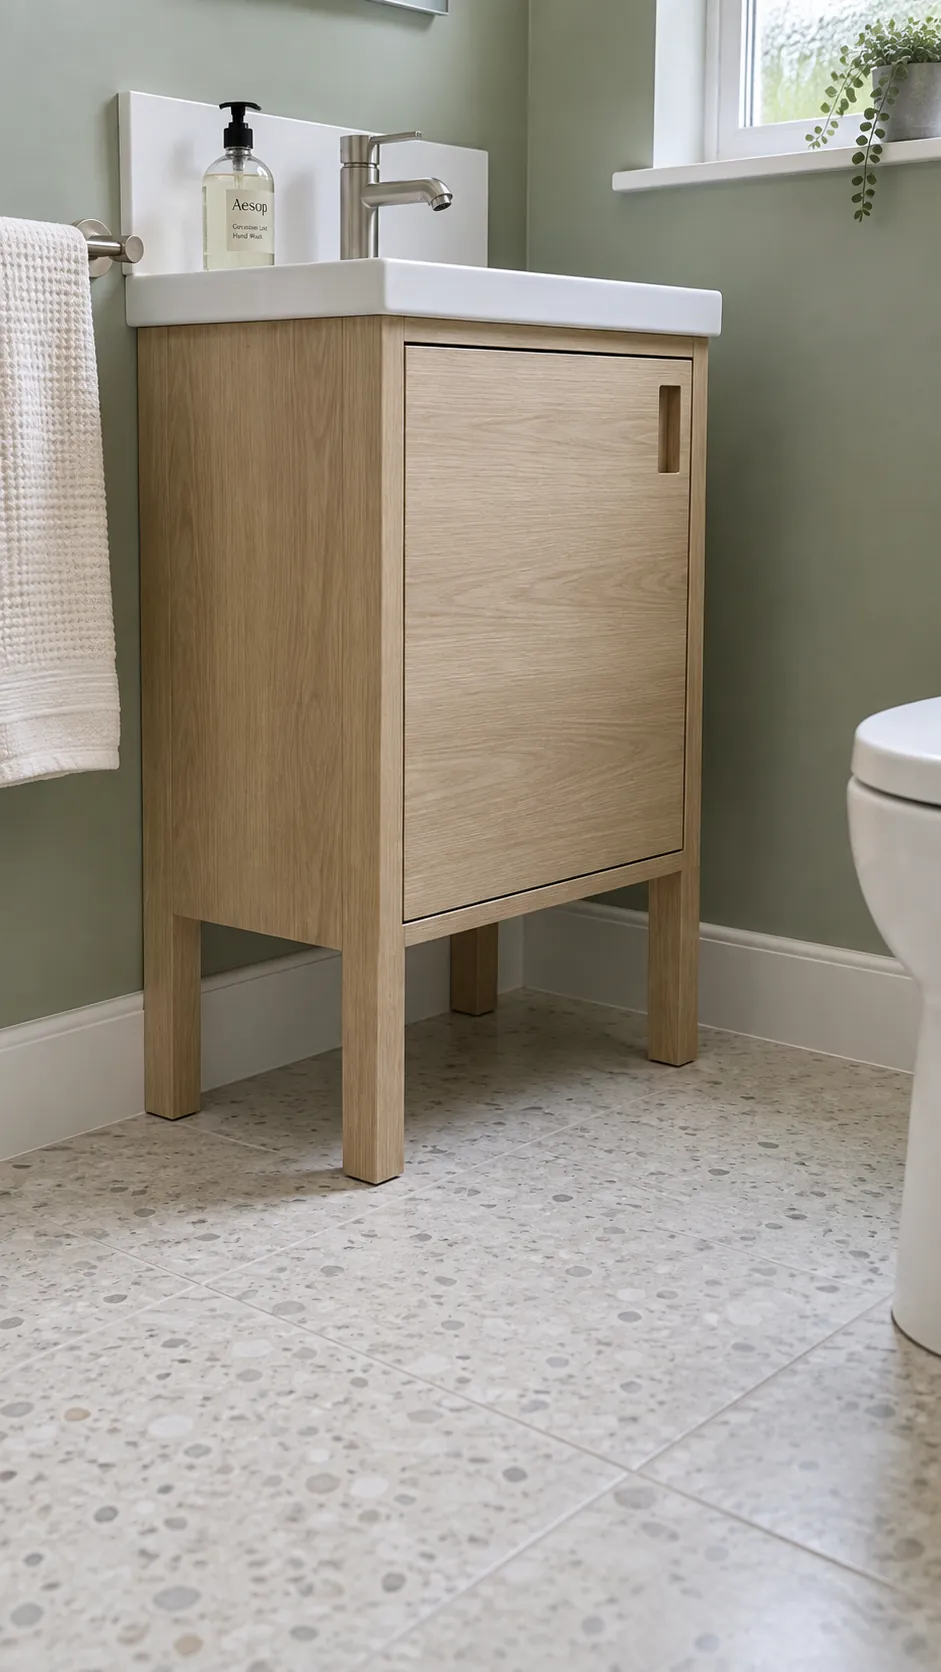
Replace the countertop and basin as a matched assembly
A worn top can date an otherwise useful cabinet. Check its width, depth, supported edges, faucet holes, and drain alignment before selecting a replacement. An integrated top simplifies the visual boundary between basin and counter, but still requires compatible installation. Confirm that any changed bowl depth leaves room for the trap and storage underneath.
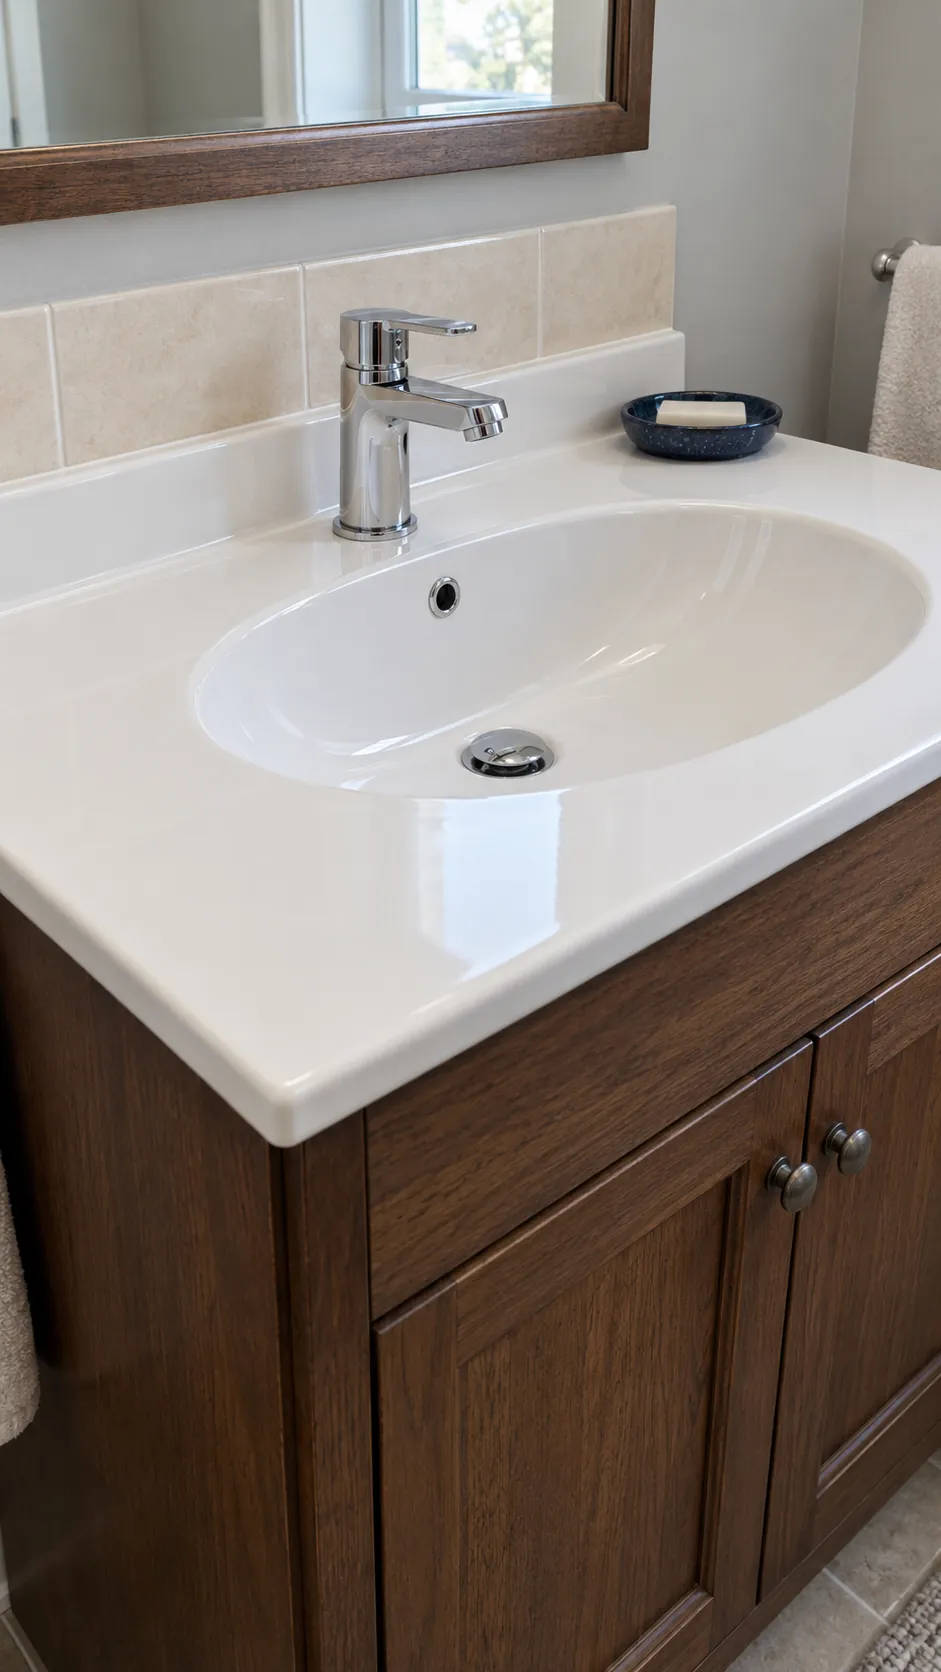
Fit a faucet to the existing hole pattern
A replacement faucet can refresh the basin without relocating its supplies. Verify the mounting holes, deck thickness, spout reach, and clearance behind the handle. A tall or long spout is not automatically better in a small bowl because it can put the stream in the wrong place. Ask the plumber to confirm supply compatibility and accessible shutoffs during the change.
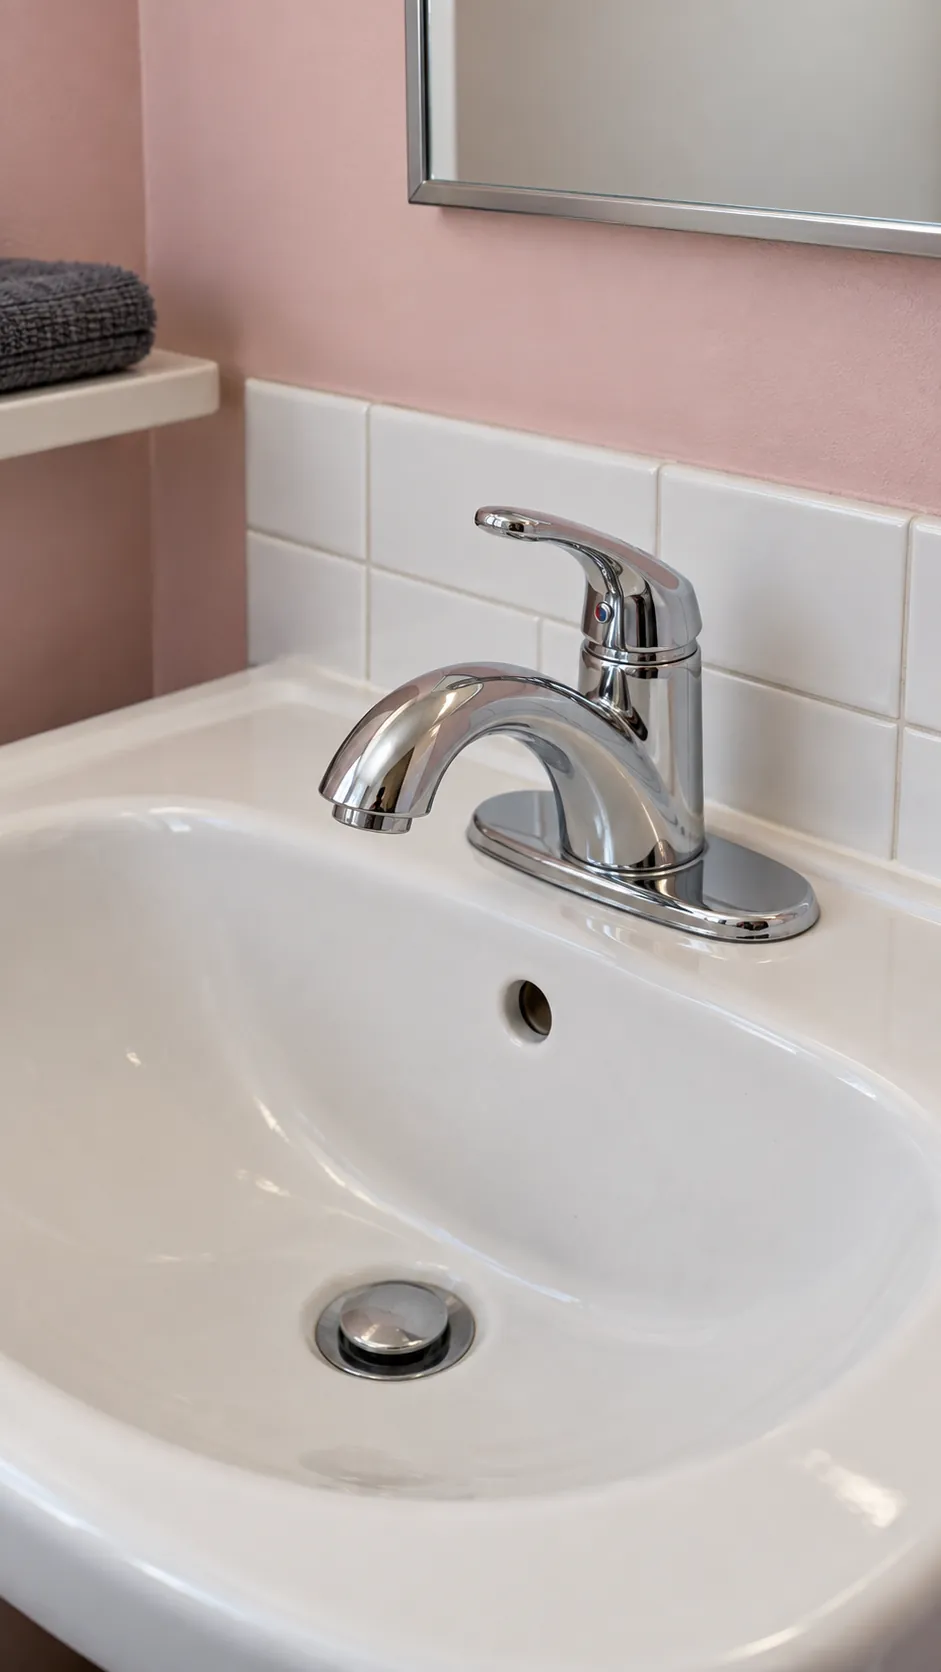
Change cabinet pulls that catch the aisle
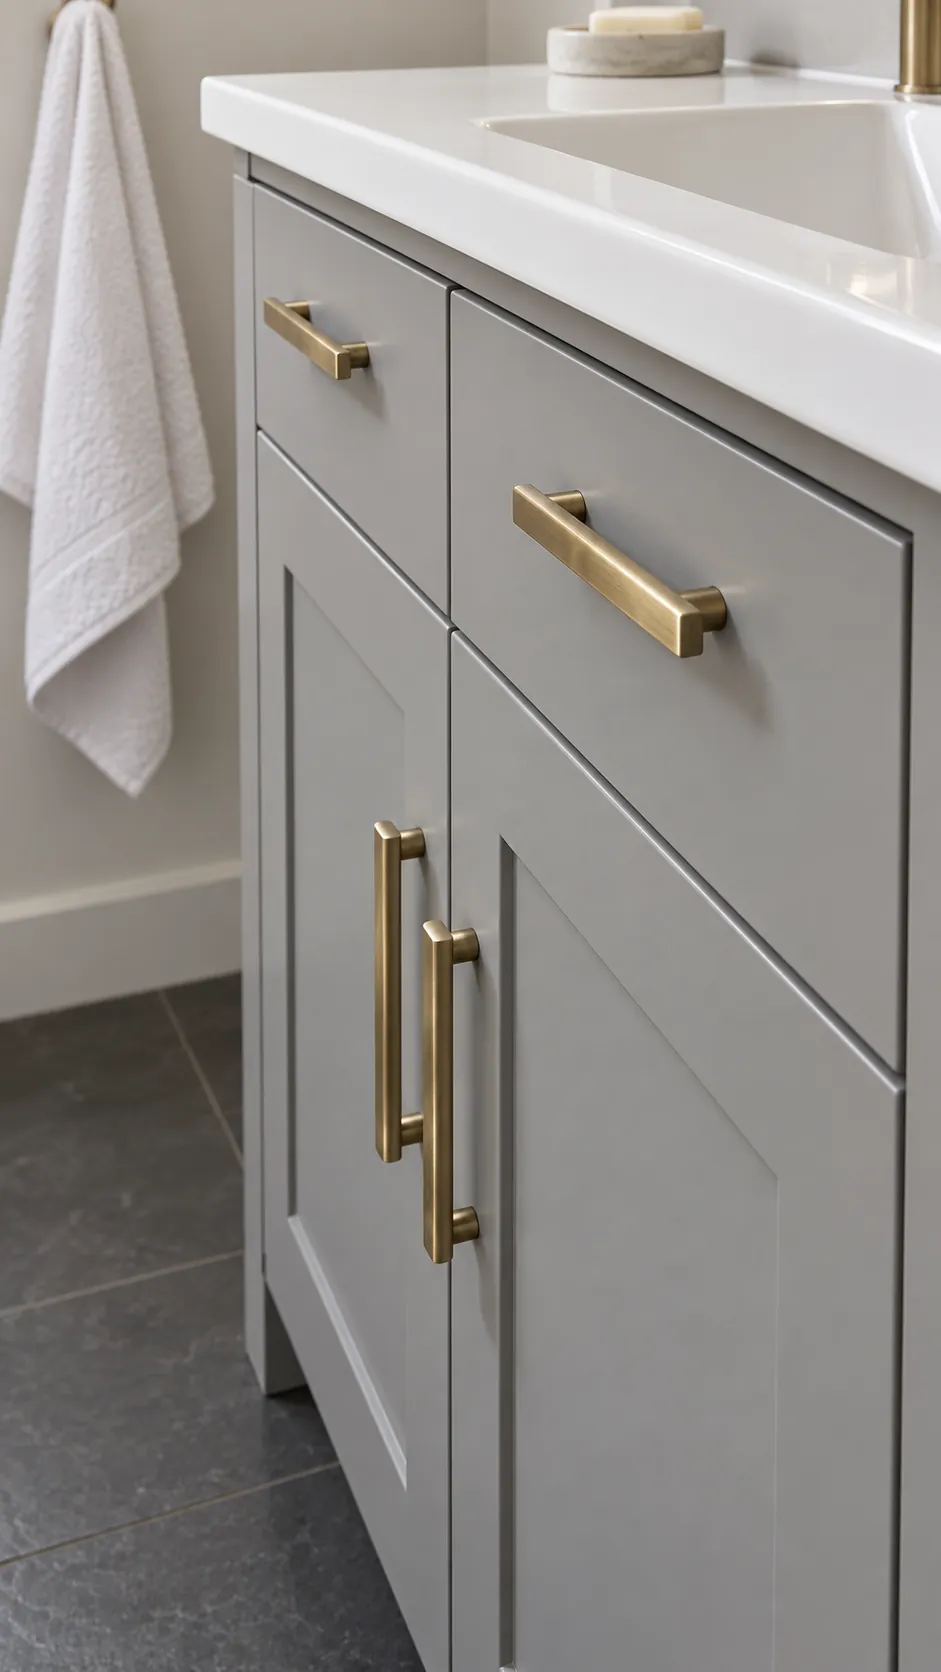
Protruding handles can be the first thing your hip meets in a narrow walkway. Replace them with lower projection pulls that fit the existing hole spacing or use a properly repaired and refinished mounting pattern. Test the grip with wet hands before choosing tiny knobs solely for their appearance. Keep enough finger clearance for everyday use and inspect the drawer travel as well.
Install a mirror that uses the available wall
A larger mirror can make the sink zone feel less boxed in while the fixtures stay put. Measure around lights, switches, and any window trim before choosing its dimensions. Mount it securely using fixings appropriate to the wall and the mirror weight. Position the reflection deliberately so it catches useful light rather than only a cluttered shelf.
Add a shallow surface mounted medicine cabinet
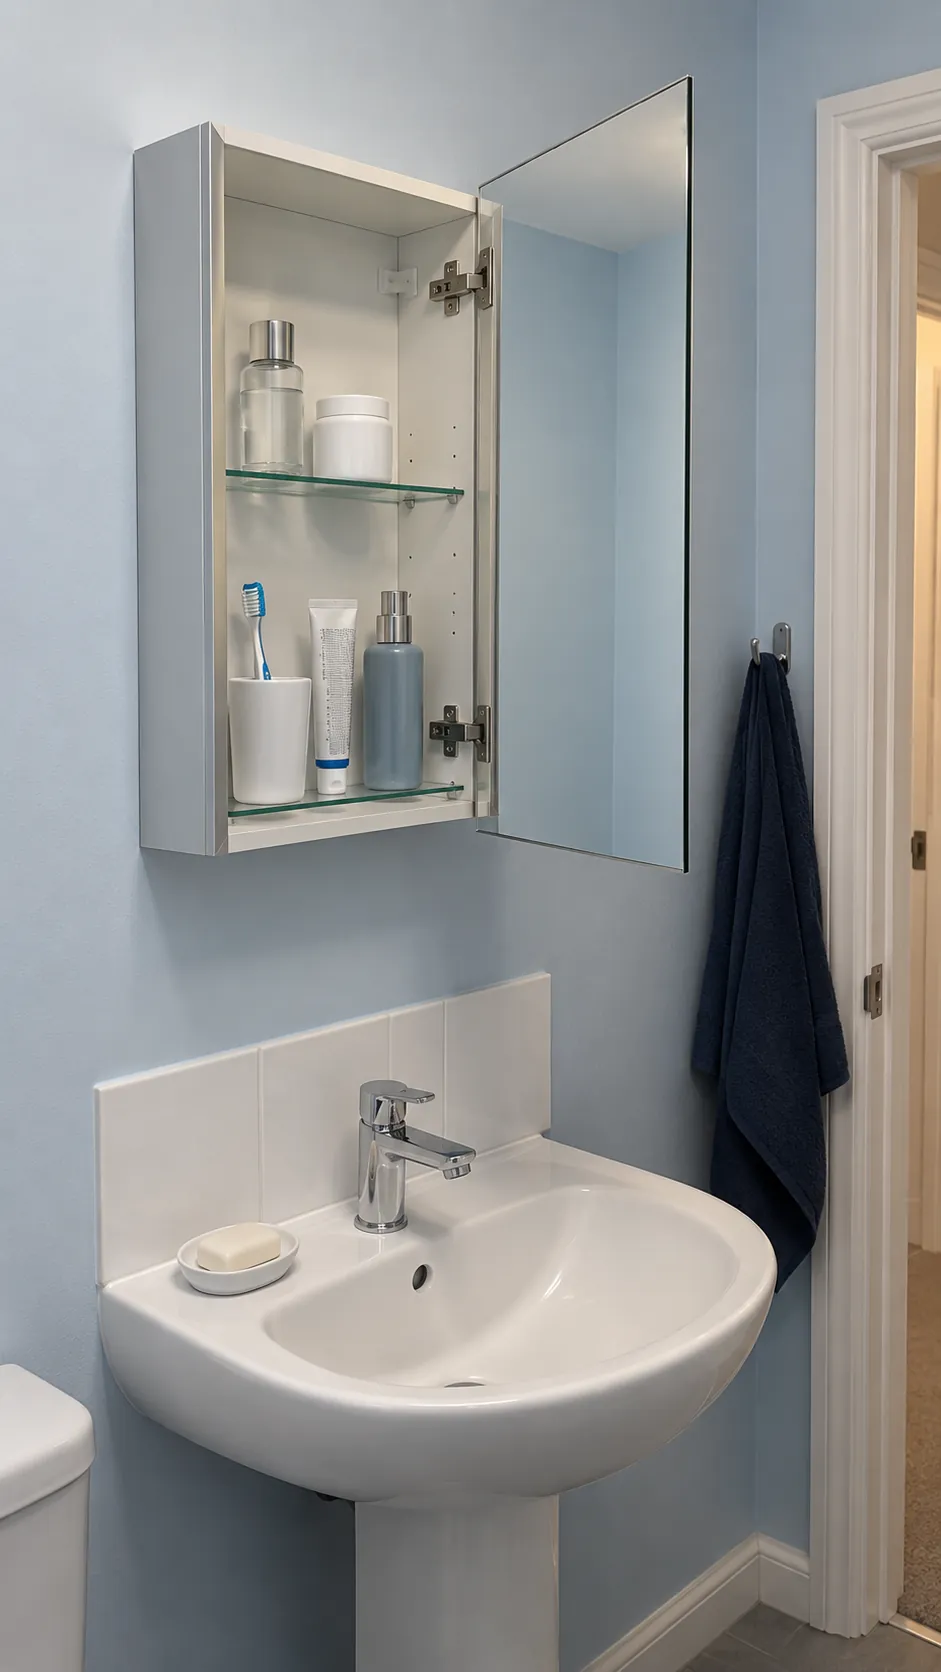
A mirror cabinet can move daily toiletries off the countertop without opening the plumbing wall. Choose a depth that leaves comfortable head space at the basin and does not collide with an adjacent door. Check how its door opens before drilling. Surface mounting avoids a wall cavity cut, though you still need to locate hidden services and secure the unit correctly.
Improve the light at face level
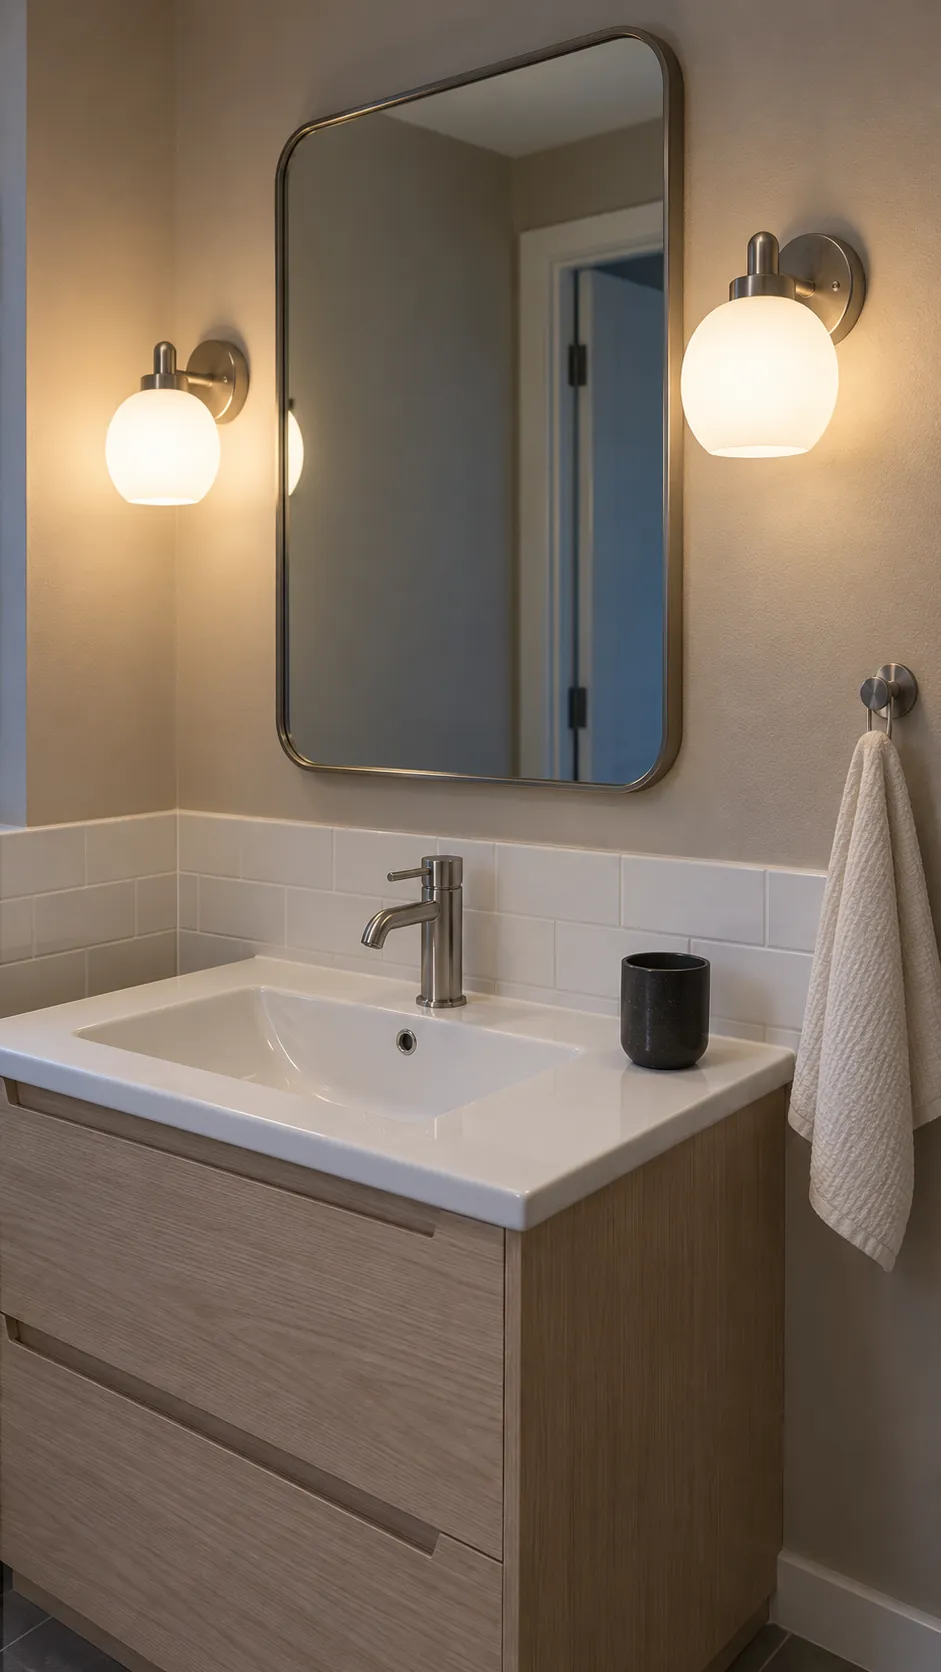
A new vanity light can make grooming easier even when the basin stays in place. Plan light that reaches both sides of the face instead of relying entirely on a ceiling fixture behind you. Use fittings rated for their bathroom location and have electrical changes completed to local requirements. Check mirror reflections before fixing the final position so exposed bulbs do not create distracting glare.
Refresh a suitable bath with professional refinishing
A structurally sound tub may be a candidate for refinishing instead of replacement. Ask a specialist to assess its material, surface damage, and any previous coating. Clarify preparation, ventilation, curing time, care instructions, and warranty before treating the process as a simple paint job. It changes the surface while preserving the existing tub layout, but it does not repair hidden leaks or failed waterproofing.
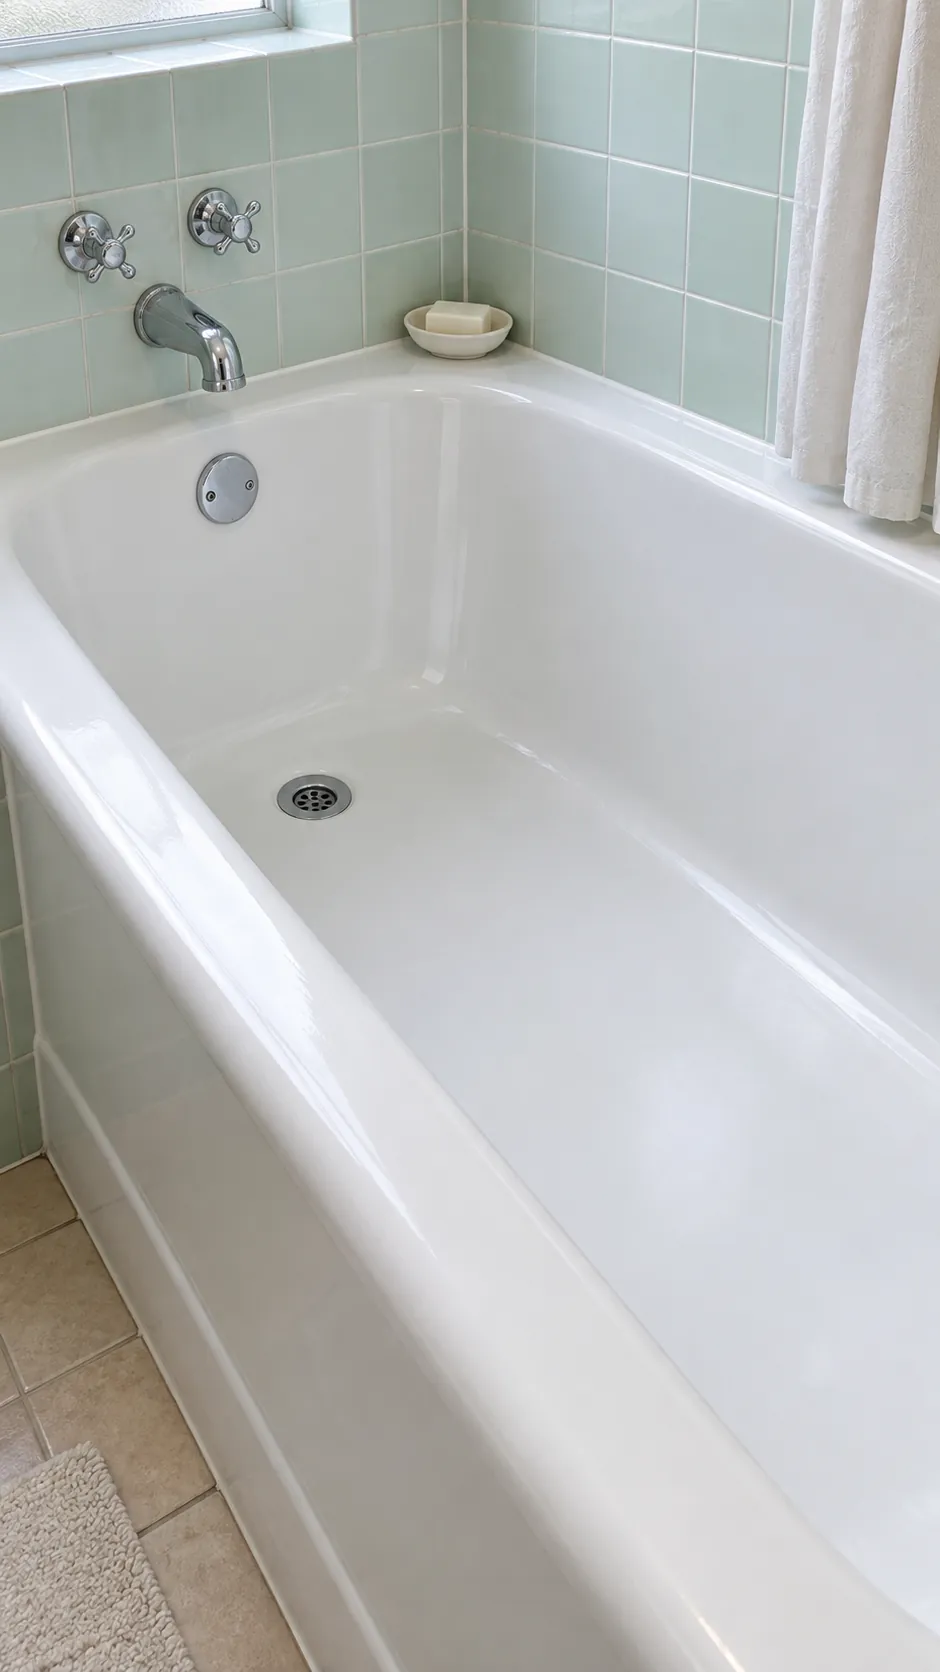
Replace the tub with the same drain orientation
If the tub must go, choose a replacement whose dimensions and drain end fit the existing installation. Similar outside measurements do not guarantee that the waste connection and support requirements match. Have the installer confirm the rough opening and access before ordering. Budget for the surrounding waterproofing and finishes because removing a tub can disturb more than its visible surface.
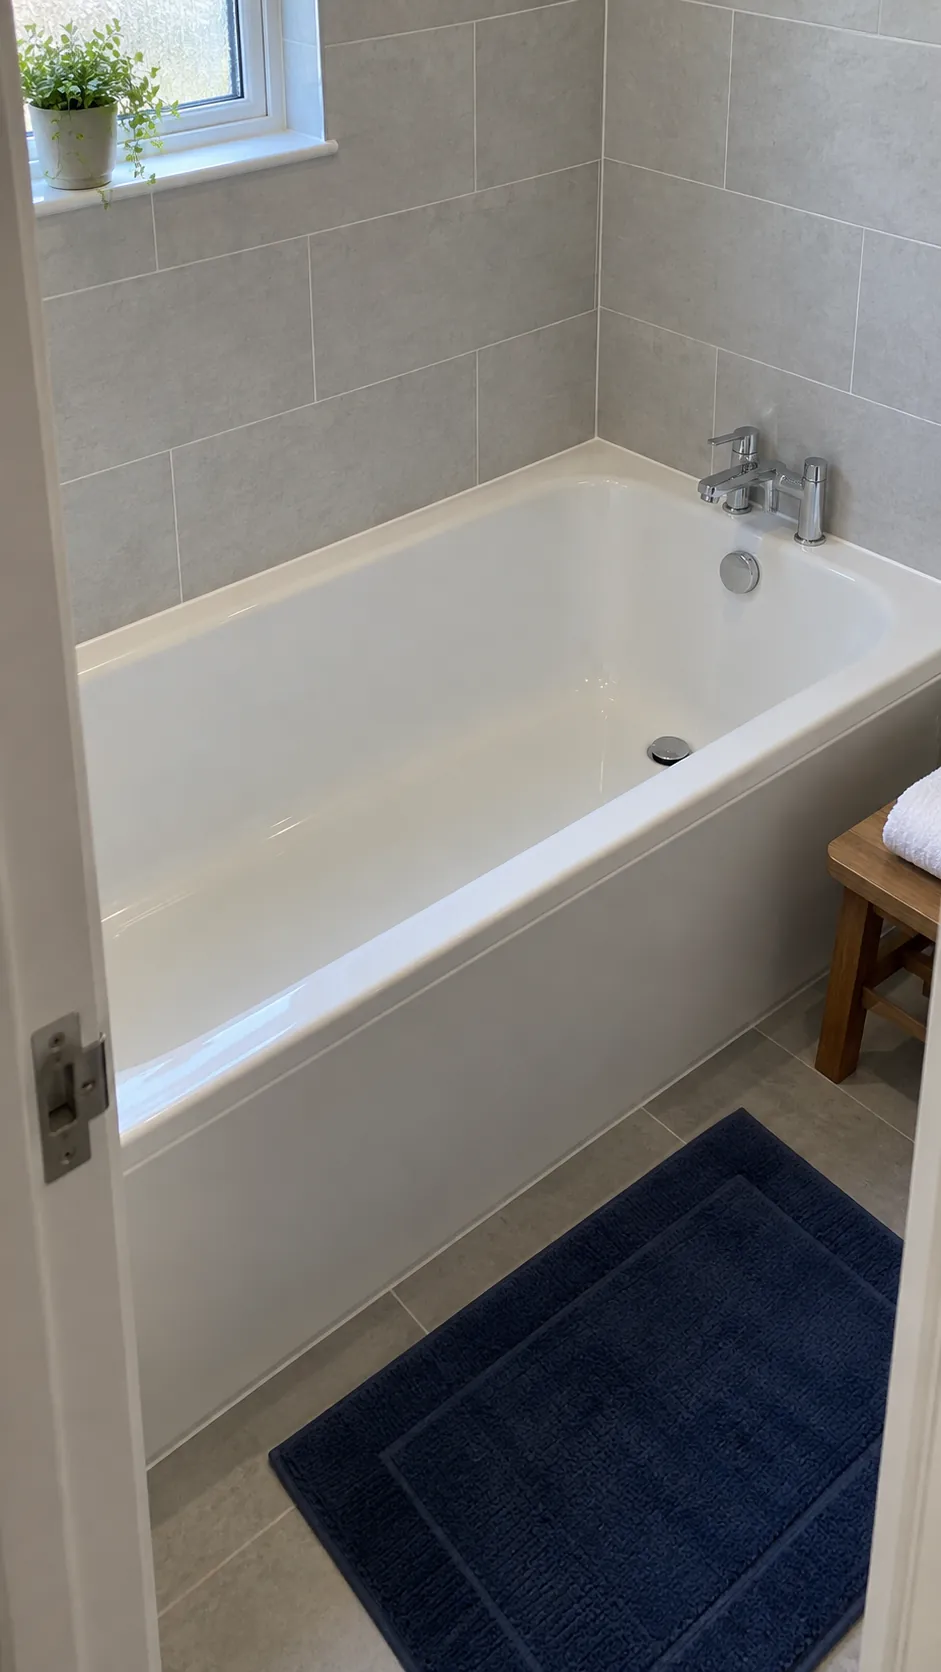
Choose a shower curtain that clears the room
A curtain can preserve flexible access around an existing tub where a hinged screen would obstruct the aisle. Select the rod position and curtain length so water stays inside the tub and the fabric does not trail on the floor. Check the rod fixings and allow the curtain to dry after use. A simple light fabric can reduce visual clutter without claiming that it adds real floor space.
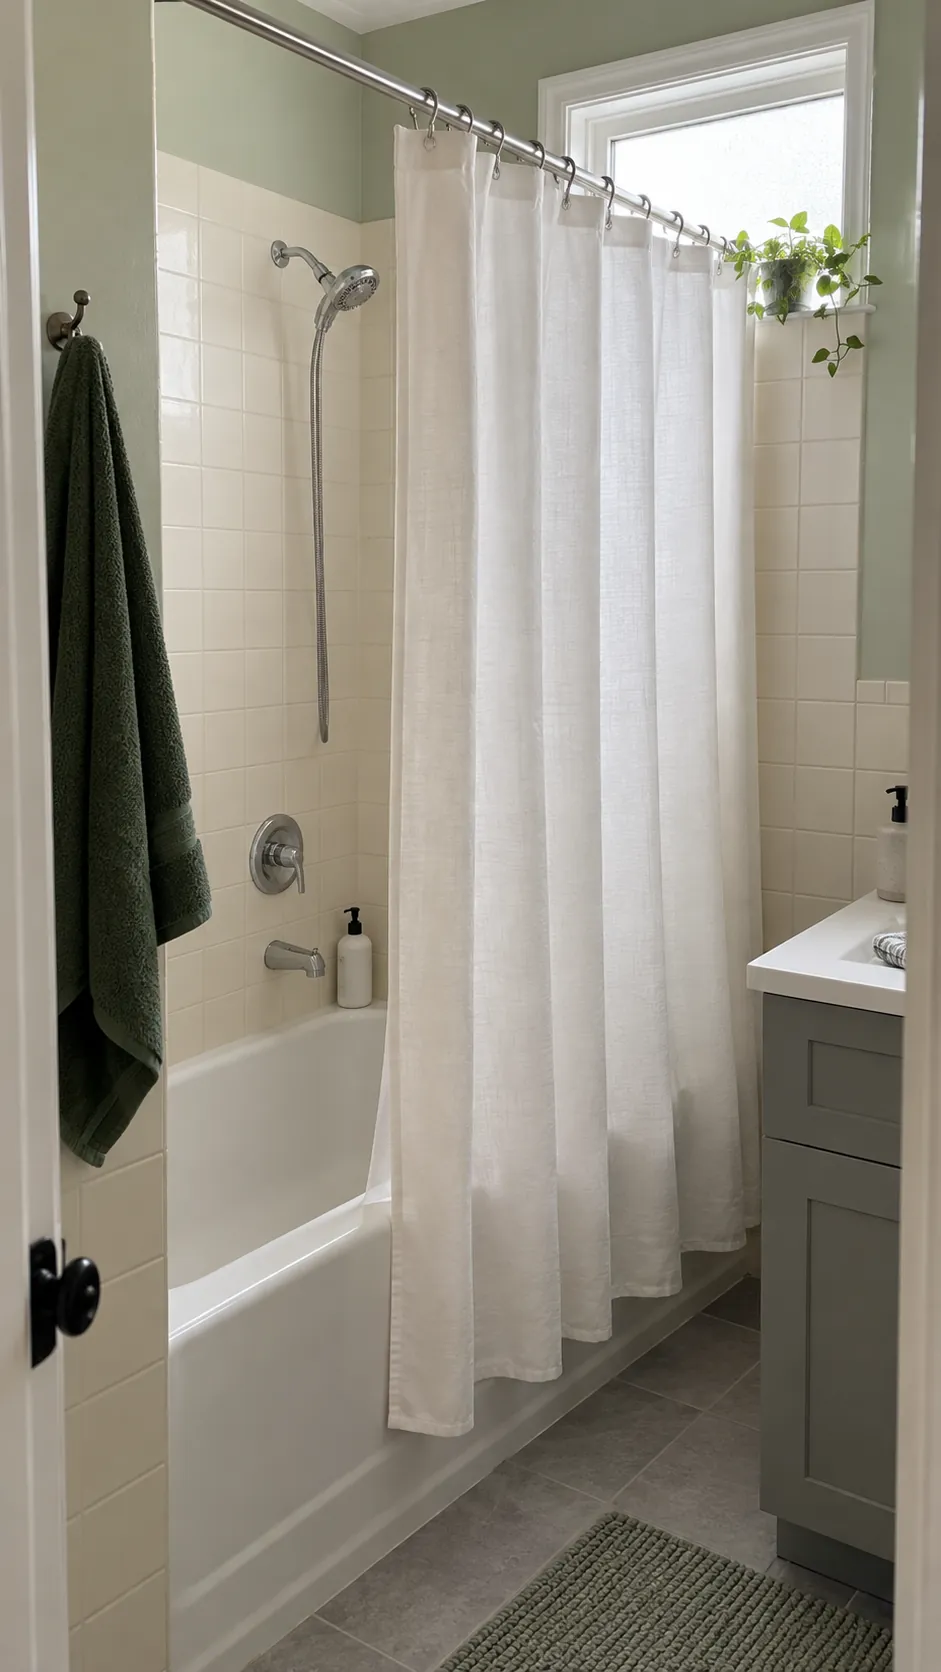
Consider a bath screen only after testing its swing
A glass screen can make an existing tub area feel more open than an opaque curtain. Trace its swing and check the toilet, basin, tap, and towel rail before choosing a model. Confirm that the tub rim and surrounding walls can accept the specified fixings and seals. The clear view is useful only if the screen controls water and leaves safe entry space.
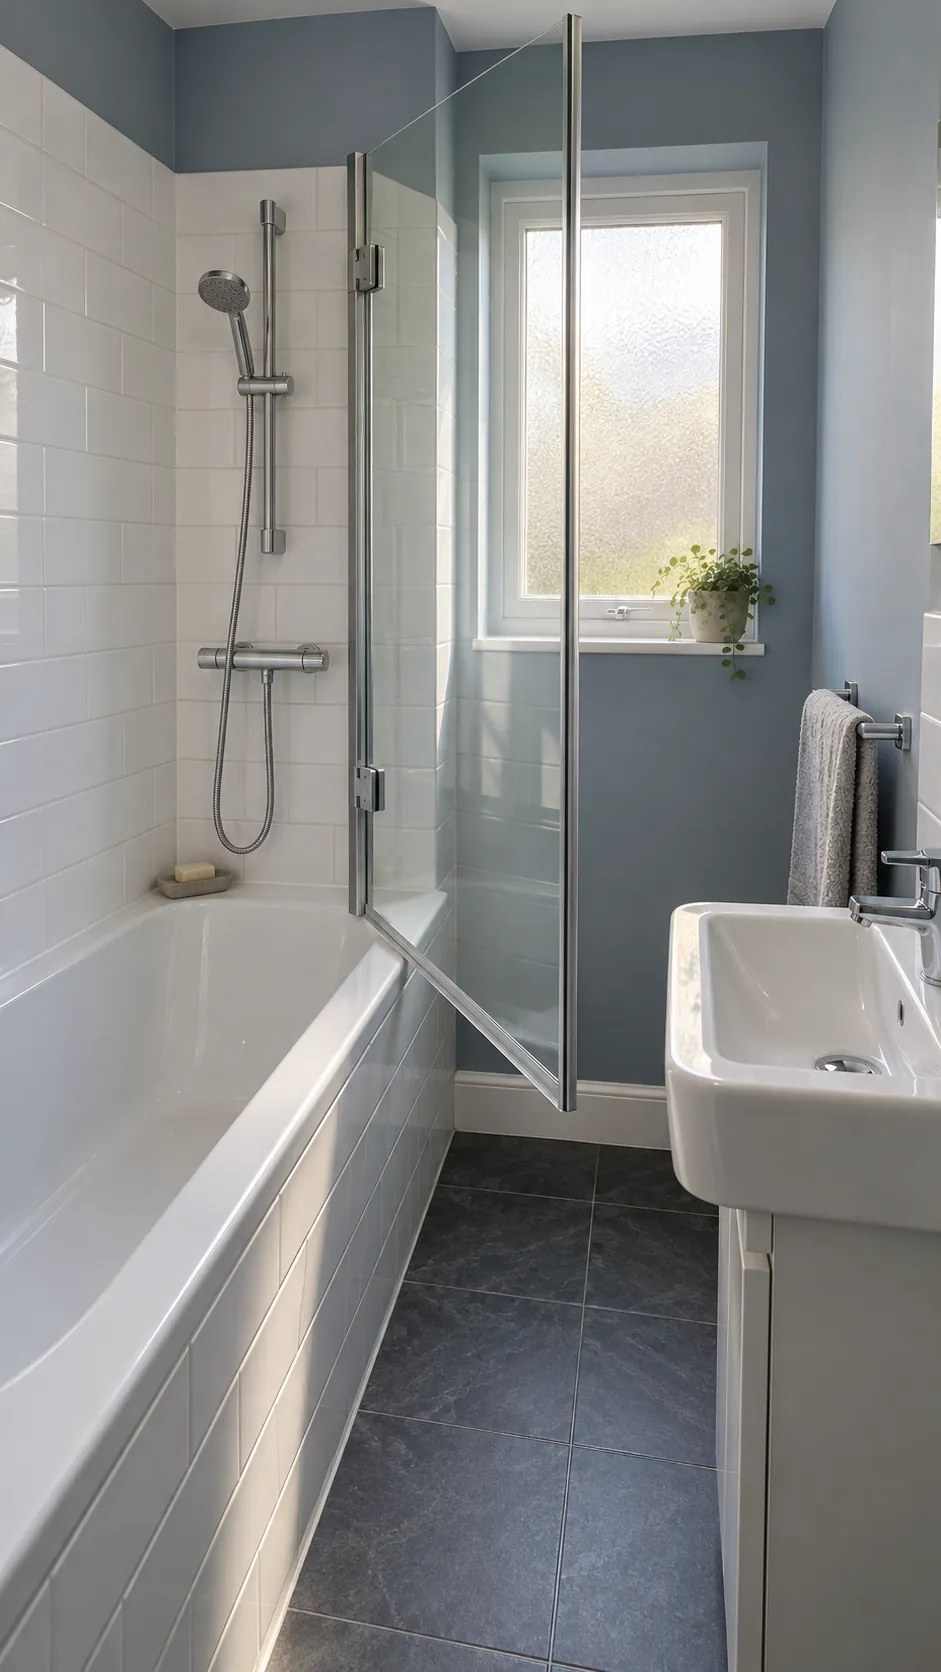
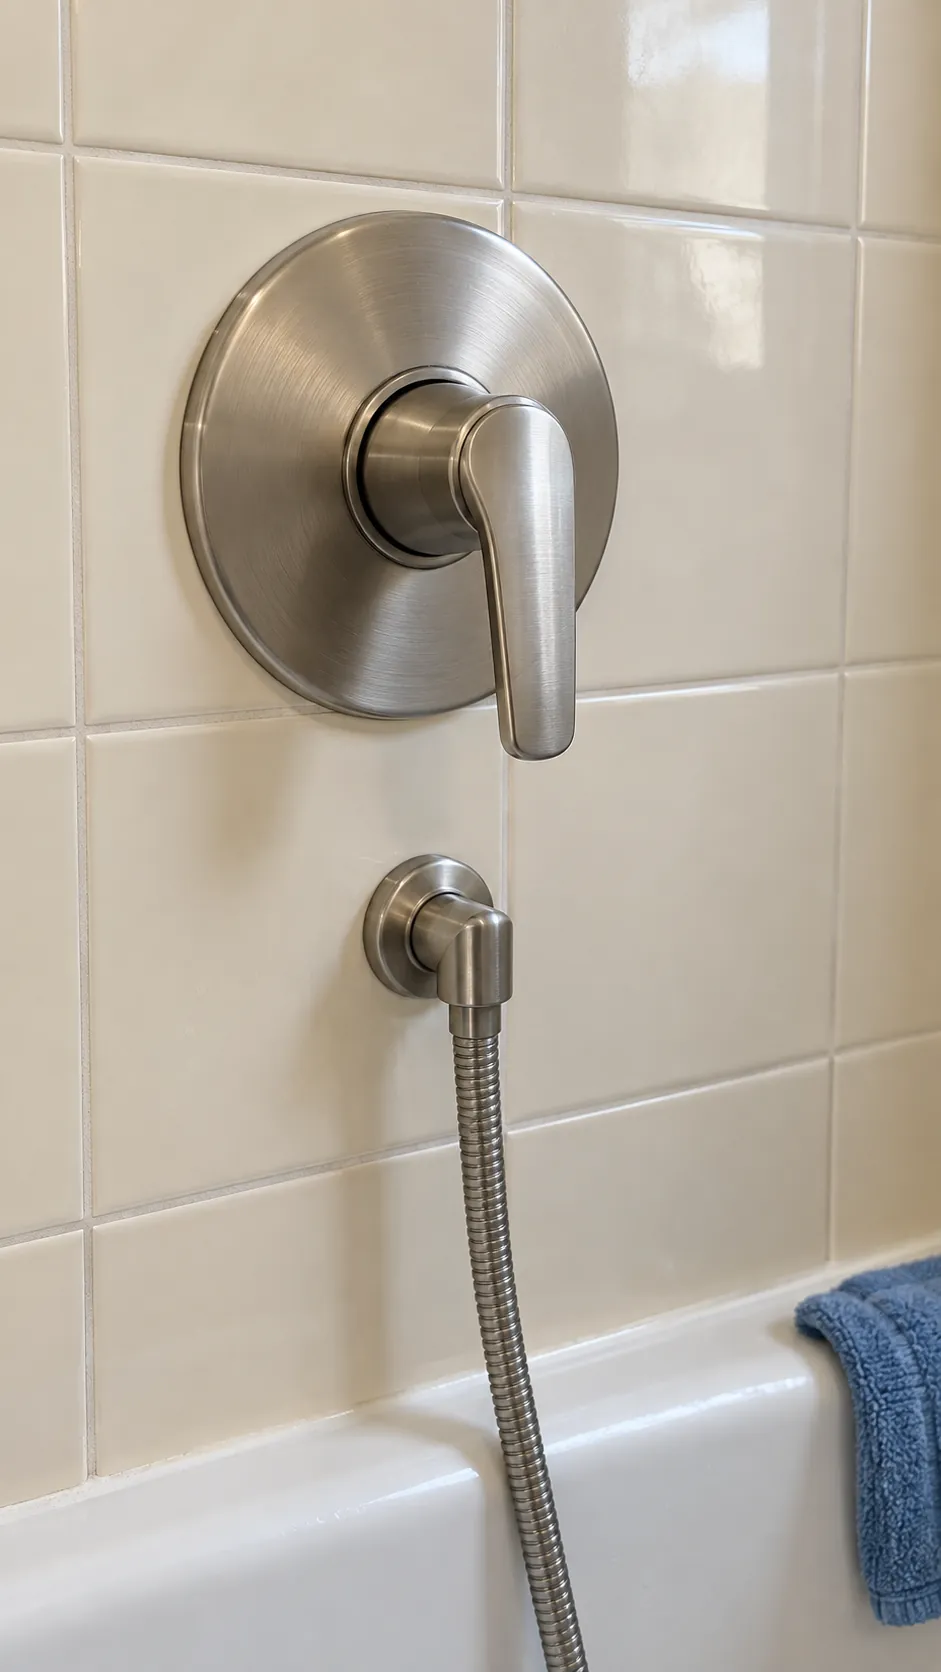
Keep valve positions and replace compatible trim
Fresh shower trim can change the bathing zone without moving the valve. Identify the existing valve manufacturer and model before buying a handle or faceplate. Similar looking trim may not fit the concealed body. Ask a qualified installer to verify compatibility and condition rather than assuming any modern kit is interchangeable.
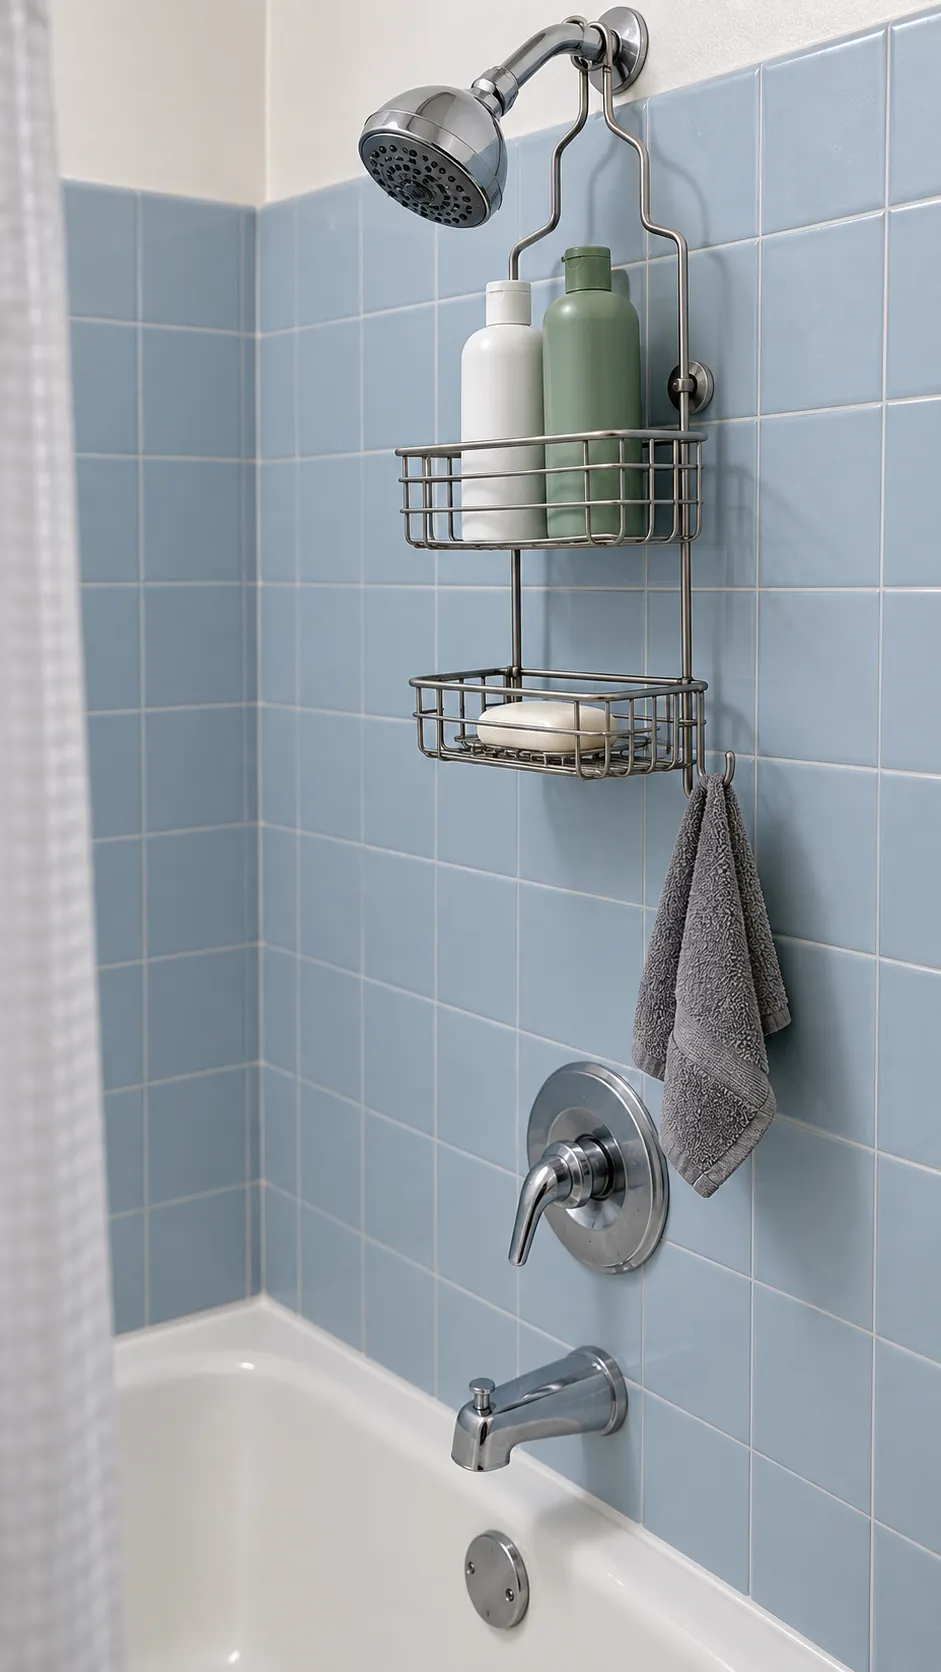
Add storage that hangs over the shower head
A removable shower caddy can collect bottles without cutting into waterproofed walls. Check that it is intended for your shower fitting and does not load or obstruct a fragile pipe or hose. Leave controls easy to reach and keep bottle bases within the wet area. Clean behind the caddy regularly so storage does not hide soap buildup or damp surfaces.
Make a wet wall repair the focus of the renovation
If the tub surround is failing, concentrate effort on rebuilding that area correctly rather than moving fixtures for a new look. Select a complete compatible waterproofing and finish system with the installer. Tile and grout alone are not a substitute for the required waterproofing beneath them. Keeping the drain location still allows necessary repairs, but the concealed assembly must be assessed before new finishes go up.
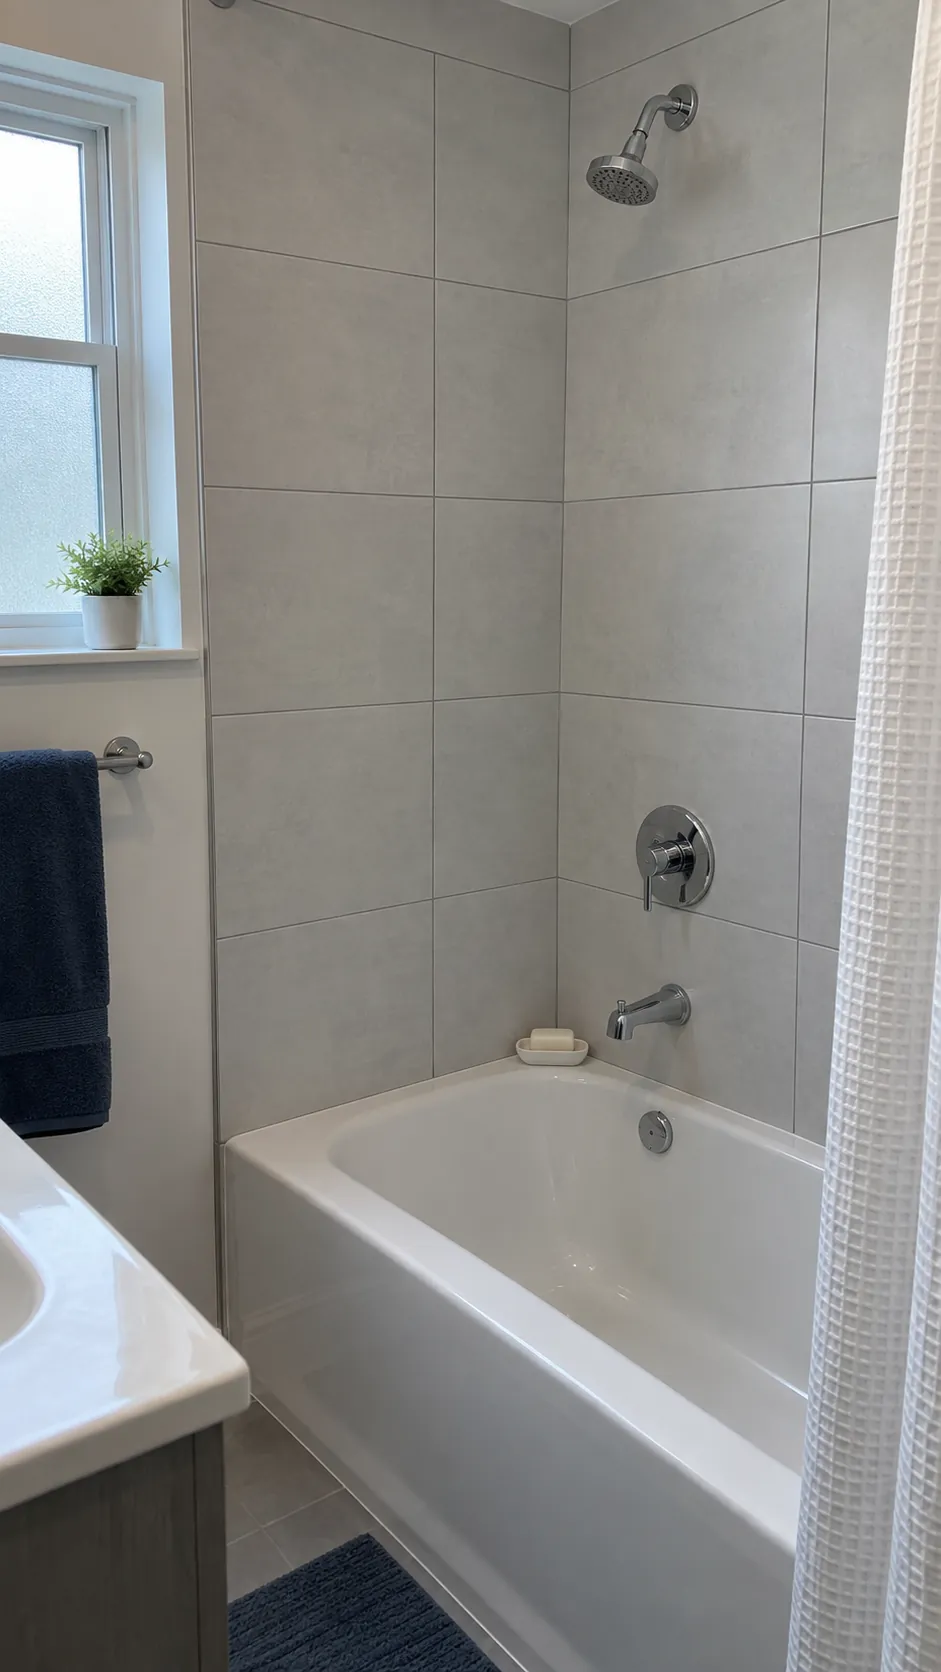
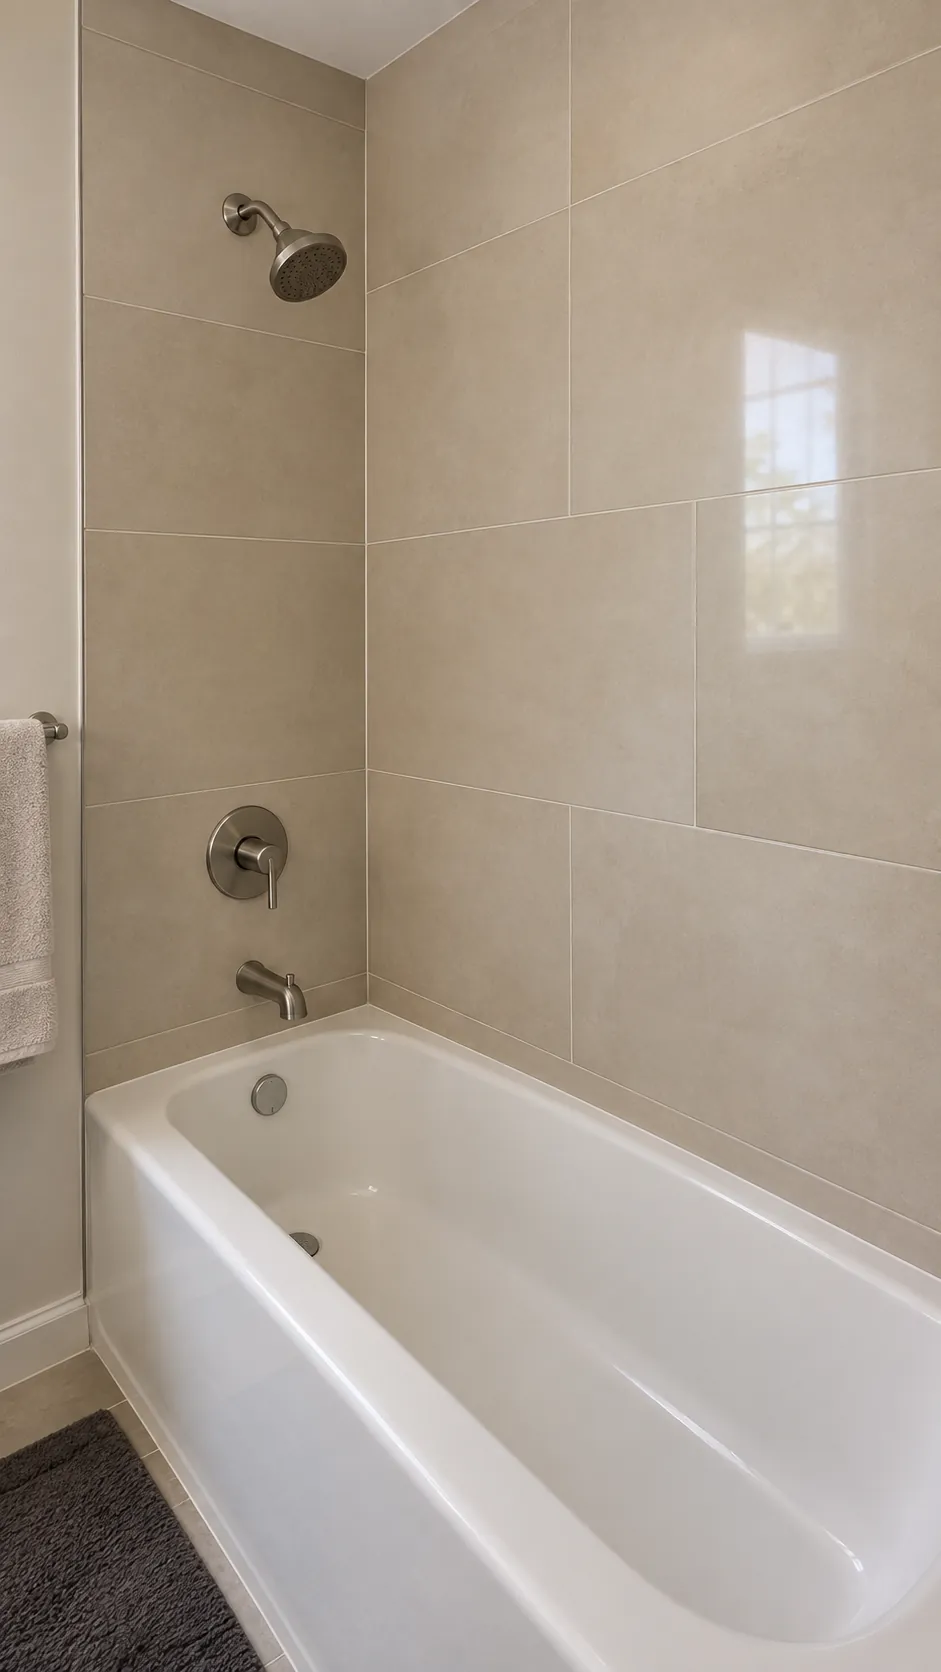
Use larger tiles where the substrate allows them
Larger wall tiles can reduce the number of visible joints around an existing bath. Their installation still depends on a suitably flat prepared surface and the correct system for the wet area. Plan cuts around corners and fixtures so the final layout does not rely on awkward slivers. Compare a sample under your bathroom lighting because a large pale tile can look very different once installed.
Refresh sound grout and failed sealant separately
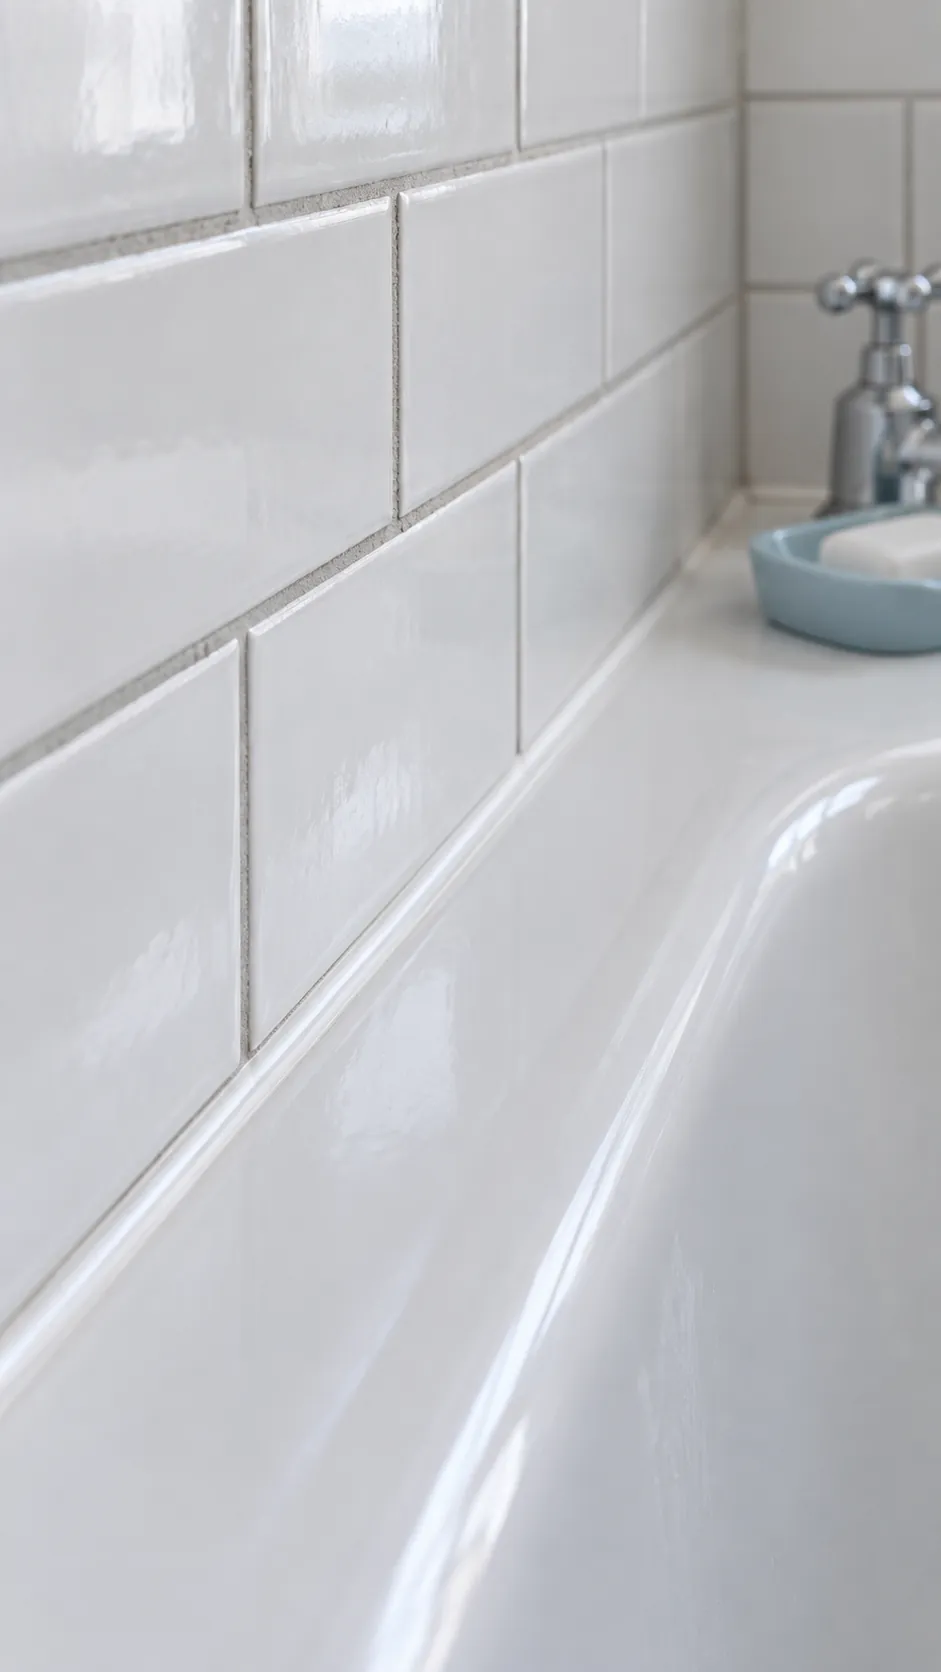
Cleaning or renewing grout can improve tile that is otherwise firmly bonded and sound. Flexible joints need the appropriate sealant rather than rigid grout, so treat those materials as different parts of the assembly. Find the cause of cracking, persistent dampness, or loose tile before covering the symptom. Cosmetic joint work is useful maintenance, but it cannot certify the waterproofing hidden behind the surface.
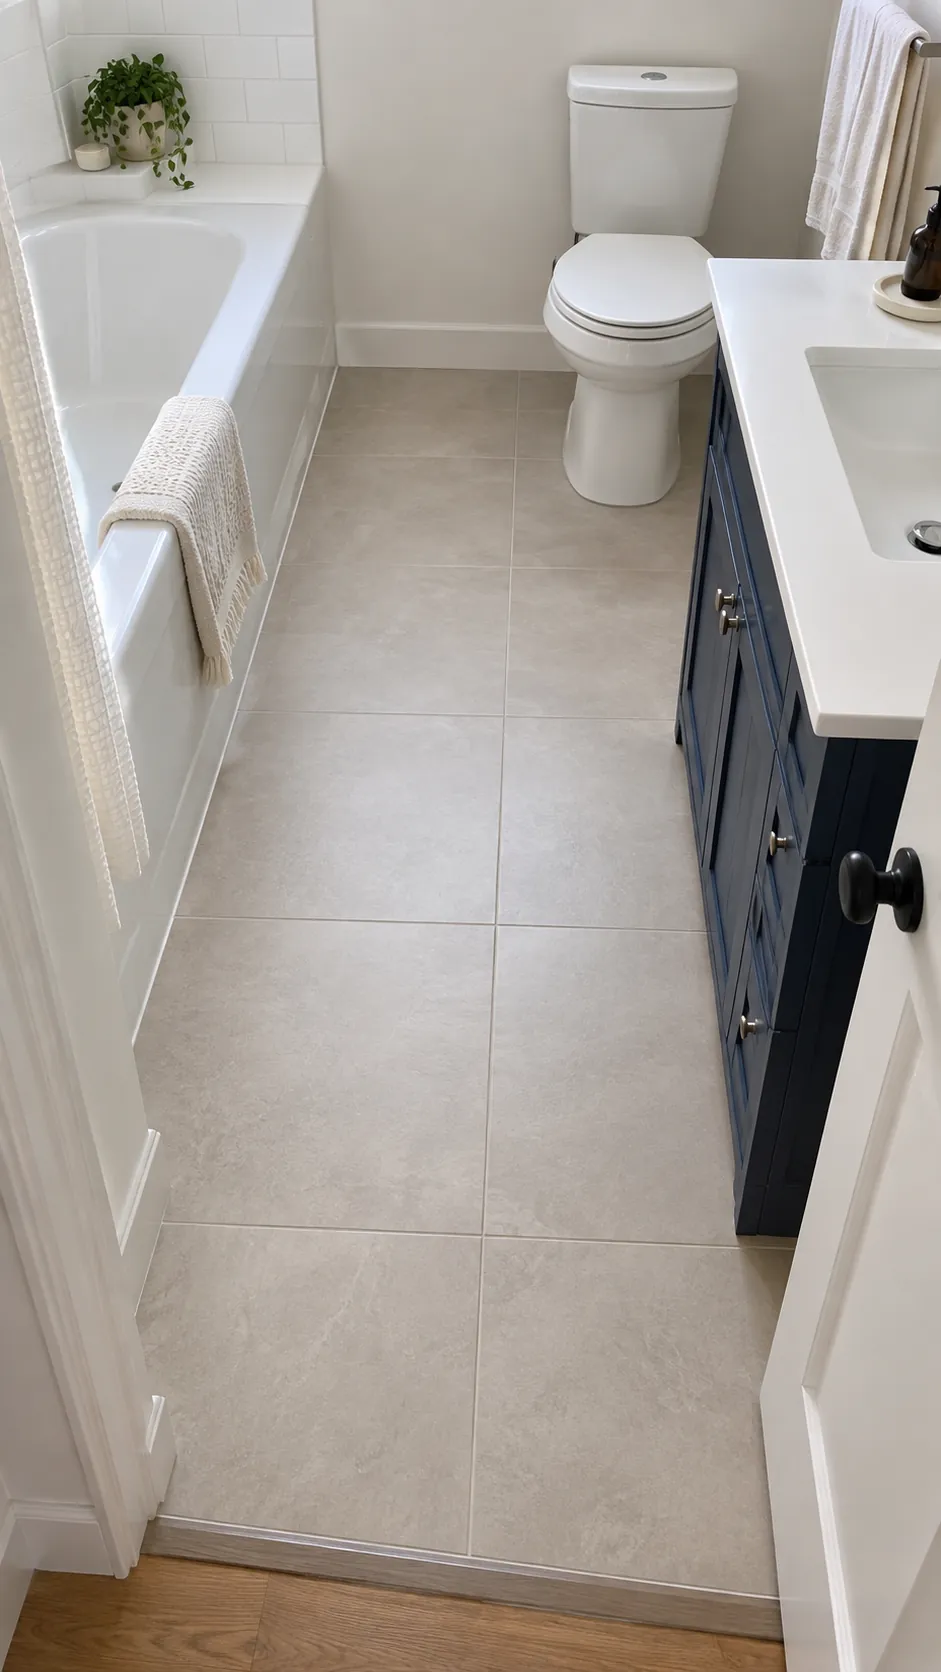
Replace flooring without changing fixture locations
A new bathroom floor can anchor the whole room while the toilet and basin stay in their existing positions. Choose a material and installation system suitable for moisture, slip concerns, and the actual substrate. Include the added thickness when checking doors, thresholds, and fixture connections. Have the installer plan the toilet reset and any required waterproofing rather than laying a new finish around unresolved problems.
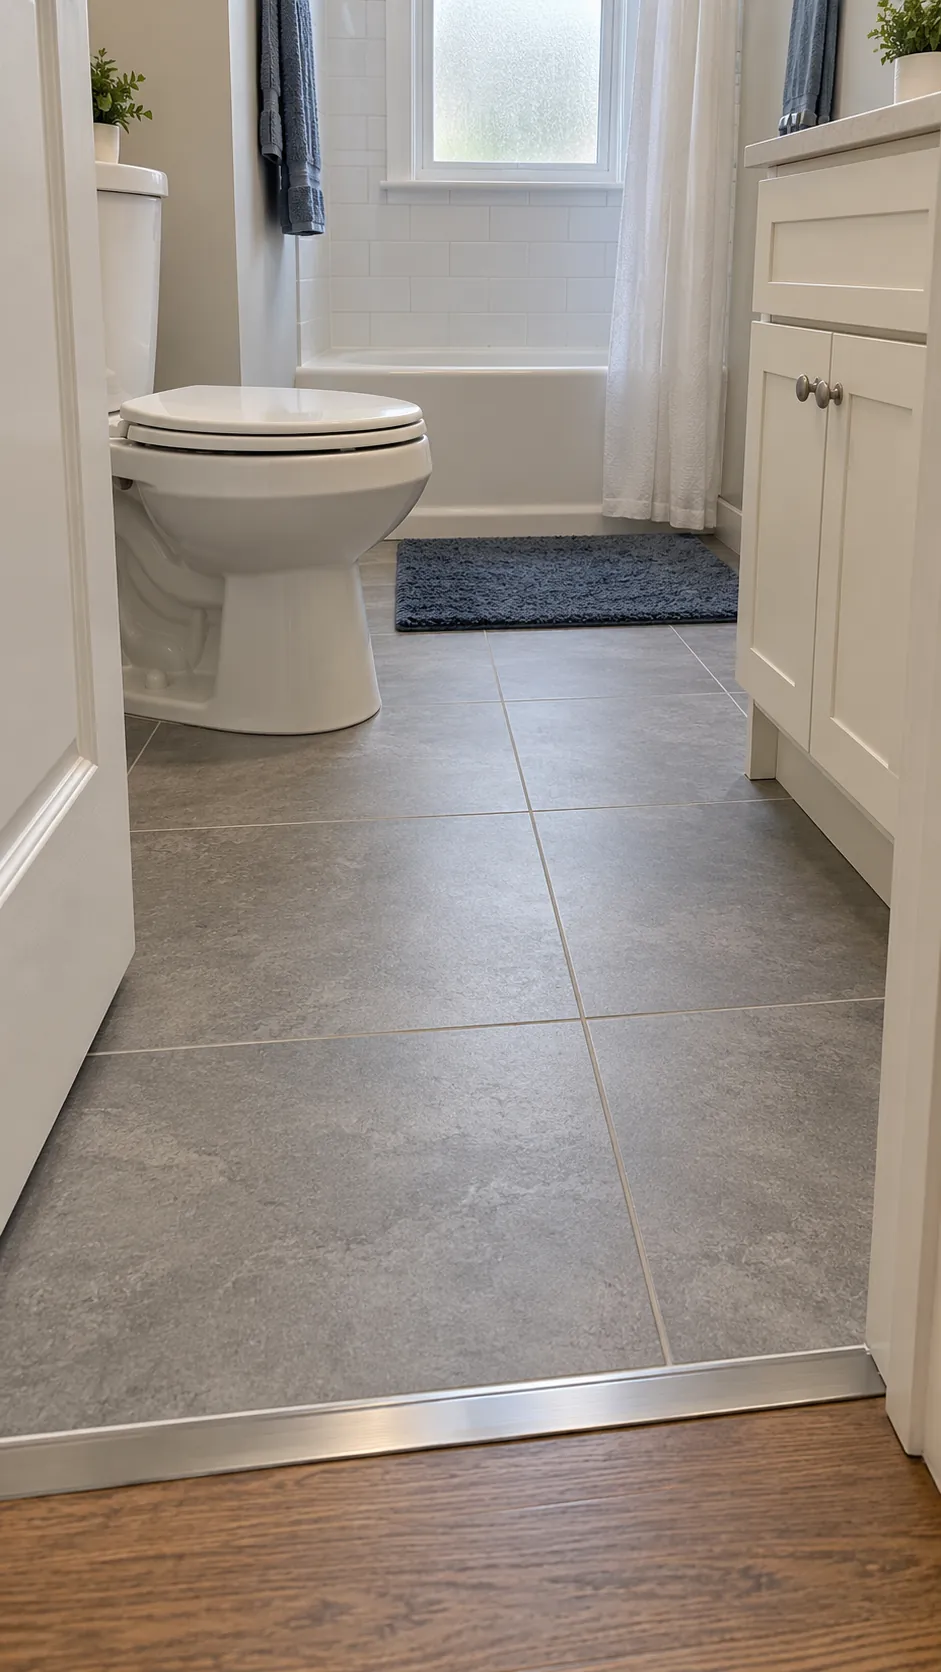
Carry one floor finish through the dry area
A continuous dry area floor can make a compact room feel less fragmented. Keep changes of material purposeful instead of putting a different finish beneath every fixture. Respect the requirements of any wet zone and do not erase a necessary threshold or drainage detail for appearance. A consistent visual field is most effective when the installation joints and edge trims are also planned.
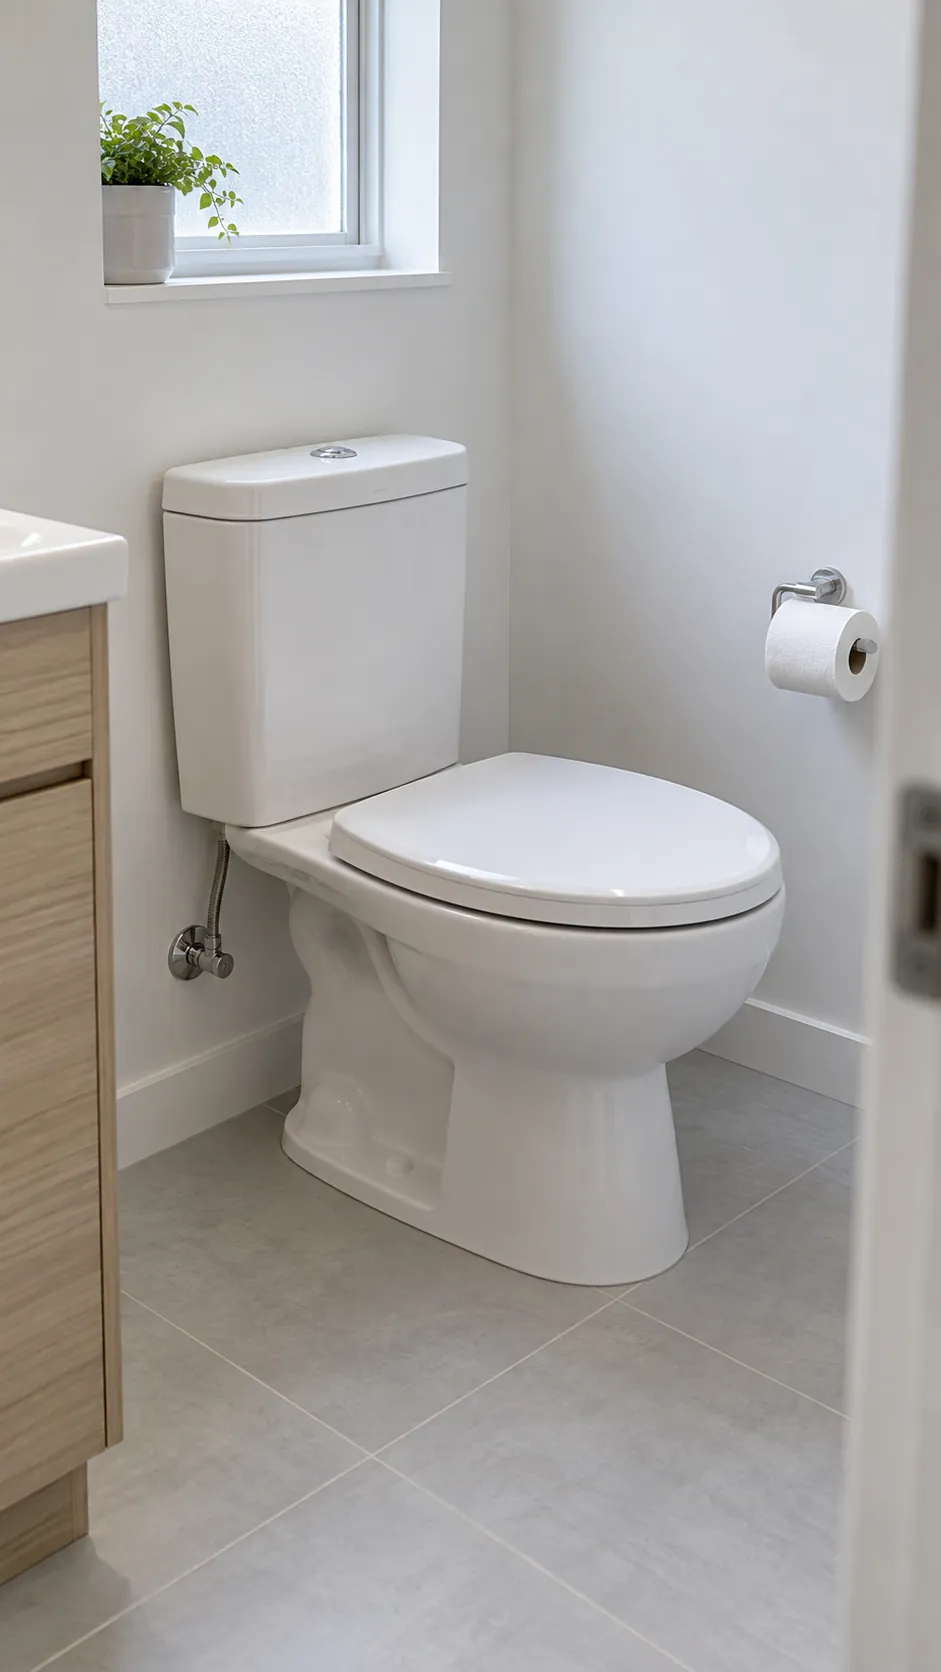
Choose a toilet that matches the existing connection
A new toilet can update the room without relocating the waste outlet. Verify the outlet arrangement, rough dimensions, water connection, total projection, and installation clearance against the current room. Do not assume all toilets with a similar silhouette fit the same connection. Ask the installer to inspect the flange or outlet condition and confirm that the replacement preserves required access and clearances.
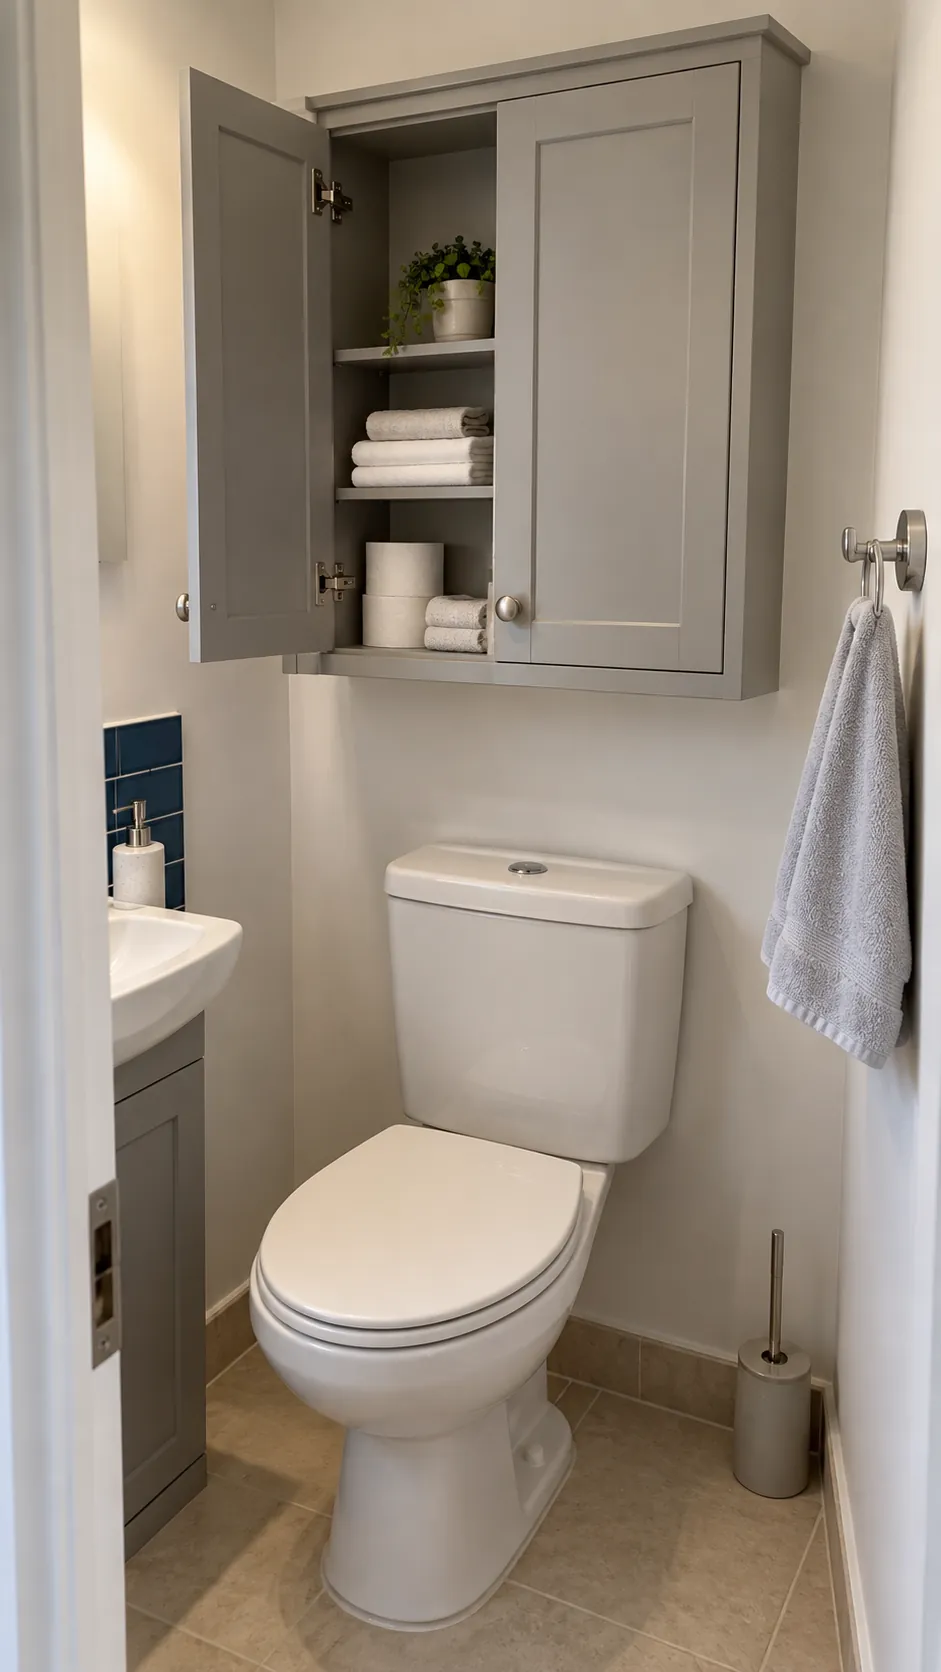
Place a shallow cabinet above the toilet
The wall above a toilet can hold spare supplies without taking floor space from the aisle. Keep the cabinet shallow enough to avoid an uncomfortable head obstruction and leave the cistern accessible for service. Fix it securely and check hidden services before drilling. Store lightweight items within reach rather than turning the high cabinet into a heavy bulk storage shelf.
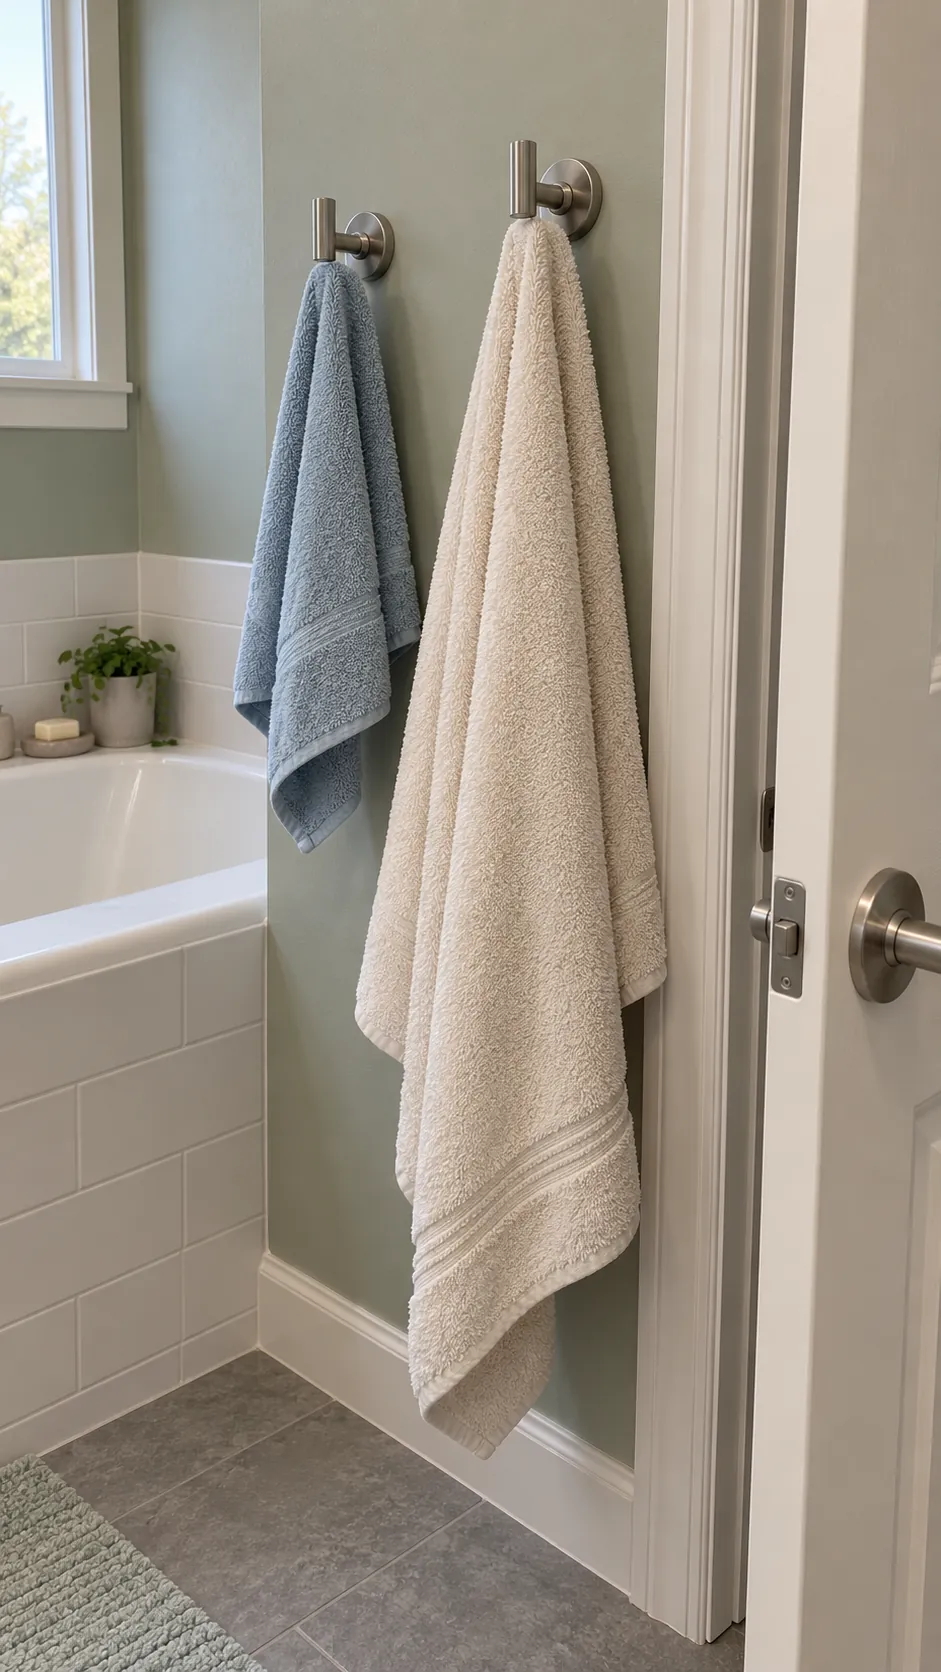
Put towel hooks where doors cannot hit them
Hooks can use short wall sections that will not accommodate a long rail. Test the door swing and the width of a hanging towel before deciding where to mount them. Keep towels away from electrical fittings and surfaces where they stay wet. A reachable hook near the bath improves daily use without changing the bathroom existing plumbing.
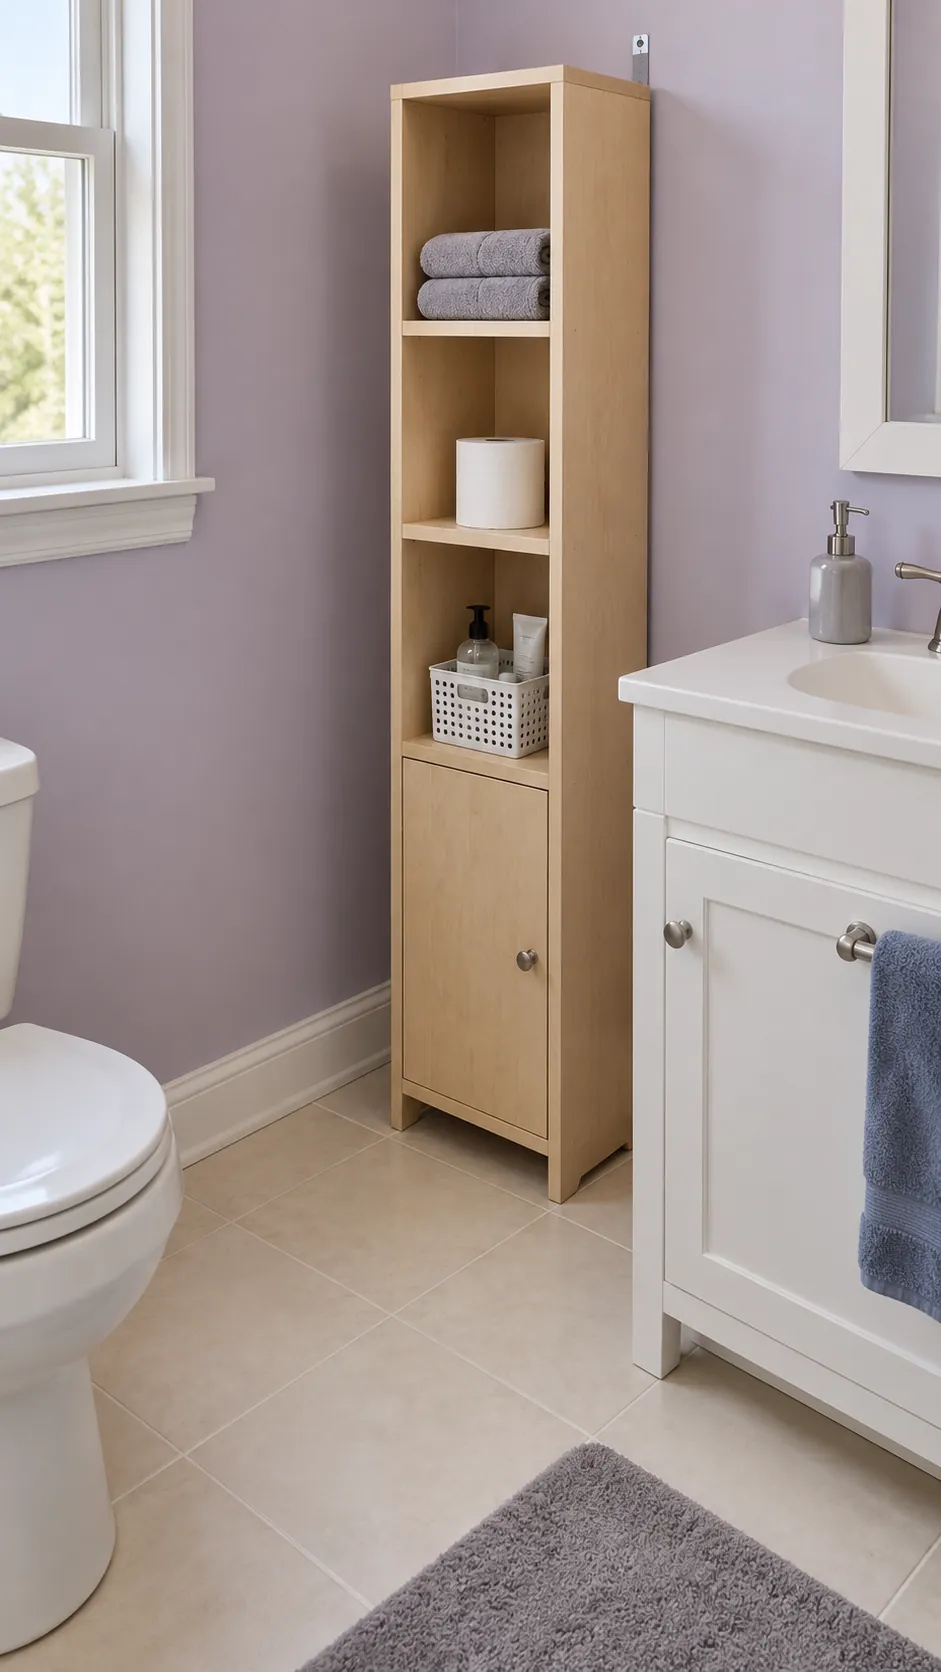
Add a slim storage tower on unused dry wall
A narrow tower can hold toiletries and folded towels beside a vanity if a real gap exists. Measure the baseboard, cabinet openings, and the walking route before choosing its depth. Secure tall furniture according to its instructions and keep it outside areas that require clear fixture space. Select a unit that handles bathroom humidity rather than relying on unsealed furniture in a damp corner.
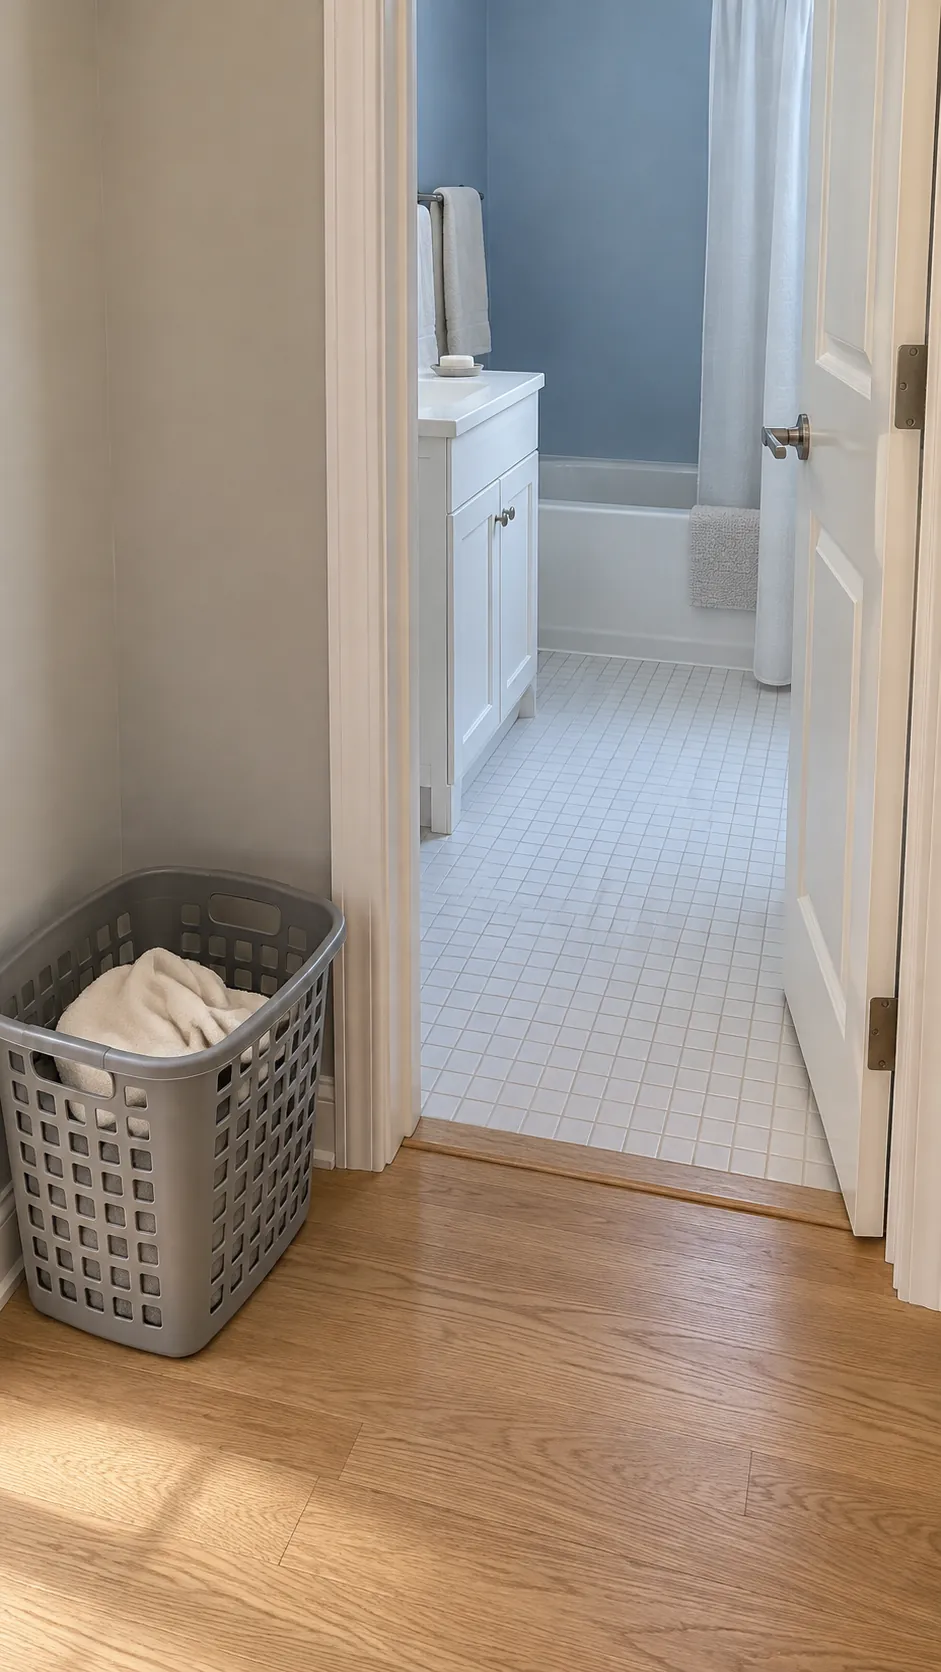
Move the laundry basket out of the pinch point
A freestanding hamper often occupies the floor space a remodel is trying to recover. Try a ventilated basket outside the bathroom or a suitable slim option in a dry alcove. Avoid sealing wet towels into a tightly closed container. Removing one daily obstruction can improve circulation while you decide which permanent bathroom space improvements are actually needed.
Finish with a coordinated dry wall color
Choose the paint color after comparing it with the floor, tub, and vanity that will remain. Test samples in daylight and with the bathroom lights on rather than selecting from a screen alone. Use a suitable coating over properly prepared dry walls, and resolve moisture or ventilation problems before repainting. A restrained palette can bring mixed existing fixtures together while the layout stays exactly where it is.