A handful of offcuts can look promising until every project asks for a piece wider than your palm. Small accents work better: a narrow wrap, a flat patch, or a shape with a firm backing. Sort the scraps by thickness before you start, test adhesive on an offcut, and choose a project that suits the pieces you already have.
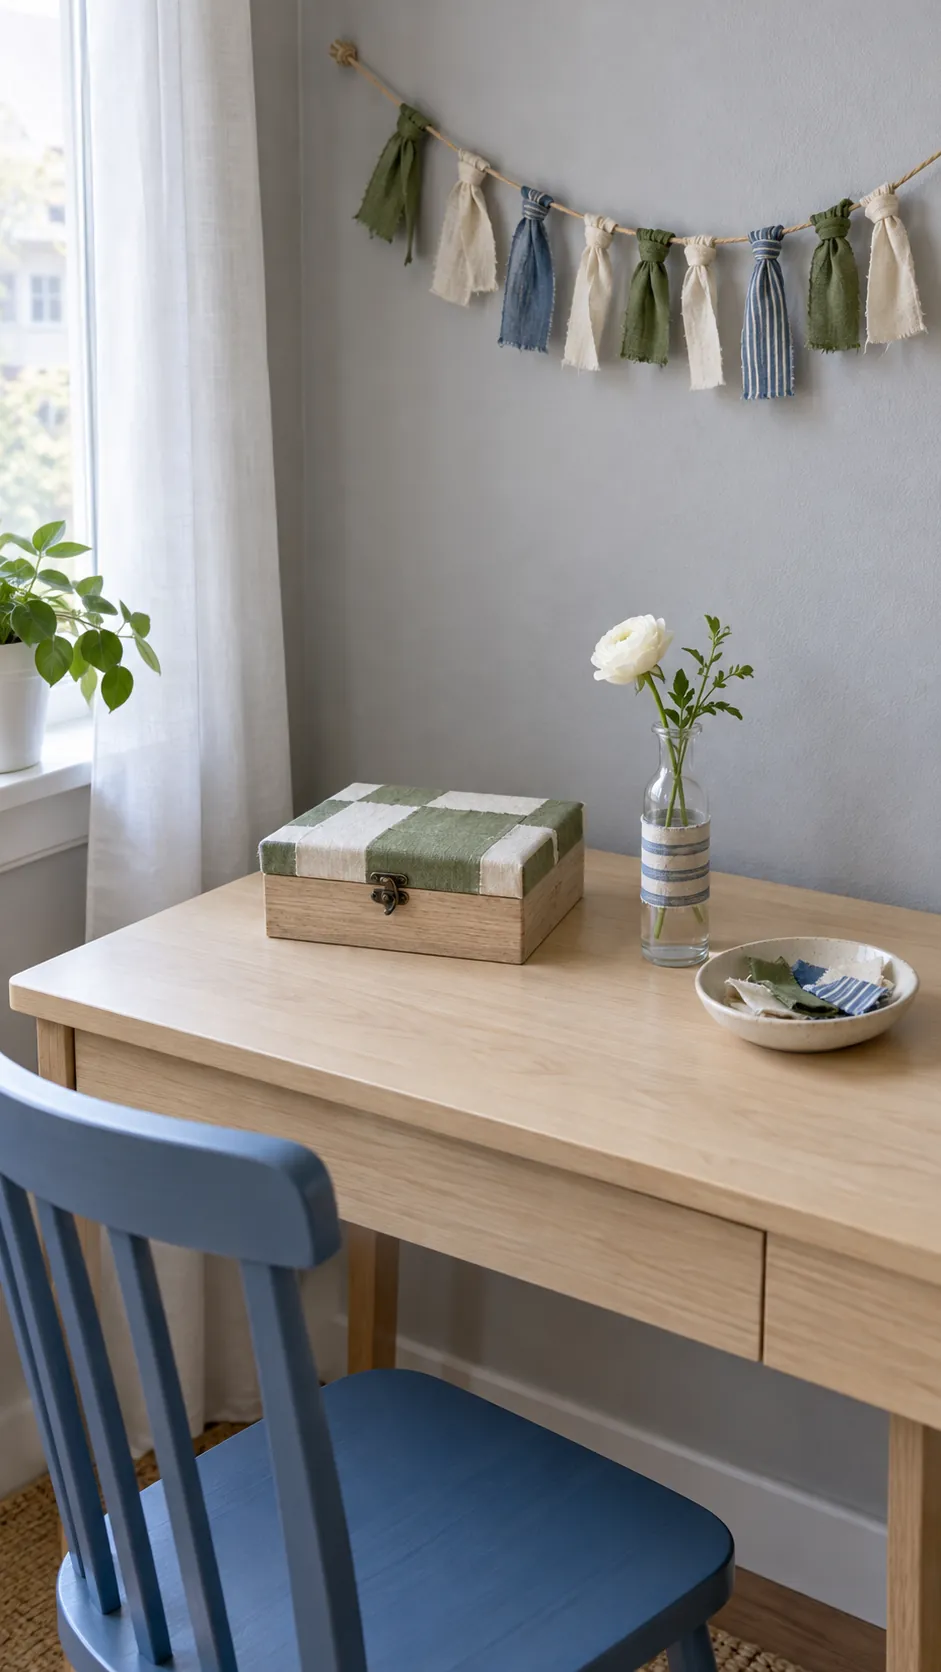
Knotted strip garland
Cut narrow strips from scraps that share one or two colors, then tie each strip around a length of cotton cord with a simple knot. Alternate lengths to create a loose fringe rather than forcing every offcut to match. Leave bare cord at both ends for hanging, and trim only the pieces that obscure the overall shape. Hang the garland away from heaters and keep its loops out of reach of small children.
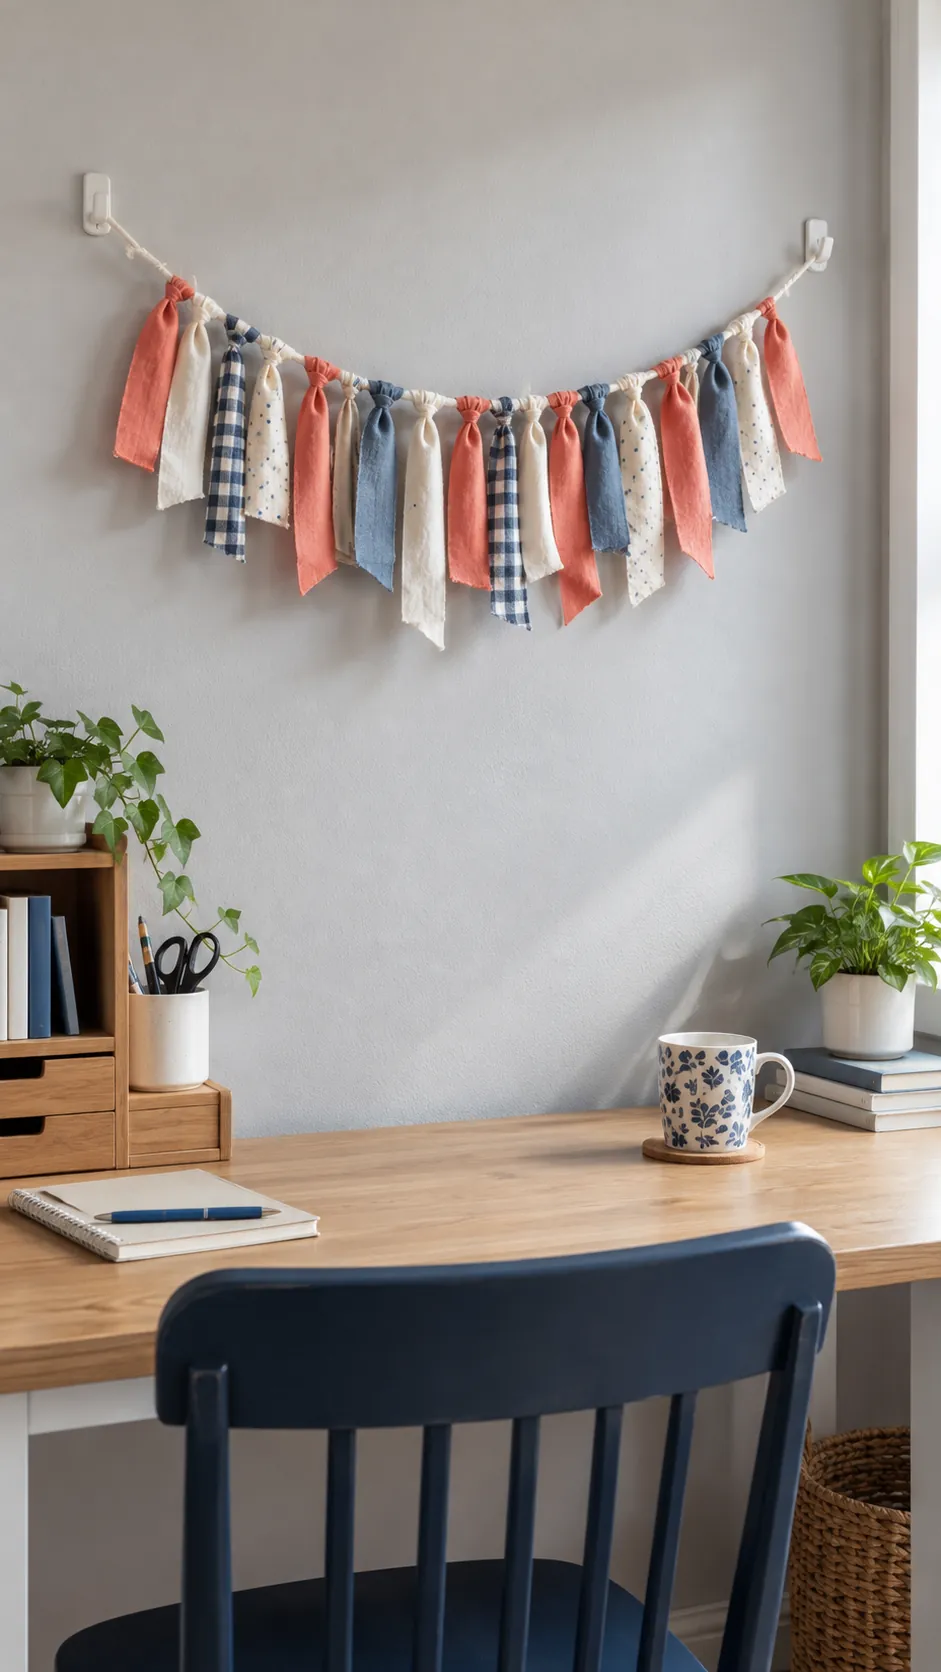
Tiny pennants on a shelf edge
Save triangular offcuts for a miniature pennant string along a bookcase or craft shelf. Fold the top edge over thin cord and bond the fold with an adhesive intended for your fabric, testing on a spare piece first. Lay the pennants flat until the bond cures so the points hang in the same direction.
A few small flags work better here than a densely packed banner. Use a repeating color to connect unrelated prints without making them identical. Clip the cord to the shelf rather than attaching adhesive directly to a delicate finish.
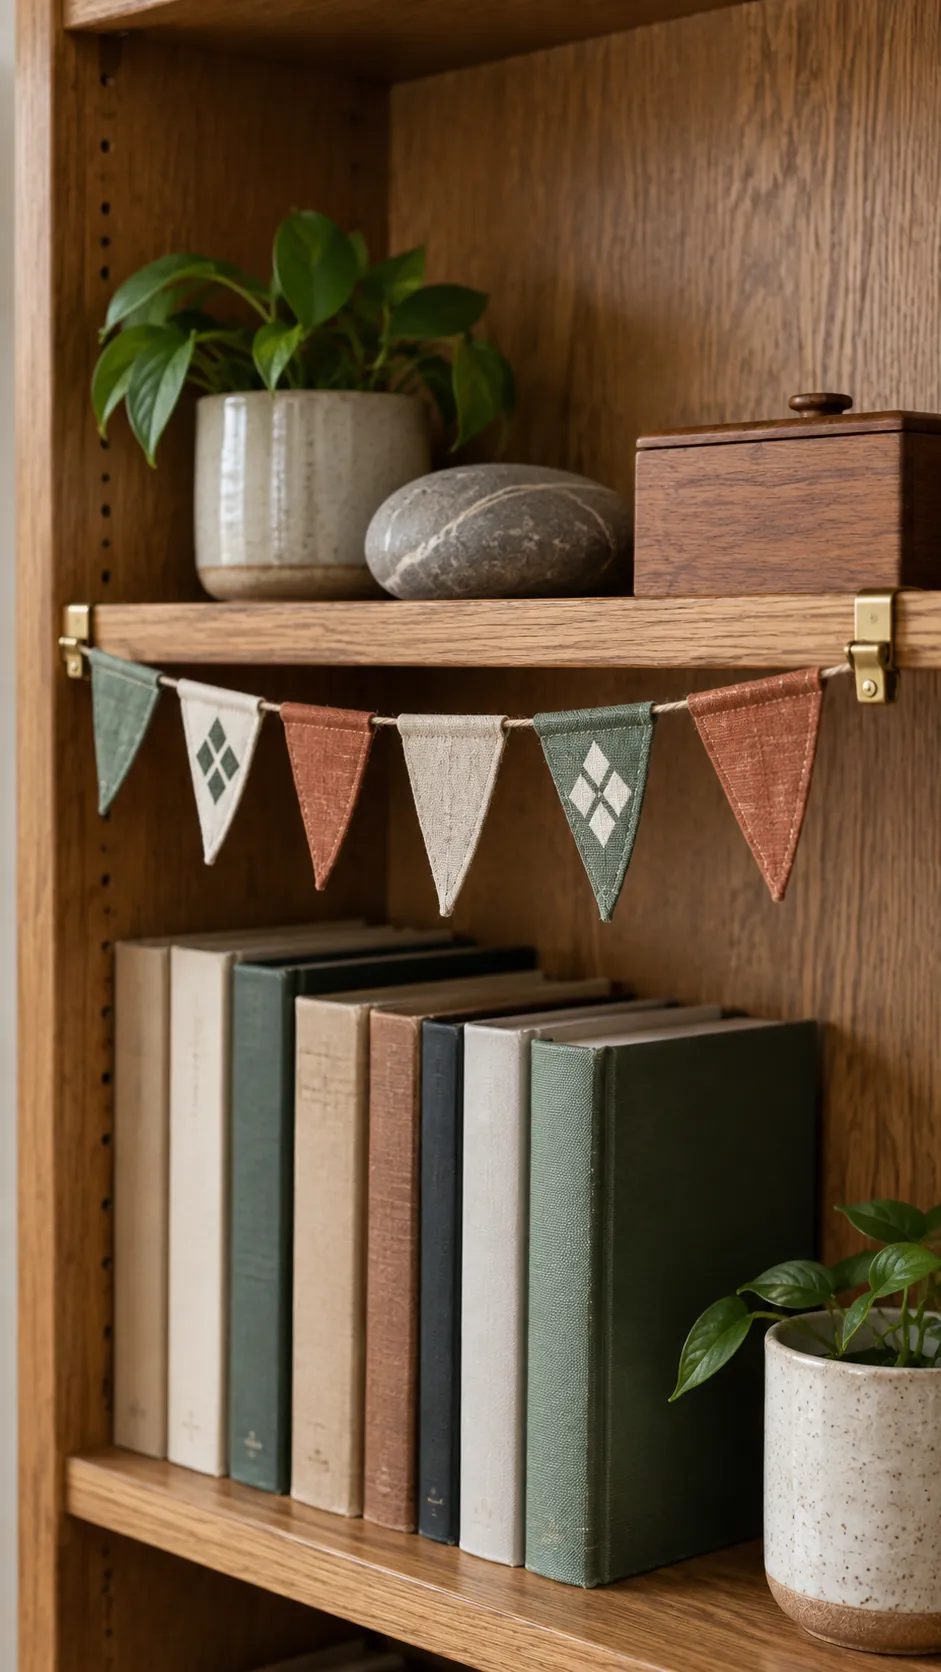
Fabric wrapped embroidery hoop
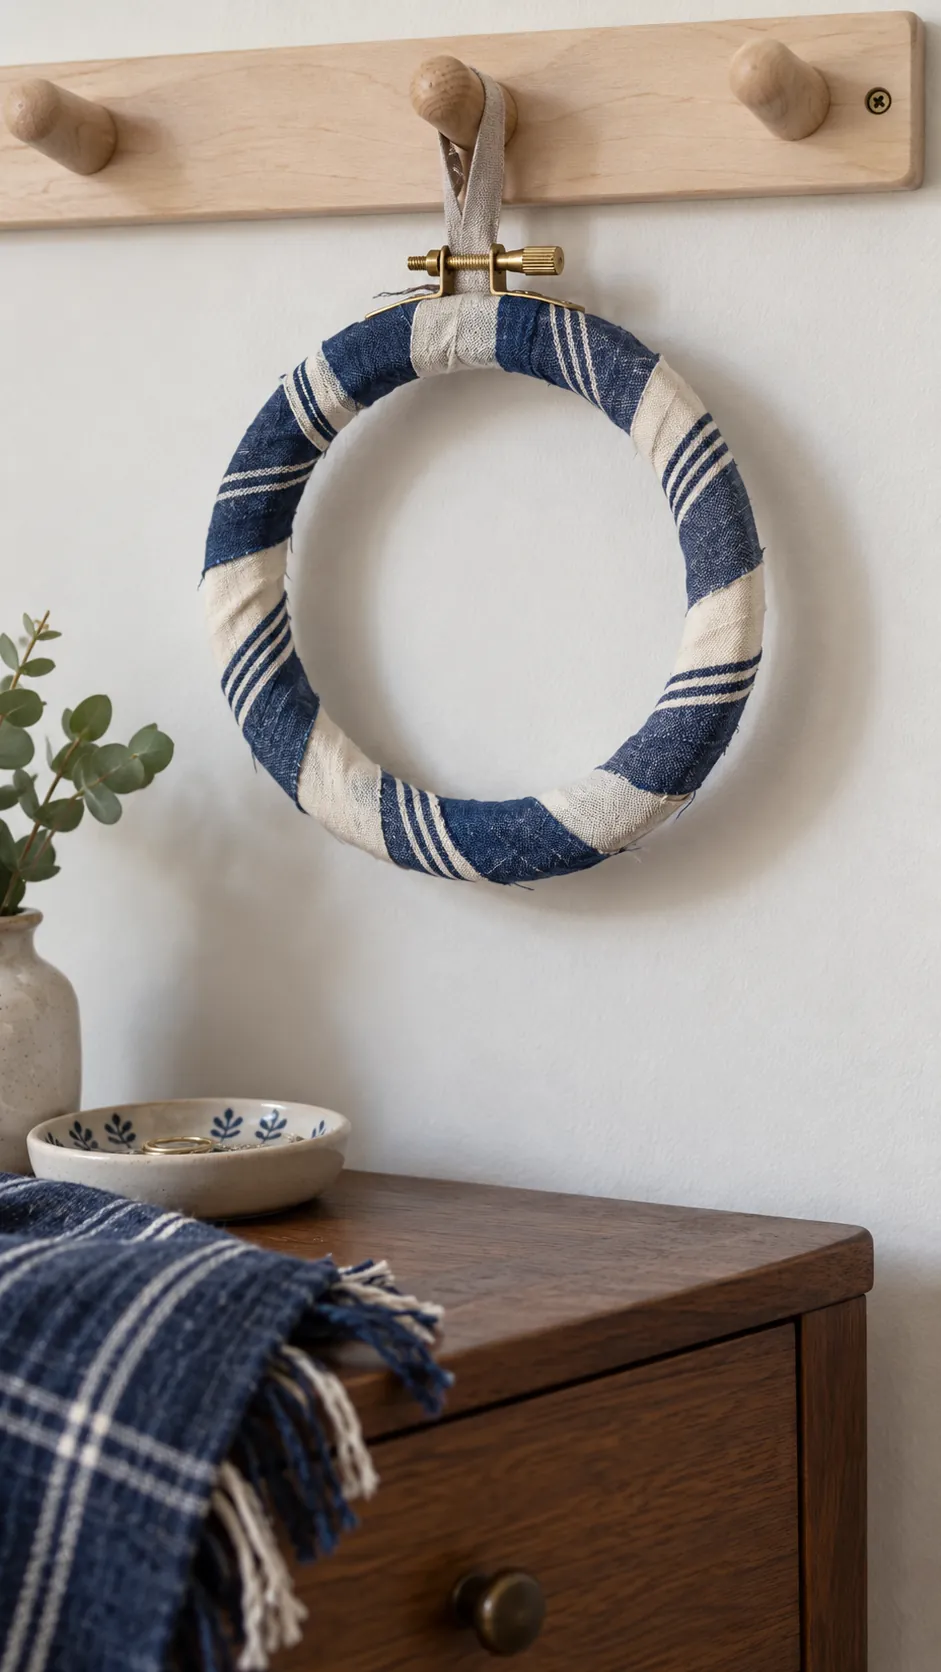
An inexpensive wooden embroidery hoop can become a small decorative ring with no stitching. Wrap short strips around the outer ring, overlapping the ends on the back and securing them with a compatible craft adhesive. Keep glue away from the metal screw so the hoop still opens. Hang the ring by a plain loop and leave the center empty to show its shape.
Leaf shaped textile branch
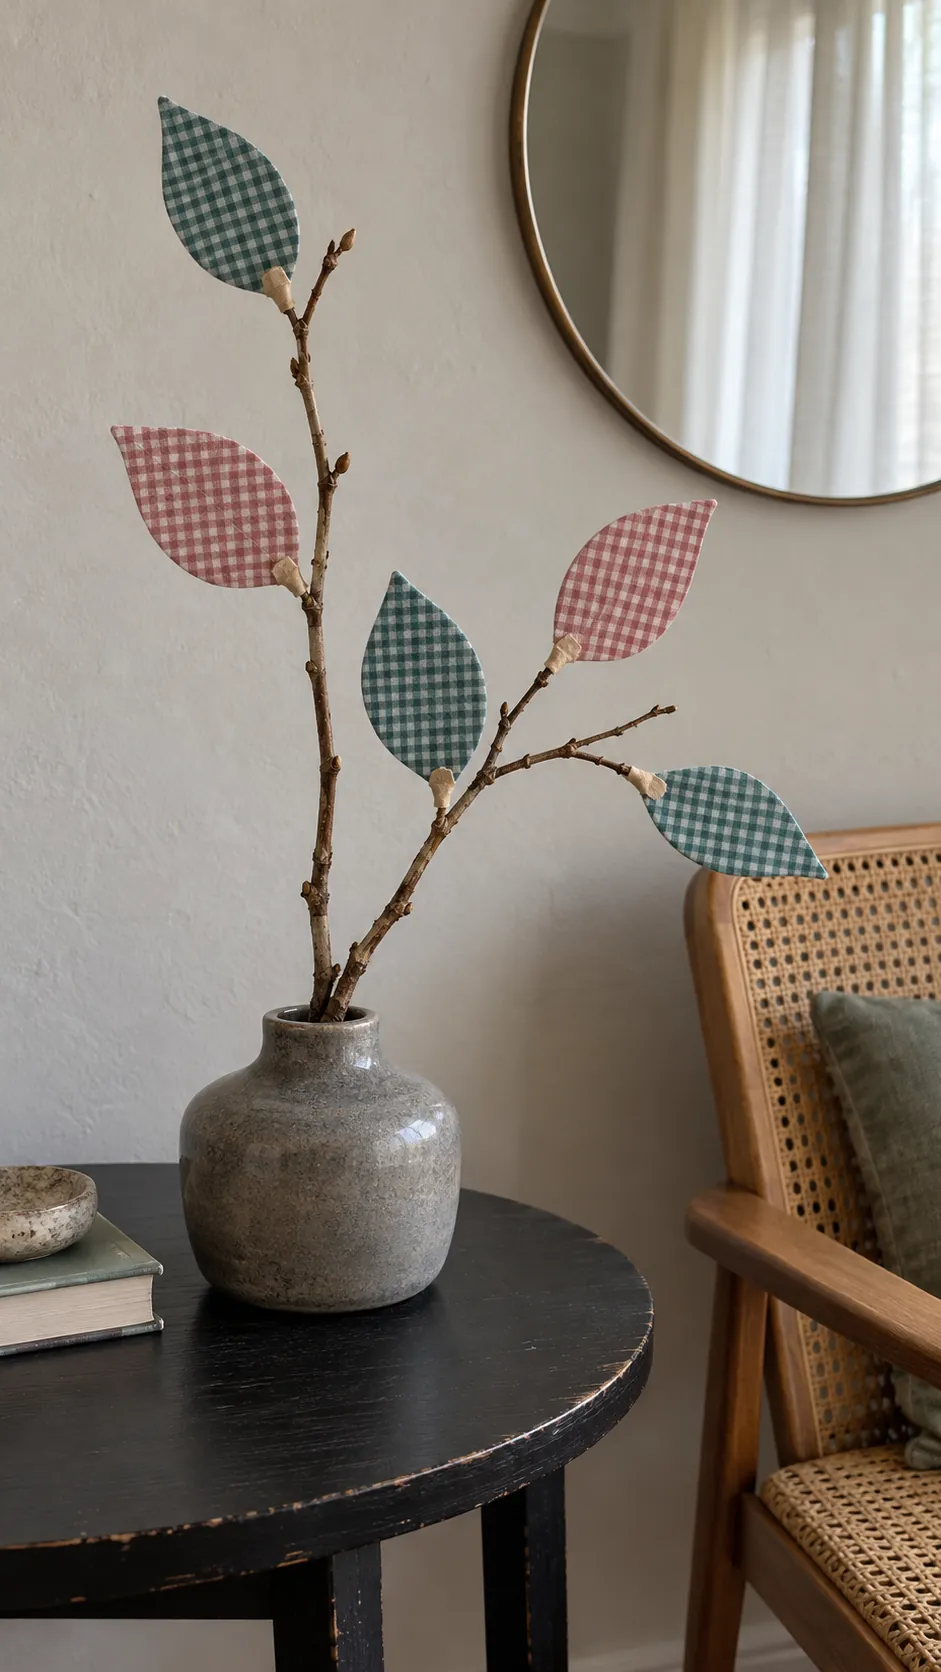
Bond two scraps together with a thin backing, then cut simple leaf shapes once the material is firm. Attach the leaves to a small dry branch with tiny dots of adhesive and support the branch in a stable vase. Use a few broad leaves so their fabric patterns remain visible rather than cutting many intricate tips. Keep this upcycled textile decor indoors, where moisture will not soften the bonds.
Covered photo frame corners
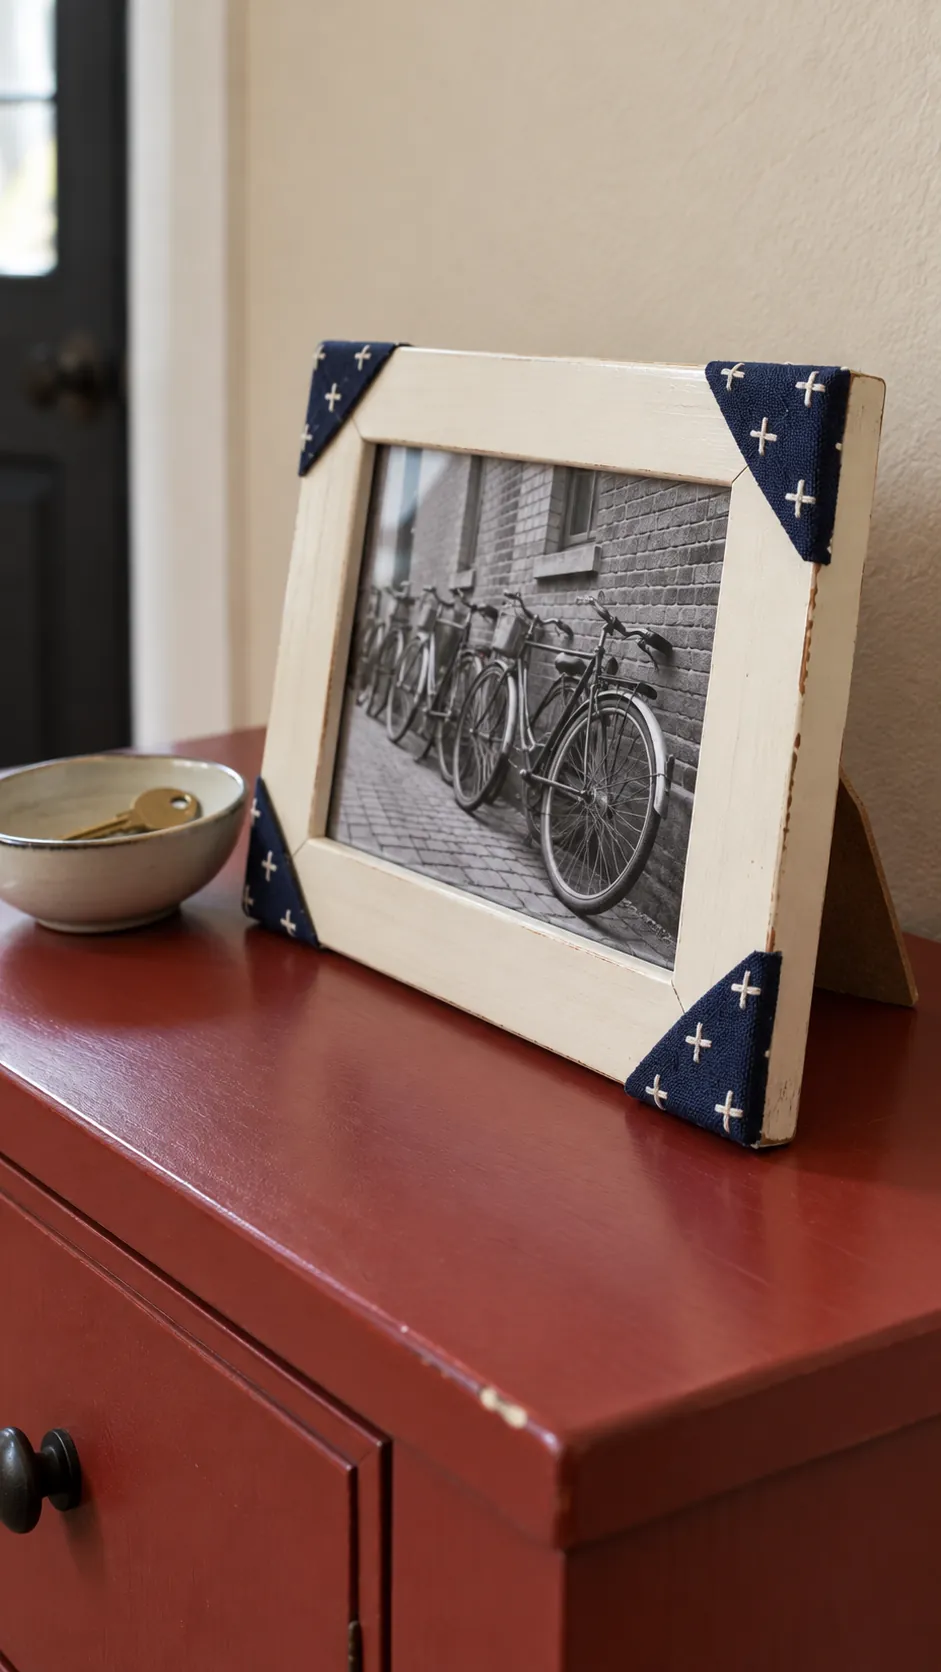
Use tiny squares to cover worn corners on a plain tabletop frame while leaving the rest of the finish visible. Remove the photo and glazing before working, and fold each patch neatly around the back edge. Apply a thin even adhesive layer so it does not seep through the cloth. Let the frame cure fully before reassembling it, then check that its stand and picture opening still work.
Scrap fabric mat border
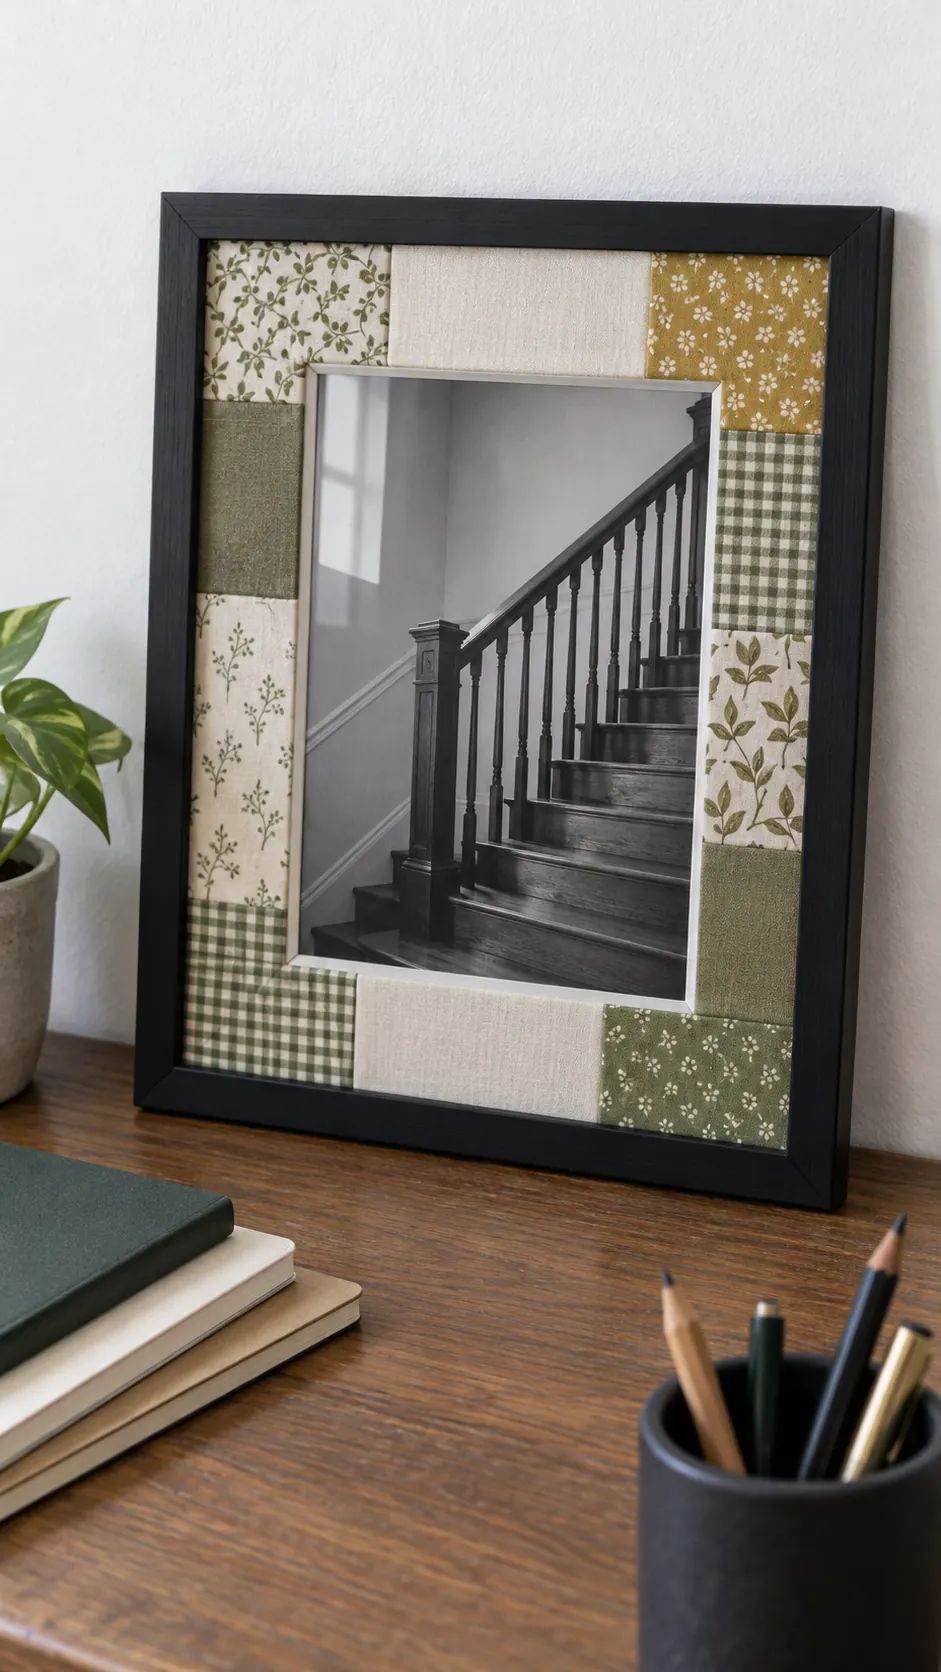
Cover a spare picture mat with overlapping rectangles of thin cotton, working from the outside edge toward the opening. Fold the inner edges to the back so no threads fall across the photograph. Keep the adhesive on the mat rather than on the image, especially when the photograph is irreplaceable.
Test the thickness inside the frame before finishing the whole border. Leave enough clearance for the backing to close without pressure on the glass. A narrow repeated strip of plain fabric can calm a busy collection of small prints.
Geometric textile collage
Arrange fabric triangles, squares, and circles on a piece of firm card before committing to glue. Let one large shape lead the composition and use the smallest scraps as accents. Leave some card exposed so the patterns have space to read. Bond the pieces flat and frame the finished textile collage art once the adhesive is dry.

Fabric mosaic initials
A plain wooden initial gives tiny scraps a clear boundary and a useful focal point. Cut the fabric into rough tiles, test the arrangement, and glue them to the front face with small gaps between pieces. Leave the sides uncoated so the letter remains readable from an angle. Choose a freestanding letter with a stable base or mount it using hardware rated for its weight.

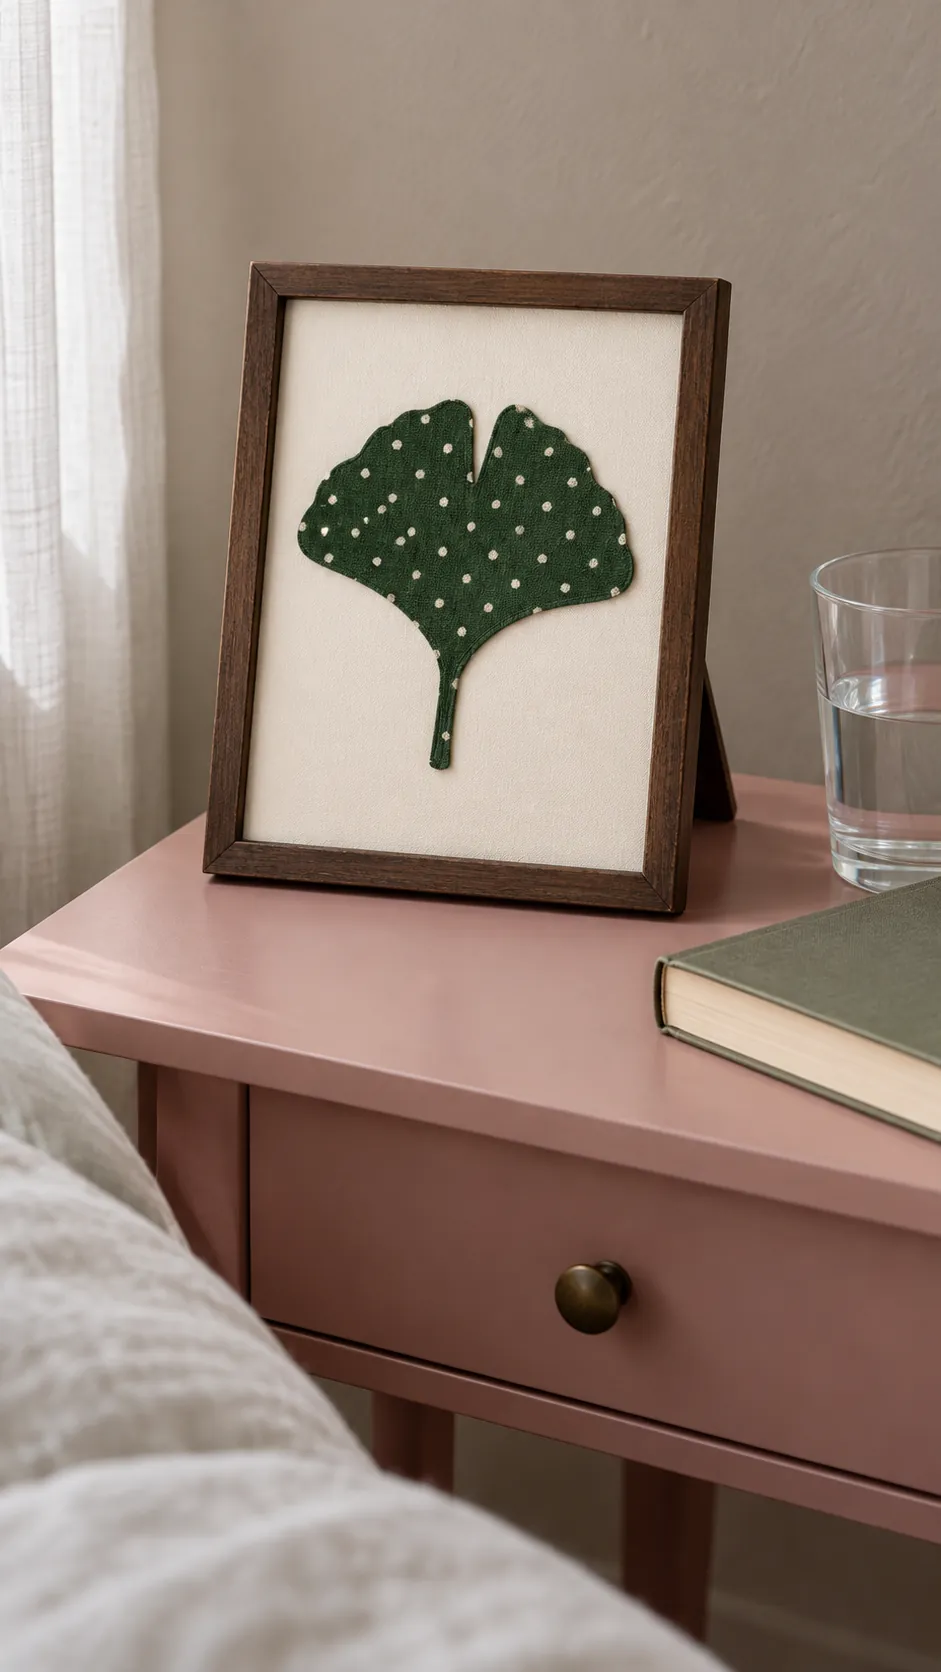
Botanical silhouette on card
Cut a broad leaf or simple flower silhouette from a patterned scrap and place it on plain card. Avoid thin stems and tiny petal cuts if the fabric frays easily. A light backing bonded before cutting can help a soft scrap hold its outline. Display the panel in a small frame with enough space around the shape to reveal the textile pattern.
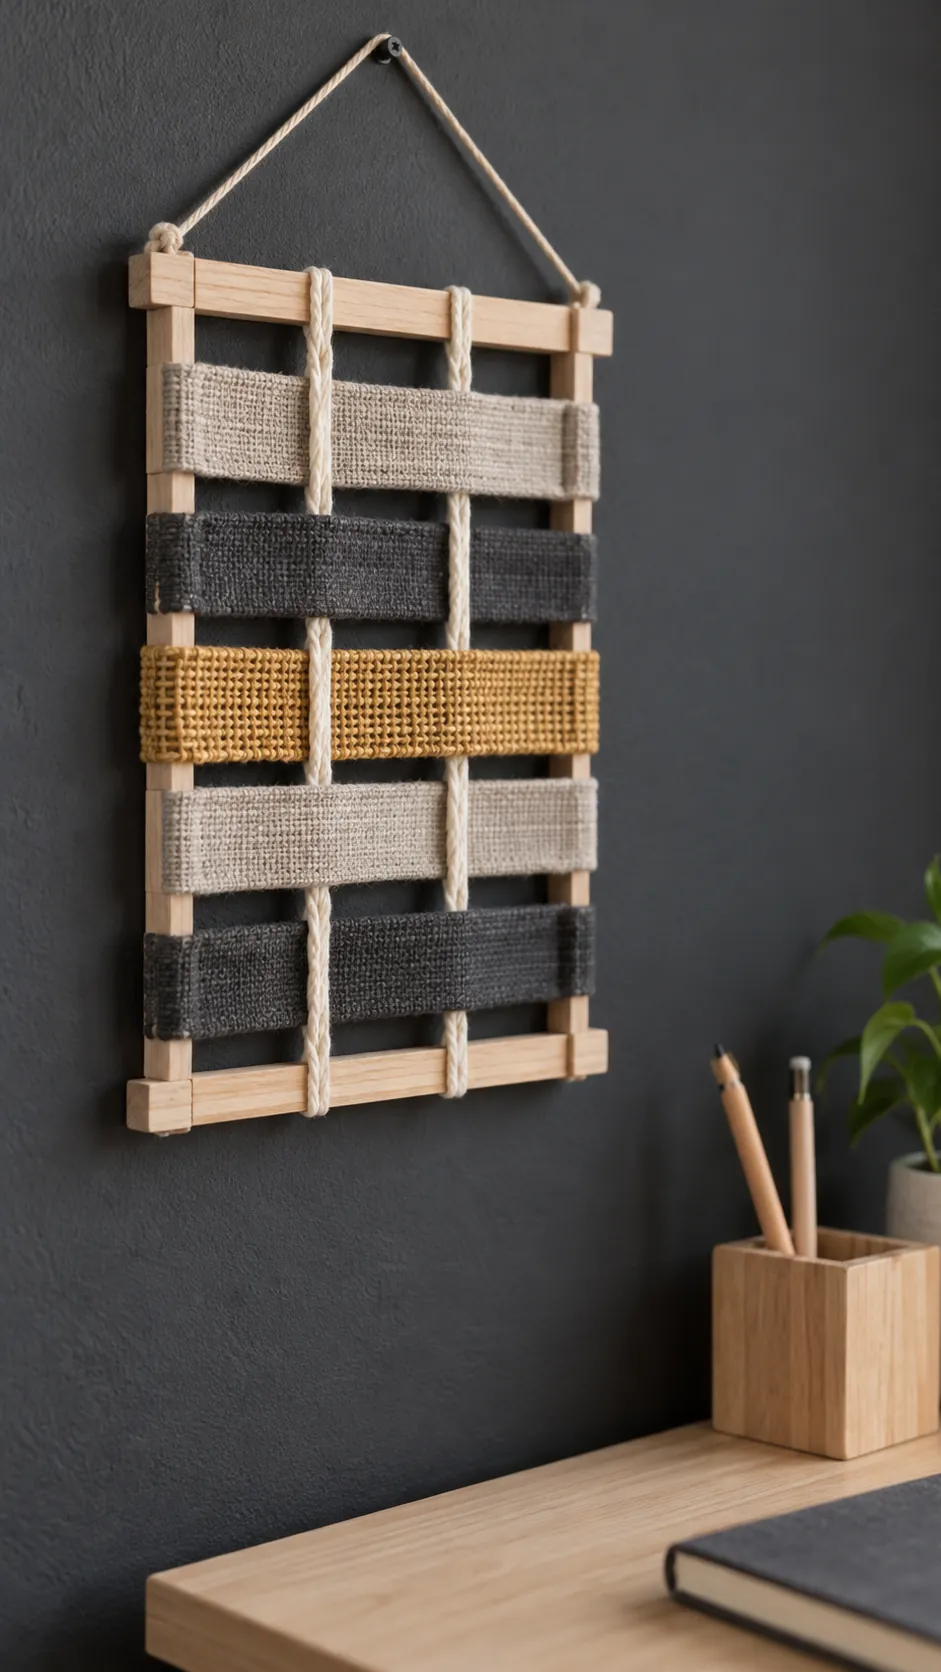
Ribbon length wall weaving
Use a small open grid or a firm slotted card backing to weave short strips over and under a few vertical cords. Choose strips long enough to span the grid and tuck their ends to the back. This makes a shallow decorative panel without sewing or pretending small scraps can become a full textile rug.
Keep the tension gentle so the backing does not bow. One textured strip among smooth cotton pieces gives the panel depth. Secure the tucked ends discreetly and check that the hanging loop supports the complete backing.
Fabric wrapped bud vase
Wrap a clean glass bud vase with a narrow fabric band, keeping the cloth below the mouth. Fold or trim the strip edges and attach the ends to one another on the back rather than coating the whole vase. Remove the band before washing the glass. A single stem keeps this small fabric scrap decor from disappearing behind flowers.

Decorative bottle neck ties
Short soft strips make useful accents around the necks of empty bottles displayed as a group. Tie each strip once, then trim the ends at different lengths so the bottle silhouettes remain distinct. Keep the bottles purely decorative rather than wrapping containers used for drinks. Place them on a stable surface and avoid heavy dangling ornaments that can pull a narrow bottle over.

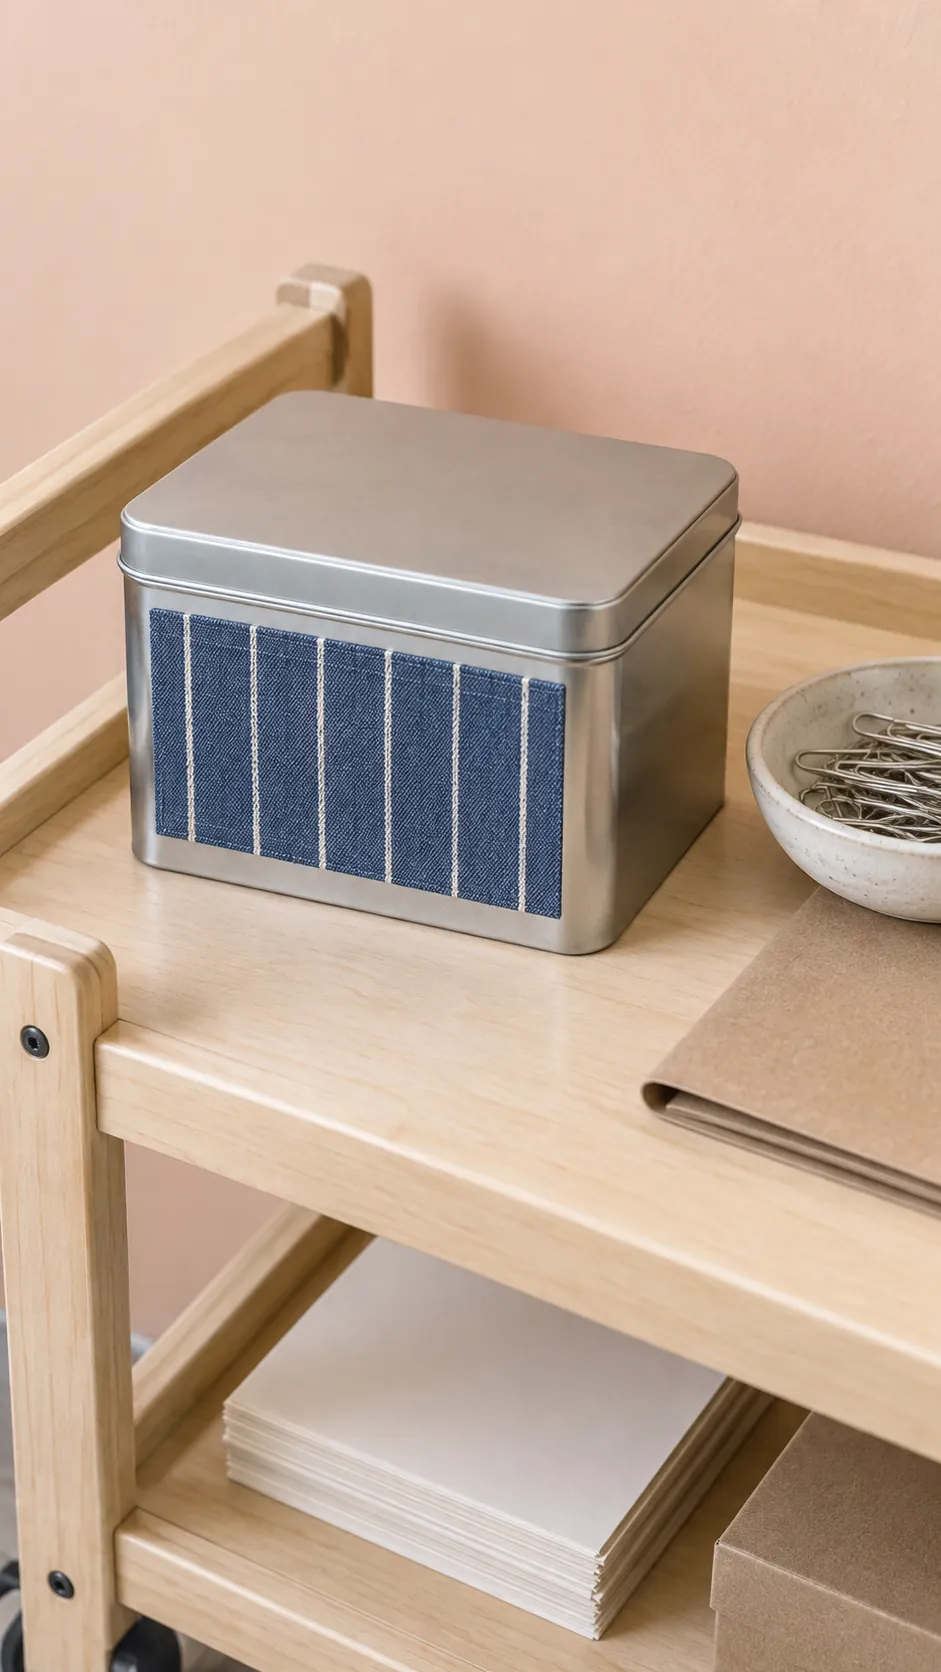
Fabric panel on a storage tin
A flat side panel on a clean storage tin needs much less fabric than a full wrap. Cut one rectangle slightly smaller than the side, test your adhesive on the finish, and press the cloth flat without trapping wrinkles. Keep fabric and glue away from the lid seam so the tin still closes.
Use the tin for dry craft supplies rather than food. A paper label can sit beside the fabric panel if you need to identify the contents. Let the adhesive cure according to its instructions before filling the tin.
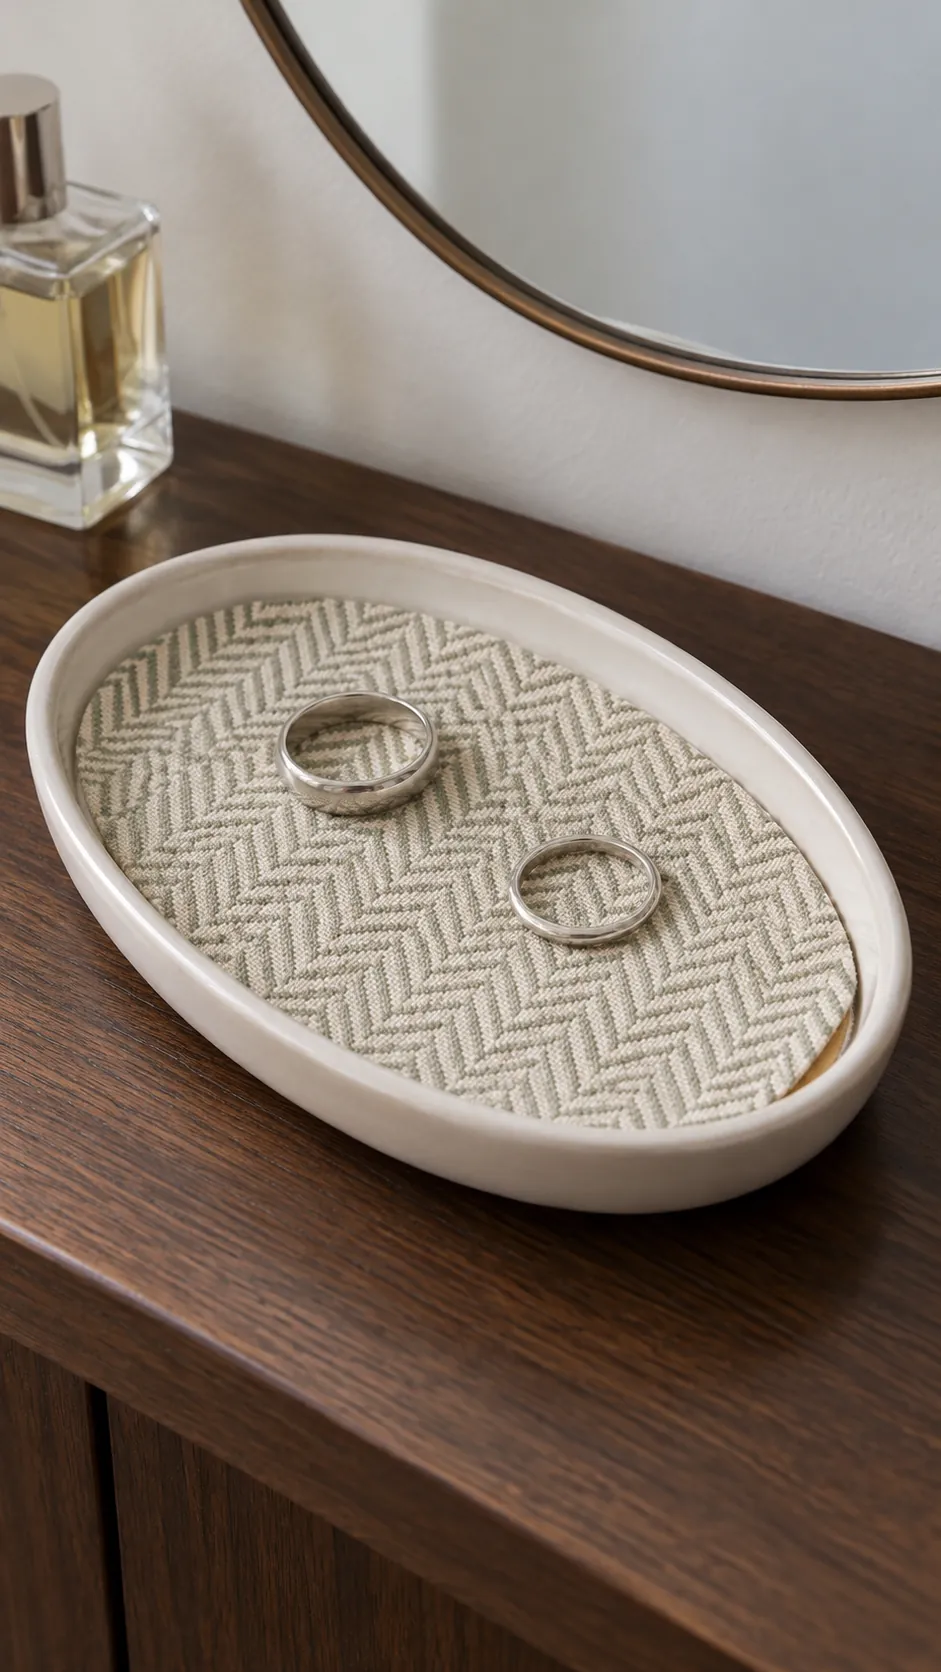
Soft lining for a trinket tray
Cut a firm fabric scrap to fit the flat base of a shallow tray that holds jewelry or other small dry objects. For very thin fabric, bond it to a removable card insert and round the corners slightly. The insert should drop into place without being wedged against the sides. Lift it out for cleaning instead of gluing cloth permanently into the tray.
Wrapped drawer knob accents
A tiny fabric circle can refresh the face of a plain wooden knob without covering the whole drawer. Remove the knob first, fit the circle to its flat face, and secure it with an adhesive suitable for both surfaces. Keep the cloth away from the screw and the grip area. Test for loose edges after curing, because a knob sees more handling than most decorative projects.

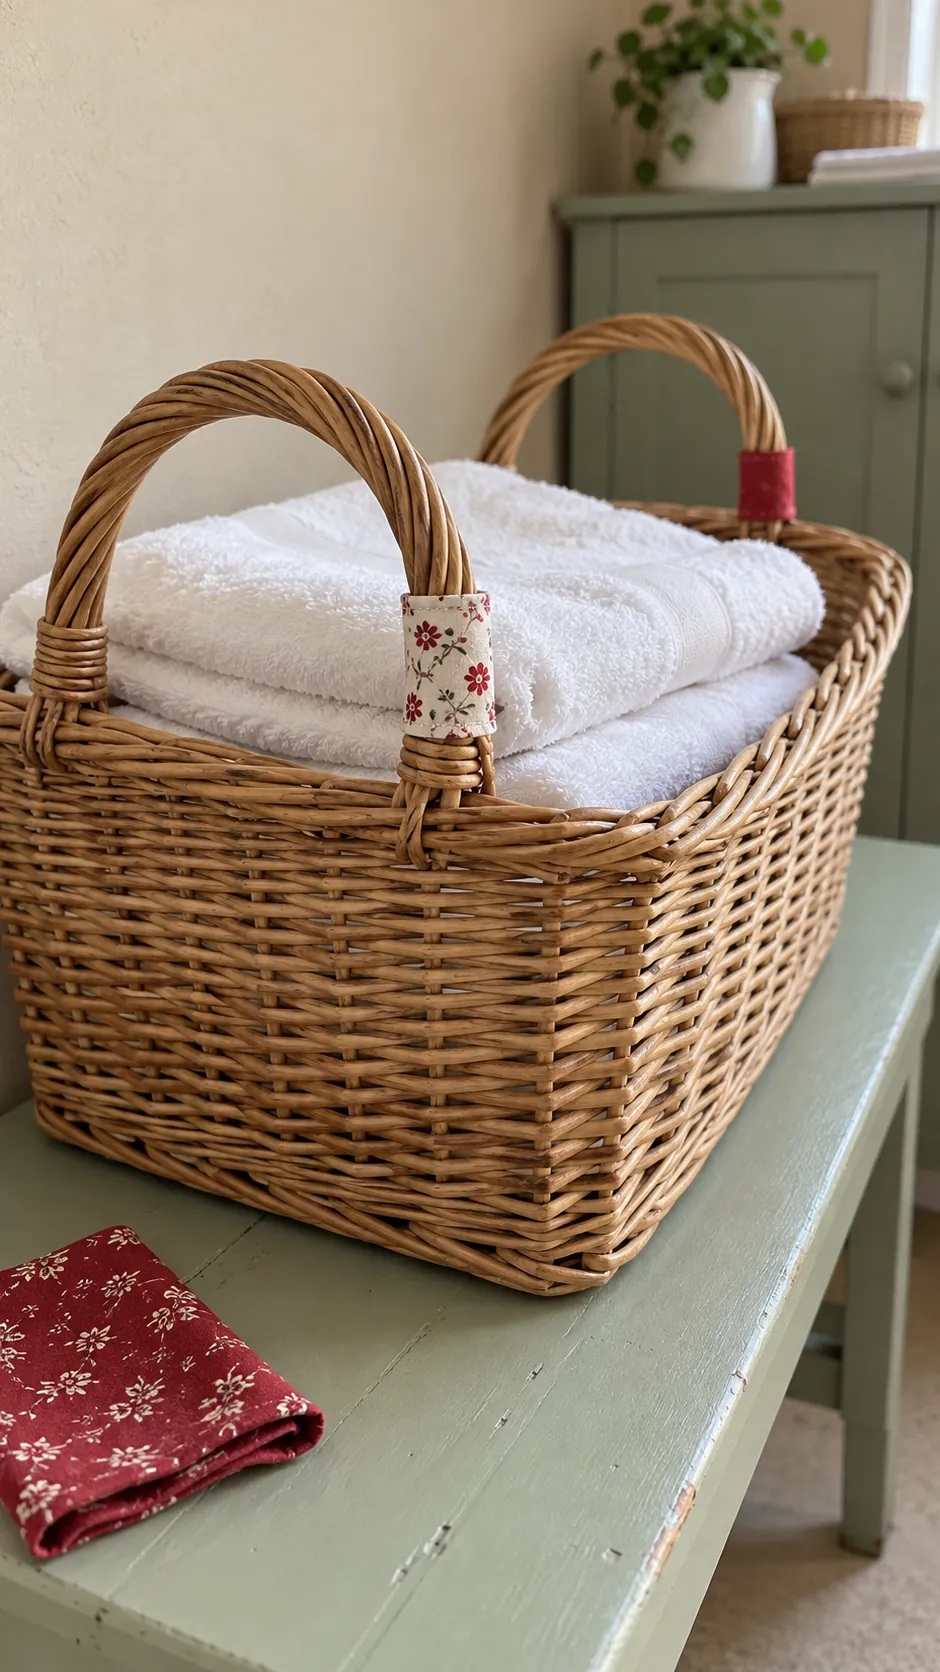
Fabric tabs on basket handles
Fold a scrap into a narrow band and loop it around a sturdy basket handle as a small accent. Bond the ends to each other, leaving enough ease for the band to move without grinding against the handle. Repeat on the opposite handle only if you have a second suitable scrap.
The fabric tab is decoration rather than a carrying strap. Keep it clear of the point where you normally grip the basket. A dense cotton print is easier to fold cleanly than a stiff upholstery remnant.
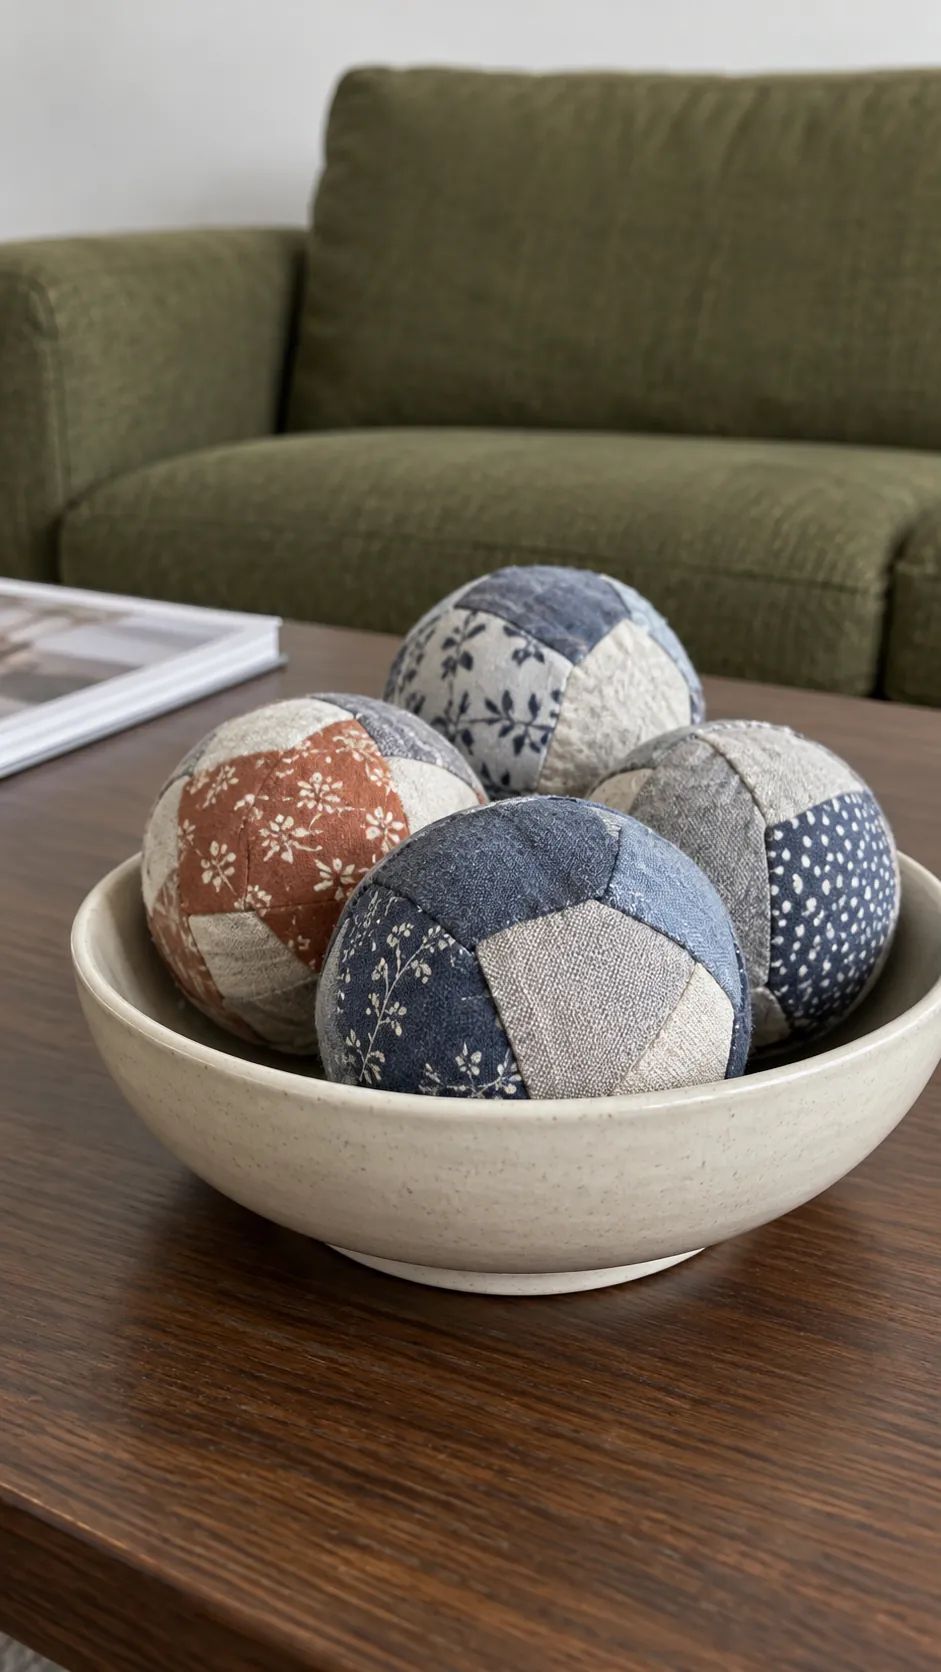
Scrap wrapped decorative balls
Cover lightweight craft balls with small overlapping fabric pieces to use in a decorative bowl. Work in sections and smooth each piece before adding the next so bulky folds do not accumulate. Let the balls dry completely before arranging them together. Keep them away from pets and young children, and never use them as food or play objects.
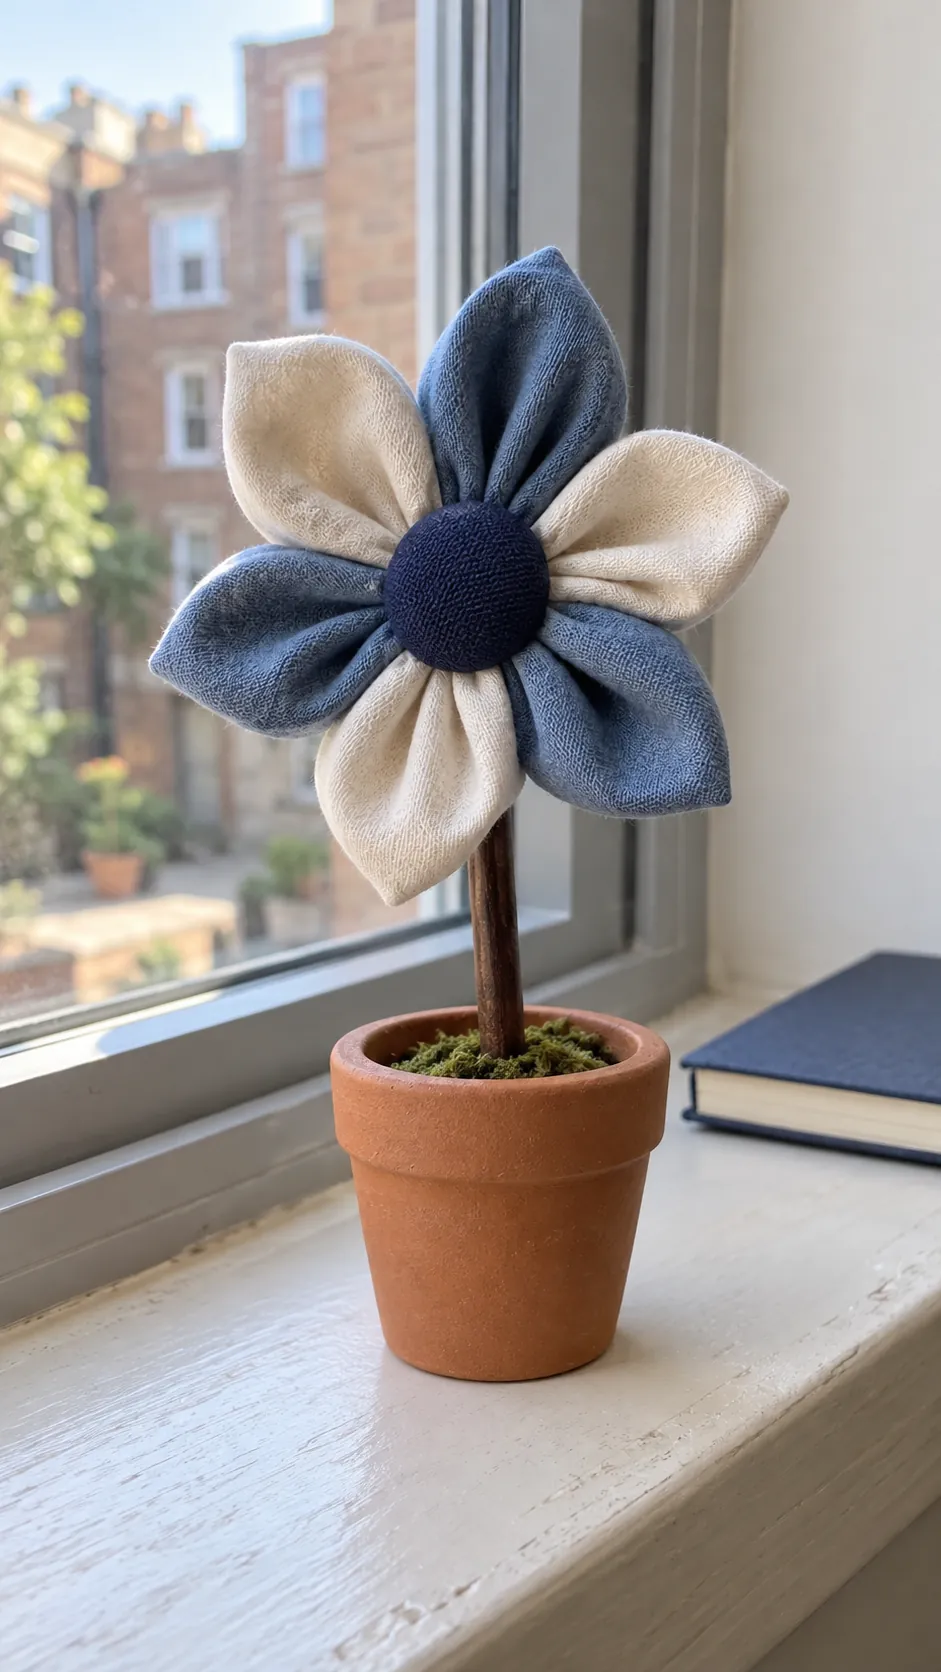
Fabric flower on a standing display
Fold small fabric circles into loose petal shapes and bond their folded ends around a firm central backing. Build one simple flower rather than a dense bouquet if your scraps are limited. Attach the backing to a short decorative stem and place it in a stable container. Choose an adhesive and stem attachment that hold the finished weight without exposed sharp points.
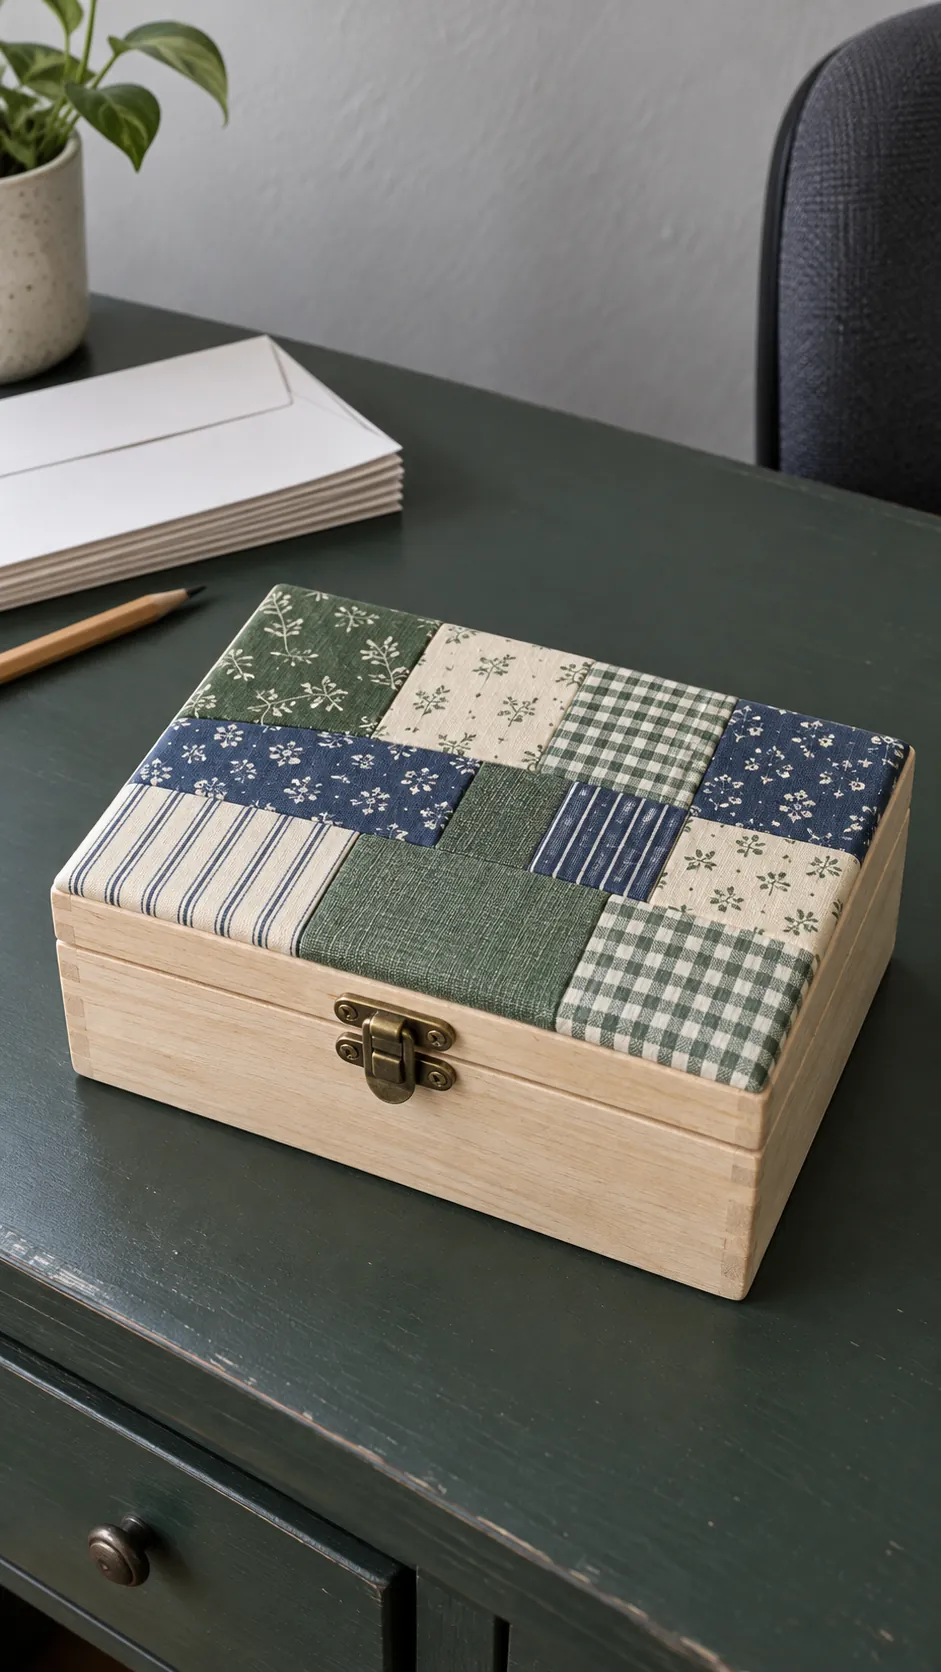
Patchwork on a small box lid
A flat wooden box lid can use a collection of mismatched small rectangles without requiring a single large piece. Arrange the patches first, overlap them minimally, and glue them to the removable lid. Leave the hinge, clasp, and lid edge clear so the box can open easily.
Choose thin fabrics of similar thickness for a smoother result. Test for adhesive staining on dark or loosely woven scraps before applying them to the lid. Store dry items inside and dust the textile surface with a soft brush.
Fabric covered display clips
The flat face of a wooden clothespin needs only a very small offcut. Cut fabric to that face and attach it without covering the spring or the gripping jaws. Let the clip cure while open if the adhesive instructions require access to the joint. Use the finished clips for a lightweight photo string, checking that the mechanism still closes fully.

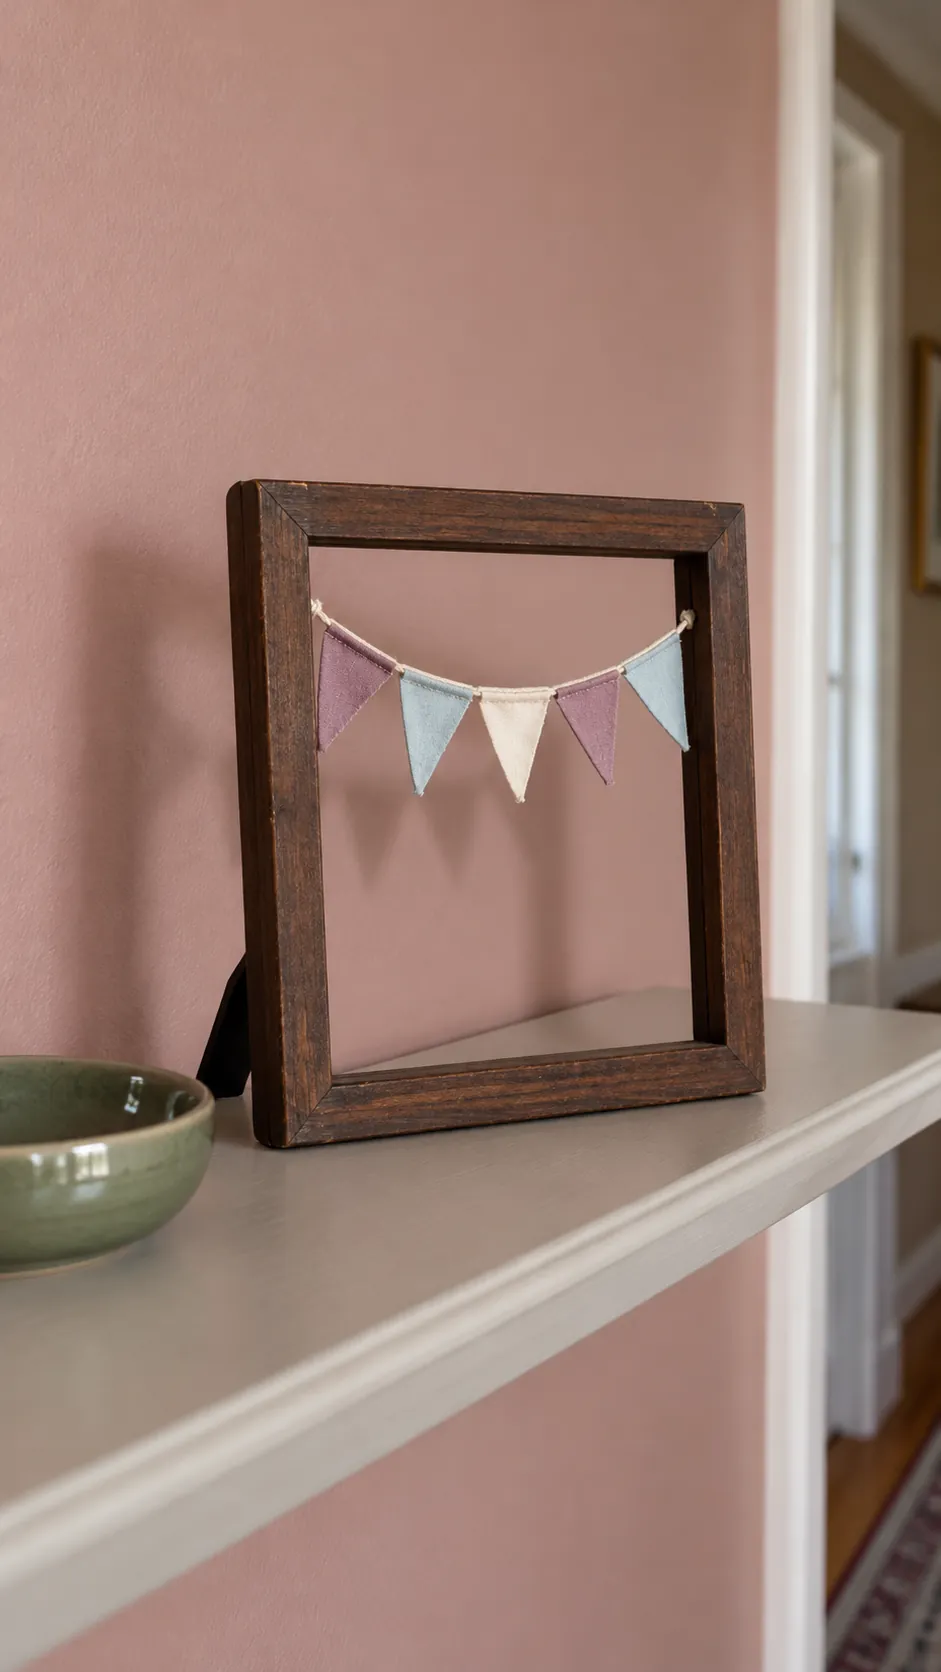
Mini fabric bunting in a frame
Stretch a short cord across a small frame with no glazing and add a few fabric triangles. The frame provides a boundary, so even very small pennants look intentional instead of lost on a large wall. Fasten the cord on the back and keep the hanging points away from the frame stand. This is a display piece, so skip additional notes or heavy ornaments that would sag the cord.
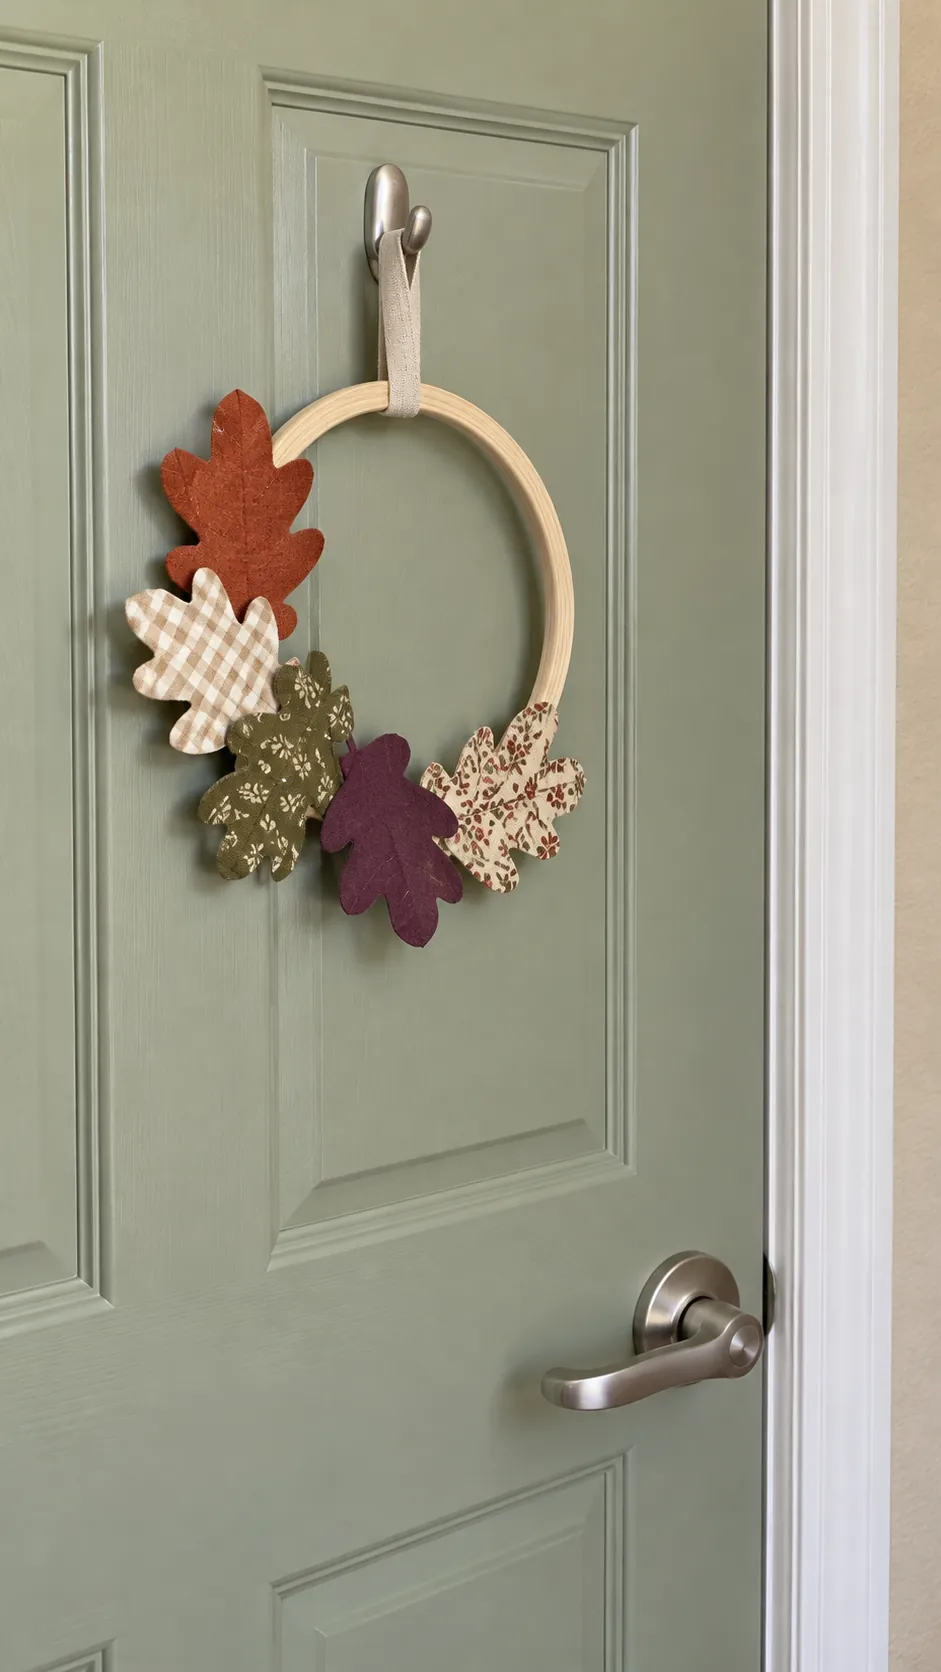
Seasonal shapes on a door ring
Use tiny autumn toned scraps on firm card leaf shapes, then attach the shapes around part of a small wooden ring. Leave a section of the ring exposed to keep the decoration light and balanced. A loose indoor hanging loop lets you change the display without sticking fabric to the door.
Place the ring on an interior door where it will stay dry and clear of moving hardware. Store it flat so the card shapes do not bend between seasons. Keep the remaining scraps together by material and size; the next project will be easier to choose when you can see what each piece can actually do.