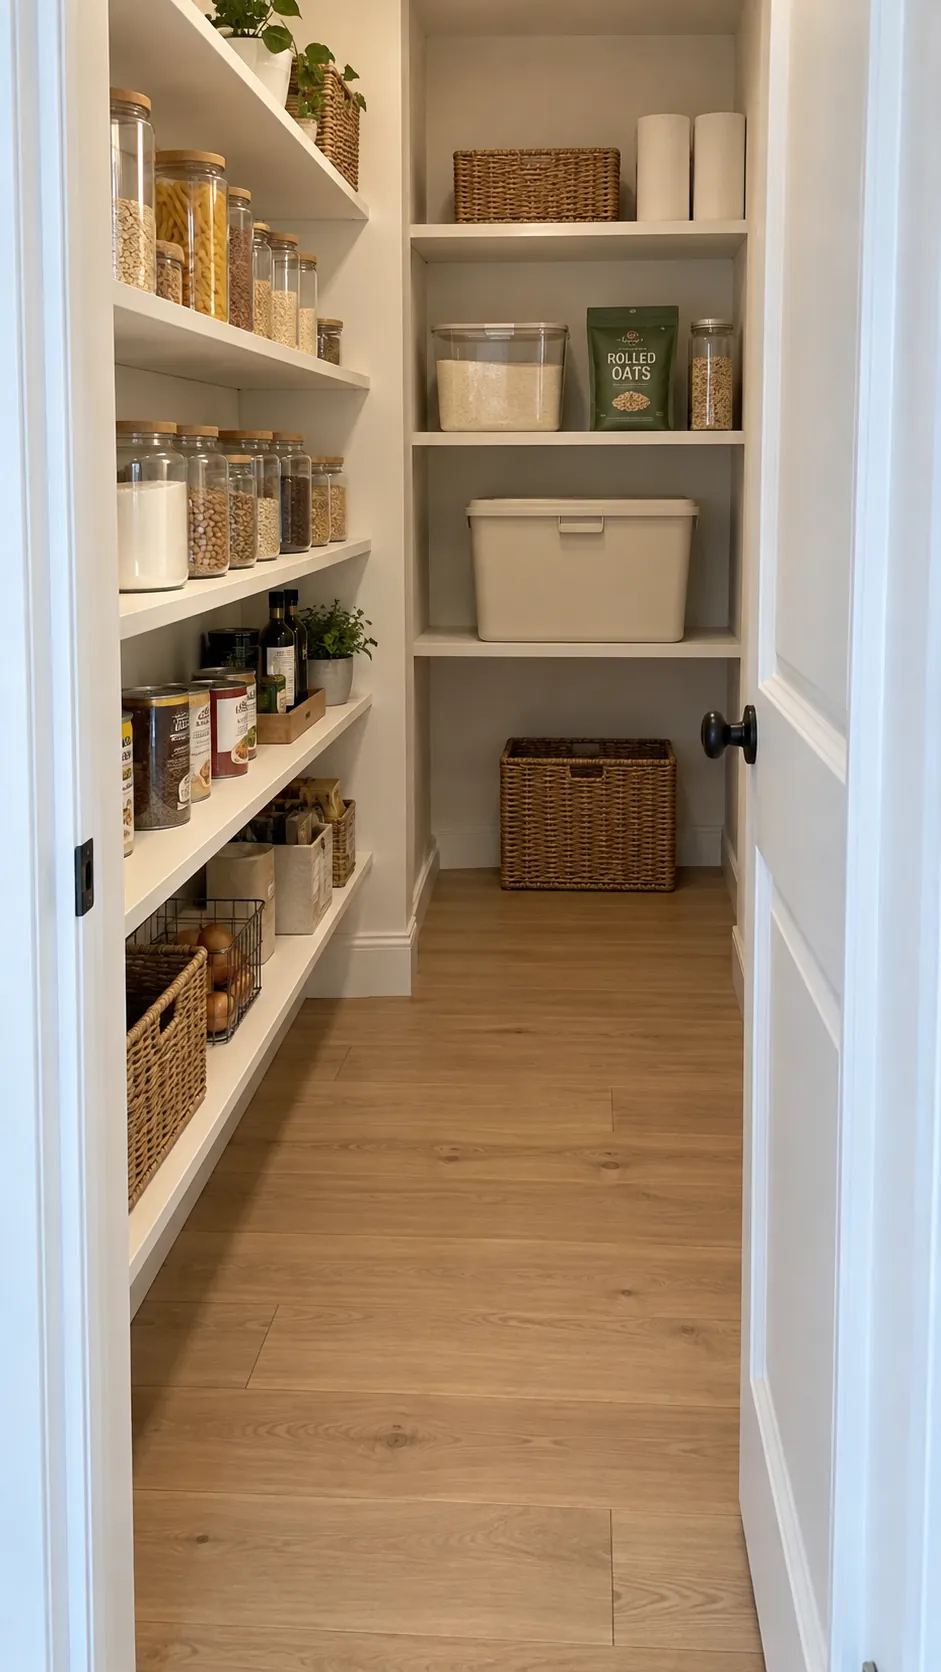
A deeper shelf can hold more groceries and still make a pantry harder to use. Every inch added on both sides also reduces the space where you stand, turn, and pull containers forward. Plan the aisle and the food together before you order shelving.
Start with a depth you can see and reach
For everyday dry food, about 10 to 12 inches is a useful starting range to test for fixed pantry shelves. It often allows one visible row of jars or packages without forcing a second hidden layer. This is a planning suggestion, not a building standard or a guarantee that every package will fit.
Shelves around 6 to 8 inches deep can suit small jars and cans on a tight side wall, provided their bases fit fully on the surface. A deeper area around 14 to 16 inches may suit larger bins or bulk packages, but it needs a retrieval plan. Measure your actual groceries and containers before turning any of these starting ranges into a purchase.
Calculate the aisle before choosing both shelf runs
Measure the finished inside width of the room at several heights, including projections such as trim and pipes. Subtract the proposed left shelf depth and right shelf depth to find the clear aisle. Measure to the furthest obstruction, including handles or overhanging packages, rather than to the shelf board alone.
For example, a room 60 inches wide with 12 inch shelves on each side leaves 36 inches between the shelf fronts. If both shelves become 16 inches deep, that same room leaves 28 inches. Those extra eight inches of shelf depth remove eight inches of standing and turning space.
An aisle around 36 inches can be a useful starting target for a small single user pantry, but comfort, accessibility needs, local requirements, and door geometry may call for more. Do not treat a narrow gap that you can squeeze through as proof that you can retrieve a basket there. Test carrying groceries, turning, bending, and letting another household member pass before committing to the pantry floor plan.
Measure the storage package, not just the board
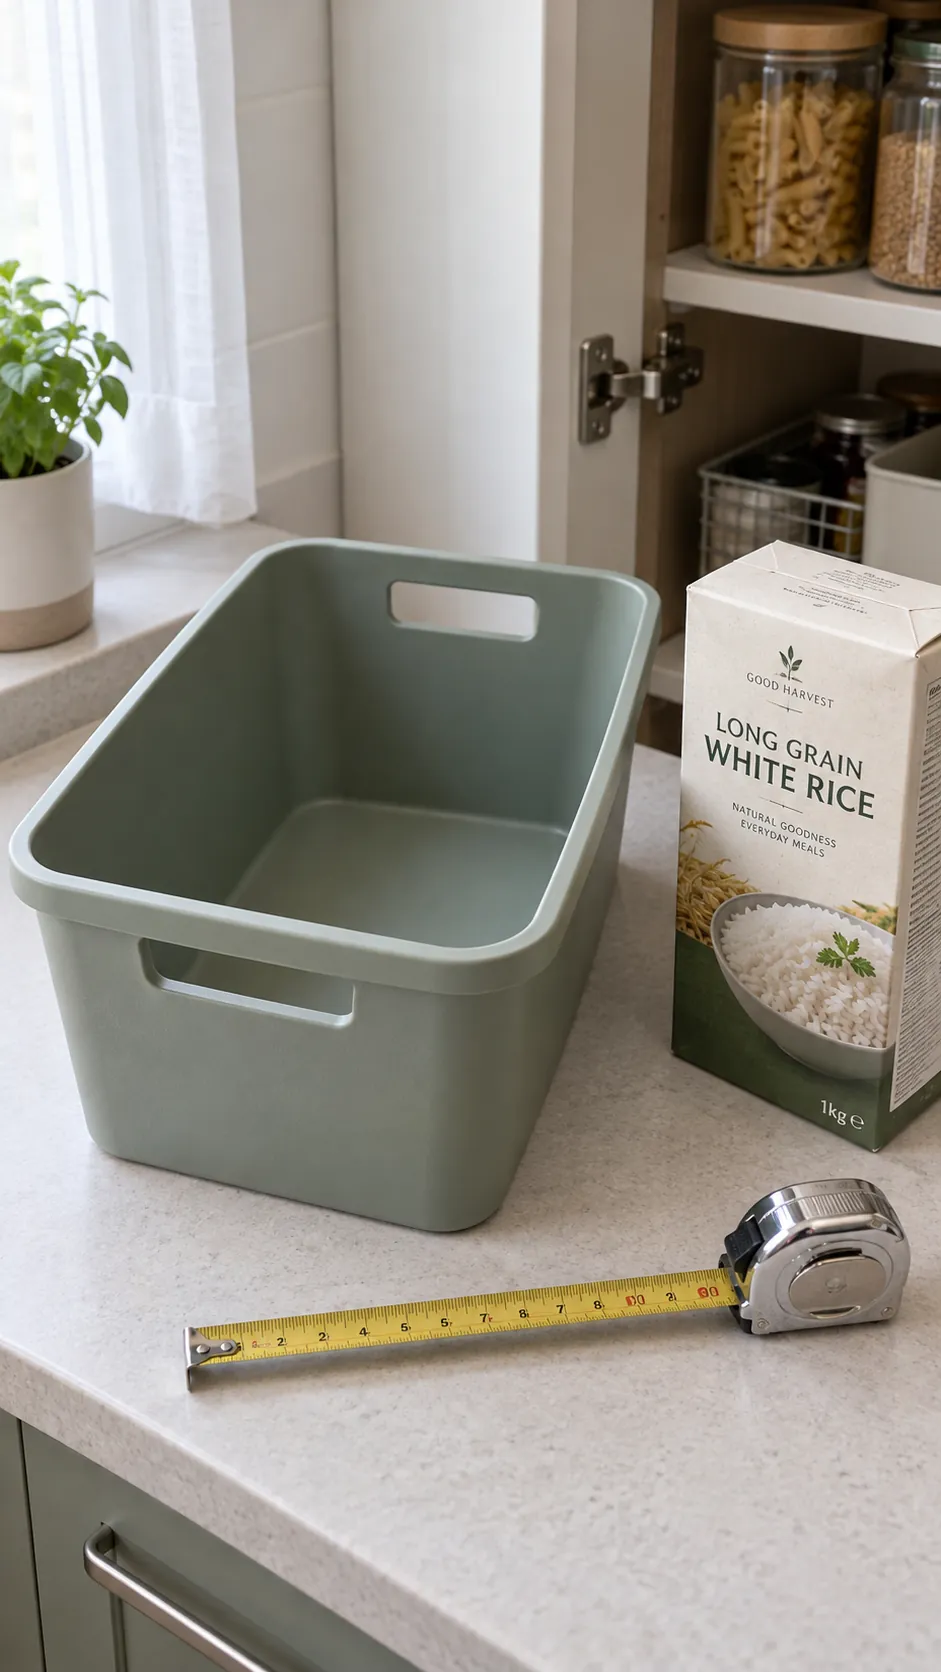
A shelf depth label does not tell you the usable interior depth of a basket. Thick walls, tapered sides, handles, and a raised shelf lip can all change the fit. Record the container's outside dimensions for shelf fit and its inside dimensions for food capacity.
Place the largest routine package on a table and measure its footprint in the orientation you intend to store it. Include the space needed to grip it and lift it clear of the shelf above. If a bin will pull out, check its whole travel into the aisle rather than only the space it occupies when closed. Door hinges can reduce a cabinet opening even when the space behind them is wide.
Mix depths where the room needs them
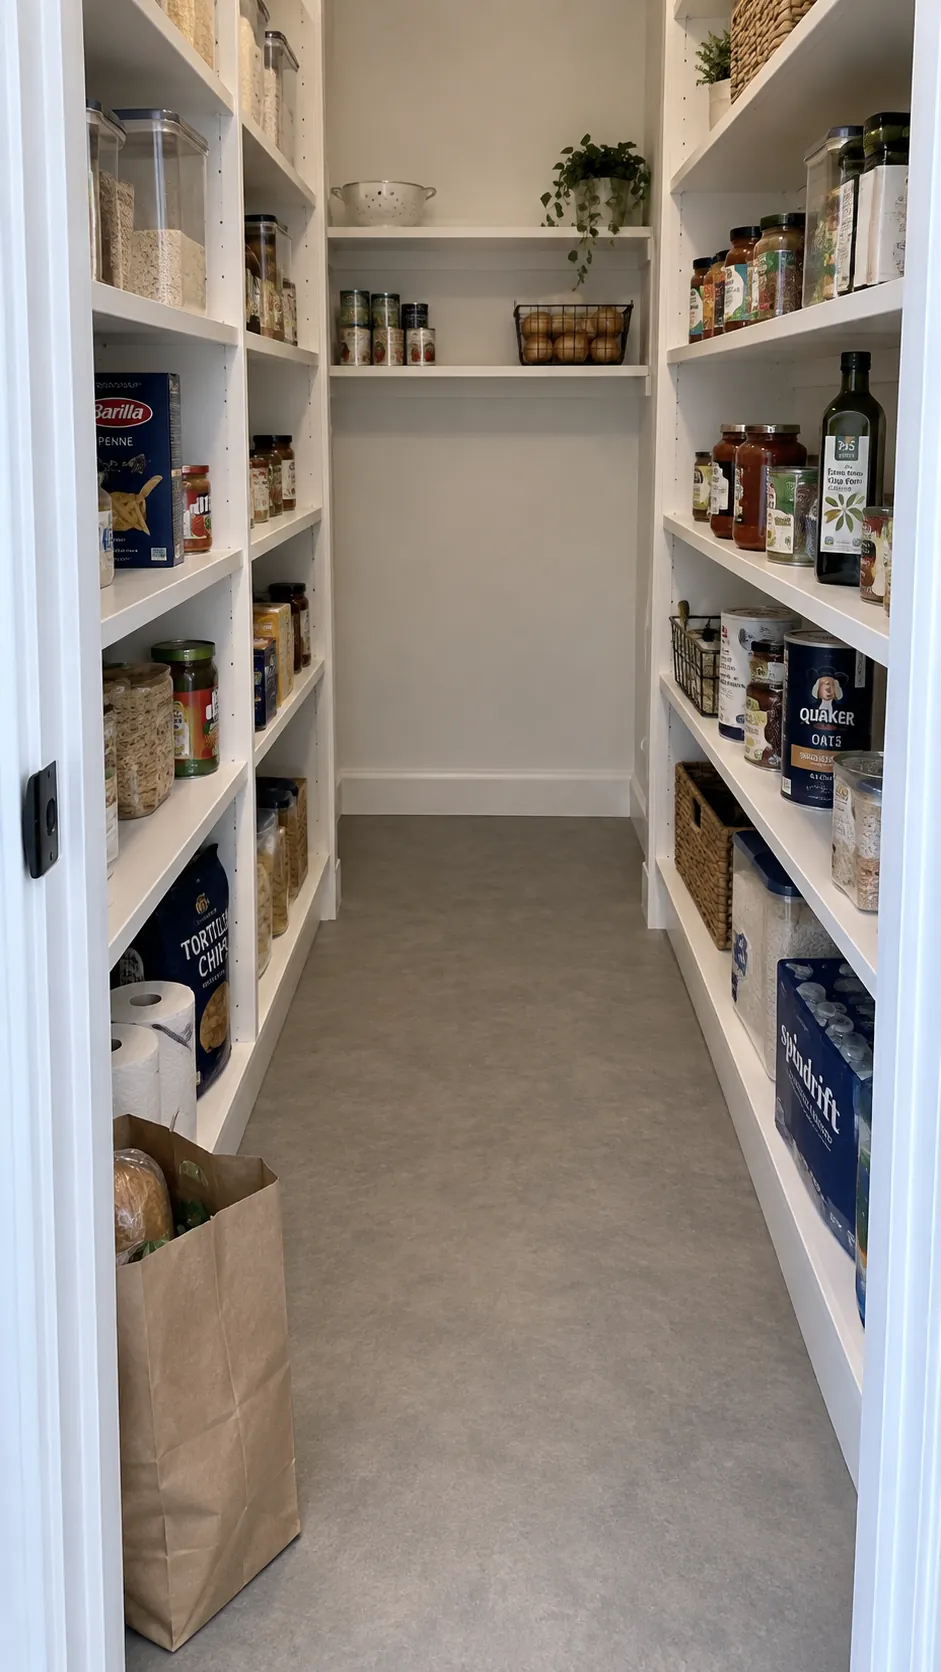
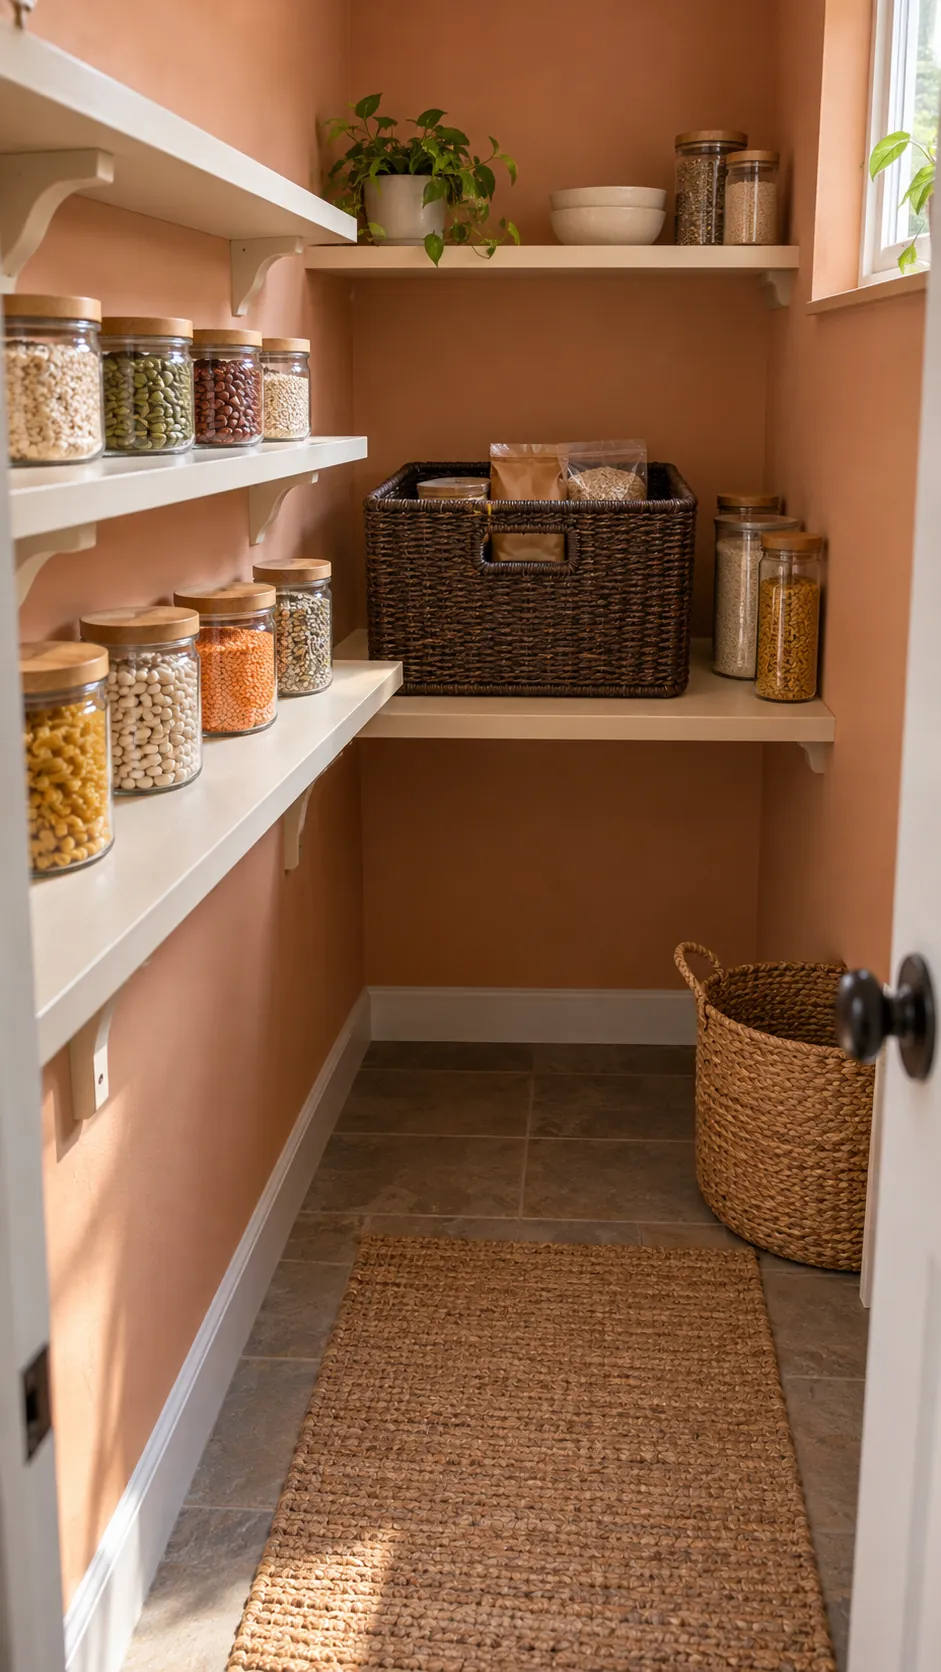
A small walk in pantry does not need identical shelves on every wall. A deeper back wall with shallower side shelves can preserve circulation while giving bulky food a home. Stop side shelves before the back corner when their contents would block access to the rear run.
Put daily ingredients within comfortable reach and reserve the deepest areas for grouped supplies that can come out as one unit. Keep heavy bulk containers low enough to handle safely, and avoid burying a small jar behind equipment that takes two hands to move. If the room is too narrow for two useful shelf runs and a workable aisle, try one run instead of reducing the aisle until it becomes awkward.
Upper shelves can be shallower when that improves your view from below. The right depth depends on the shelf's height as well as the package size. A deep high shelf may offer capacity on paper while leaving its rear contents invisible during normal use.
Allow for shelf spacing, supports, and light
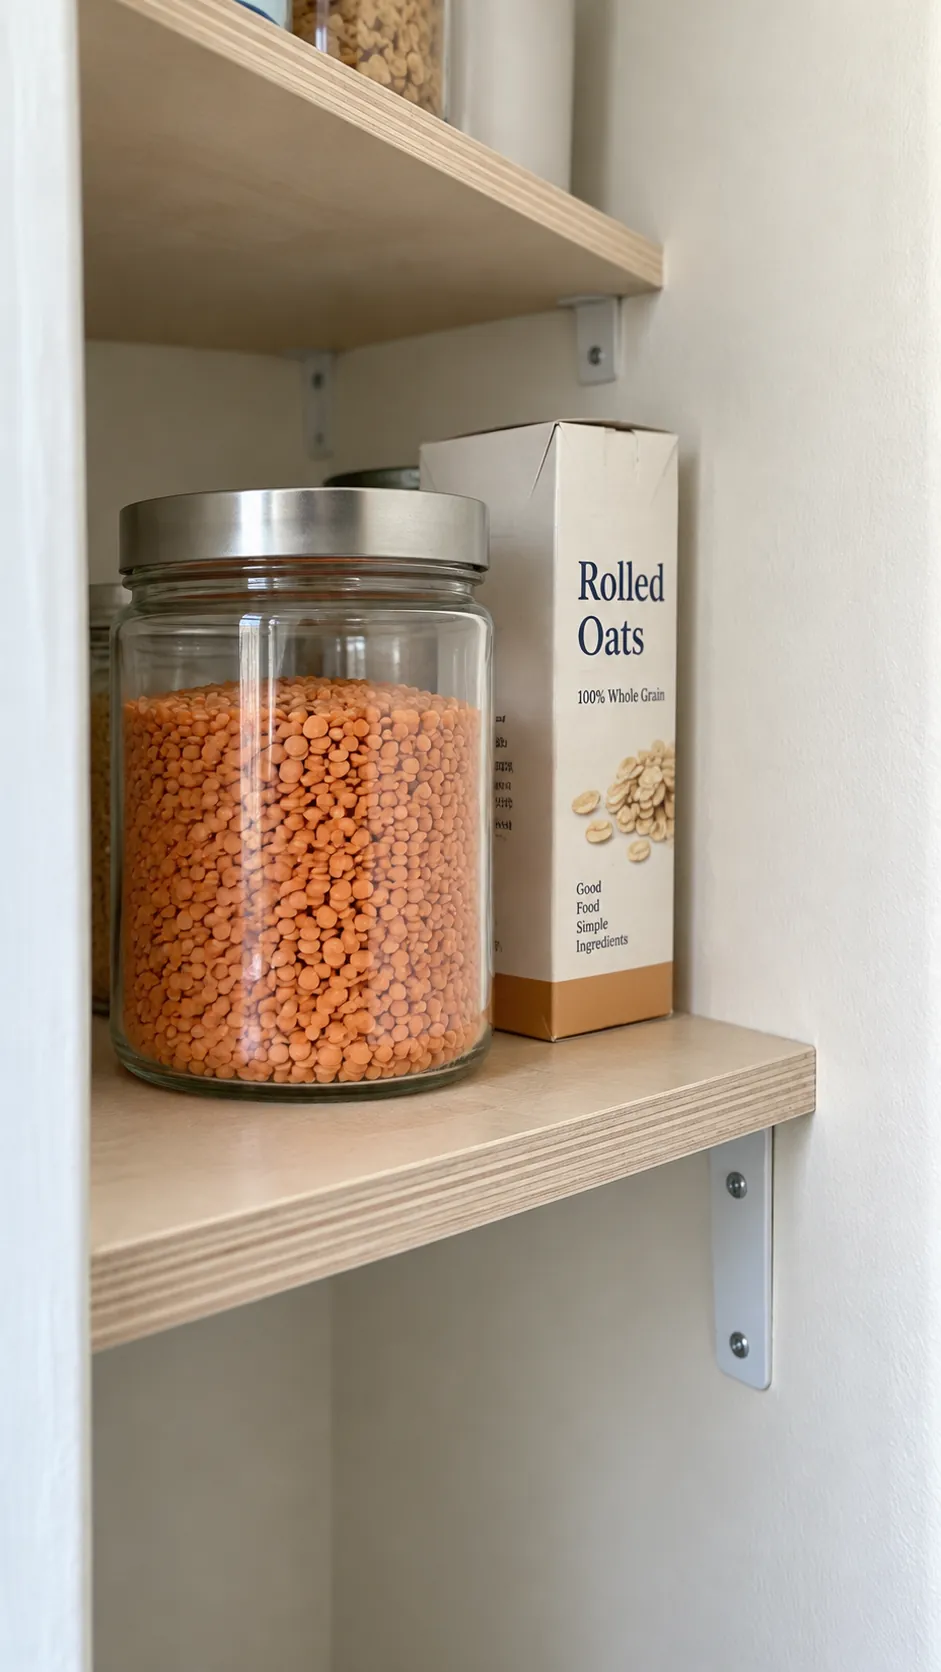
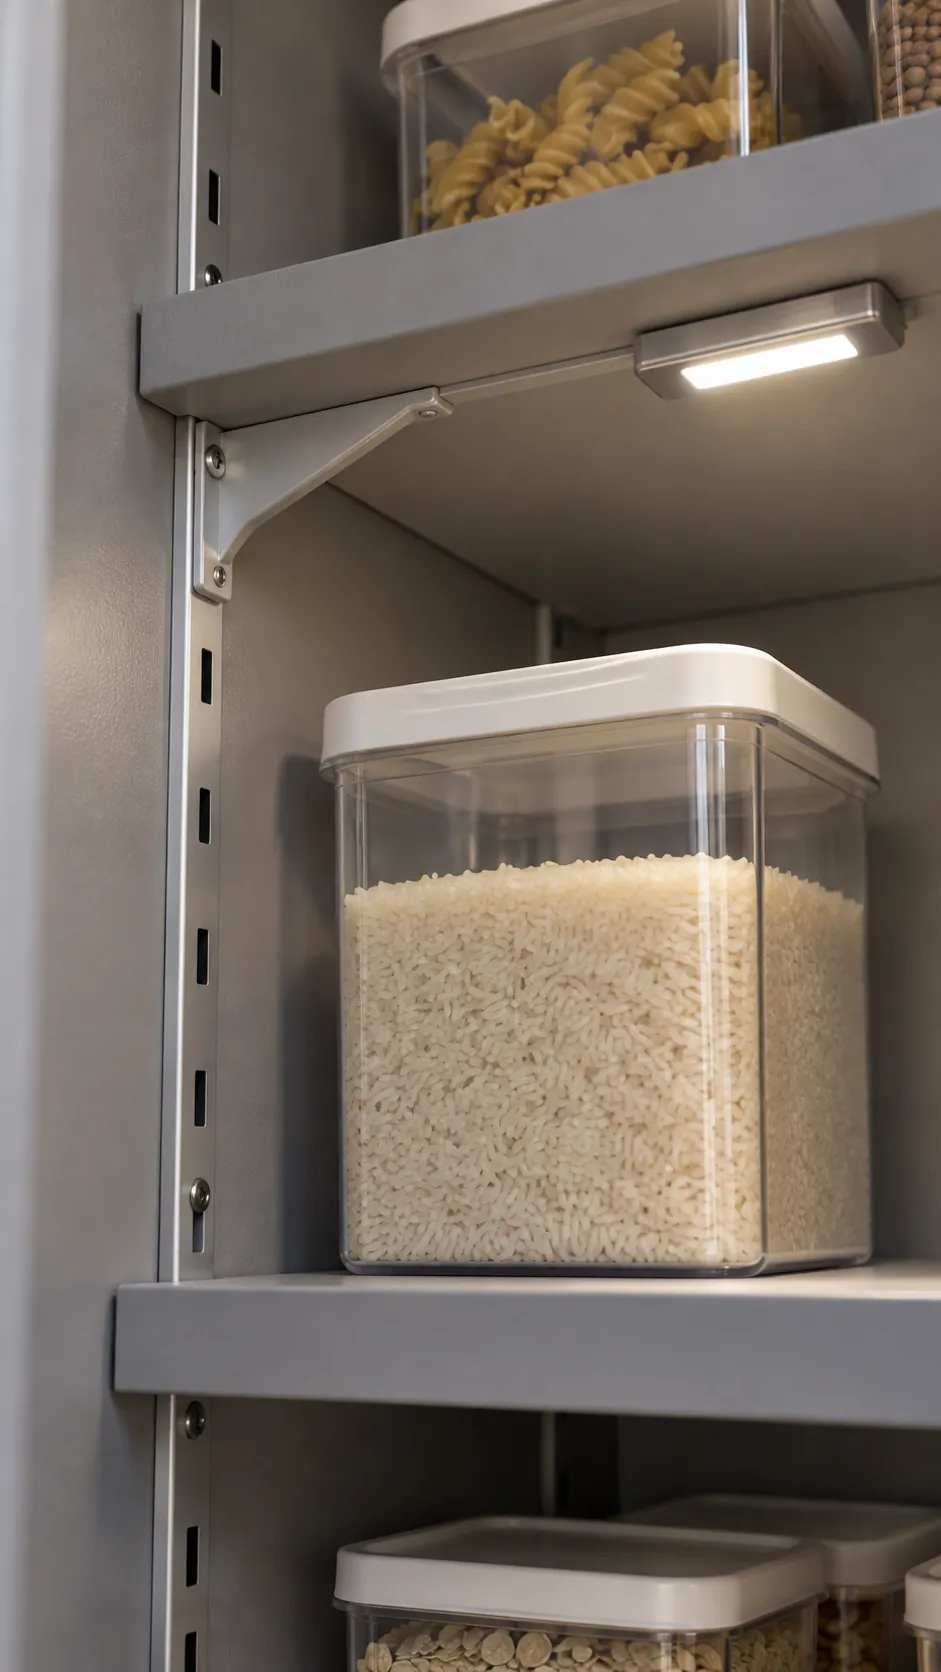
Set vertical gaps around your real packages, including room for your fingers above a lid or basket handle. Adjustable shelving is useful when the system allows the shelf positions and load you need. Check both the shelf rating and the rating of brackets, rails, fasteners, and the supporting wall construction.
Long spans and heavy canned food need a support plan suited to the actual material and load. Follow the shelving manufacturer's instructions or ask a qualified installer when the wall or fixing method is uncertain. Do not choose a thinner board merely to gain a little vertical storage space.
Light the shelf faces so labels remain readable at the rear without reaching around a hot fixture or loose cable. Keep any electrical work appropriate to the location and follow local requirements. Shelf depth, height, and lighting should be planned together, because extra inches are not useful when food disappears into shadow.
Test the layout before ordering shelves
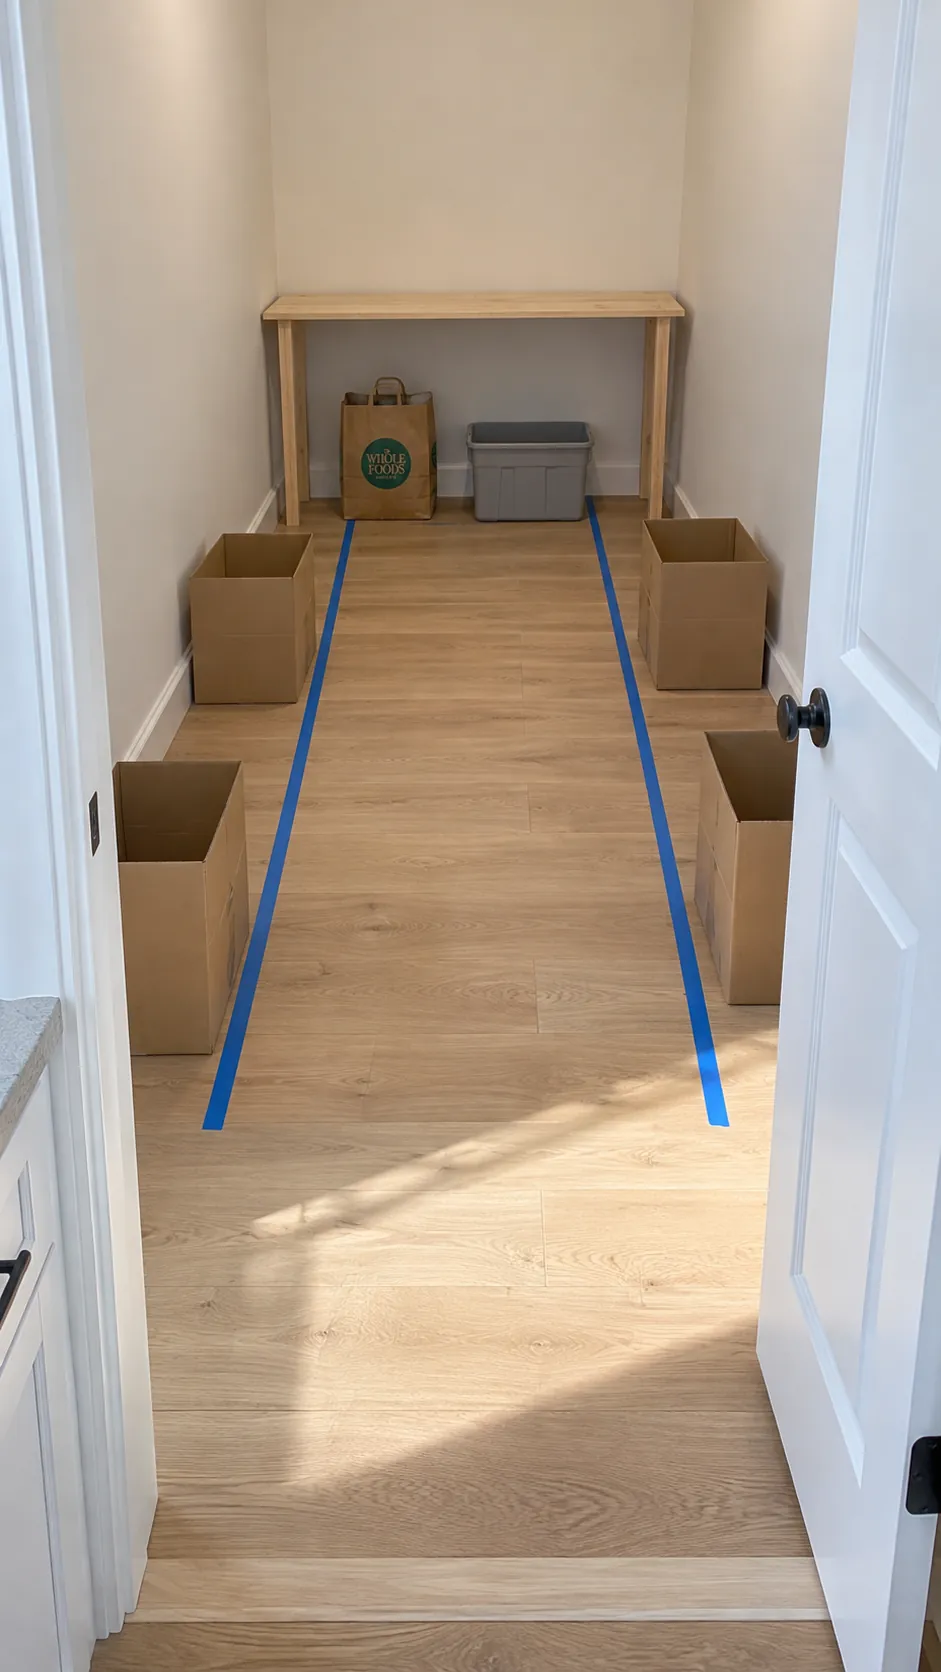
Mark the proposed shelf fronts on the floor with removable tape, then use clean boxes to represent their depth and height. Stand in the remaining aisle with a normal grocery bag and check the door swing. Try removing your largest intended bin without turning it sideways or moving the opposite shelf's contents.
Repeat the test with the household member who needs the most clearance or has the shortest comfortable reach. Measure again after accounting for trim, supports, handles, and any floor level obstacles. For a 60 inch wide pantry, you might compare two 12 inch runs with one 16 inch run and an 8 inch opposite run; both leave 36 inches before extra projections, but they serve different food sizes.
Write down the depths that passed the test and match them to actual shelf products and installation requirements. Keep the design that makes the stored food usable, even if another layout claims more shelf area. The useful measurement is the space that remains when you are standing there with the container you need.