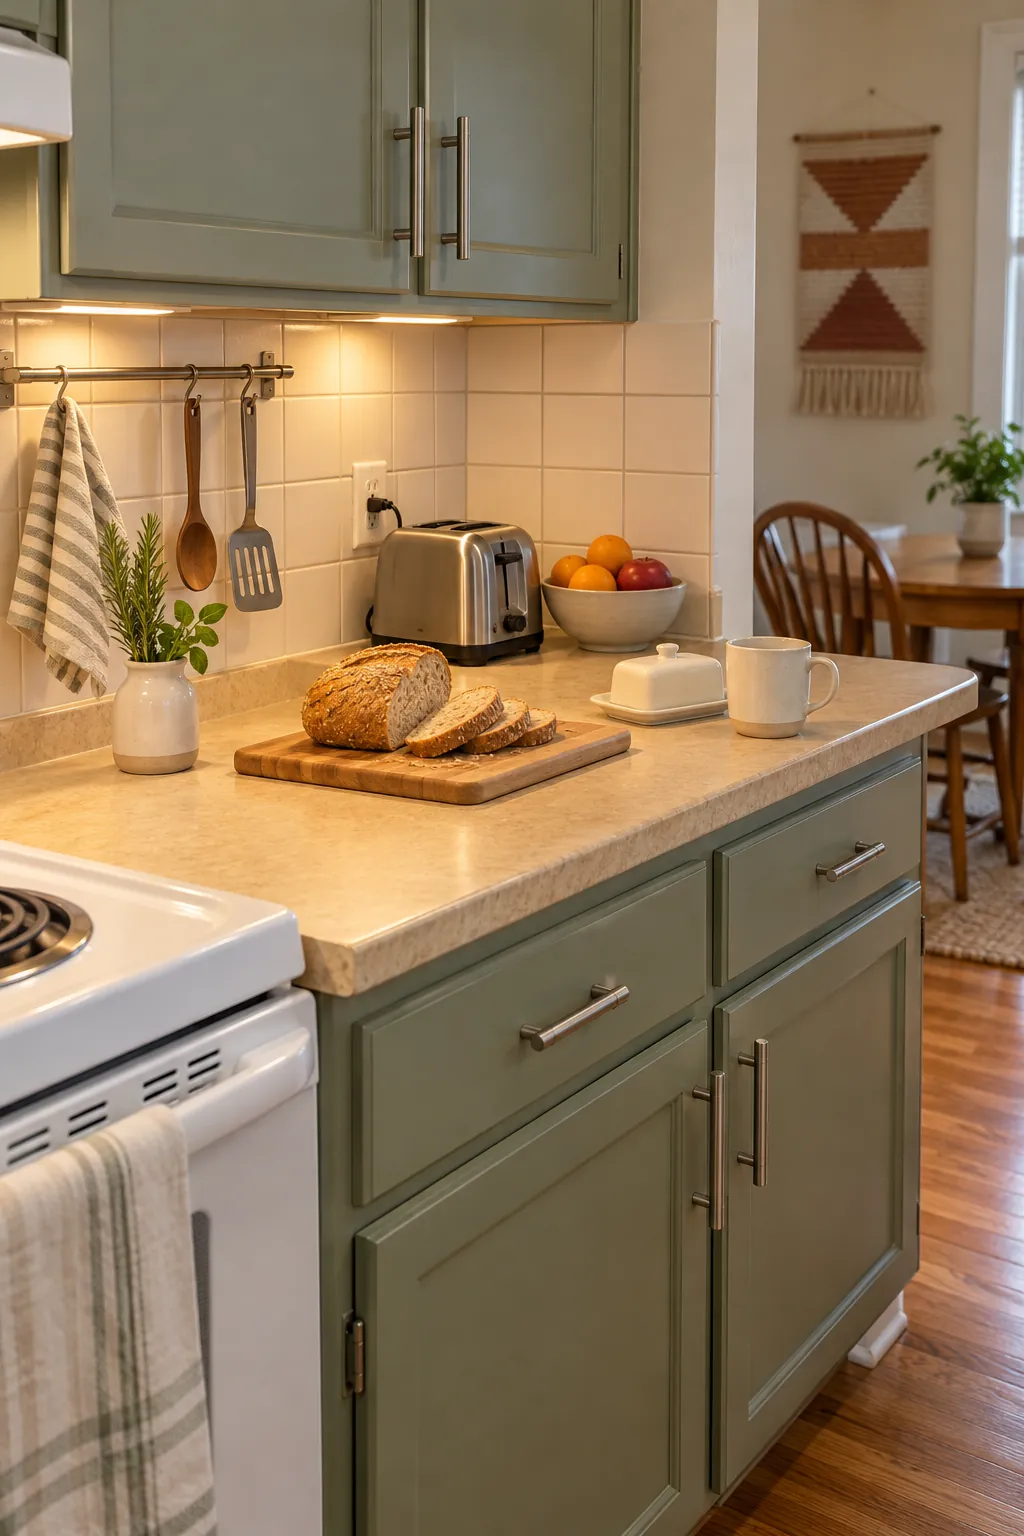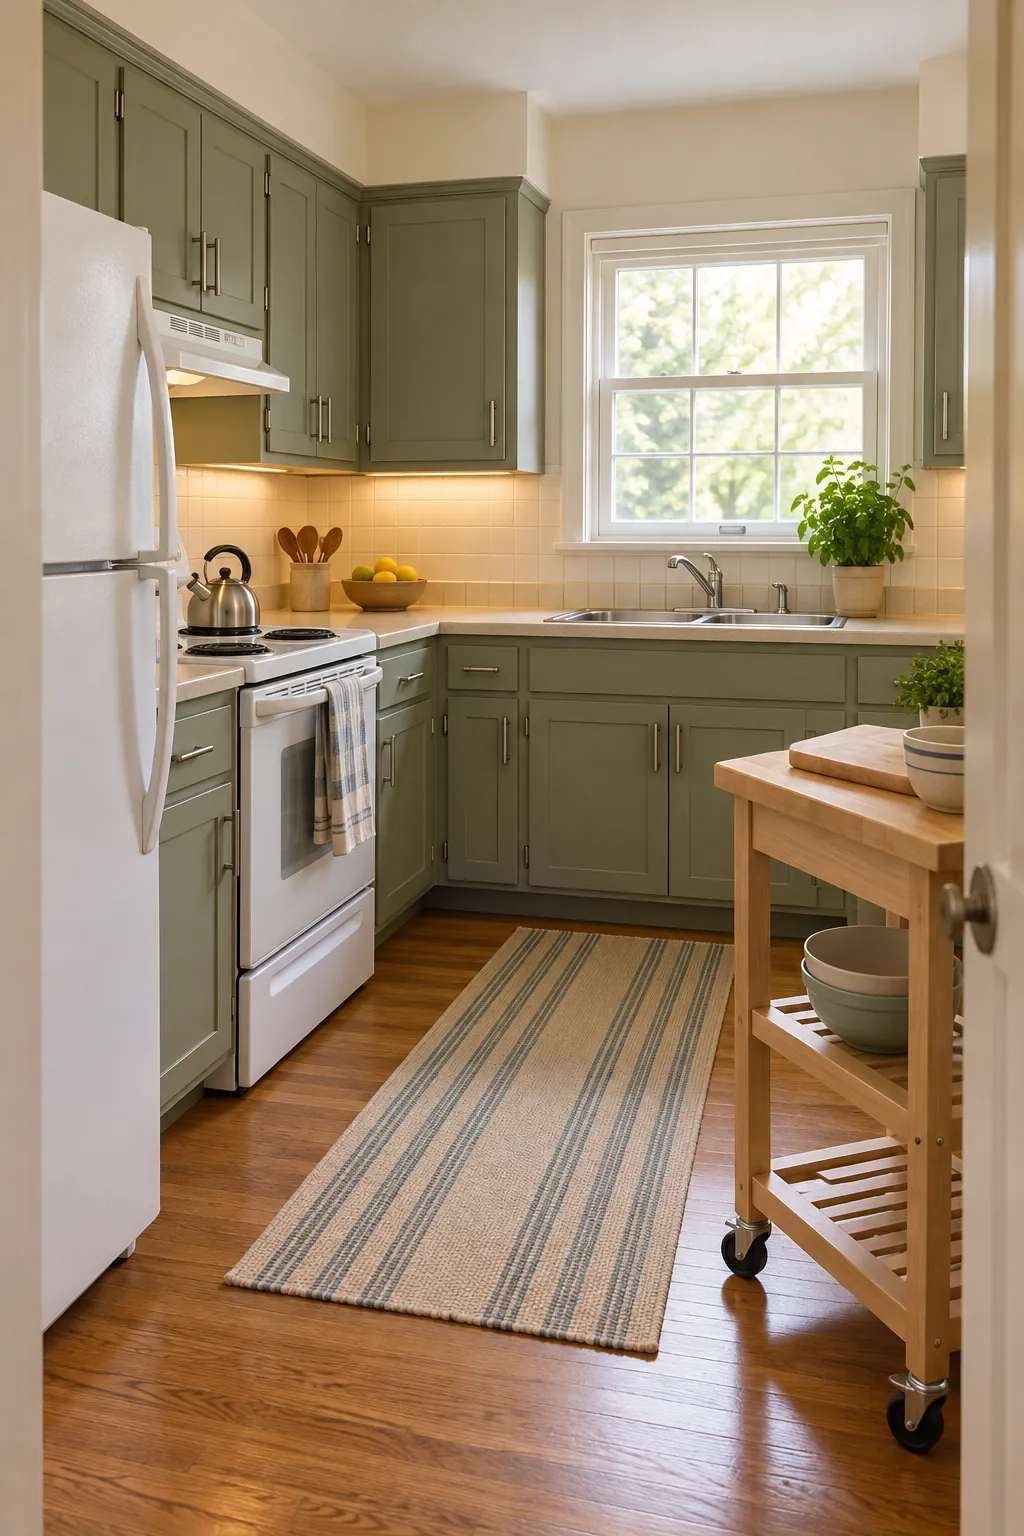
Three thousand dollars can refresh a working kitchen, but it cannot fund a conventional remodel with new cabinets, counters, appliances, and professional labor. The budget succeeds when you keep the layout, reuse sound materials, and buy in an order that protects function before appearance.
Treat this as a kitchen refresh without demolition. Confirm that cabinets are solid, counters are secure, plumbing is dry, wiring is safe, and appliances work before you purchase decorative finishes. If the room has a leak, unsafe circuit, damaged floor, or failing appliance, that repair becomes the first project and may consume most of the available money.
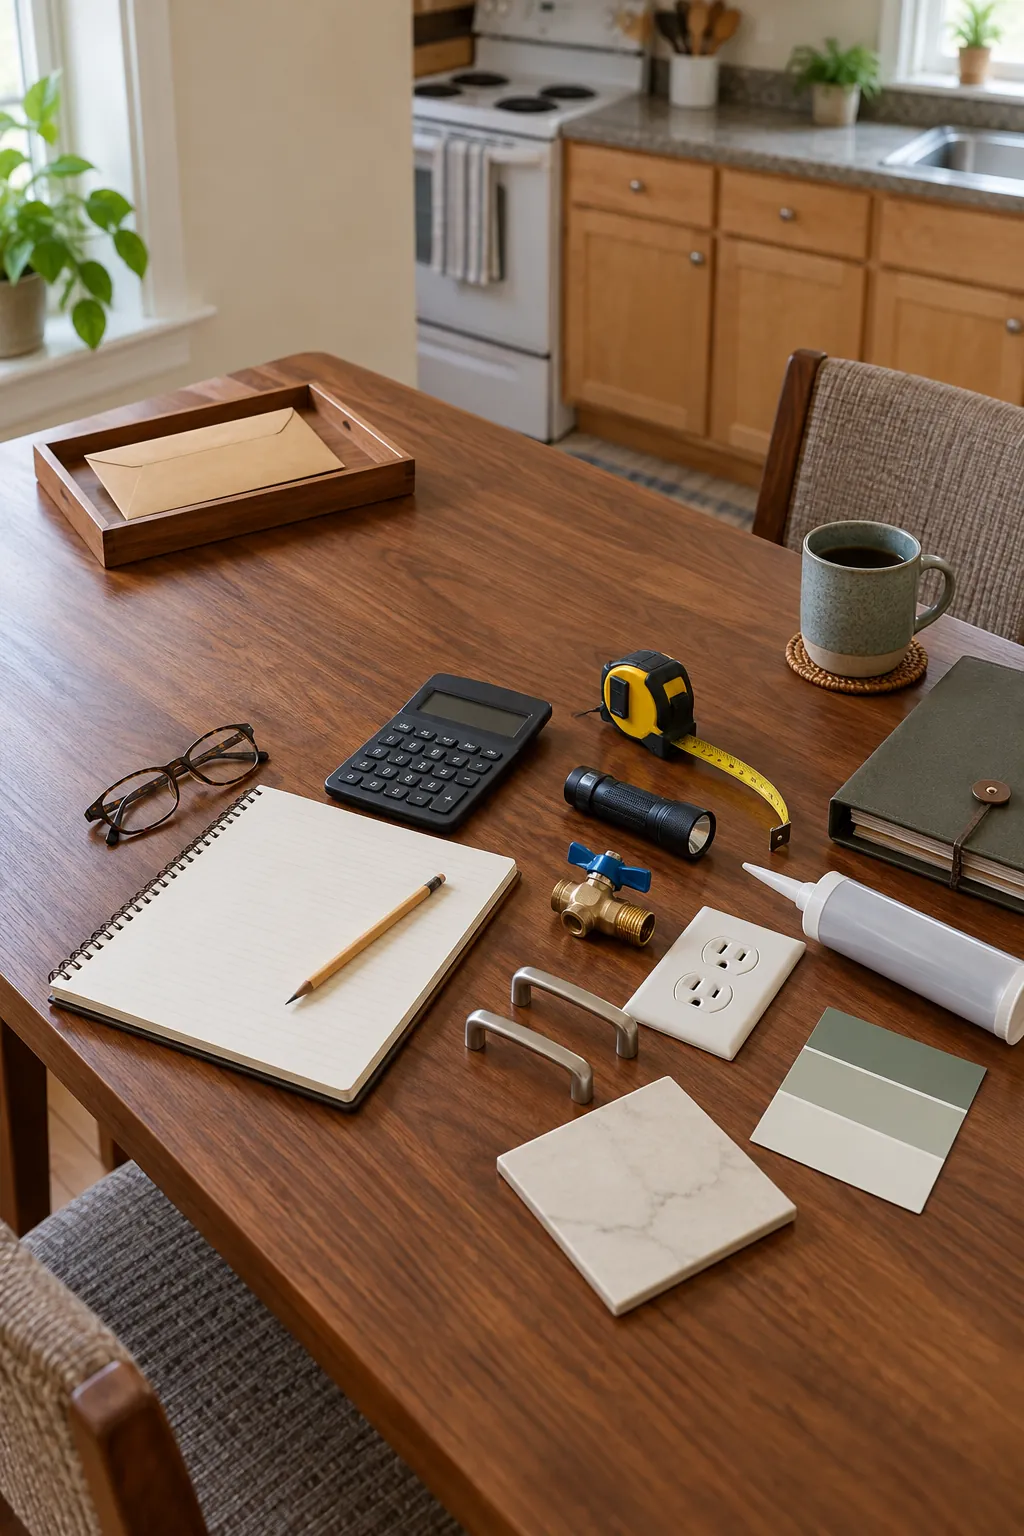
Reserve $450 before you shop
Set aside 15 percent of the total before choosing colors. This reserve covers damaged supplies, extra preparation, delivery charges, replacement tools, and small repairs revealed during work. Keep it in a separate account or envelope so it does not become an excuse for nicer hardware.
If a licensed electrician, plumber, or appliance technician identifies required work, use the reserve there first. Pause a cosmetic project rather than hiding a problem behind new paint or tile. Any unused reserve can pay for final touchups after every core task is complete.
Buy better task lighting first
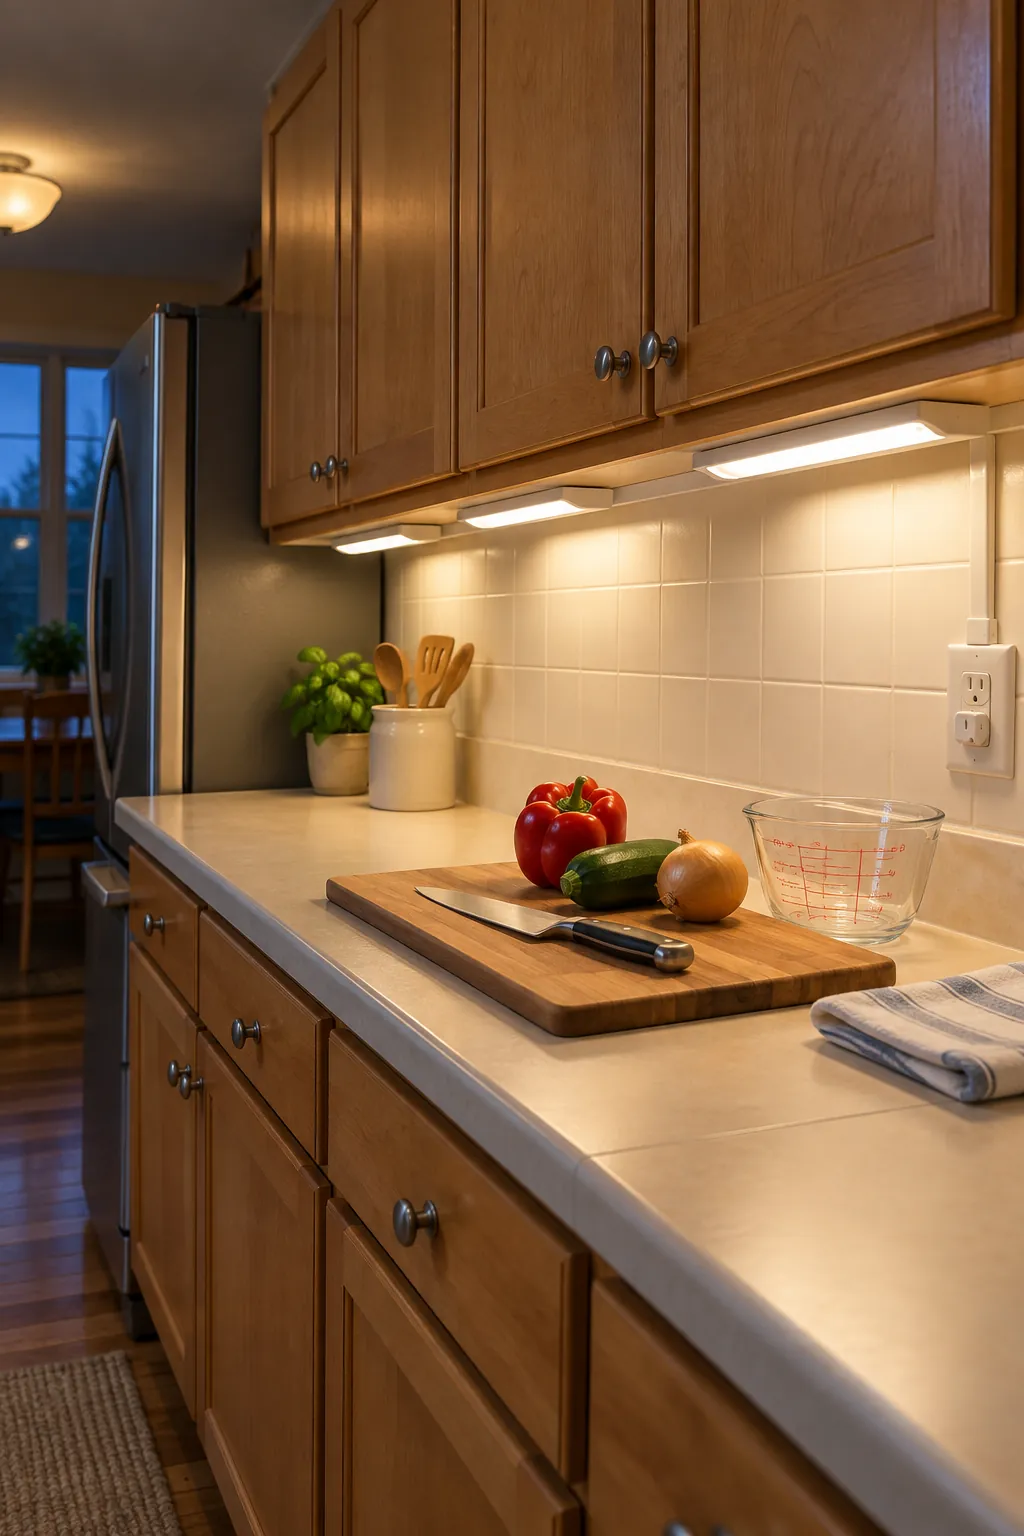
Poor light makes counters feel dull and cooking harder. Spend about $150 to $350 on high quality under cabinet lighting, compatible controls, and brighter bulbs for existing fixtures. Choose one color temperature throughout the room so new and old sources do not create mismatched patches.
Plug in units can be a practical owner project when cords remain neat and safely placed. New hardwired fixtures or circuits require qualified electrical work and may need a larger allowance. Test one light in the room before buying the full set, because cabinet depth and reflective counters change how it looks.
Replace the handles you touch every day
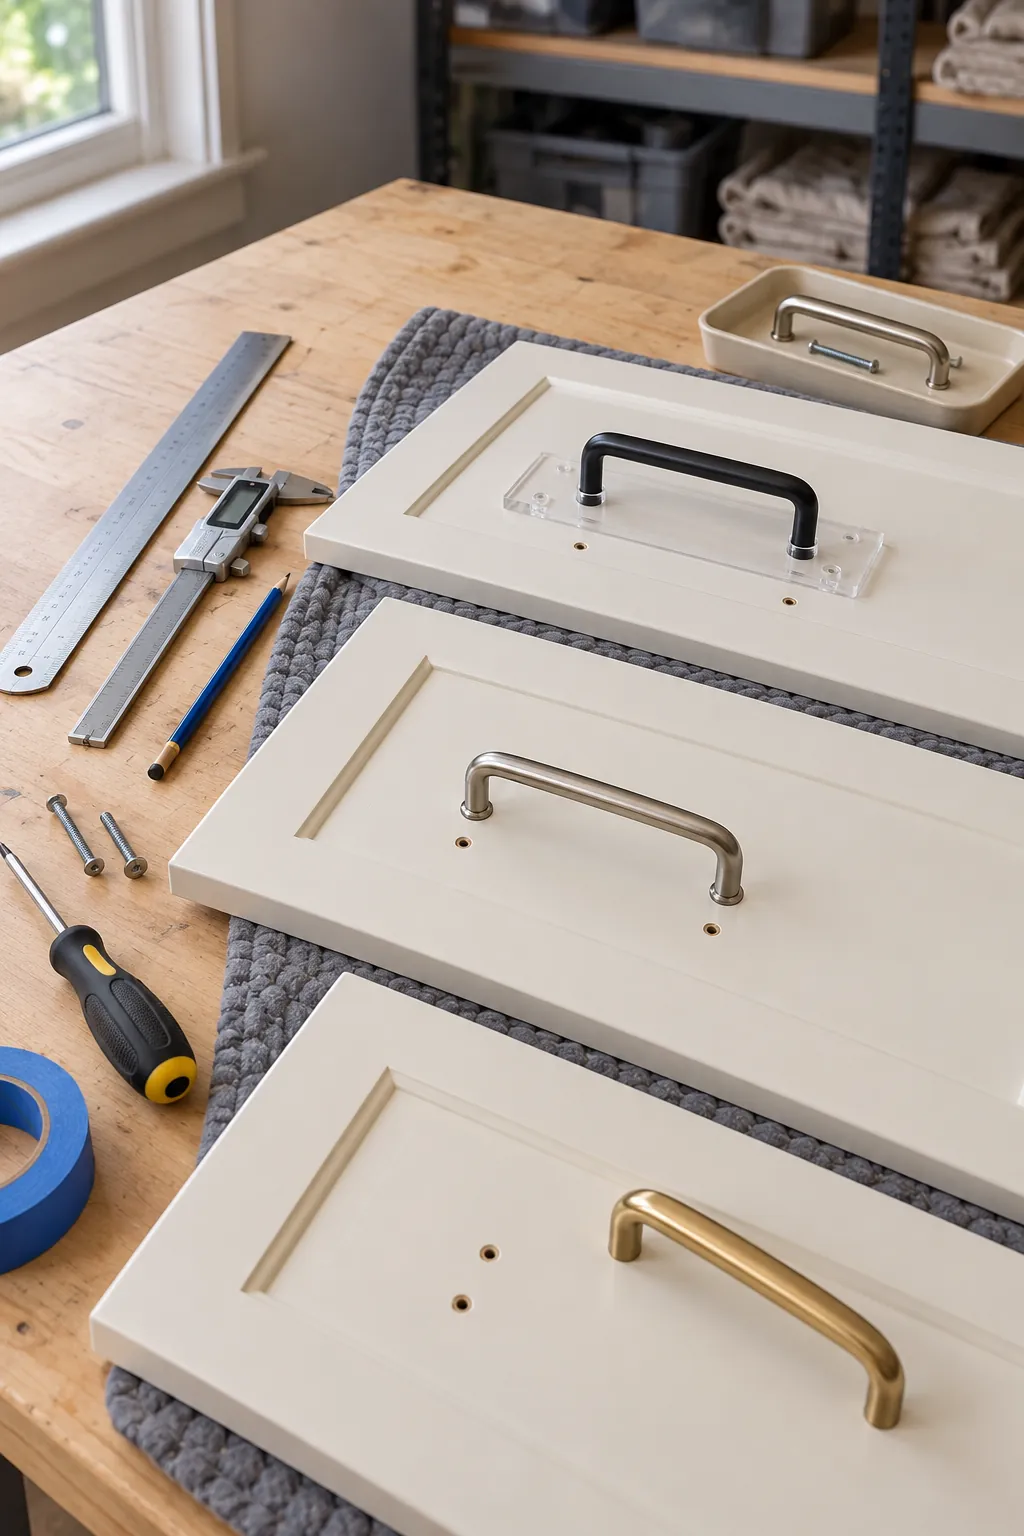
New pulls and knobs can unify mixed cabinets for roughly $100 to $300. Measure the distance between existing screw holes before ordering, then choose replacements with the same spacing. Matching the holes avoids filling, drilling, and refinishing every door.
Buy one sample and test its grip near a corner, drawer, and appliance. A fashionable shape is a poor value if it catches clothing or feels sharp. Count doors and drawers twice, then add one spare for future damage.
Choose cabinet paint only when preparation is realistic
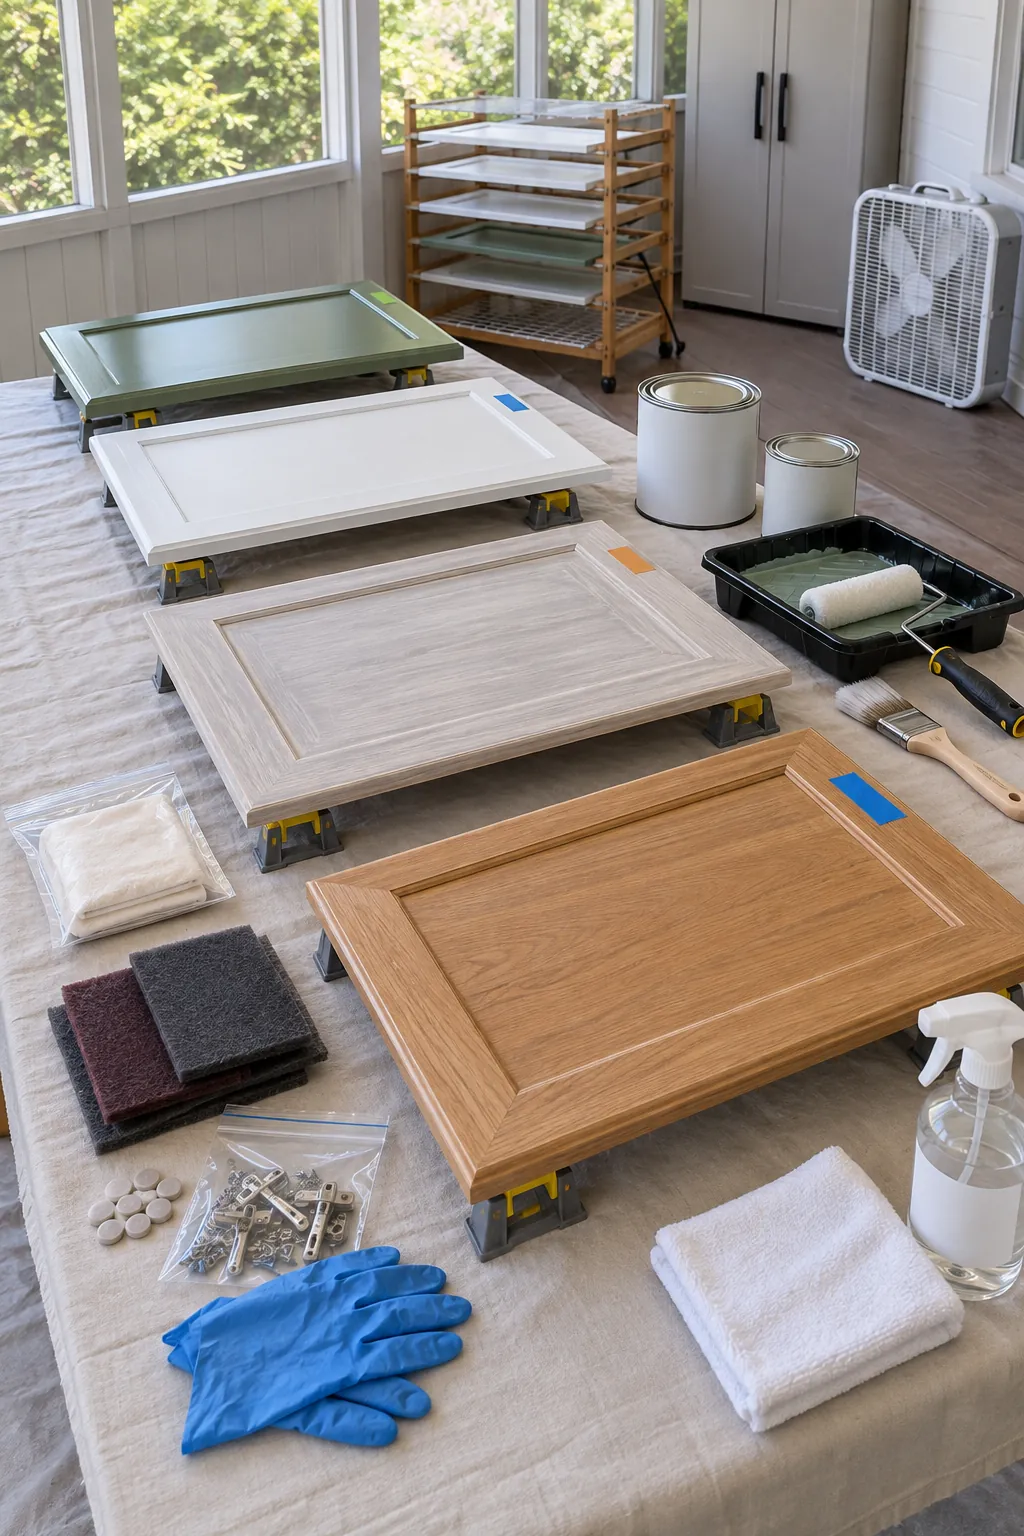
A careful owner completed cabinet paint project may use $500 to $900 for cleaner, abrasive supplies, primer, durable enamel, rollers, brushes, labels, and replacement bumpers. The finish depends more on cleaning, sanding, curing, and dust control than the color. Do not paint loose hinges, swollen boxes, peeling laminate, or doors that need structural repair.
If you cannot remove doors, create a ventilated work area, and leave finishes untouched for the full cure period, skip this purchase. Clean the cabinets, adjust hinges, and direct money to lighting and hardware instead. A sound older finish looks better than rushed paint with chips and stuck doors.
Use one backsplash as the main visual change
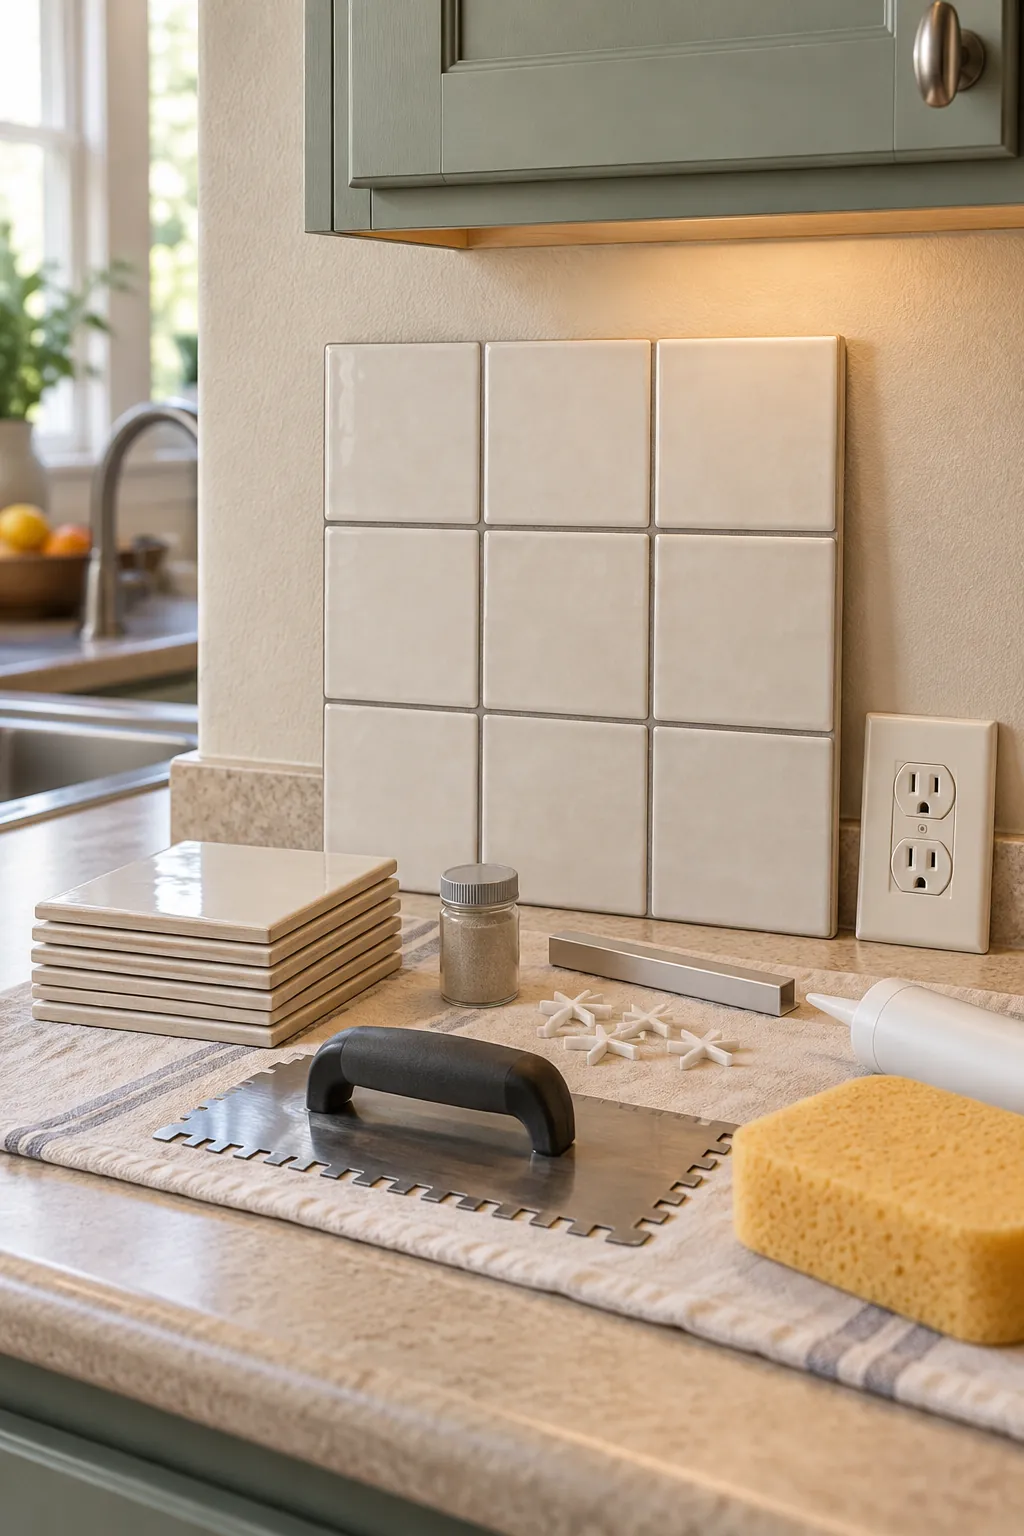
After lighting, hardware, and cabinet decisions, assign about $350 to $800 to a simple backsplash. A straightforward ceramic tile and calm grout can refresh a short wall without competing with existing counters. Complex patterns increase cuts, waste, and labor, so they are poor choices for a tight plan.
Measure the actual wall area and add a sensible waste allowance before ordering. Include adhesive, spacers, grout, sealant, outlet extensions when required, edge trim, tools, and wall repair in the same line. Confirm local electrical requirements before working around receptacles.
Add work space without changing the layout
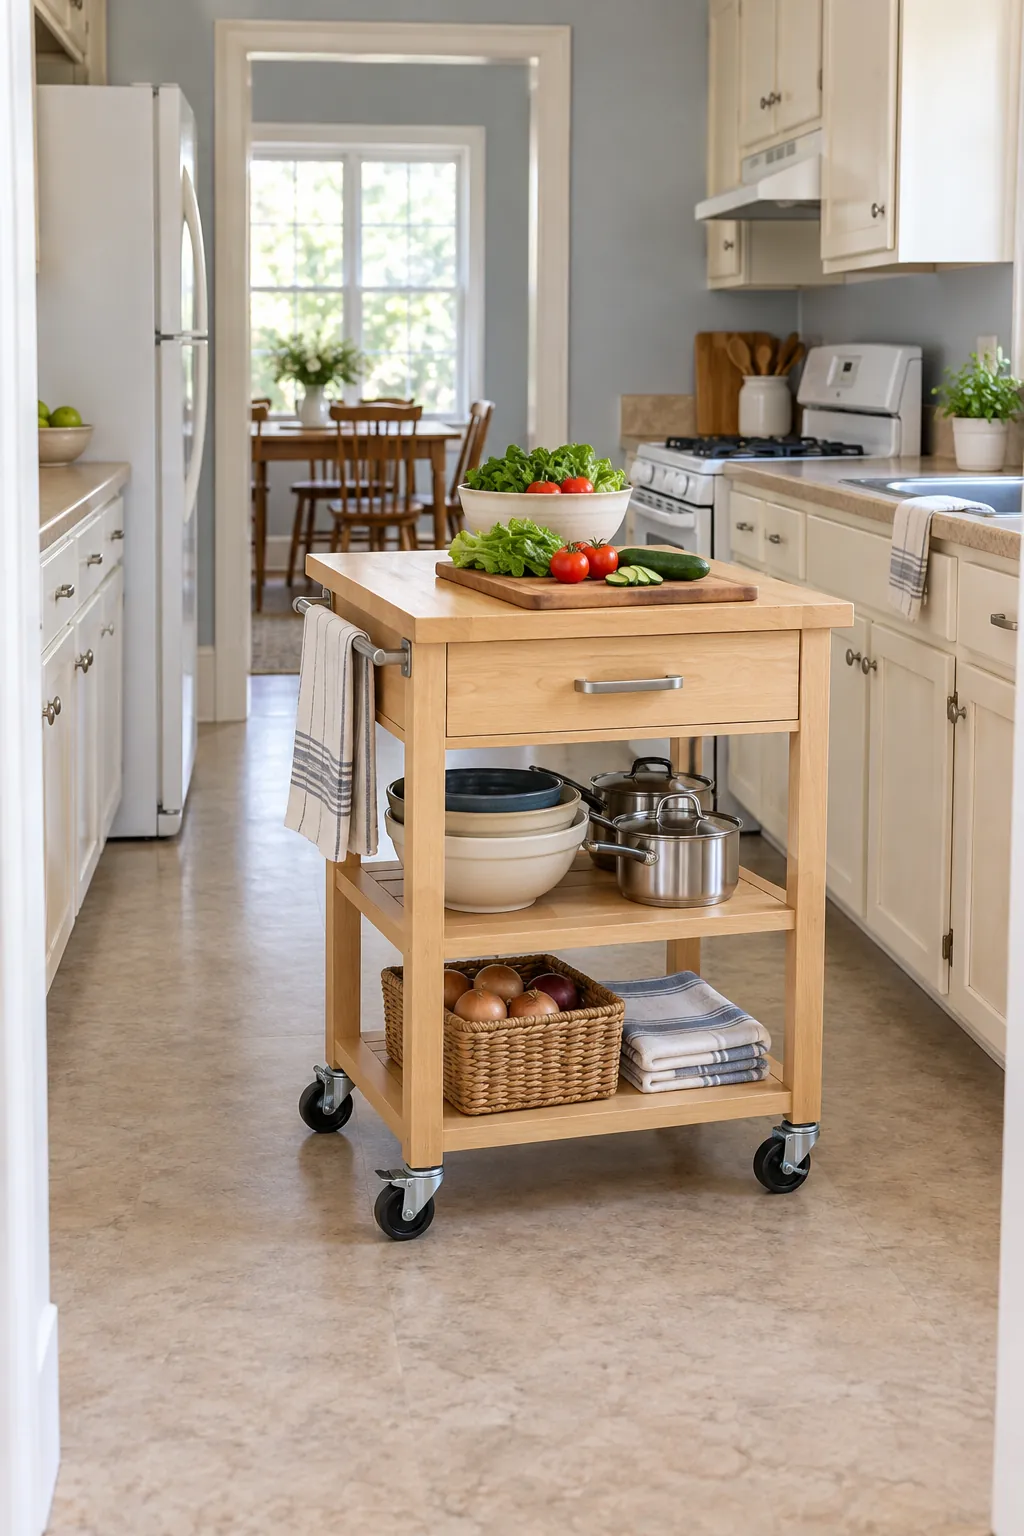
Use $250 to $550 for a sturdy movable cart, wall rail, shelf, or drawer organizers only after you identify a daily bottleneck. A cart should leave a safe aisle and have locking casters. A wall rail must attach to suitable structure and stay clear of heat and water.
Do not buy storage simply because it matches a style. Empty the problem cabinet, group what belongs together, and measure the available opening first. A correctly sized organizer that makes pans or food easier to reach is a higher impact kitchen upgrade than another decorative object.
Finish with paint and small corrections
Reserve the final $250 to $500 for wall paint, fresh caulk where appropriate, switch plates, a washable runner, or one repaired trim detail. Choose only corrections that support the earlier purchases. The room should feel more coherent, not filled with unrelated upgrades.
A balanced example is $450 for reserve, $250 for lighting, $180 for hardware, $700 for cabinet preparation and paint, $650 for backsplash materials, $420 for a cart and organizers, and $350 for walls and finishing supplies. That totals $3,000, but your kitchen may need a different split. Buy each stage only after the previous one works, keep receipts, and stop when the next purchase would force you to use the reserve.