
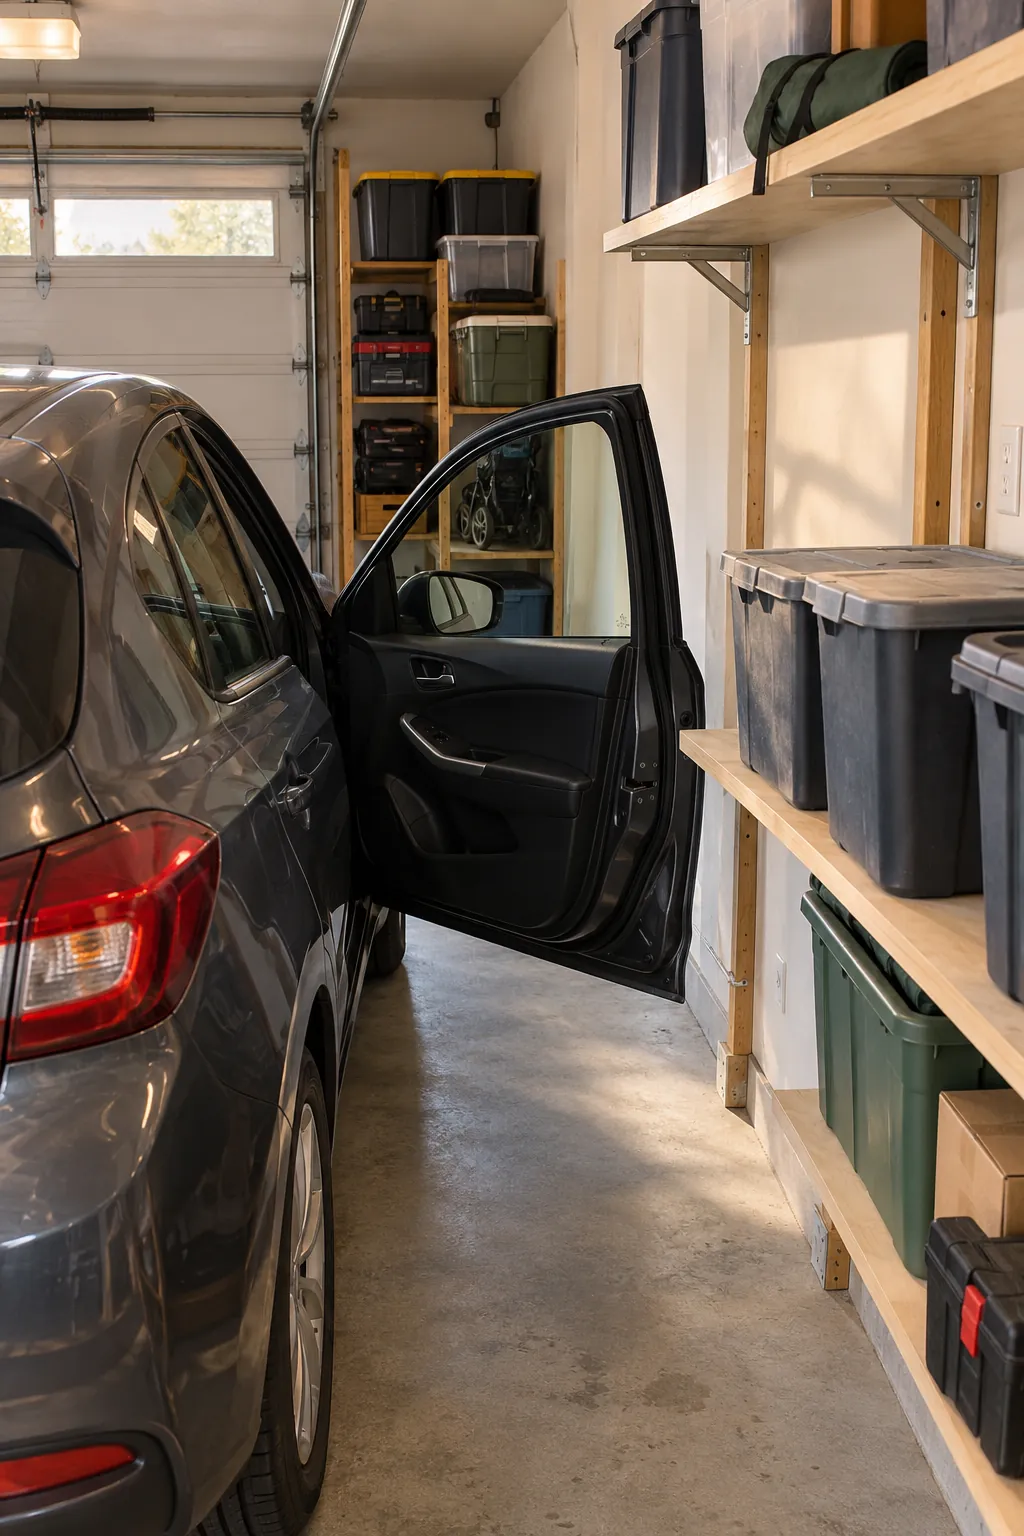
A narrow garage can hold useful shelving and a parked car, but only when the car’s moving parts define the plan. The critical measurement is not wall-to-car width with every door closed. It is the smallest safe gap left after the driver door, mirrors, hatch, walking route, and stored containers all receive operating space.
Map the Car Before You Choose a Shelf
Park in the position you use every day, fold the mirrors only if that is already part of your routine, and mark each tire with removable tape. Open the driver door to the first comfortable exit position, then open every other door, the hatch, and the hood while a second person marks their outer limits. This working envelope is more useful than the vehicle width in a brochure because it includes your parking habits and the space needed to reach a child seat, groceries, or charging port.
Measure the remaining wall-to-envelope distance at the front, center, and rear rather than assuming the wall is straight or the car sits perfectly parallel. Record the smallest result. That number, less a small safety buffer, is the maximum projection for shelves, bins, brackets, and handles in that zone.
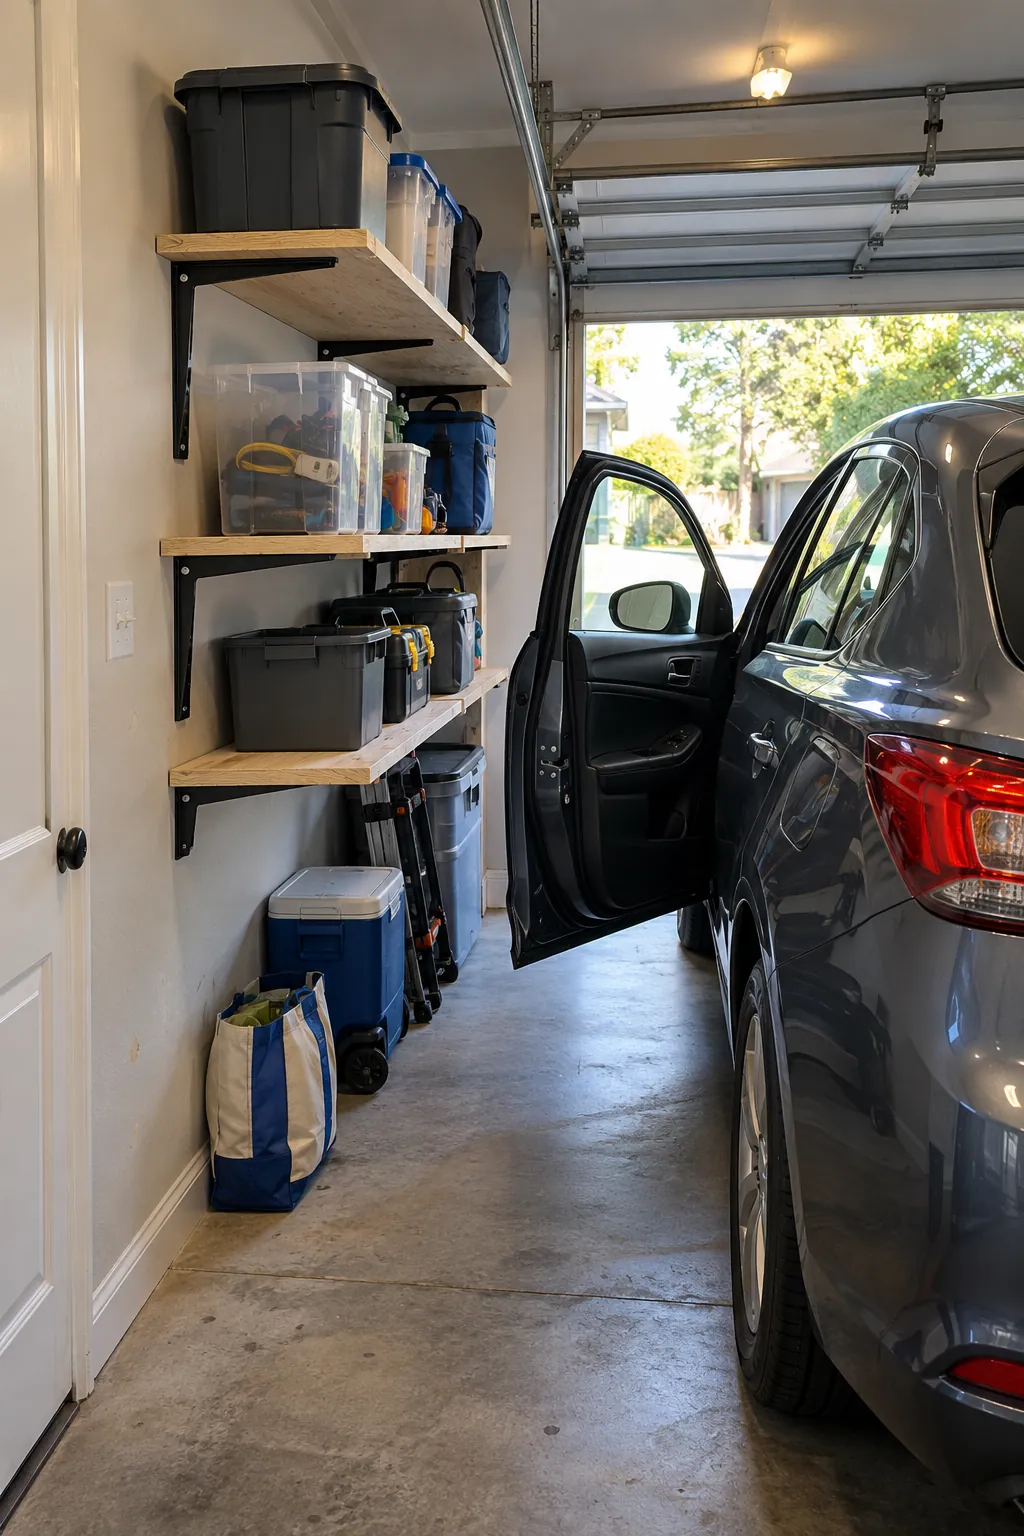
Draw the Driver-Door Arc at Three Heights
A car door is not a flat rectangle. Its lower edge, widest body point, mirror, and upper frame can meet shelving at different places, especially where the wall or floor slopes. Hold a cardboard strip against the wall while someone slowly opens the door, then mark the nearest approach at knee, hip, and shoulder height.
Use the widest mark to create a no-build pocket around the driver’s exit. A shelf can sometimes be deeper above the top of the open door, but only after you test the real car and the tallest regular driver. Keep brackets and bin lips inside the same limit; a shallow shelf with a projecting bracket still causes a collision.
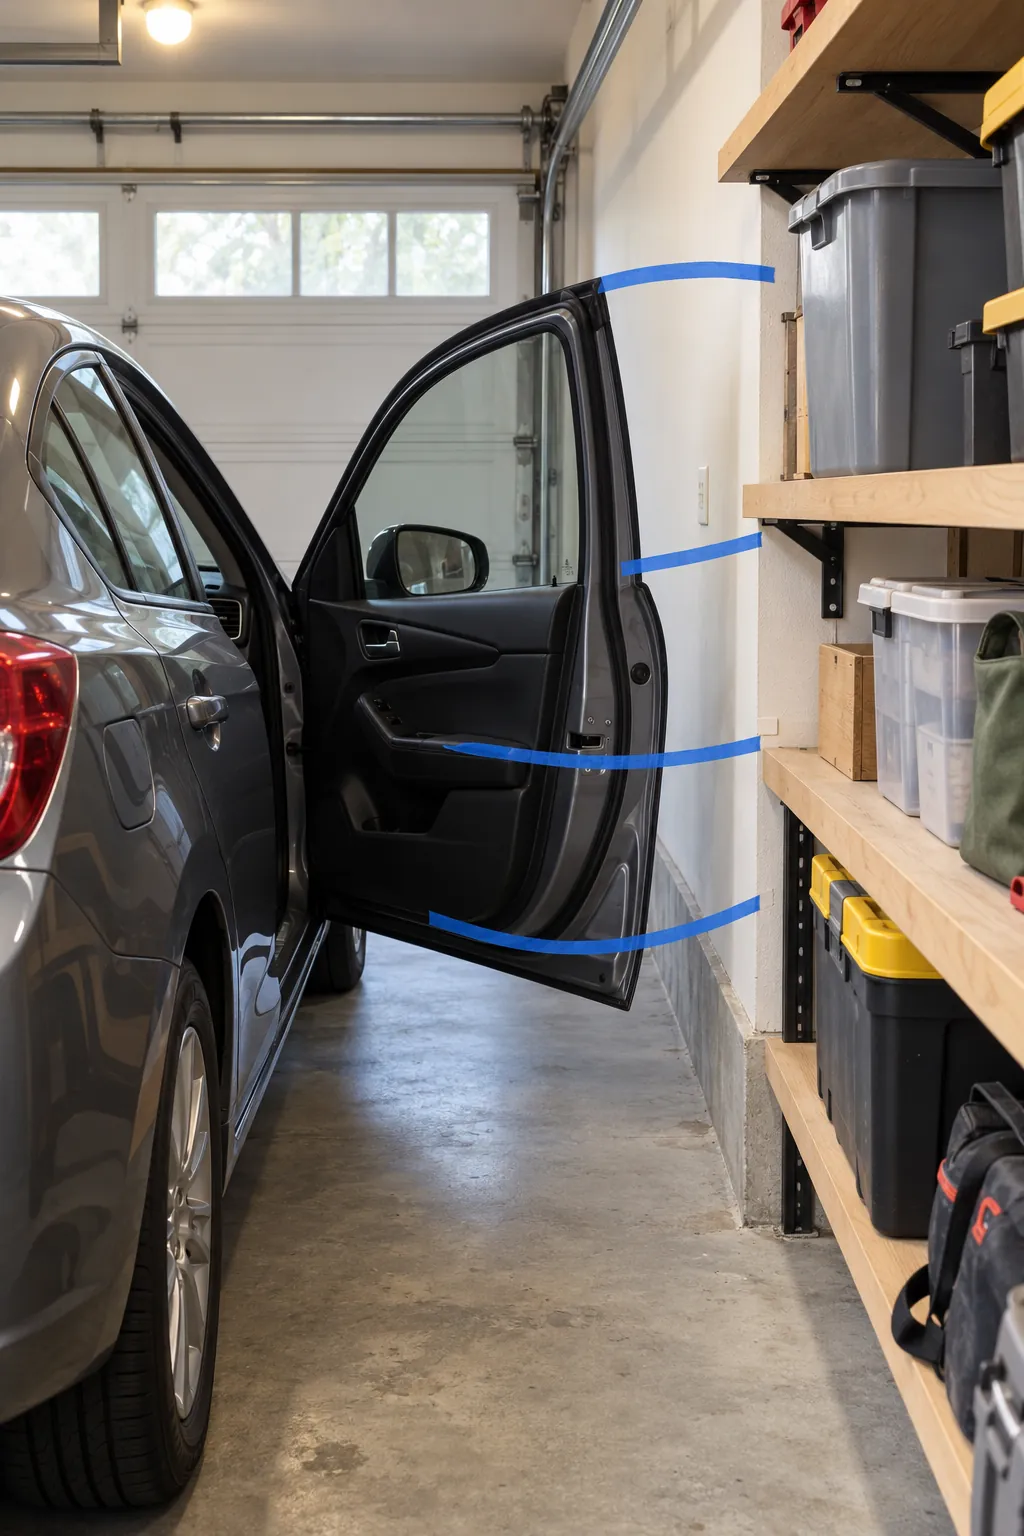
Set Shelf Depth by Zone, Not by One Standard
Divide the long wall into functional zones. The door zone may accept only a slim rail or a very shallow ledge, the area above the hood may take medium-depth shelves, and the wall beyond the bumper may hold full storage bins. Stepped depths preserve capacity without sacrificing circulation.
Choose containers after the depth map is complete. A shelf sized around an existing 18-inch tote can erase the walkway; several 8- to 12-inch containers may hold the same small supplies while keeping them visible. Place frequently used bottles and hand tools where they can be reached without opening a car door or pulling the car out.
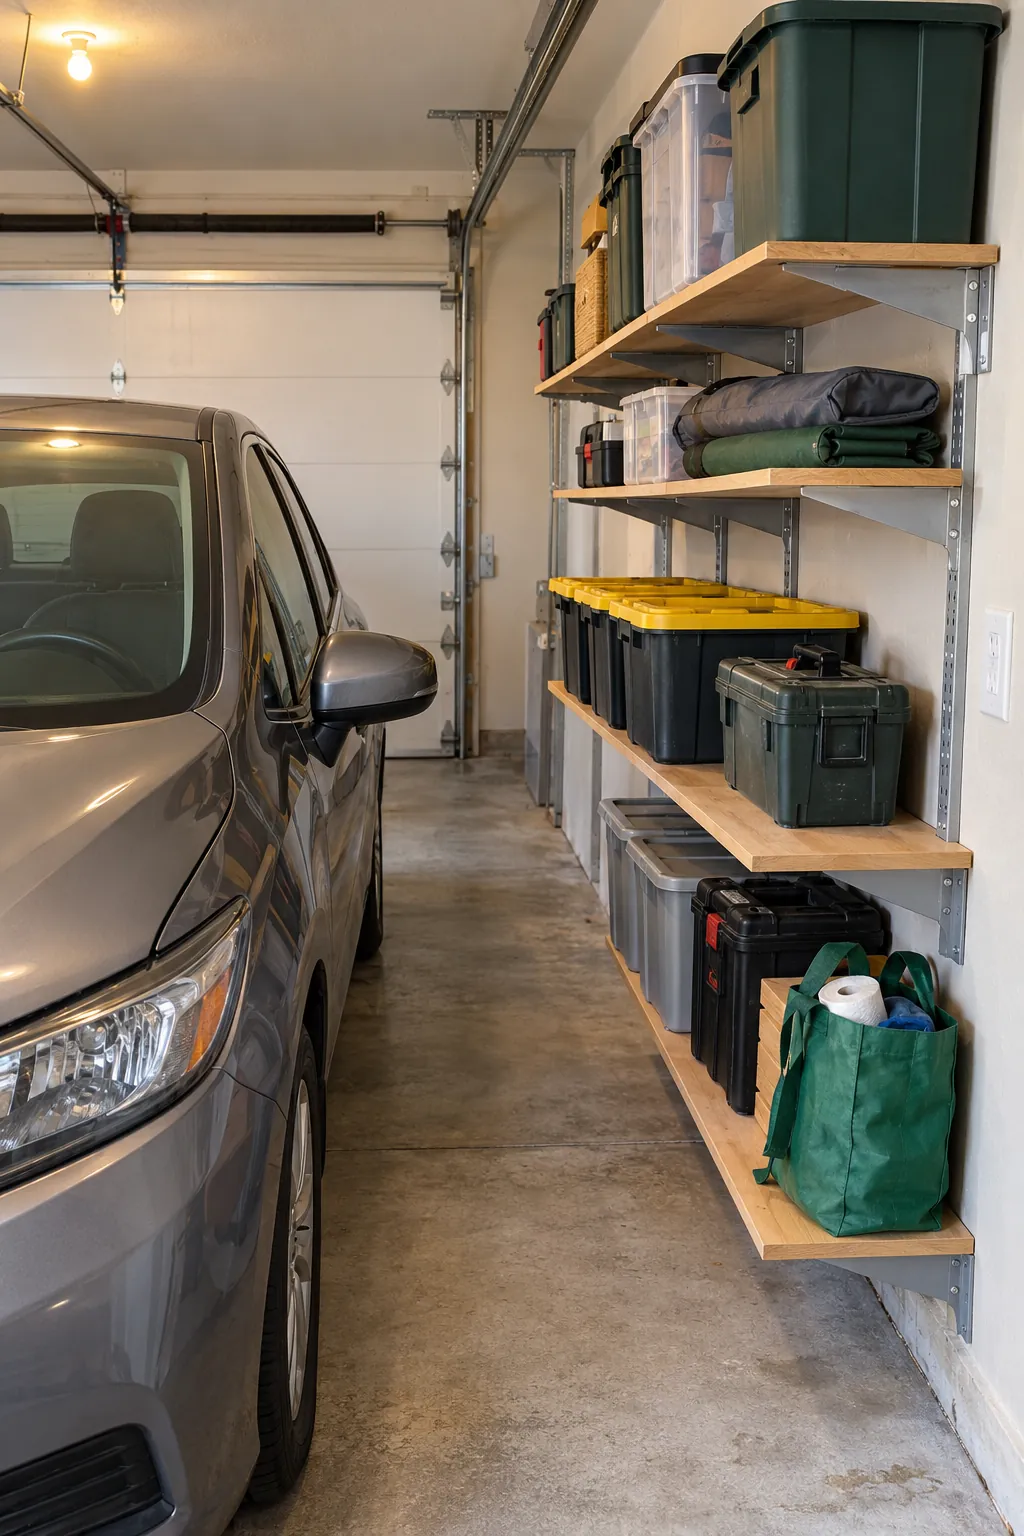
Raise the First Shelf Above the Door
Where ceiling height permits, start fixed shelving above the highest point of the fully open door. Test that line with the car loaded, because suspension height changes slightly and a roof rack or hatch can alter the envelope. Leave visible separation rather than designing to a hairline clearance.
High shelves suit light, seasonal items, not dense boxes that are awkward to lower beside paintwork. Use a stable step platform only in a clear standing area, and never plan a reach that requires leaning across the car. Label bin ends so the contents can be identified before anything is moved.
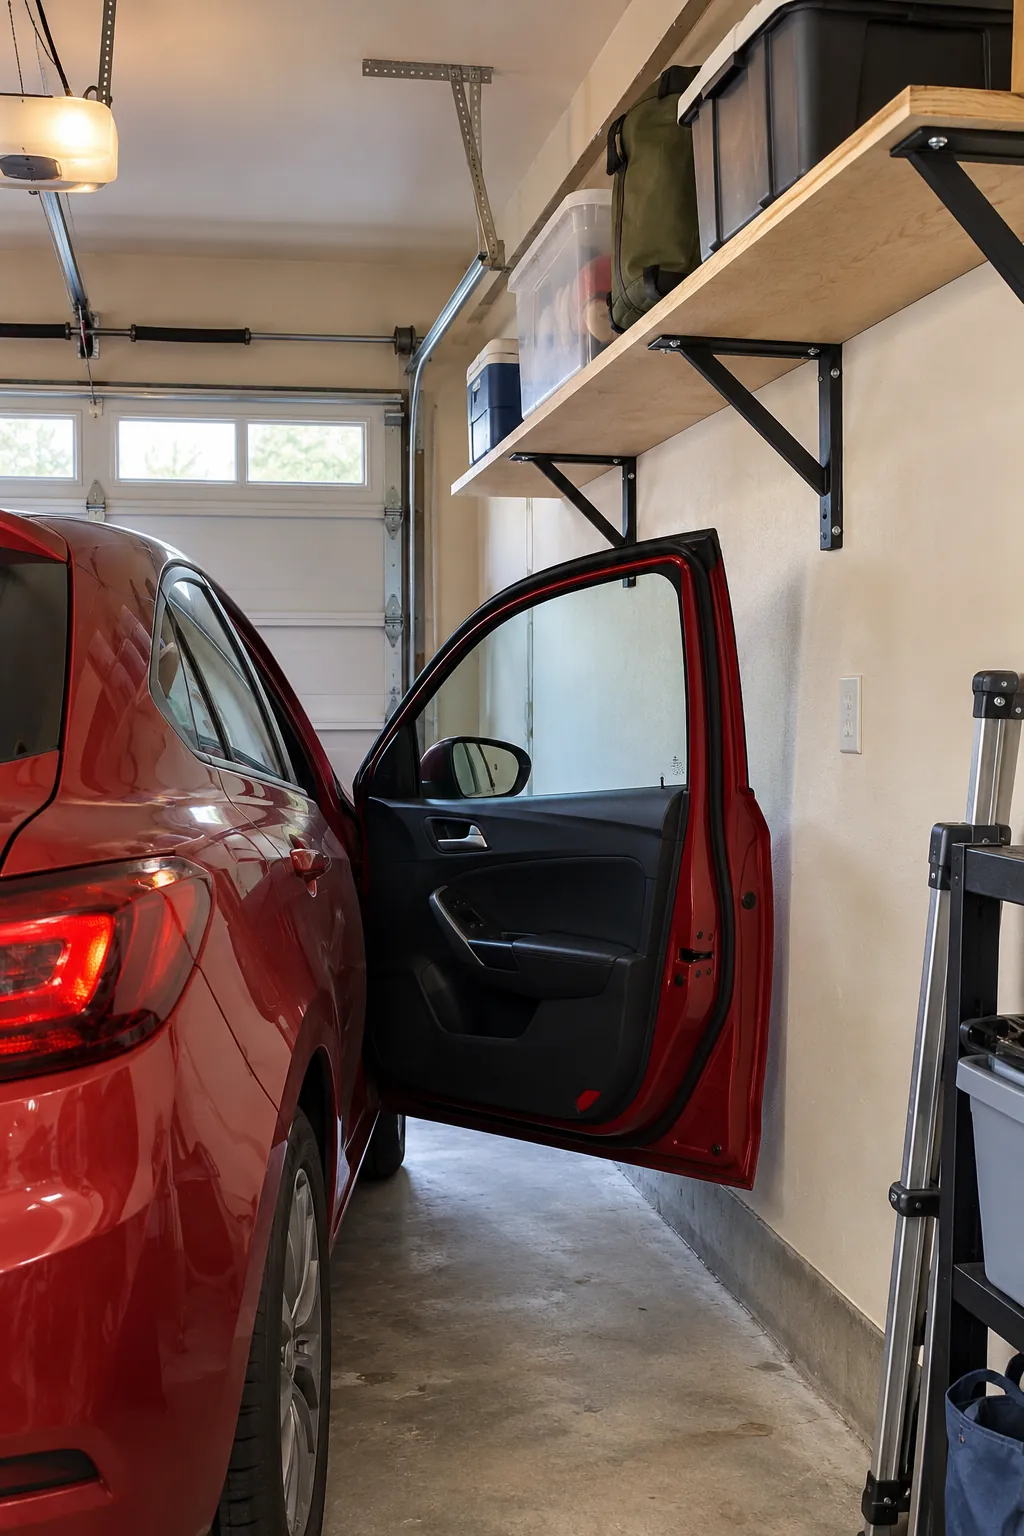
Use Shallow Wall Tracks for Daily Gear
A vertical track system lets short shelves and hooks move as the vehicle or storage needs change. Keep the lowest components flush and rounded in the walking lane, then reserve deeper brackets for positions above door height. This is useful for detailing bottles, helmets, extension cords, and garden hand tools that otherwise collect on the floor.
Fasten tracks only with hardware suitable for the actual wall structure and expected load. Stud positions, masonry, wiring, and manufacturer limits matter more than the number of visible screws. If you cannot verify the substrate or load path, ask a qualified installer rather than relying on drywall anchors for heavy storage.
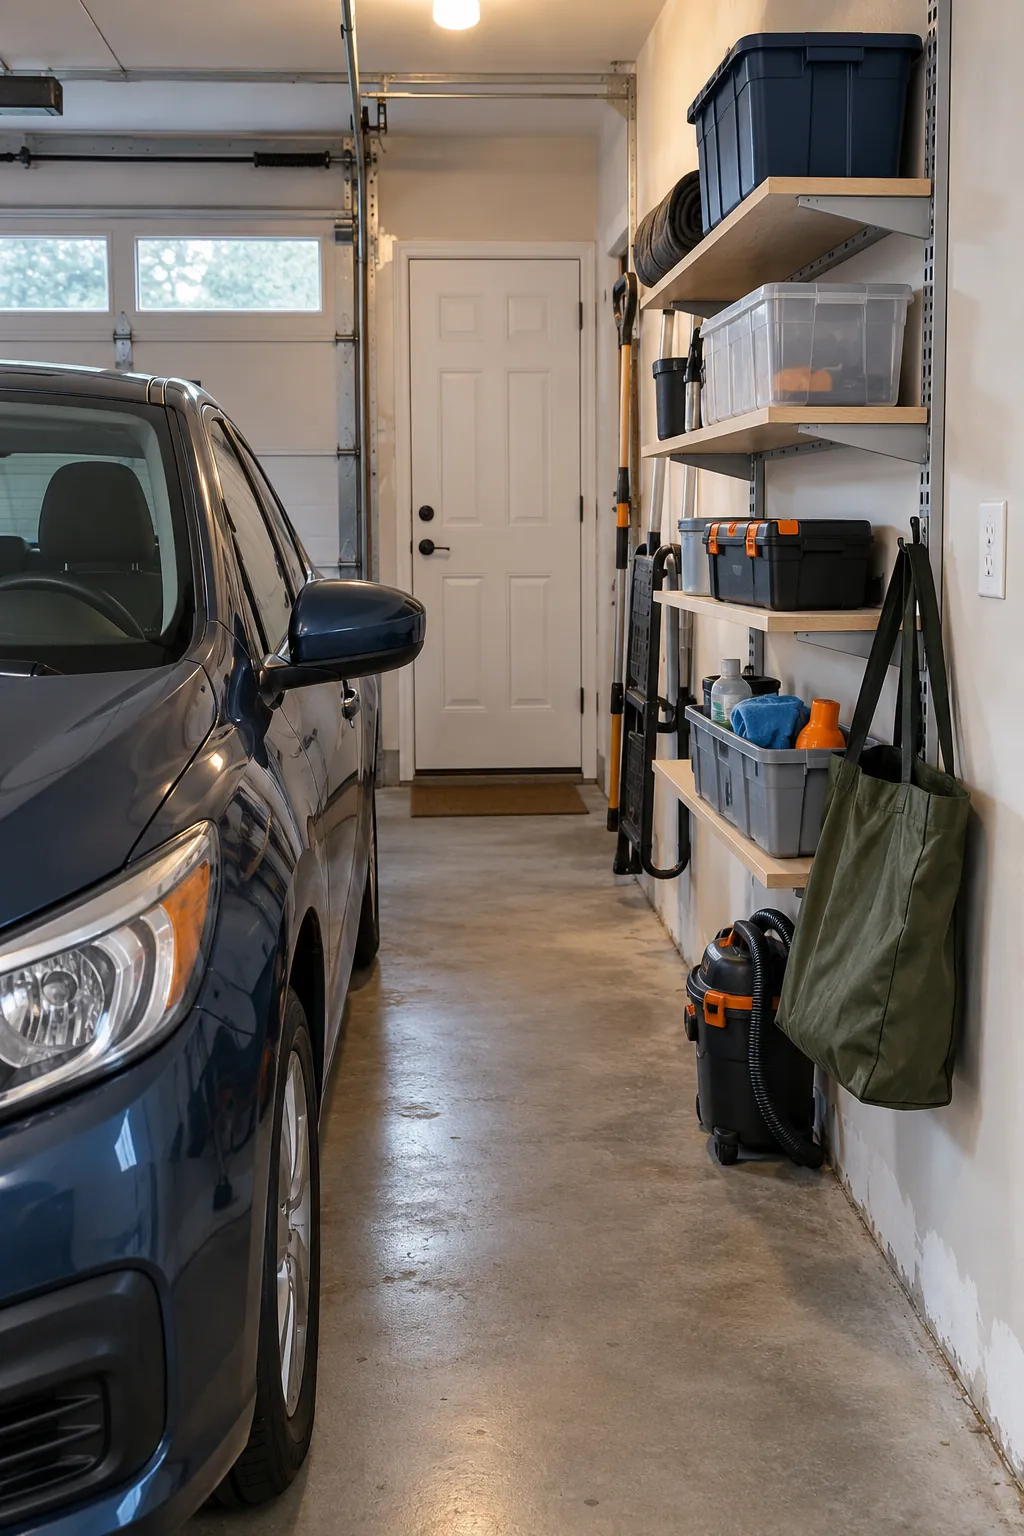
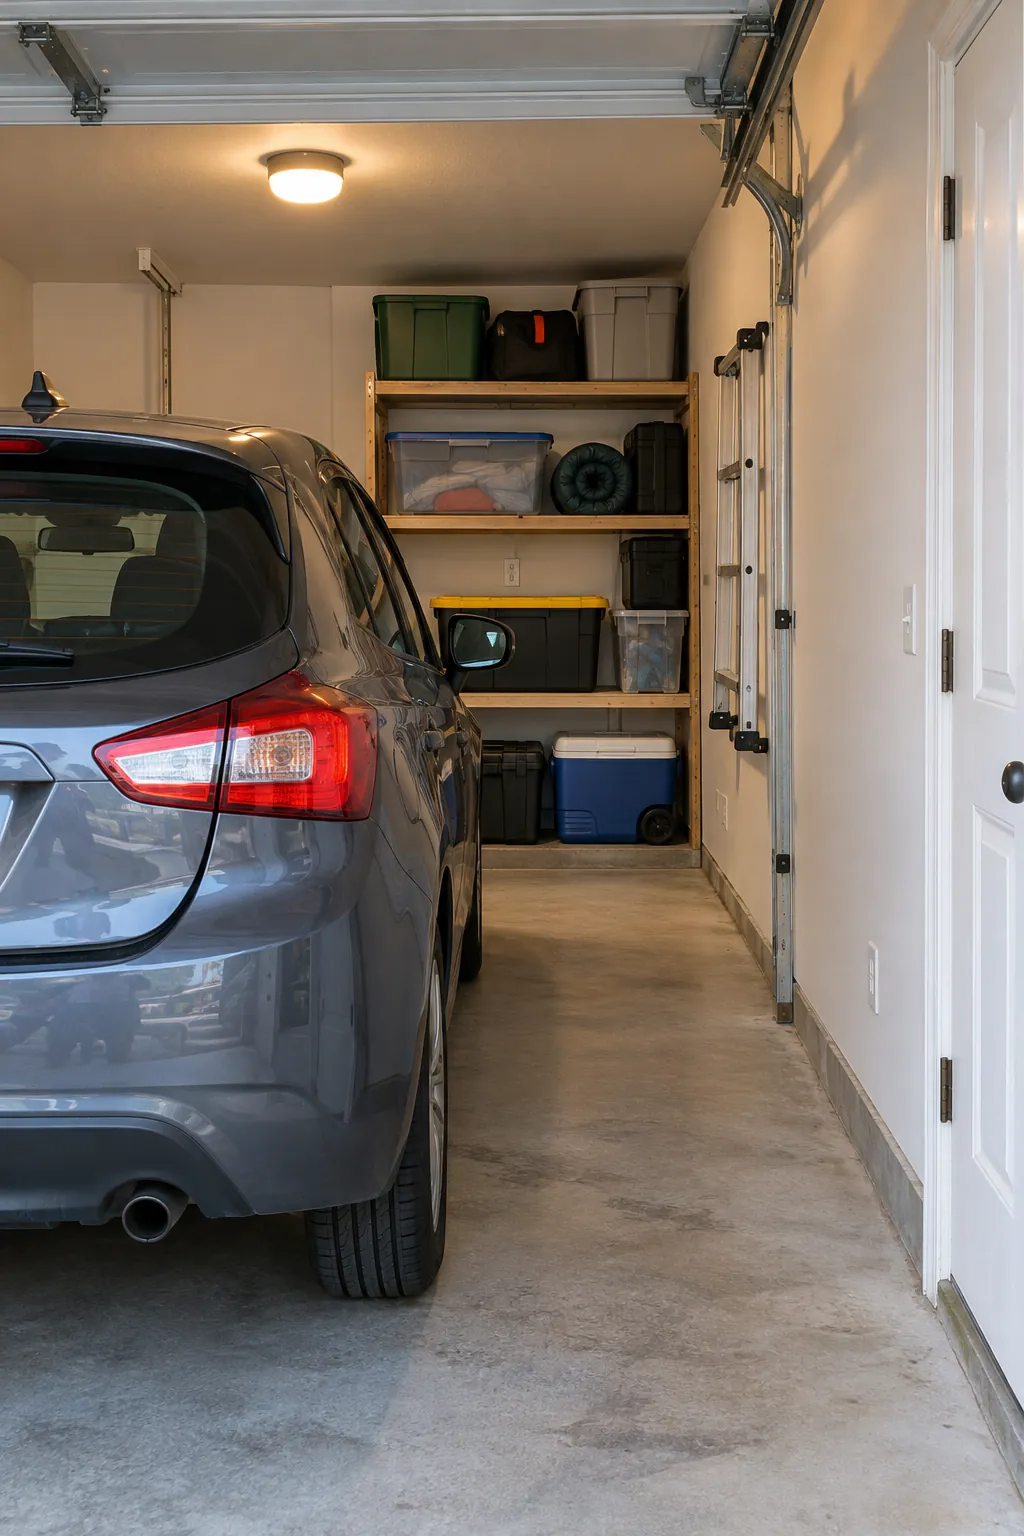
Put Deep Storage Beyond the Bumper
The back wall often offers the best depth because bins do not compete with a side door swing. Mark the final bumper position with a wheel stop or floor reference, then preserve a walkway between the bumper and shelving if people cross that route. Begin shelves above hood or trunk height only when the vehicle can still be serviced and loaded safely.
Keep heavy supplies on lower shelves and secure freestanding units against tipping. Closed cabinets help when a workbench creates sawdust, but door leaves need their own opening space. Sliding doors, lidded bins, or open shelves can work better where hinged cabinet doors would meet the car.
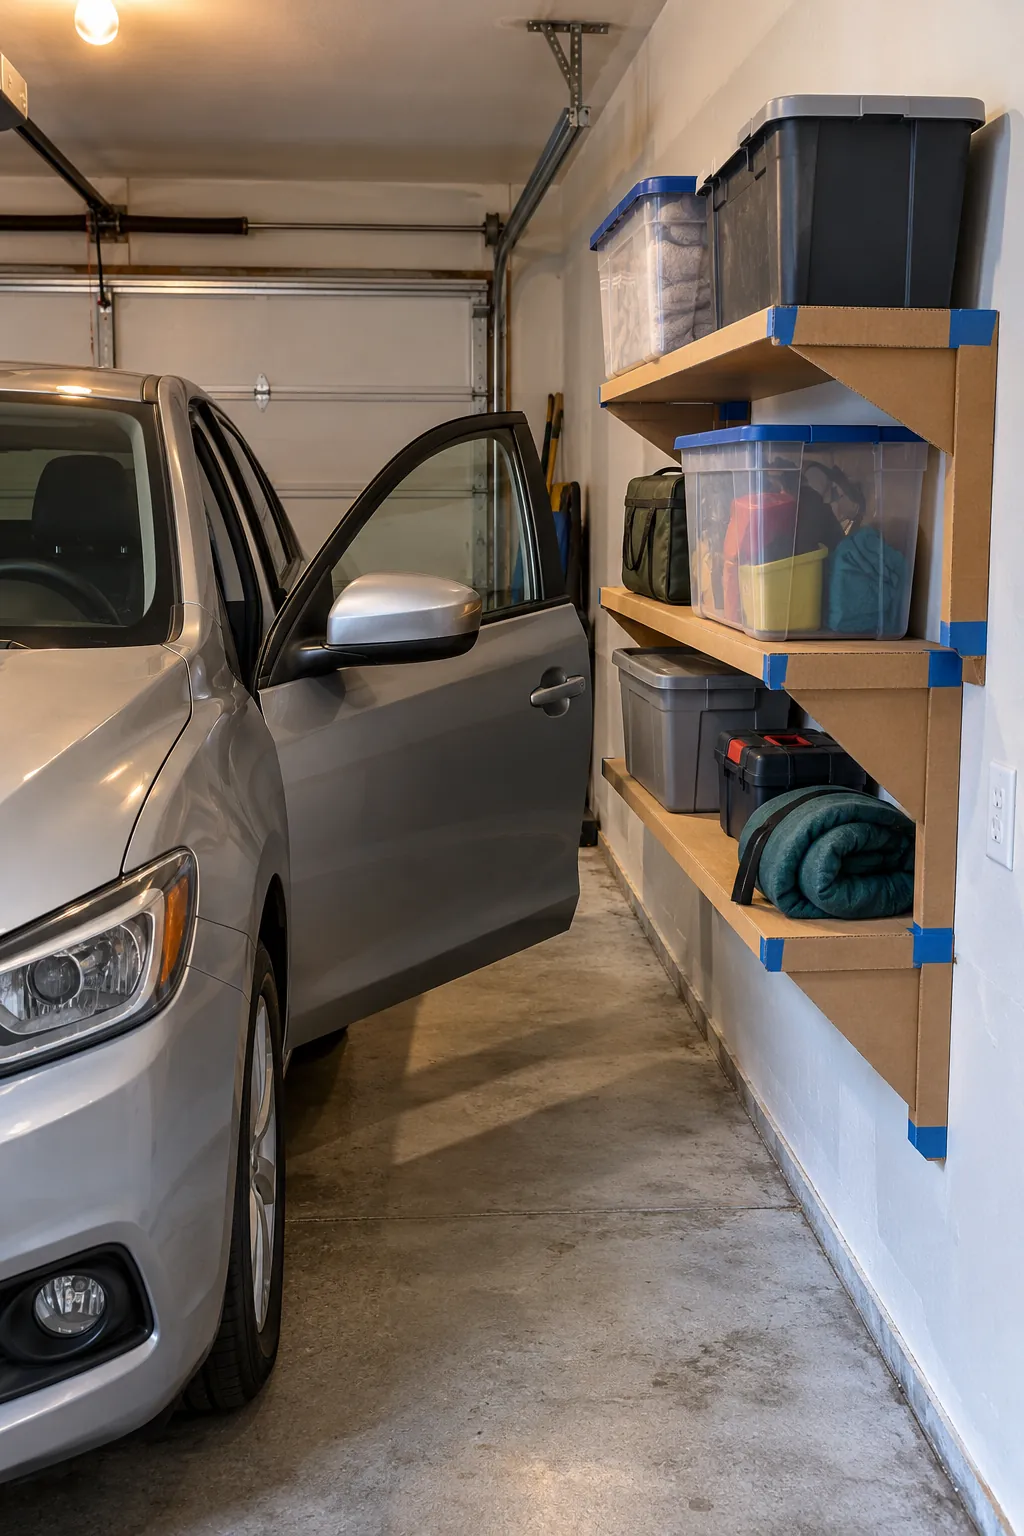
Build a Full-Size Mock-Up and Run the Parking Test
Tape flattened boxes to the wall at the proposed shelf depth and bracket positions. Park several times from normal approach angles, open every door, carry a grocery bag through the route, and retrieve a sample bin. A mock-up reveals shoulder bumps and mirror conflicts that a neat floor plan misses.
Repeat the test at night with the usual garage lighting and with the largest regular vehicle. Adjust the design until no one must squeeze, twist, or protect the paint with a hand. Photograph the approved tape lines and write the measured depths on them before installation so the safe plan does not drift during construction.
A Simple Final Check
The best narrow garage layout is one you can use without thinking about the car’s paint every morning. Keep the approved clearance marks visible for a week, then install only after normal parking, loading, and walking routines work. Recheck anchors and shelf condition periodically, and revise the layout when the vehicle or household storage changes.