
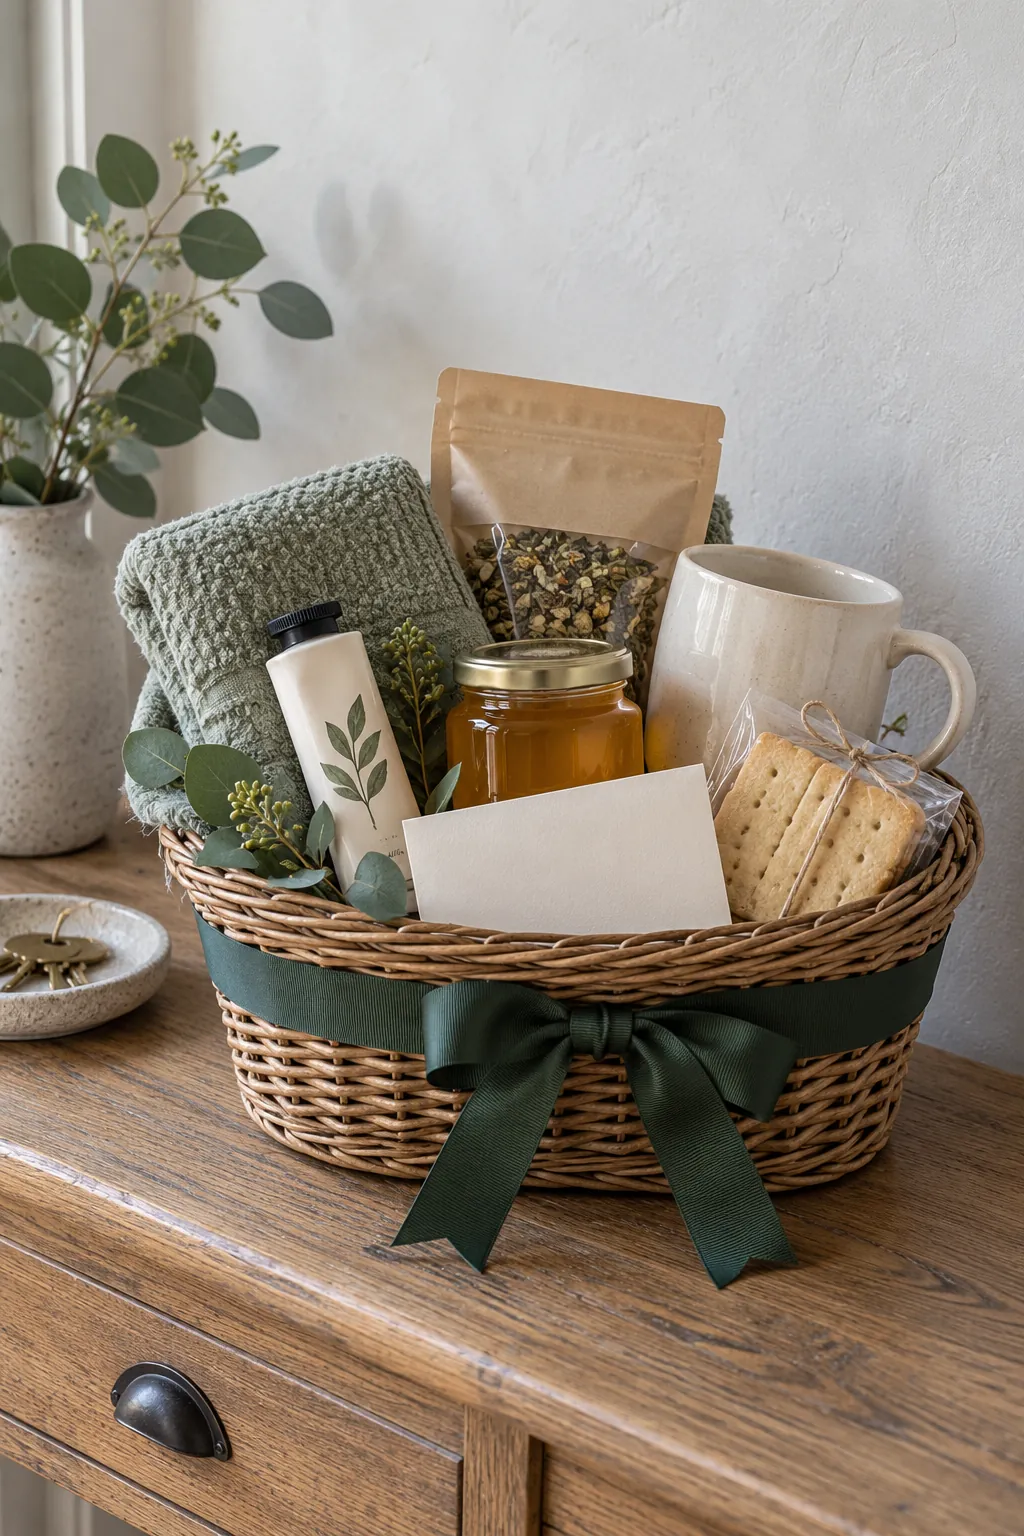
A basket can hold lovely products and still look unfinished when the scale, support, and placement are wrong. The real work happens before the ribbon goes on. A clear theme, a firm base, and a simple order of assembly make the contents feel generous without requiring a large budget.
This method works for a wicker basket, a storage bin, a tray, or a sturdy gift box. It also solves the common problems that make homemade gifts frustrating: products disappear below the rim, tall items fall forward, filler takes over the design, and wrapping crushes the arrangement.
Start With One Person and One Purpose
Begin with the moment the gift will serve. A new parent may need quiet comforts that can be used with one hand. A host may appreciate pantry treats that can be shared that evening. A friend recovering at home may prefer practical care items to decorative objects. This single decision keeps the basket from becoming a random group of attractive products.
Choose one useful anchor item, then add several smaller companions. For a tea theme, the anchor might be a ceramic mug or a small teapot. Tea sachets, honey, a spoon, and shortbread support that idea. For a simple spa gift, a folded hand towel can anchor soap, hand cream, a candle, and a soft eye mask.
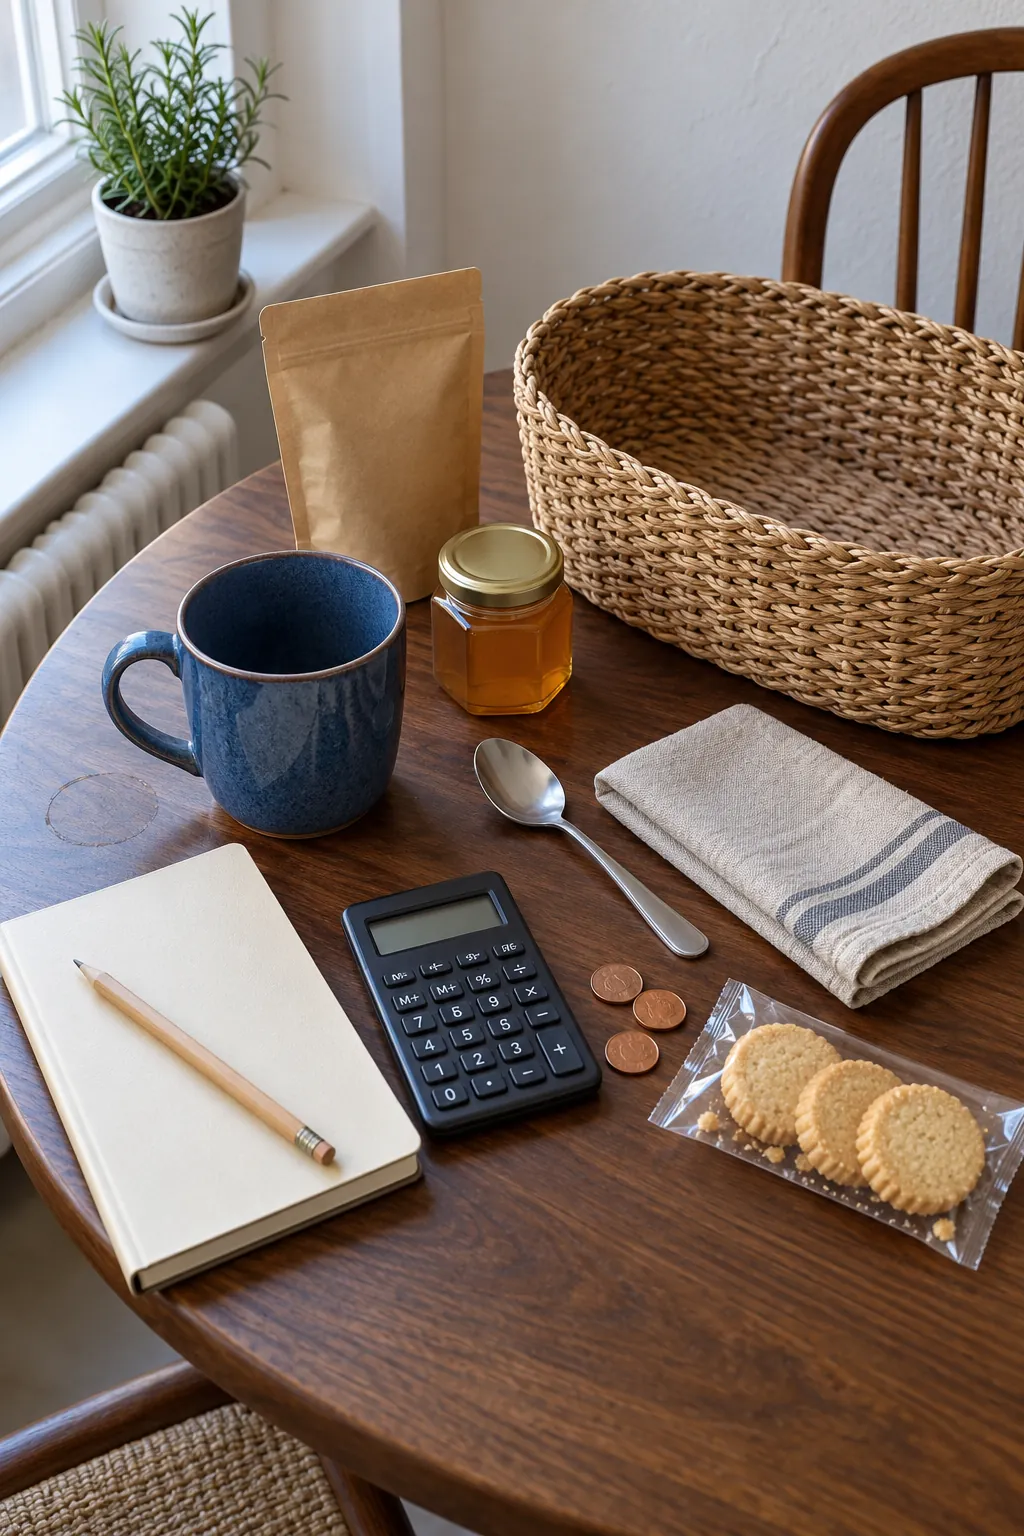
Set a spending limit before shopping. Reserve part of it for the container and wrapping, because those costs are easy to forget. A short plan also helps you compare what the recipient will use against what merely fills space.
Choose a Container That Becomes Part of the Gift
A traditional basket is only one option. A mixing bowl suits a baker, a small colander suits a cook, a fabric storage cube works for a nursery, and a wooden tray can serve someone who enjoys coffee in bed. Reusable containers add value and often cost less than decorative packaging.
Match the container to the quantity of products, not to the impression you hope to create. When the base is too wide, even a good selection looks sparse. Place the unwrapped items inside before buying the container when possible. Leave enough room for each label or recognizable shape to remain visible.
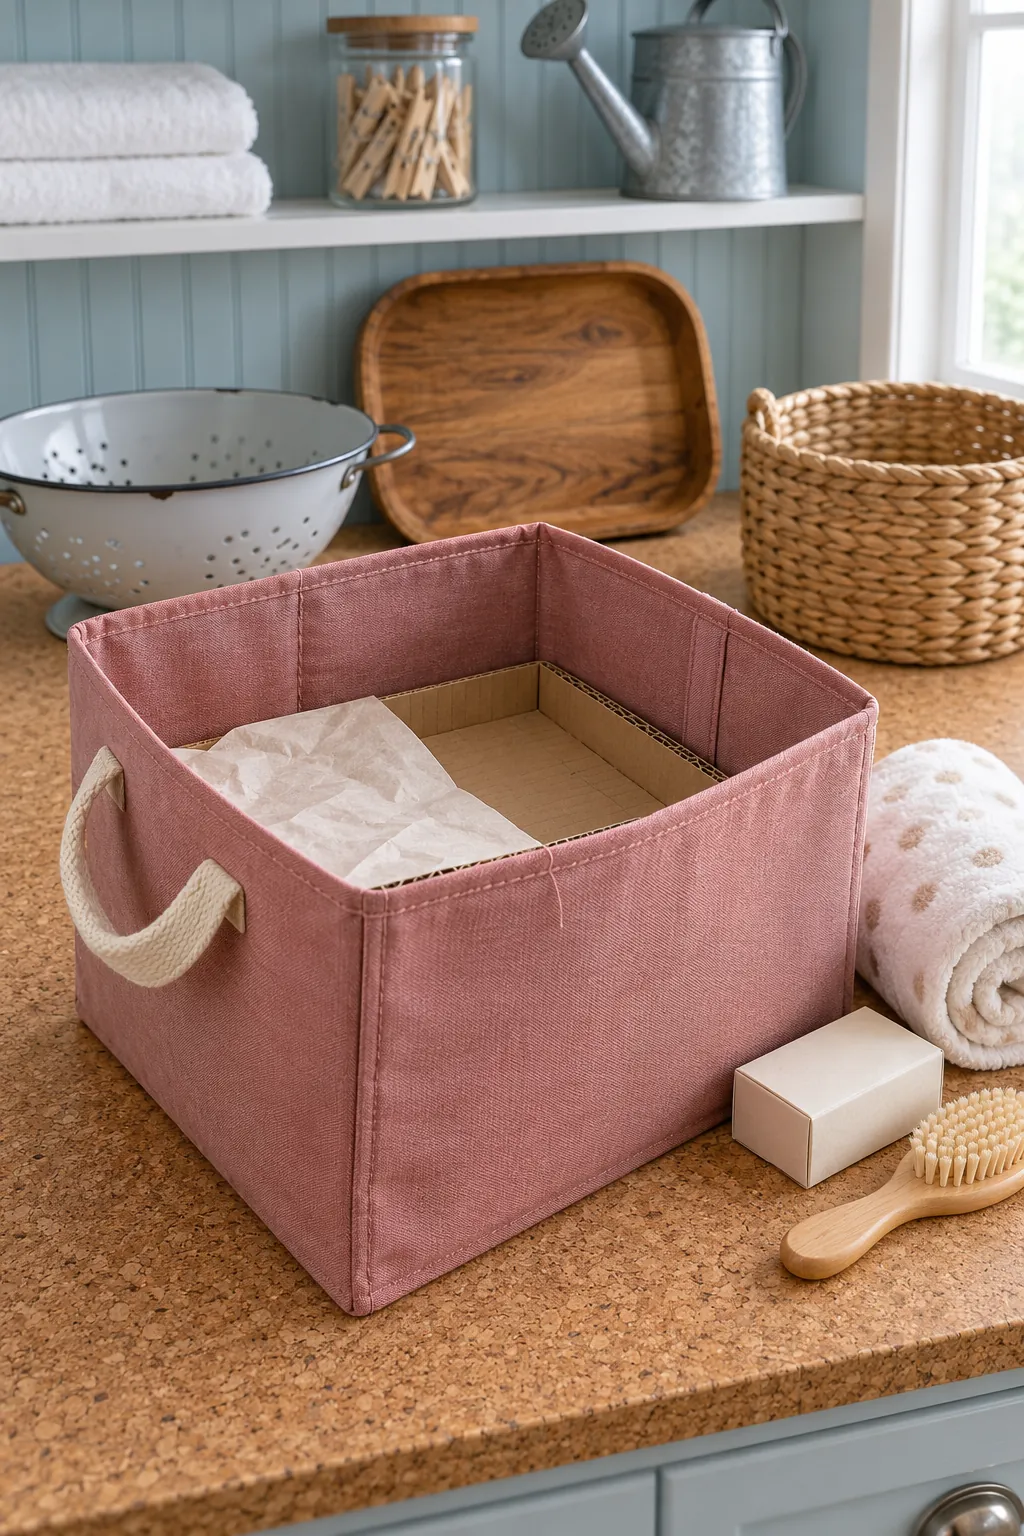
Check strength as well as size. Thin cardboard can bow under jars and bottles. A flexible basket may need a rigid insert cut from clean corrugated board. Cover the insert with tissue or fabric so the support disappears.
Build a Firm Hidden Base
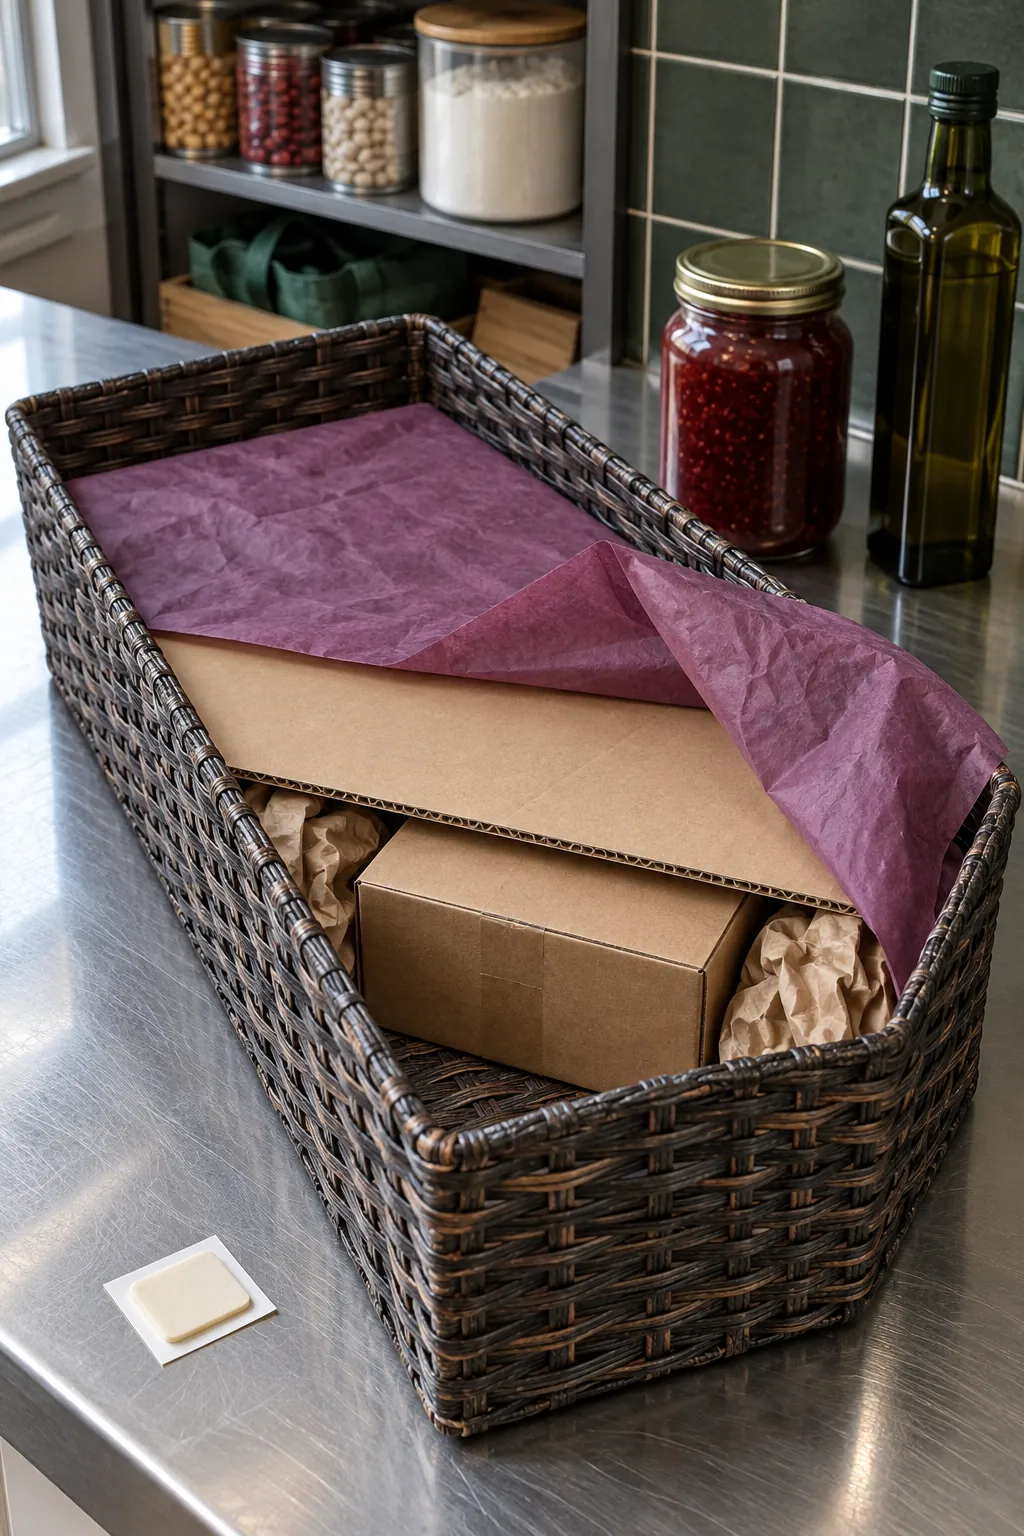
Products should sit near the top of the container instead of sinking into a deep bed of filler. Make a platform from a small closed box, folded cardboard, or tightly crumpled plain paper. The platform should stop below the rim and should not move when you press it.
Add a shallow layer of shredded paper, tissue, or clean fabric over the platform. Its job is to hide the support and cushion the items. It should not carry the full weight. Too much loose filler shifts during transport and allows bottles to lean.
Test the foundation by placing the heaviest item in the center and gently lifting the container. If the base compresses, add another rigid layer. If it slides, secure it to the bottom with removable mounting squares or a small loop of strong tape. Keep adhesive away from food packaging and finished surfaces.
Arrange Height, Weight, and Labels
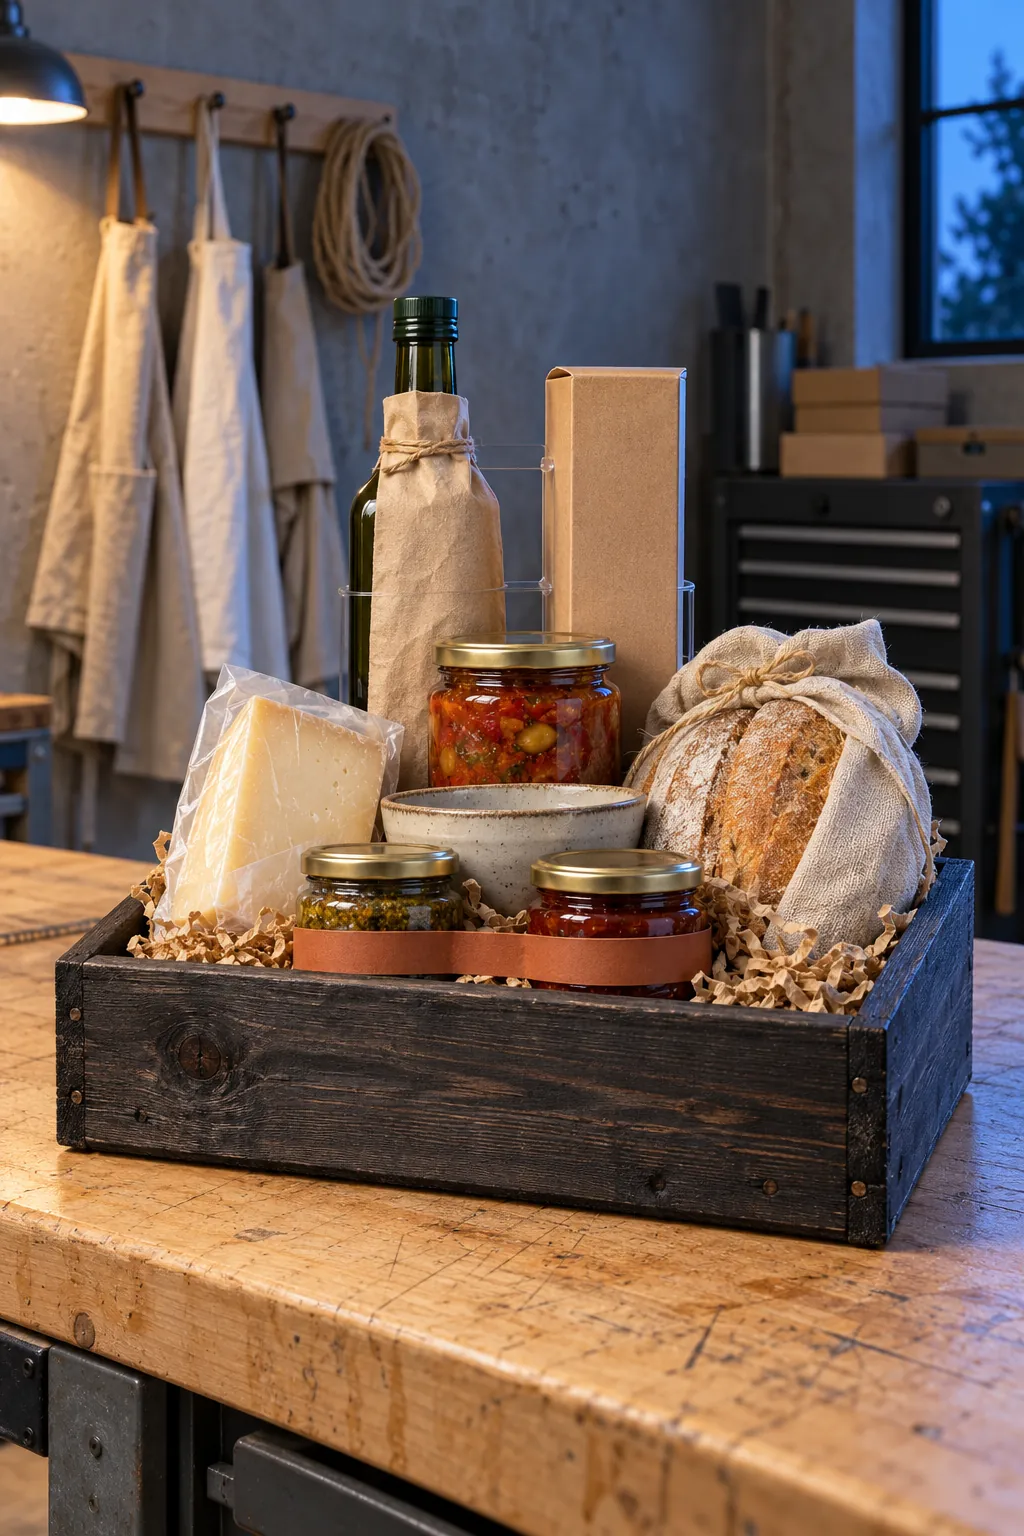
Place the tallest item toward the back when the basket has one main viewing side. Put the heaviest product low and close to the center. Medium items can frame the anchor, while small packets and accessories fill the front. This creates a clear outline and prevents a top heavy arrangement.
Turn each important label toward the viewer, but avoid making every item face at exactly the same angle. A slight turn makes the composition feel natural and helps rounded jars fit together. Let colors repeat in two or three places so the basket looks connected.
Use clear elastic bands, paper bands, or small dots of removable adhesive to hold unstable pieces. Tie two slim products together when they keep separating. For shipping, wrap individual breakable items first and fill every empty pocket inside the outer box. A beautiful open arrangement is not strong enough to survive being turned on its side.
Make an Inexpensive Basket Feel Considered
Inexpensive gift basket ideas work best when every item has a reason to be there. Spend more on one memorable product and support it with modest practical additions. A good coffee bag can pair with a thrifted mug, a homemade syrup, and two wrapped biscuits. A quality hand cream can lead a small set with cotton socks, tea, and a handwritten note.
Shop by color only after the theme is clear. Matching packages can make dollar store finds look calm, but usefulness matters more than a perfect palette. Remove price stickers carefully. Keep safety seals, ingredient lists, care labels, and expiry information intact.
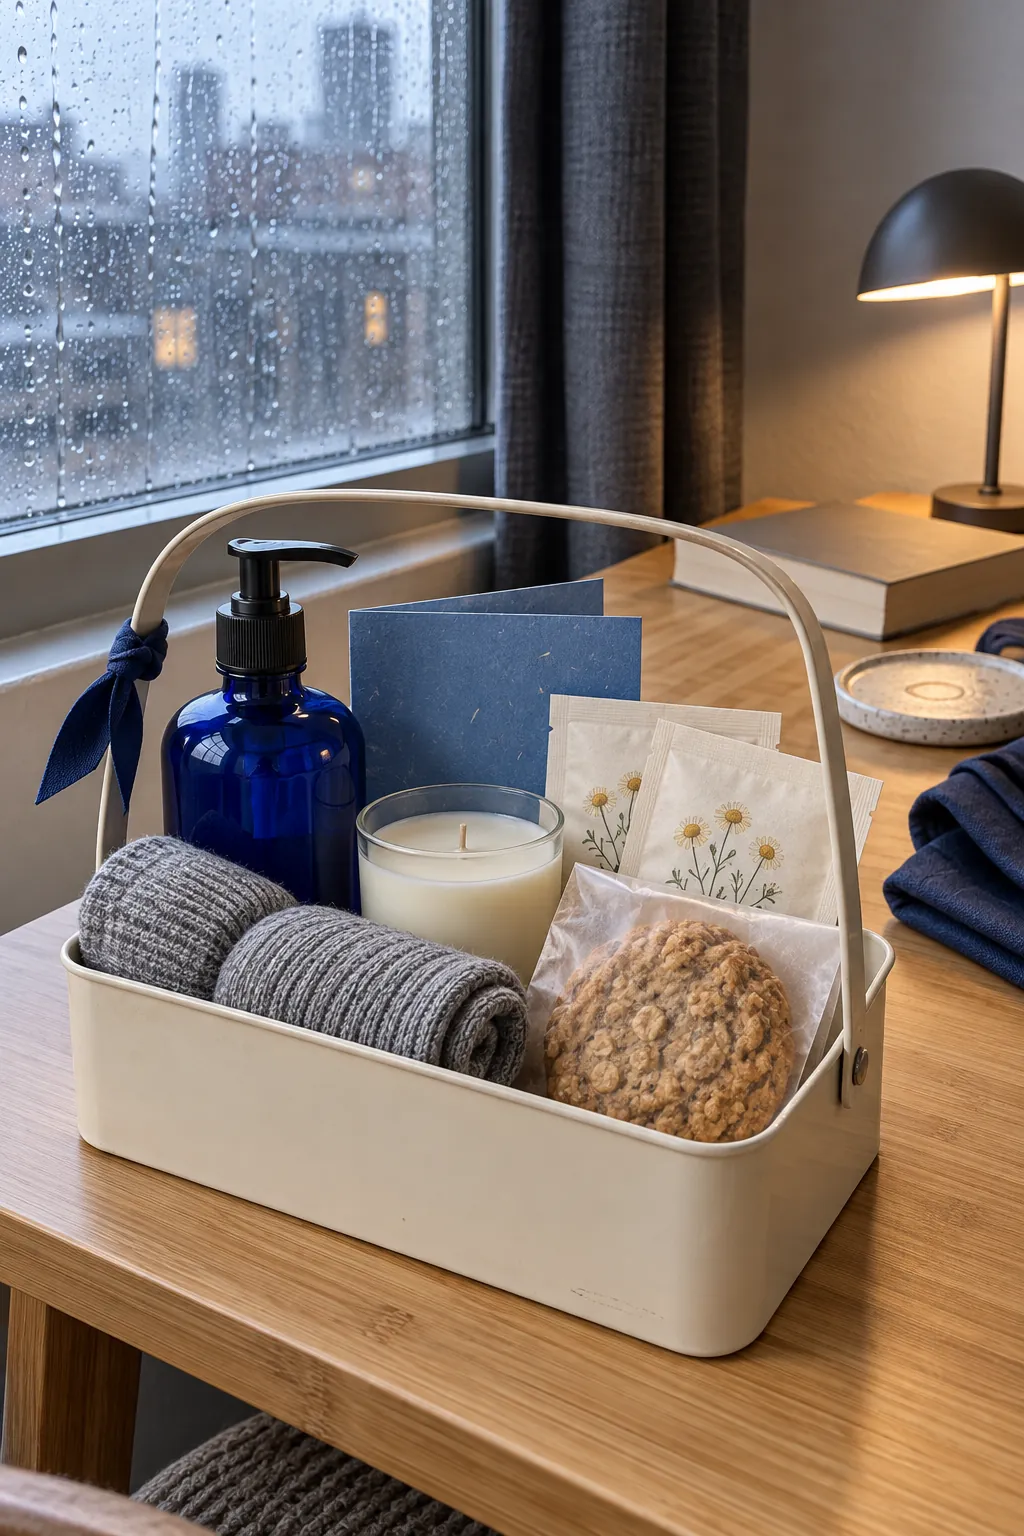
Homemade additions can stretch the budget when they are appropriate for the recipient. Label food clearly and note common allergens. A recipe card, a playlist card, or a short message about why you chose the theme can feel more personal than another small product.
Wrap the Basket Without Crushing It
Decide whether the basket needs a cover. A gift handed directly to someone at home may need only a wide ribbon and a tag. A basket traveling in a car benefits from a clear bag, reusable fabric, or a fitted lid. Fabric is especially useful when you want less plastic because it can become a tea towel, scarf, or napkin.
For clear wrapping, set the basket in the center of an open bag or a large sheet of film. Bring the material upward without pulling it tightly across product tops. Gather it several inches above the tallest item, secure the neck, then trim only if enough material remains for a neat fan. Keep the gathered point centered so the basket does not look tilted.
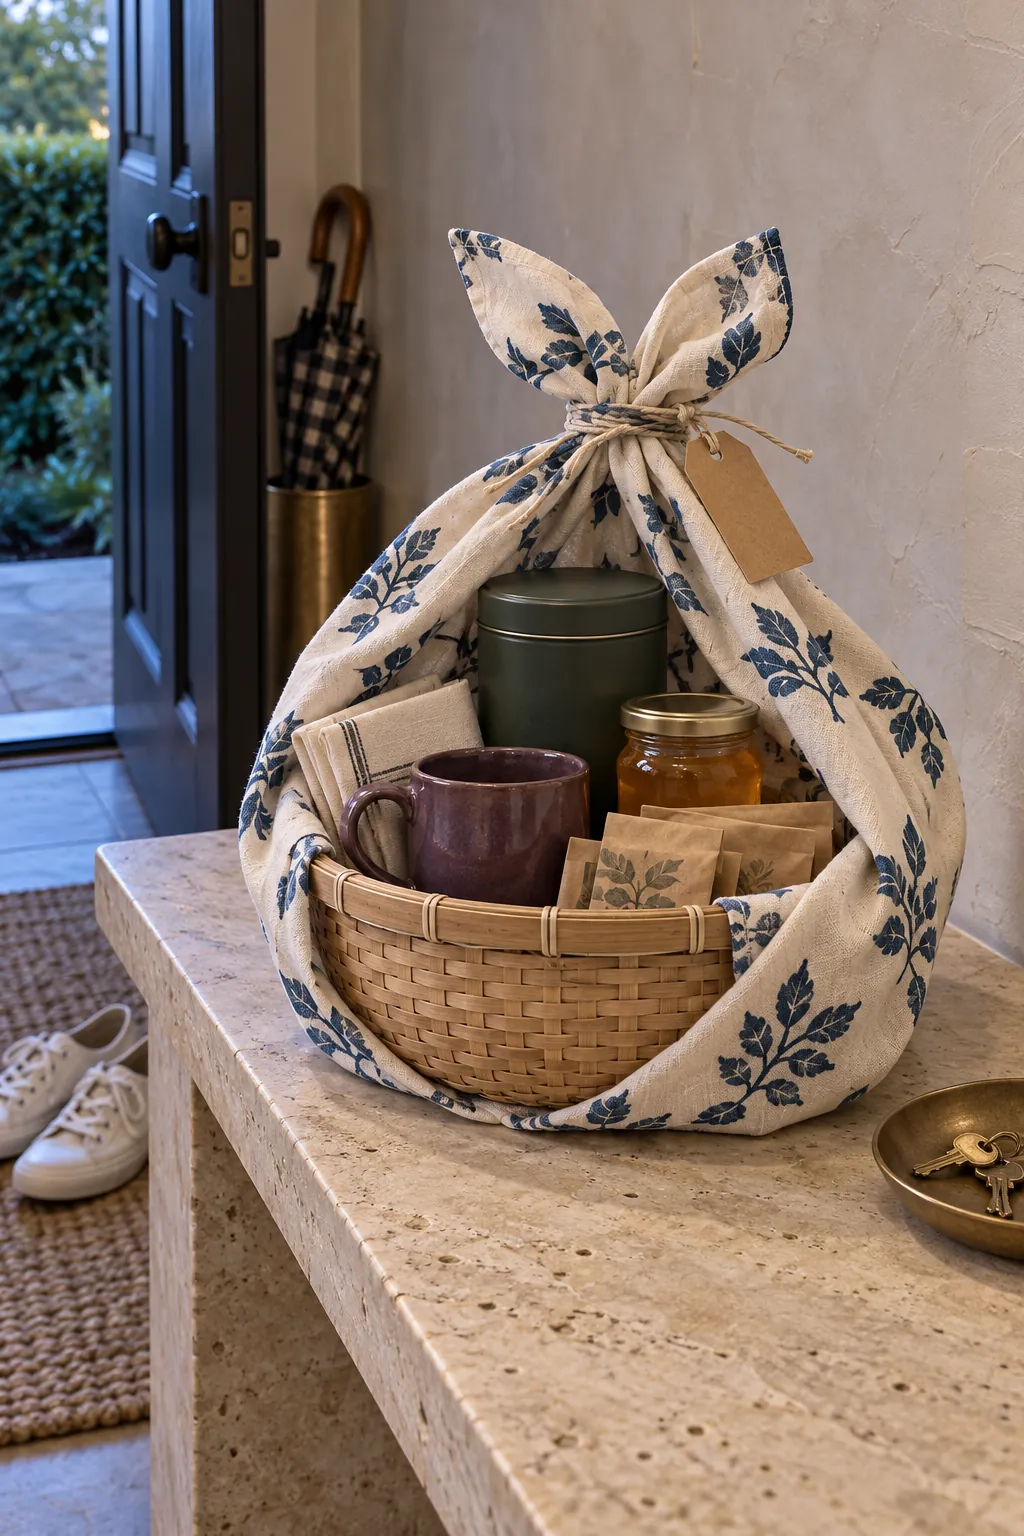
For fabric wrapping, place the basket diagonally on a square cloth. Bring opposite corners together, then gather the remaining corners and tie them above the handle or highest item. Use a separate cord if the cloth is thick. The wrap should contain the gift while preserving the shape you built.
Before giving the basket, lift it by the container rather than the wrapping. Look at it from the front and both sides. Straighten labels, remove loose filler, and confirm that nothing rattles. A final practical check protects the work and lets the personal details stand out.