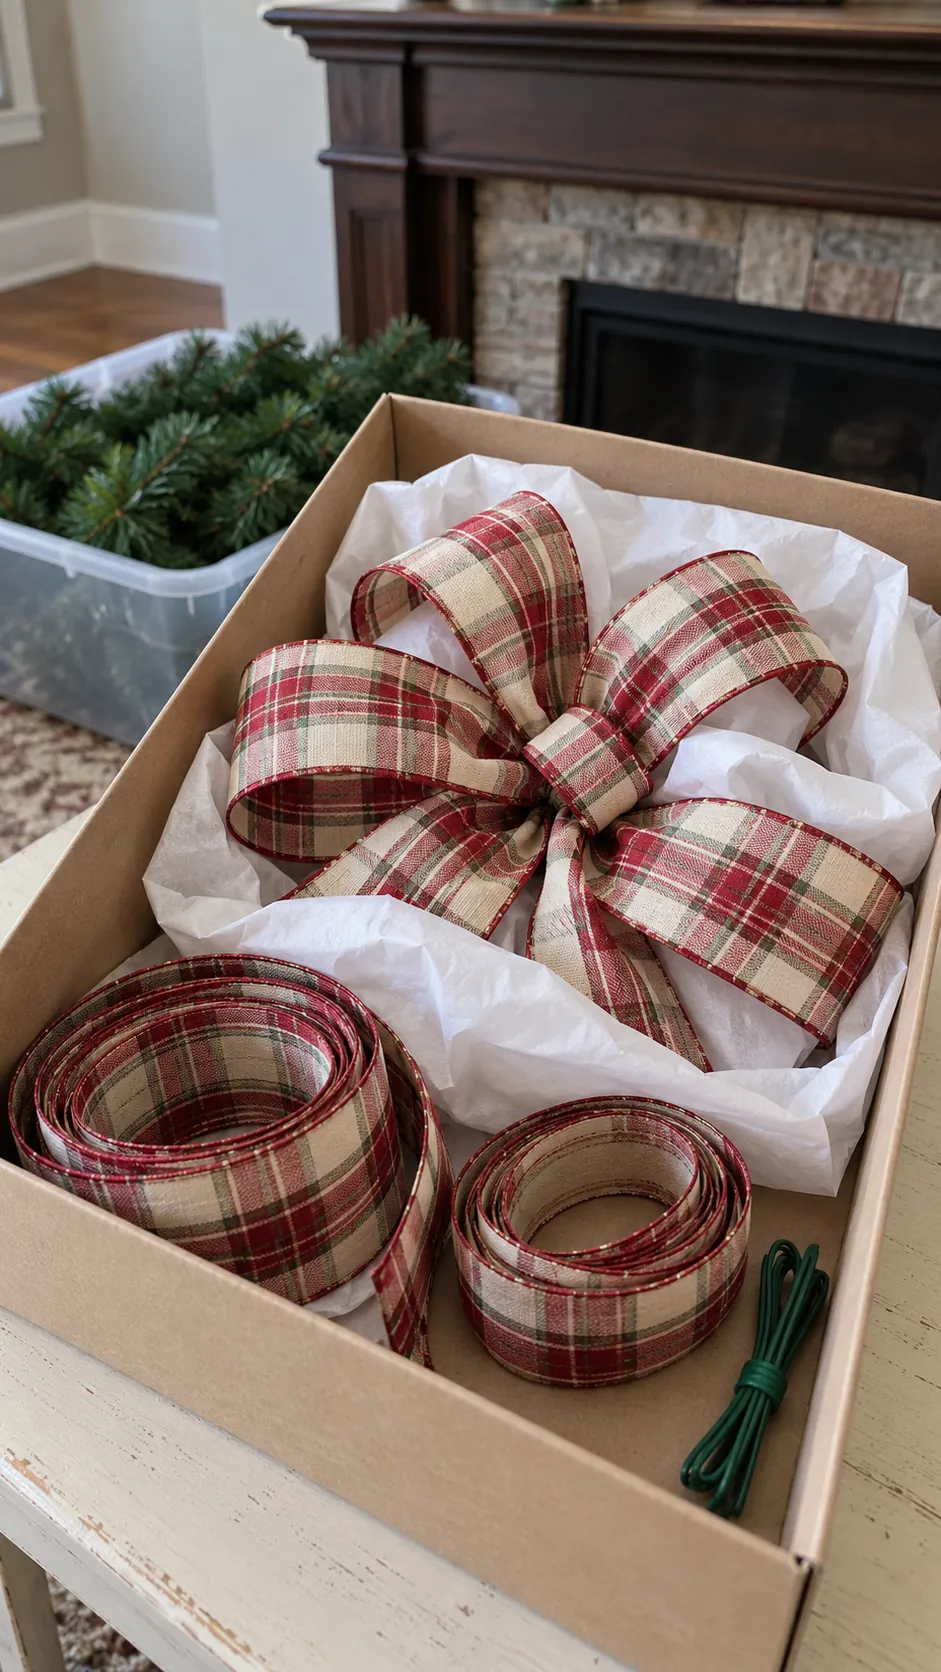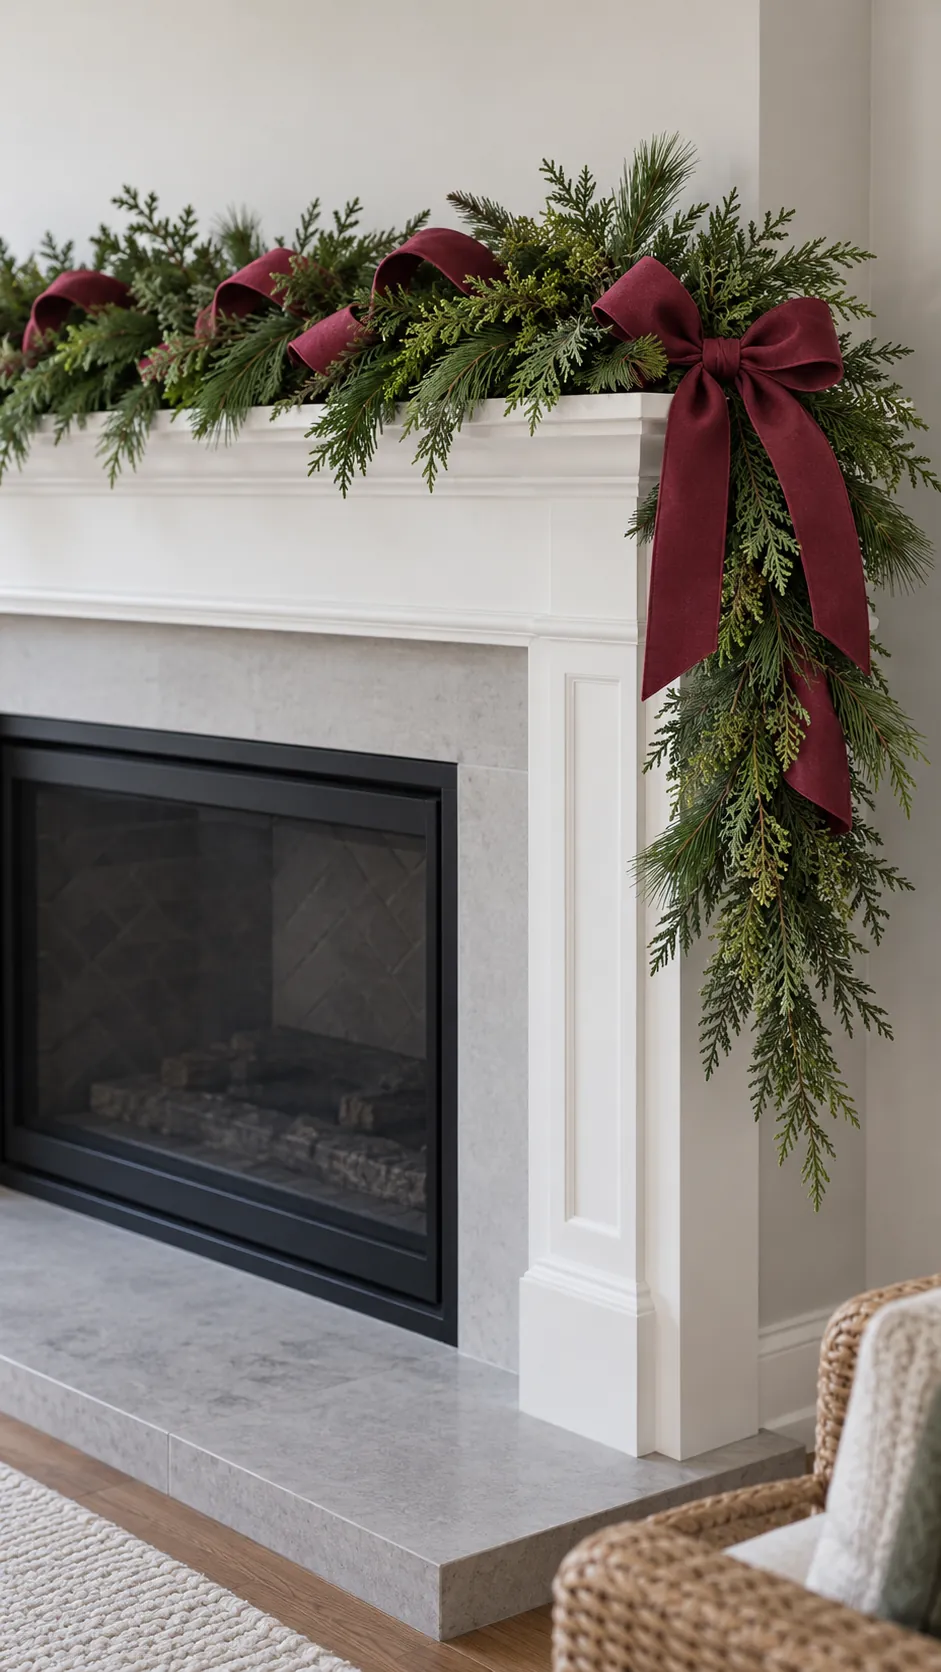
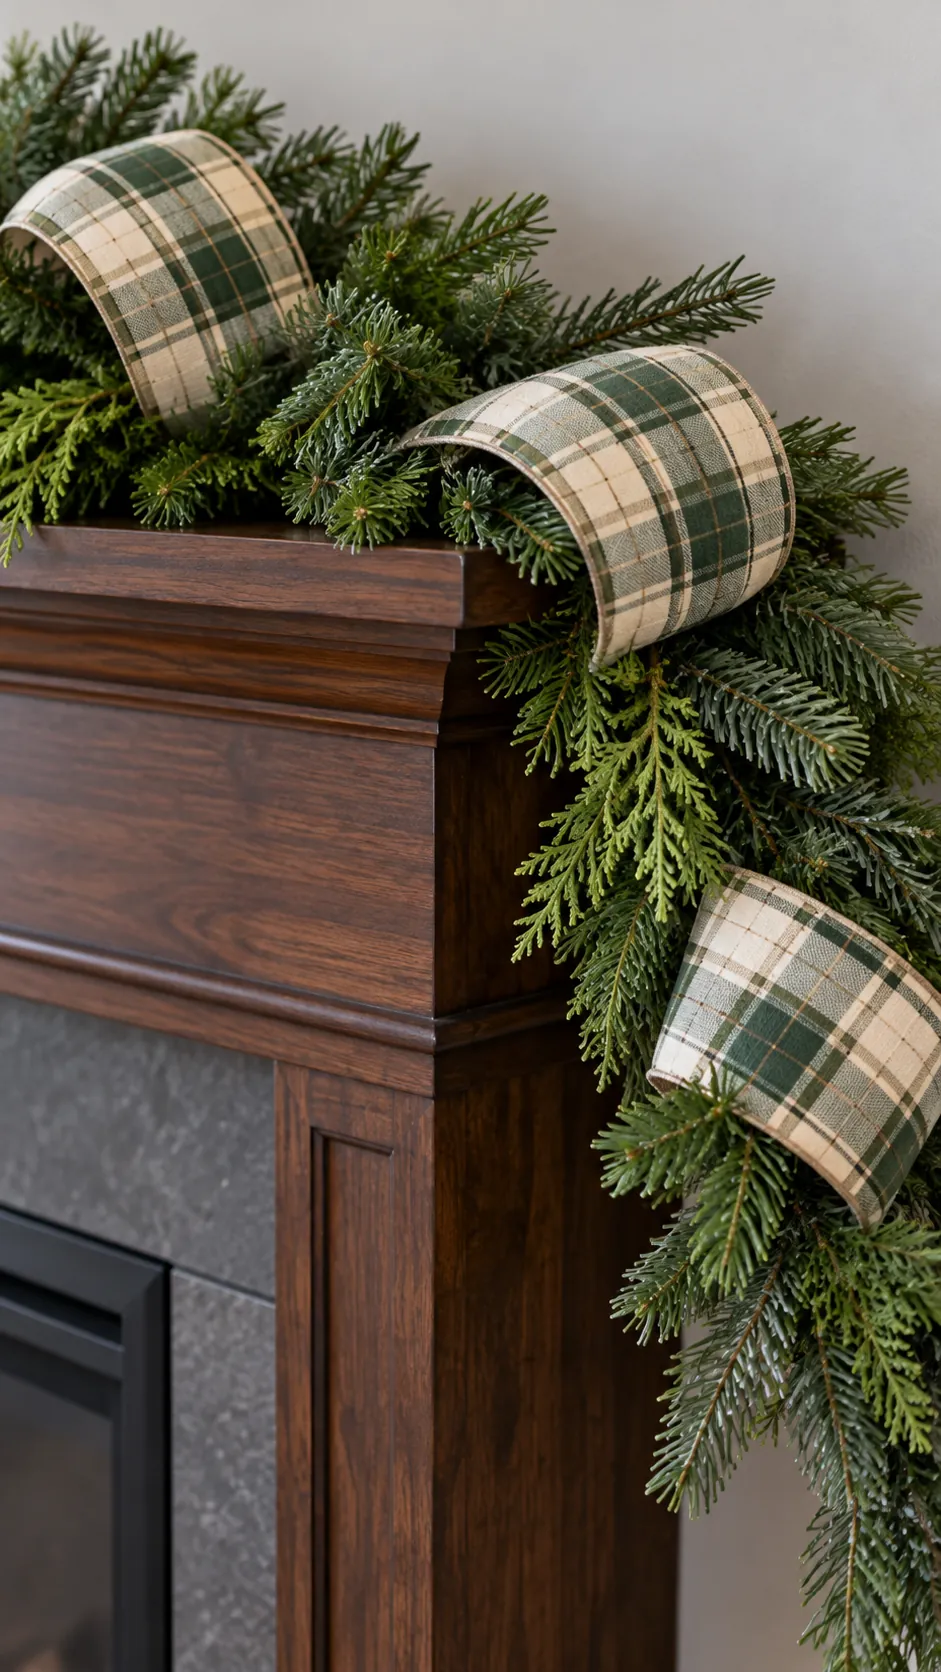
Ribbon looks best when it moves through greenery instead of covering it. A few loose folds can make a thin strand feel more deliberate, while too many tight wraps can flatten even a full garland. Choose the fabric for the shape you want, then test one repeat before cutting the rest.
Choose ribbon by how you want it to fall
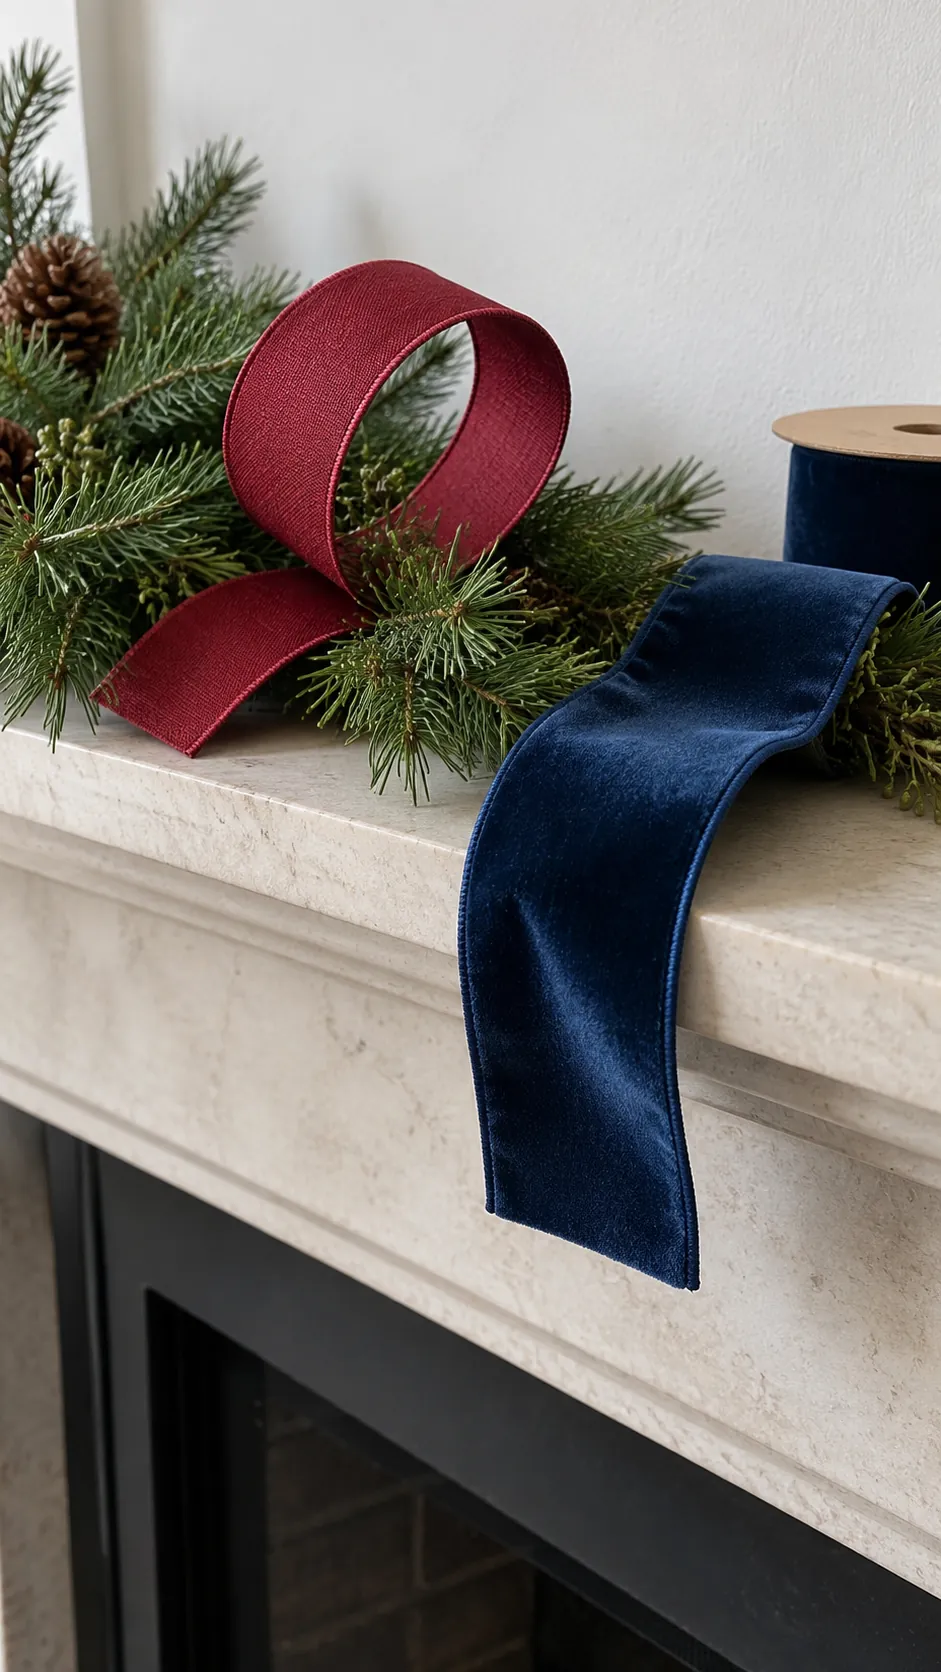
Wired ribbon is useful when you want rounded loops that hold their shape. Soft velvet, cotton, and unwired ribbon suit loose knots, small bows, or tails that fall under their own weight. Neither is automatically better; the useful choice depends on the outline you want. Test a short section against your actual greenery before buying a whole roll.
Consider visibility as well as color. A sheer ribbon can disappear against dark foliage, while a broad opaque ribbon can hide too much of a narrow strand. Hold the sample where the garland will sit and look from across the room. For vintage Christmas decor ideas, a restrained plaid or velvet can provide character without adding several competing patterns.
Plan a repeating rhythm before you cut
Put the garland in its final supported shape before deciding where ribbon will go. Choose a few visible anchor points along the front, allowing foliage to remain between them. The spacing can follow the strand’s bends rather than matching a rigid ruler interval. Try one complete loop or bow first, measure the ribbon it uses, and multiply that amount by your planned repeats. Add a little allowance for fastening and trimming, but keep the roll uncut until the sample works. This gives a more useful estimate than a universal ribbon length that ignores bow size and garland fullness.
Tuck loose loops into the greenery
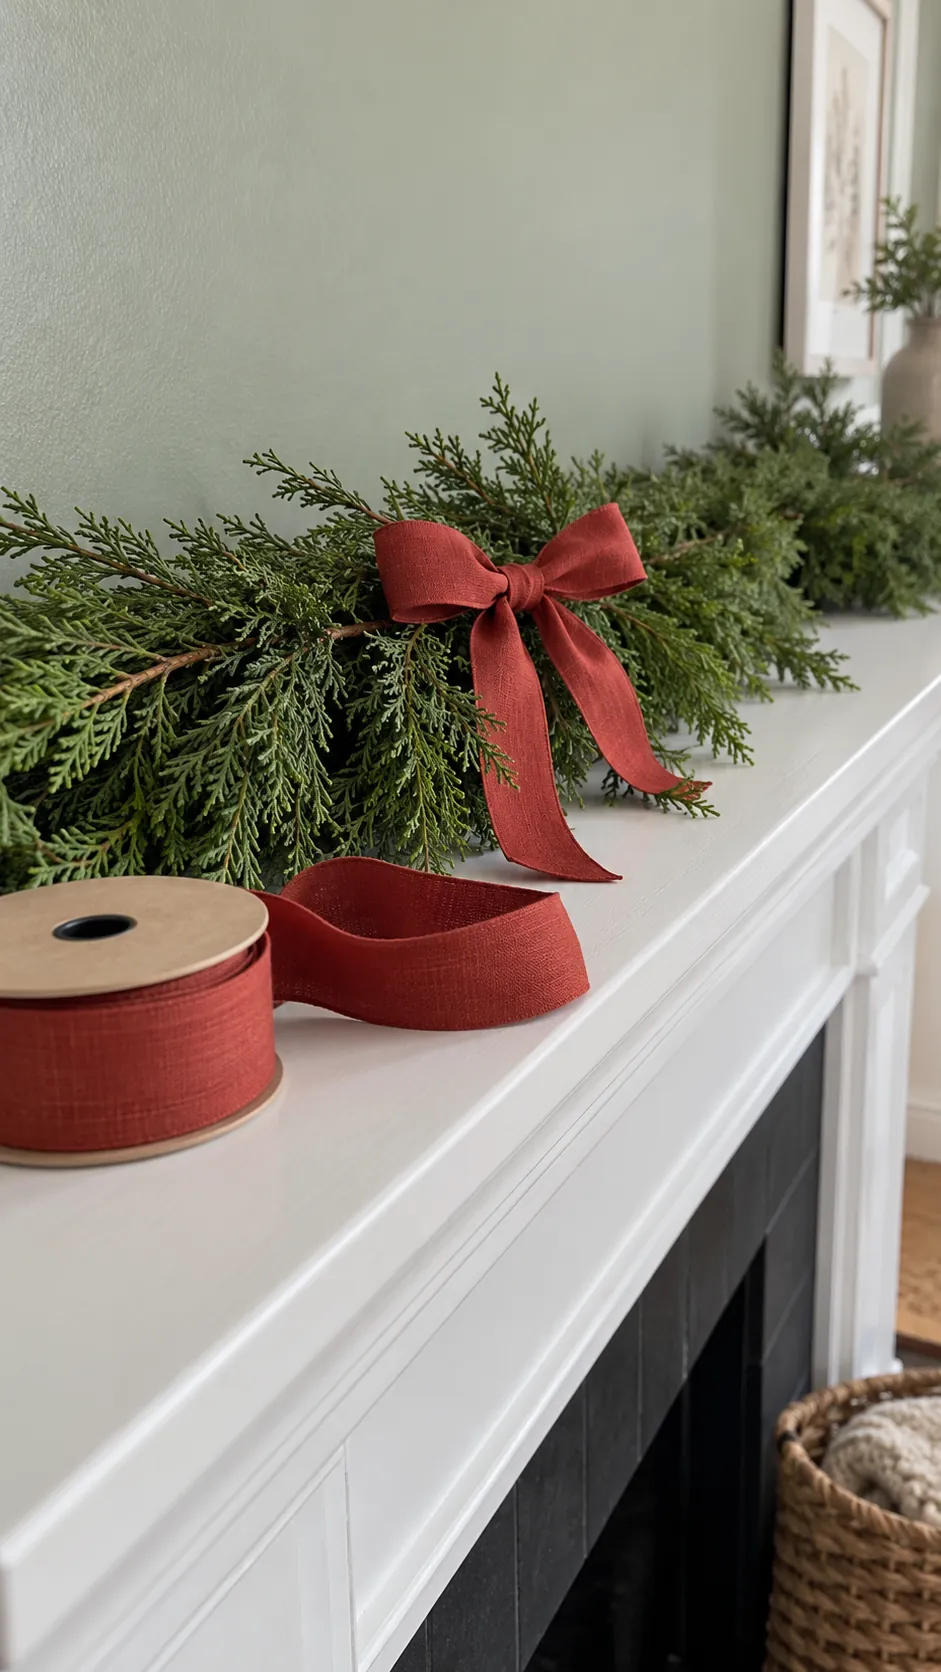
For a flowing line, pinch the ribbon across its width and tie that pinch to the garland’s structural spine with a short suitable tie. Let the next length rise into a soft loop, then pinch and secure the following point. Keep the patterned or finished face outward, adding a small hidden twist at a pinch if the ribbon needs it. Work one section at a time so you can adjust the height before continuing.
Leave the loop rounded rather than pulling the fabric tight around the strand. Greenery should emerge between the visible ribbon pockets, which prevents the display from looking wrapped in a bandage. Short separate lengths can be easier to place than one long continuous piece, especially on a dense garland. Tuck their ends deeply enough to conceal them while keeping all wire ends away from the mantel finish.
Make a simple bow with a secured center
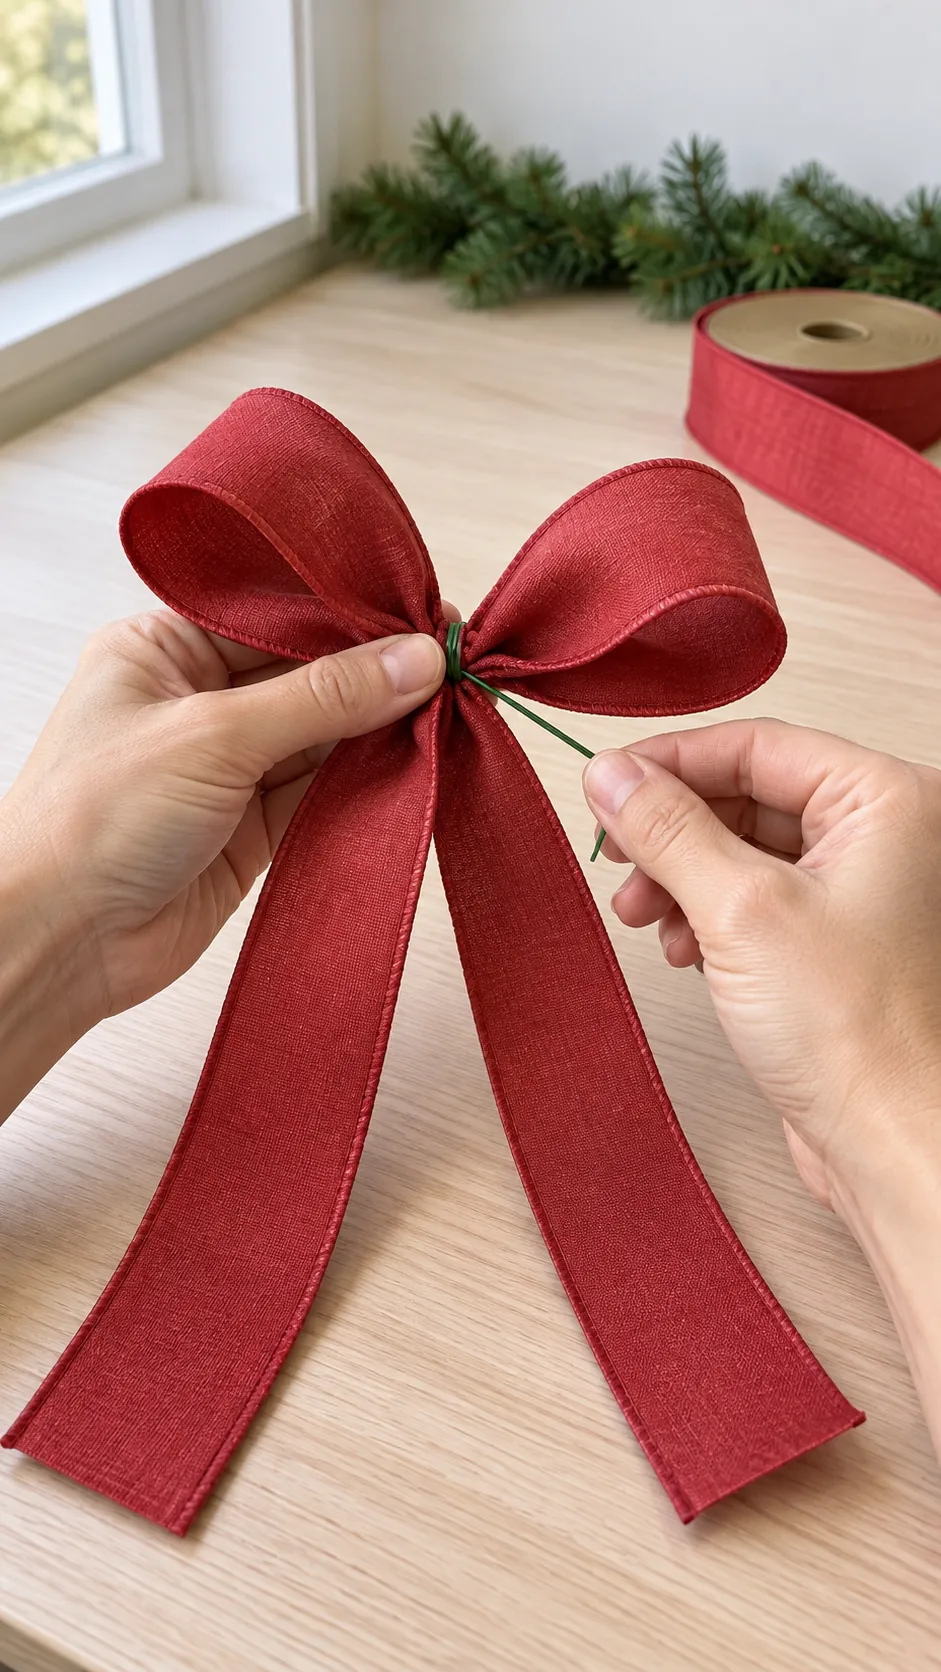
A bow can be made from folded loops without tying a complicated knot. Leave one tail, fold a loop back toward the center, and pinch that center firmly. Fold a second loop on the opposite side, then compare the two before securing them. For ribbon with a single finished face, twist only at the hidden center as needed to keep that face visible.
Wrap a short suitable floral tie around the pinched center and tighten it enough to hold the folds without cutting into the fabric. Add a separate folded length for two tails if that is easier than forming everything from one piece. Cover the tie with a small matching strip, fastened neatly at the back. Attach the finished bow to the garland’s main structure, then open and reshape the loops with your fingers.
Start with two loops before attempting a larger layered bow. One well formed bow can be more useful than a cluster of small uneven ones. If the center becomes bulky, remove a layer instead of tightening it until the fabric distorts. Keep sharp wire ends folded inward and inaccessible.
Use color and tails to guide the eye
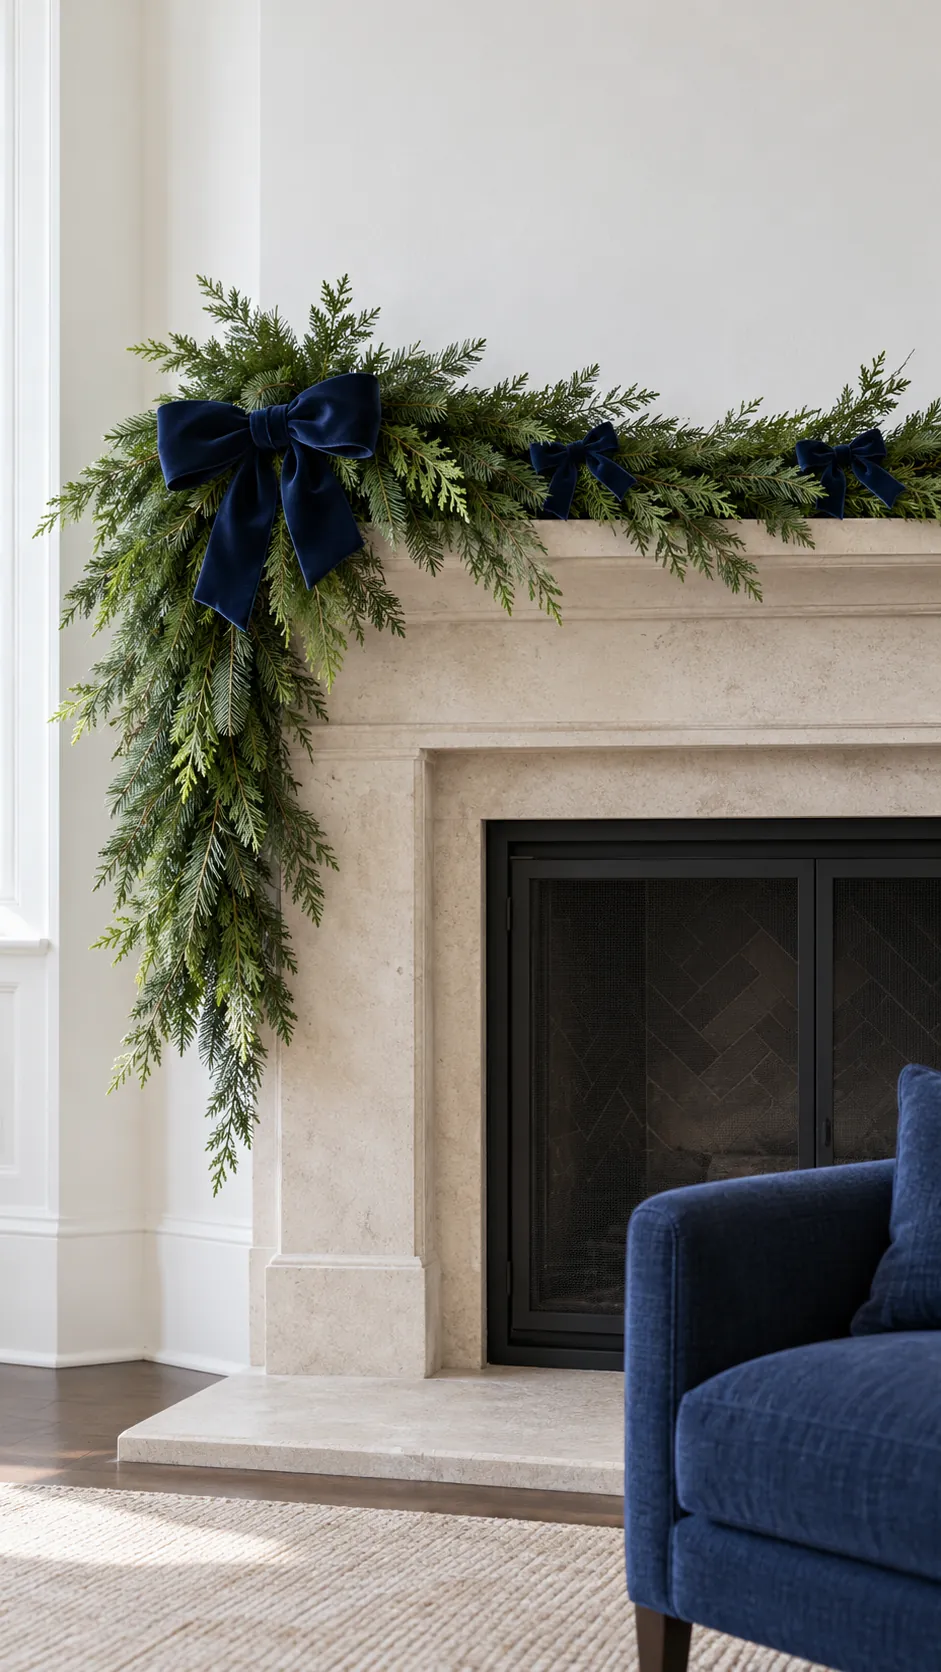
Repeat one ribbon color already used elsewhere in the room, such as on the tree or in nearby textiles. A plain color works especially well when the greenery includes berries or ornaments; a patterned ribbon needs a quieter background to stay legible. On an asymmetrical garland, place the strongest bow near the fuller corner and let shorter accents carry the color across the top. Trim tails only after checking them in place, keeping their length clear of the fire opening, controls, and walking routes. Ribbon and greenery are combustible, so use draped arrangements only with the fireplace out of use and follow the appliance manufacturer’s clearances before any operation.
Correct flat loops and store the ribbon gently
If a wired loop looks flat, open it from inside with your fingers instead of tugging its outer edge. If unwired ribbon keeps collapsing, use its softer drape as part of the design or switch that spot to a knot. Turn exposed backing inward at a concealed pinch, and remove a repeat when the greenery starts to disappear. These small corrections usually help more than adding another ribbon pattern.
Photograph the finished spacing for your own reference before taking it down. Release ties carefully, separate ribbon from damp fresh greenery, and let everything dry before storage. Roll loose lengths without crushing their wired edges, and support formed bows loosely in a box. Next season, reshape the loops before attaching them so you can reuse the parts that still look good.