

A Christmas village mantel works best when the buildings form one readable scene and every light cord remains accessible. Measure the usable depth, place large houses first, and leave open space around rooflines. Keep every object clear of fireplace heat, vents, television sensors, and the mantel edge.
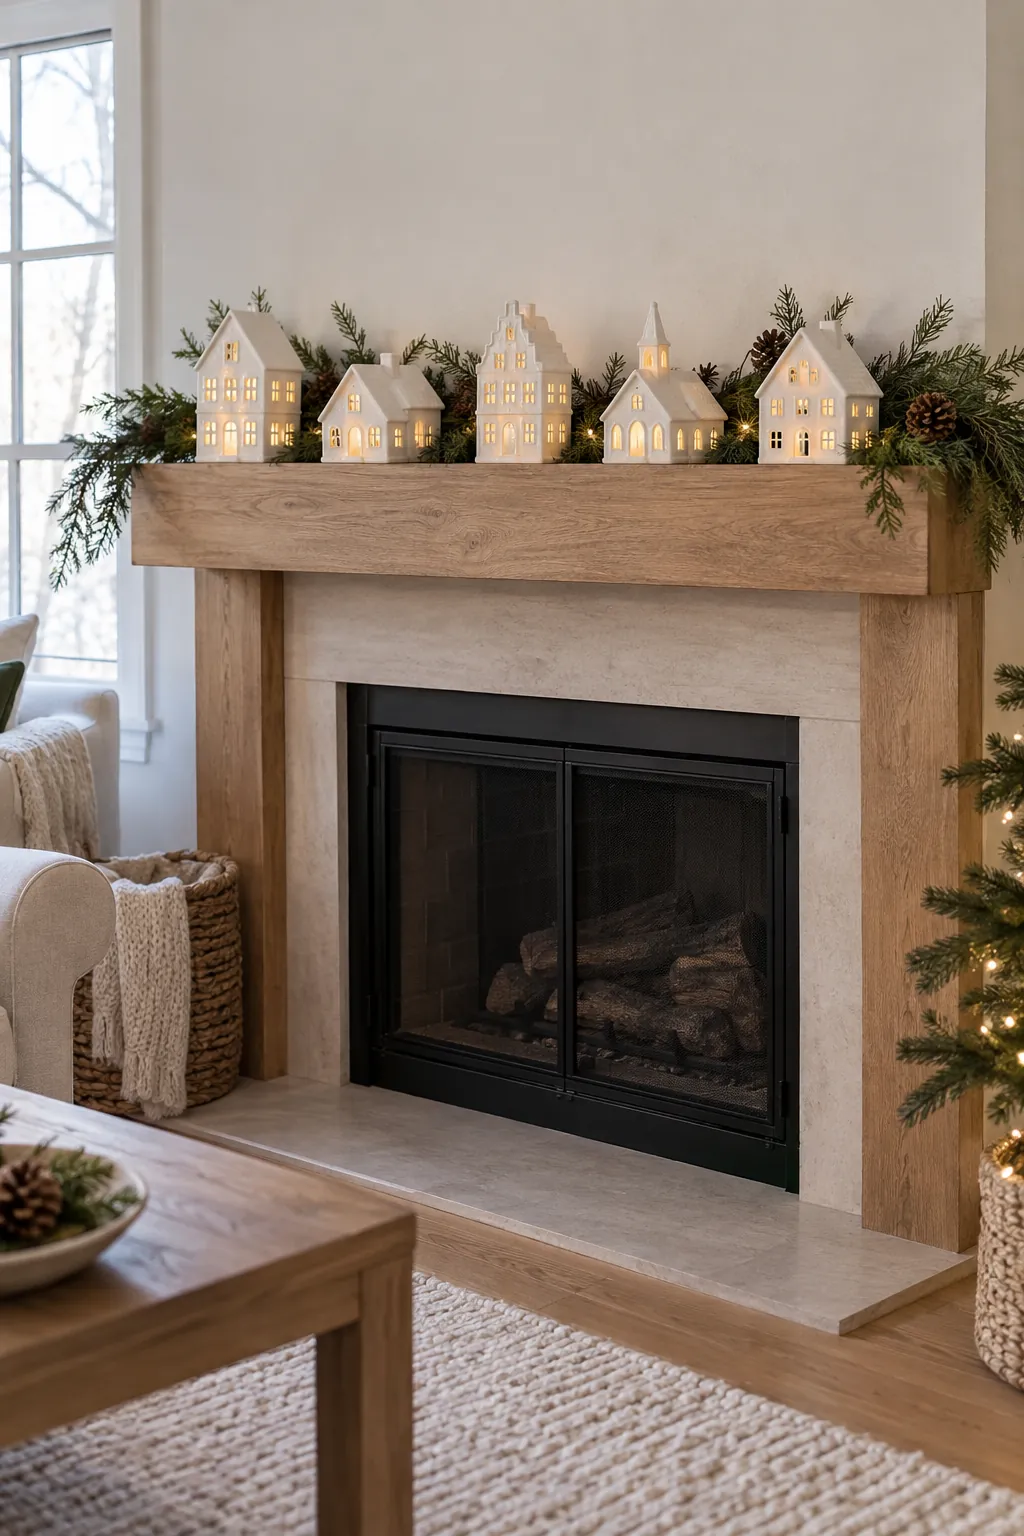
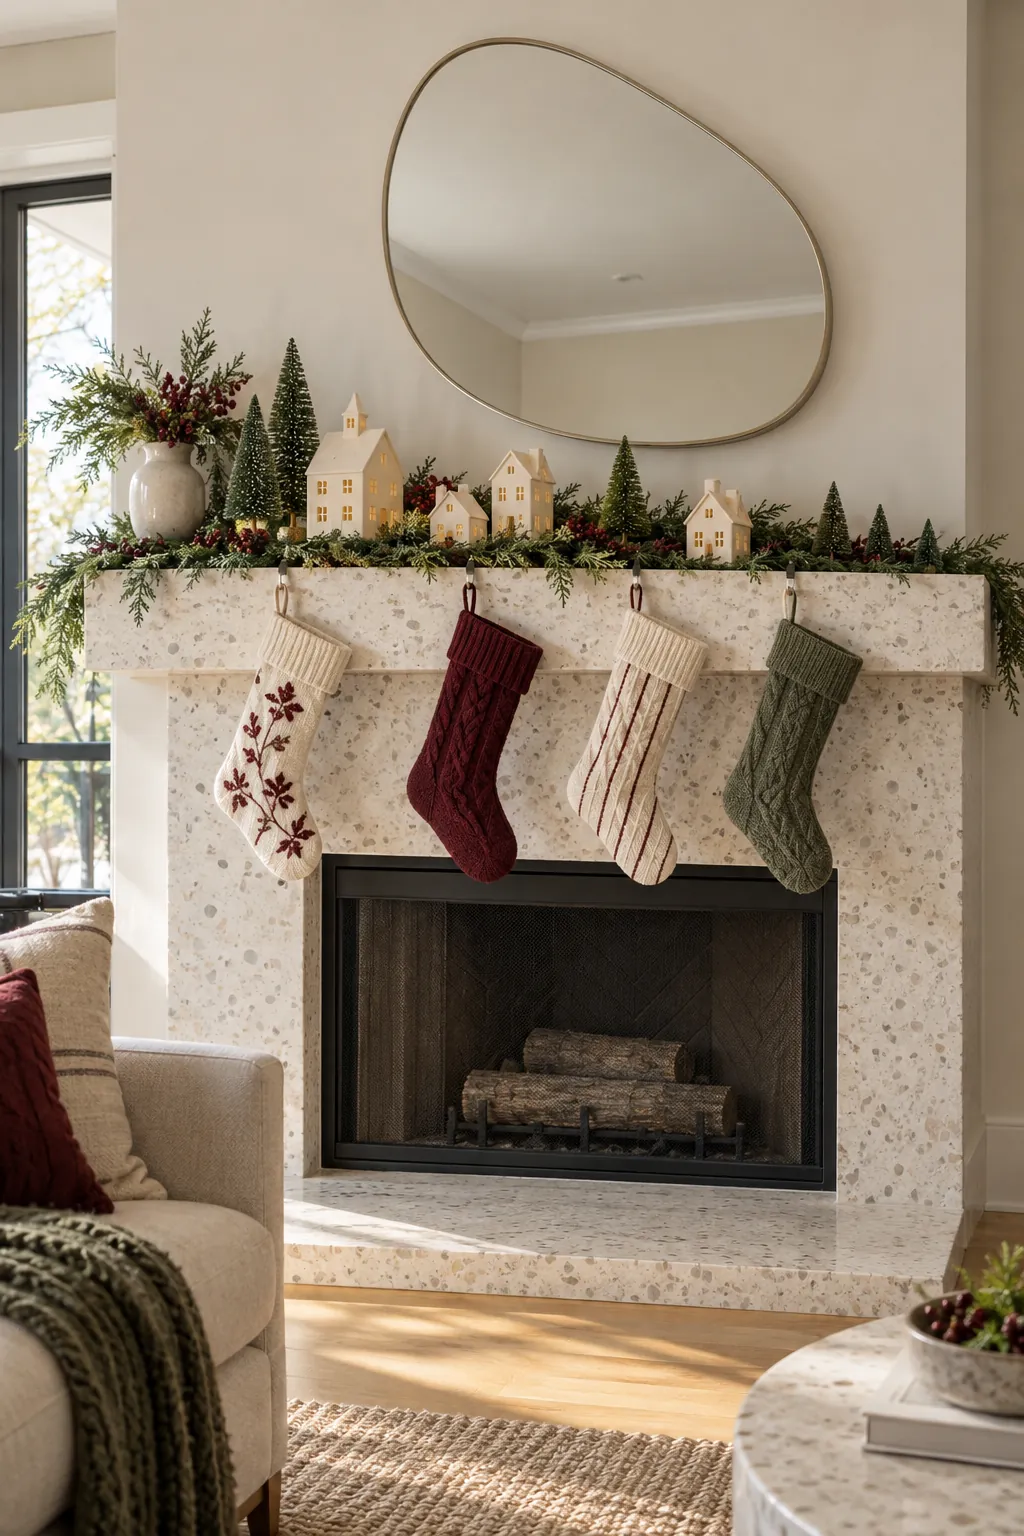
White Ceramic Village Row
Arrange white ceramic houses in a loose row with the tallest building just off center. Leave narrow gaps so every roofline remains distinct and hide battery packs behind the buildings. The shared glaze gives mixed house shapes a calm, collected look.
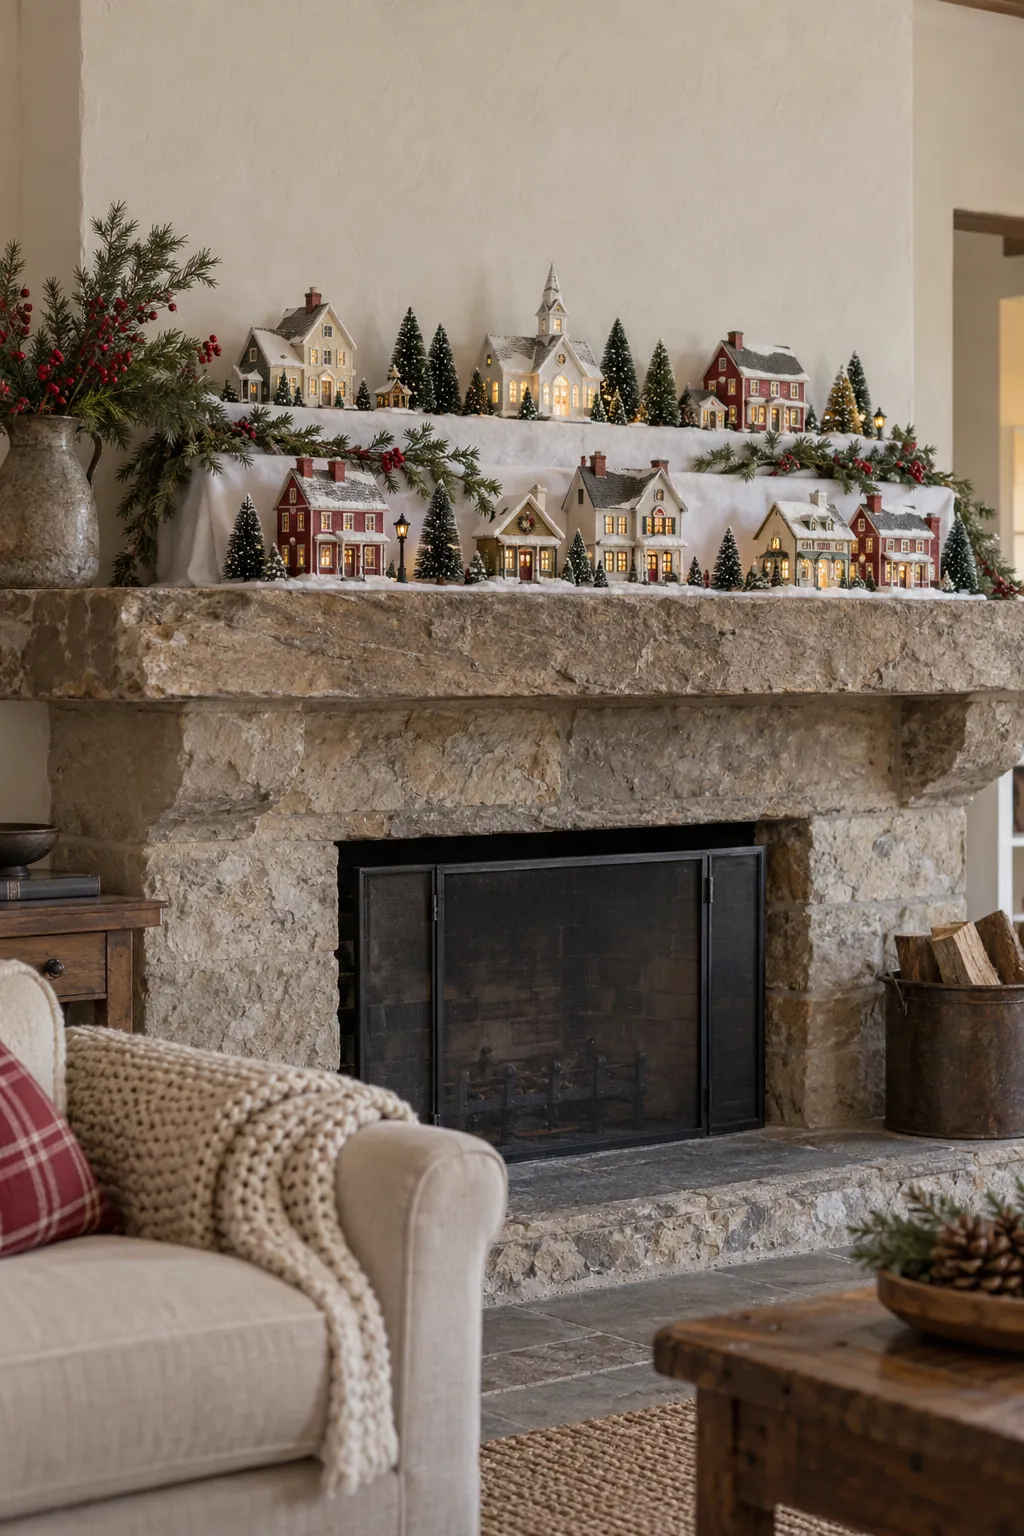
Tiered Snowy Hill Village
Build two low tiers from sturdy covered risers and place larger houses on the back level. Drape a thin white felt layer over each platform without hiding the stable edges. A stepped layout makes a shallow mantel feel deeper while keeping every piece supported.
Village Around a Round Mirror
Divide the village into two clusters around an existing round mirror. Keep the center open so reflected light separates the groups, then repeat one small tree on each side. Control the mirror reflection before placing the houses so cords and room clutter stay out of view.

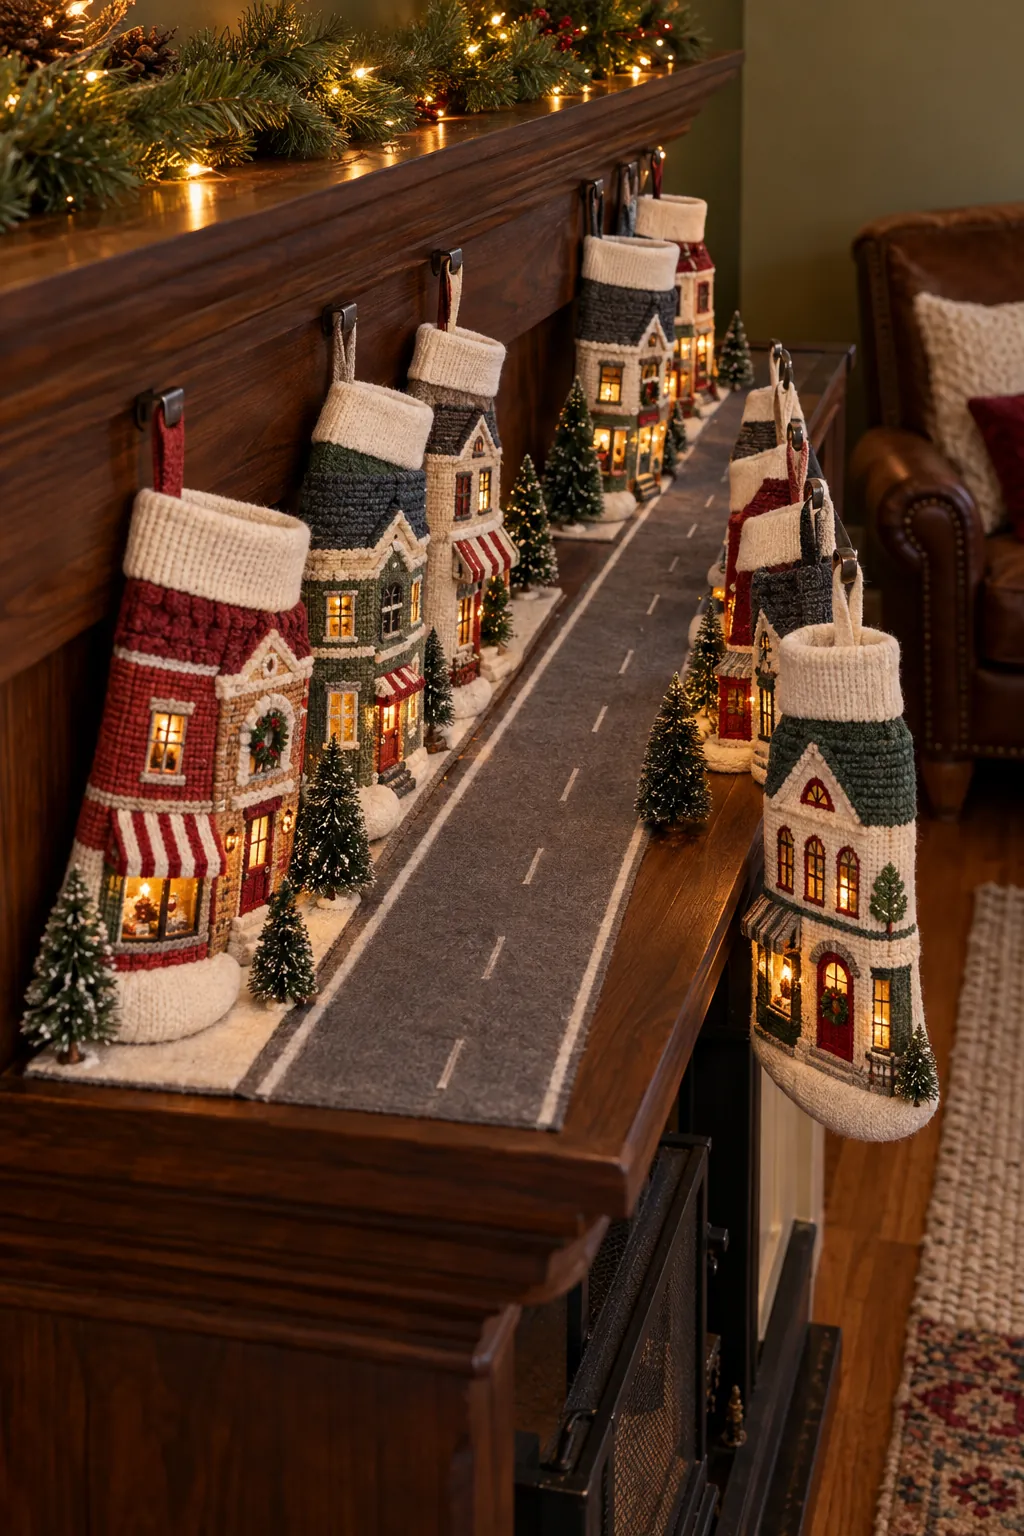
Tiny Main Street Scene
Create a main street by facing two short rows of buildings toward a narrow central lane. Use a strip of matte gray paper for the road and place only a few figures near doorways. Keep the perspective simple so the tiny scene reads from normal room distance.
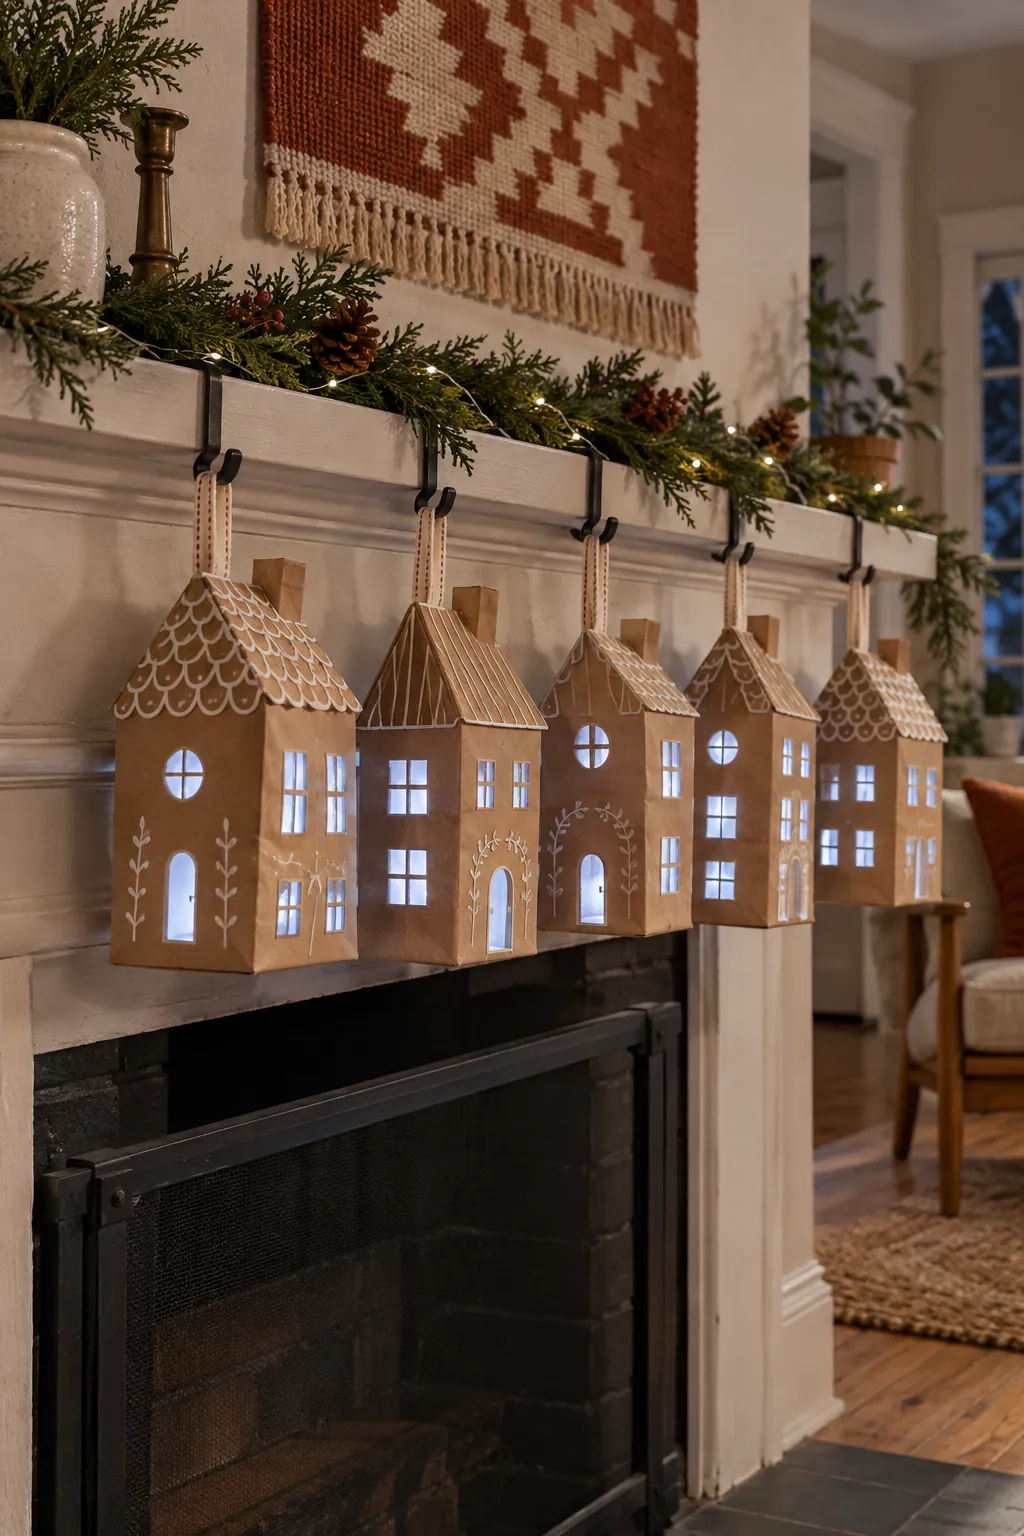
Handmade Kraft Paper Houses
Cut simple house silhouettes from heavy kraft card, score clean folds, and leave rooflines deliberately varied. Set cool battery lights behind the windows rather than inside tightly folded paper. The lightweight houses make an easy Christmas village display that stores flat after the season.
Bottlebrush Forest Village
Place a dense group of bottlebrush trees behind three widely spaced houses instead of filling every gap with buildings. Mix tree heights and keep the tallest trees near the back. The forest gives a small collection presence without requiring more fragile village pieces.

Blue and Silver Winter Village
Group cool blue houses with silver trees and leave broad areas of the mantel visible. Use a charcoal runner beneath the pieces to ground the pale colors. Neutral white lighting keeps the blue surfaces clear instead of turning them purple.
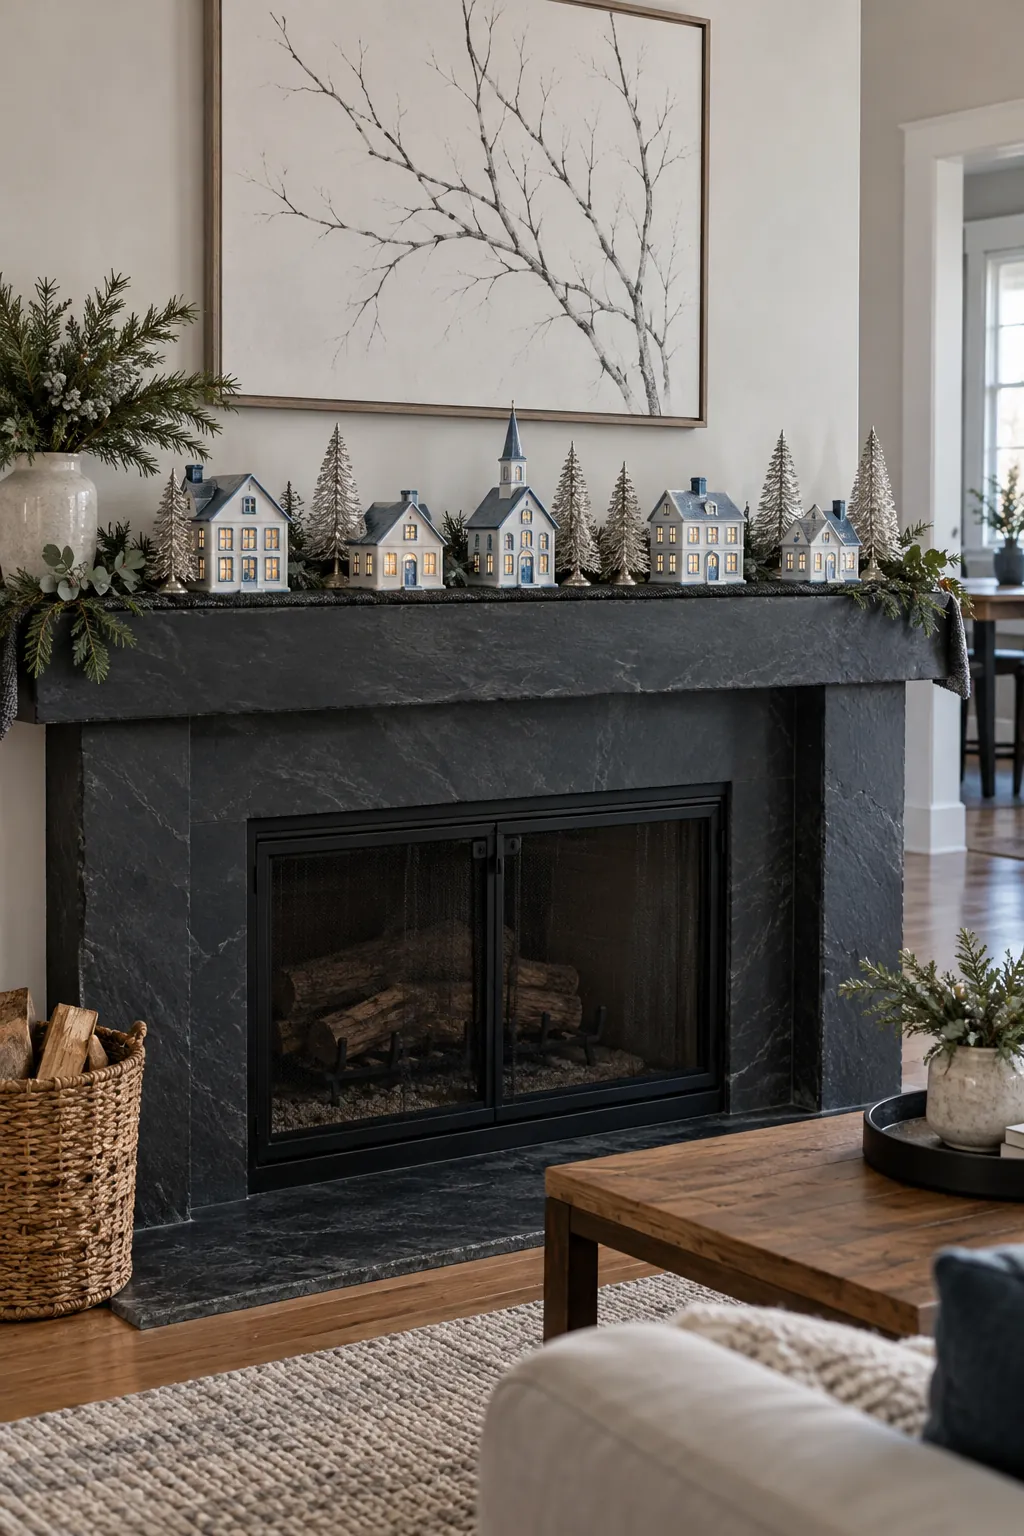
Village with a Stone Bridge
Place a low model bridge between two house groups to connect the complete scene. Let a narrow blue-gray paper stream pass beneath it and stop well before the mantel edge. The bridge should remain secondary to the buildings and sit flat without rocking.
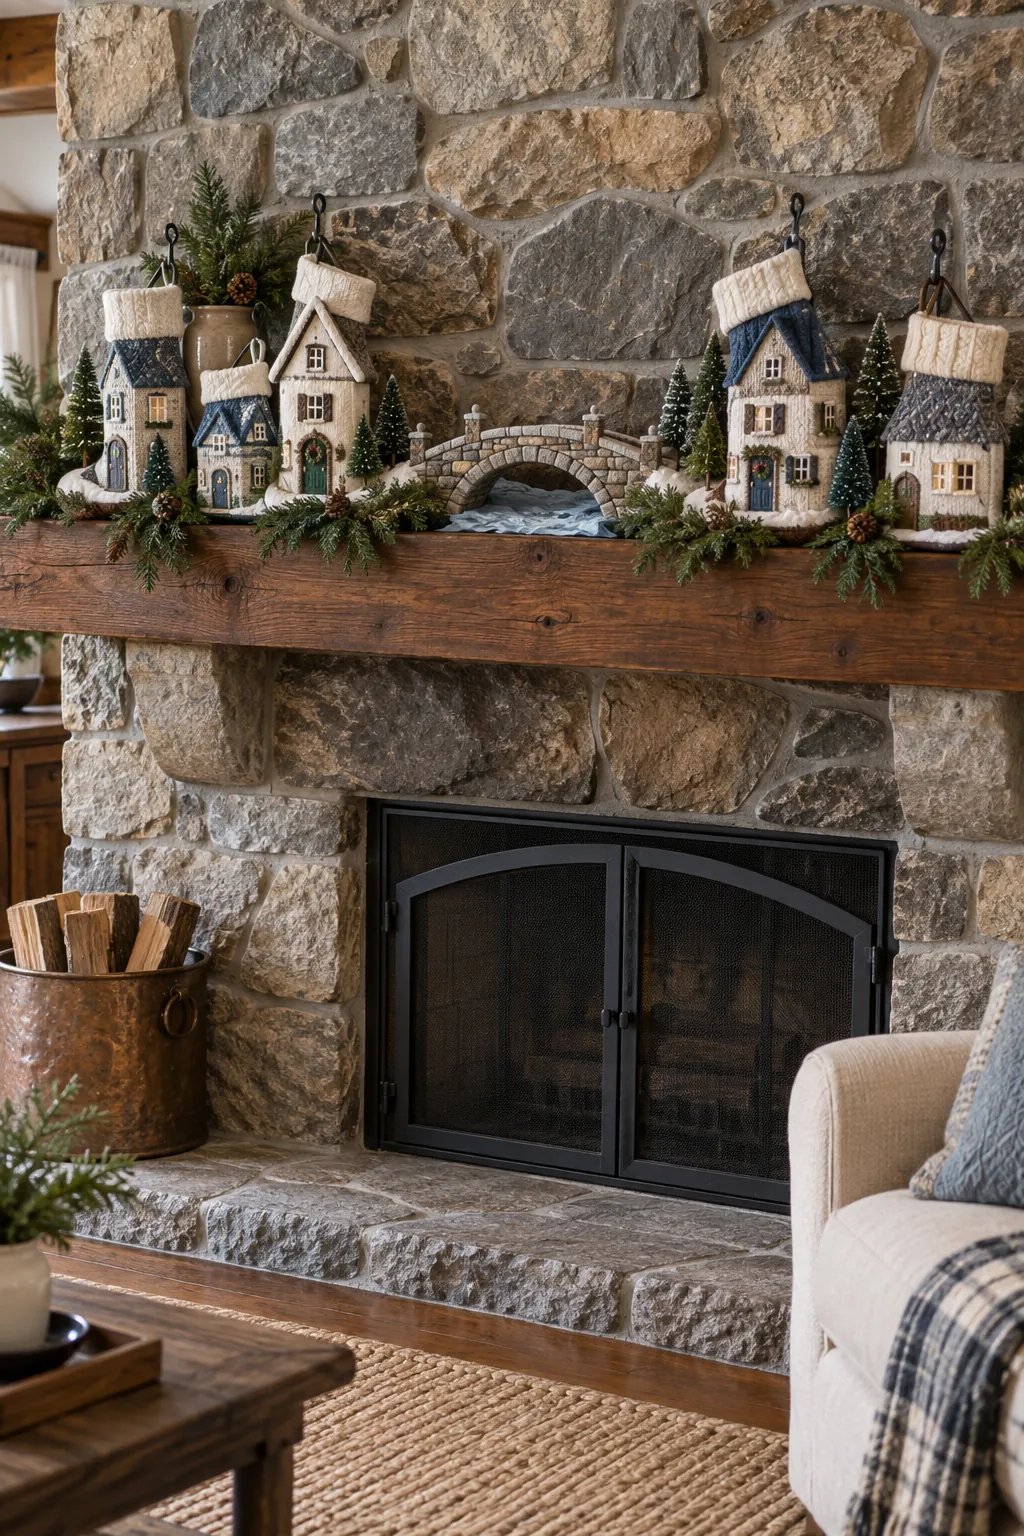
Choir at the Village Church
Make one church the tallest point, then arrange a small choir in a shallow arc before it. Keep figures in one group so they do not look scattered among the houses. A pair of trees behind the church frames the roof without hiding its doorway.

Market Square Village
Set four shopfronts around an open square rather than in a straight line. Place one market cart and two figures inside the open area, leaving clear paths between them. This compact plan works well on a square mantel return or broad console top.
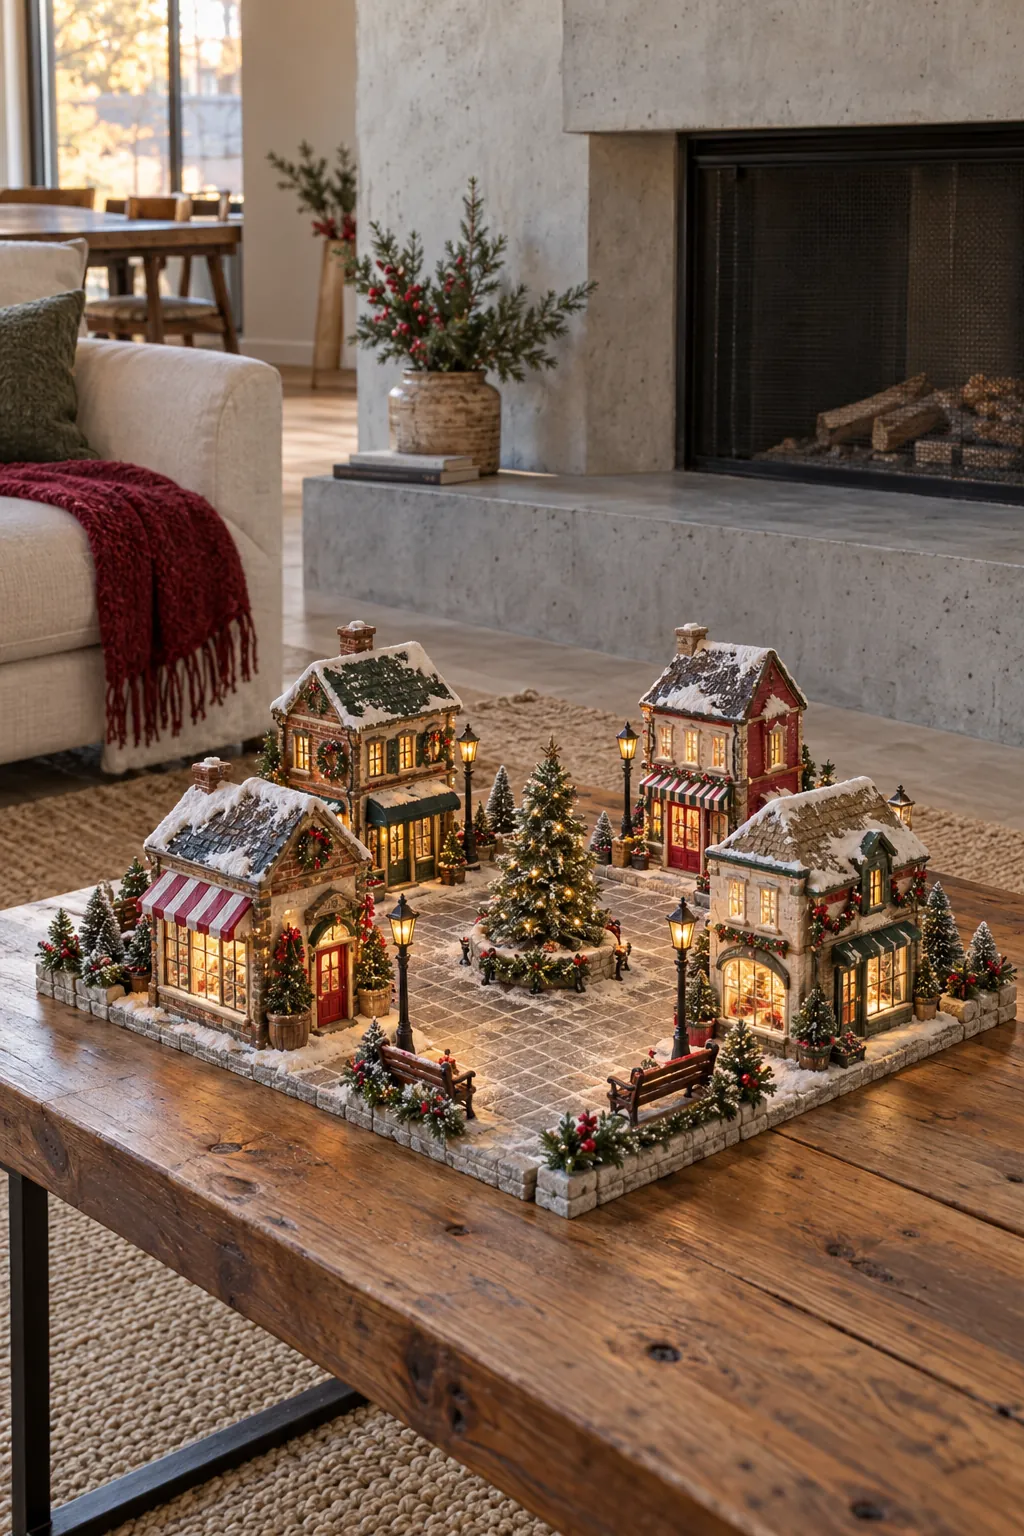
Train Passing the Village
Run a small battery train on a short track below the mantel village rather than crowding the houses. Confirm that the track is level, the train clears baskets and cords, and the route remains inaccessible to pets. Keep the buildings above visually simple so the motion remains the feature.

Village Beneath Glass Cloches
Protect two especially delicate houses under separate glass cloches and leave the other pieces uncovered. Choose bases wide enough for each roof and avoid trapping cords beneath the rims. The clear domes add height and make treasured pieces feel intentional within a mixed collection.

Mini Village in Lanterns
Place one tiny house and one tree inside each oversized decorative lantern, then line up three lanterns across the mantel. Remove candle cups and use only cool battery lights. Keep the lantern doors accessible so the scenes can be adjusted without lifting the complete display.
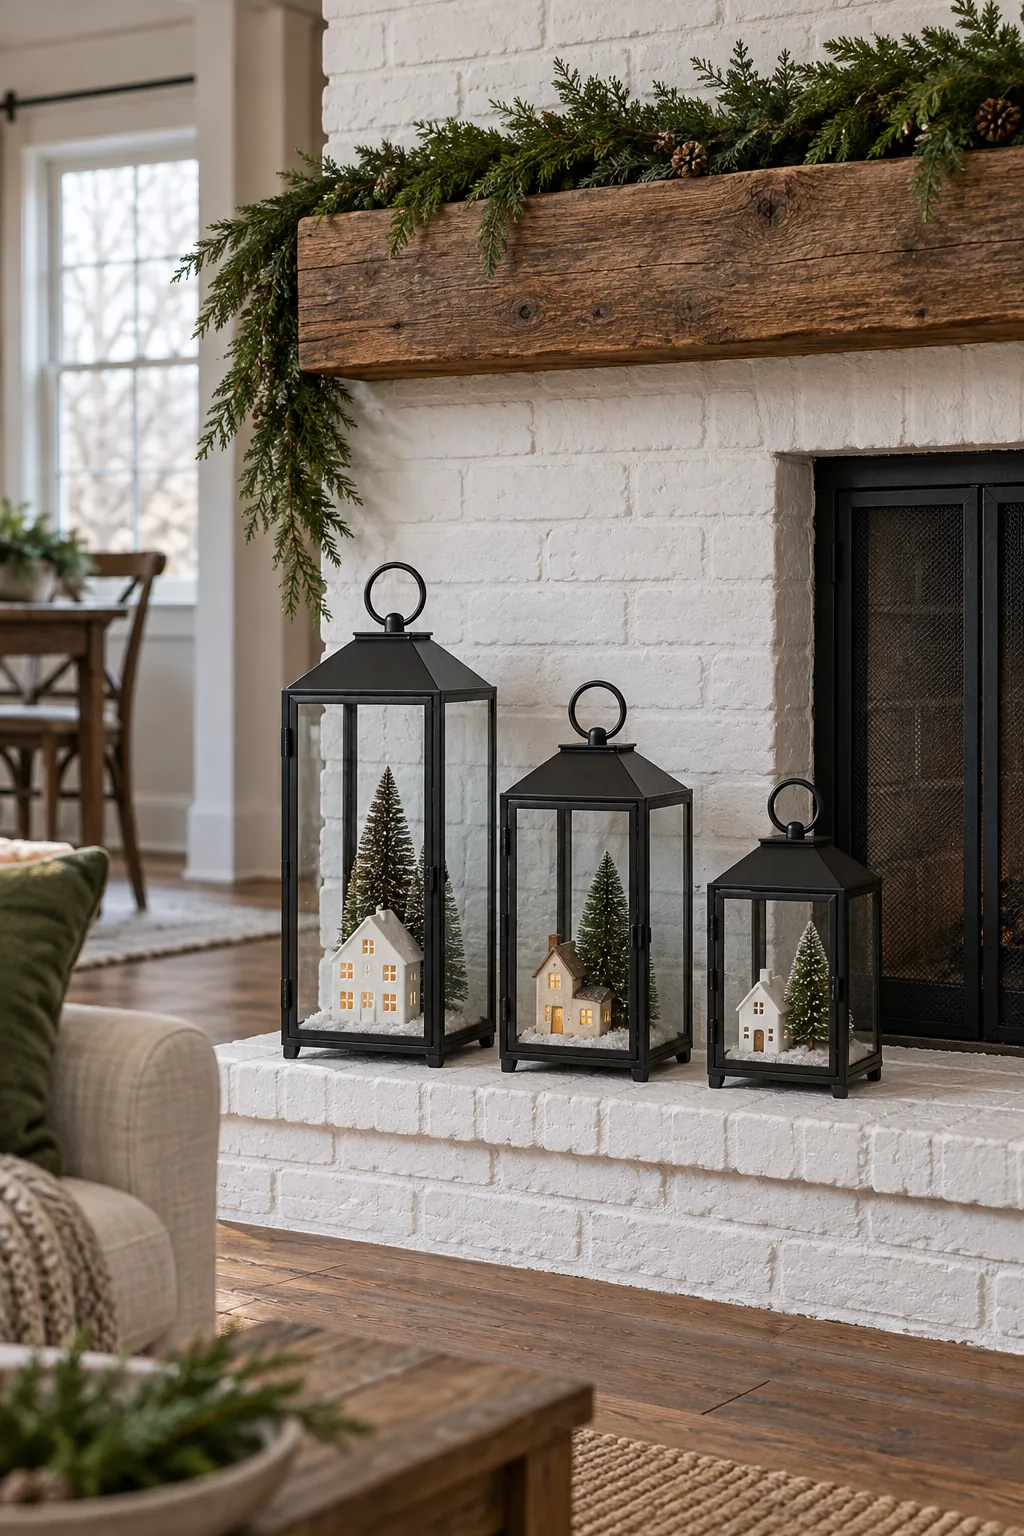
Village on Reclaimed Wood Risers
Cut reclaimed boards into three broad platforms and sand every exposed edge. Stagger the platforms rather than stacking them directly, then place one or two houses on each level. Visible wood grain gives a white village warmth while the broad bases prevent narrow pieces from tipping.

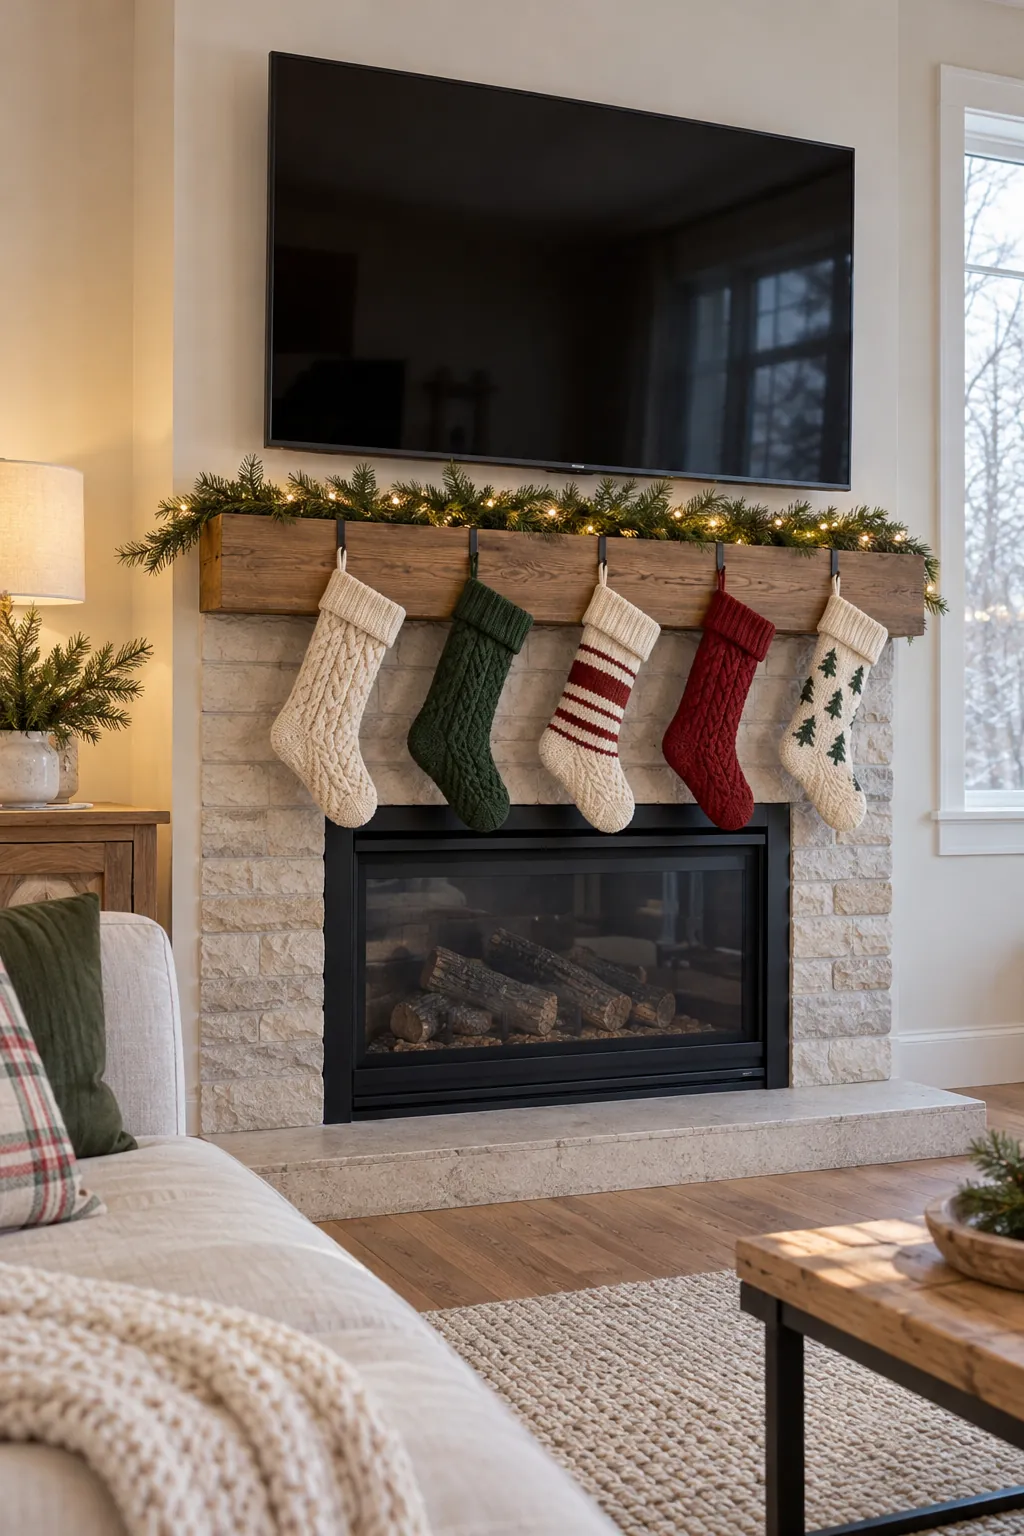
Mantel Village with a Television
Keep the buildings below the television’s lower edge and leave its sensor, vents, and cables clear. Use low houses at the center and slightly taller ones near the mantel ends. Turn off decorative lights if their reflections distract from the screen.
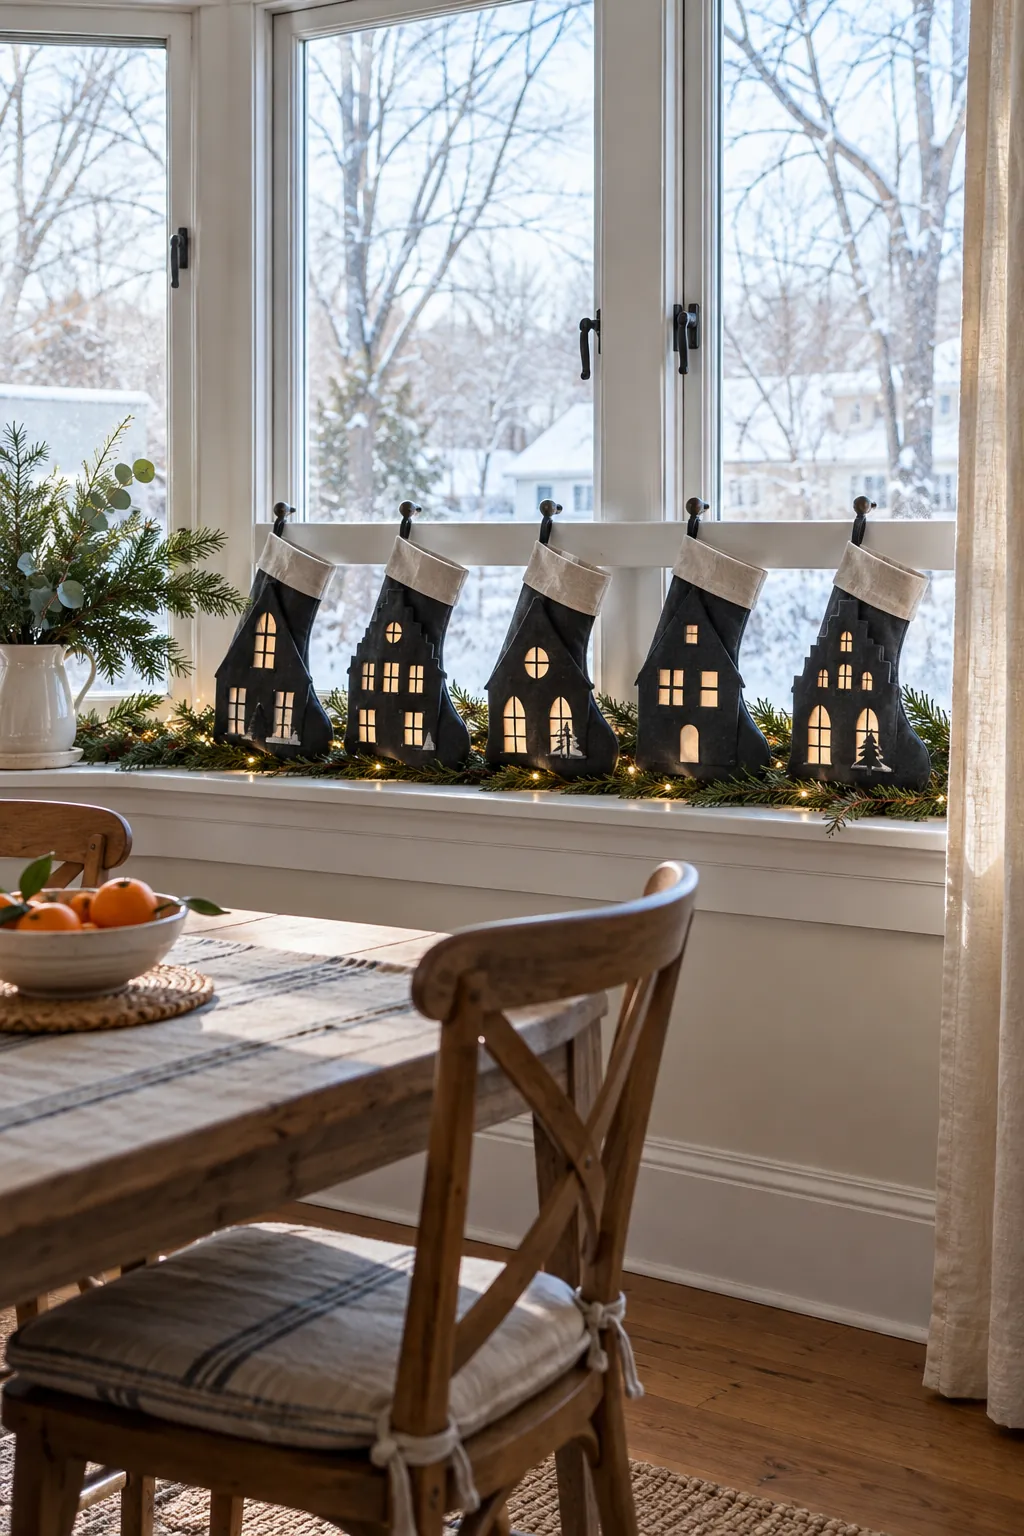
Window-Lit Village Silhouettes
Place simple dark house silhouettes in front of a bright window, keeping them below the latch and blind controls. Add translucent vellum behind the windows so daylight defines each cutout. This display needs no cords and works best where the sill is deep and stable.
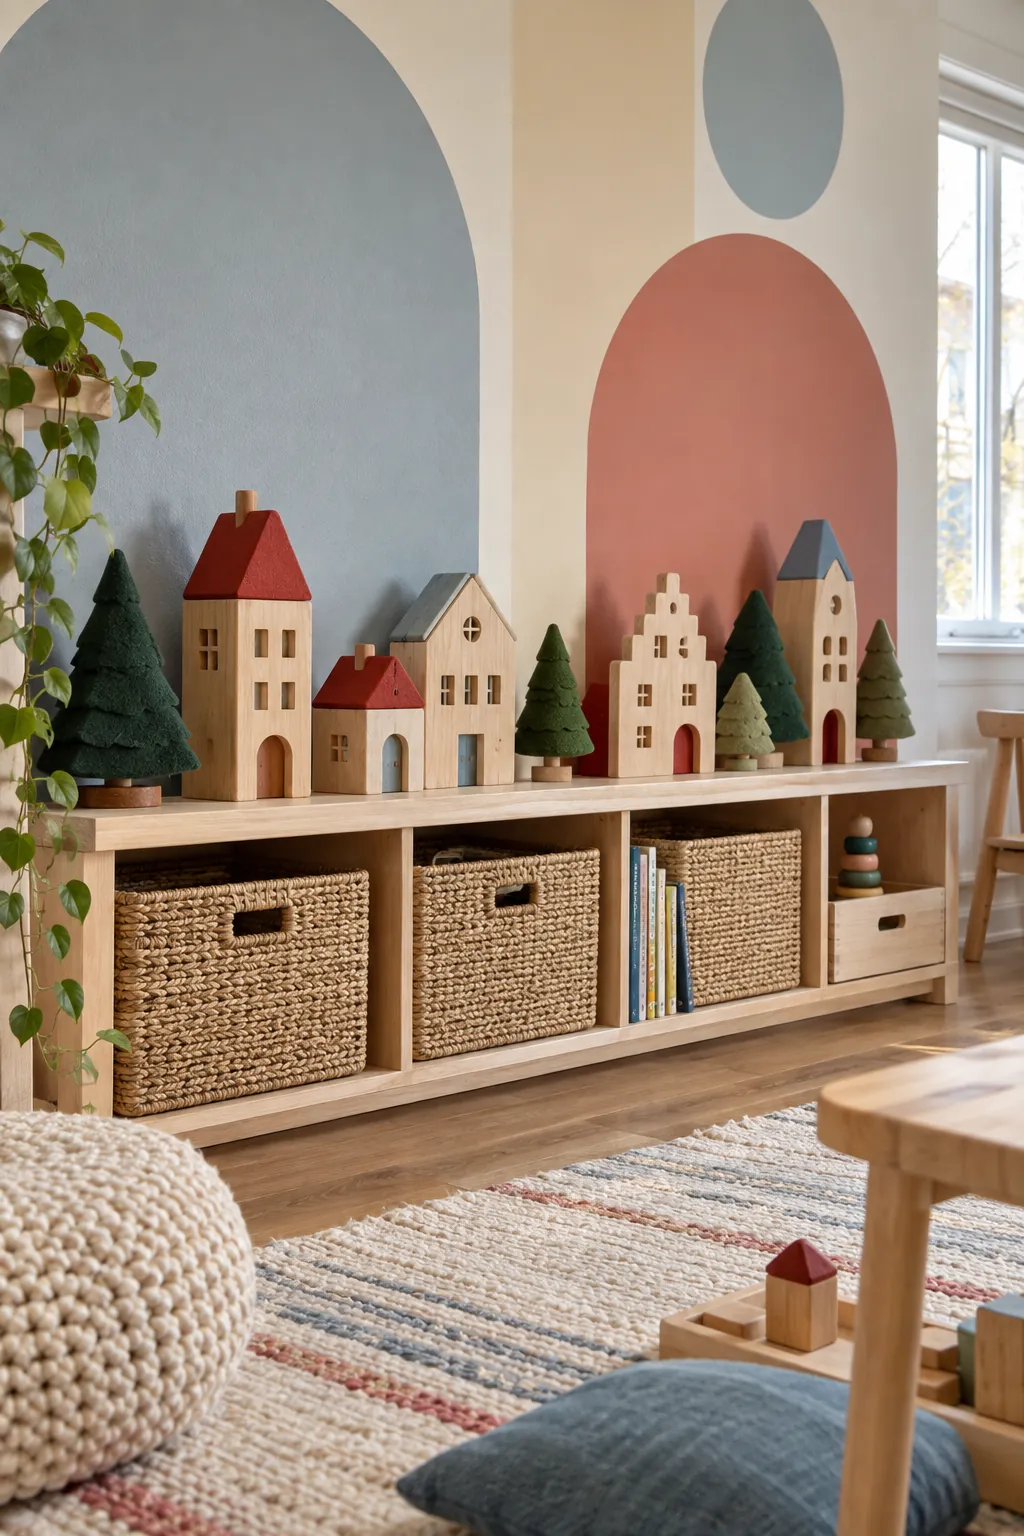
Children’s Wooden Block Village
Build a durable village from large unfinished wood blocks and simple roof shapes. Keep pieces too large to become choking hazards, sand corners smooth, and place the display on a low console away from the working fireplace. Children can rearrange the scene without handling fragile collectibles.
Village with Hidden Cord Channel
Run approved light cords through a removable channel behind the houses, with one accessible power point at the mantel end. Do not daisy-chain unknown adapters or trap connectors under fabric snow. Label each cord during setup and confirm the combined electrical load against the product instructions.

Asymmetric Corner Village
Concentrate the village at one mantel corner and taper the scene into low trees across the remaining width. Balance the cluster with a wreath or mirror above the open side rather than adding more houses. This plan suits a small collection and leaves working space for switches or speakers.
Village Storage-Ready Display
Build the complete scene on two shallow rigid trays that can lift away independently. Mark each house position on a hidden setup map, keep original protective packing, and store cords with their matching buildings. A modular layout makes annual setup faster and reduces handling damage.

Minimal Three-House Village
Choose three buildings with clearly different heights and place them with generous open space. Add one path, two trees, and no extra figures. The restrained arrangement suits a narrow mantel and proves that a Christmas village can feel complete without a large collection.

Photograph the finished layout and keep a simple setup map with the packed collection. Store each fragile building in fitted protection, keep its approved cord or adapter with it, and lift modular trays with two hands. These small steps make next year’s display faster and protect an inherited or growing village.