A crooked paint edge can make an otherwise careful room look unfinished. The problem is rarely the tape alone. Dust, wall texture, heavy paint, weak underlying coating, and late tape removal can each turn a straight masked line into a fuzzy one.
Let the new paint become firm before repairing it. Trying to wipe wet bleed often spreads color into the base coat and enlarges the correction. Once dry, you can restore the line with a controlled cut and a small amount of matching paint.
Map the Intended Edge
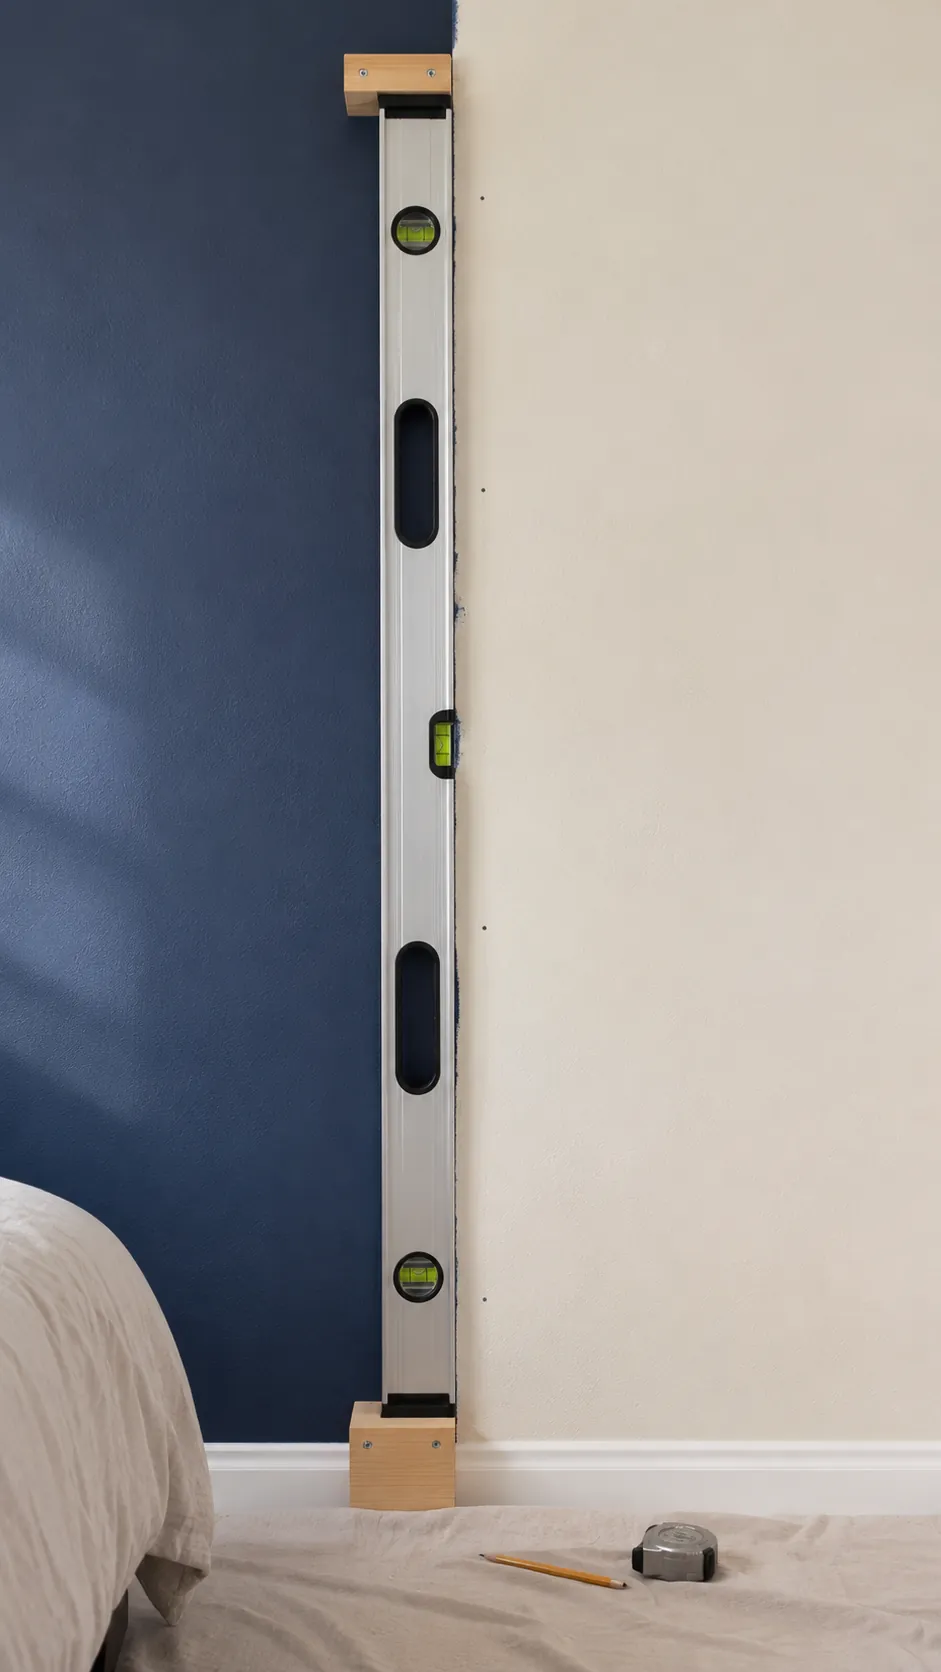
Use a straightedge, level, or the trim itself to establish where the finished line belongs. Mark only a few reference points with a removable pencil, then compare the entire edge from normal viewing distance. A small isolated seep needs spot repair, while a wandering line usually looks better when corrected as one continuous run.
Confirm that both colors are fully cured enough for tape and touchup. If the base paint lifts with gentle pressure, stop and address adhesion first. A clean line cannot remain stable on a weak coating.
Trim Raised Bleed Without Gouging the Wall
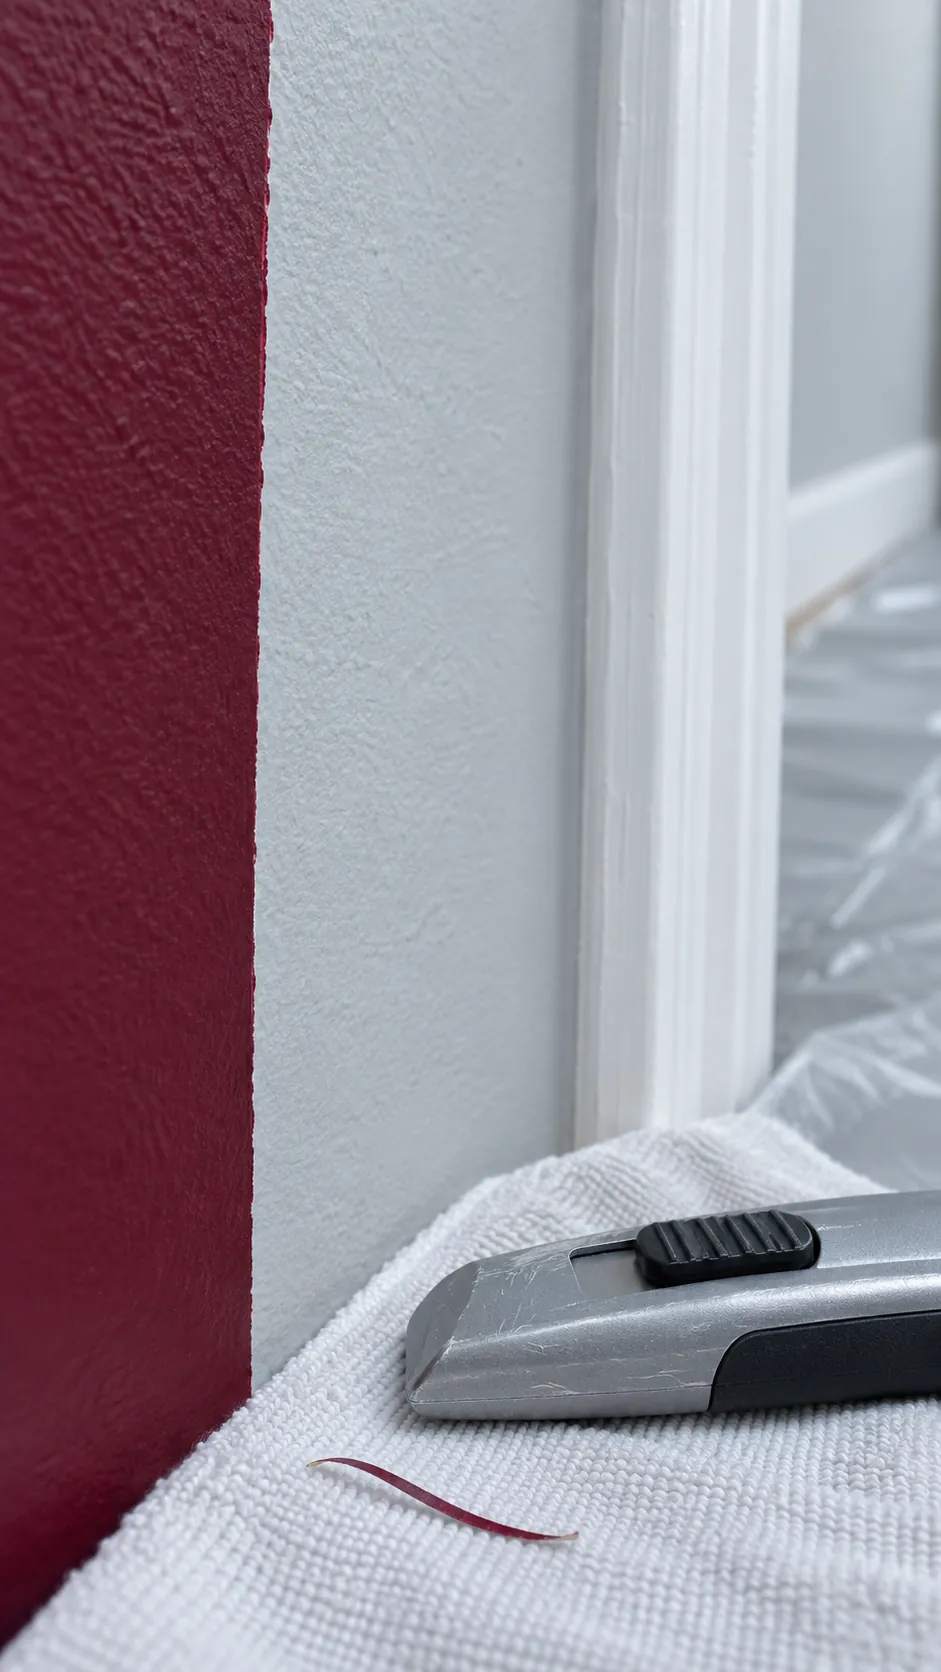
Thick dried ridges should be reduced before repainting. Hold a fresh sharp blade almost flat and score along the intended edge with light pressure, then lift only the raised excess. Do not dig into drywall paper or cut deeply through the base color.
Smooth any remaining bump with a very fine abrasive and remove all dust. If the bleed is only a thin flat stain, skip scraping and cover it with the matching base paint. The goal is a level surface, not a trench that requires filler.
Retape a Clean Dry Surface
Choose painter’s tape rated for the surface and the age of the coating. Dust the wall, apply the tape in manageable lengths, and press the paint side of the edge with a clean putty knife or firm card. Stretching tape around corners makes it creep back and opens channels for paint.
On textured walls, tape touches only the high points. Pressing harder cannot fill every valley and may damage the paint below. That surface needs an edge sealing step before the new color goes on.
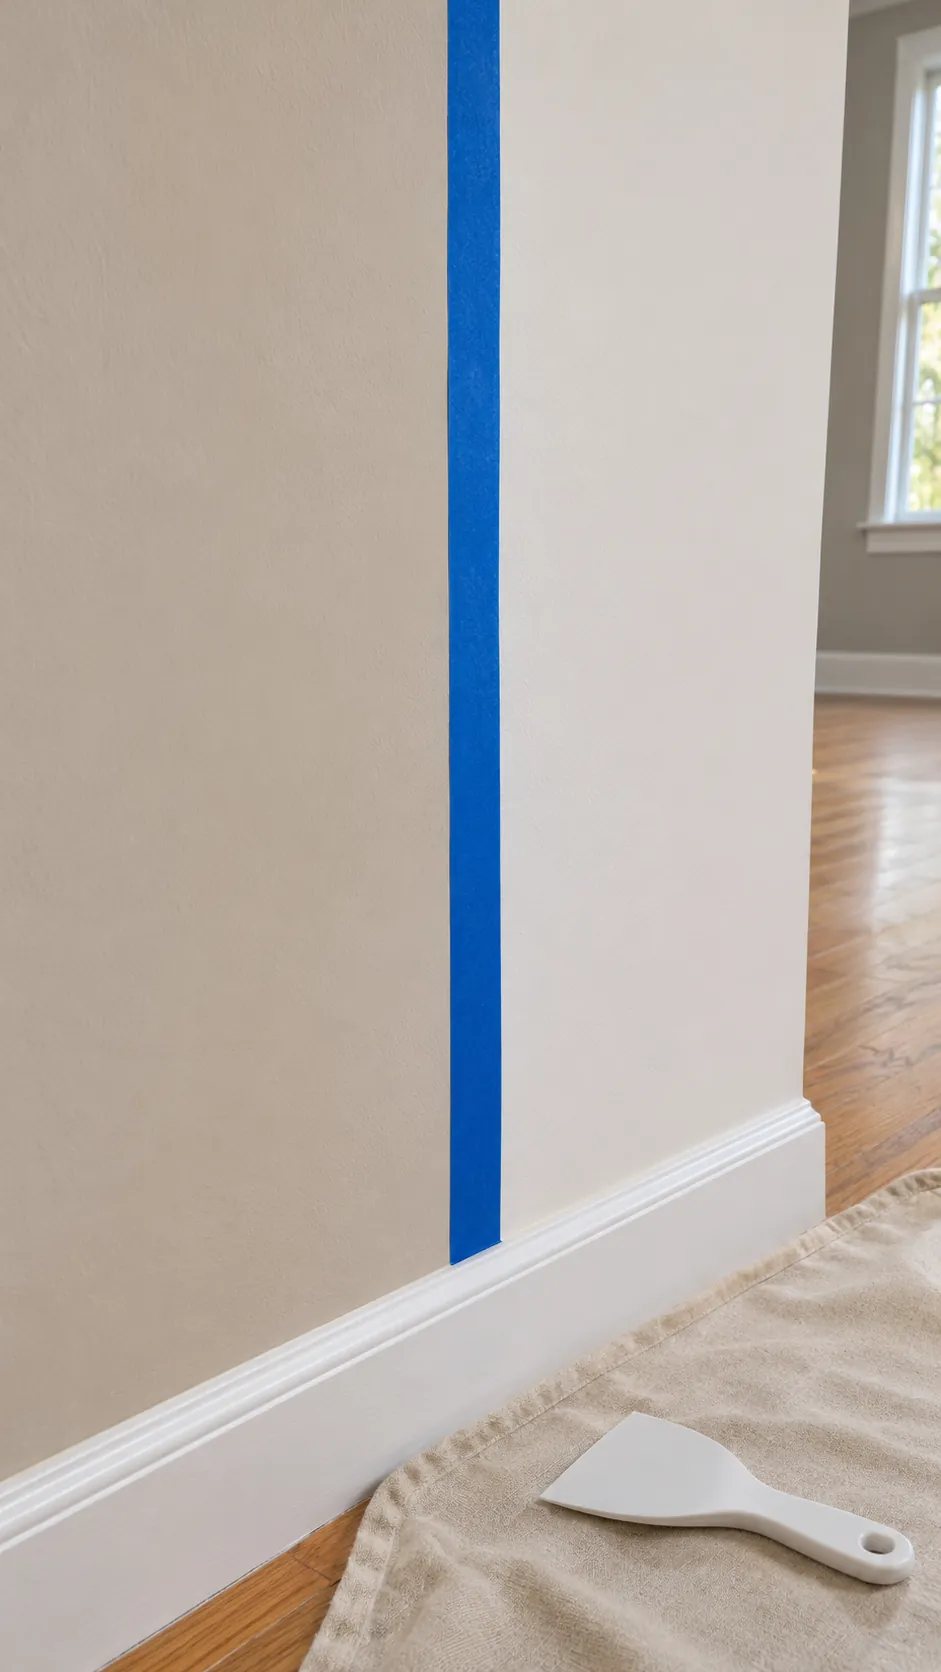
Seal Texture With the Base Color
Brush a thin coat of the existing base color along the tape edge. Any paint that moves beneath the tape now matches the protected side, while the coating fills tiny gaps in the texture. Let this sealing coat dry according to its label before applying the accent color.
This method depends on an accurate base color and a sound existing finish. Use only a small amount of paint so you do not build a ridge. A heavy sealing coat can create the same removal problem you are trying to prevent.
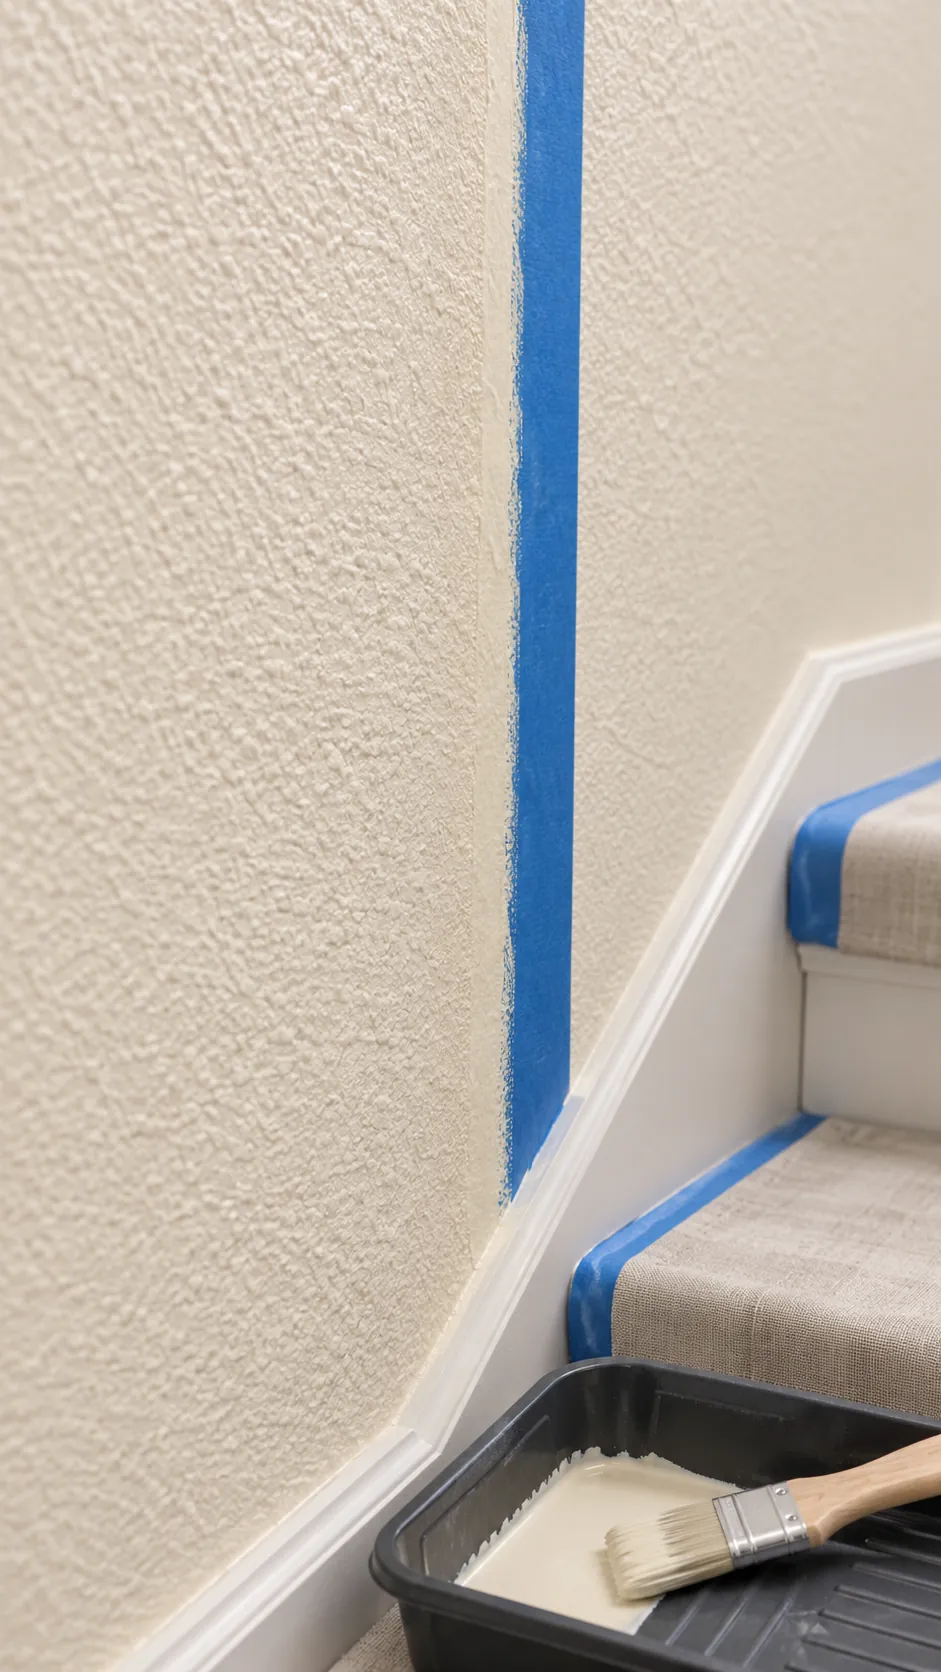
Paint Away From the Tape Edge
Load the brush lightly and move from the tape toward the open painted area. Pushing a wet brush into the edge forces paint beneath any remaining gap. Build coverage with thin coats rather than leaving a heavy bead along the line.
Use the same restraint when rolling near an accent wall edge. Keep excess paint out of the tape seam and maintain a wet edge farther into the field. Clean paint lines depend more on controlled film thickness than on piling paint against the mask.
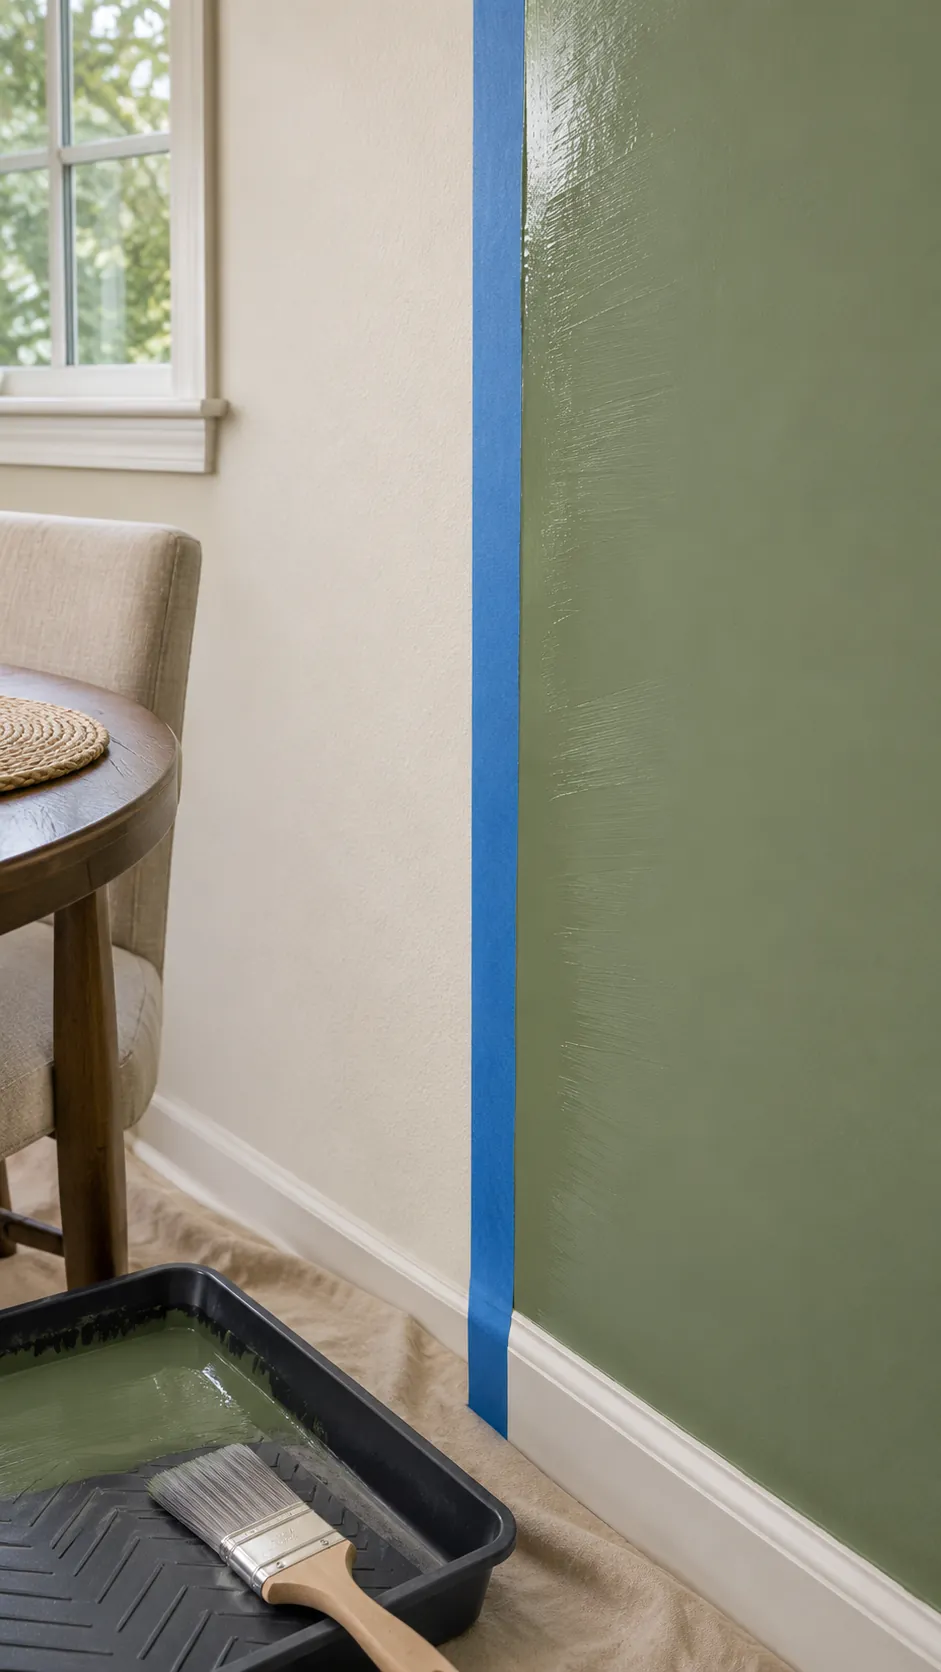
Remove Tape Before the Edge Becomes Brittle
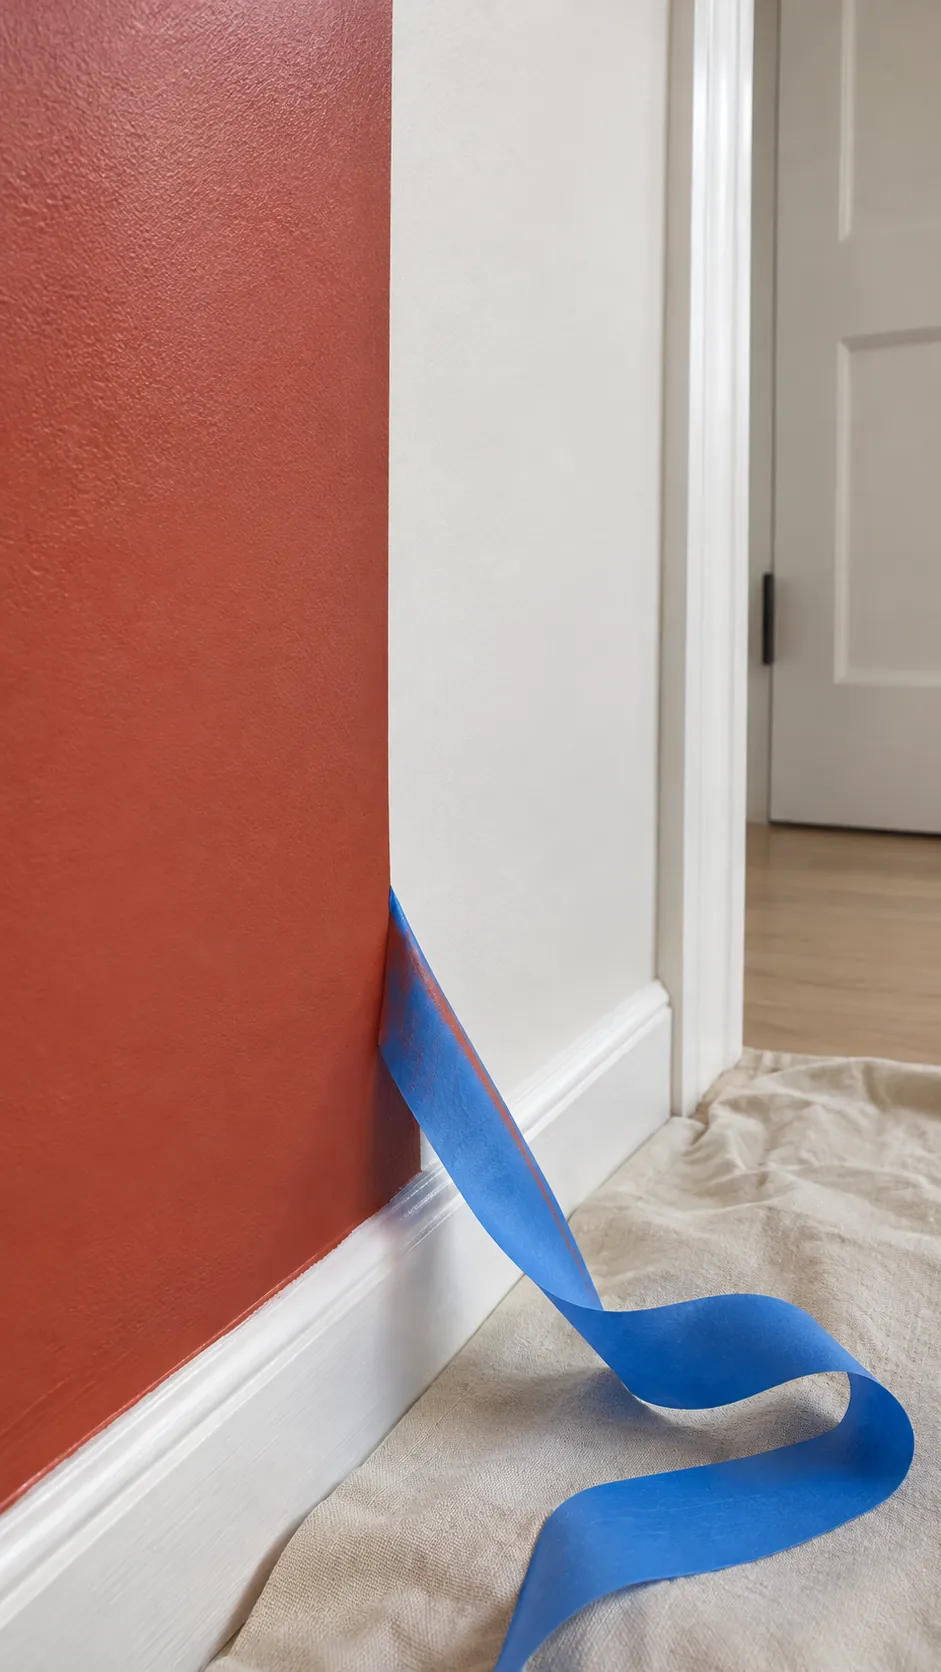
Follow the tape maker’s removal window. Pull the tape back over itself at a low angle while the final coat is still fresh enough to separate cleanly but no longer flowing. Work slowly and watch the line instead of tearing off a long strip at once.
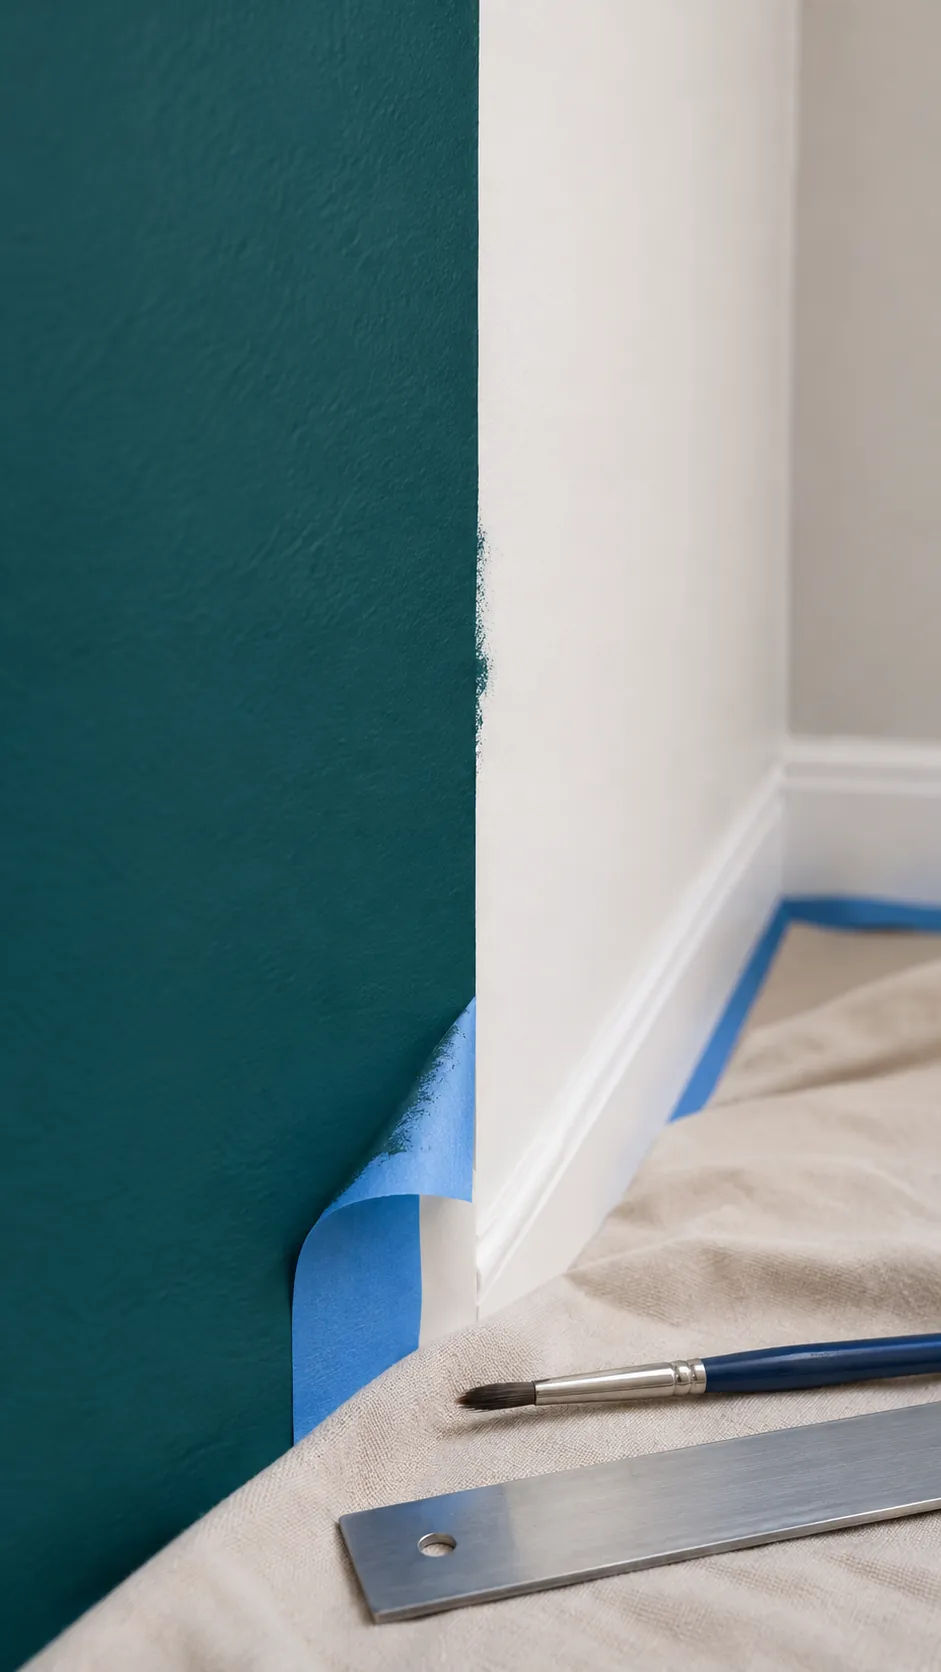
If a section starts lifting, stop and score the paint film at the edge with a sharp blade. After the line cures, correct small remaining bleeds with a fine artist brush and the base color. Use several light passes so the repair stays flat and blends with the surrounding finish.