
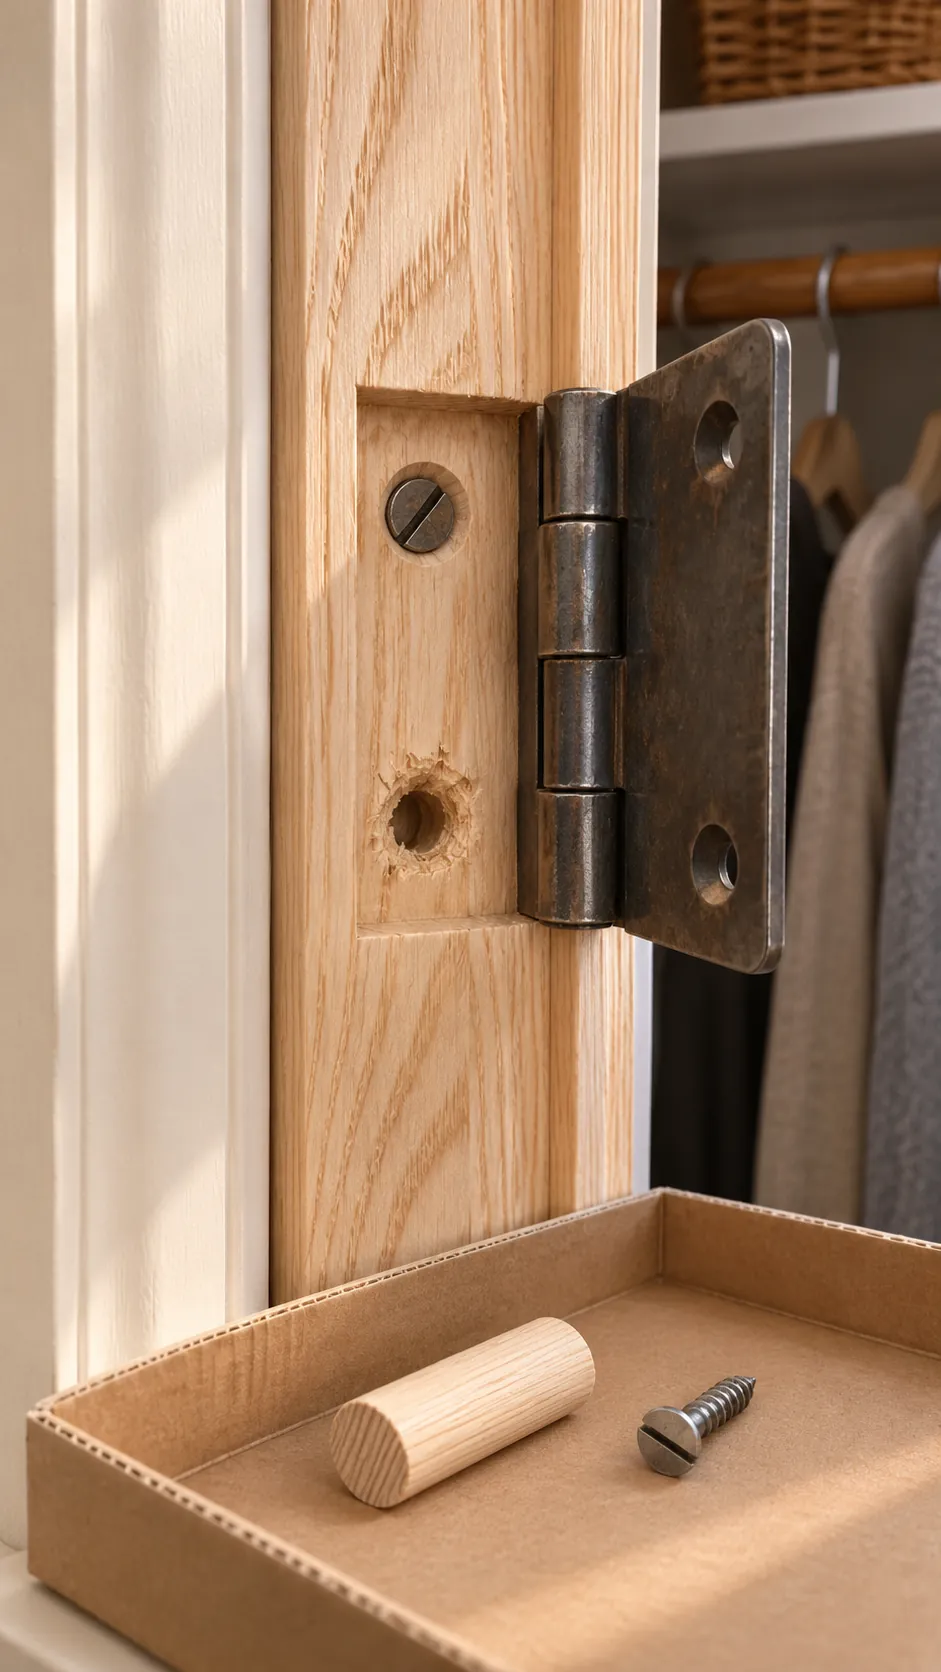
If a hinge screw turns and the metal leaf still lifts away, stop tightening it. The threads need sound wood to bite into. A glued hardwood dowel can restore that grip where the wood around the hole is still solid.
Confirm the wood has lost its grip
Support the door with a firm wedge under the latch edge, then turn the suspect screw by hand. A screw that keeps turning without pulling the hinge leaf tight usually means the hole has lost its grip. A screwdriver that slips out of the screw head points to a damaged head. Remove that screw so you can check the threads and the wood separately.
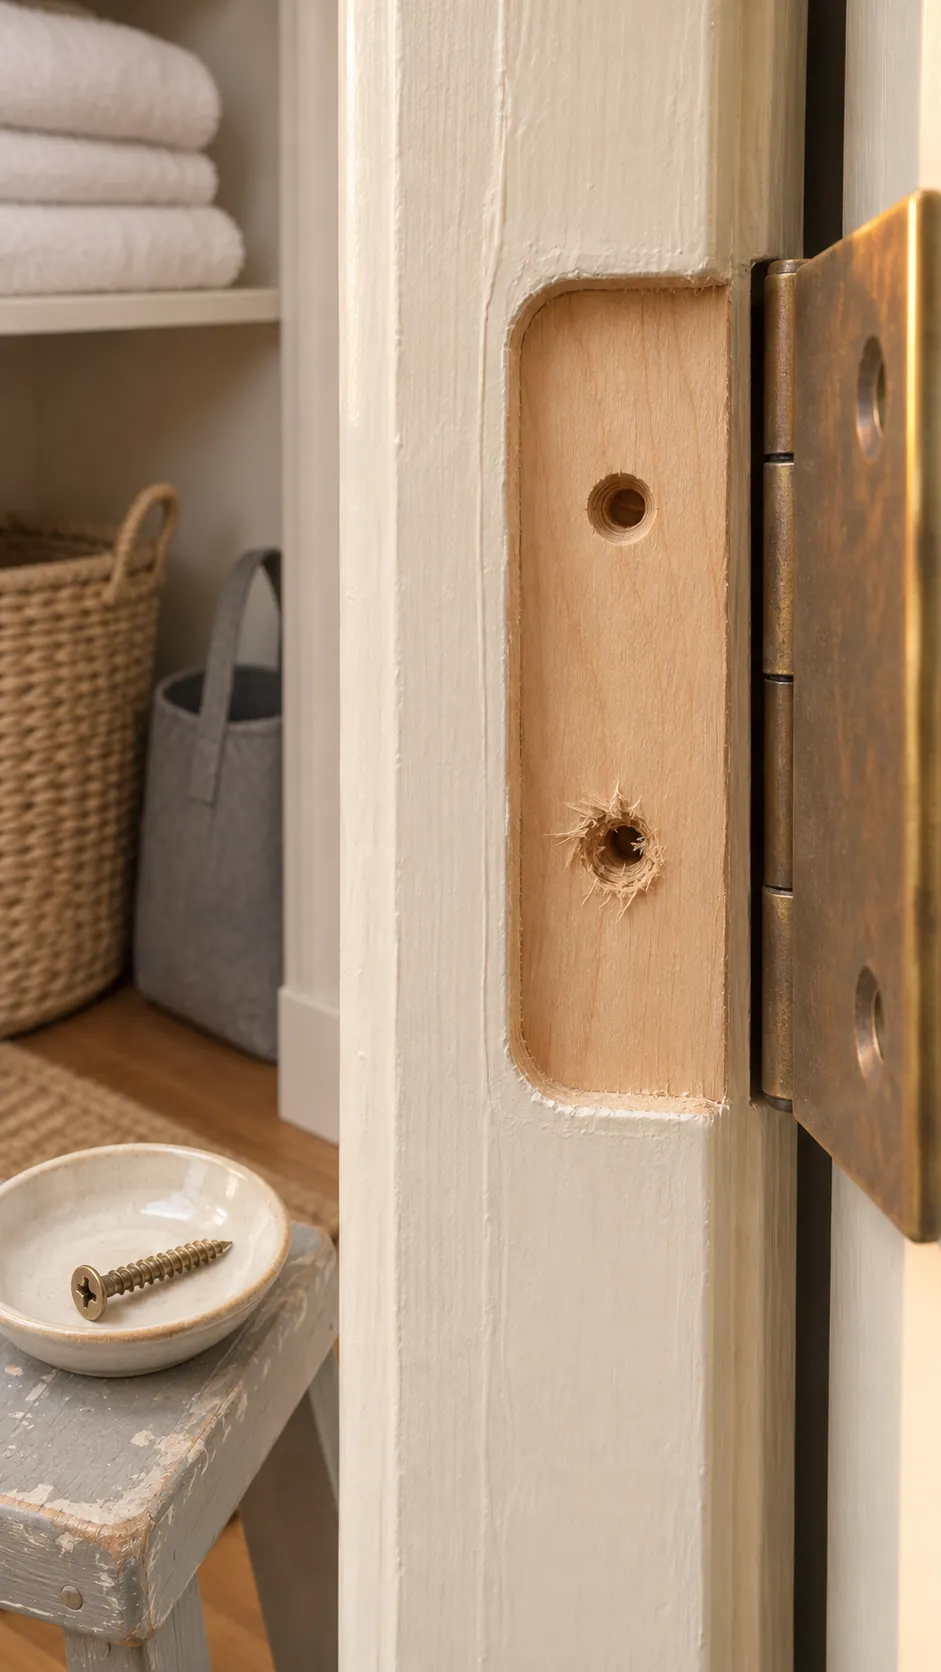
Look for splits that run beyond the hole, a hinge leaf that is bent, or a door edge that crumbles. A dowel works best when there is enough sound wood around the hole to hold it.
Choose a repair that fits the jamb or door edge
For a stripped jamb hole, a longer screw with a matching flat head can work if you know there is sound framing behind the hole and it is safe to drill to that depth. Use a pilot hole and snug it gently. Stop if the screw pulls the jamb inward or changes the door gap.
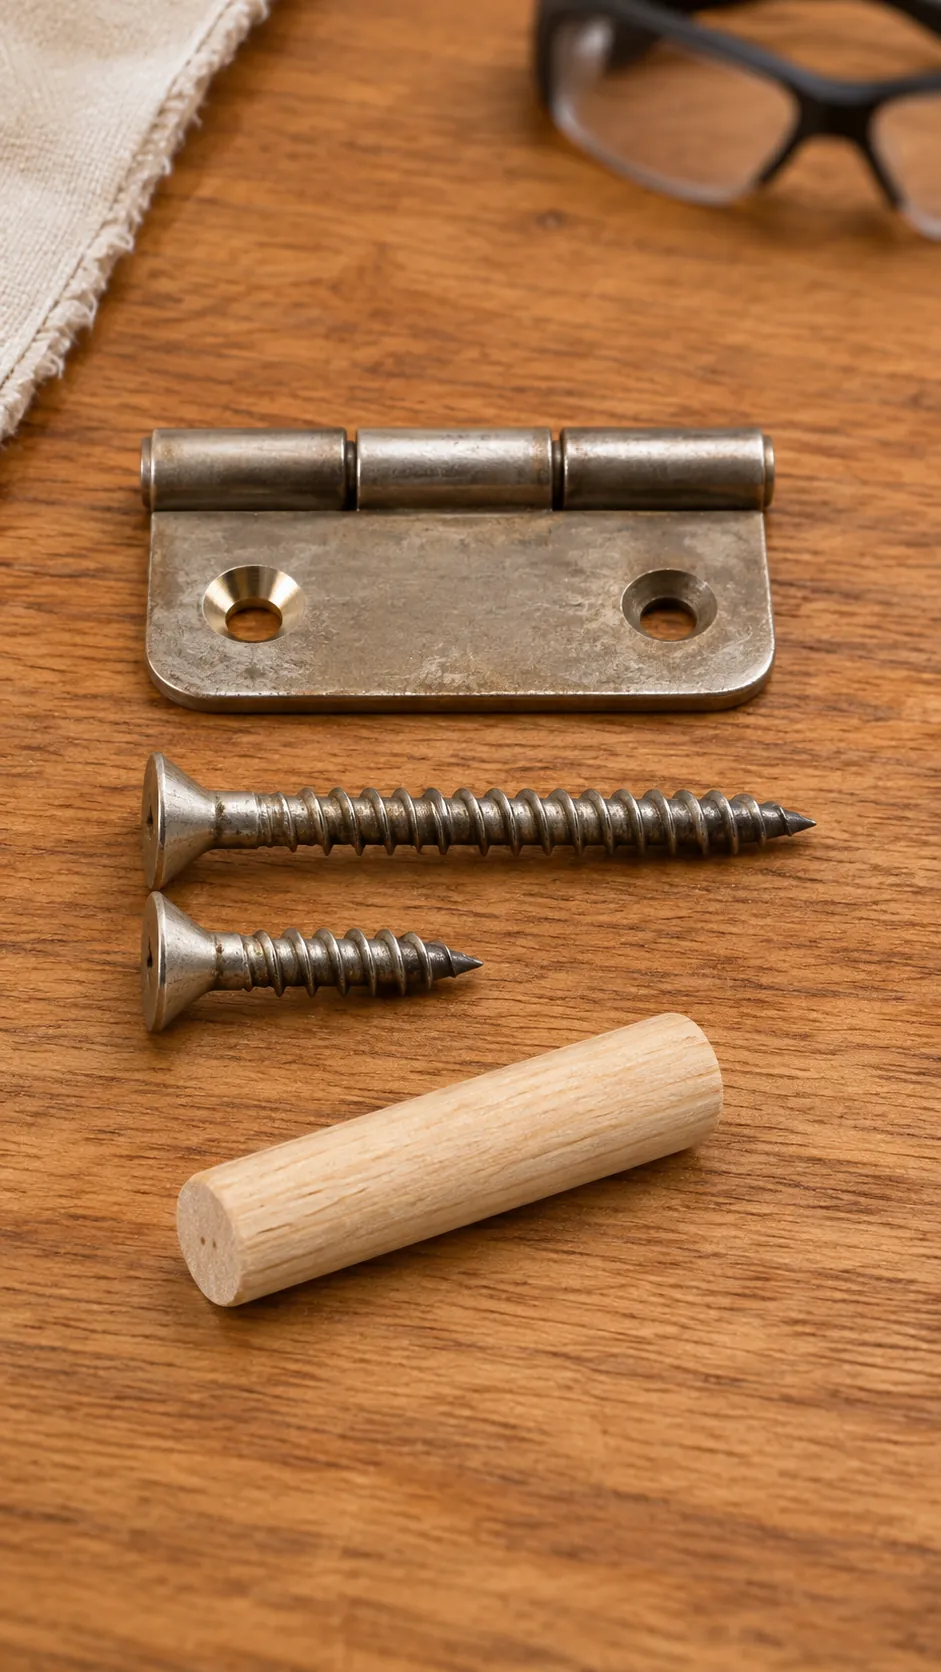
For a hole in sound solid wood that needs to keep its original position, use a hardwood dowel. A hollow core door may have only a narrow wood edge. Check the maker’s limits before drilling into it. A split jamb, a badly damaged door edge or a rated door may need a different repair.
Drill the damaged hole round and straight
Remove only the affected hinge leaf if the door is well supported and the other hinges are secure. If several hinges are loose or the door is heavy, get help taking it down. Choose a drill bit that matches the dowel diameter and removes the loose wood while leaving enough solid material around it.
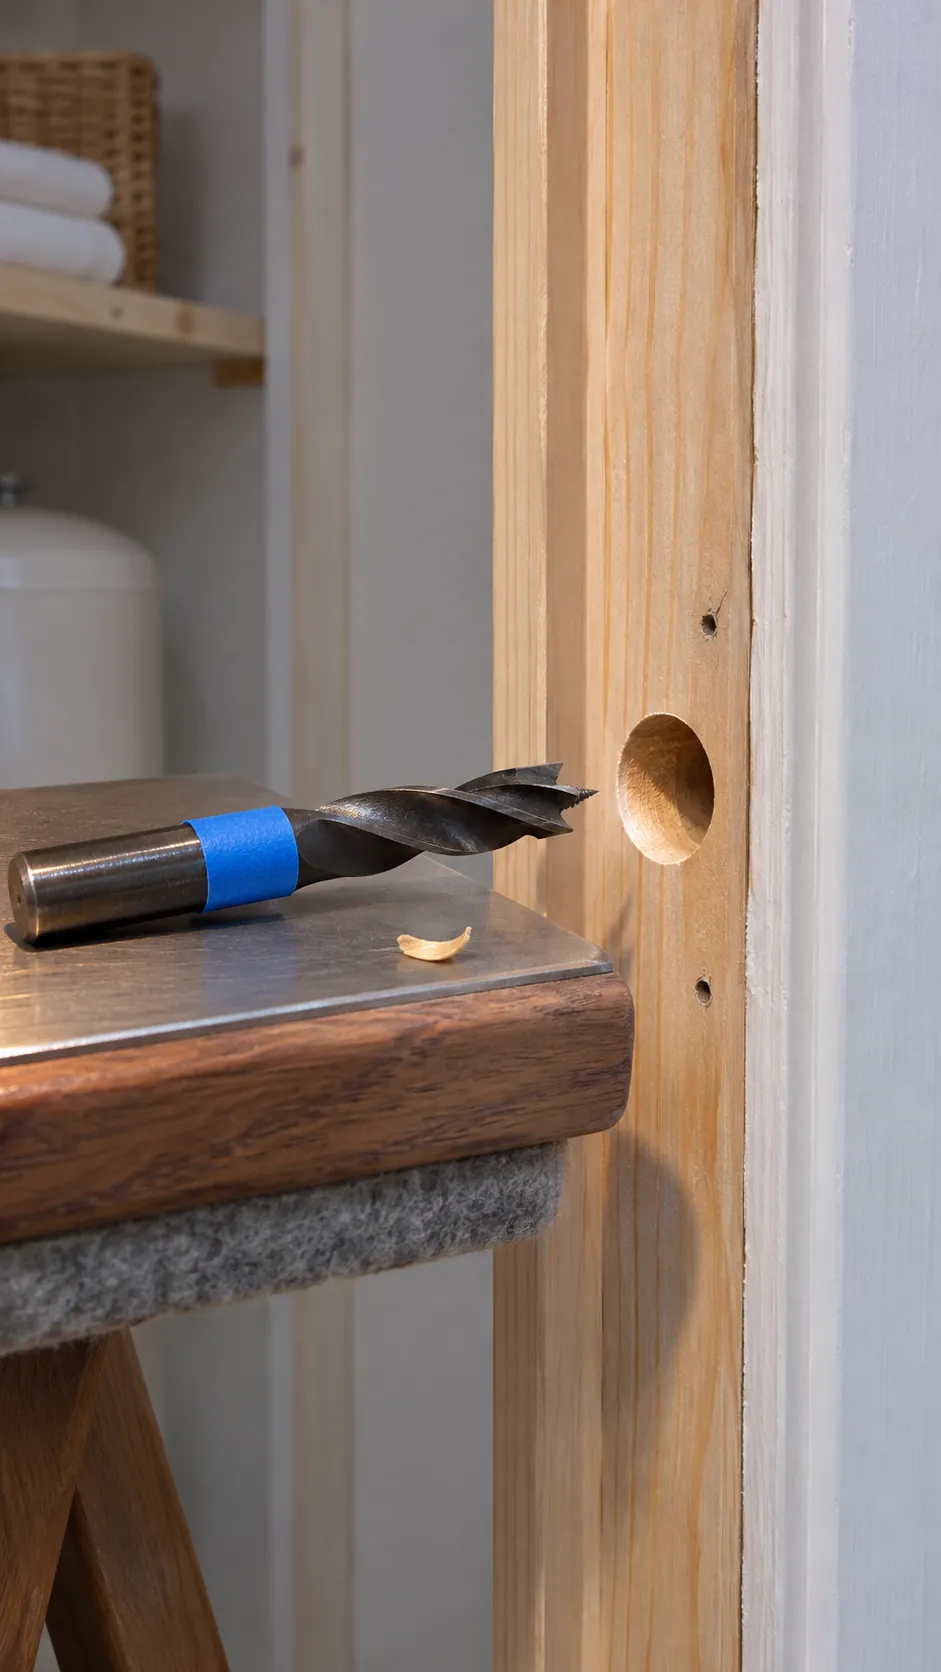
Fit a depth stop or mark the bit with tape. Hold the bit square to the hinge recess, center it on the old hole, and drill only as deep as the dowel needs. Clear the chips and test the fit. The dowel should fit snugly without having to be forced.
Glue in a hardwood dowel and let it cure
Cut the dowel slightly longer than the hole. Apply wood glue to the sides of the hole and the dowel, insert the dowel, and wipe off the squeeze out. Let it cure for the time the glue maker specifies before cutting or loading it.
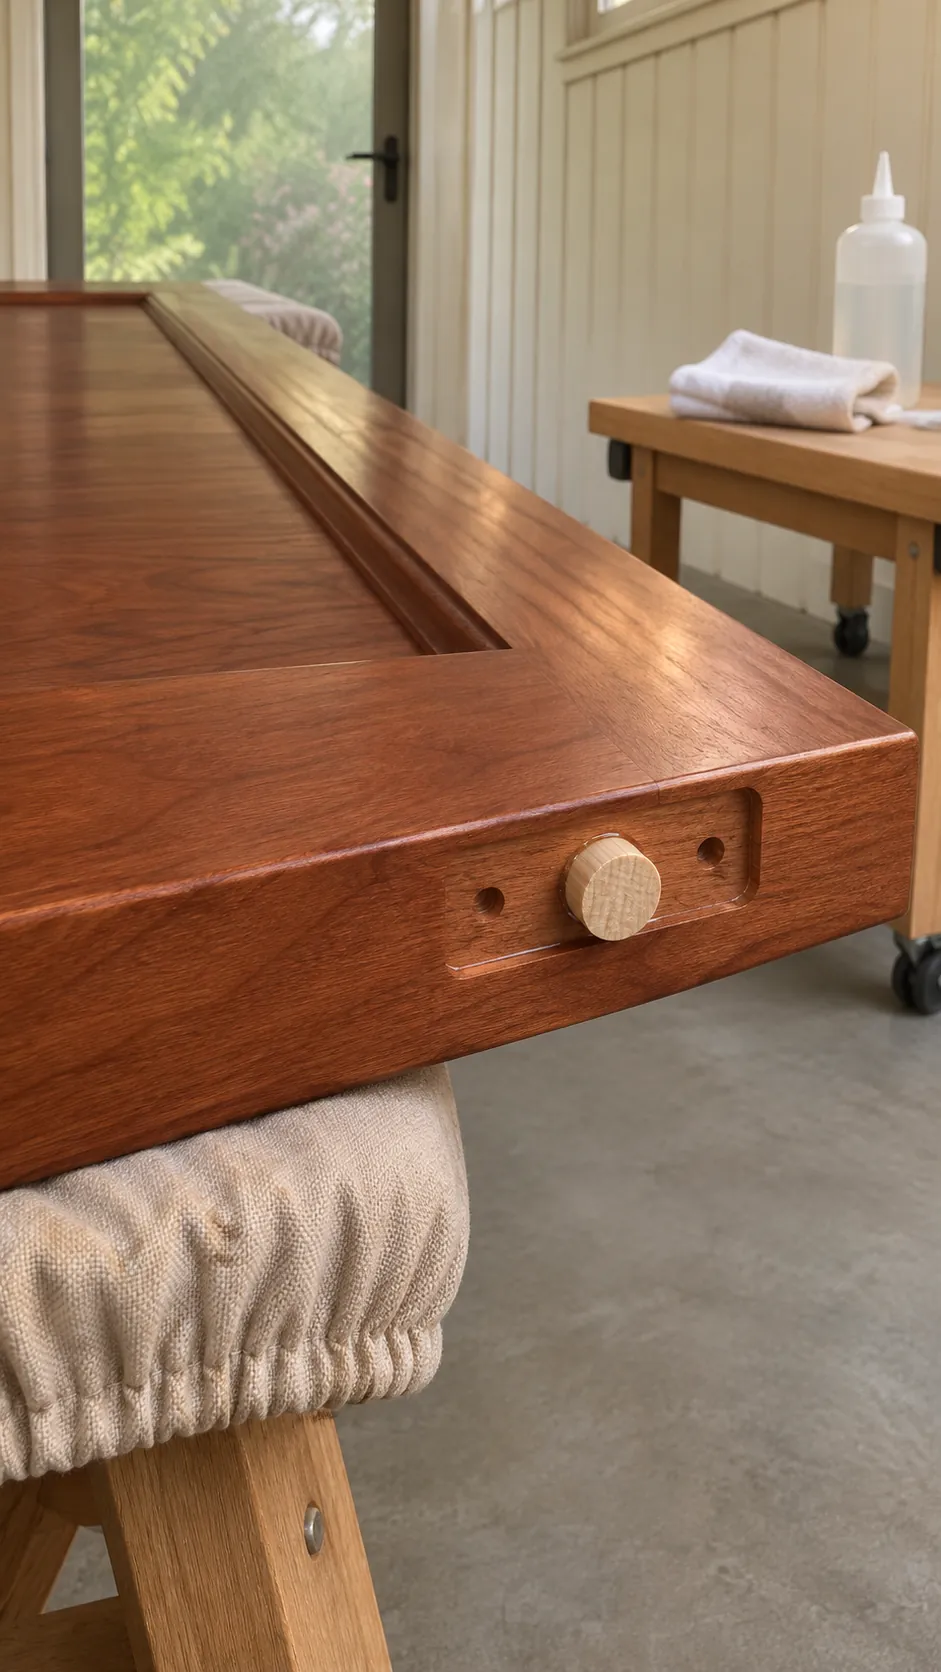
Use a flush cutting saw to trim the exposed end without marking the hinge recess. The flat hinge leaf should sit on the wood without rocking. Remove any dried glue that holds the leaf up.
Mark and drill the new pilot hole
Set the leaf in its original recess. Mark the center through its screw opening with an awl or use a self centering hinge bit. Select a pilot bit close to the diameter of the screw’s solid core beneath the threads, following the screw maker’s guidance for the wood density. Drill straight and stop at the intended depth.
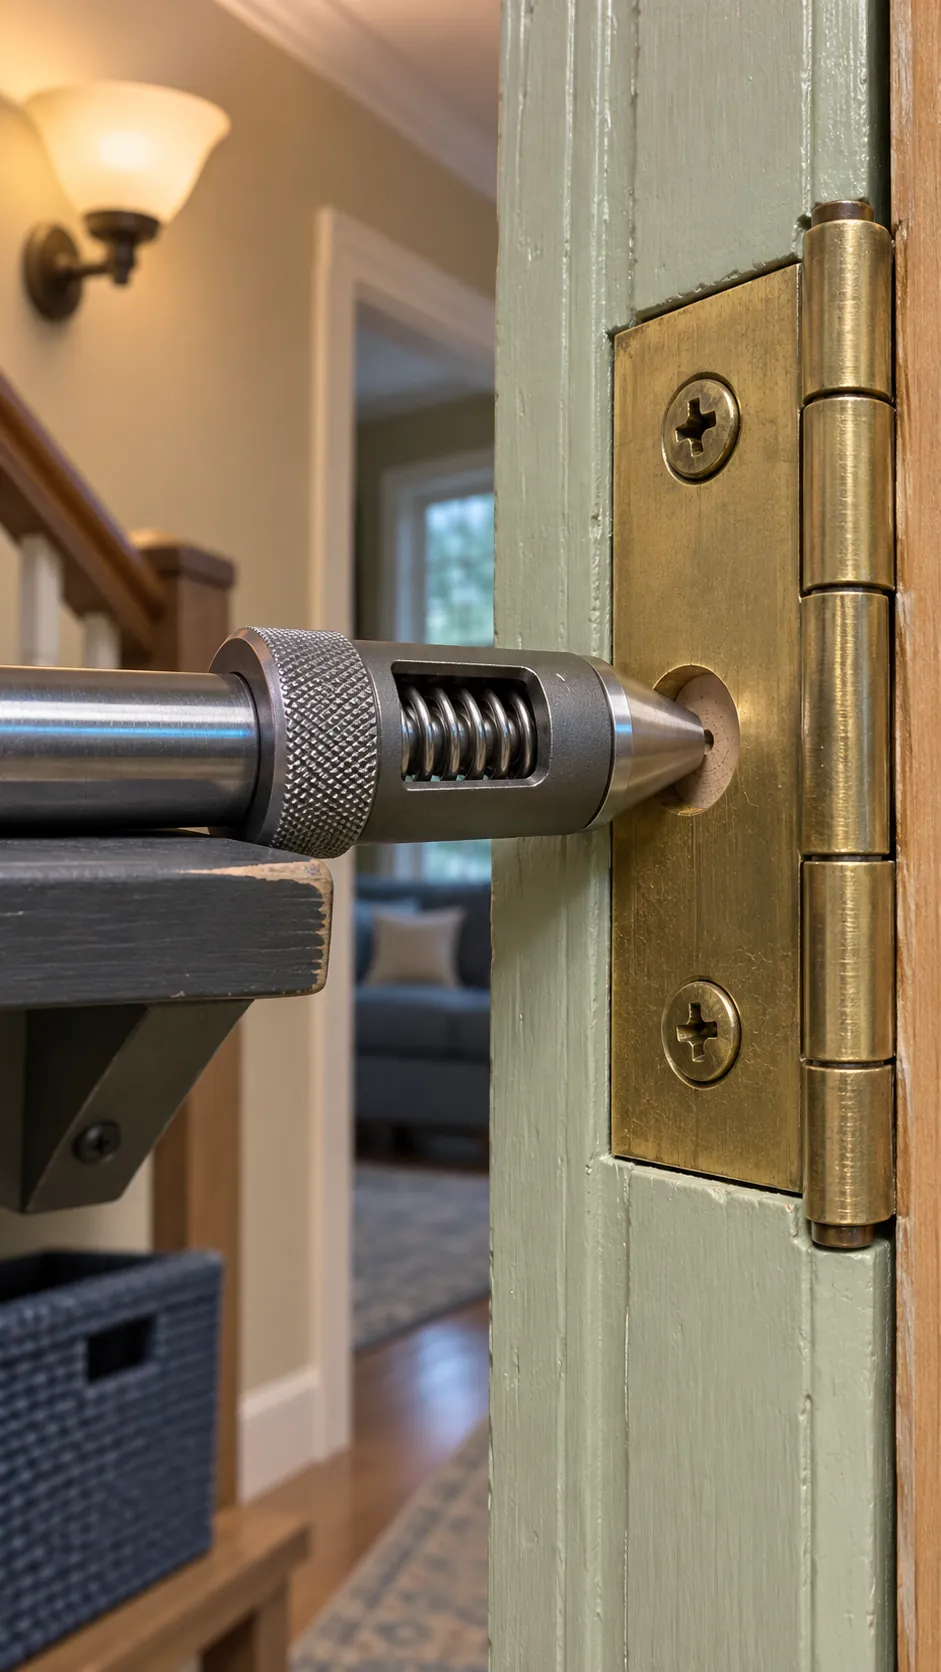
Use the correct flat head hinge screw and seat it by hand. It should snug down with the head flush. If it tilts, binds or starts to spin, stop and inspect the pilot hole before installing the remaining screws.
Check the hinge under normal door weight
Reattach the hinge and remove the support with the door held steady. Open the door slowly, then gently lift the latch edge and watch the repaired leaf. It should stay against the wood. Close the door and check that the gap stays even and the latch catches without lifting the handle.
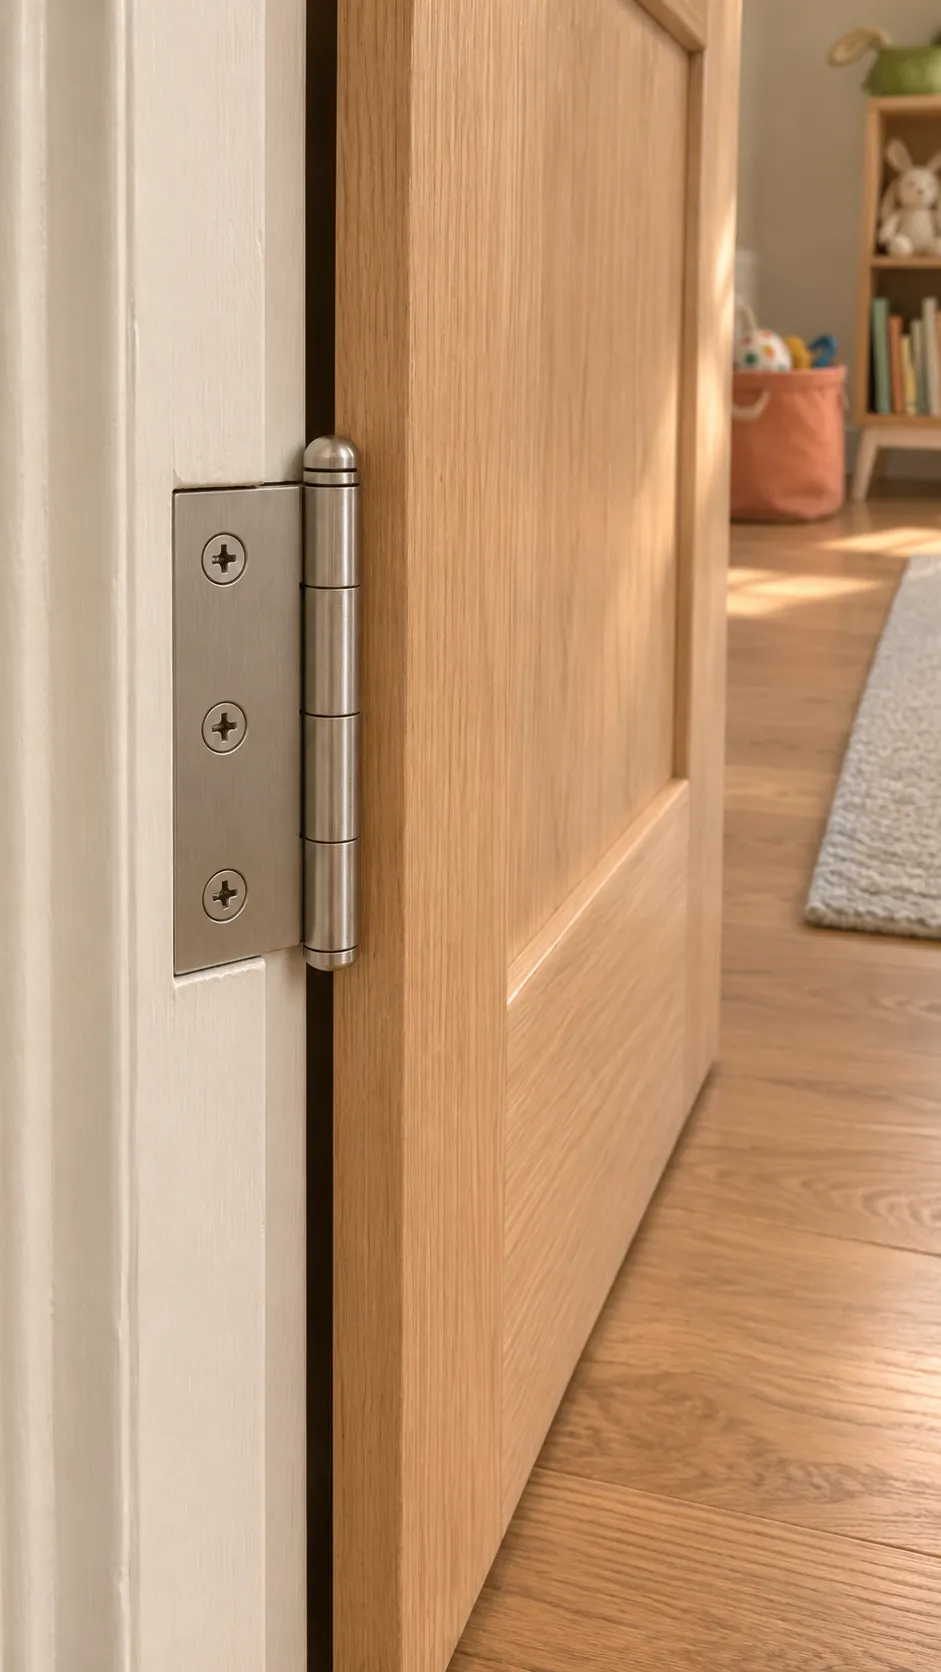
If the leaf still moves, look for another weak screw or a split that reaches beyond the repair. A screw that stays flush and a leaf that stays still are the signs that the joint is carrying the door again.