
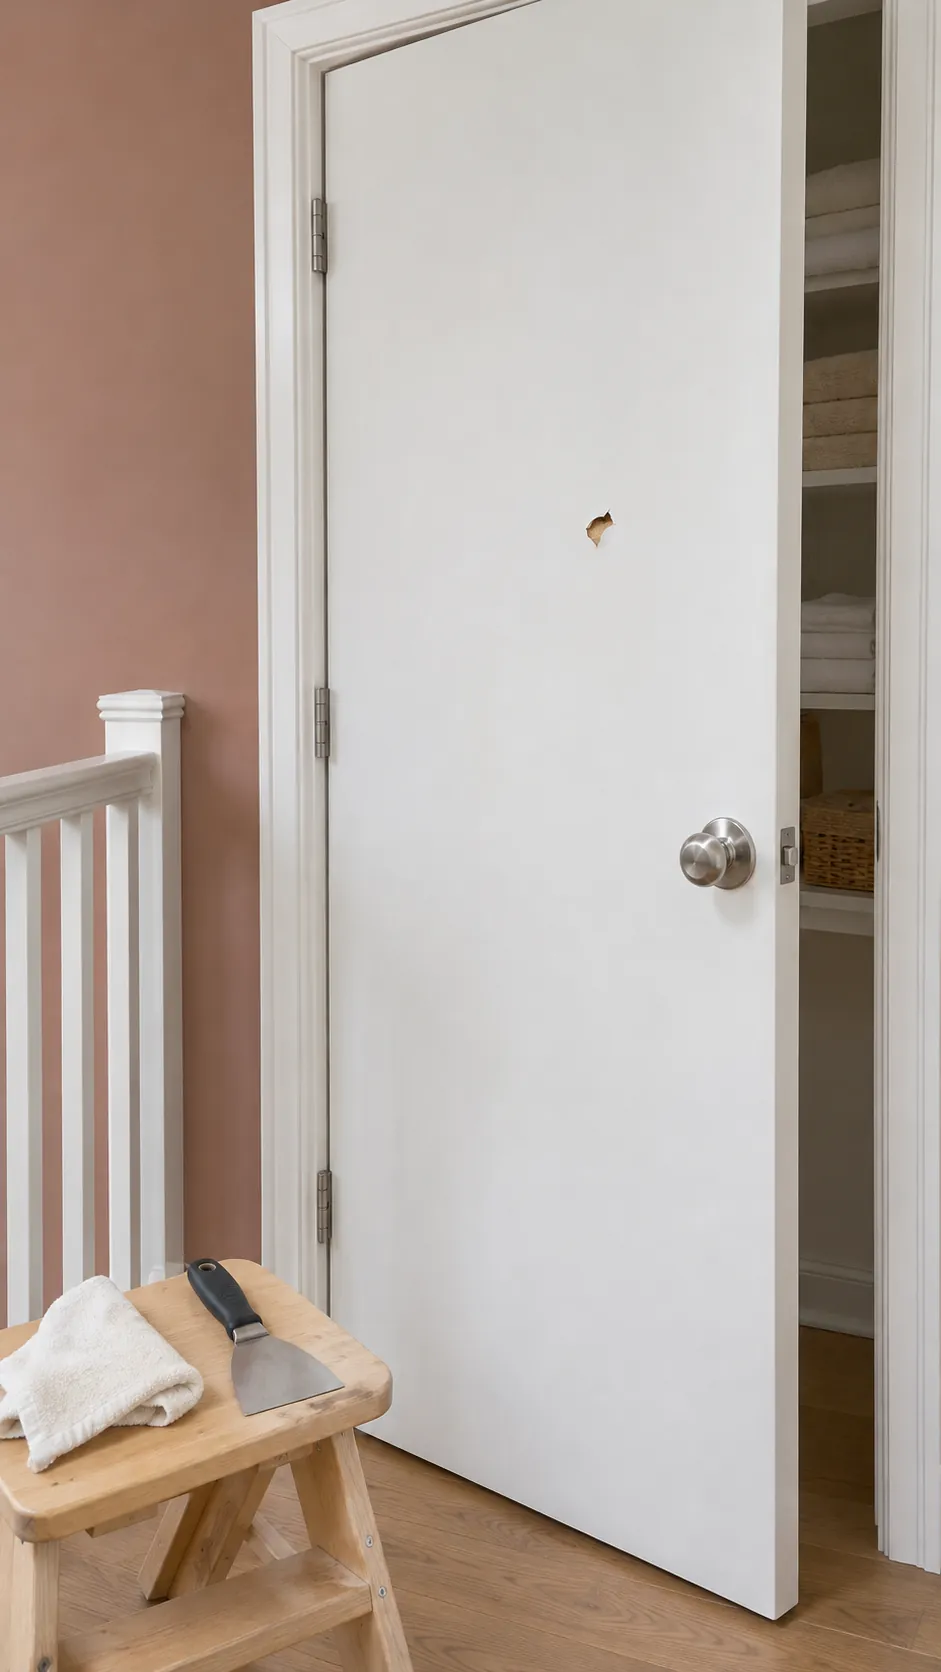
A puncture the size of a coin can look worse than it is. The thin face of an interior door has little behind it, so filler pushed straight into the hole can sink or crack. Give the patch something solid to sit on, then blend the face with the surrounding paint. This works best on one small hole in a sound, painted door.
Check the skin and frame around the hole
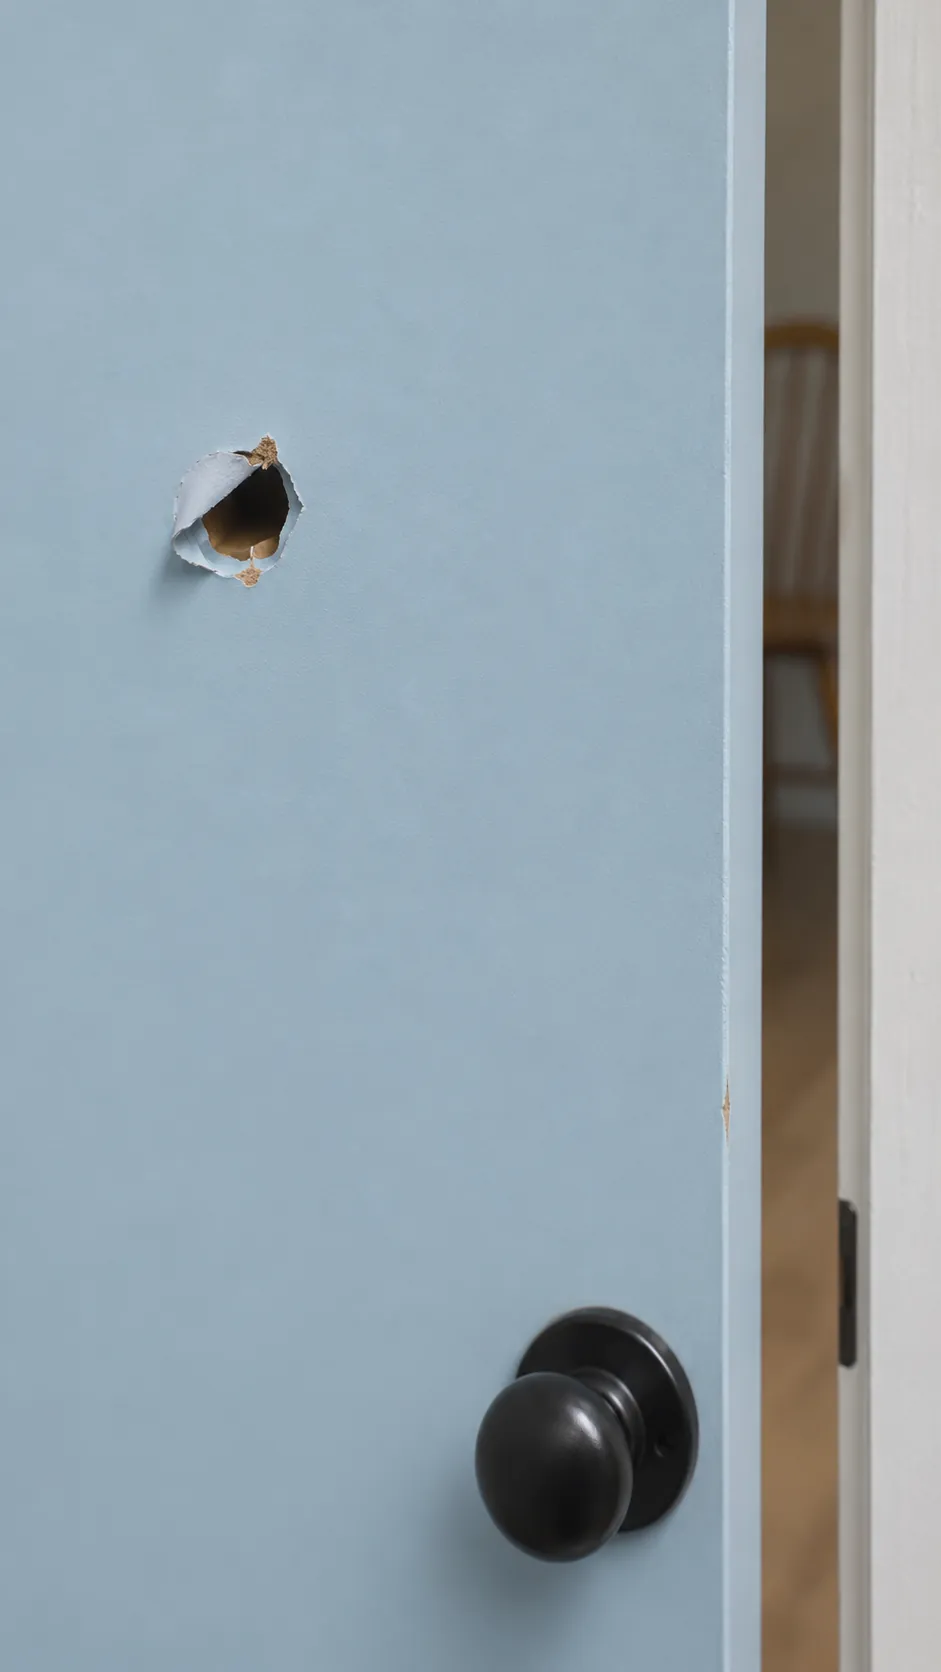
Look at both faces of the door. Press lightly just outside the damage and check that the skin is firm. A patch makes sense if the puncture is confined to one face and the surrounding material holds its shape. If the door has split at the latch or hinge, the skin has lifted over a broad area, or the opposite face is damaged, compare replacement costs before patching.
This method is for an ordinary painted interior door. A clear finished wood veneer or deep molded grain can remain visibly different after a patch. If the door has a fire label, have its condition assessed before altering it.
Trim only the loose material
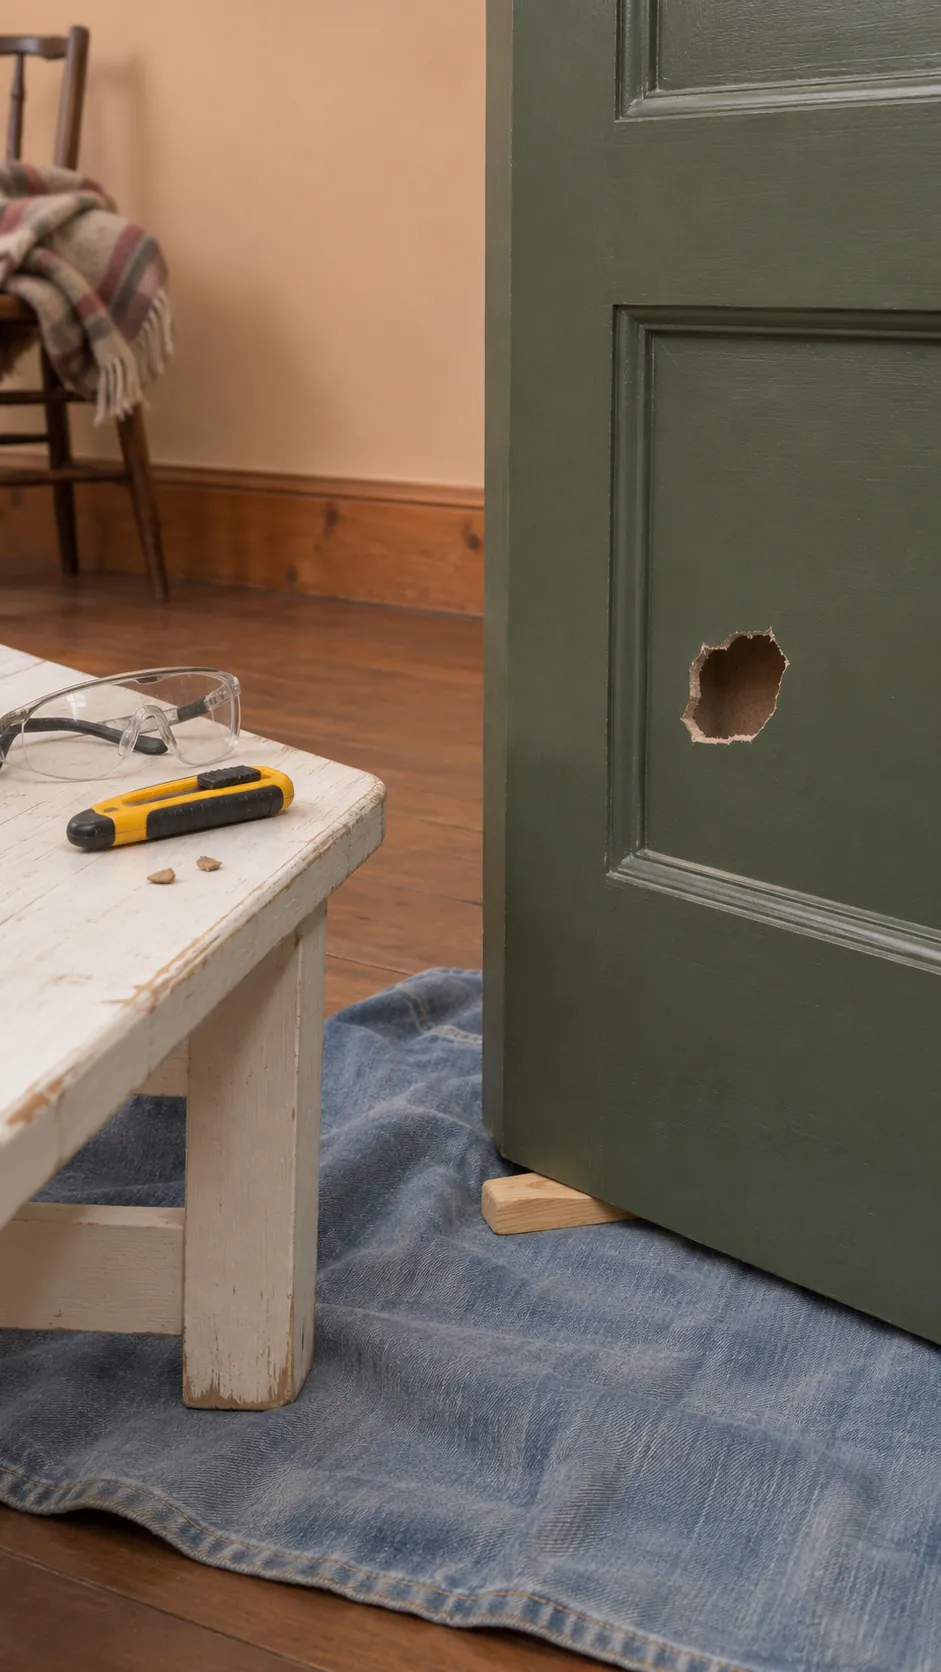
Cover the floor and wedge the door open so it cannot swing. With eye protection, trim only fibers and pieces of skin that have lifted above the surrounding face. Use shallow cuts and keep your free hand clear of the blade. Brush away dust and leave the firm edge of the hole in place.
Check that you can reach the hole without cutting the surrounding paint. On an older painted door, rule out lead paint or use the applicable lead safe procedures before disturbing the finish.
Build a firm backing below the surface
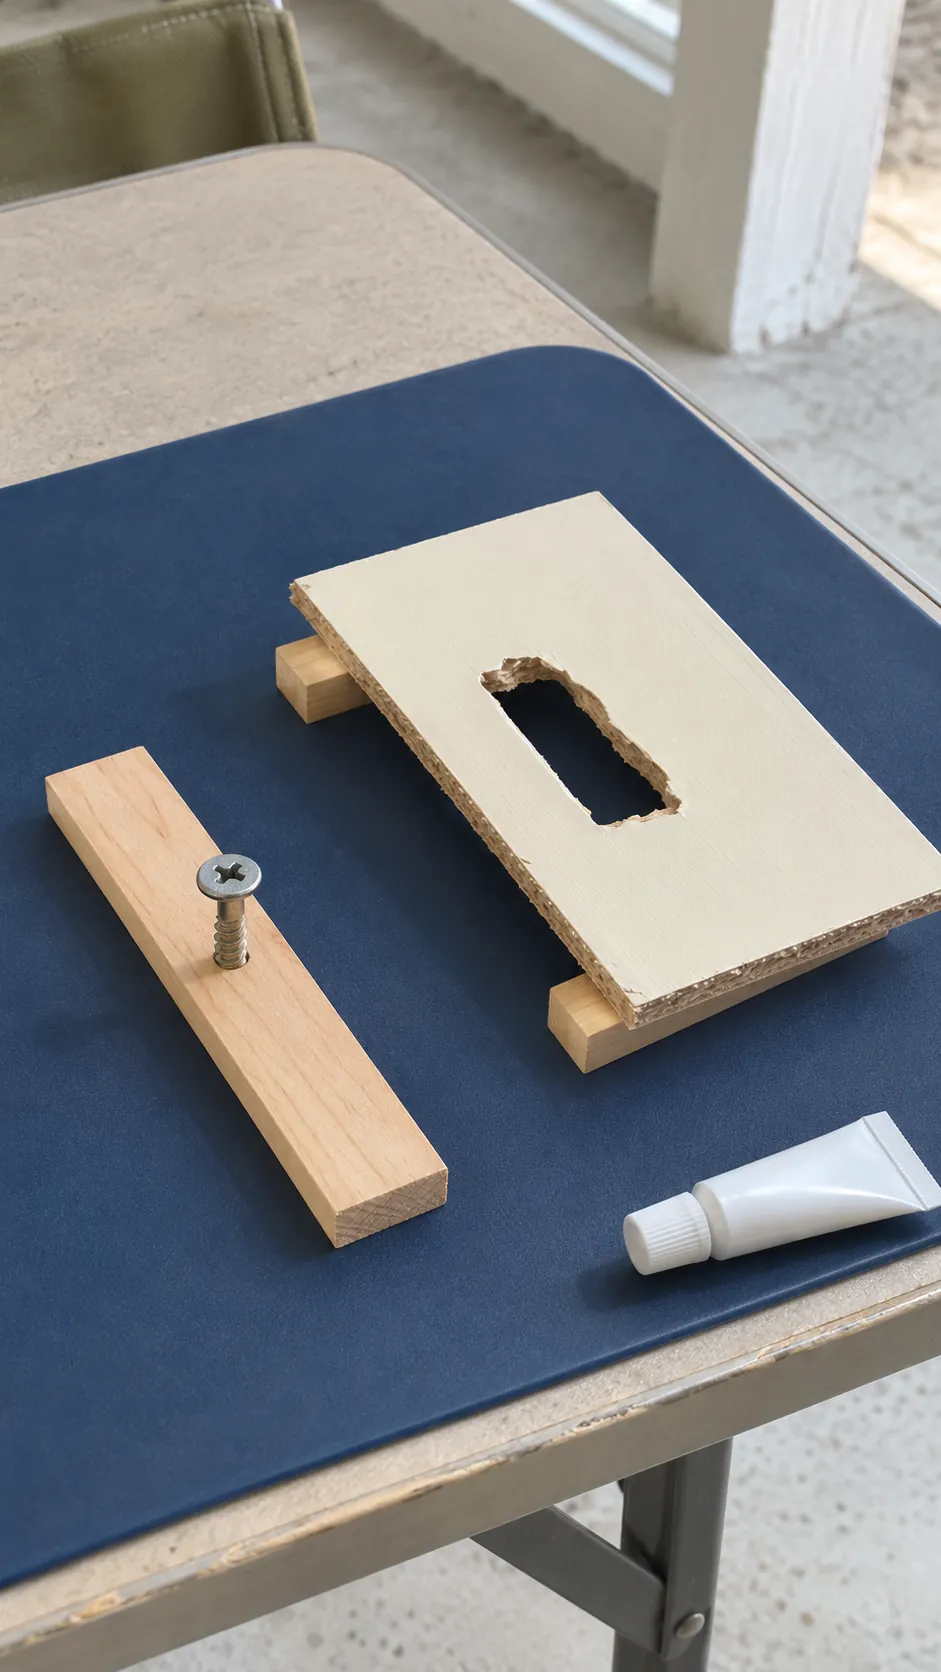
For a small opening you can reach through, slip a narrow wood strip longer than the hole behind the face. Put a compatible adhesive on both ends where they touch the back of the skin. A temporary screw in the center of the strip can serve as a handle while you pull it against the back. Take the screw out after the adhesive has cured.
If a strip cannot fit, low expansion foam may work if the product is suitable for the cavity and the filler you will use. Follow its directions for ventilation, protection and curing, and apply only enough to support the patch. Excess foam can bow the thin door skin. Once fully cured, trim the foam slightly below the door surface so the filler has room.
Spread paintable filler in thin layers
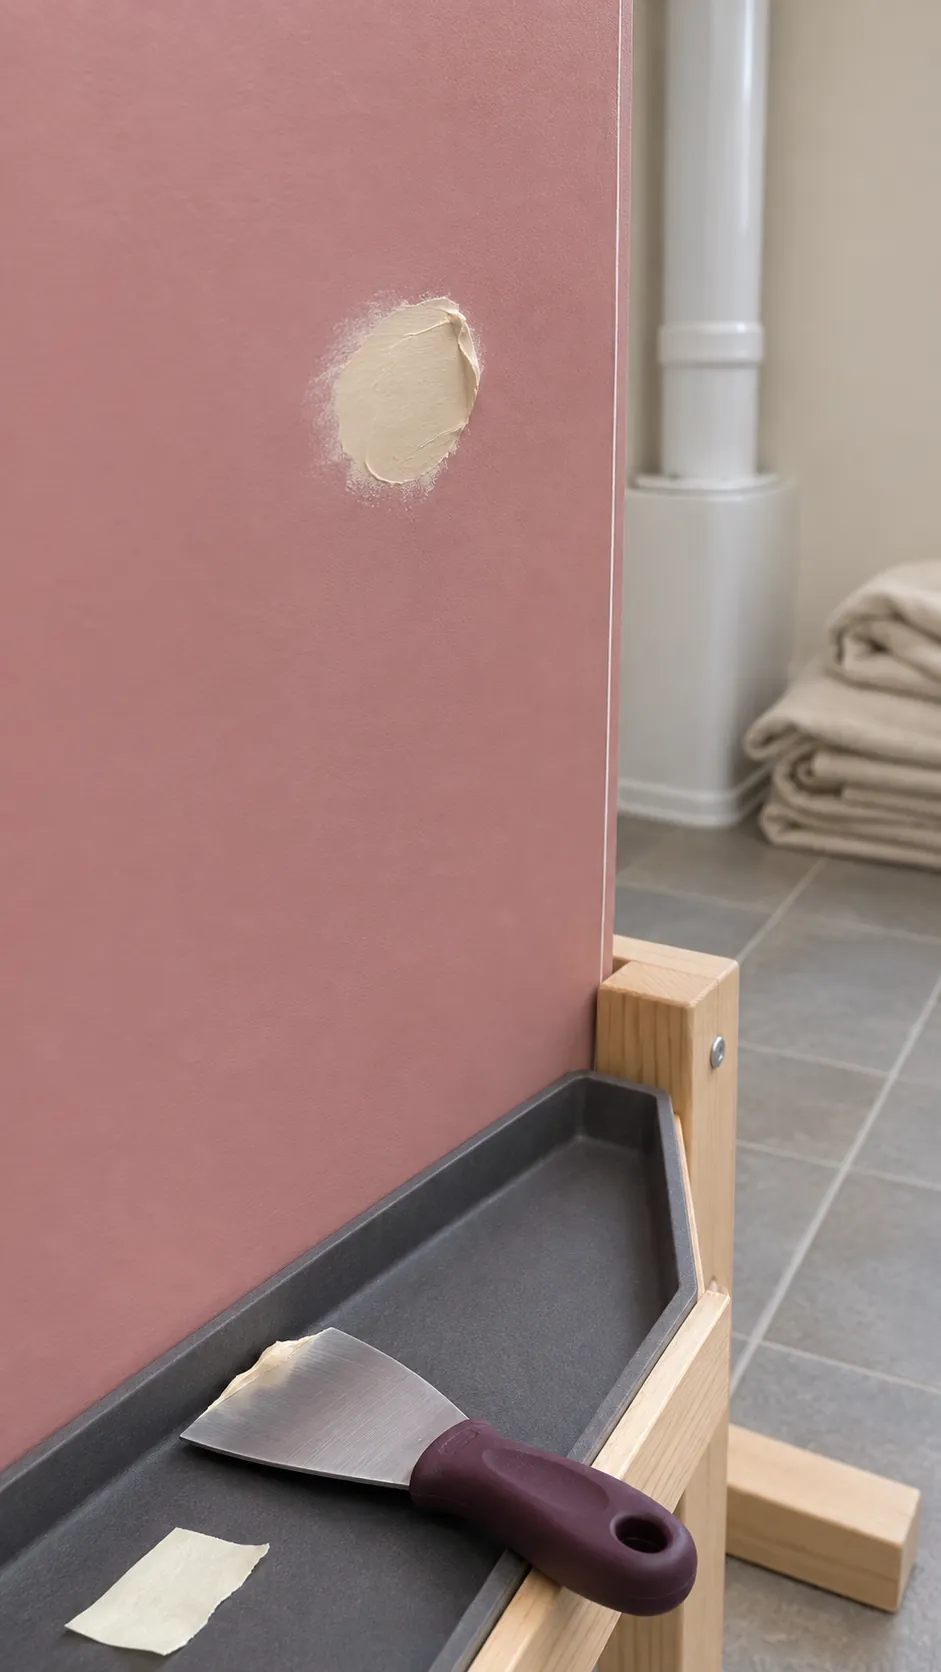
Use a filler labeled for the door face and the backing material. Press it into the space left above the backing with a flexible putty knife. On a deep spot, work in layers within the maker’s stated thickness and drying limits. Draw the knife across the final coat using the intact door surface as a guide. Leave slight excess for sanding and scrape away the broad smears before they harden.
Sand the patch level and seal it
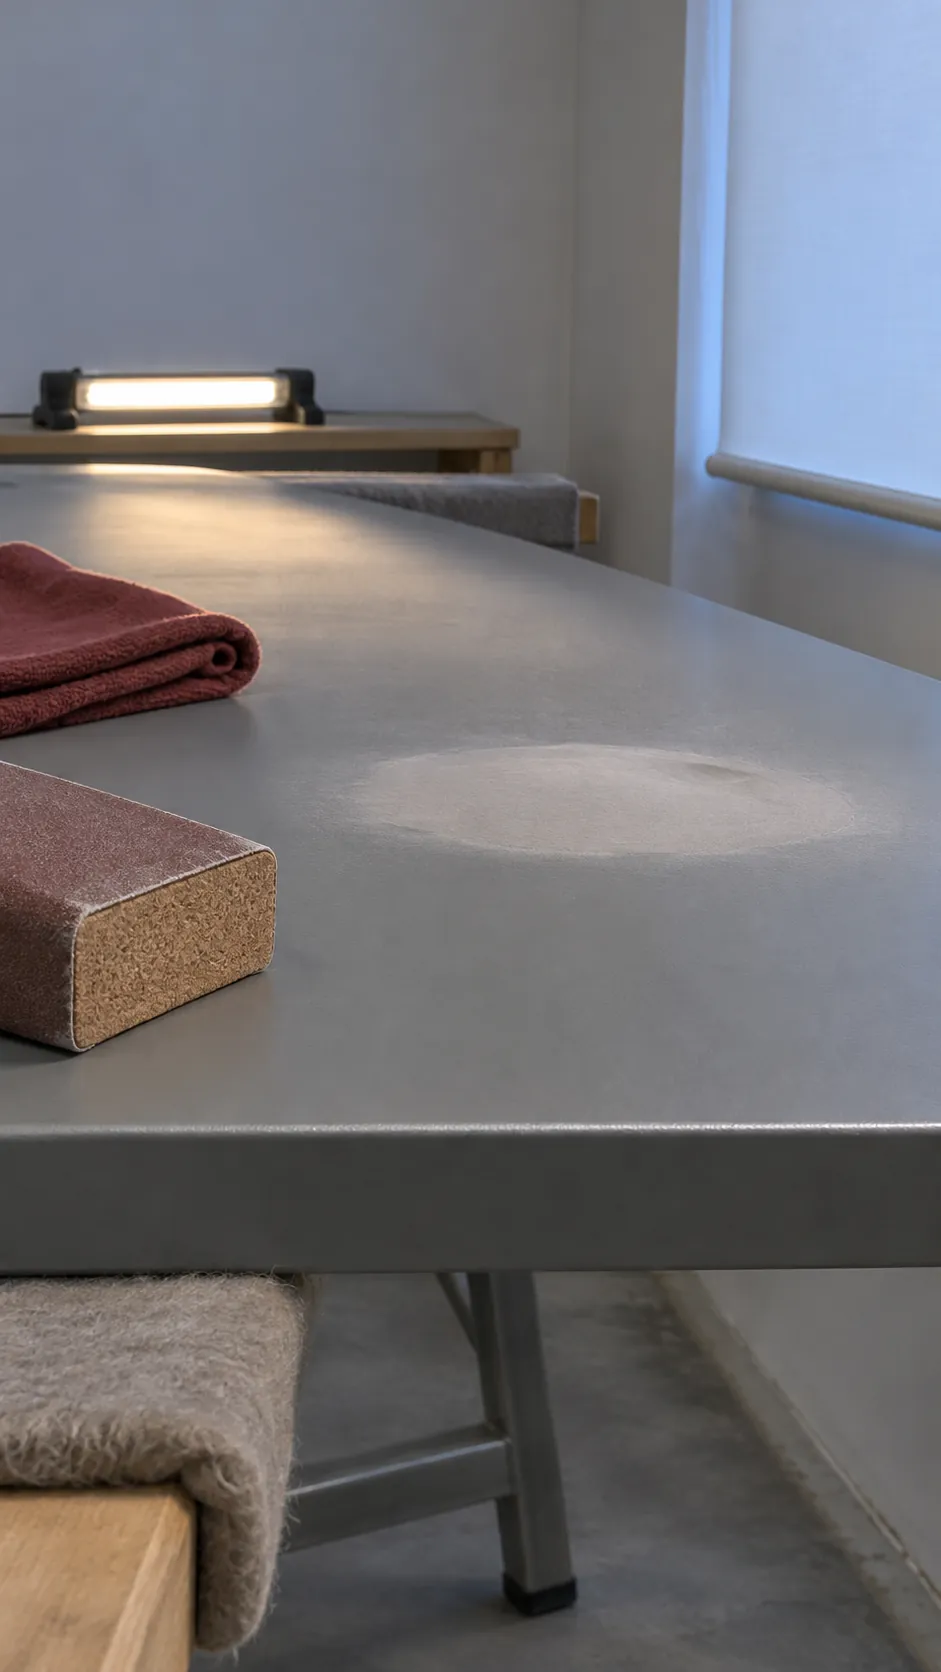
Wait until the filler is ready to sand. Start with the grit the filler maker recommends, then switch to a fine grit on a small flat block. Use light pressure so you level the patch without cutting through the surrounding paint or flattening molded grain. A light held at a shallow angle reveals ridges and low spots. Fill any low spot again instead of sanding the rest of the door down to meet it.
Remove sanding dust and seal the repair with a primer compatible with the filler and the existing paint. Bare filler can absorb paint differently and show as a dull spot, even when the color matches.
Match the paint sheen before you call it done
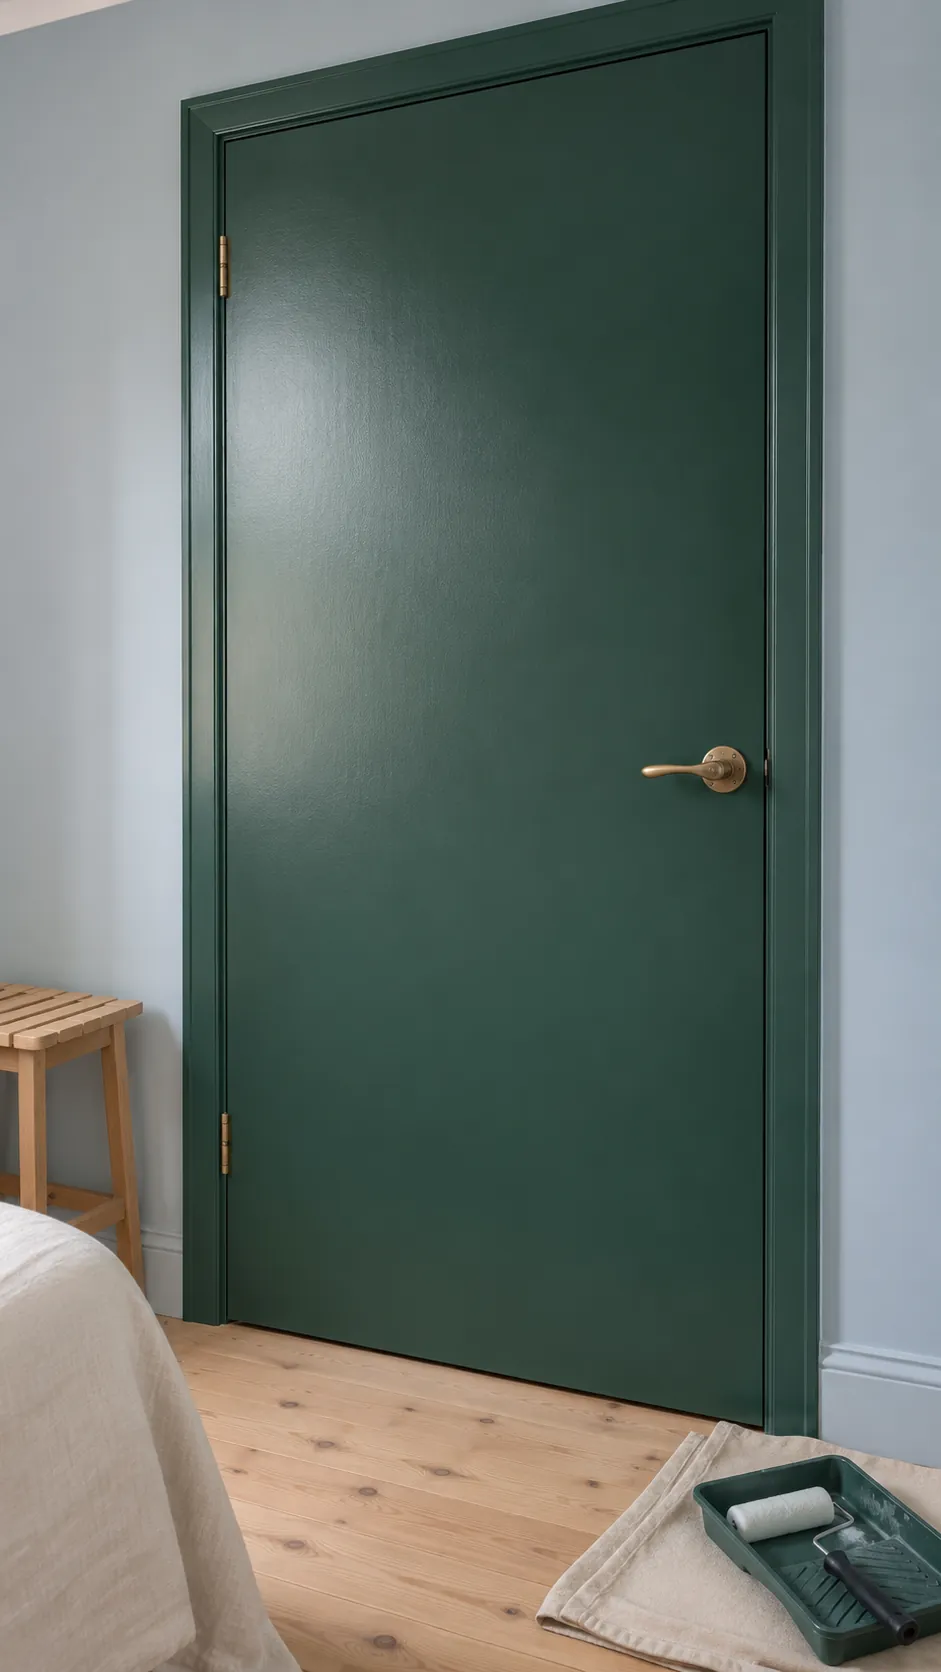
Use paint that matches both the color and the sheen. Try a small coat over the primed area and check it after it dries in daylight. If a ring still shows, repaint the full flat face or work to a natural edge such as a panel line. Use an applicator that matches the surrounding finish. A smooth roller stipple can disappear into a rolled door face more easily than brush marks.
Check the repair from the same angle where the hole used to catch your eye. If you see a ridge in side light, level and prime it before adding another coat. Extra paint alone will follow the ridge.