
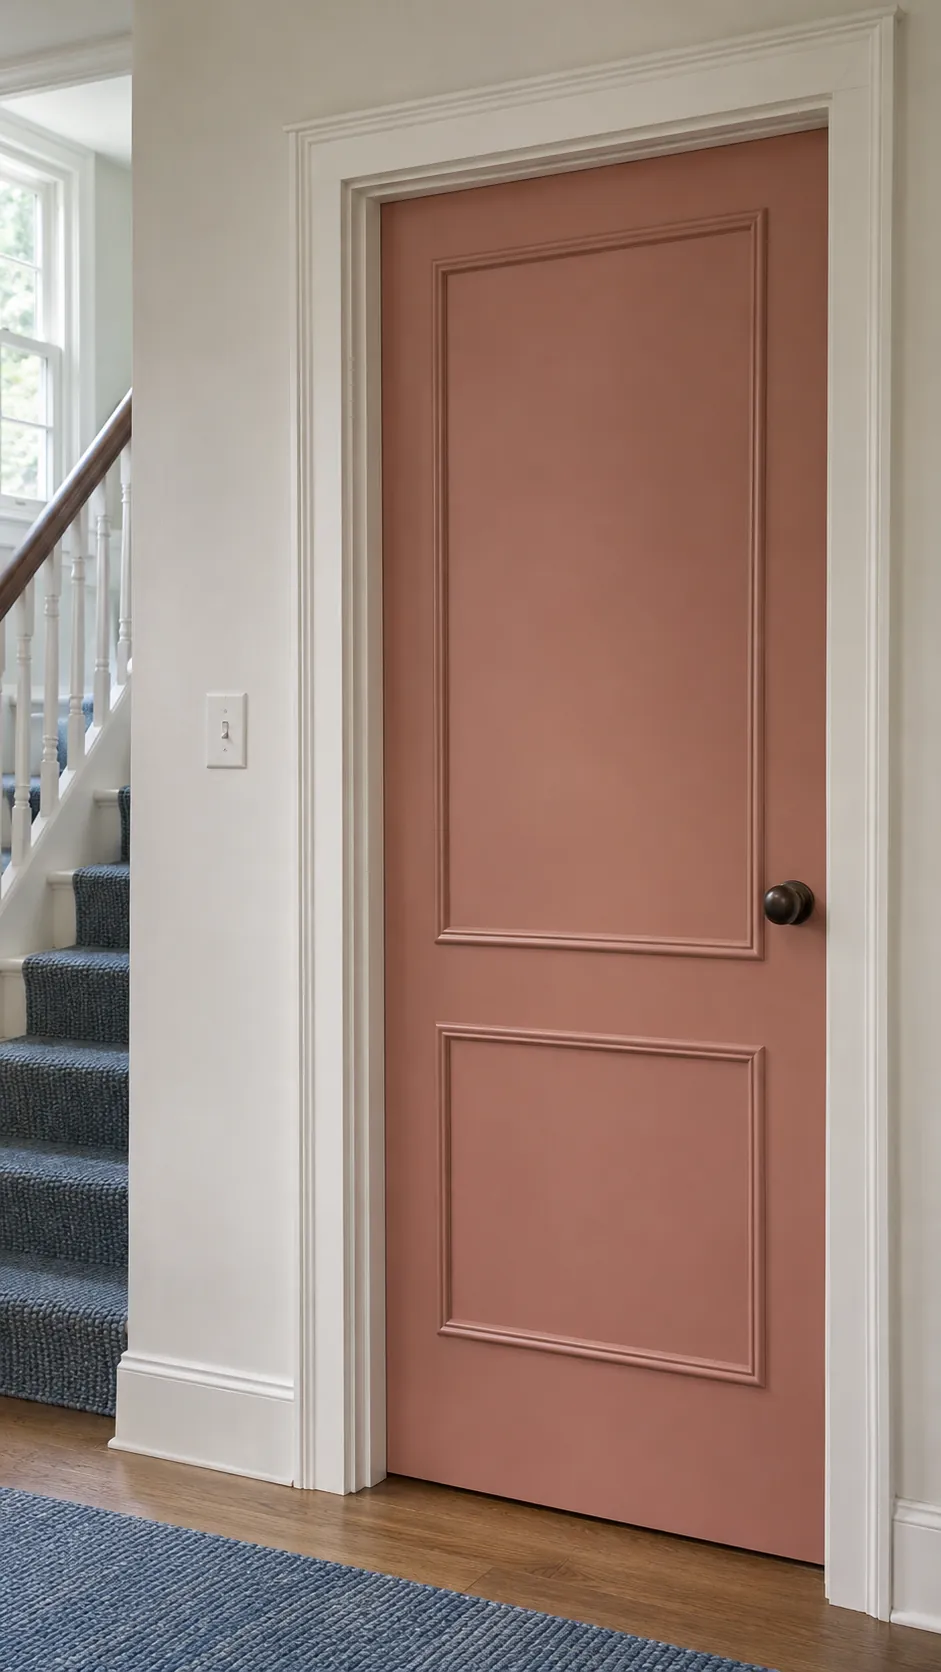
The hardest part of adding trim to a flat door is deciding where it goes. A layout that looks balanced on the floor can crowd the handle once the door is back on its hinges. Mock up the panels with tape while the door is still hanging, then build the layout you know will fit.
Choose a slim molding profile
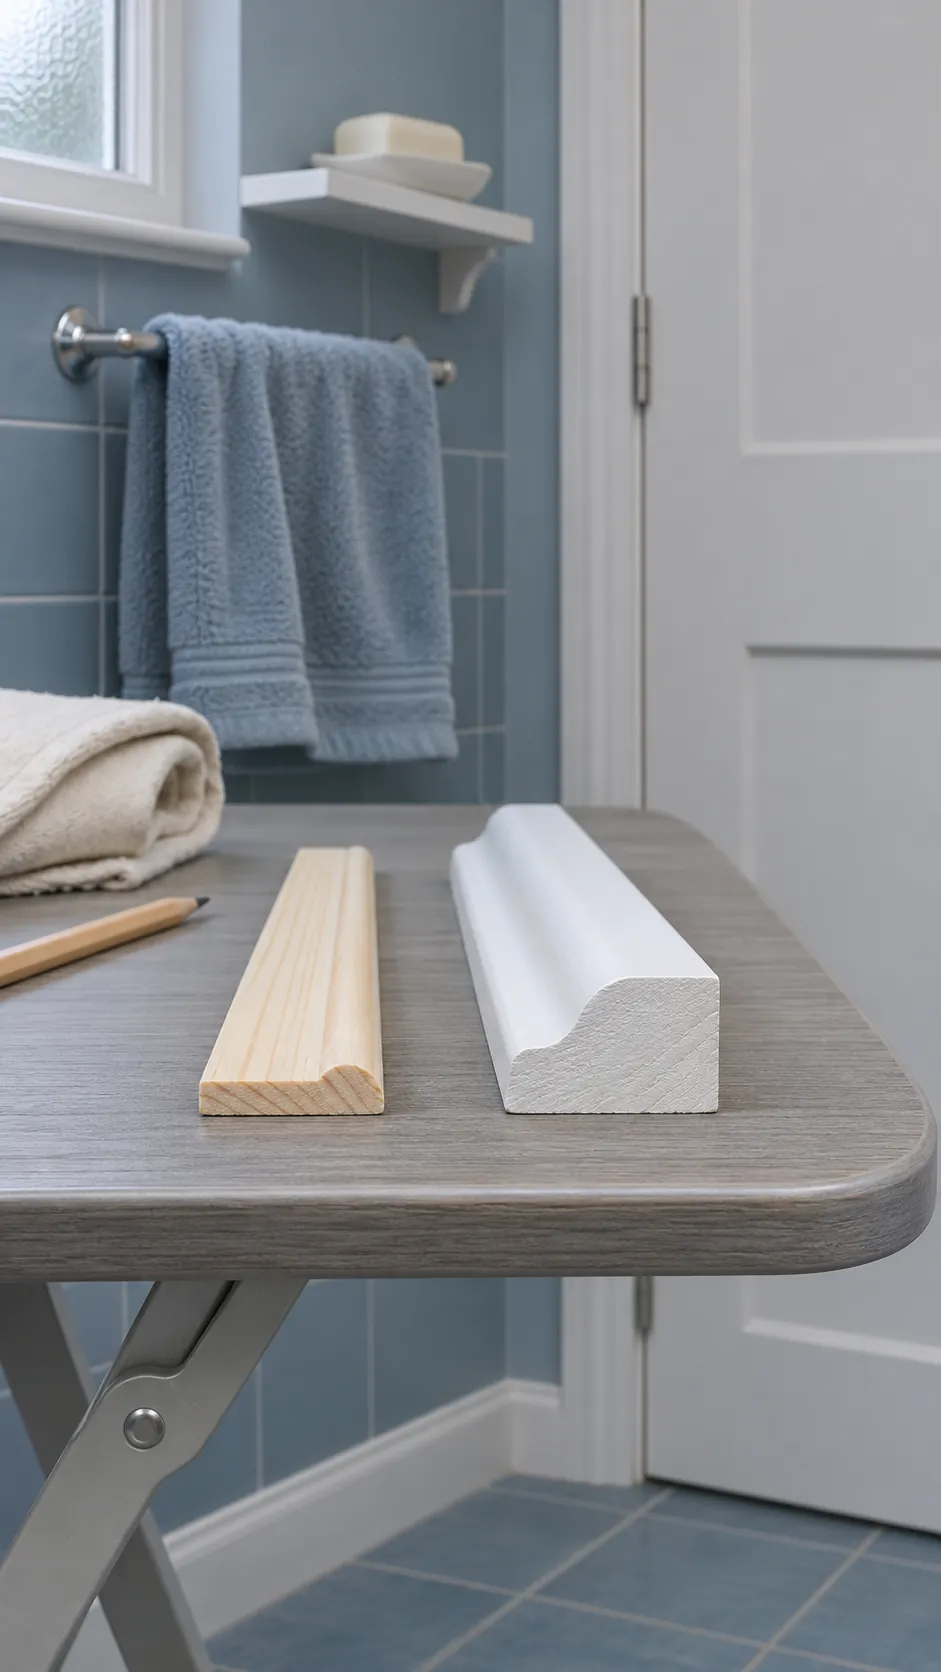
Hold a sample against the door and swing the door fully open. Look where the sample could meet the casing, a wall or the handle. Check the other face too if you plan to trim both sides.
On a sound hollow core slab, use lightweight trim with a flat back that gives the adhesive plenty of contact. Choose a moisture suitable material for a bathroom. Replace a slab with loose or swollen skin before adding trim, since molding needs a firm surface to bond to.
Tape the panel layout on the door
Mark each rectangle in painter’s tape. A tall top panel with a shorter panel below gives a plain slab a familiar paneled look. Leave enough blank space on the latch side for your hand to turn the handle comfortably.
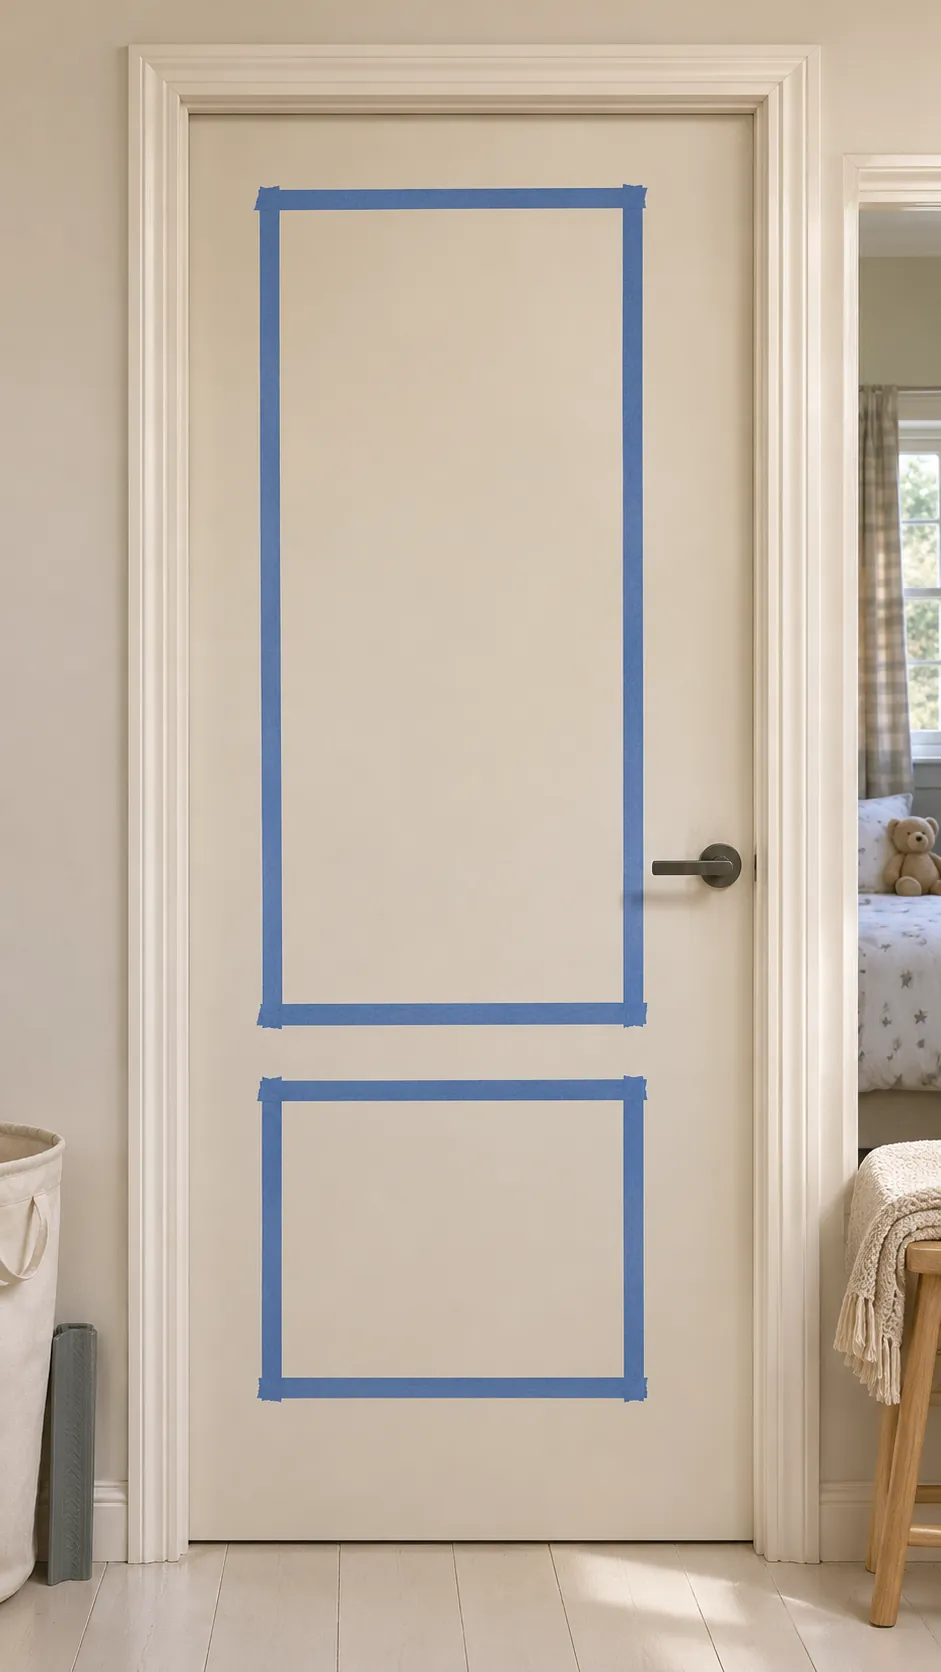
Measure both side margins from the slab edges and compare the space above and below the panels from across the hall. If the door edge is beveled, measure from the same face each time. Decide whether your tape represents the inner or outer edge of each panel and carry that choice through to the cut measurements.
Prepare the surface for adhesive
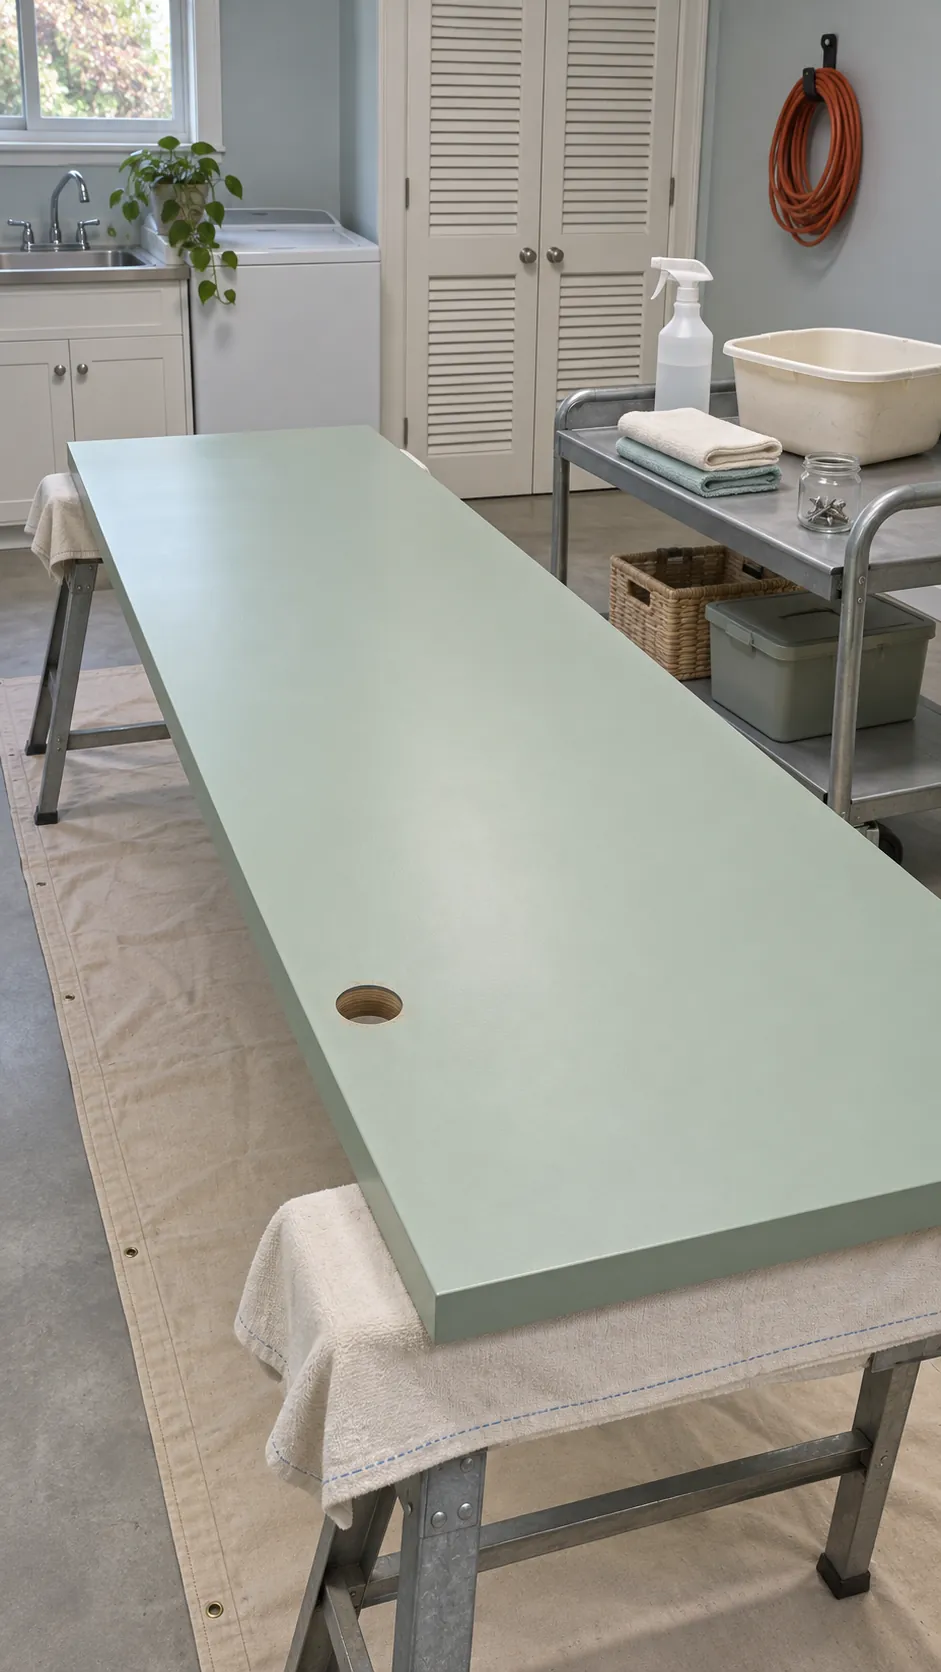
Remove the handle and store the screws together. If you take the door off, ask for help with a heavy slab and set it flat on padded stands. Wash off greasy fingerprints and let the surface dry before working.
Lightly scuff a sound glossy finish where the trim will sit, following the adhesive instructions. Wipe away dust. If an old finish may contain lead, have it assessed before disturbing it and use the applicable safe work practices.
Cut the miters and dry fit each panel
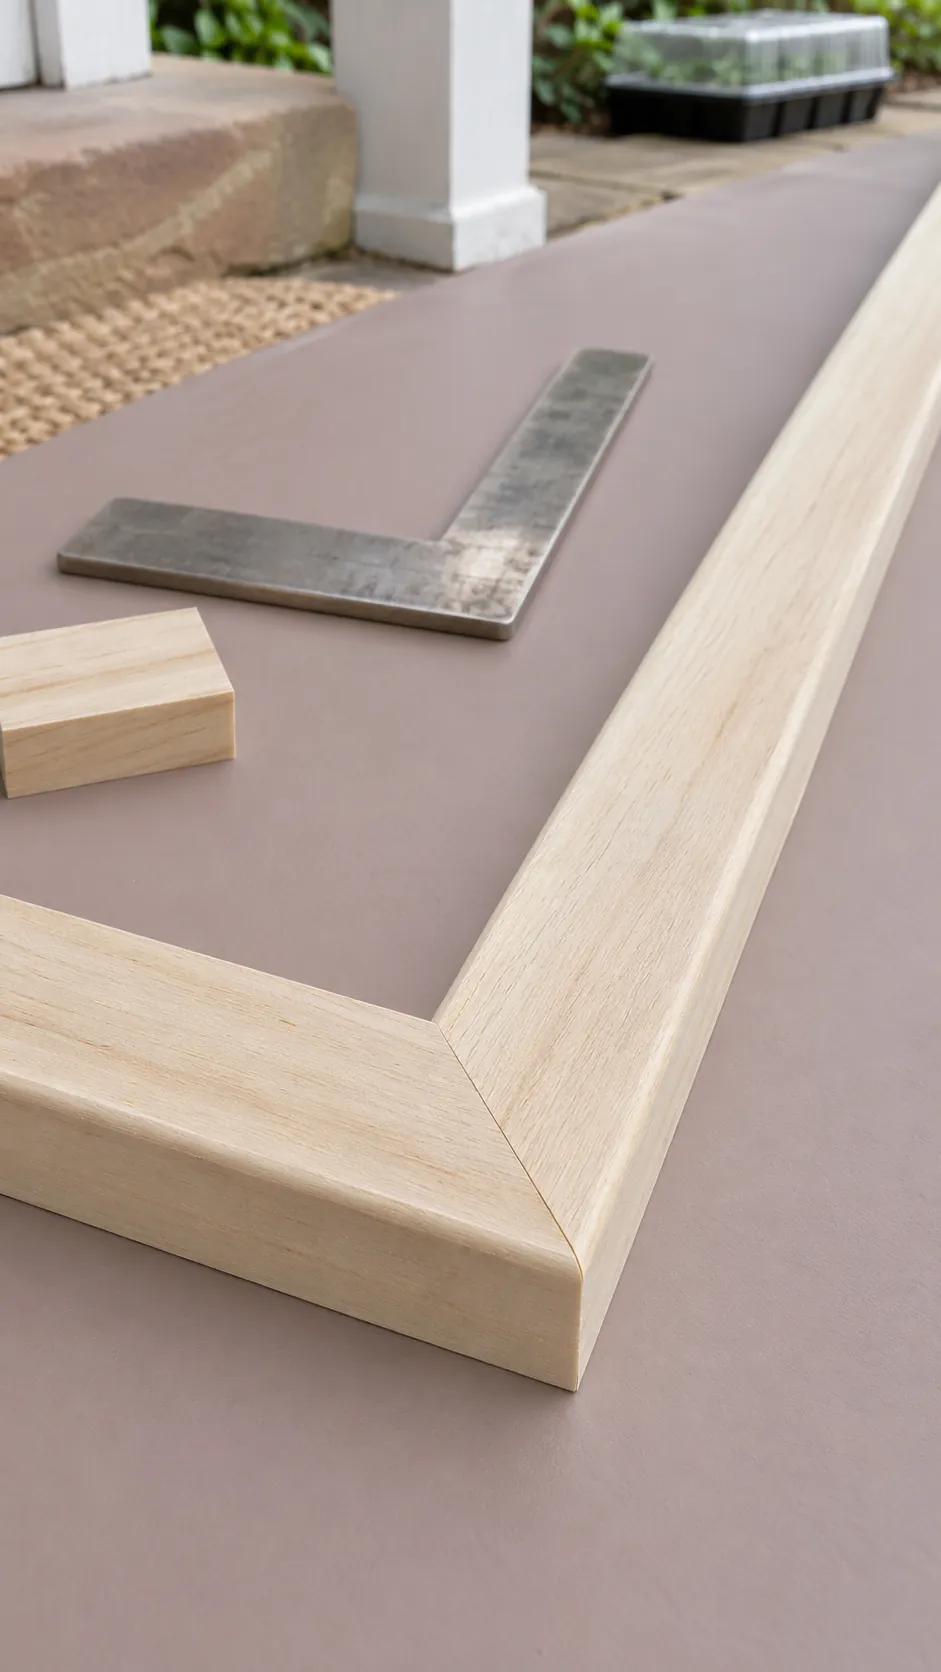
Cut a pair of test miters from scrap and bring them together. If they close into a square corner, measure each molding piece using the same edge you chose in the tape layout. The long points of the miters define the outside dimensions.
Lay all four pieces in place before you glue. Check both diagonals with a tape measure to confirm the rectangle is square when opposite sides are equal. Trim a long piece in small increments, and recut any piece that would require a thick line of filler at the corner.
Glue the trim and hold it still
Use an adhesive rated for both the door finish and the molding material. Put it on the flat back according to the directions and keep it away from the visible edges. Position the longest piece against your guide marks, then fit the adjoining pieces and recheck the corners.
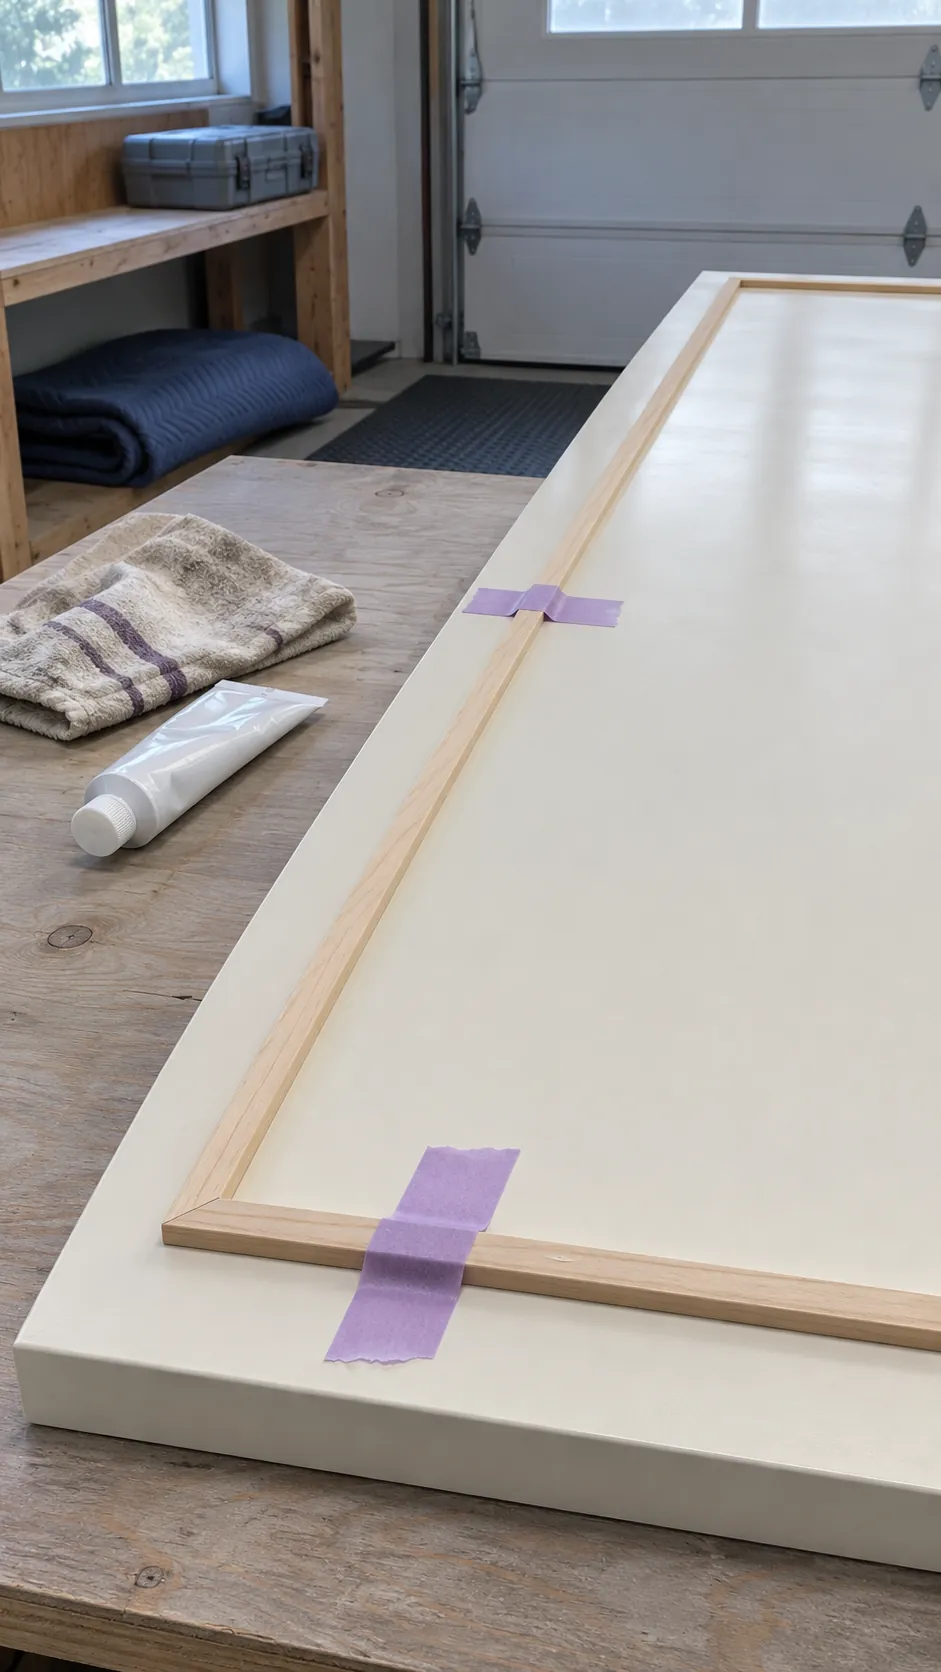
Hold the pieces in place with tape or another method allowed by the adhesive instructions. On a hollow core door, check what backs the face before using nails. Clean squeeze out as directed and let the adhesive cure before sanding, painting or putting the slab back in service.
Paint the molding and door as one surface
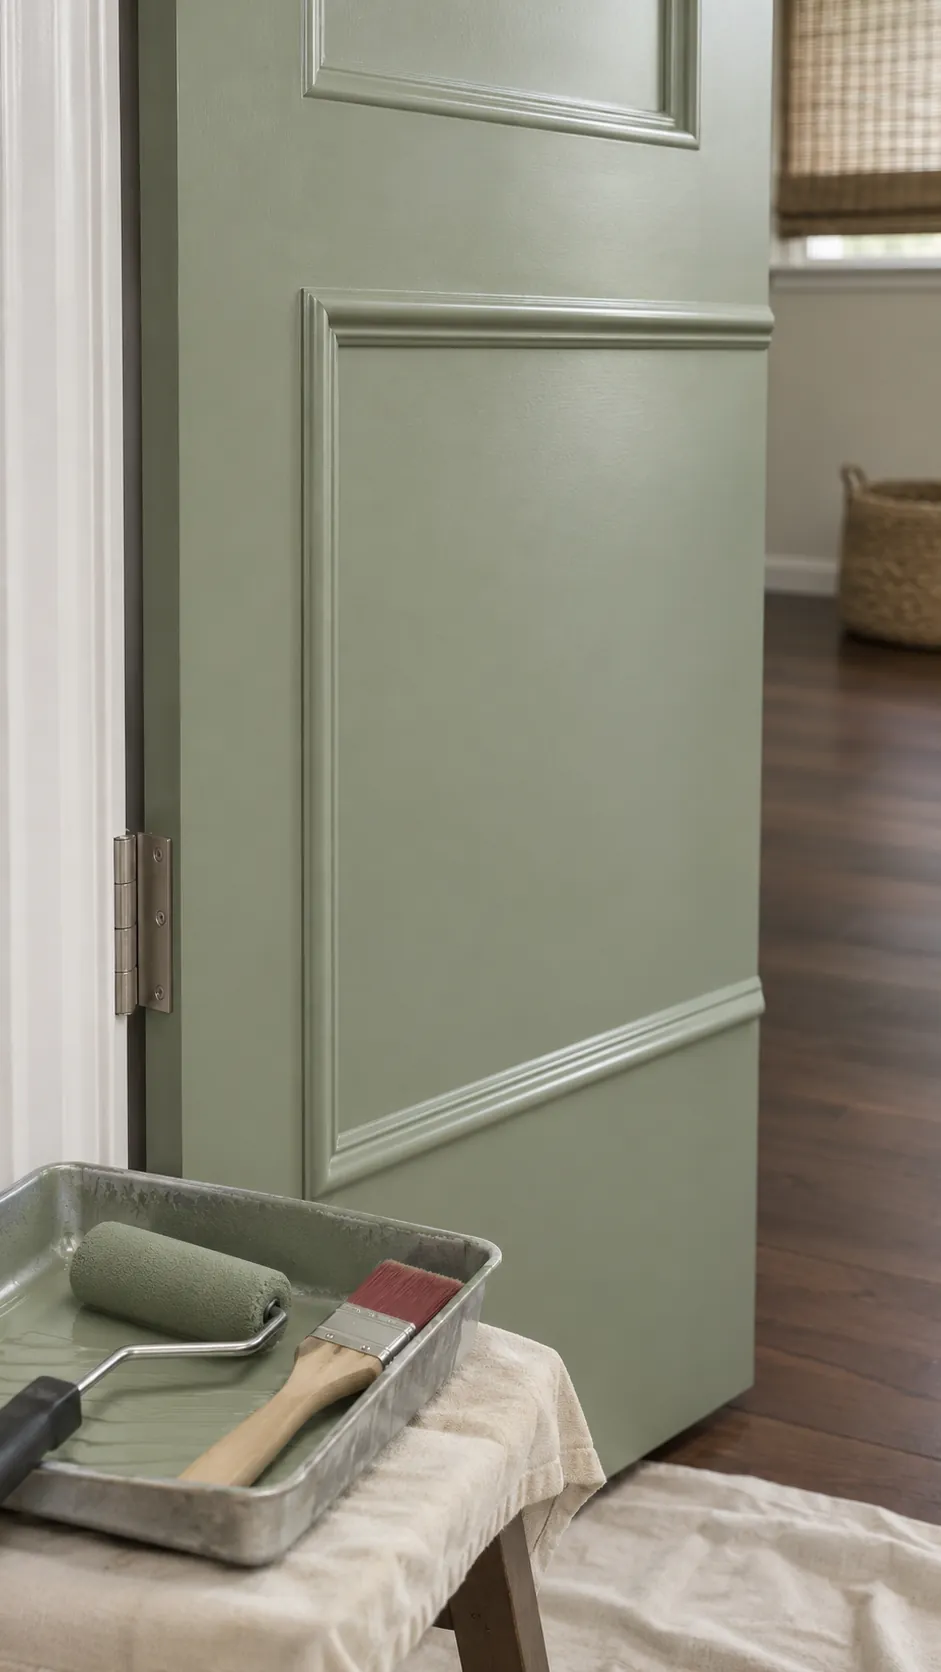
Use the appropriate filler for small miter gaps and paintable caulk where a hairline seam remains along the molding. Let repairs dry, then prime bare material and any areas that need it. Brush the molding details and roll the flat areas in thin coats. Rehang the door and reinstall the handle once the coating can withstand handling, then check the full swing for contact.