
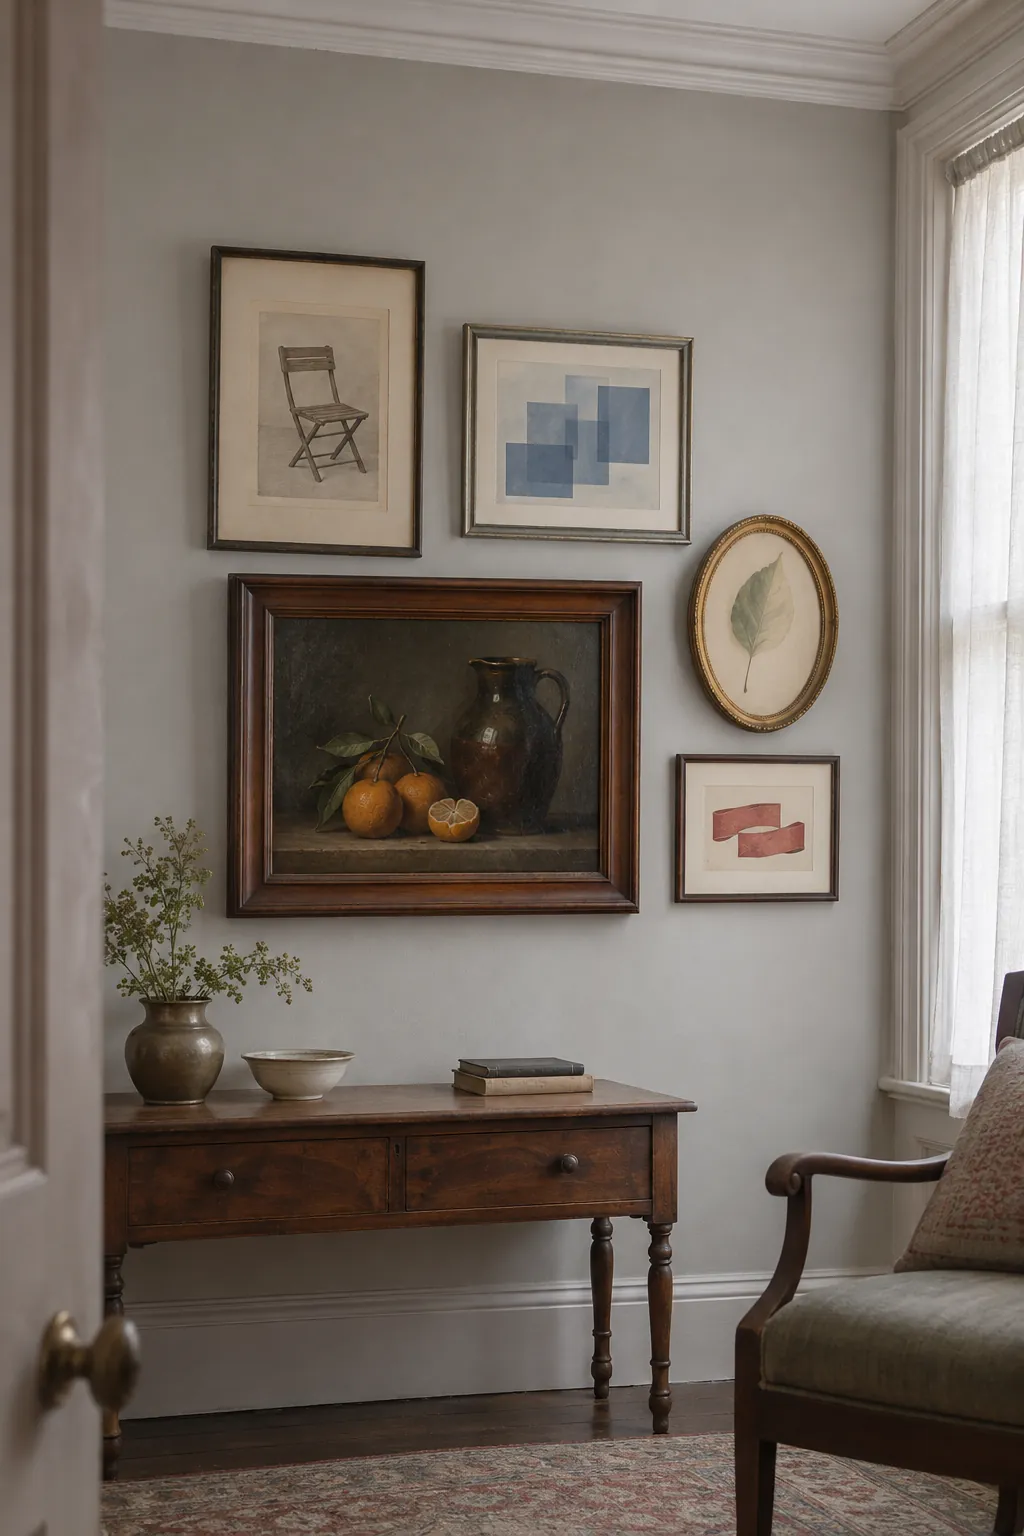
The hardest part of hanging old frames is often the space between them. One heavy frame can make the whole wall lean to one side even when every hook is level. Pick a piece or a line to build around, then look at the group from your usual seat or doorway. That view tells you what to move before the hooks go in.
Start With One Anchor Piece
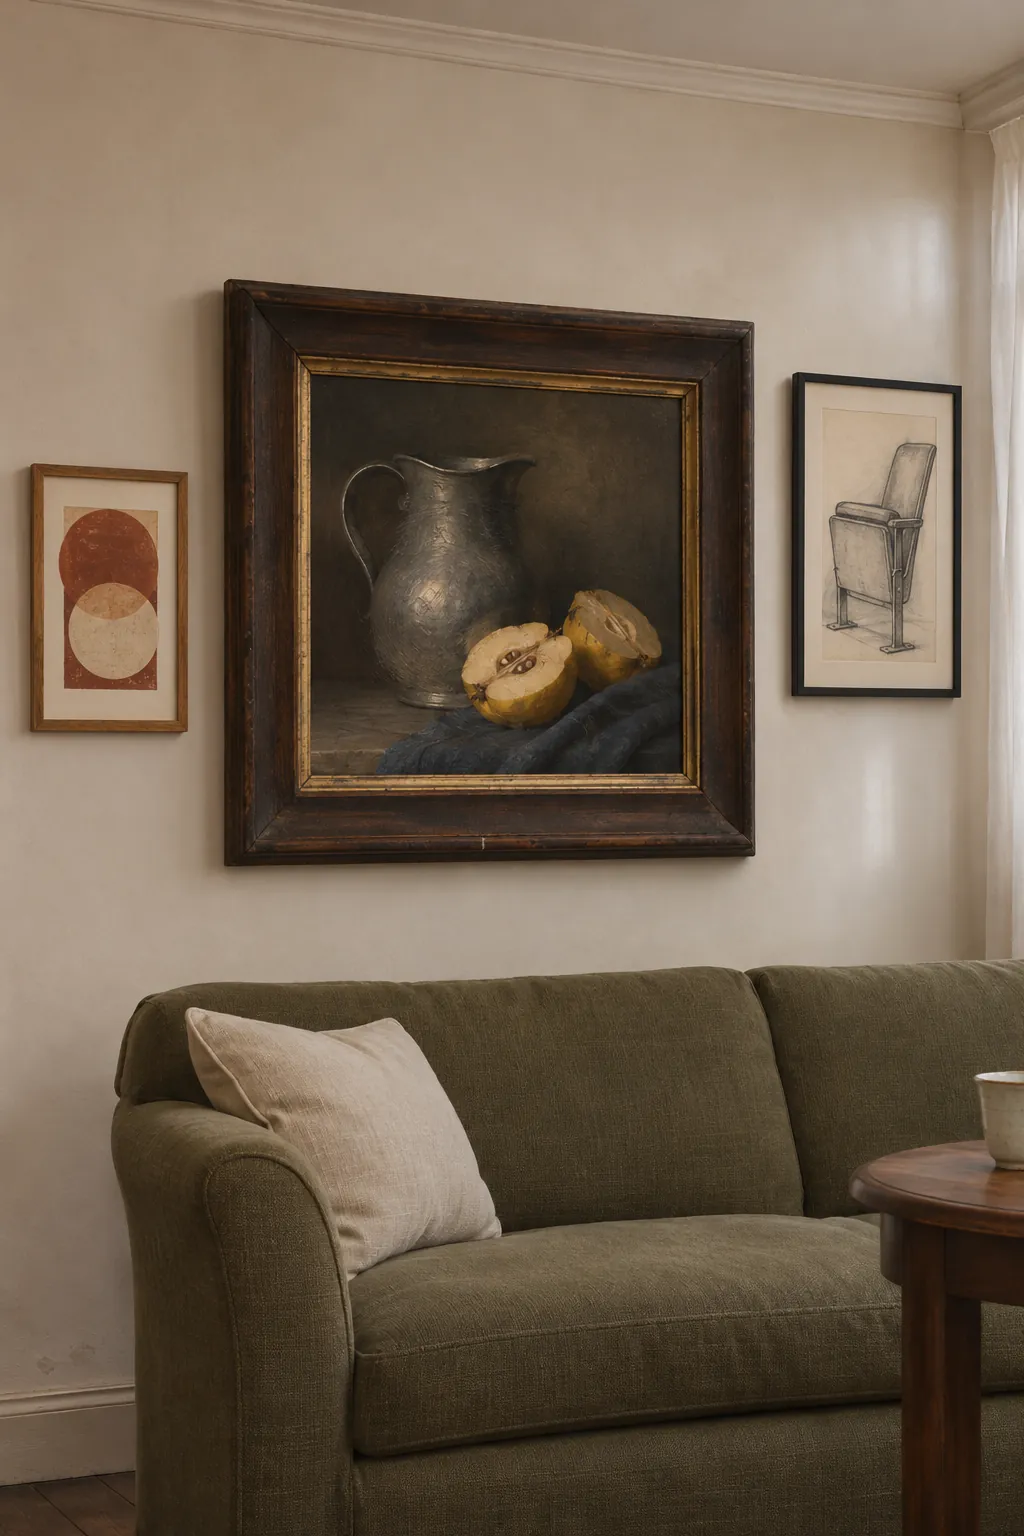
A central piece gives you somewhere to start when the frames are all different sizes. Put it on the floor beside two smaller frames and see which edges line up without forcing a grid. Move the whole group on paper until the anchor looks balanced above the furniture.
Make a Grid of Botanical Plates
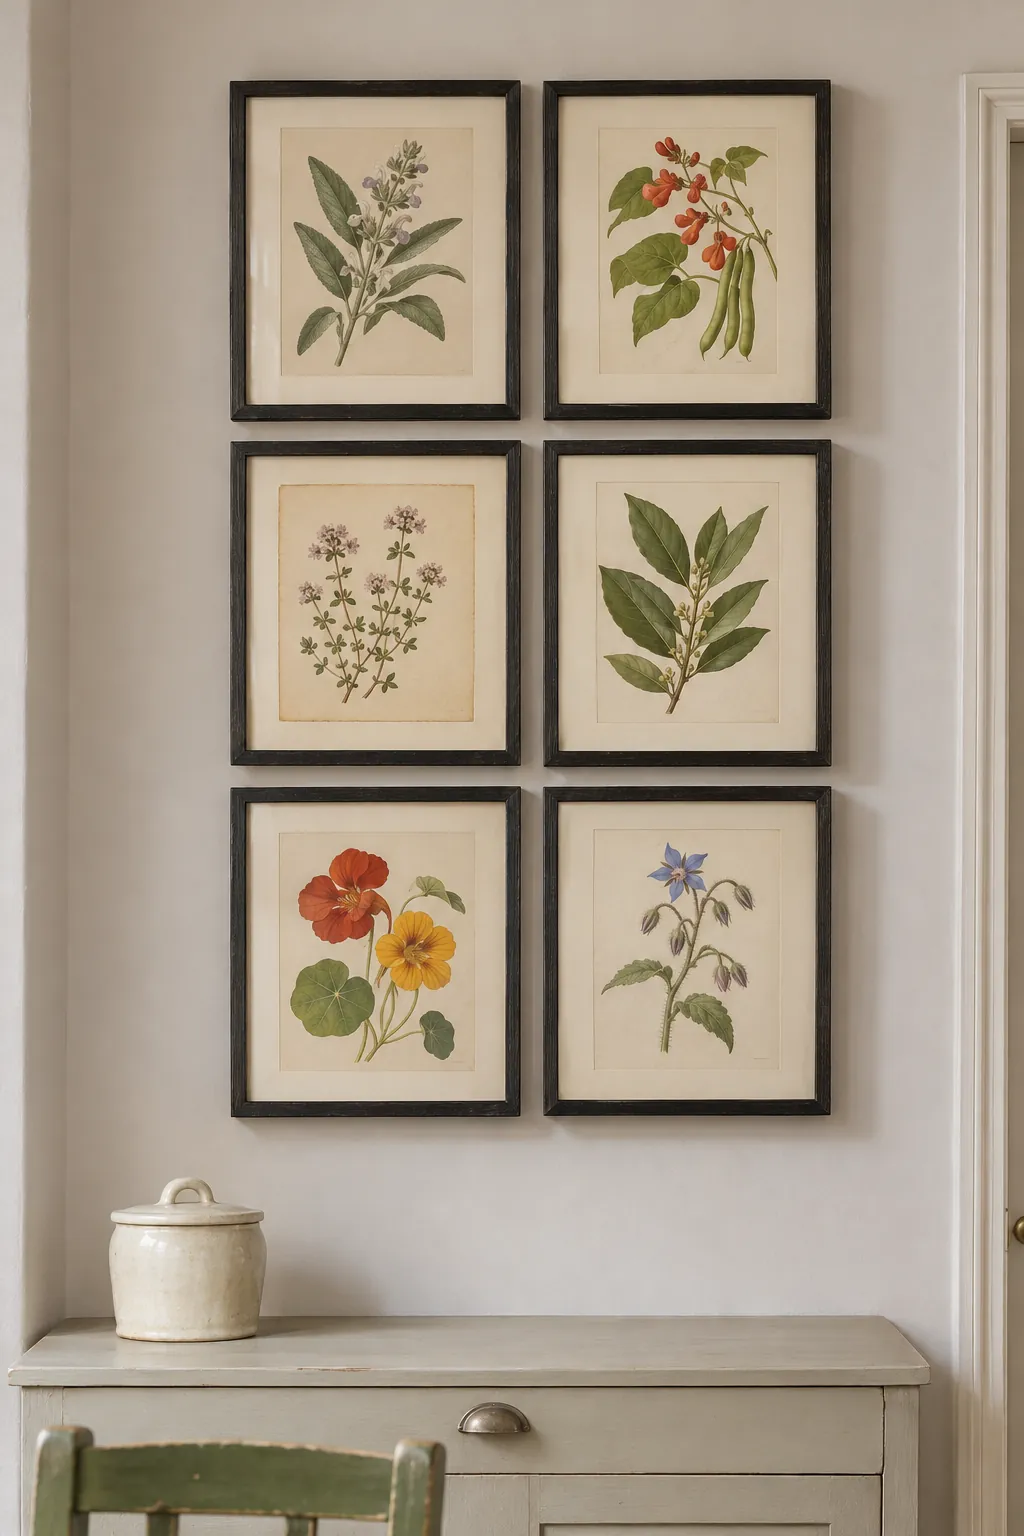
A simple grid makes the similarities in a set of antique botanical plates easy to see. Match outer frame sizes first, then use mats to accommodate different paper widths. Lay out a horizontal reference line and check the distance between the frames before drilling.
Build an Asymmetrical Salon Wall
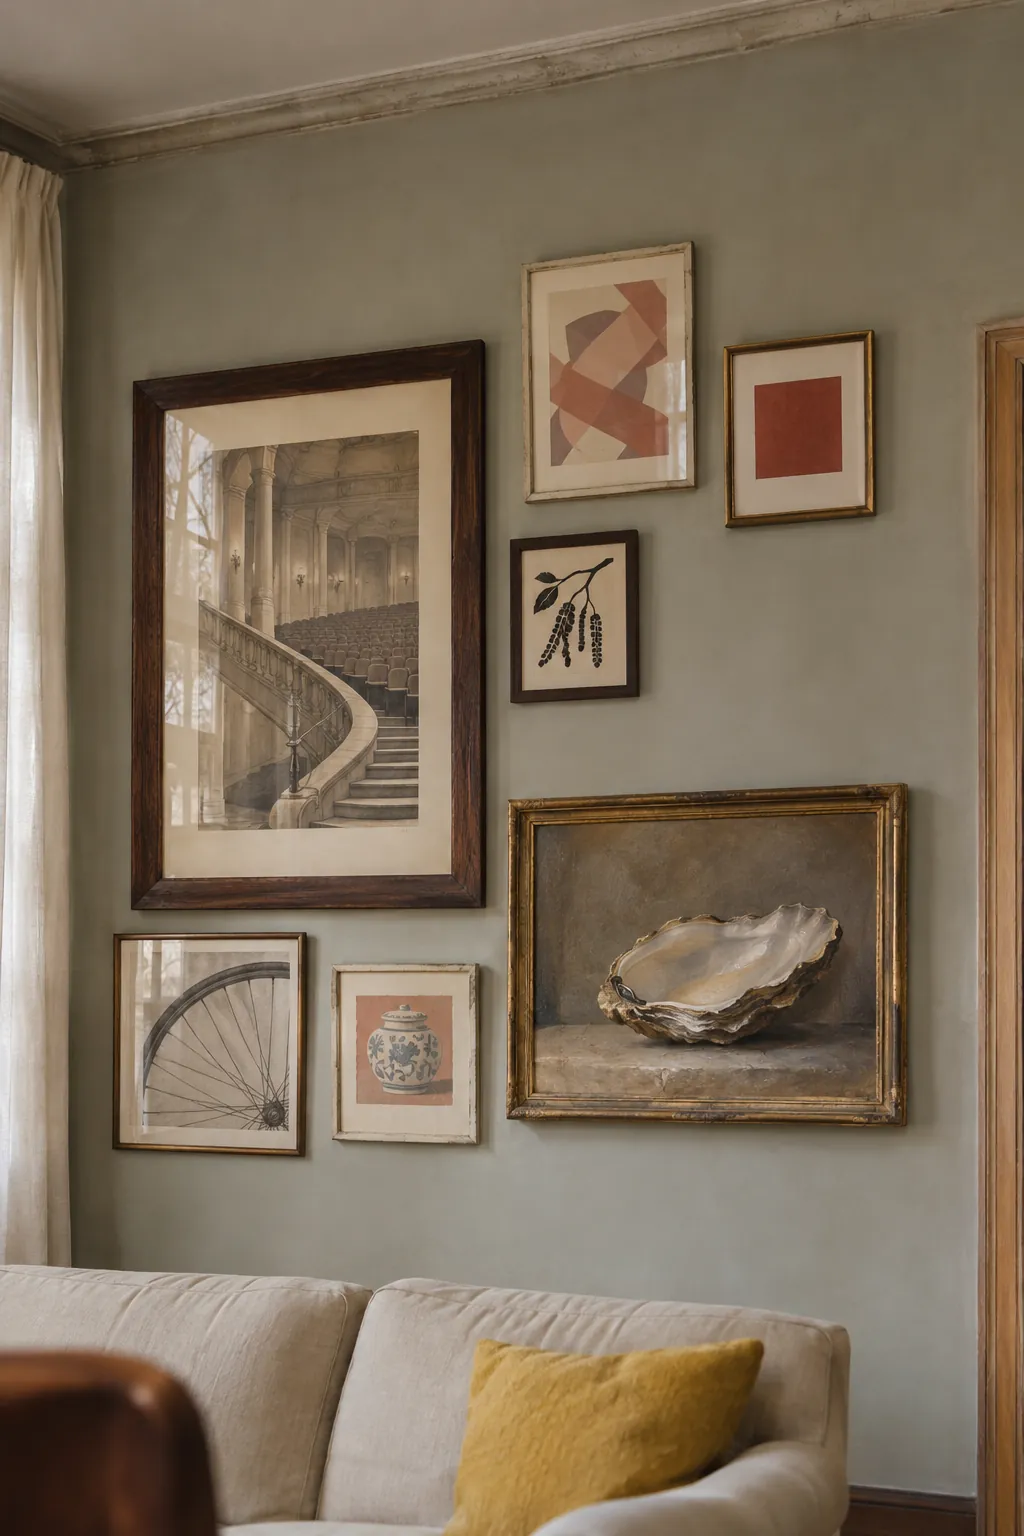
An asymmetrical salon wall can use a few large frames and fill smaller openings with compact pieces. Keep one kind of gap roughly consistent so the eye can follow the arrangement. Trace the outer silhouette on the wall with paper templates before you decide where each group ends. A large dark frame near one end can carry the weight of several smaller ones.
Try the smaller pieces farther out once the biggest ones are placed. Check that a loose edge still looks intentional from the doorway. Leave a larger gap above any furniture you use daily.
Follow the Rise of the Stair
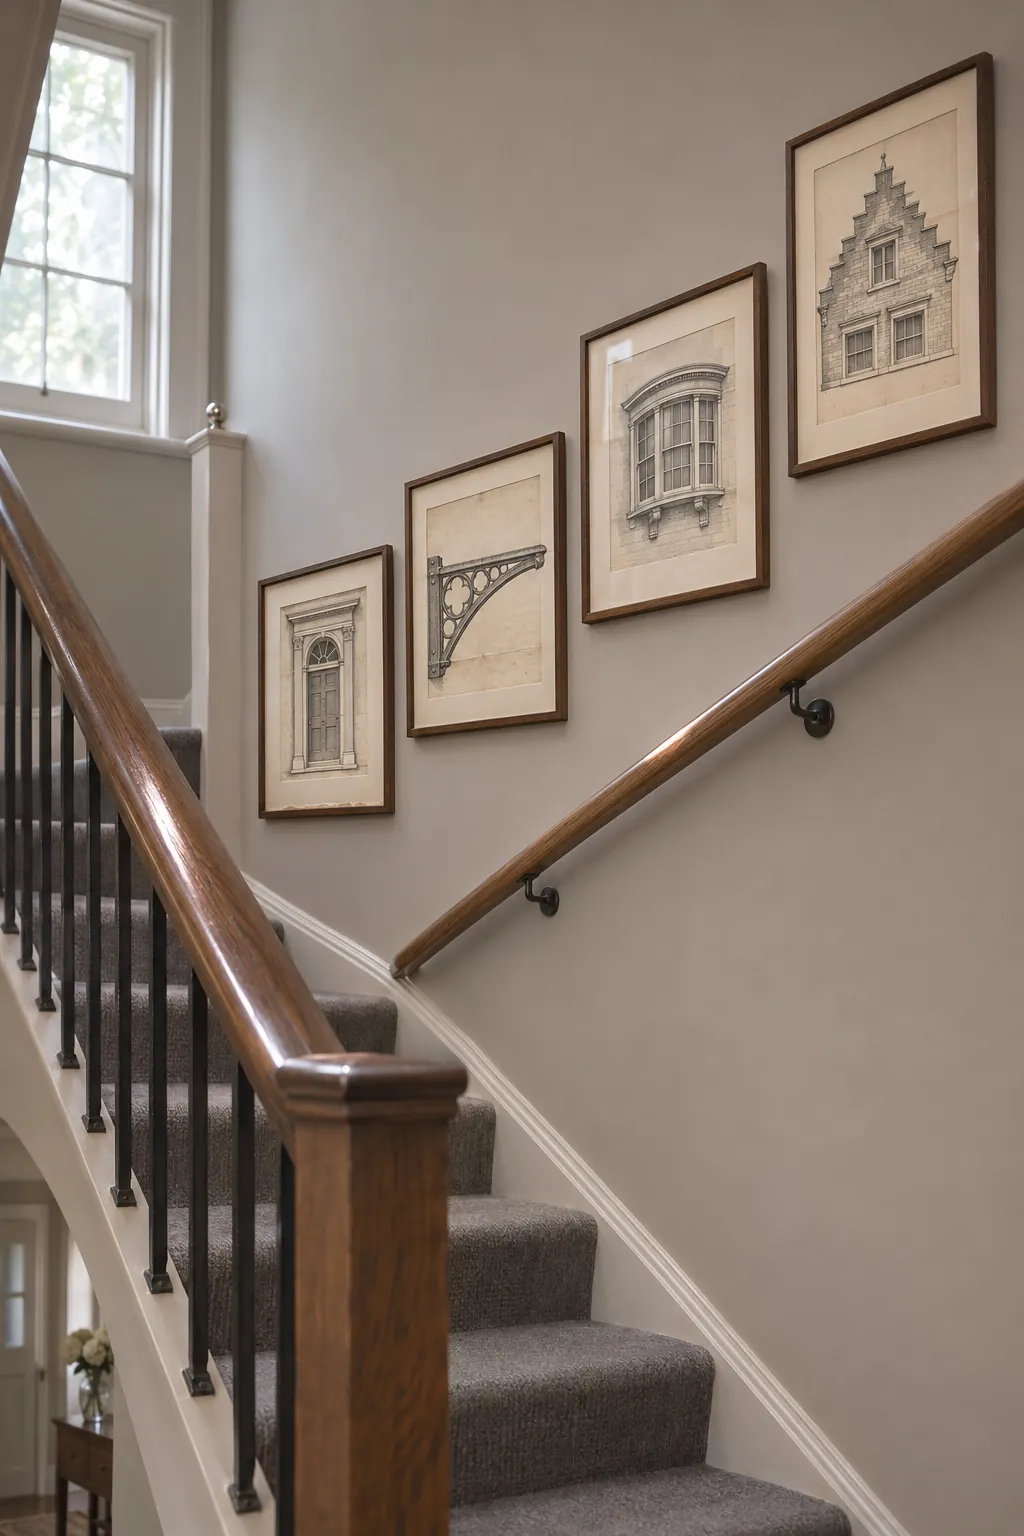
A stair gives you a visible line to work from. Try the centers of the frames at an even distance above the pitch and adjust if an especially tall piece reaches into a handrail or the edge of a landing. Check the arrangement from both floors before hanging it.
Layer Two Rows on Picture Ledges
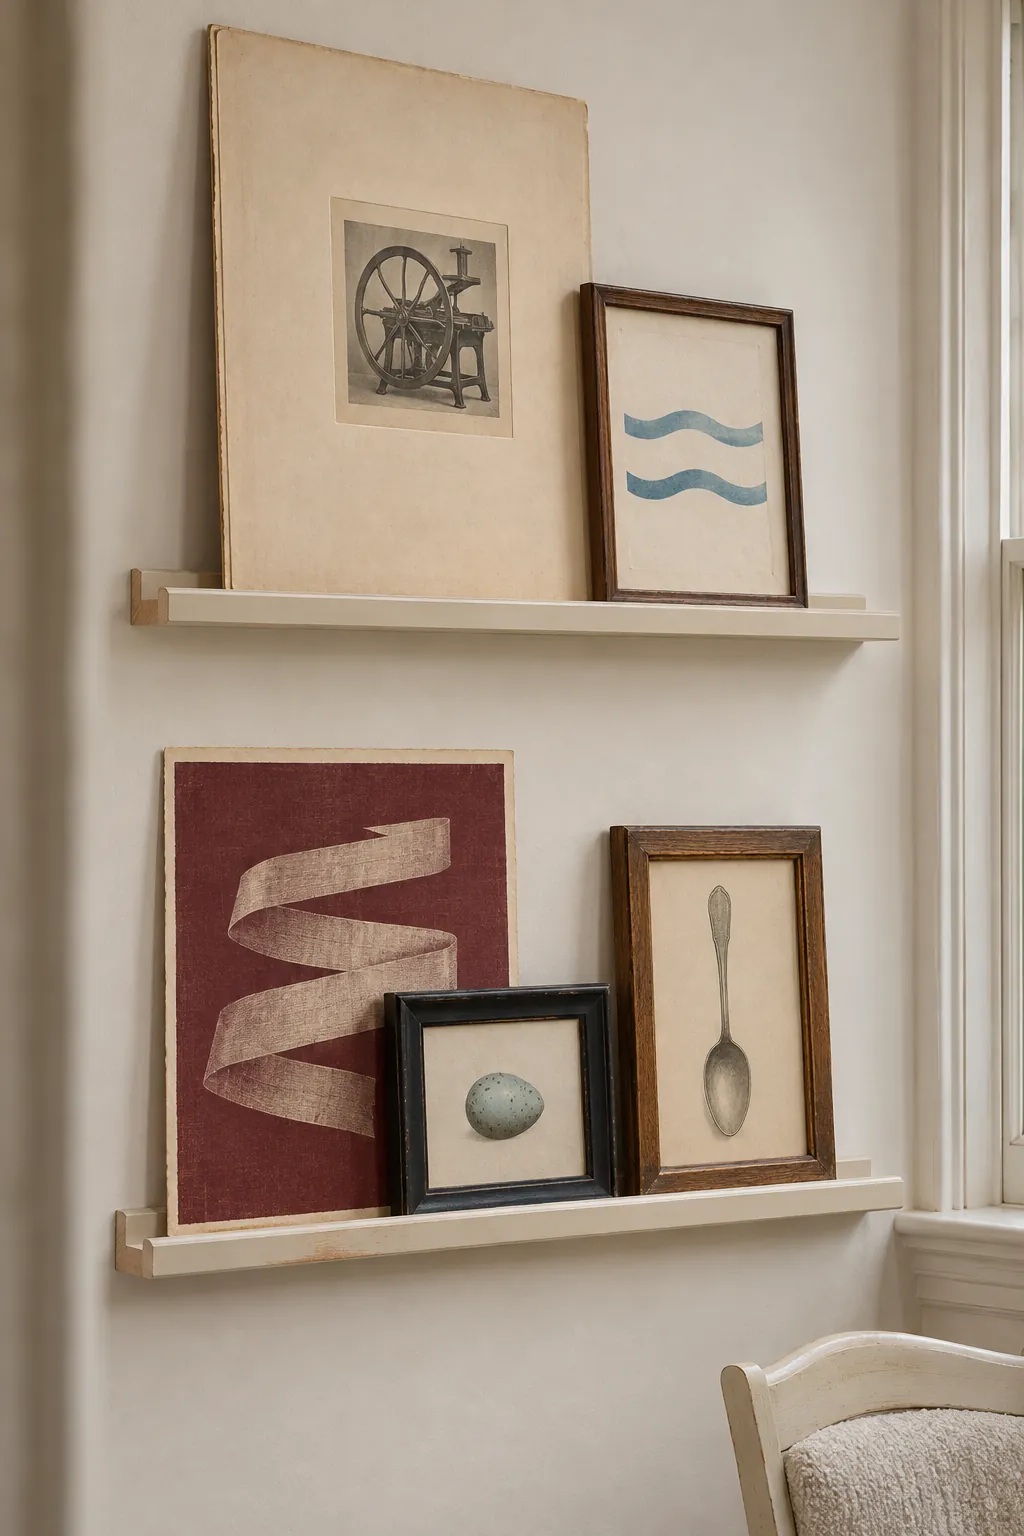
Picture ledges make it easy to try out a pair of prints without moving every fixing. Put taller frames behind short ones and leave enough of each subject exposed for it to read. Use ledges intended for the load and follow the maker’s guidance for keeping frames in place.
Gather Warm Brass and Gilt Frames
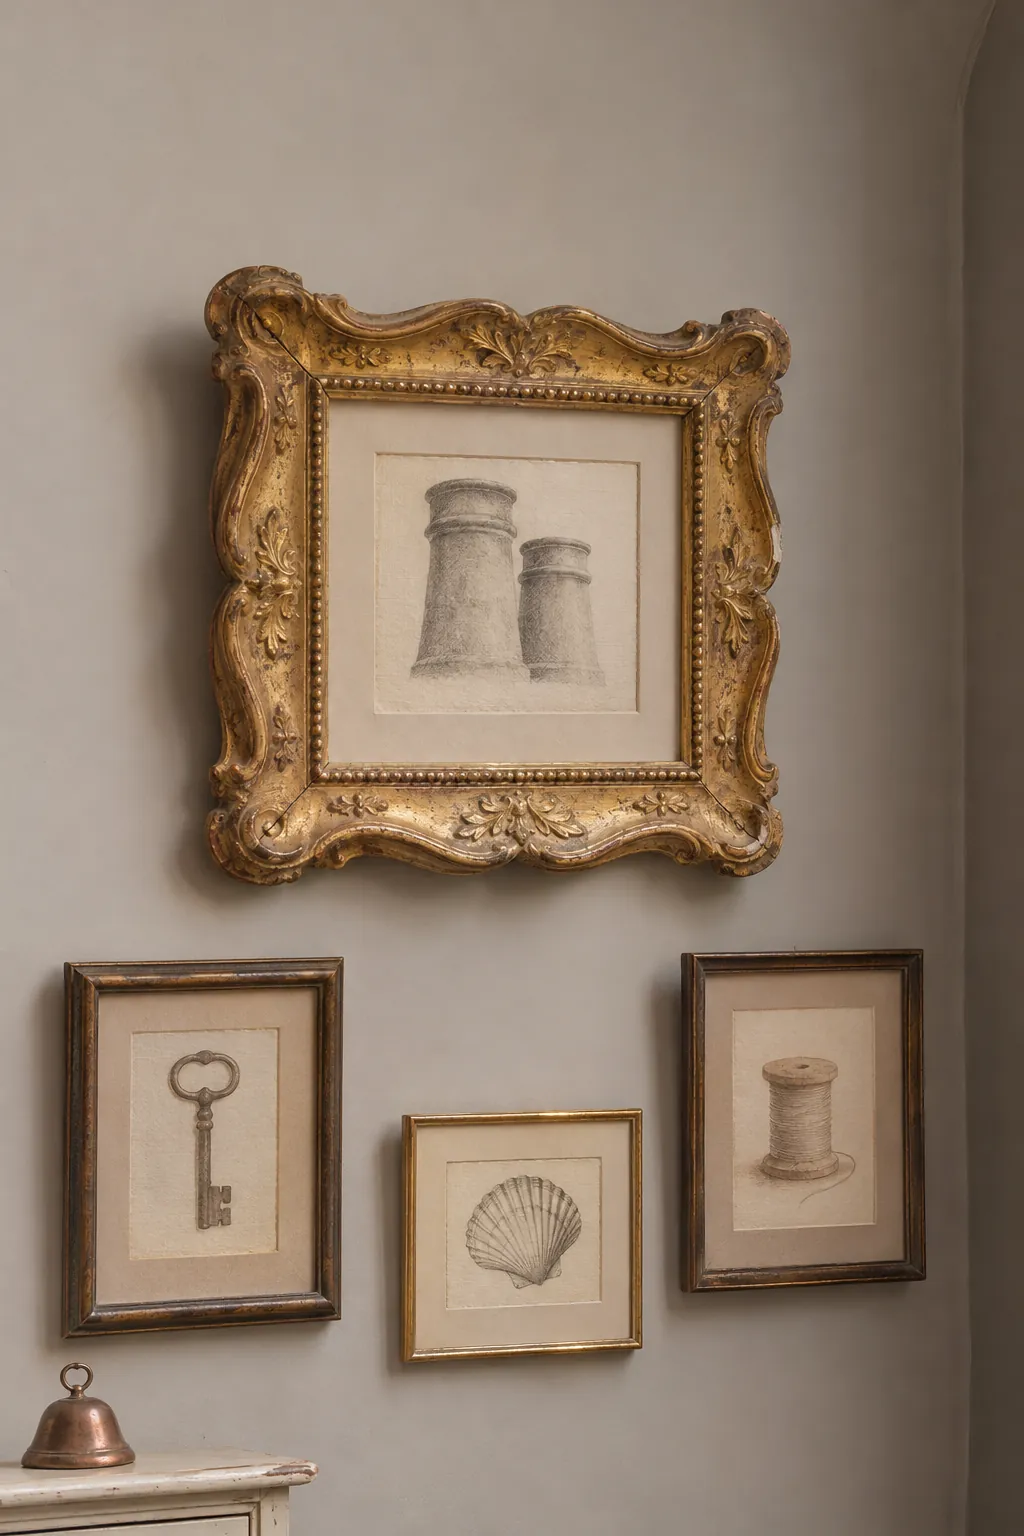
Different shades of gold can work together when the art inside is quiet. Place a deep carved frame beside a simpler narrow one so both edges stay readable. Look closely at old corners and secure any loose fittings before hanging.
Connect Mismatched Prints With Black Frames
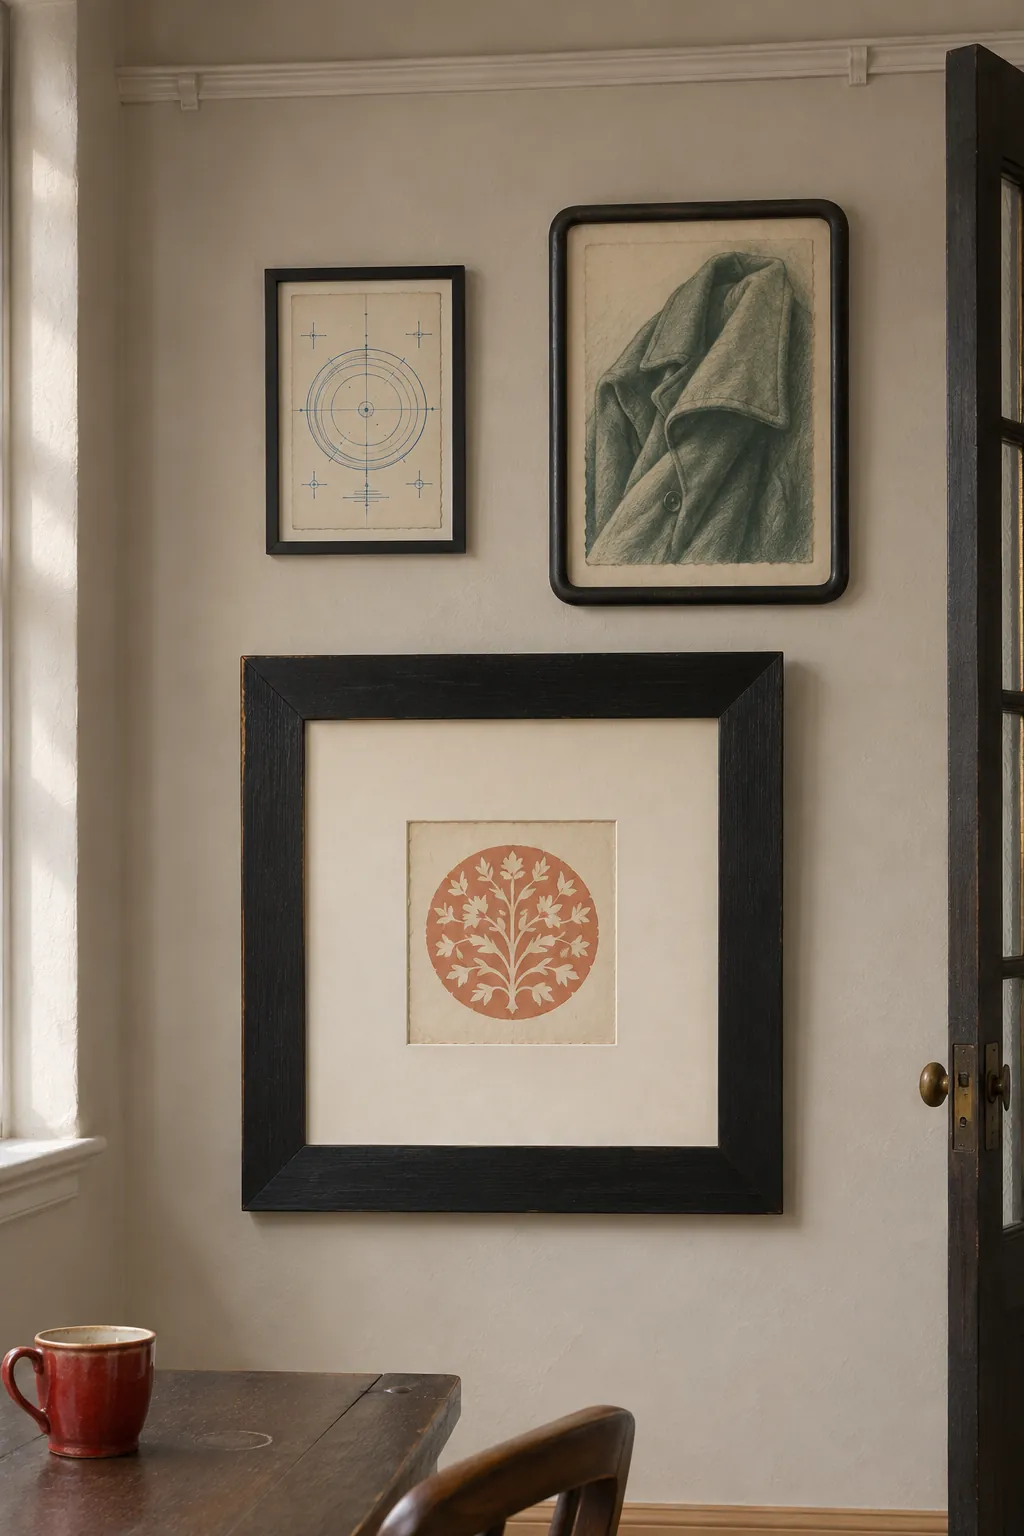
Plain black frames can tie together pieces from different periods. Use a wide frame where a small piece needs area around it and a slim frame where a poster already has a strong edge. Try a few cream mats to keep the wall from turning into one dark mass.
Fit an Oval Into a Rectangular Group
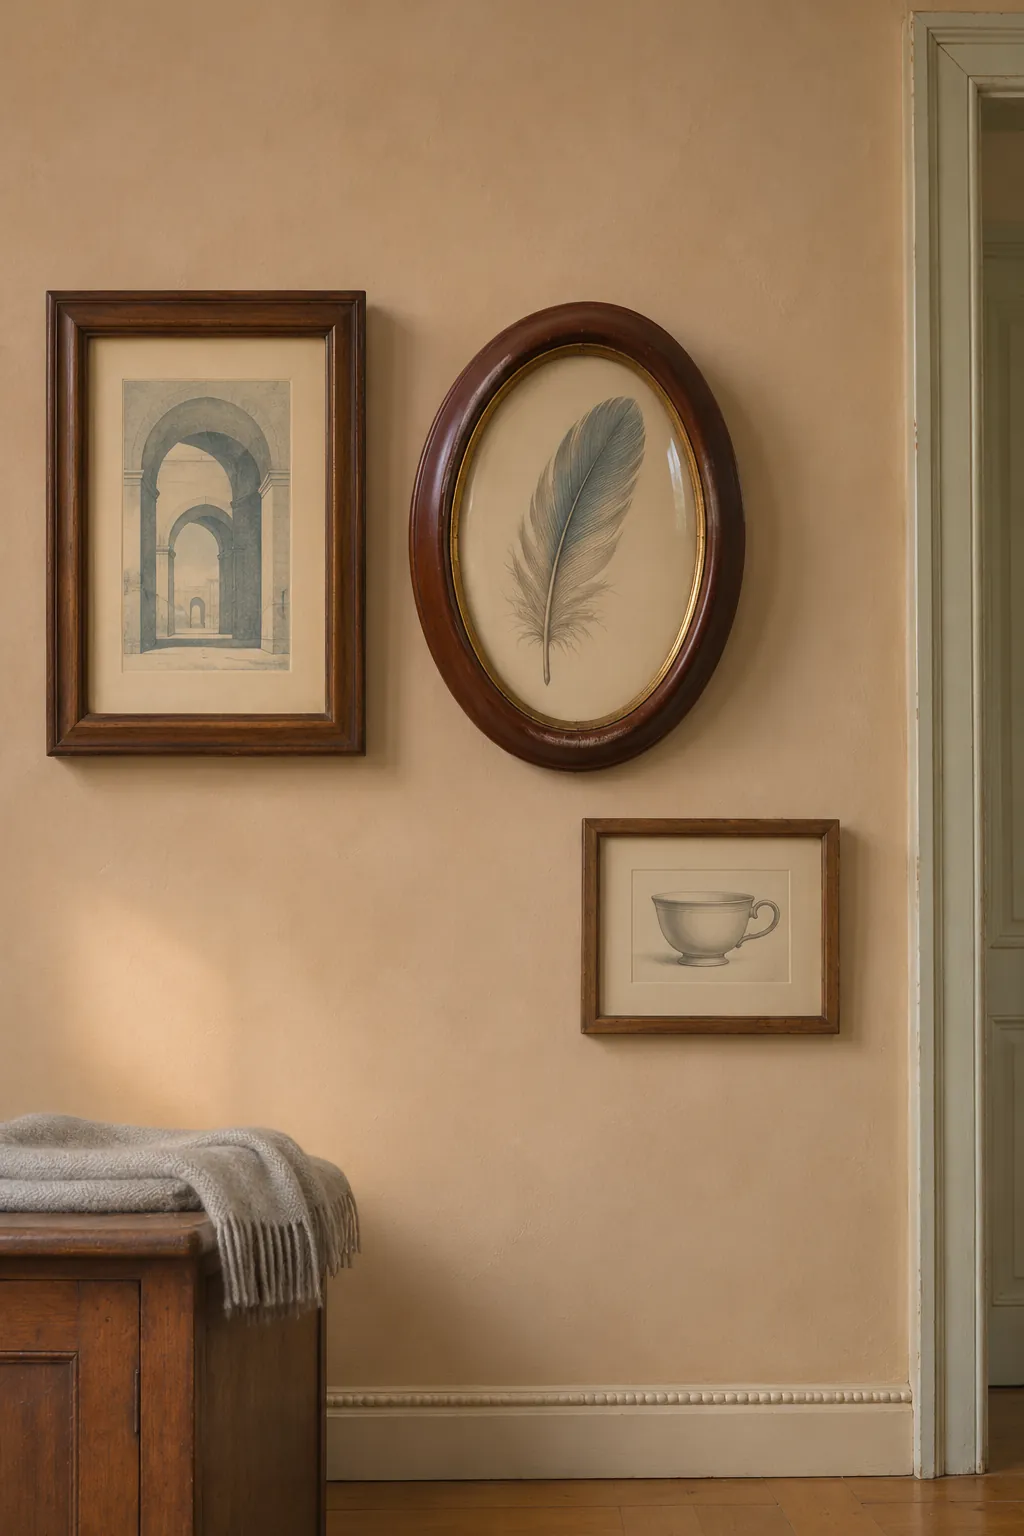
An oval gives the eye a different shape in a set of rectangles. Place it to one side of the anchor and use the space around the curve to balance a smaller frame below. Cut a paper oval at its full outer size before using the spare space for anything else.
Pair Two Old Maps
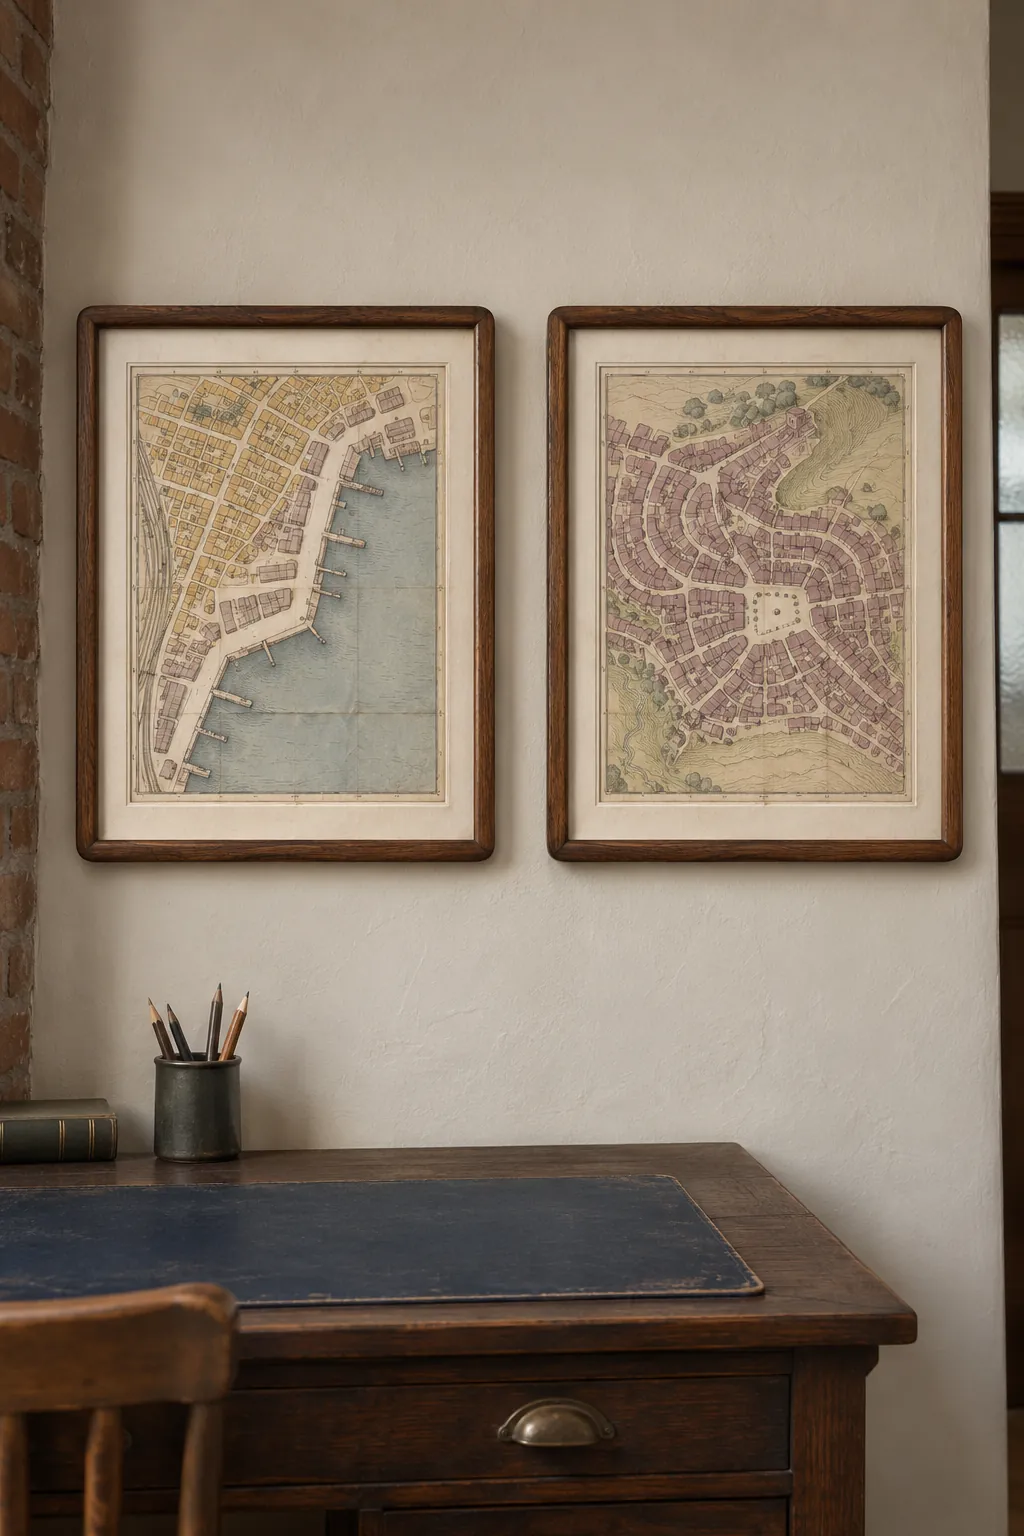
A pair of maps can tell a small story when the subjects relate, such as two neighborhoods where you have lived. Choose maps with enough detail to reward a close look and with overall outlines you can see from across the room. Keep originals away from direct sun and use copies if you want to crop them.
Use Old Posters in a Low Horizontal Row
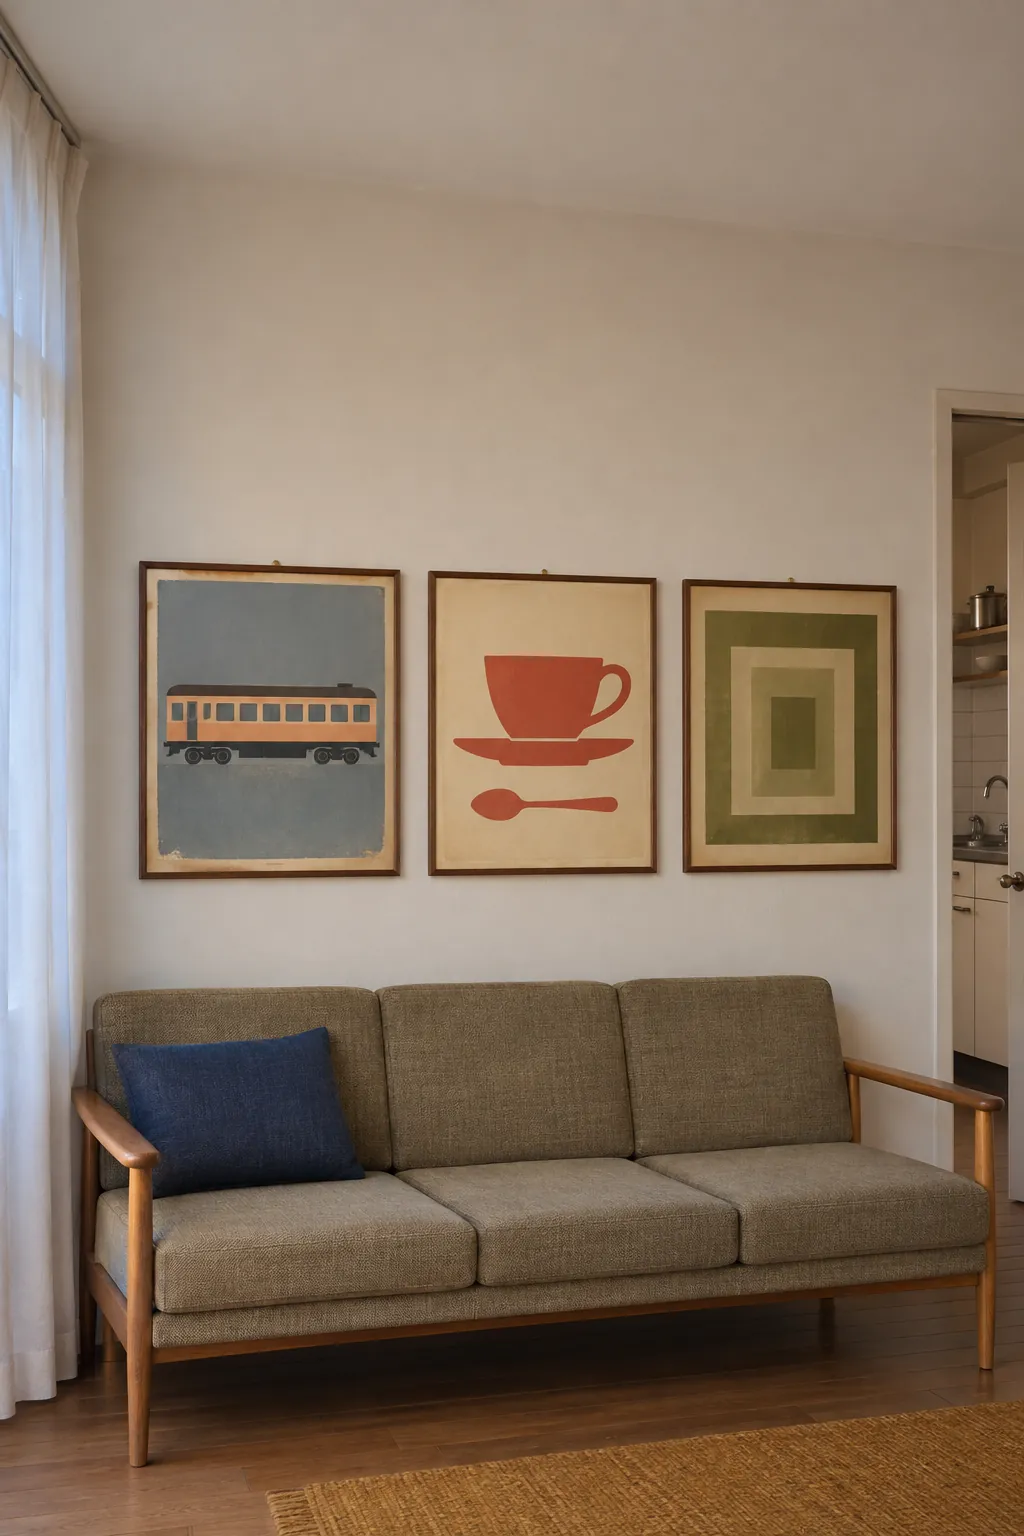
Wide poster graphics can hold their own in the long space above a sofa. Match the top or bottom edge, depending on which line the furniture already gives you. Set the lower edge high enough to clear anyone sitting back.
Add One Woven Piece Among the Frames
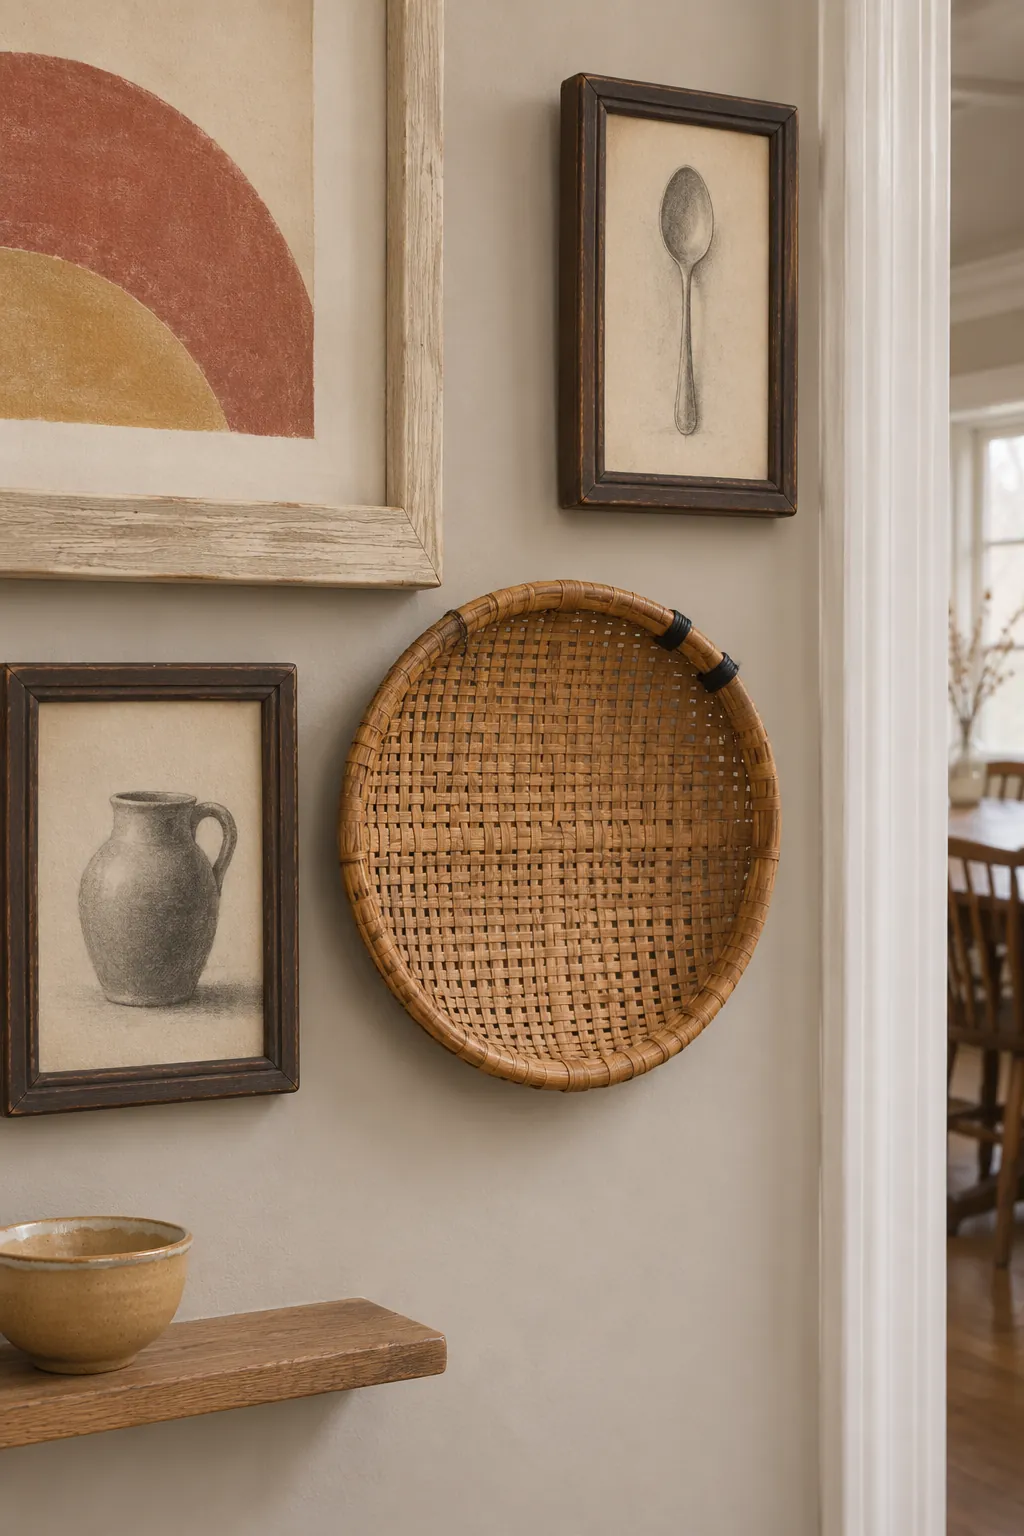
A shallow woven dish can add texture between flat prints, especially against a plain wall. Choose one with a tight outline so it leaves room for the nearby frames. Use an attachment suited to its weight and hang it away from a spot where shoulders will brush it.
Group Old Photographs in Black and White
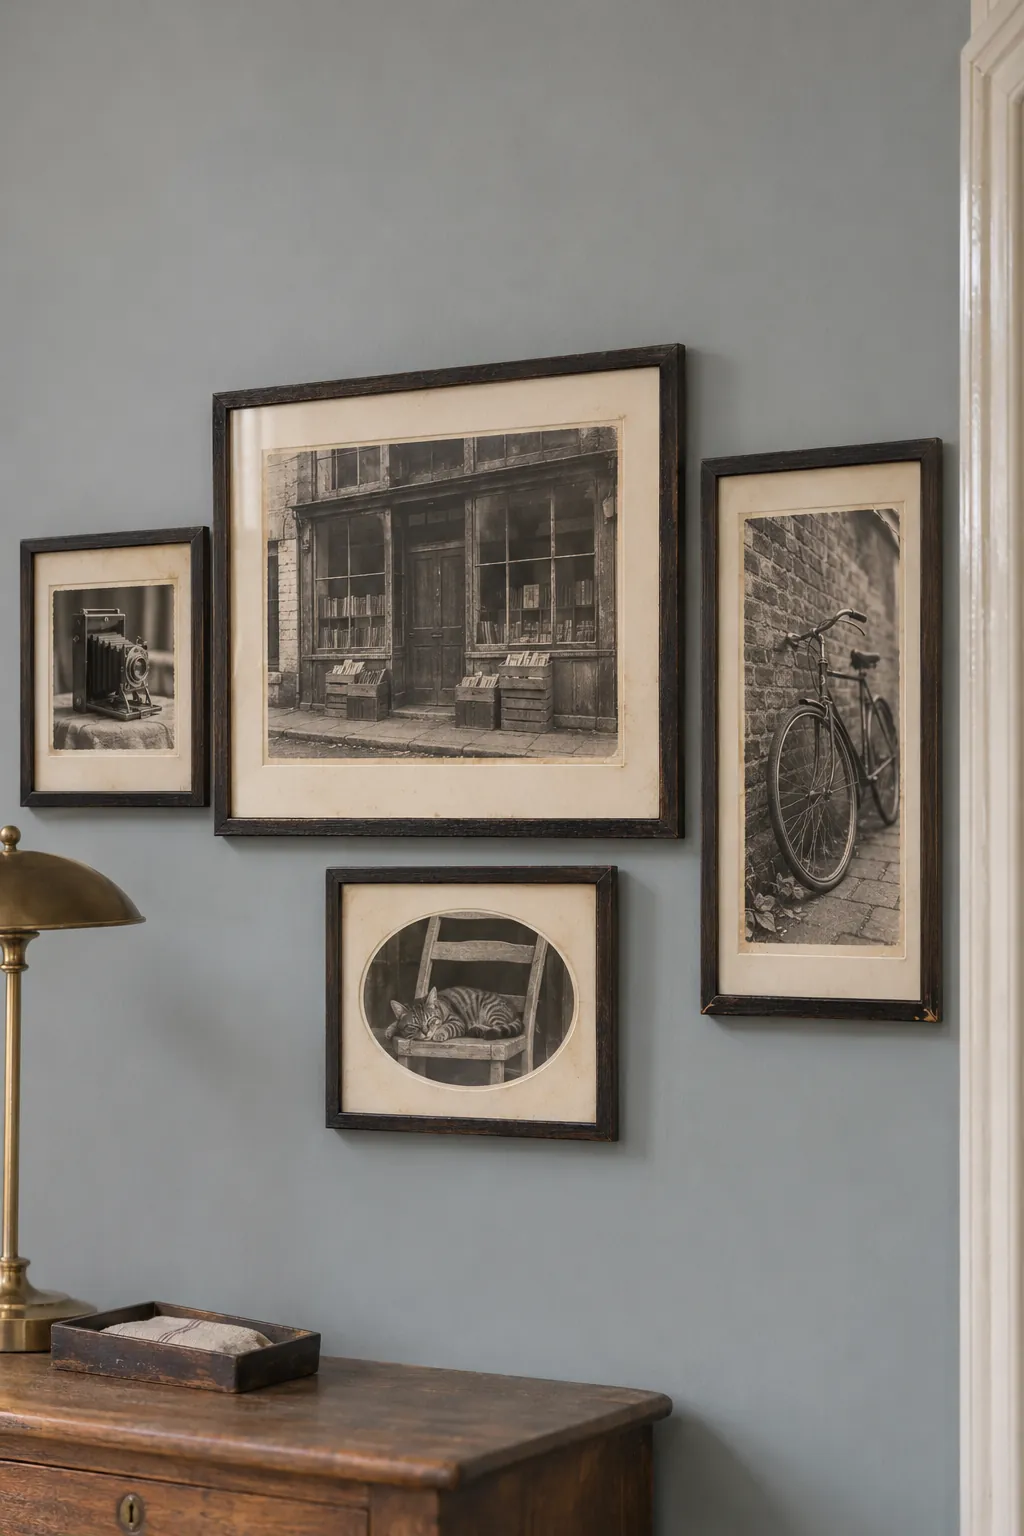
Black and white prints work together when they share mood or subject, even with different paper sizes. Try a row of shopfronts, bicycles, or family keepsakes with one wide photo and several close views. Keep the surrounding mats similar so the old paper can show its tonal shifts.
Repeat One Color Across Unrelated Prints
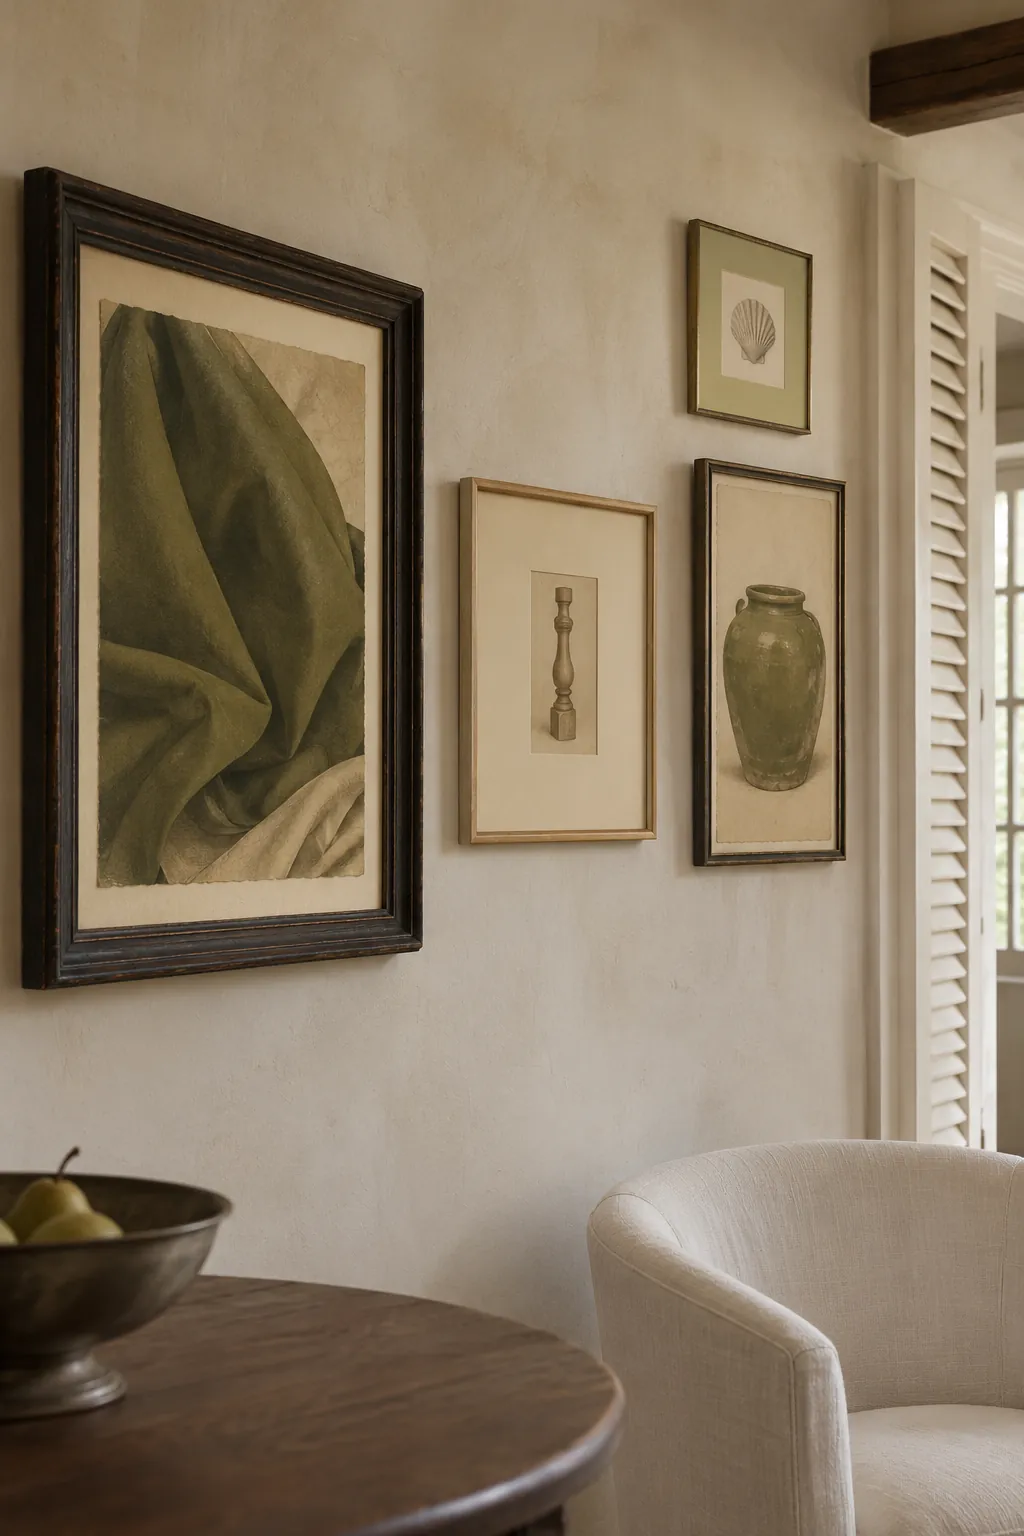
Pick one color you can see in several pieces, such as a dusty green in a print, a soft olive poster and a pale green mat. Put the strongest patch at one end and echo it elsewhere. Leave some visually quiet pieces between the color repeats so the link remains visible.
Cluster Small Engravings Above a Desk
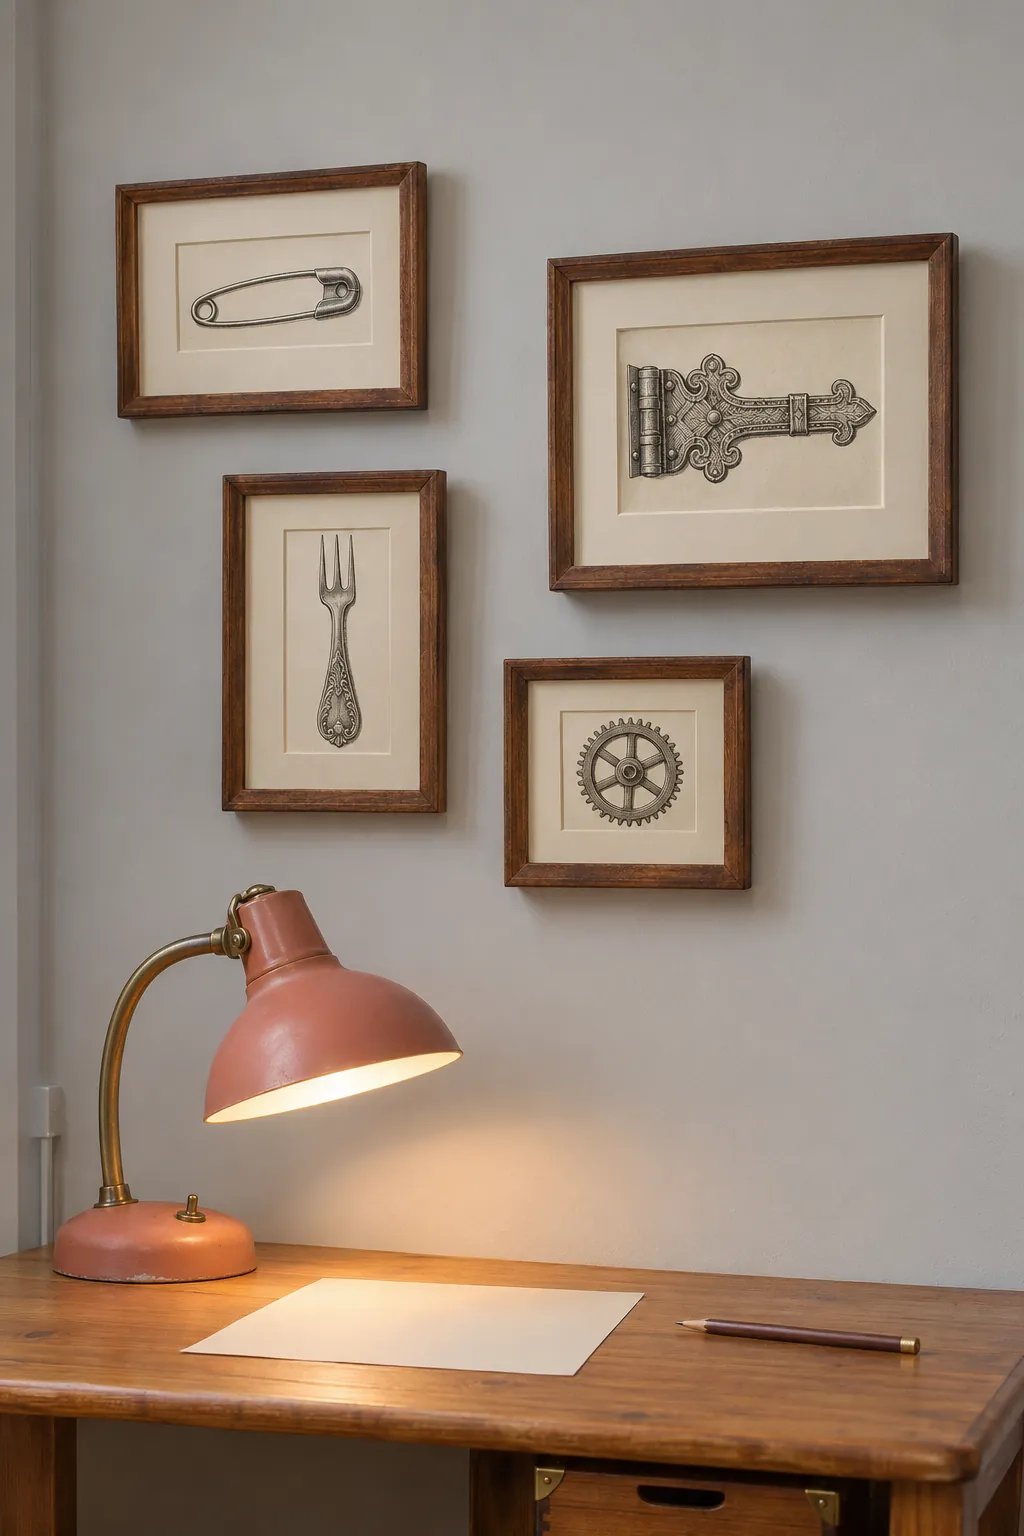
Tiny details can reward a close look from a desk. Give each engraving enough pale mat to distinguish the image from its frame and hang the group clear of the desk lamp. Hold a sample in place while the lamp is on so you can check for glare.
Frame an Old Textile Fragment
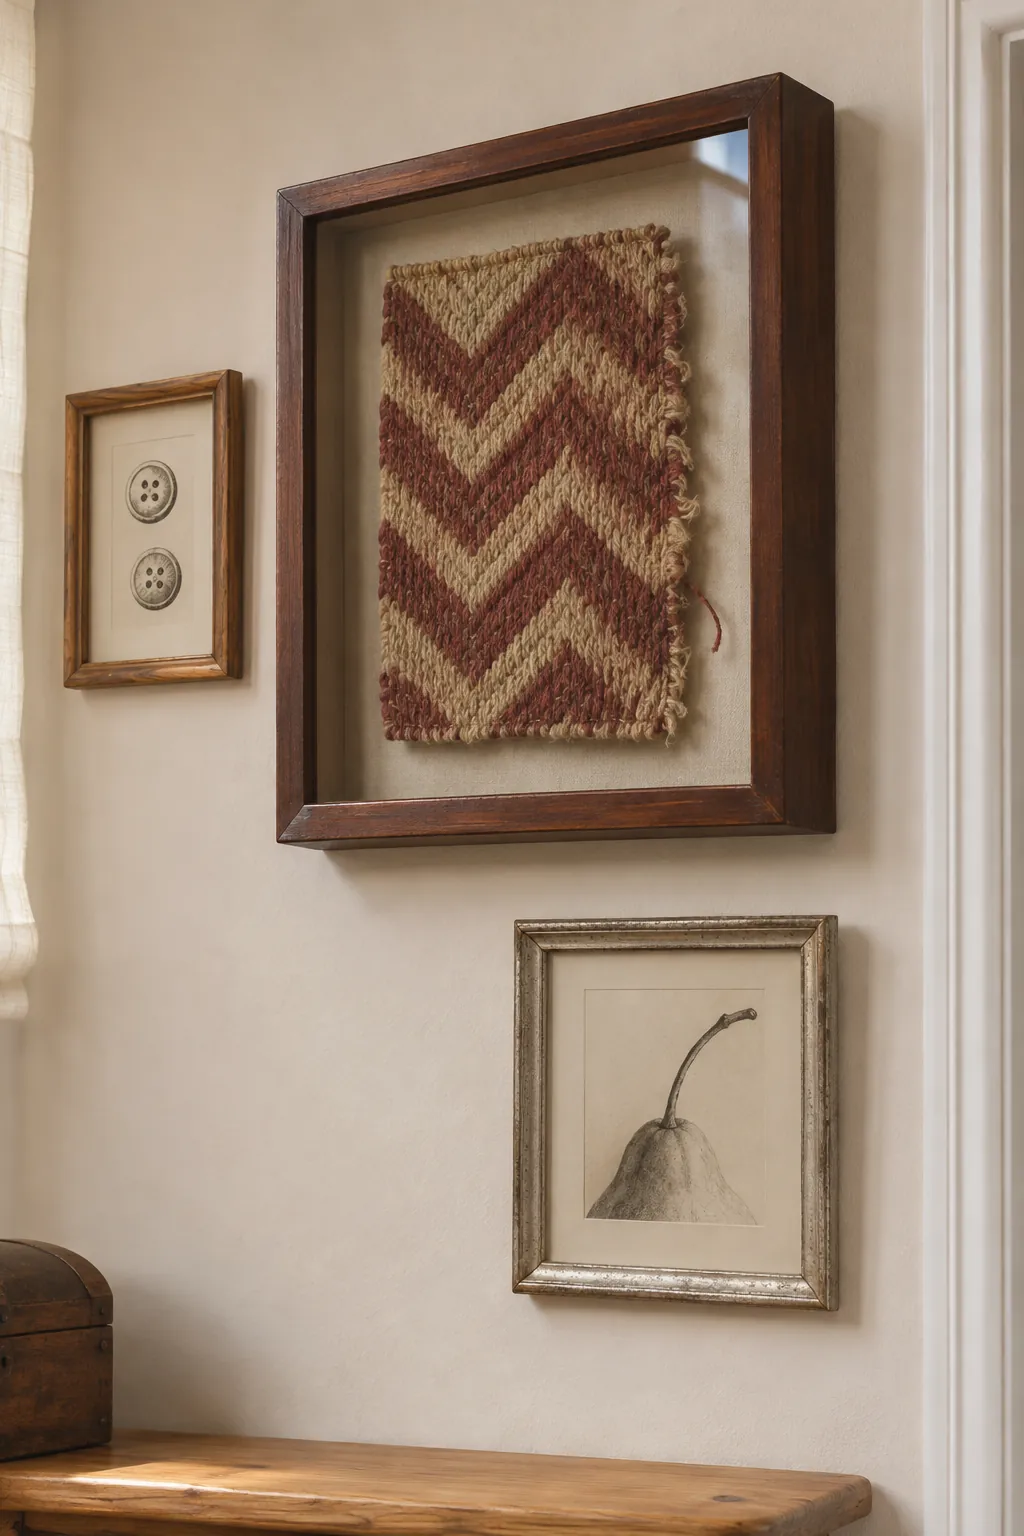
A little fabric can bring a physical texture beside old paper. Use a mount meant to support the weight without pulling on a few threads. Give a raised textile enough depth in the frame to avoid pressing it against the glass.
Let Decorative Plates Break Up the Grid
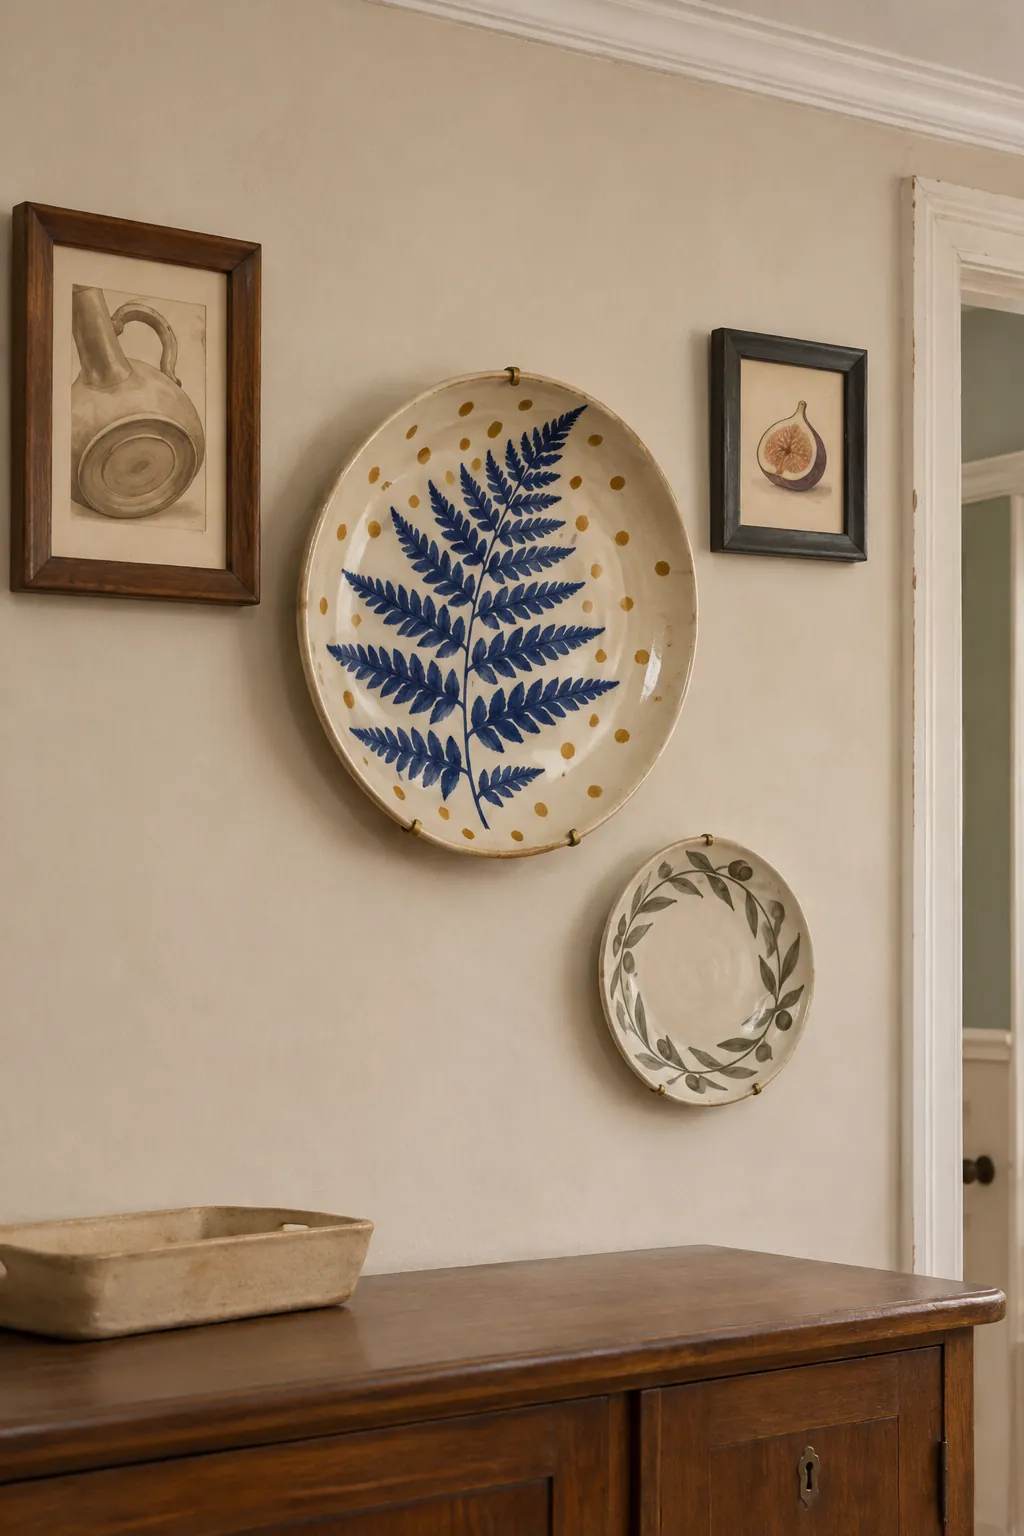
A shallow plate adds a circle where several rectangles begin to look rigid. Decide its position by its widest point, then test the distance to the adjoining frame corners. Use an appropriate plate hanger and keep the dishes away from doors and narrow passes.
Keep a Close Group Above a Narrow Cabinet
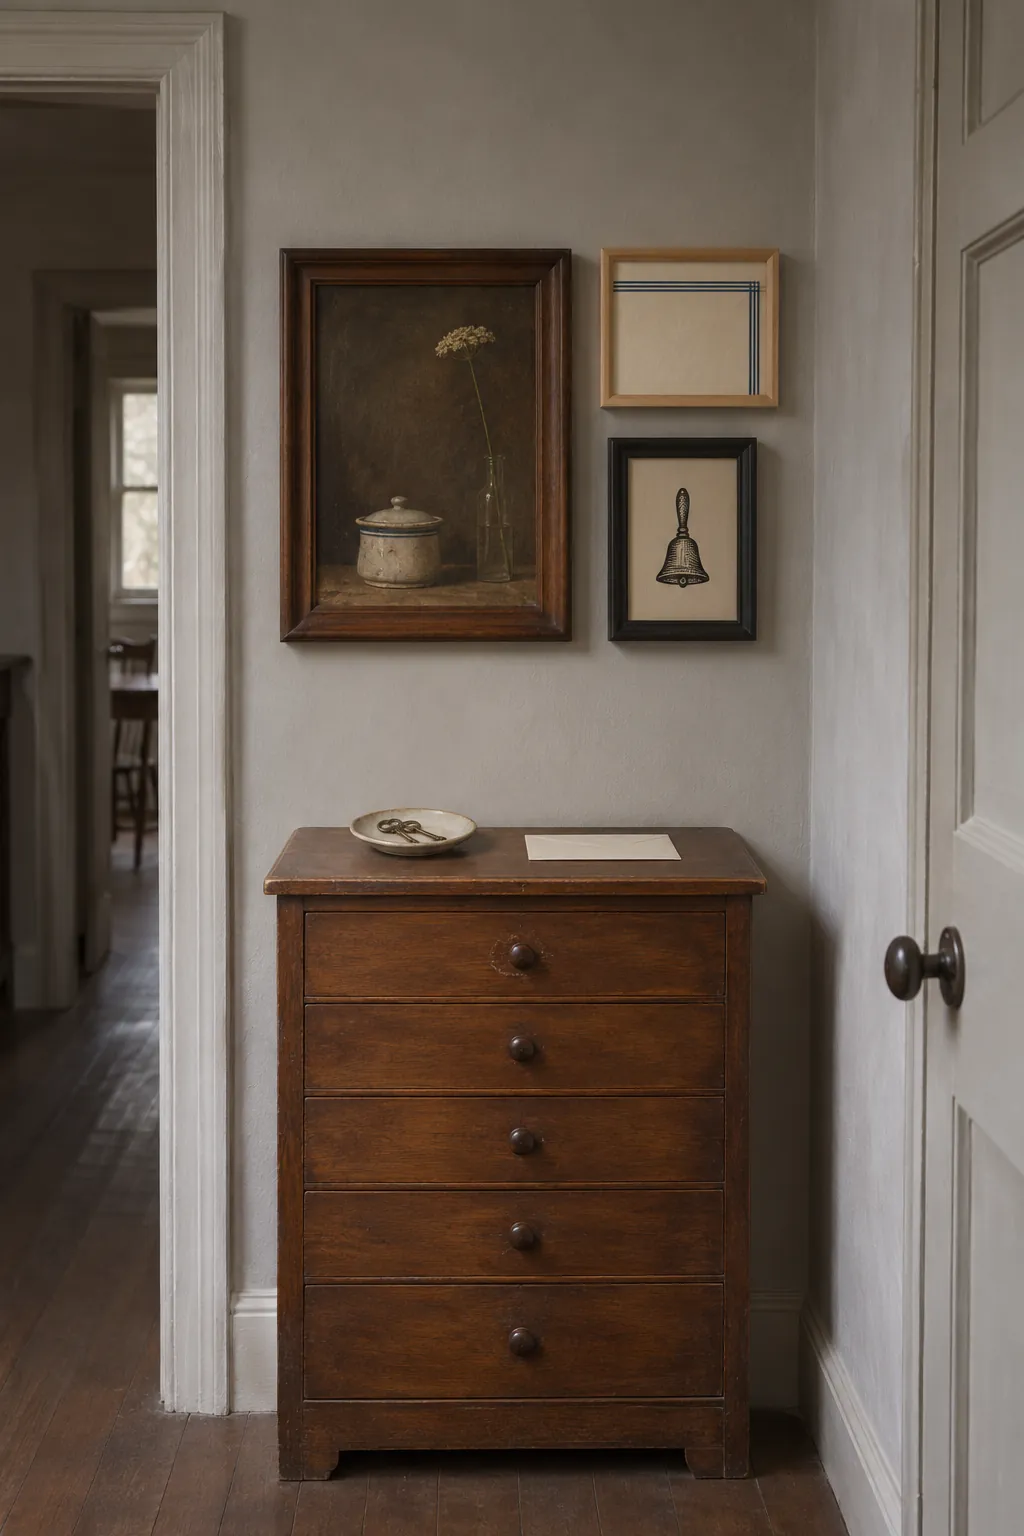
A short cabinet sets a useful width for a small entry display. Start with a paper outline slightly narrower than the top, then see how it reads when you enter. Keep keys and other daily things below the lowest frames so both areas stay easy to use.
Turn the Gallery Around a Real Corner
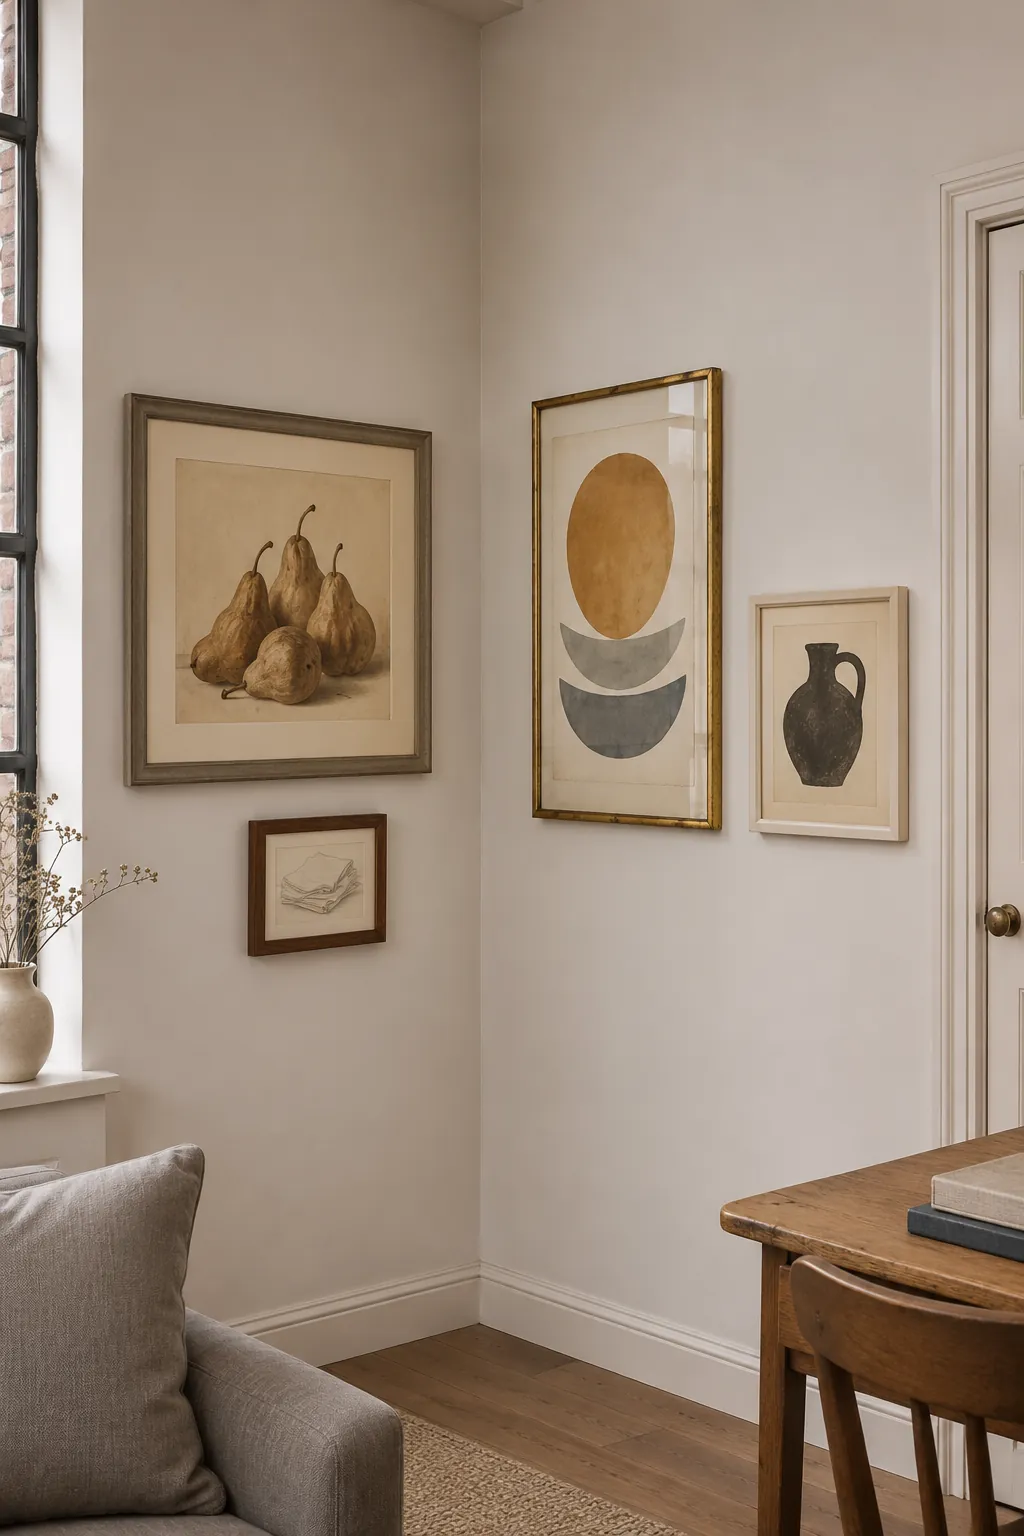
A gallery around a corner can lead the eye into the next room. Hang one complete piece on each wall near the turn rather than placing a picture too close to the edge. Leave more breathing room if the corner has molding or a narrow doorway.
Use a Long Horizontal Line Over a Console
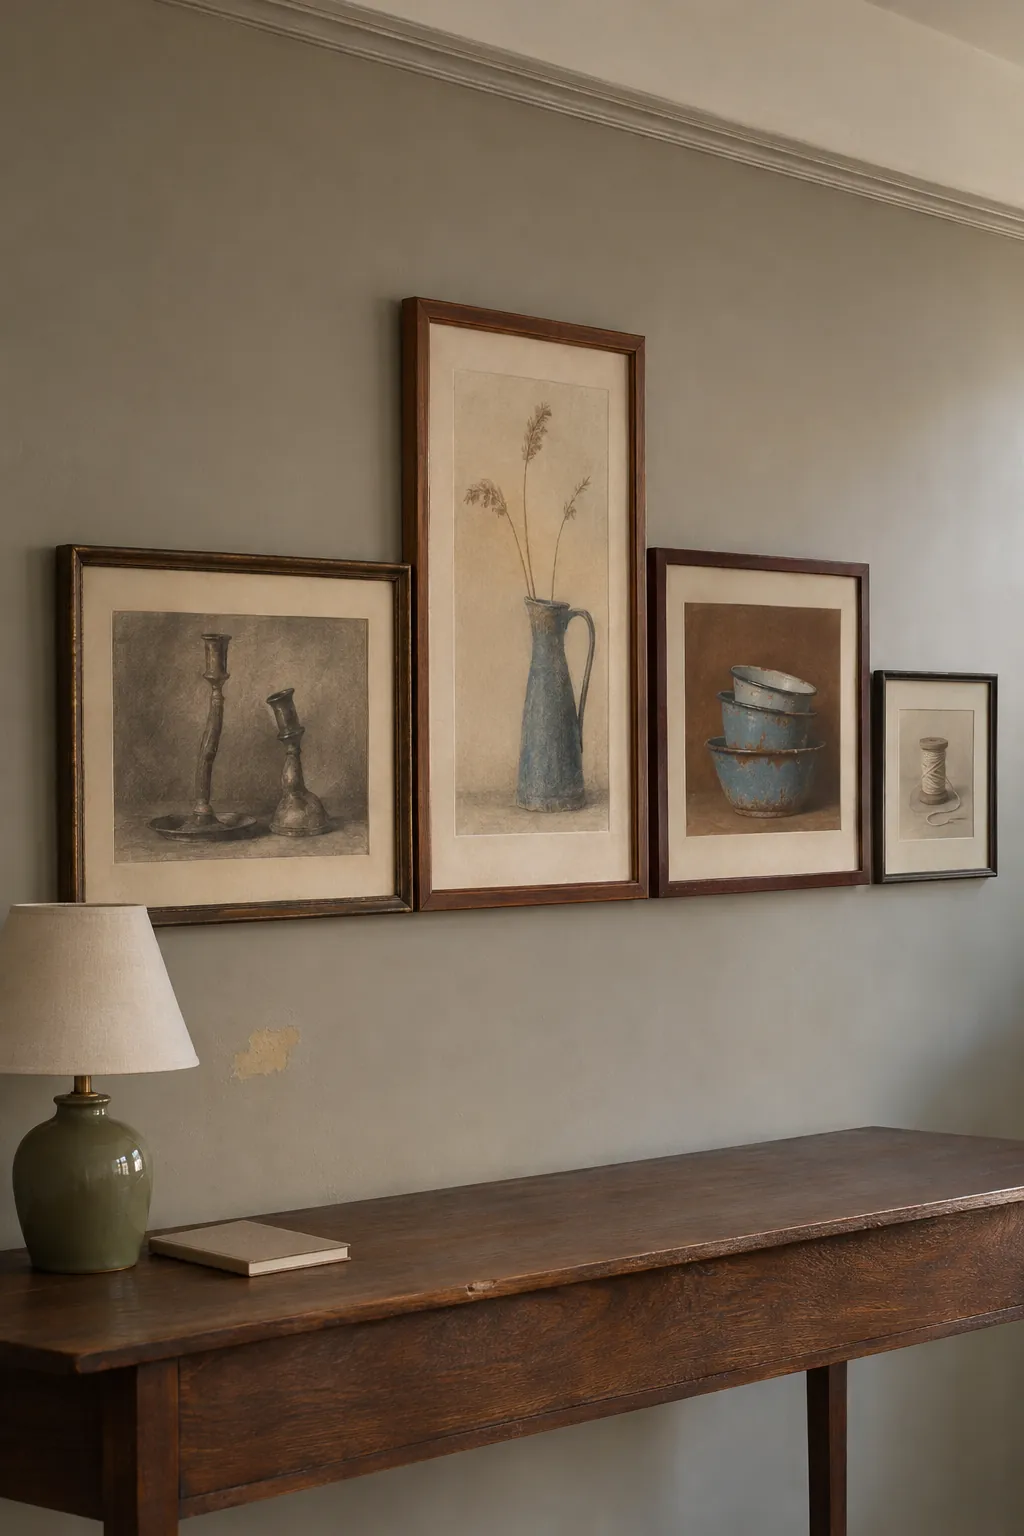
A low console gives the pictures a steady line. Try aligning the lower frame edges and allow a tall piece to rise above the others. If the top holds a lamp, work with its full height before you mark the wall.
Give Mixed Art the Same Mat Color
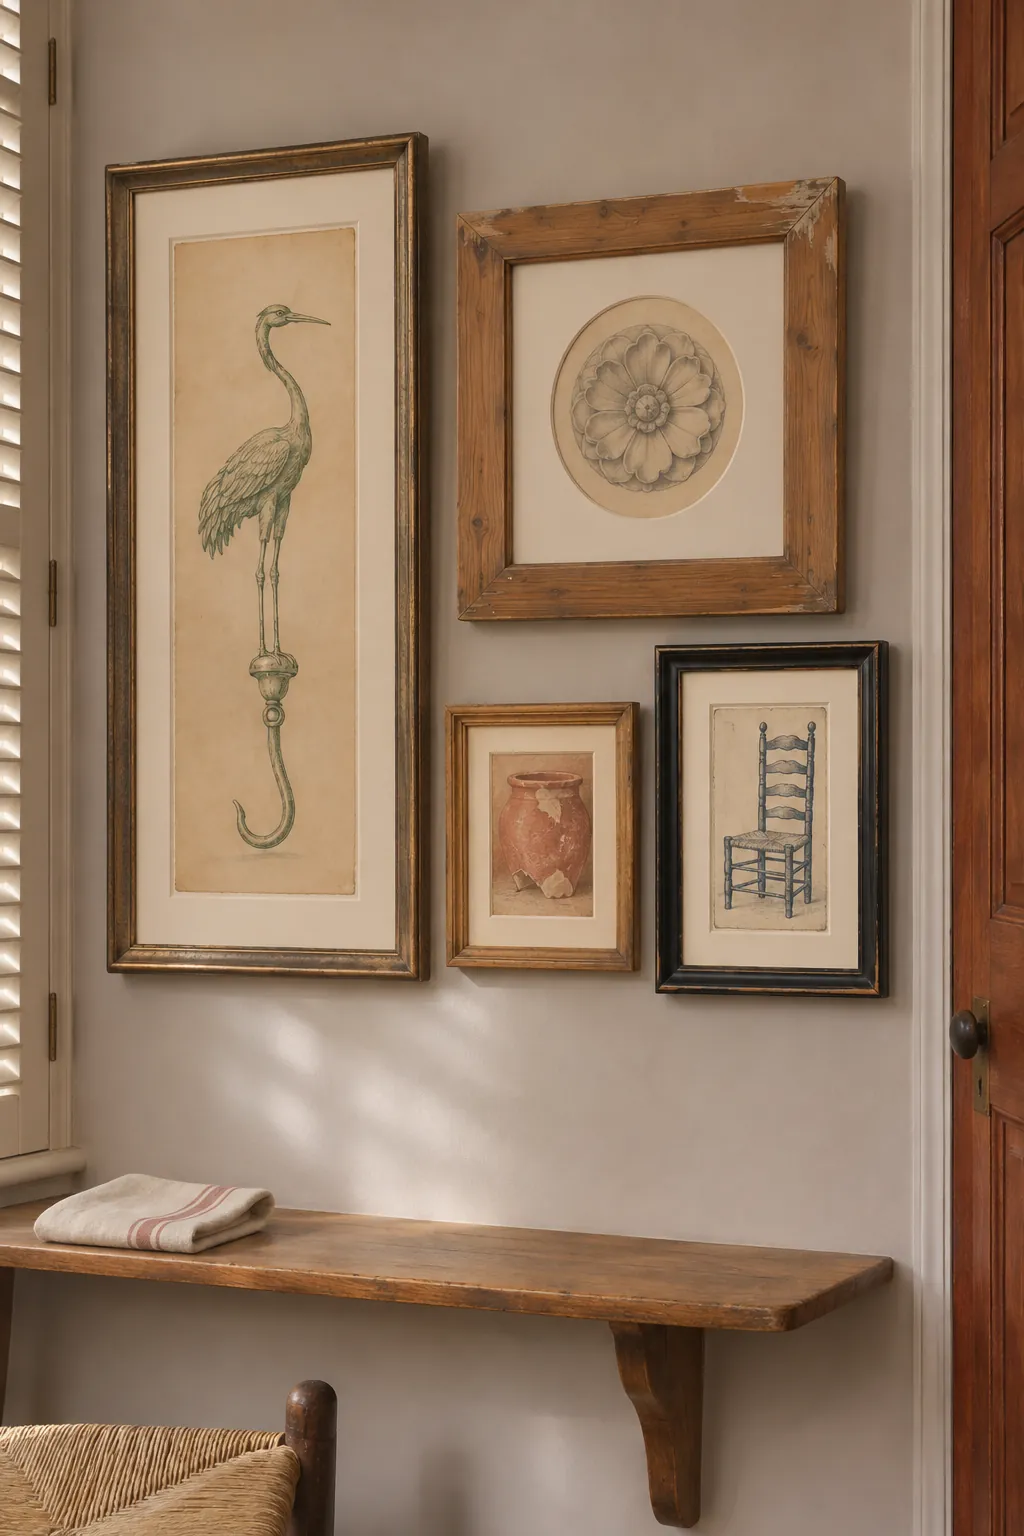
A shared mat color lends coherence even when the frames are unrelated. Compare warm and cool sample boards against the oldest sheet of paper first. Cut each opening to show the detail you want, and choose materials suited to original prints.
Hang Pale Work on a Dark Wall
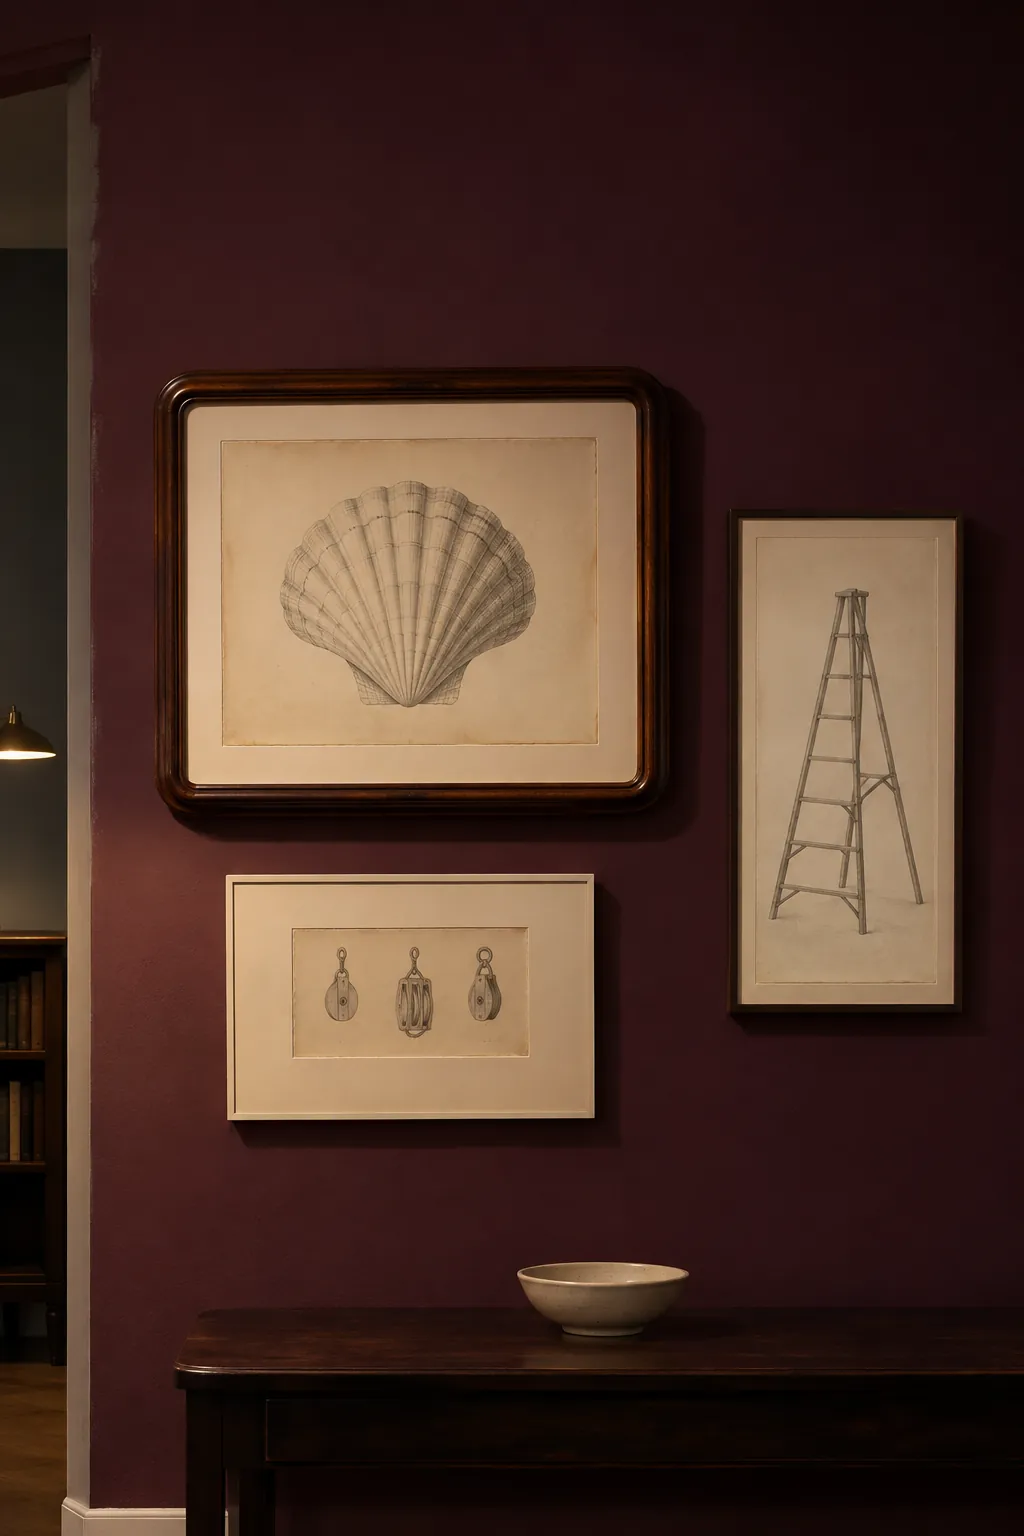
Light paper can make an understated group readable against a dark painted wall. Give the smallest sheet a wider mat so it can hold its place next to a large image. Check the view at night when a reflective pane can compete with the print.
Keep Small Frames Within a Wall Band
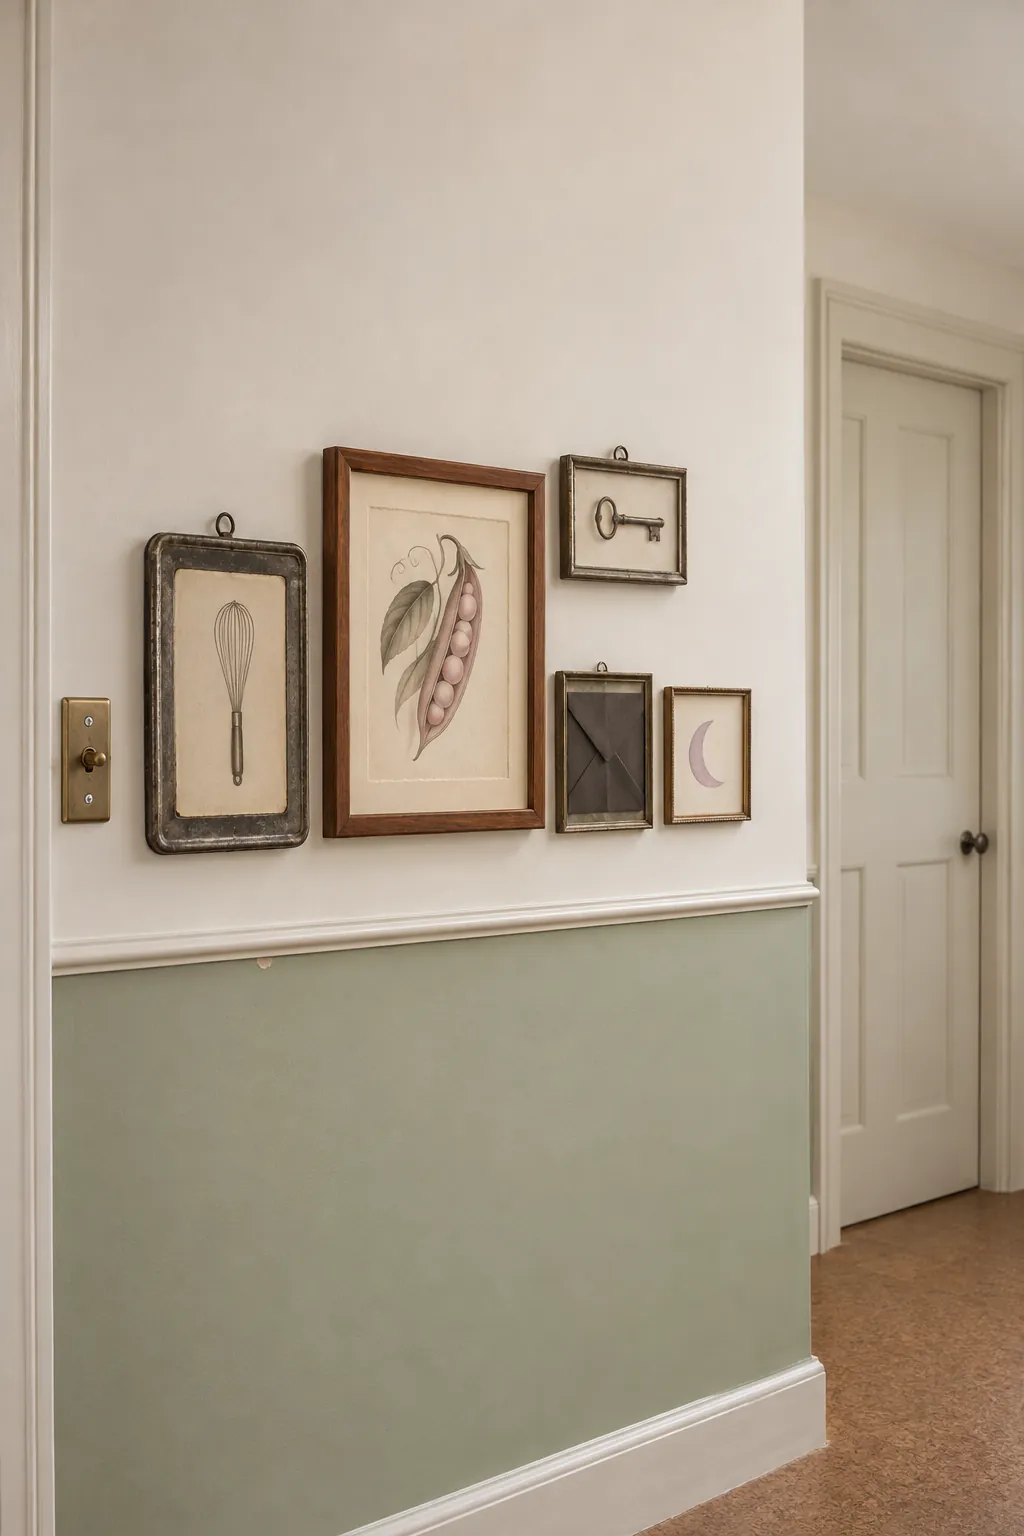
A painted lower wall gives a collection an existing line to relate to. Set the lowest frames a comfortable distance above that line and use their edges to fill one span at a time. Test your layout near any switches before the arrangement reaches the trim.
Run a Quiet Sequence Through a Narrow Hall
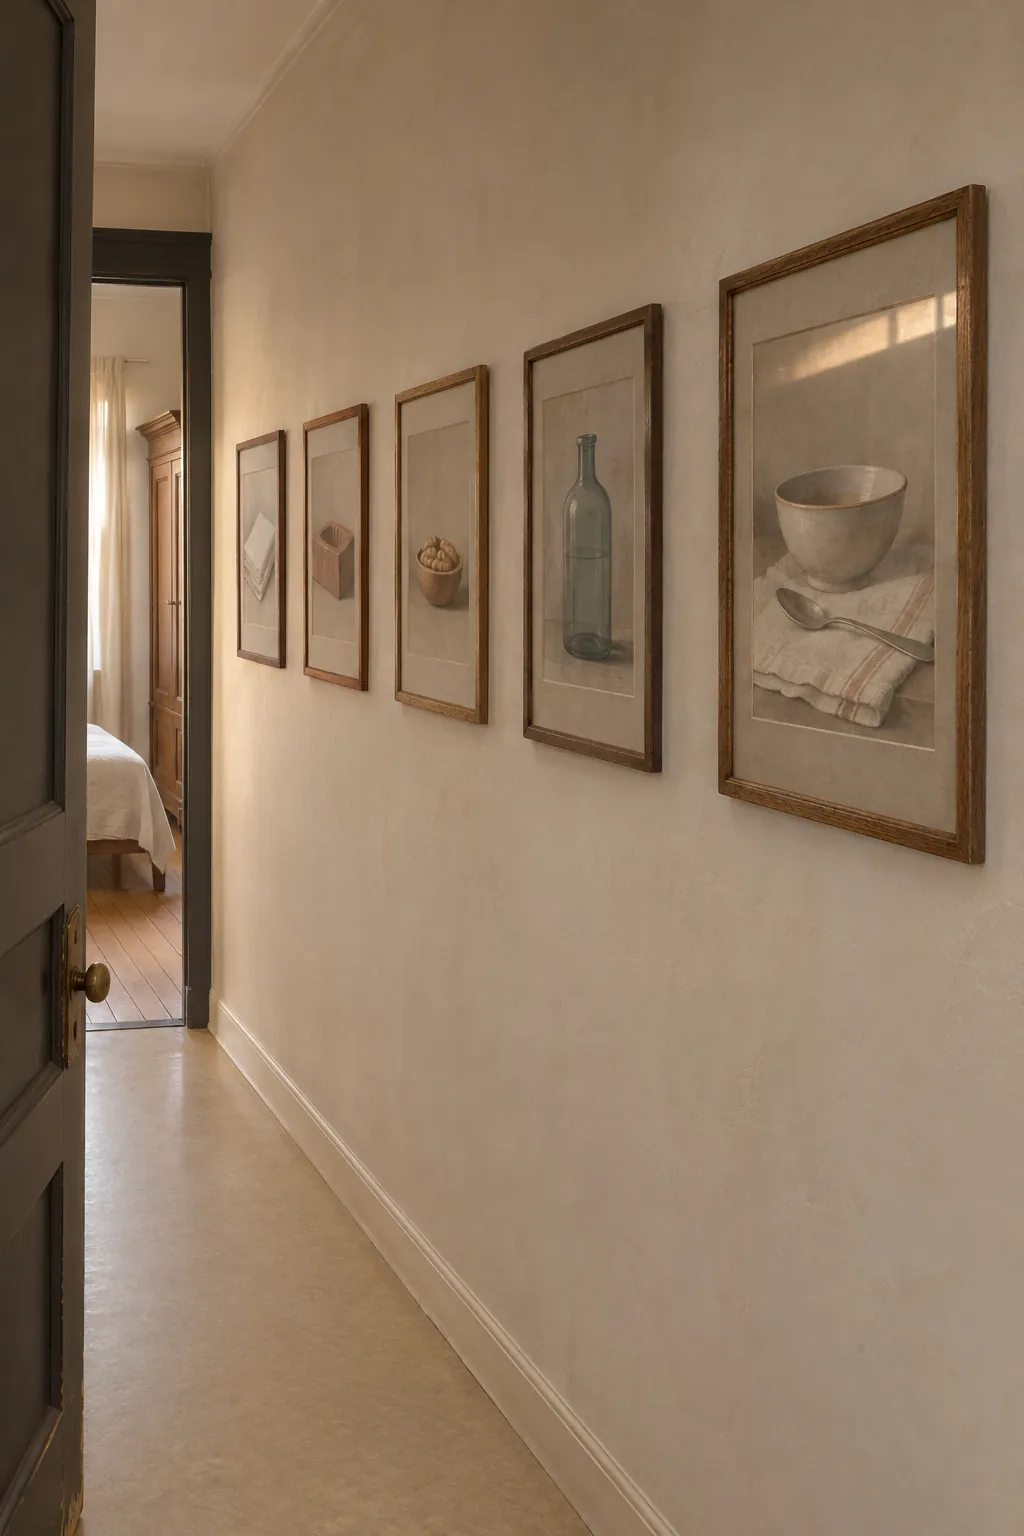
A regular series can carry the eye down a narrow hall without taking floor space. Use slim frames with a shallow profile and keep them away from door swings. A repeated outer shape lets you vary the subject without changing the rhythm.
Pair an Old Keepsake With Its Photograph
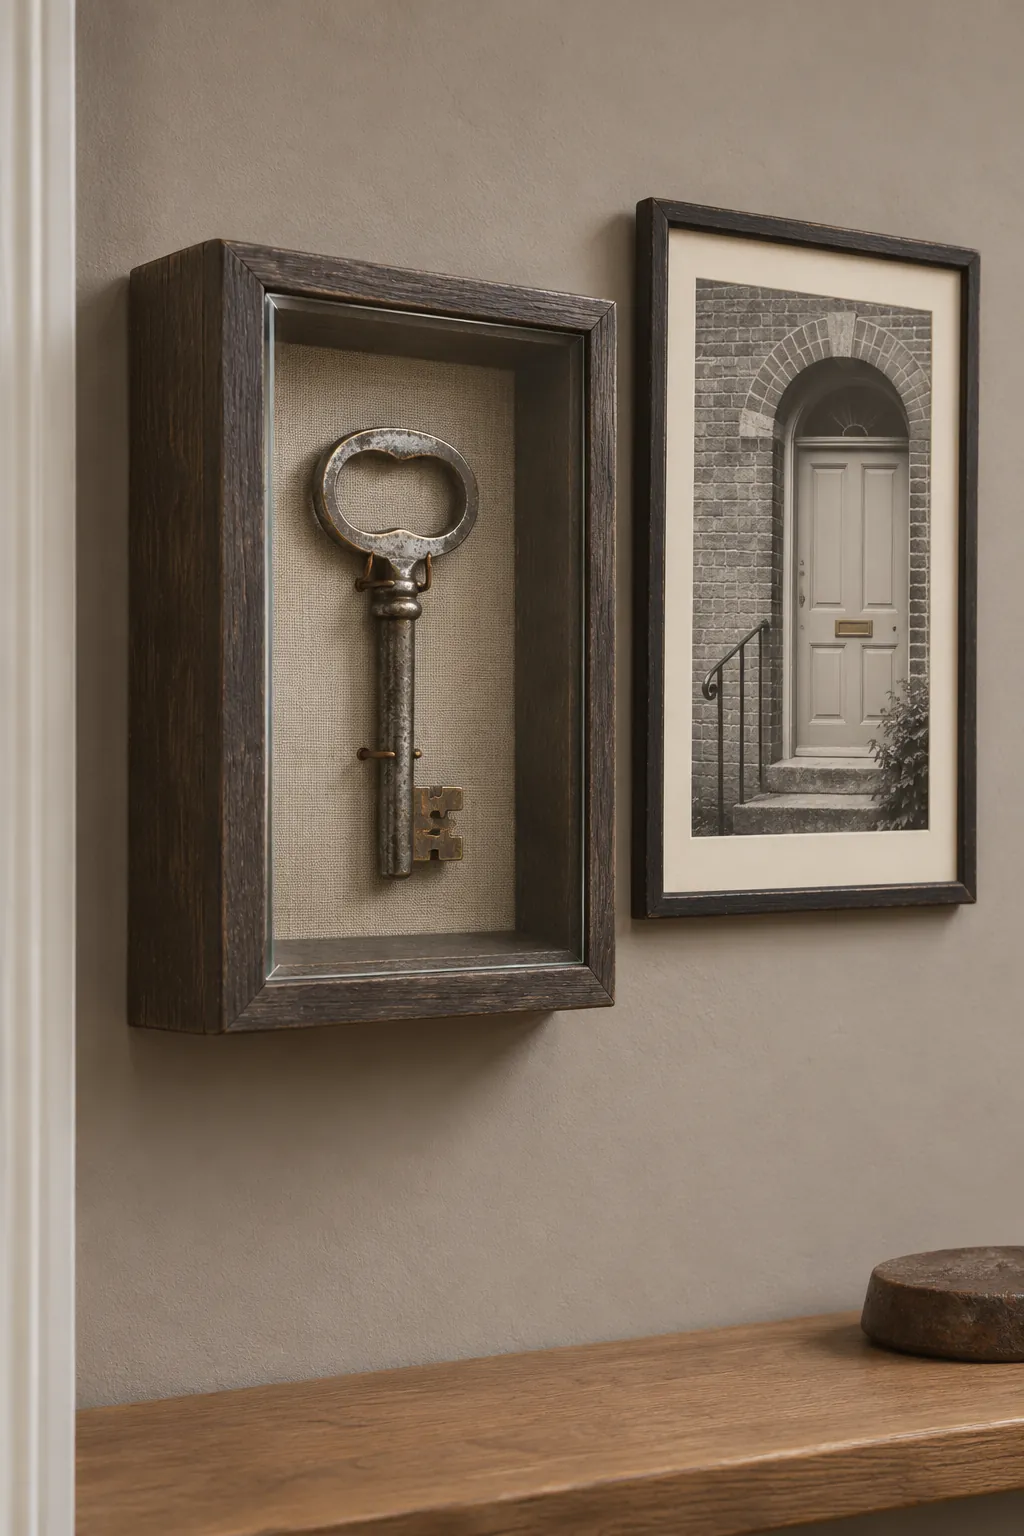
A small object fits best next to a photograph that helps explain why you kept it. Try an old house key beside a picture of its front door. Use supports designed for the object’s weight and keep a heavy shadow box close to a properly supported wall fixing.
Pick Three Pieces for a Small Wall
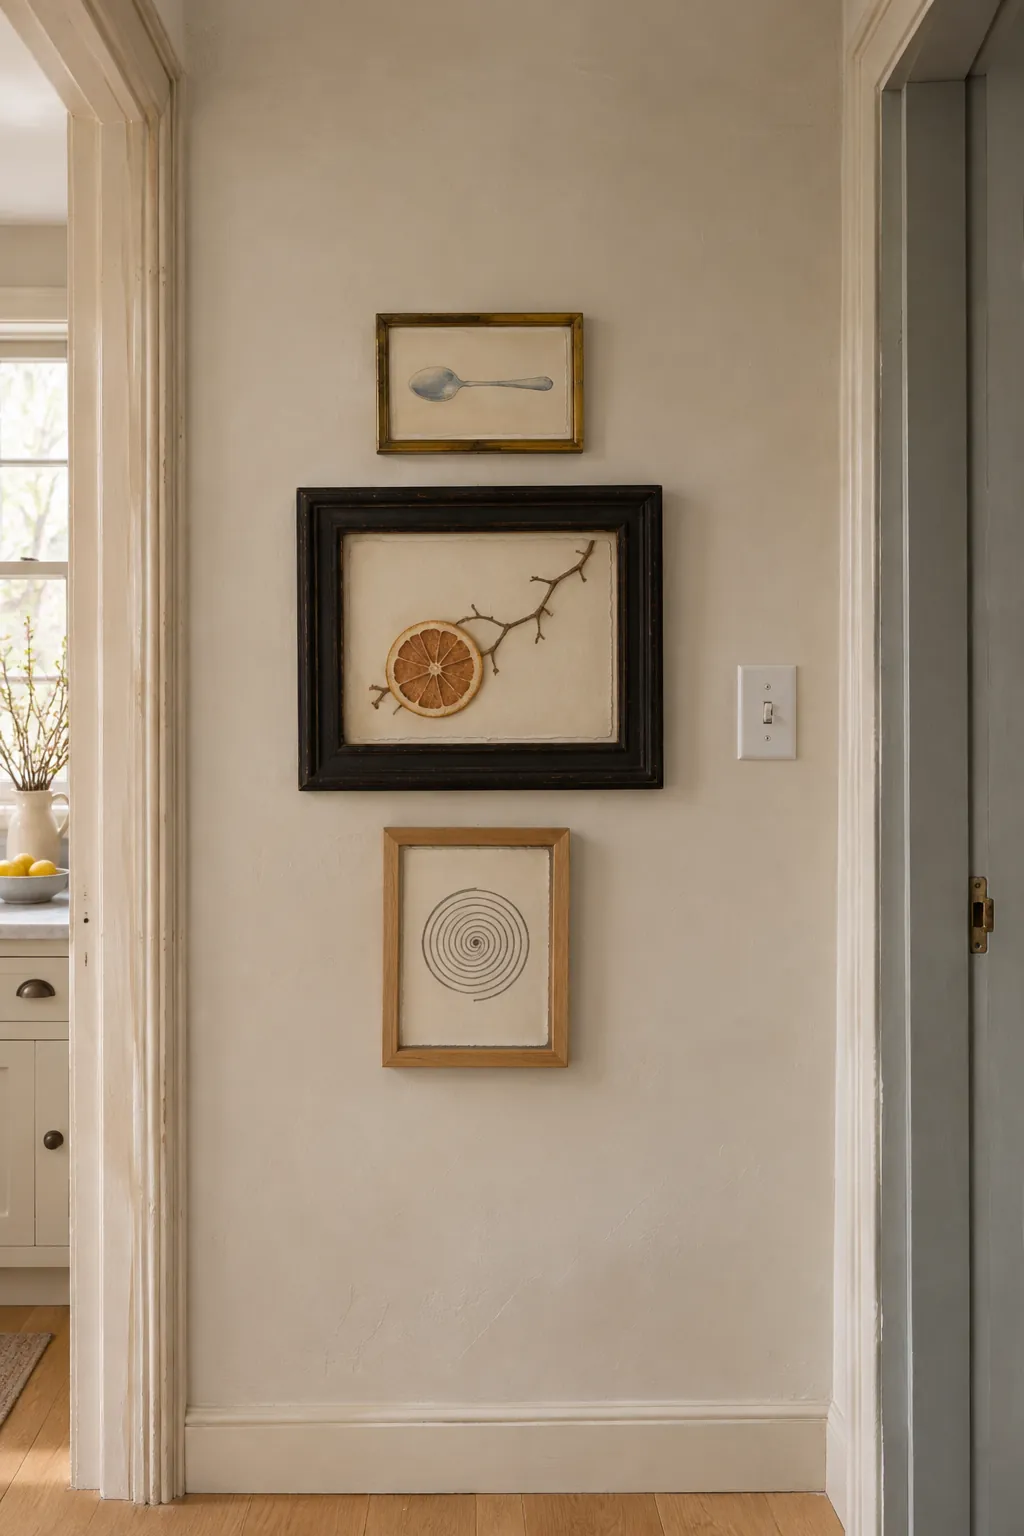
On a narrow bay, three pieces give you enough variety without using every inch. Choose the widest frame first and leave a visible margin at both sides. Stack the pieces when the wall is tall, and check the overlap with nearby switches or a reaching hand.
Lower the Group Beside a Reading Chair
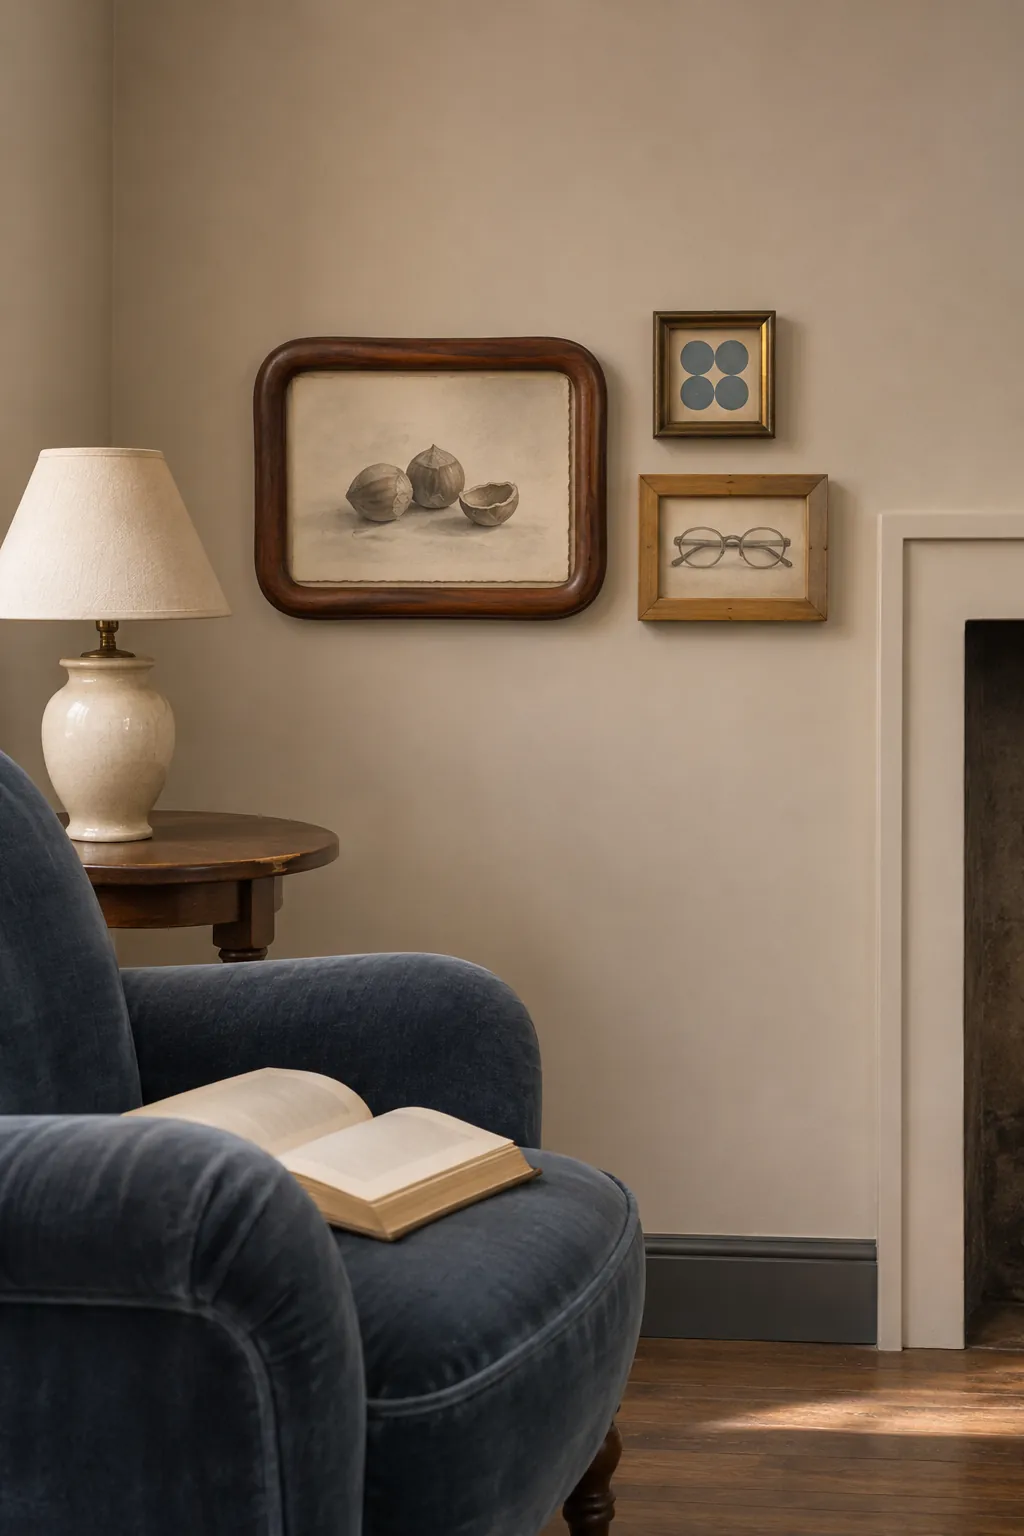
Pictures hung lower can be enjoyable from a favorite chair. Set the layout while seated, then look at it from the doorway to make sure it belongs to the corner. Keep it away from where a standing reader might bump the frames.
Put a Small Mirror Beside Two Prints
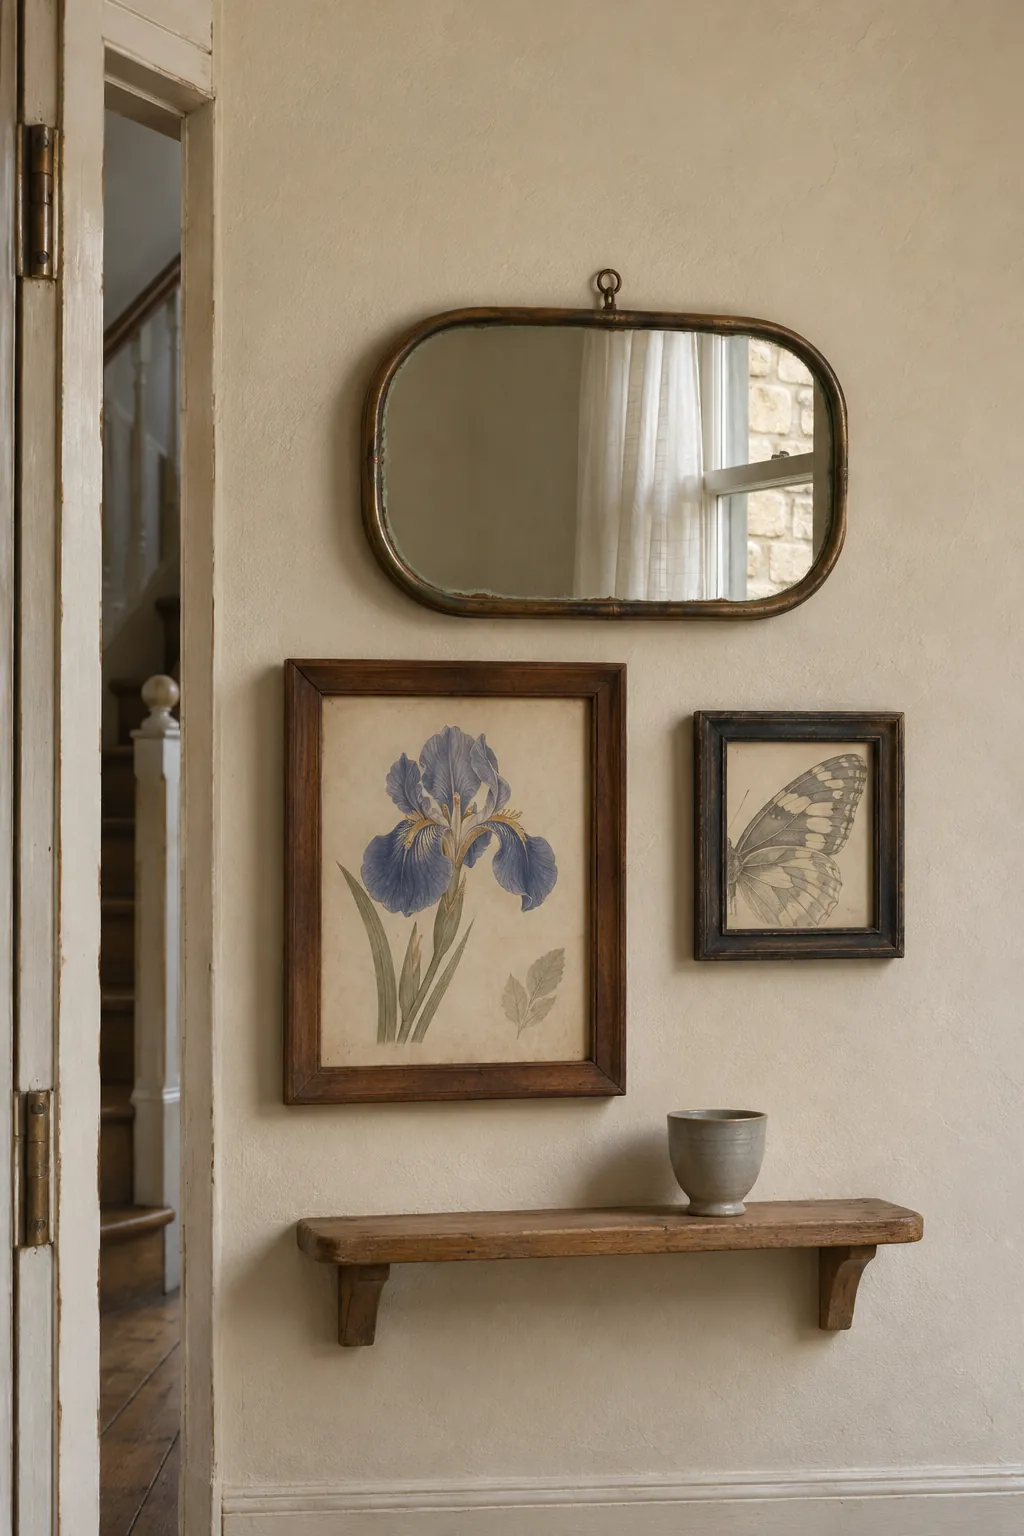
A mirror can add a bright note when it reflects a window or a plain room rather than a busy corner. Keep its frame in scale with the printed pieces. Test for glare at the time of day when you actually pass the wall.
Mix Older Frames With a Child’s Art
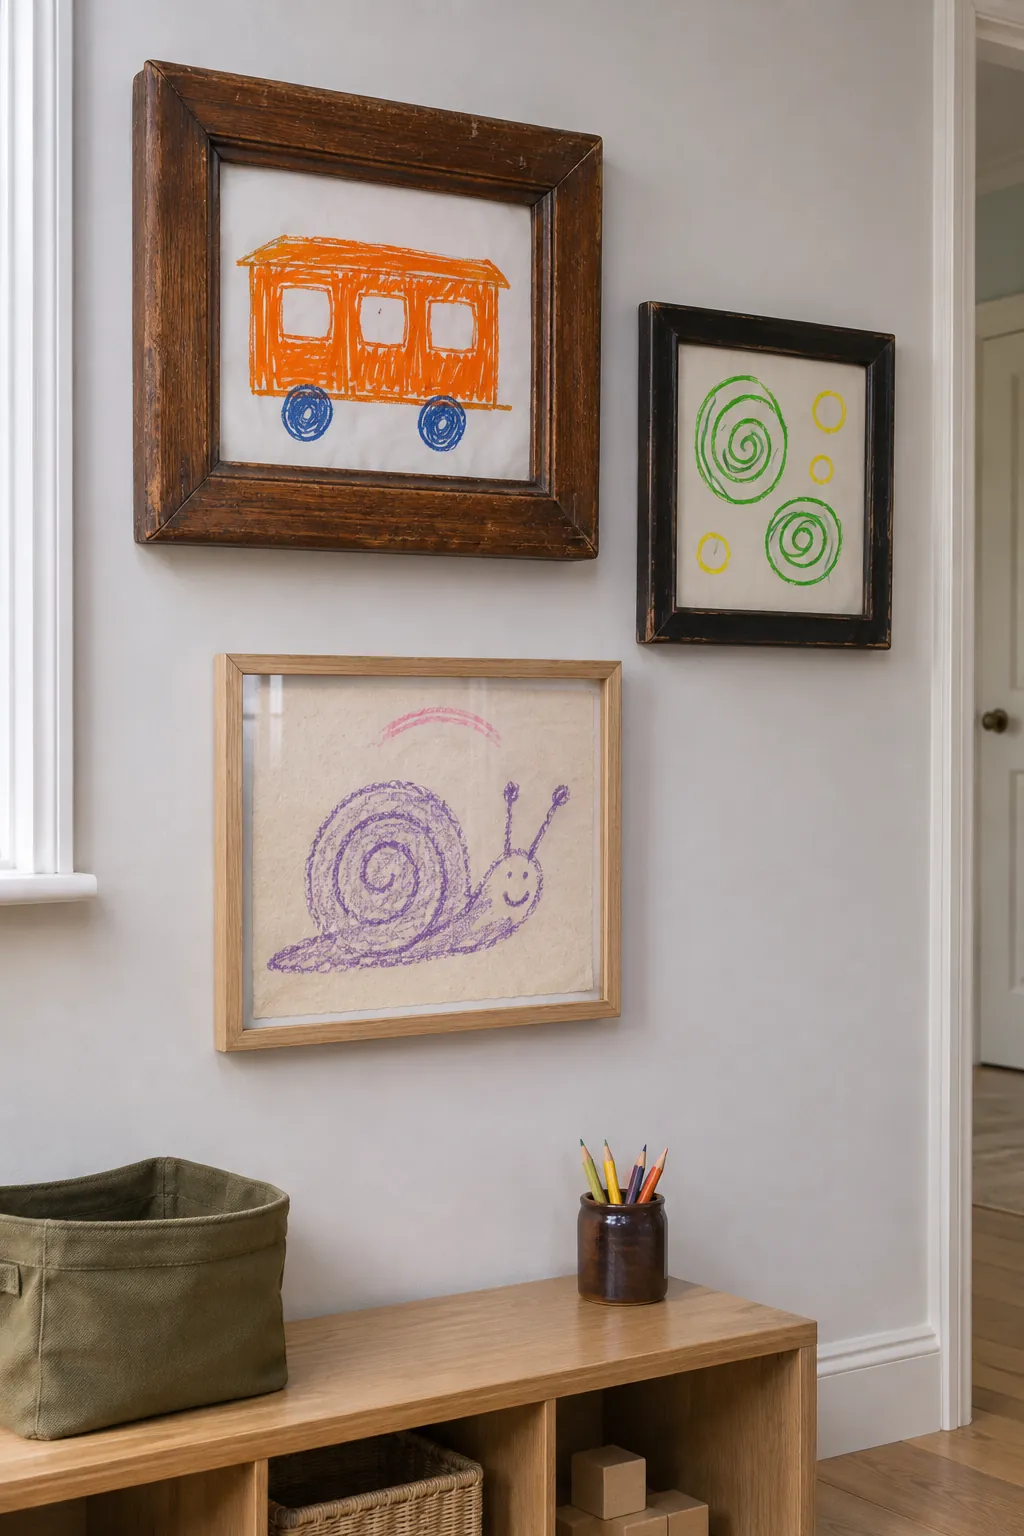
Old wooden frames can give recent drawings somewhere to live. Keep the easiest frame to open at an accessible height and save glass or heavy frames for a safer wall position. Put a few drawings in rotation so there is room for new ones.
Test Frame Spacing on the Floor
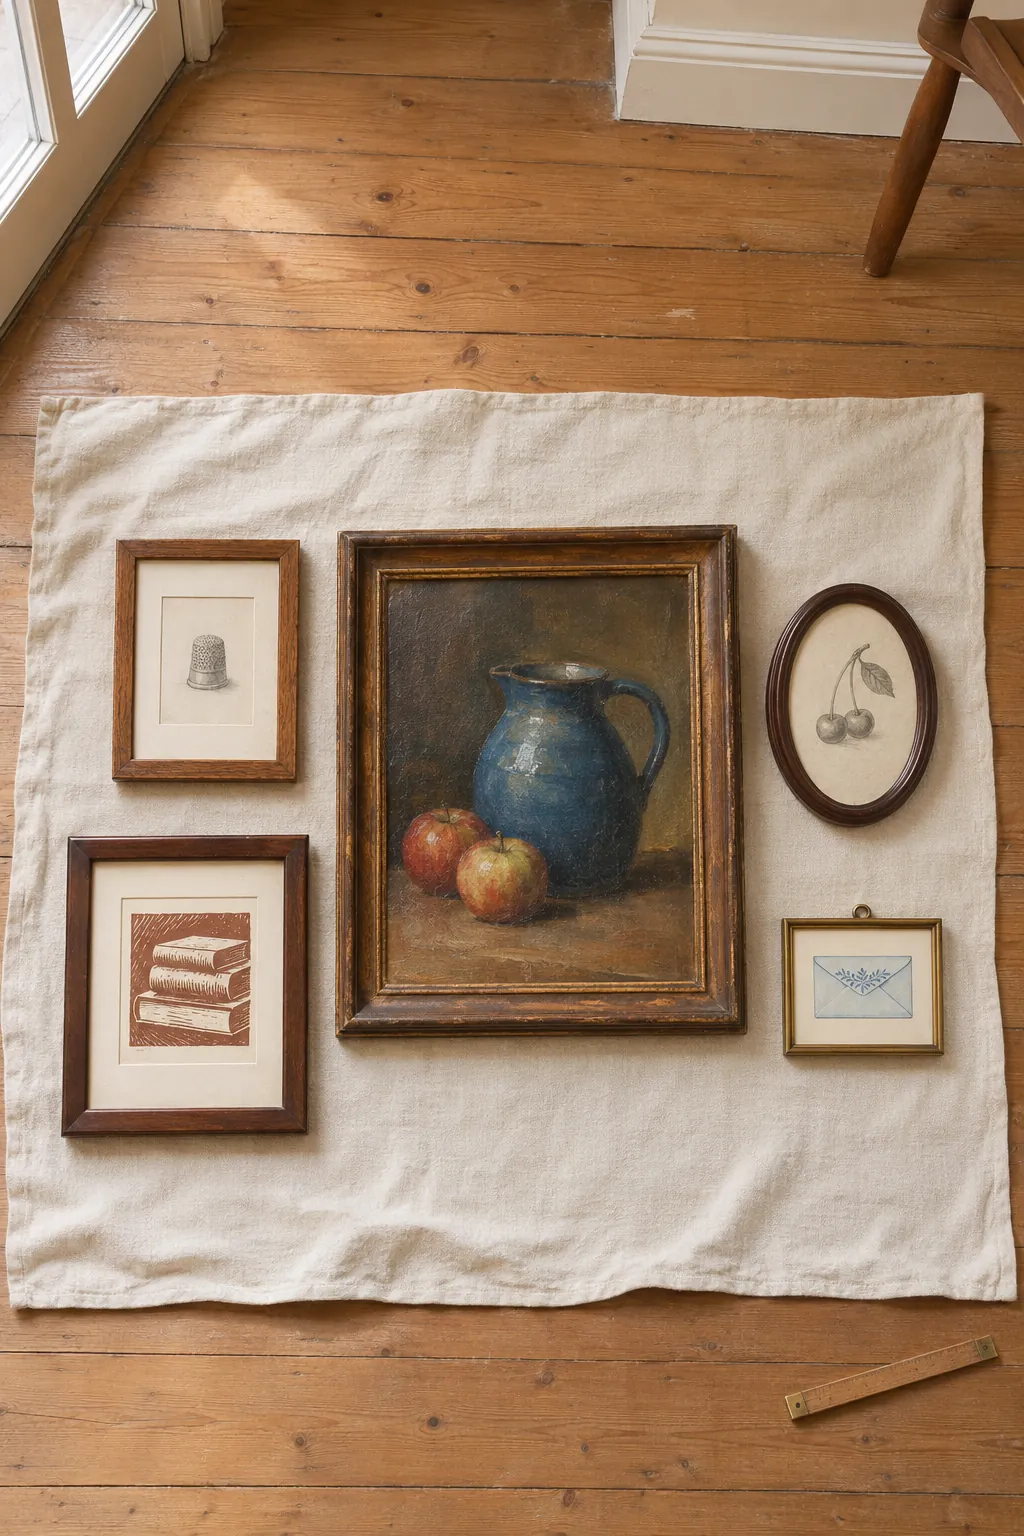
Clear a patch of floor and lay out the pieces at their actual sizes. Look at the gaps from standing height and move one piece at a time, since two changes at once can hide the reason the layout improved. Photograph the arrangement from straight above and use it as a reference on the wall.
Cut Paper Shapes for the Final Layout
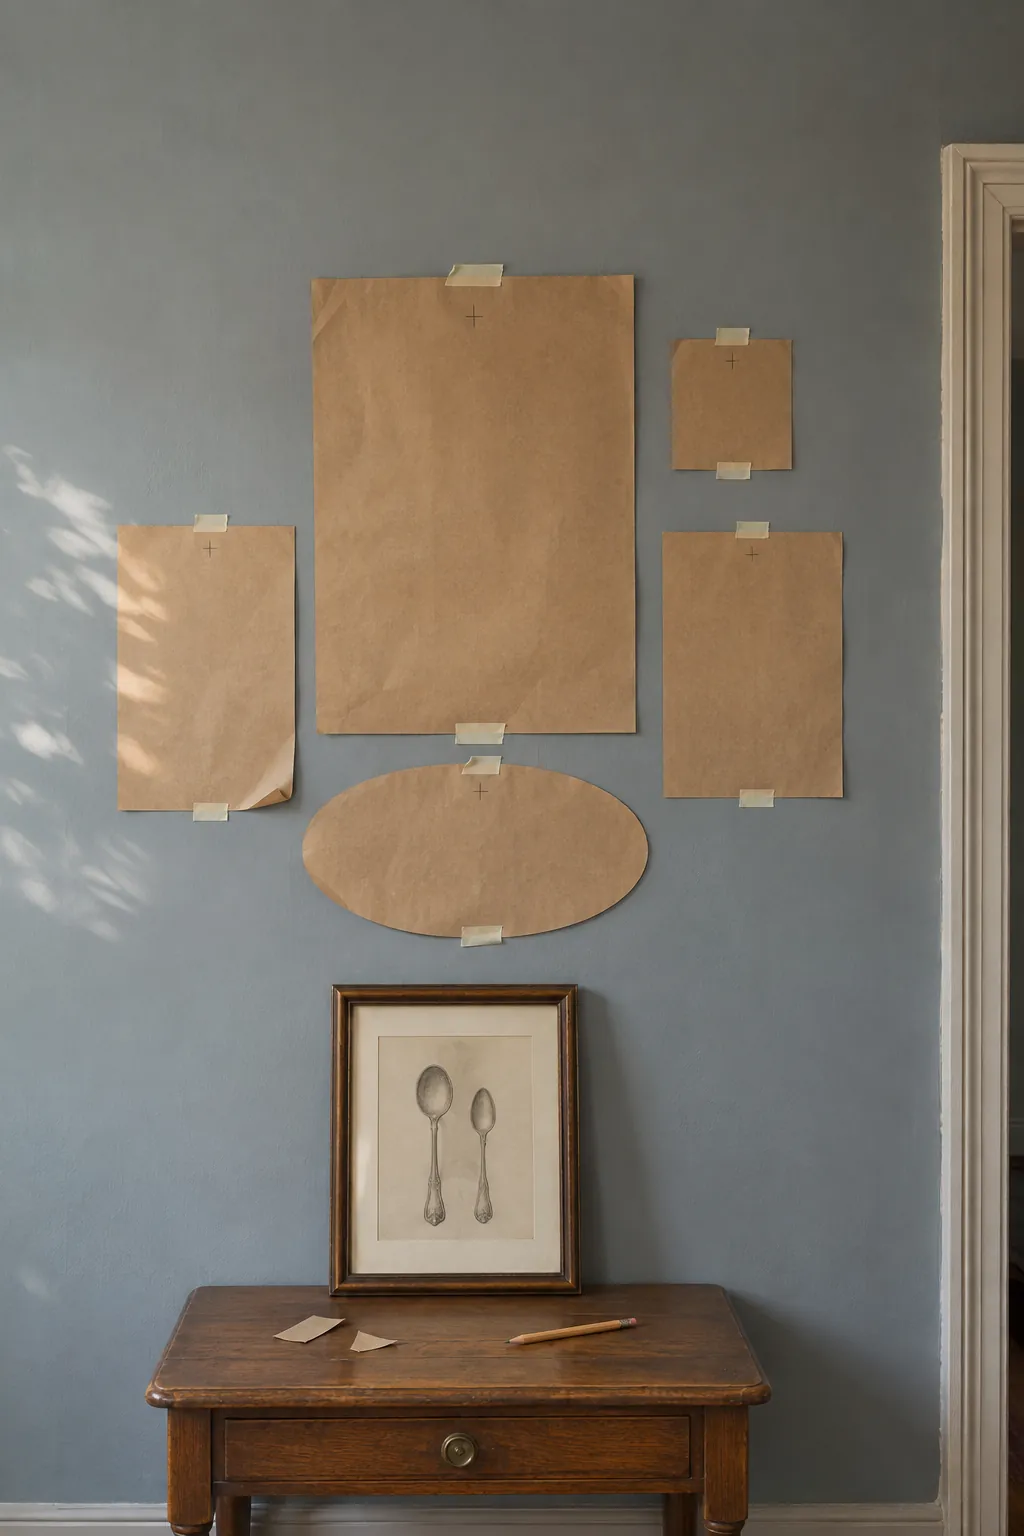
Trace the outside of each frame and mark the place where its hardware will meet the hook. Use tape suitable for the wall finish and look at the paper layout from the way you normally enter the room. Adjust the overall width and height before you place hooks.
Leave an Opening for One More Find
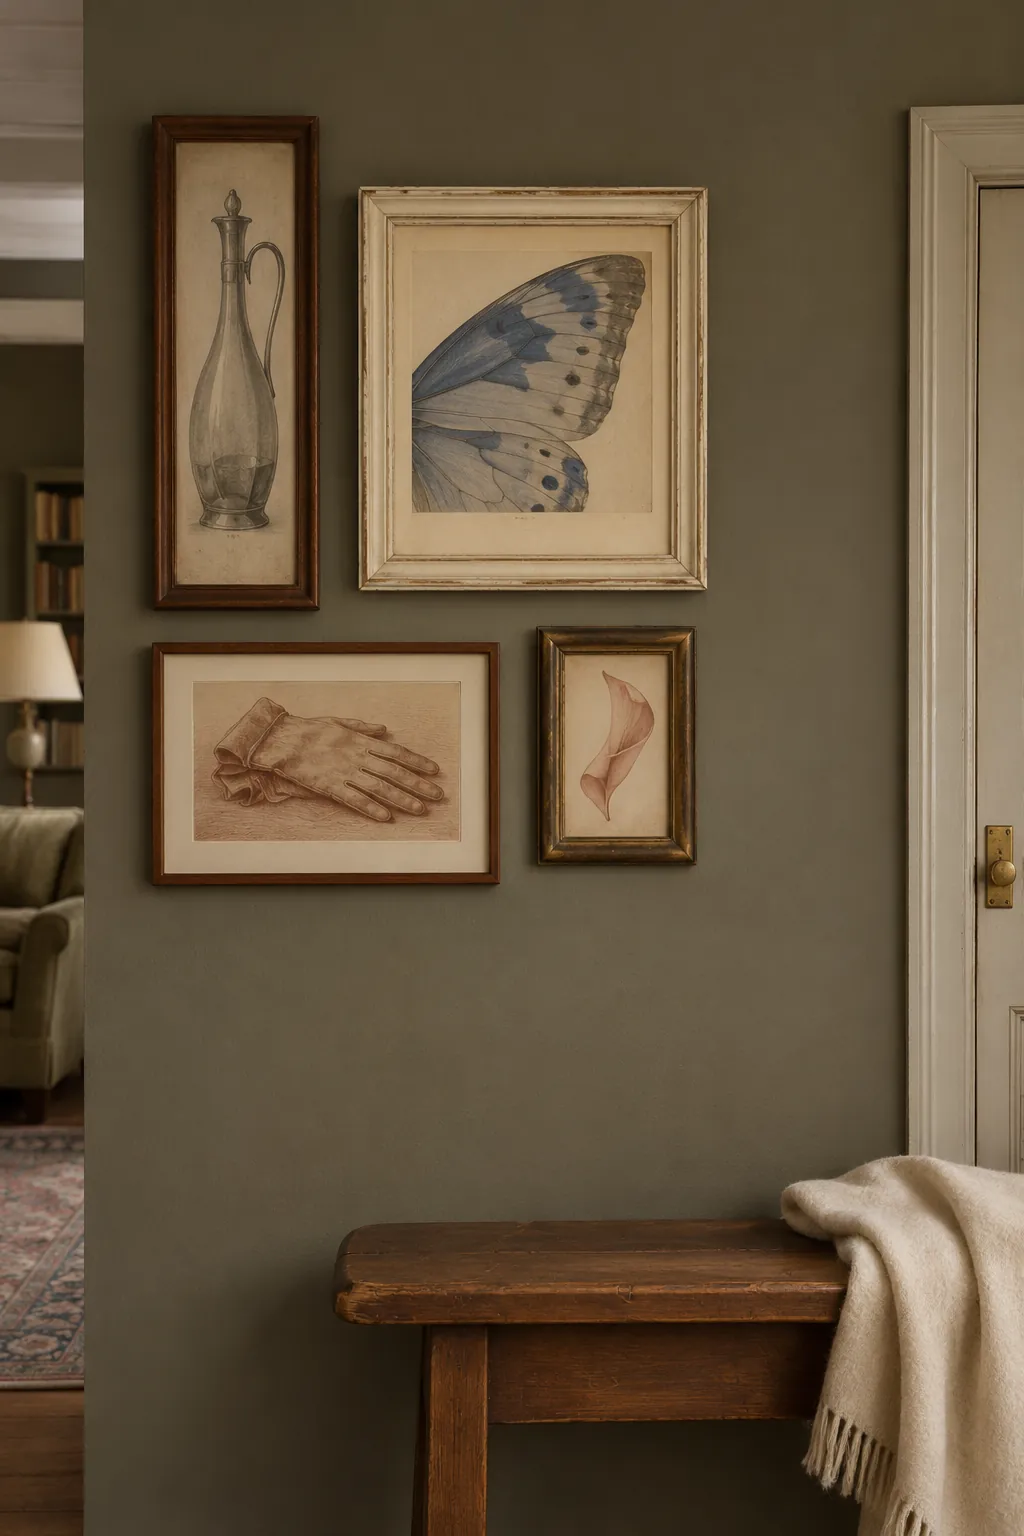
A collected wall can grow without making the first version look unfinished. Leave a plausible gap at one outer edge and give the nearby pieces enough room to stand now. Measure that opening before you bring home another frame. A gap beyond the last frame can be easier to fill than a rigid hole in the middle.
Keep the neighboring piece small if you expect to add a larger one later. Avoid buying a frame just because it matches the dimensions. Wait until you find something you would also hang on its own.
Take One Piece Away Before You Finish
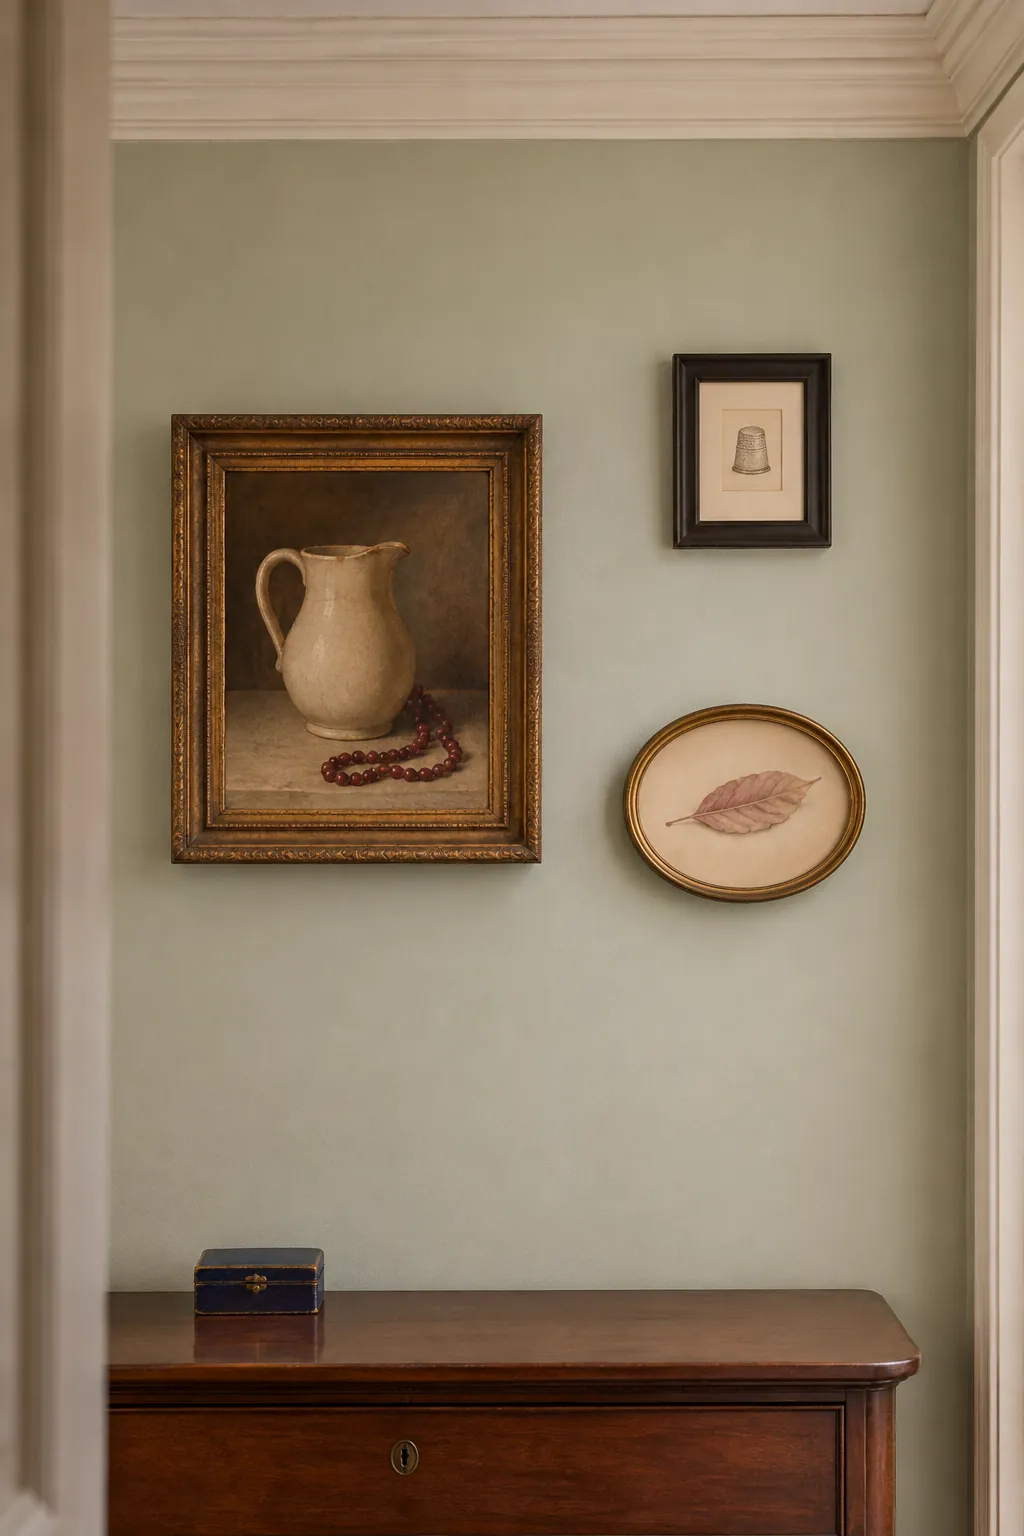
Once the frames are up, stand where you first see them and count how many things fight for attention. Take the most crowded piece down for a day and look again at the whole shape. The gap may show which frame could work better in another room.