A front door moves, gets touched, and sometimes meets rain, so a seasonal hanger needs more than a clever shape. Pick a design that fits the panel, leaves the handle clear, and uses materials suited to your entry. The ideas below range from painted wood to soft fabric, with specific ways to build and hang each one.
Painted Pumpkin Plaque
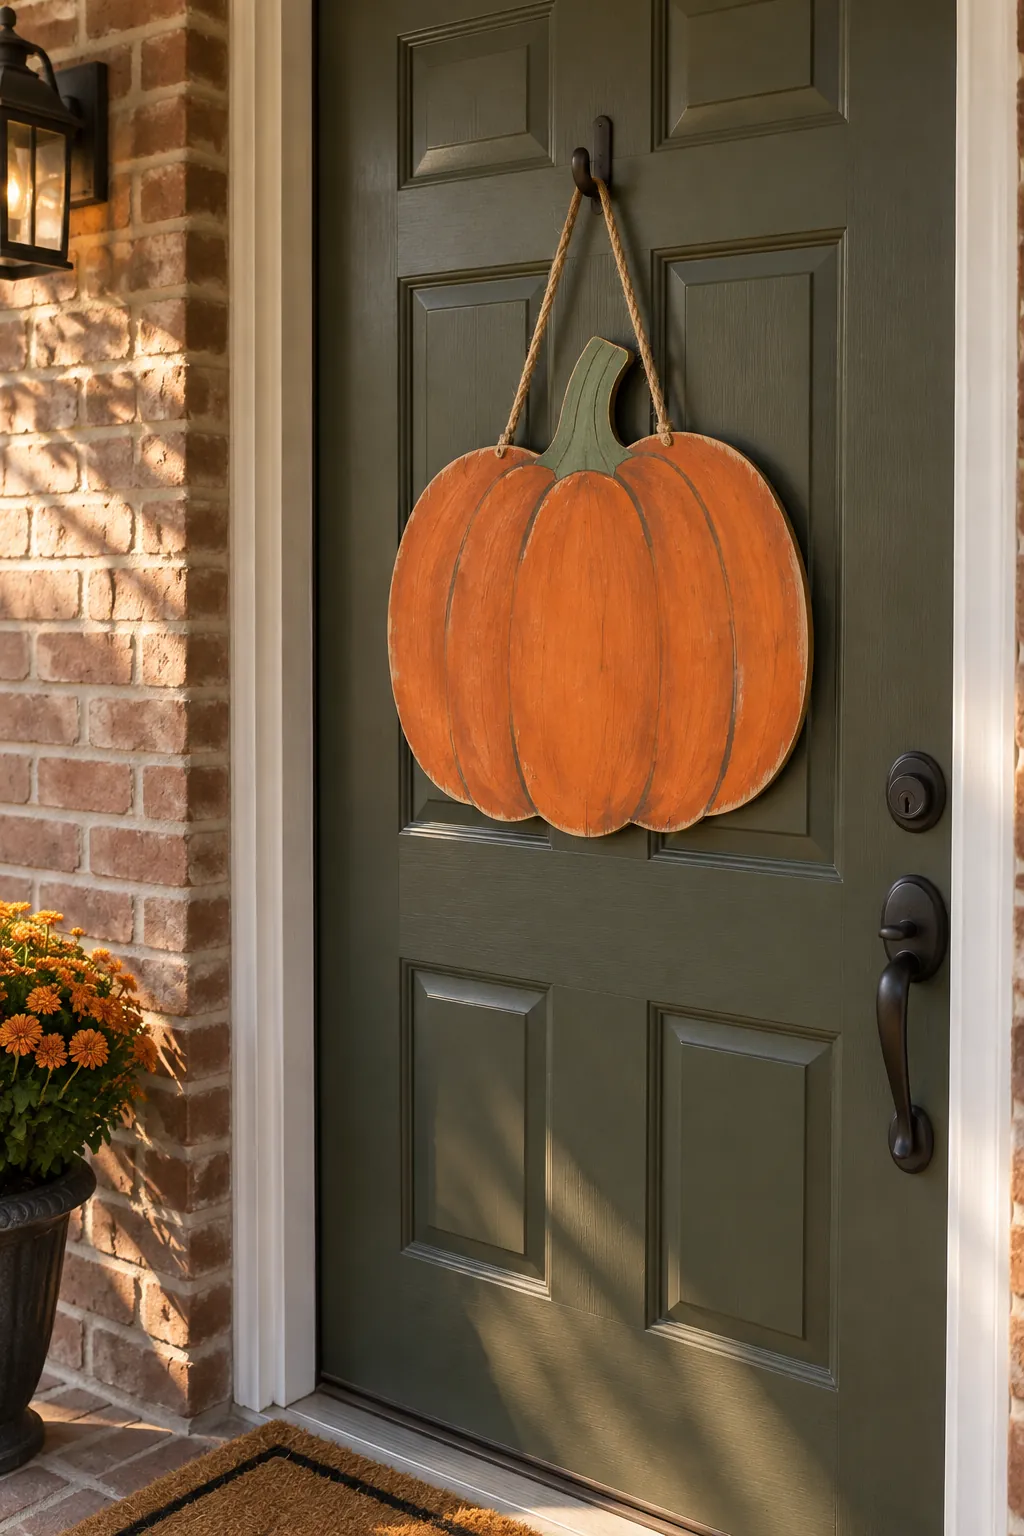
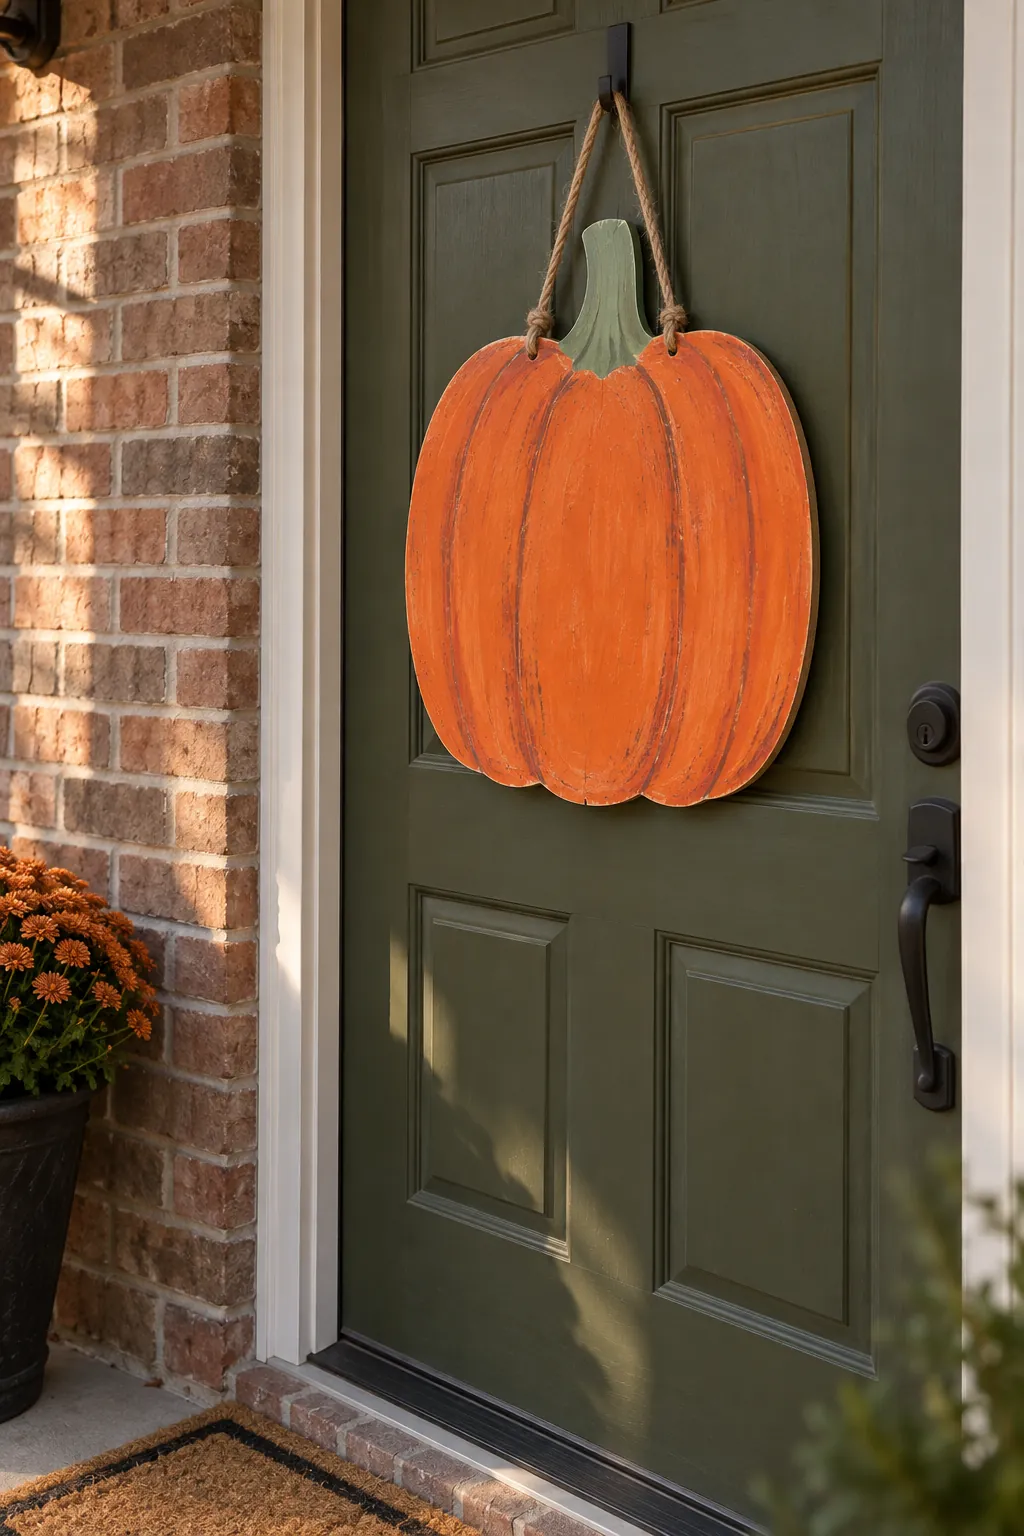
Cut a pumpkin silhouette from thin exterior plywood and sand the edges before painting the face. Draw the stem separately so it remains visible beneath the hanging ribbon. Seal the front, back, and cut edges if the door is exposed to damp air. A short ribbon loop keeps the plaque above the handle instead of knocking against it.
Friendly Ghost on a Round Base
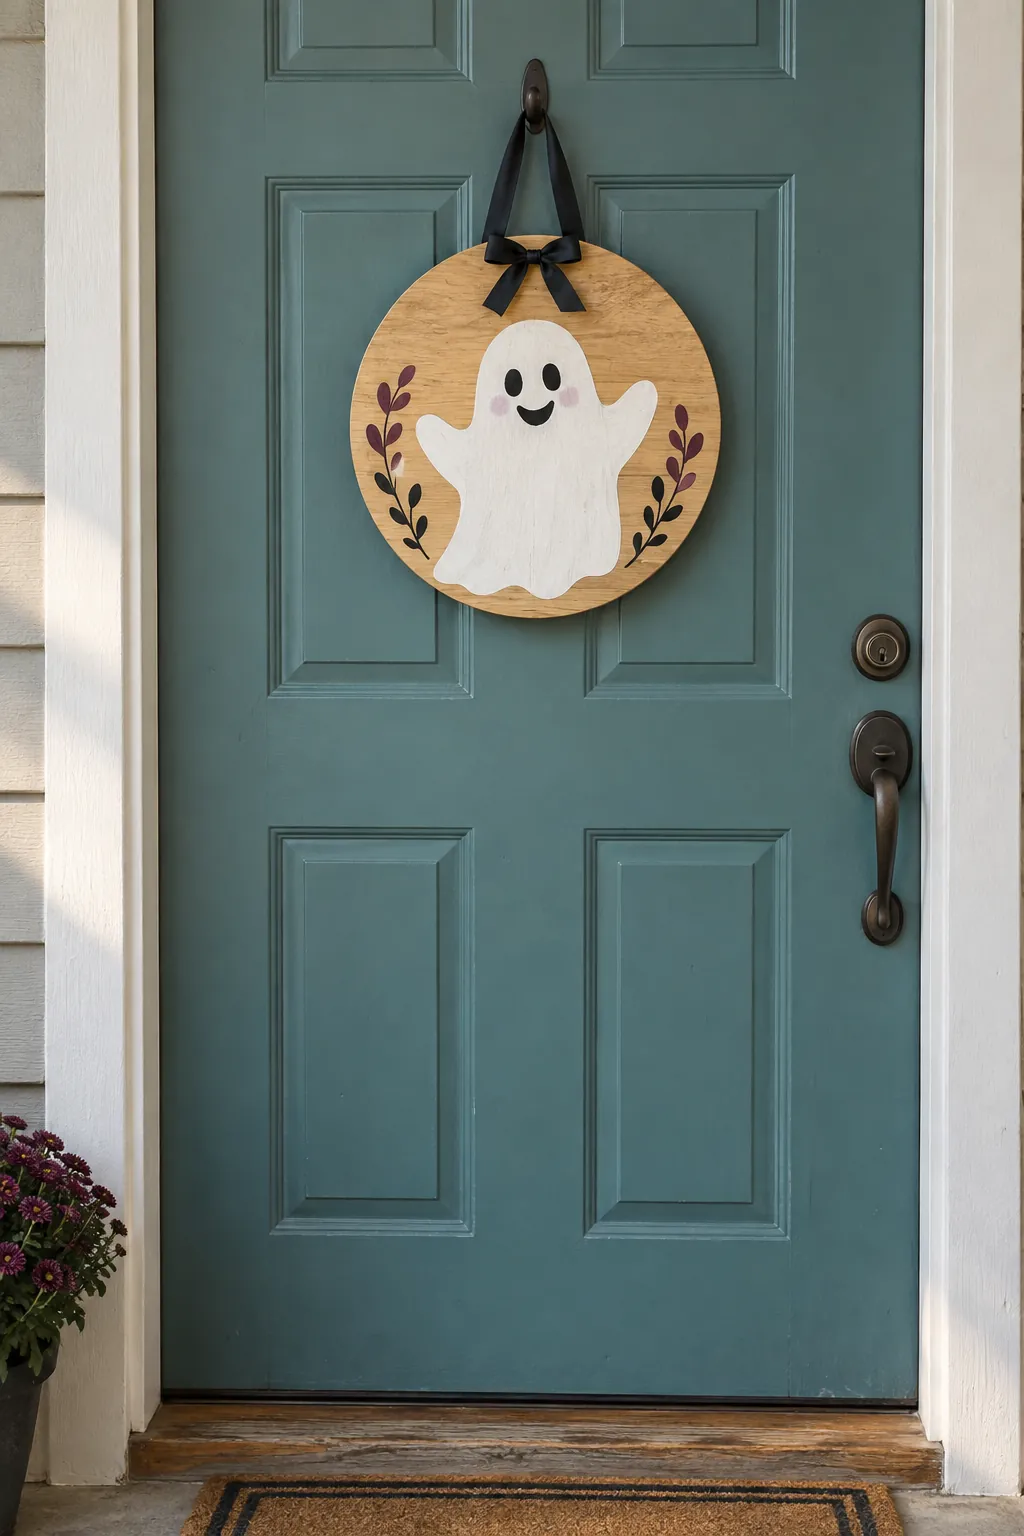
Paint a wooden round a soft white and give the ghost two uneven black eyes for a handmade expression. Leave a slim border of raw wood around the shape so the pale figure is readable against a light door. Use a small black ribbon bow at the top instead of adding more words. For a rental, try a padded over door hook after checking that the door still closes.
Black Bat Silhouette
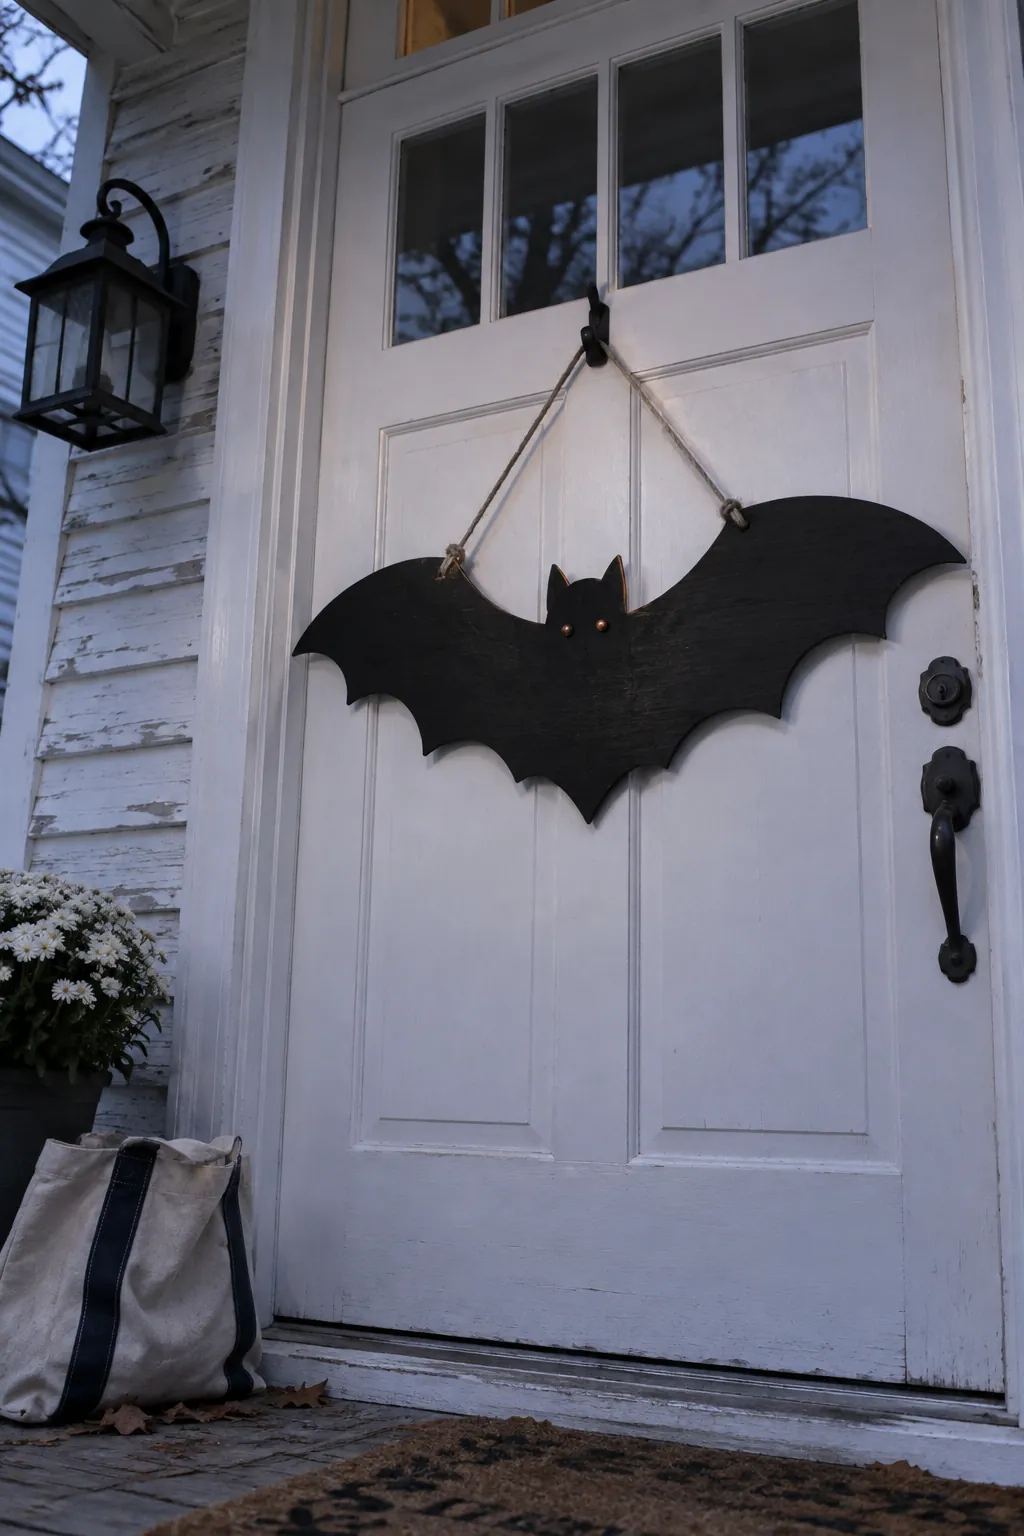
Trace wide wings onto lightweight plywood and cut slowly around the narrow tips. Paint the bat matte black, then add tiny copper eyes that catch light without making the face cartoonish. A two point hanging cord keeps the wings level when the door moves. Place felt dots behind the outer wing tips so they do not scuff the finish.
Witch Hat with Fabric Band
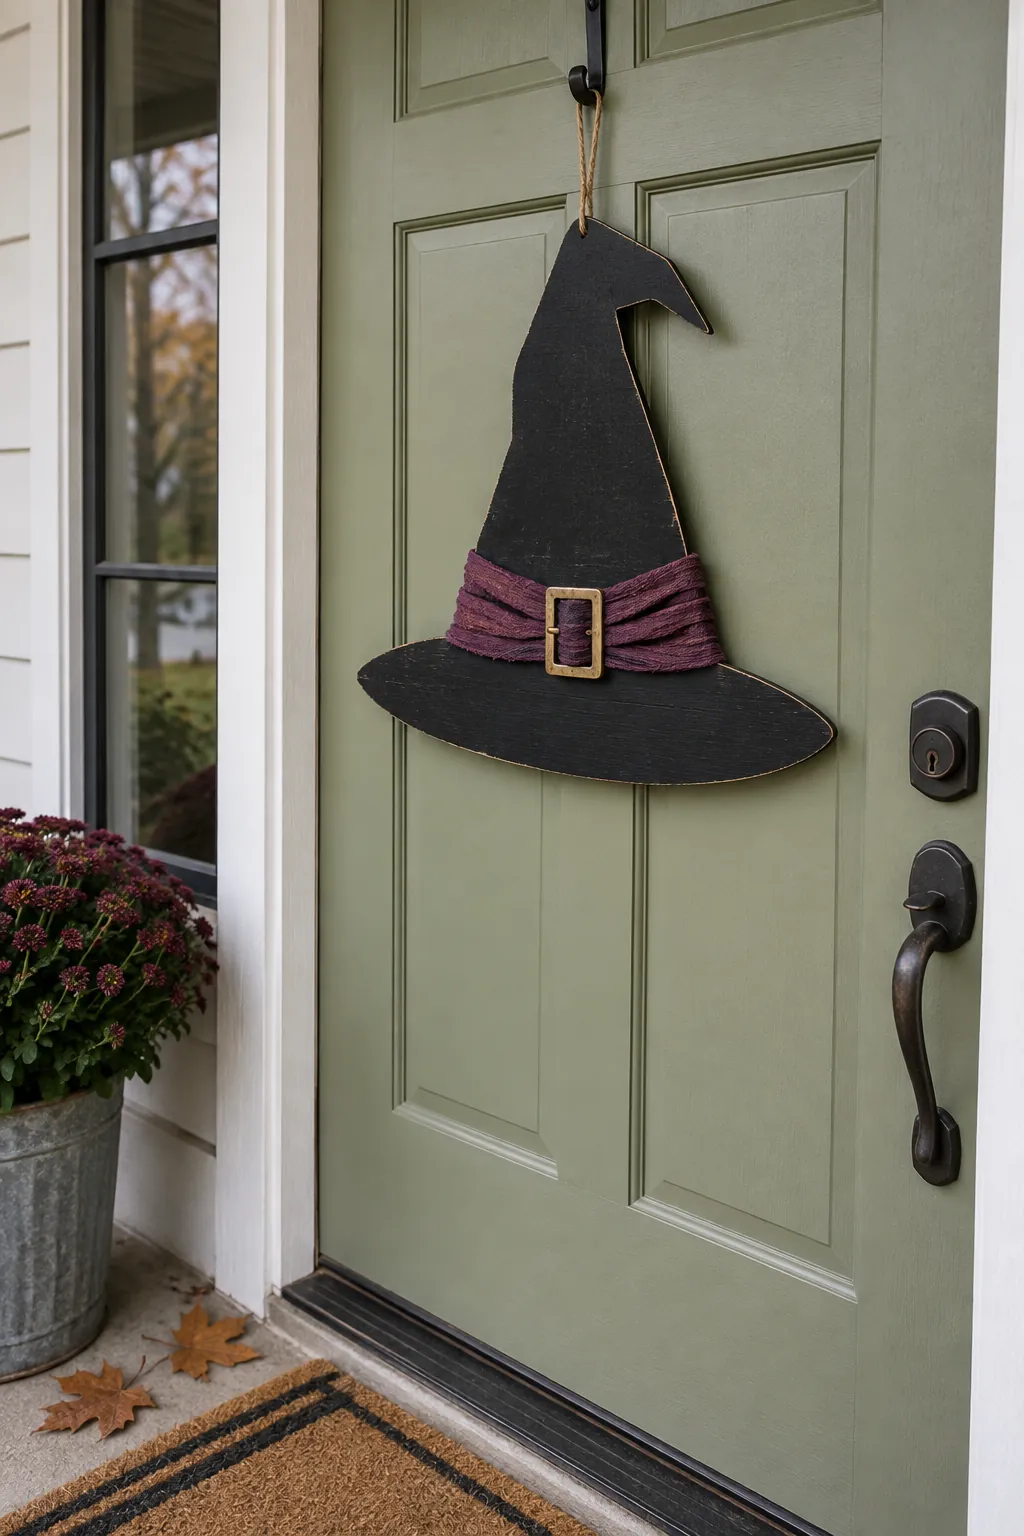
Make the hat from a single wood cutout so the brim cannot loosen from the crown. Wrap a strip of purple cotton around the painted crown and fix its ends on the back. A small brass buckle shape adds contrast without relying on difficult lettering. Keep the fabric version beneath a covered porch, since repeated rain can stain the door.
Candy Corn Stack
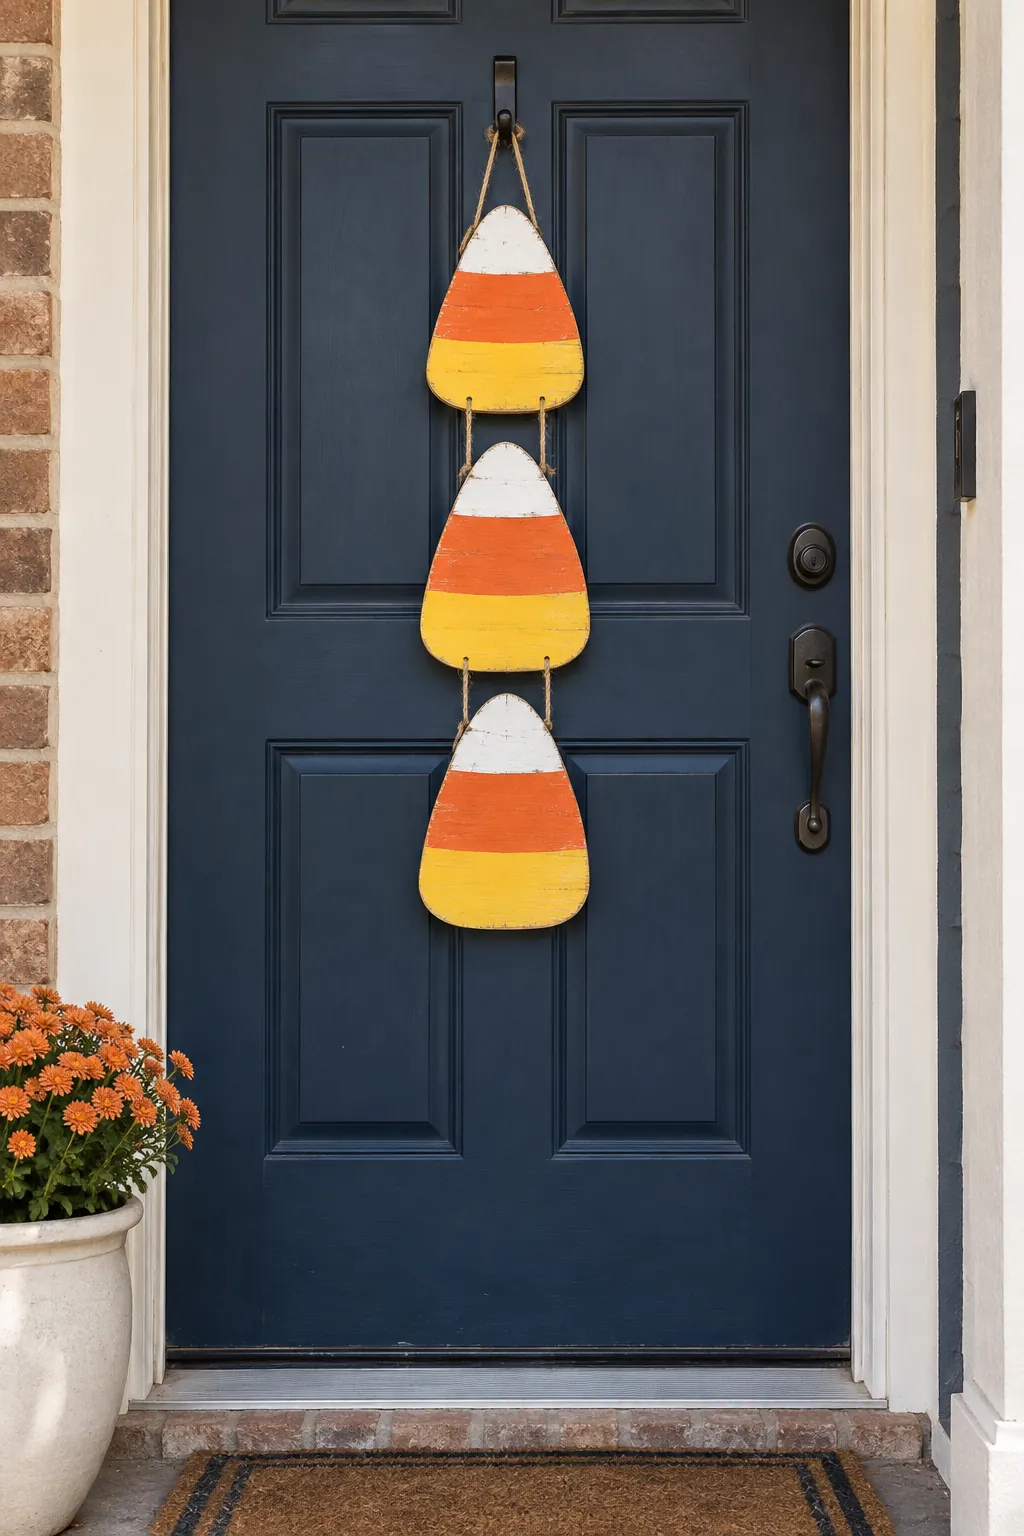
Cut three rounded triangles from thin wood and paint each in cream, orange, and golden yellow bands. Connect them vertically with short lengths of cord, leaving enough space for each piece to swing freely. This narrow shape fits beside a raised door panel where a wide wreath would look crowded. Seal the cord holes as well as the painted faces.
Spider Web Embroidery Hoop
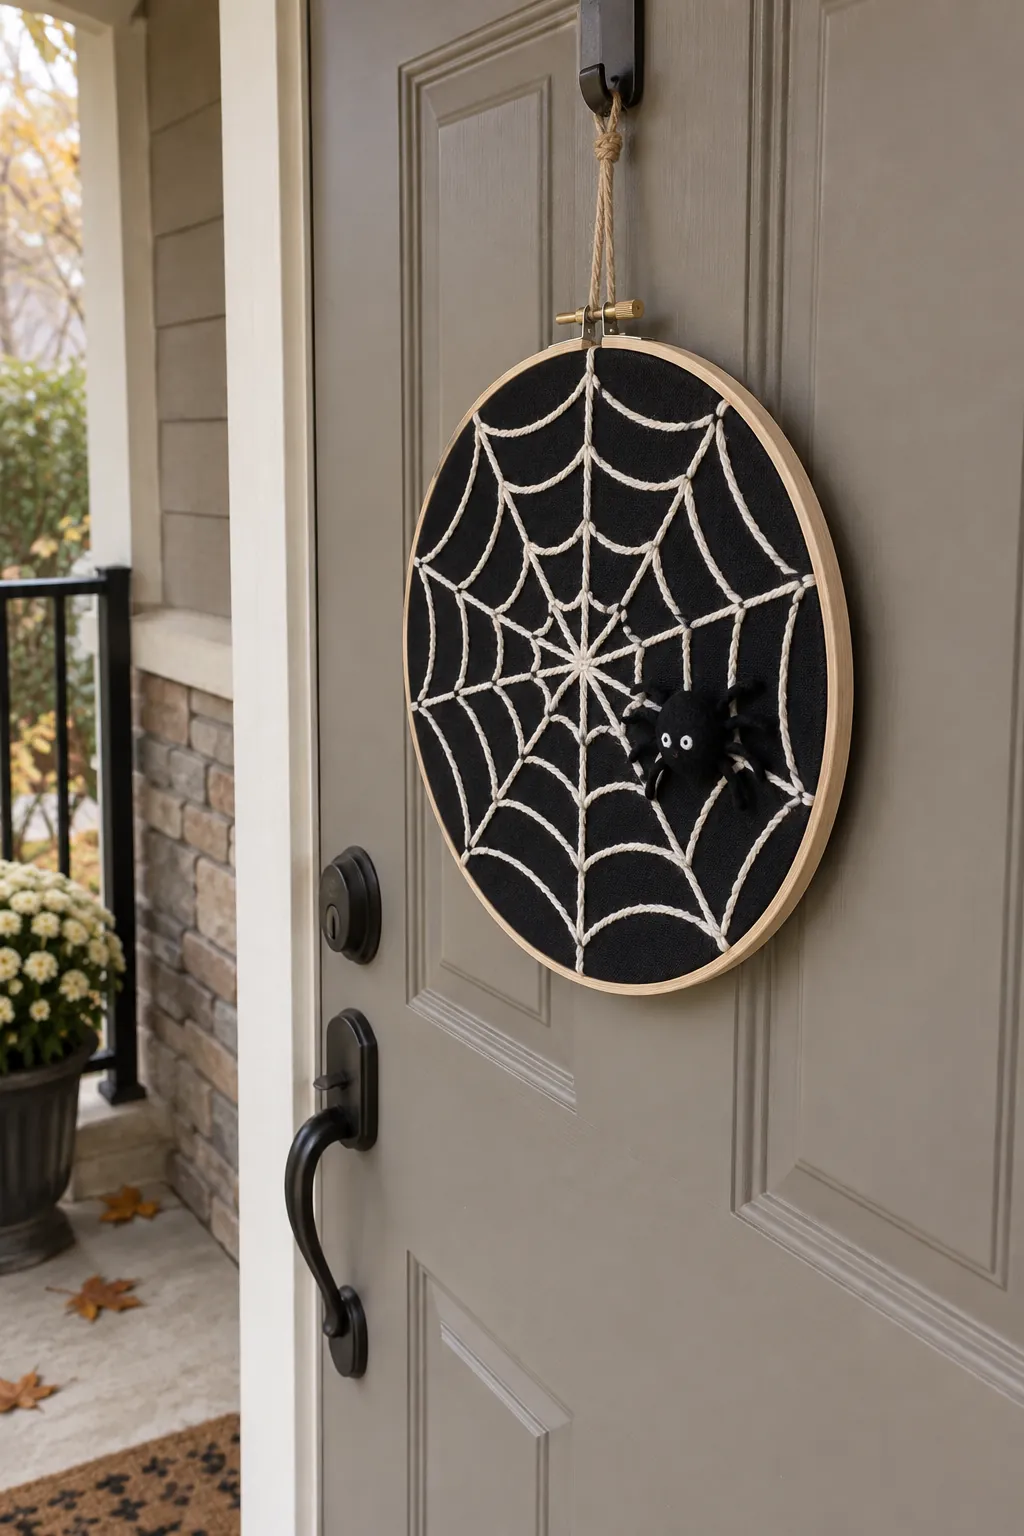
Stretch black cotton across a wooden embroidery hoop, then stitch a loose web with thick white thread. Fasten the thread ends on the back so they cannot unravel when the door opens. A small felt spider near one edge gives the web a focal point while leaving its pattern visible. Hang this soft construction under cover rather than in direct rain.
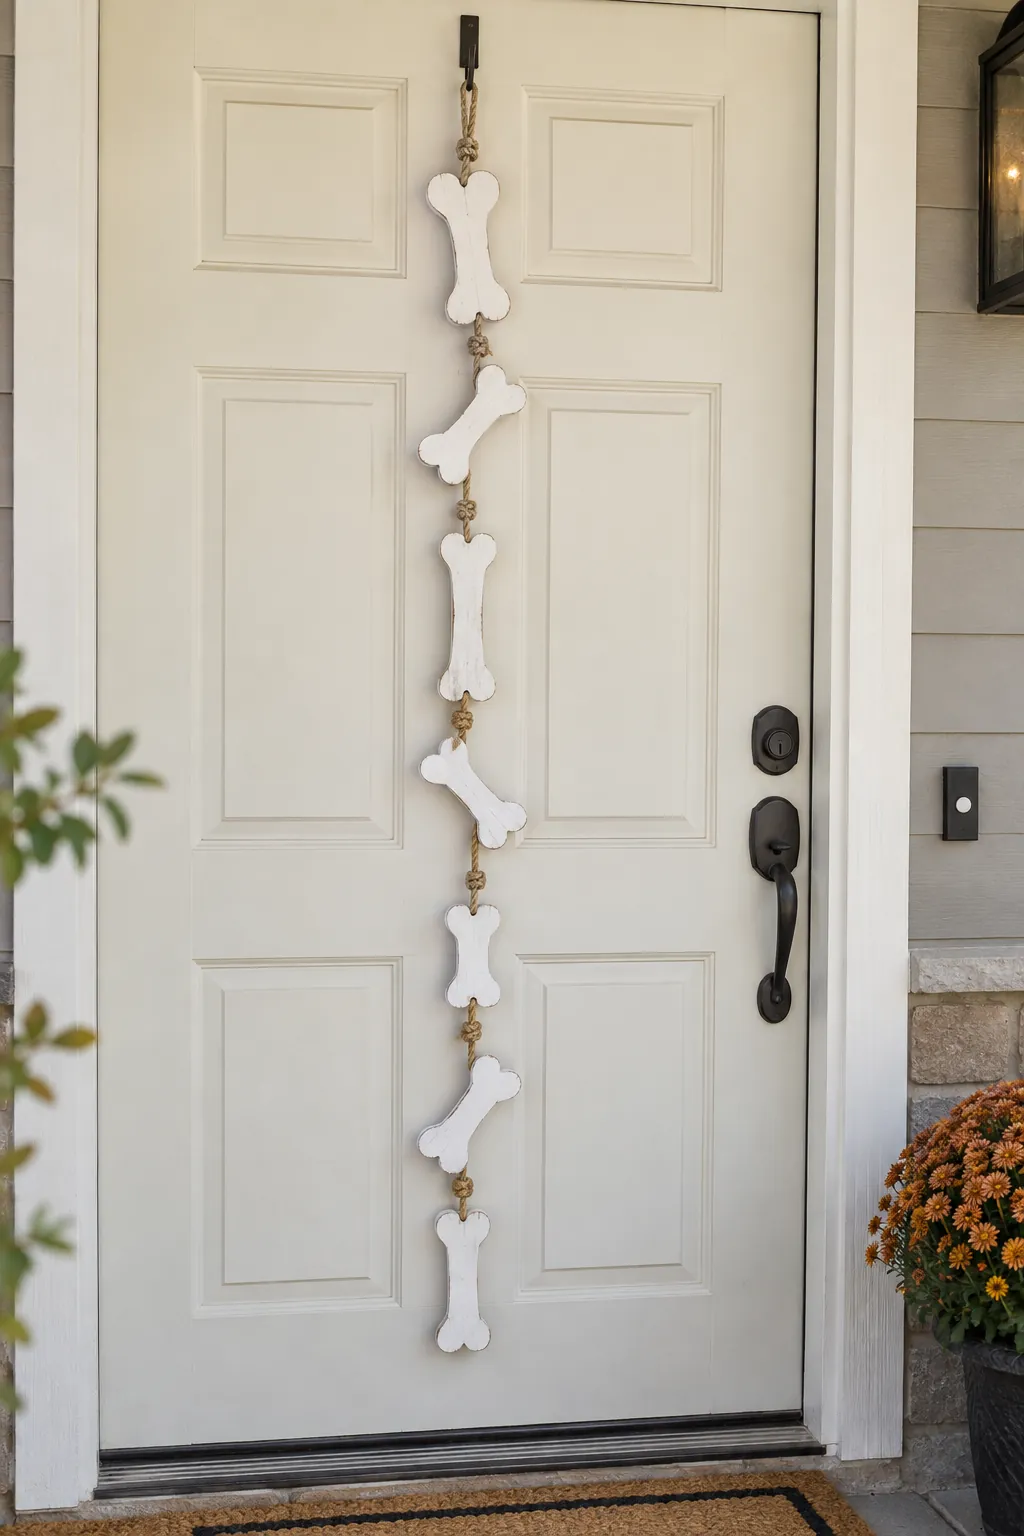
Skeleton Bone Garland
Cut several simple bone shapes from lightweight craft wood and string them along a short vertical cord. Vary the bone angles so the hanger reads as a playful skeleton rather than a rigid sign. Knot each piece separately to stop them sliding together. Check the lowest bone against the lockset before fixing the top loop.
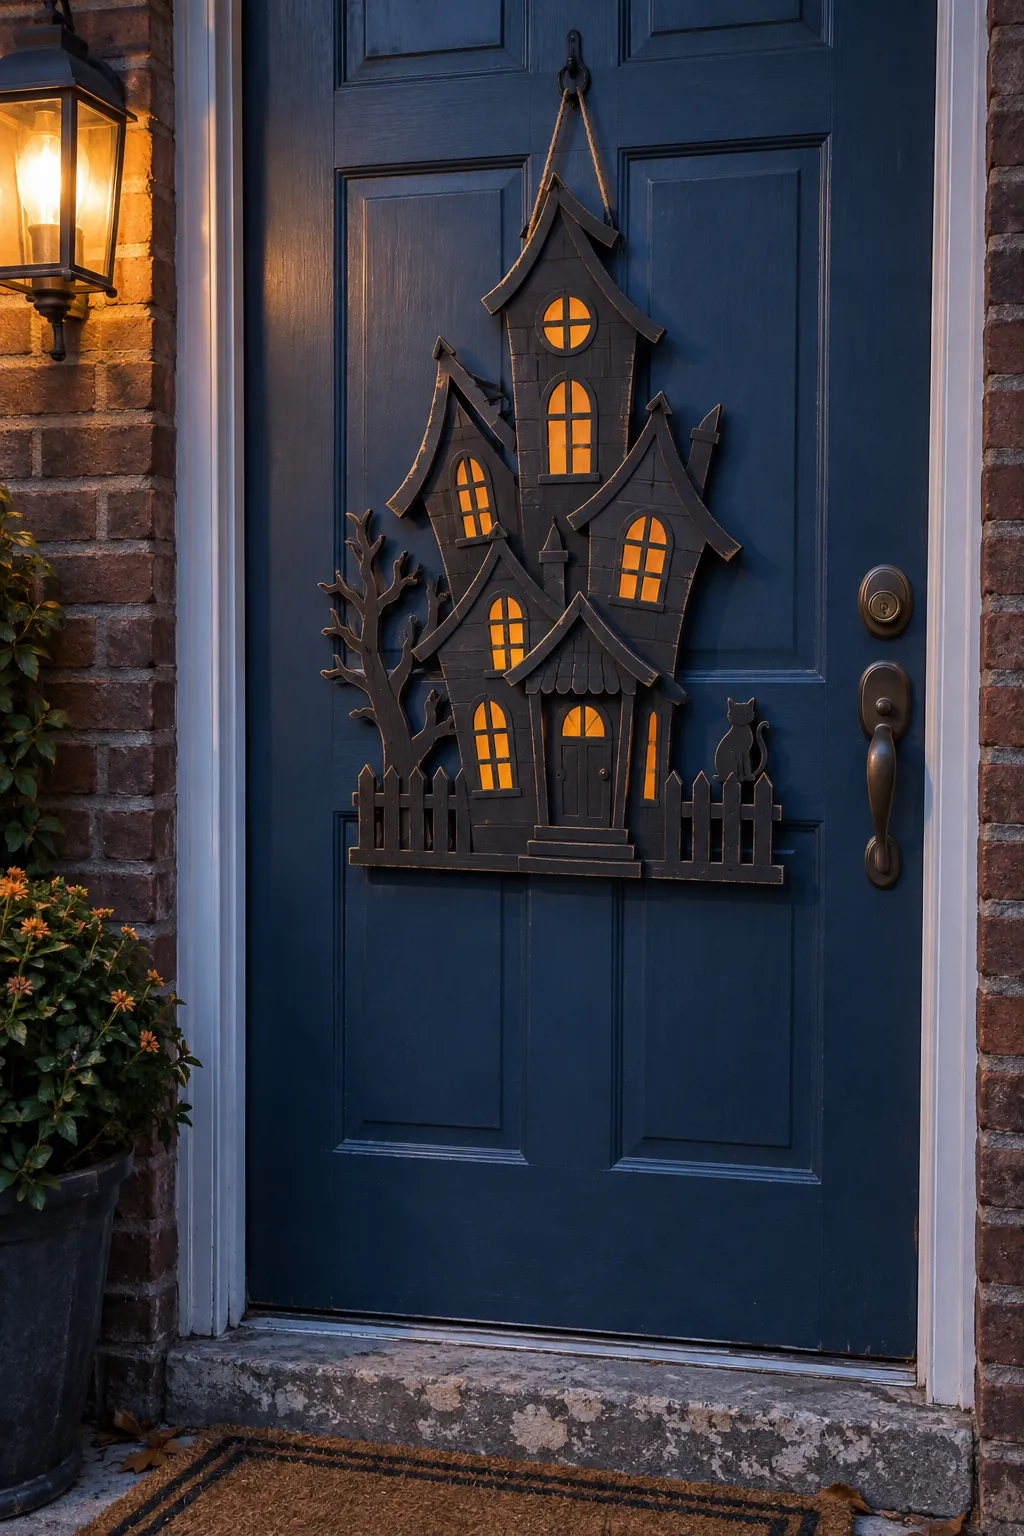
Haunted House Layers
Cut a crooked house outline from plywood and add a second layer for the roof and porch. Paint the windows warm amber against dark charcoal walls so the shape stays clear from the sidewalk. Use small wood spacers rather than thick foam to create shadows between layers. Keep the silhouette inside the door panel so the projecting roof does not catch on the frame.
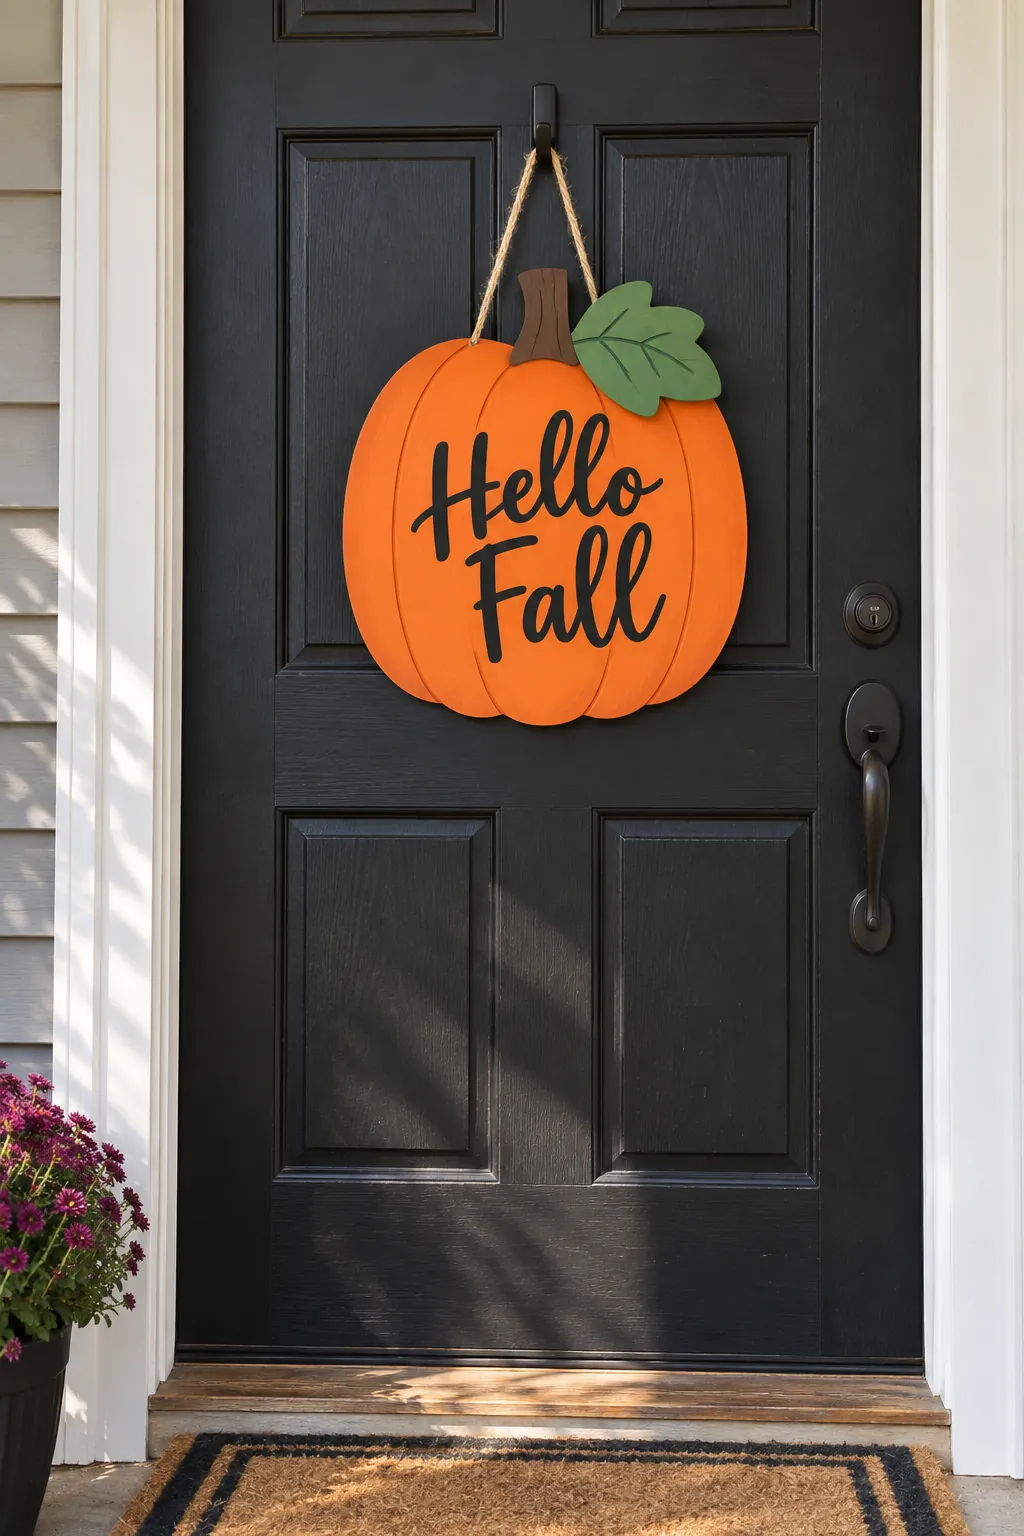
Cricut Pumpkin Lettering
Start with a smooth painted pumpkin blank and cut a short greeting from permanent outdoor vinyl. Burnish the vinyl firmly over the dry paint, especially around the curved letters. If the surface is rough, paint the words by hand instead of expecting vinyl to bridge the grain. Finish with a leaf and a restrained bow that does not hide the message.
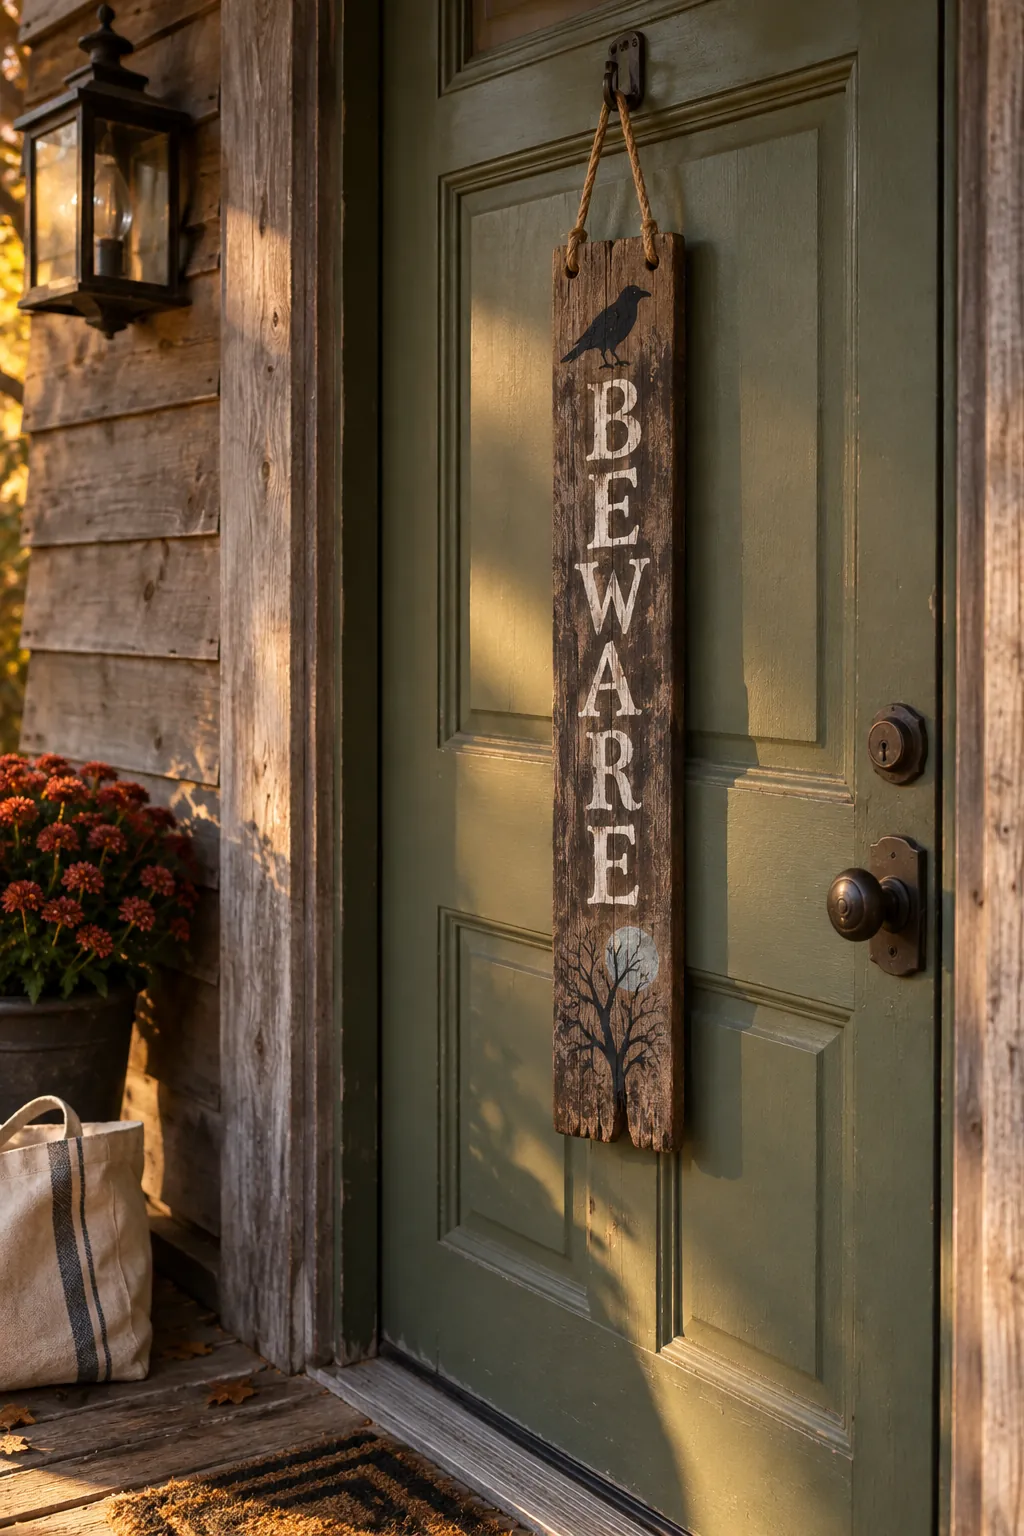
Rustic Beware Sign
Use a slim reclaimed board with its sharp edges sanded and paint a legible Beware message in off white. Let the original grain show through a dark stain, but do not leave loose paint that could transfer to the door. Drill two level holes rather than tying a single loop around the board. A clear outdoor rated coat helps the lettering survive a covered entry.
Vintage Black Cat Plaque
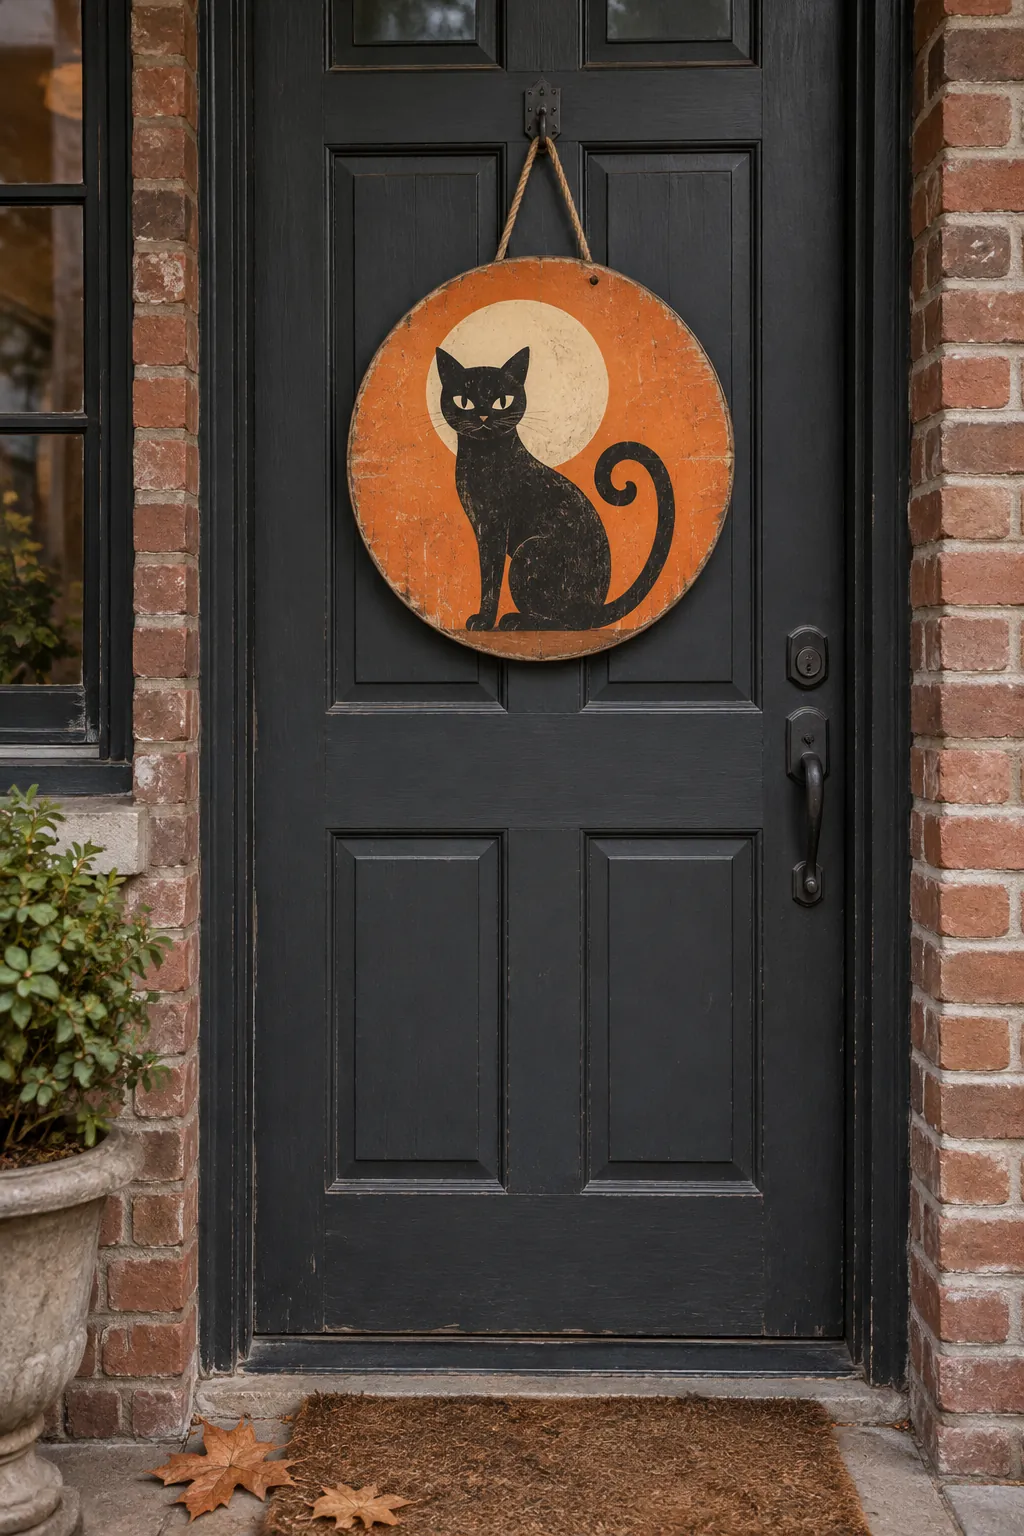
Draw one arched cat with a long curling tail on a round board and use cream paint over a faded orange ground. Keep the silhouette bold enough to read at a glance instead of filling the face with tiny details. Scuff only the painted surface for an aged look, then protect it with a compatible clear coat. This design suits a simple door where the graphic can stand alone.
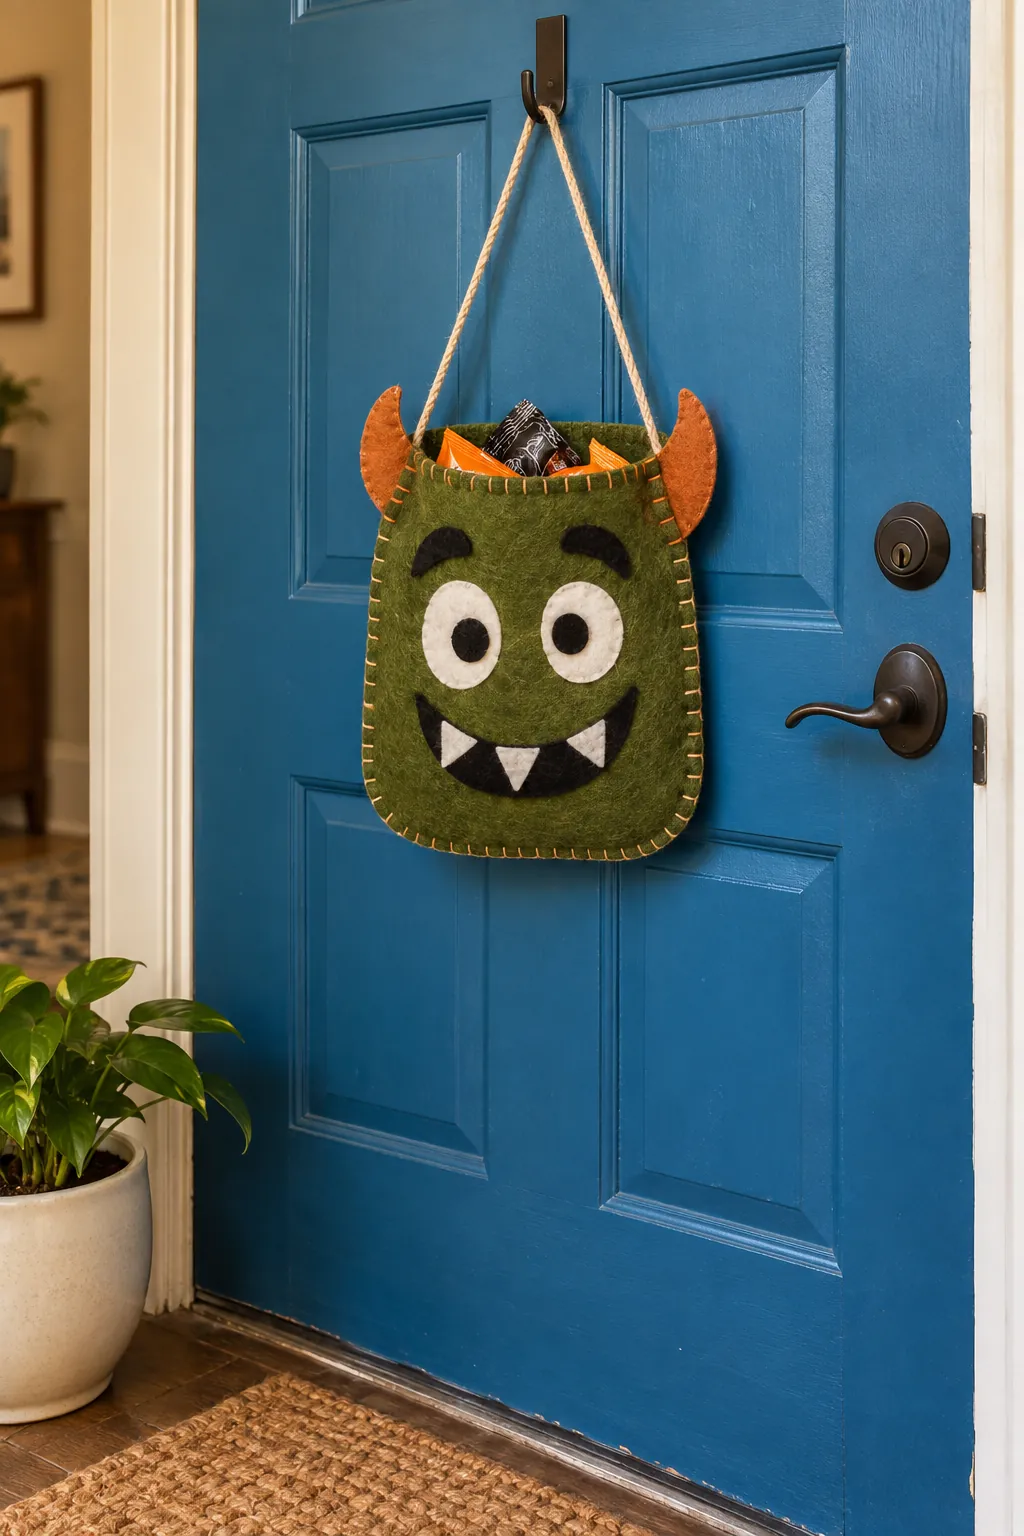
Monster Face Felt Pocket
Sew a friendly monster face onto a felt pocket with an open top for lightweight paper notes. Back the felt with a thin stiff panel so it does not collapse when the door moves. Keep buttons and loose pieces out of reach if young children may pull at them. A sheltered entry protects the stitching and makes the pocket useful for a party greeting.
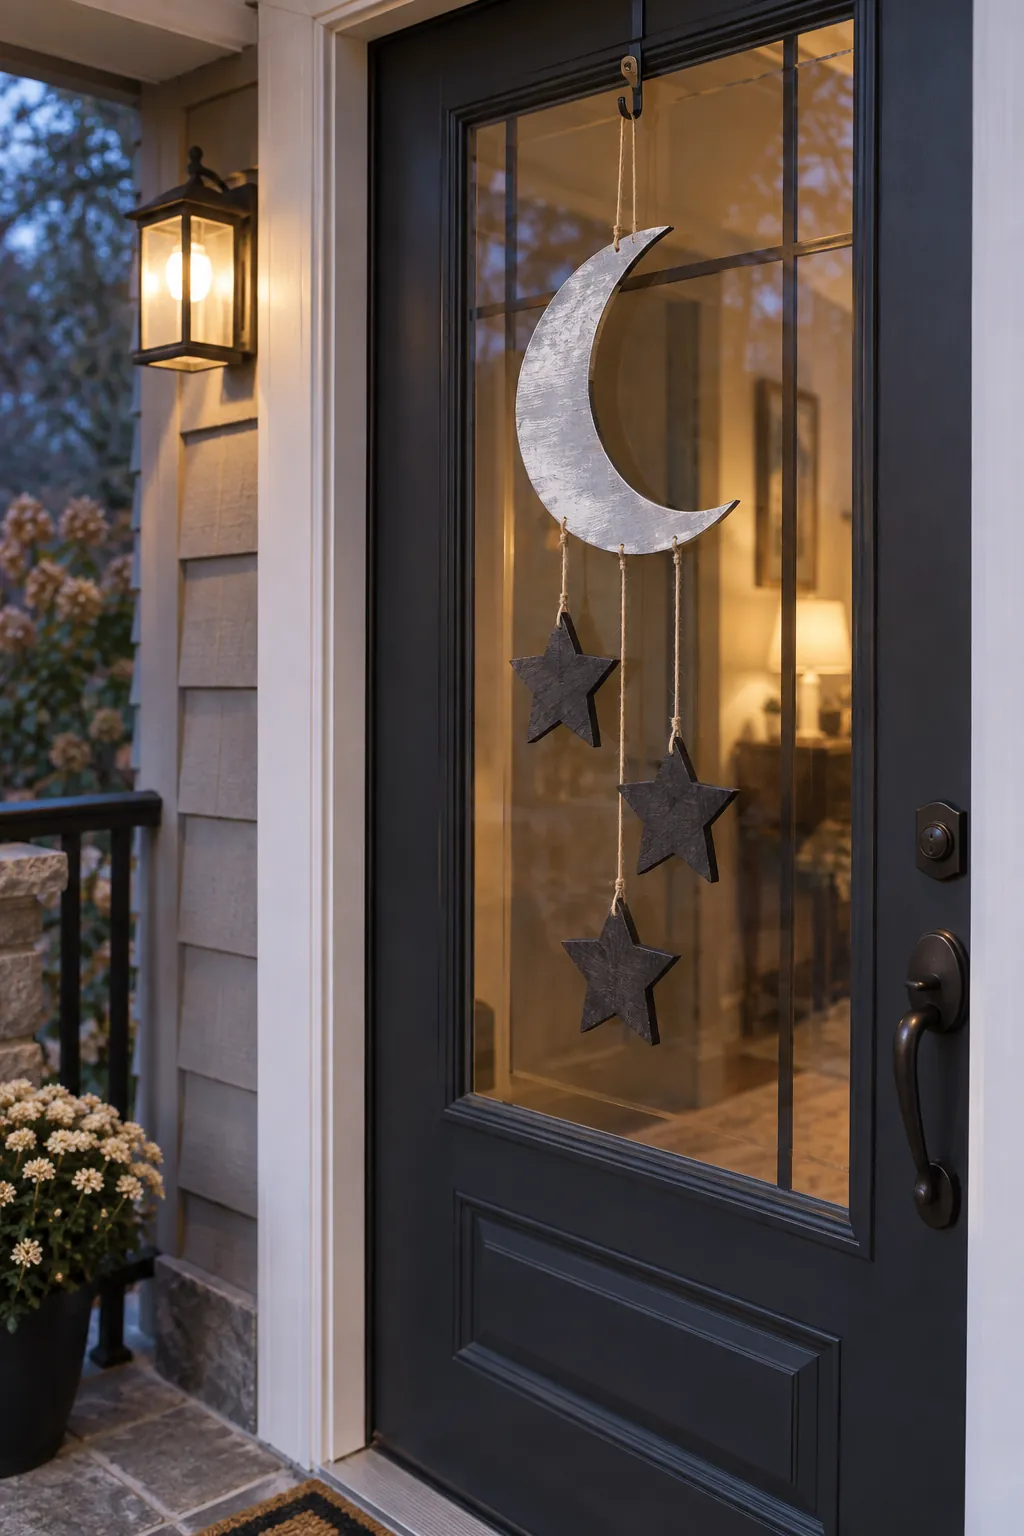
Moon and Star Mobile
Cut one crescent moon and three small stars from thin plywood, then hang them at staggered heights. Use a ruler to check that the stars cannot strike the door glass or handle as they swing. Paint the moon antique silver and keep the stars a quieter charcoal. A short top loop limits movement on a windy porch.
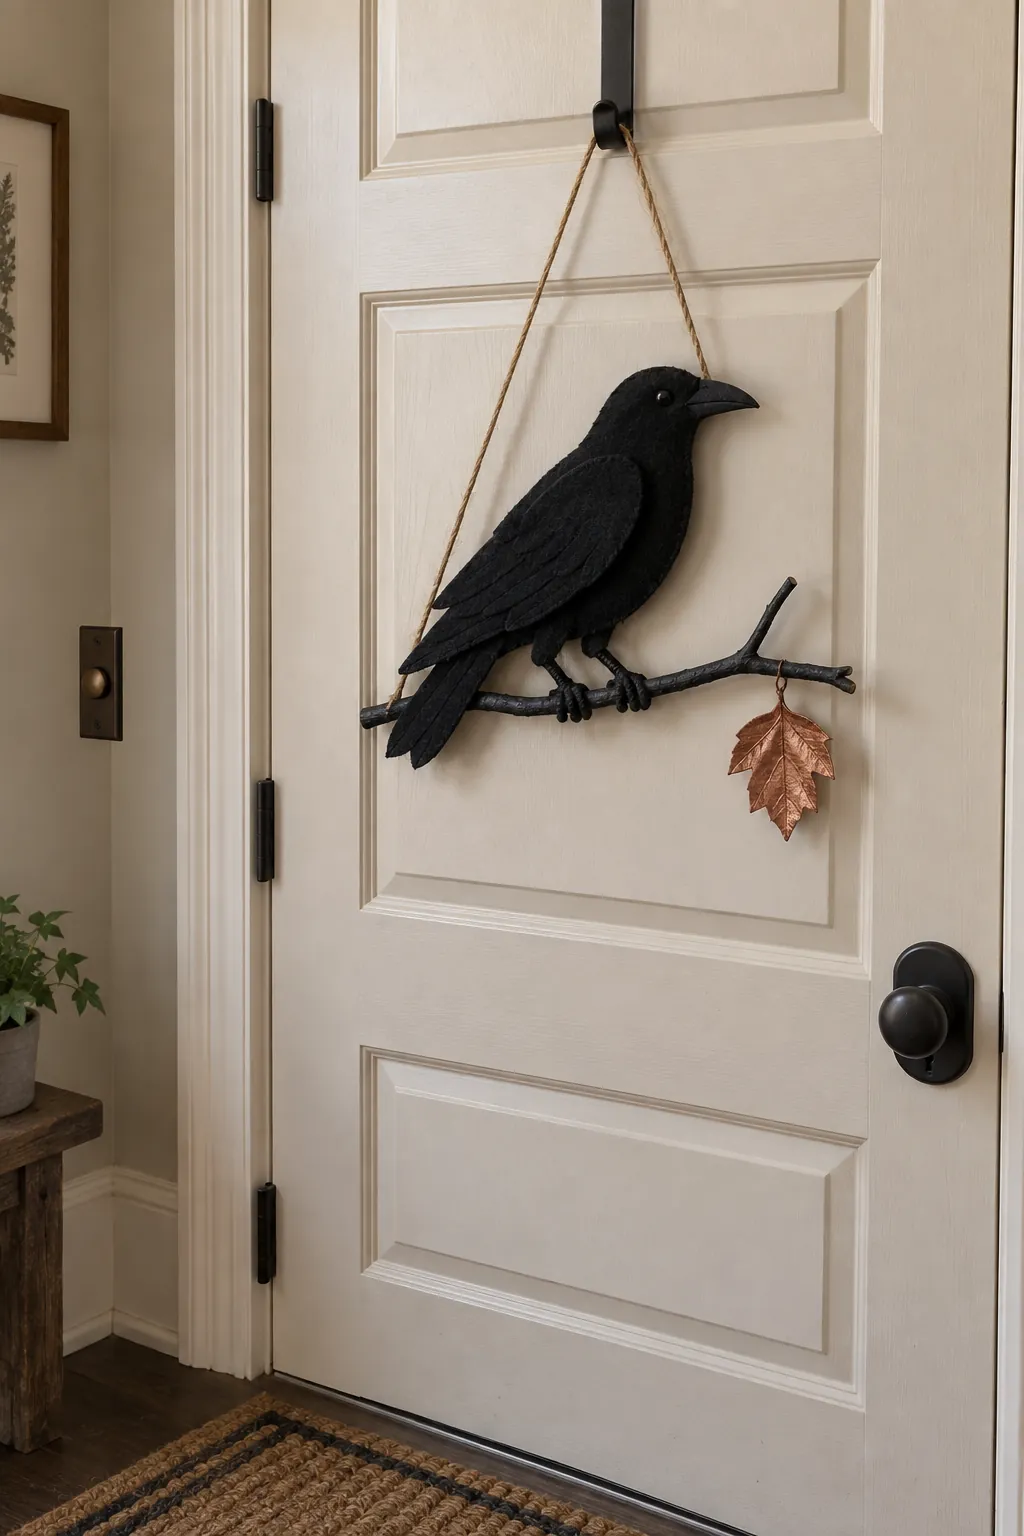
Raven on a Branch
Shape a raven from black felt and stitch it to a narrow painted branch cutout. A single copper leaf below the bird provides contrast without turning the design into another wreath. Use a firm fabric backing so the raven keeps its profile. Place this one where it will not get wet, because the felt edge can hold moisture.
Trick or Treat Circle
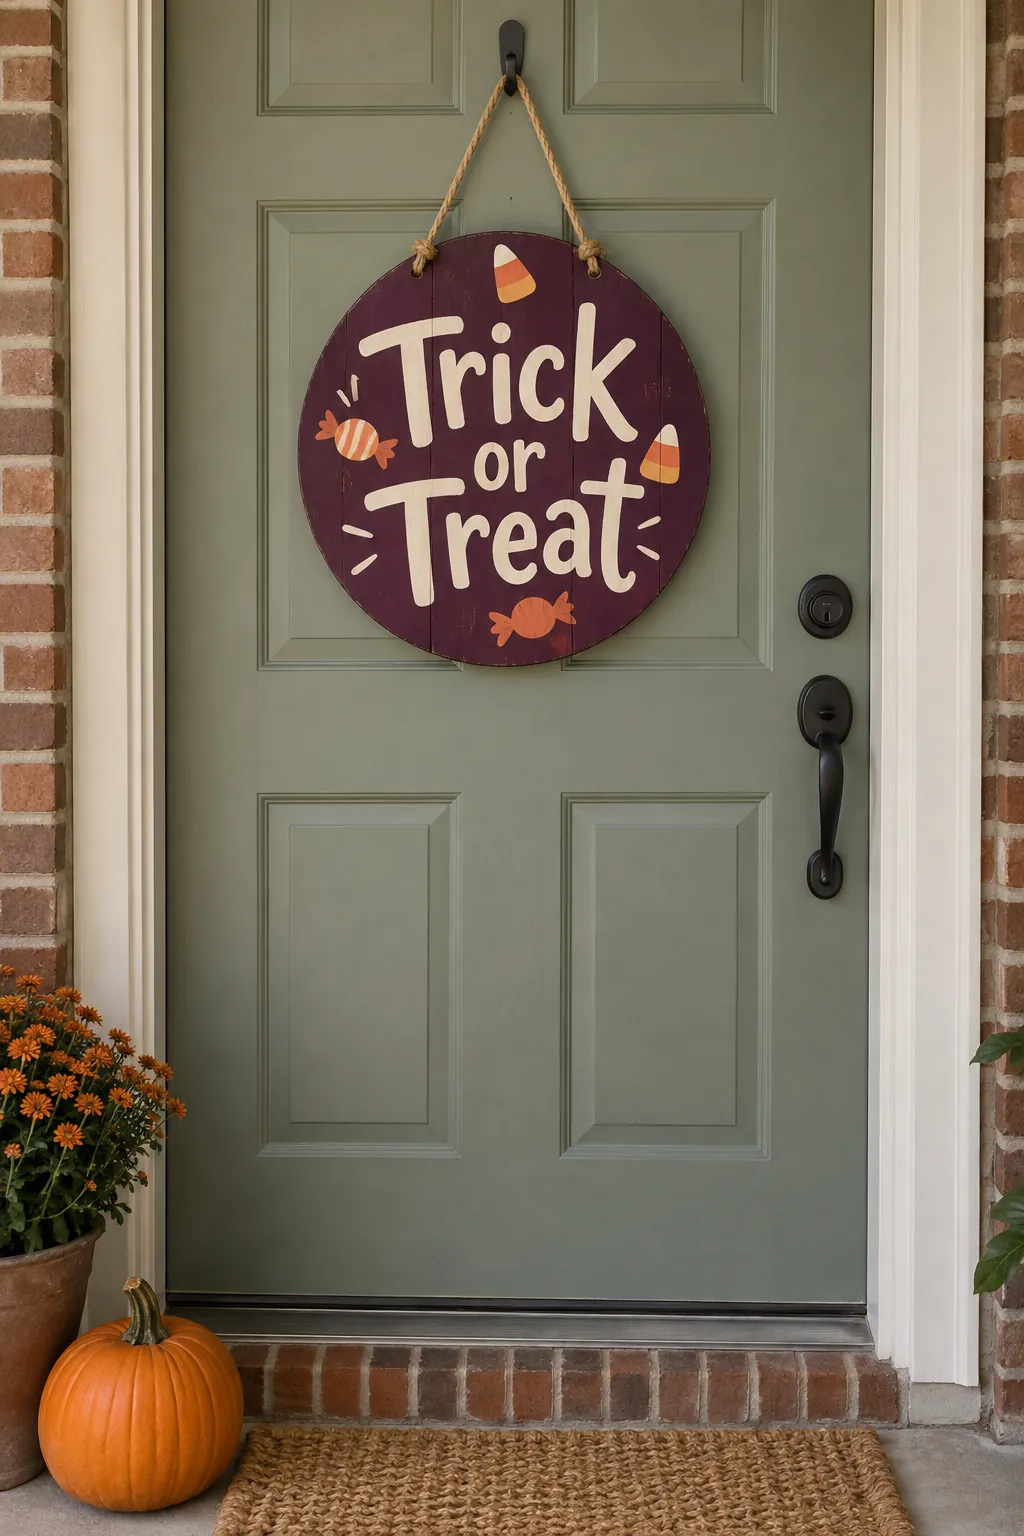
Paint a wooden round in deep plum and letter Trick or Treat across its middle in broad cream strokes. Add only a few small candy shapes around the rim so the words stay easy to read. Mark a level line before drilling the hanging holes, since a crooked circle makes the lettering look off center. Choose a sealed finish for an outdoor door.
Tassel Broom Hanger
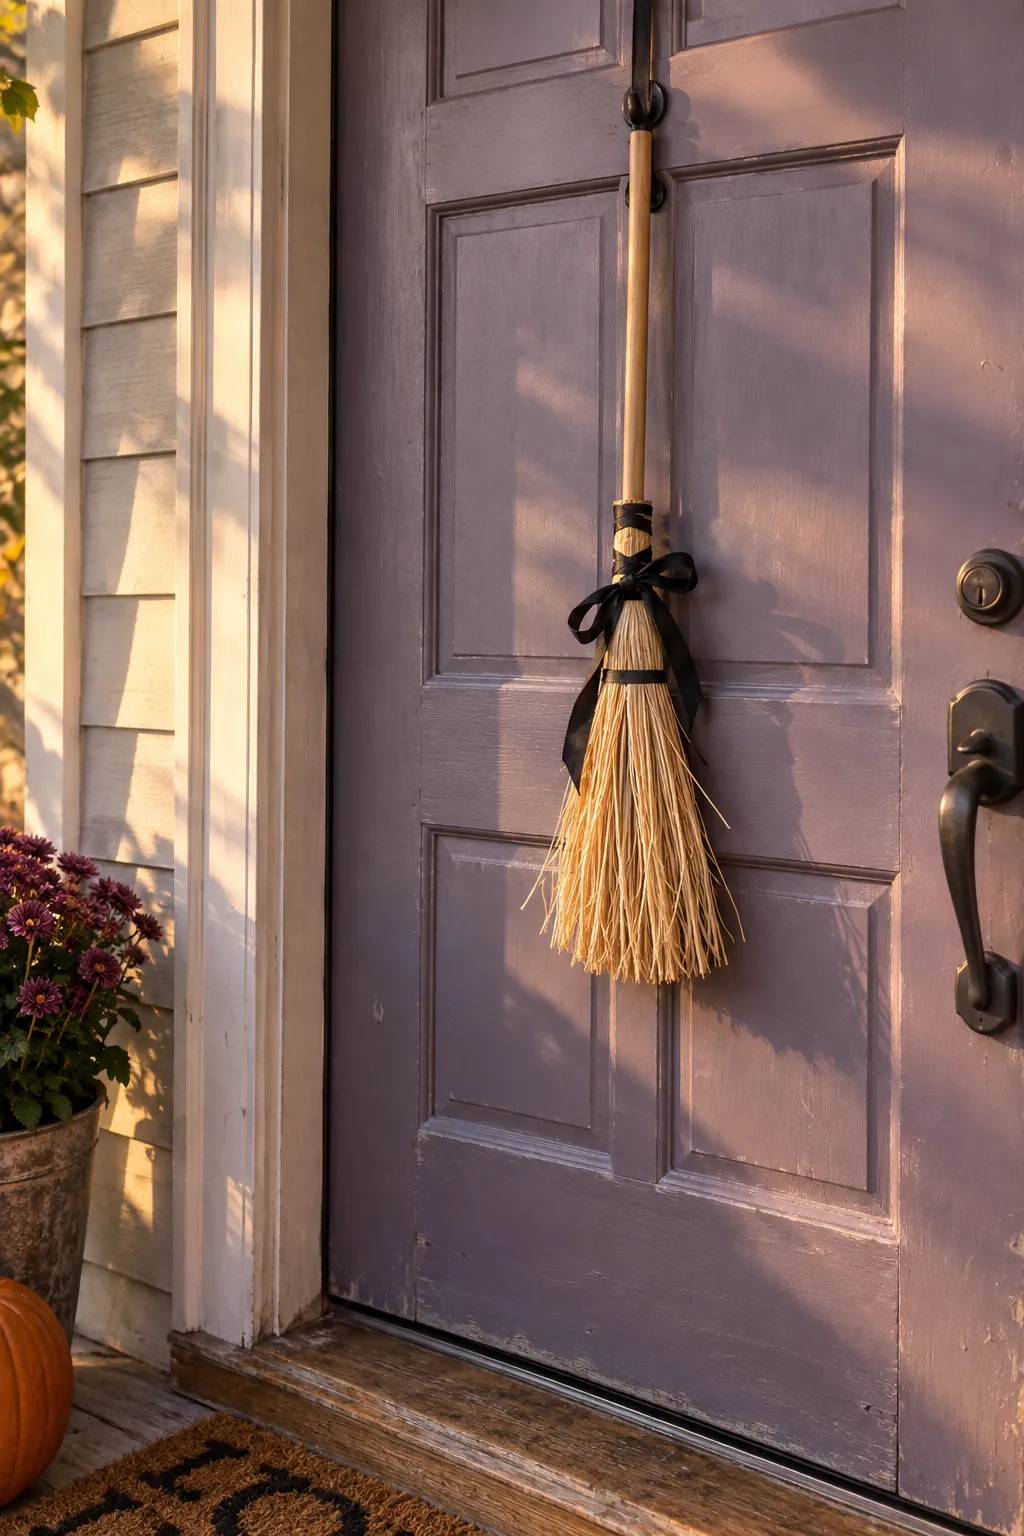
Bundle natural raffia tightly around a short dowel to make a miniature broom. Tie the bundle twice and trim its bottom square so it hangs neatly. Wrap a narrow black ribbon around the handle for a witch theme without a large sign. Keep the broom away from the door sweep and take it inside during heavy rain.
Fabric Pennant Banner
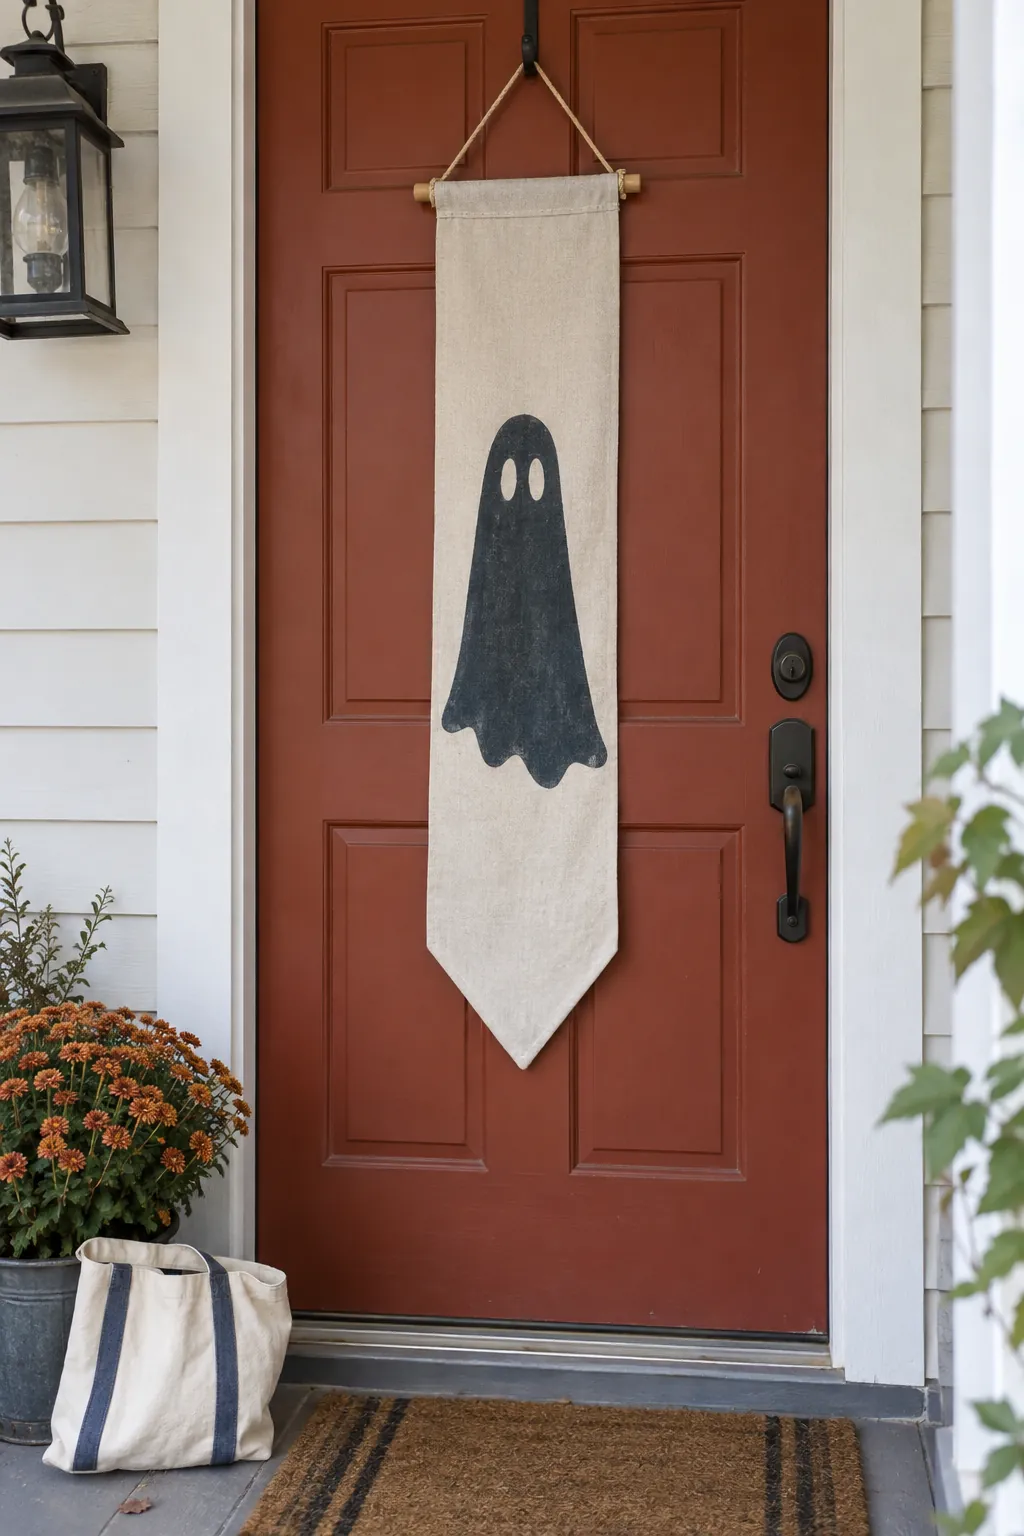
Cut a tall pennant from heavy cotton and stitch a second layer behind it to prevent curling. Paint a simple ghost icon near the top and leave the lower field plain for visual balance. Thread a dowel through a stitched sleeve instead of gluing fabric to wood. The banner works best on a protected door where fabric can stay dry.
Paper Lantern Cluster
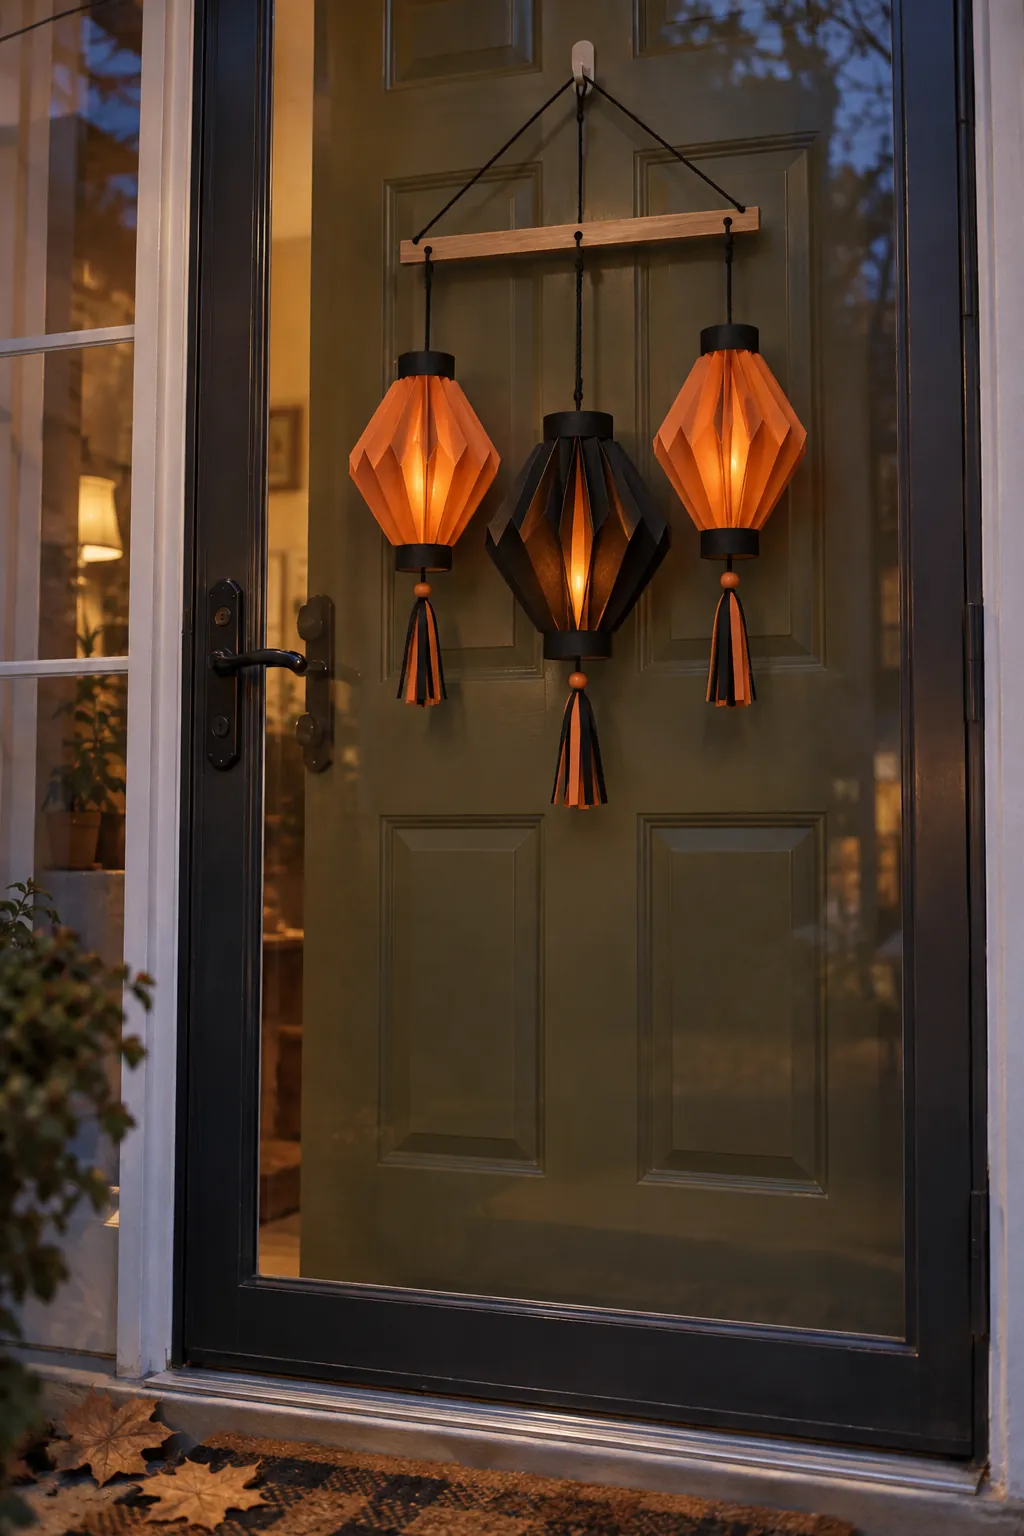
Fold three small paper lantern shapes from heavy cardstock and attach them to a narrow wooden rail. Use battery lights only if the paper design is meant to glow, and keep heat sources away. Hang the cluster inside a storm door or in a dry covered entry. Its lightweight construction gives a festive effect without needing a heavy hook.
Autumn Pumpkin Vine
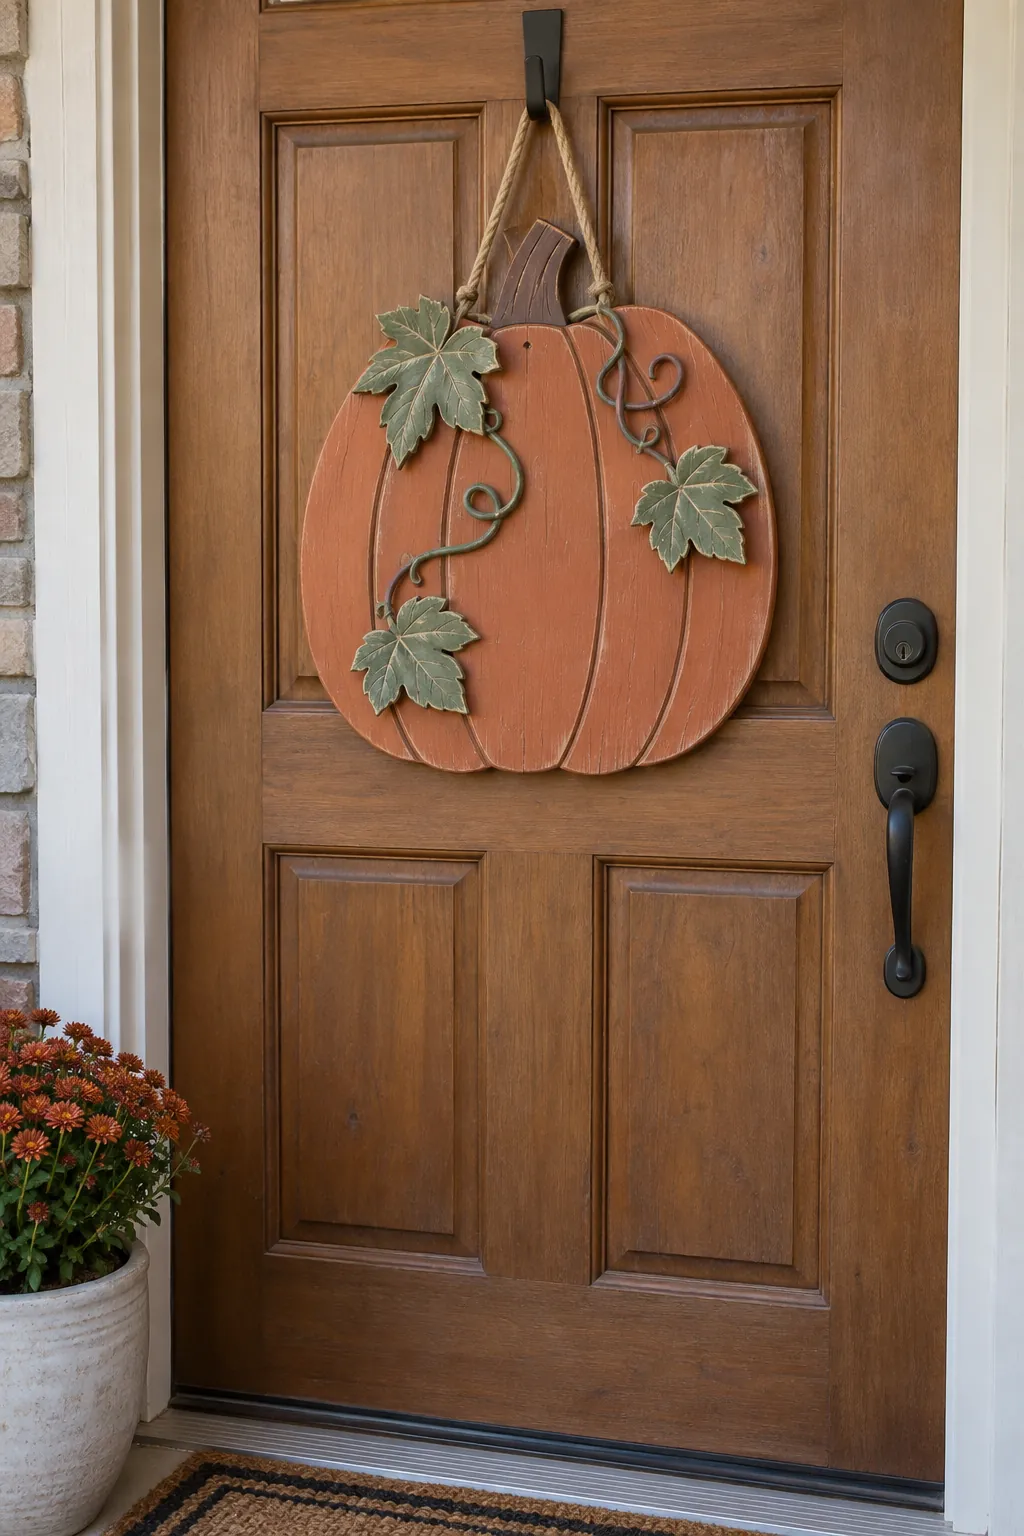
Cut a pumpkin from wood, then paint a single curling vine across it in sage green. Skip Halloween wording so the piece can stay up later in the fall. Attach a few small wood leaves with strong craft adhesive and allow the bond to cure before hanging. A centered cord supports the weight better than a bow glued to the face.
Ghost Welcome Plaque
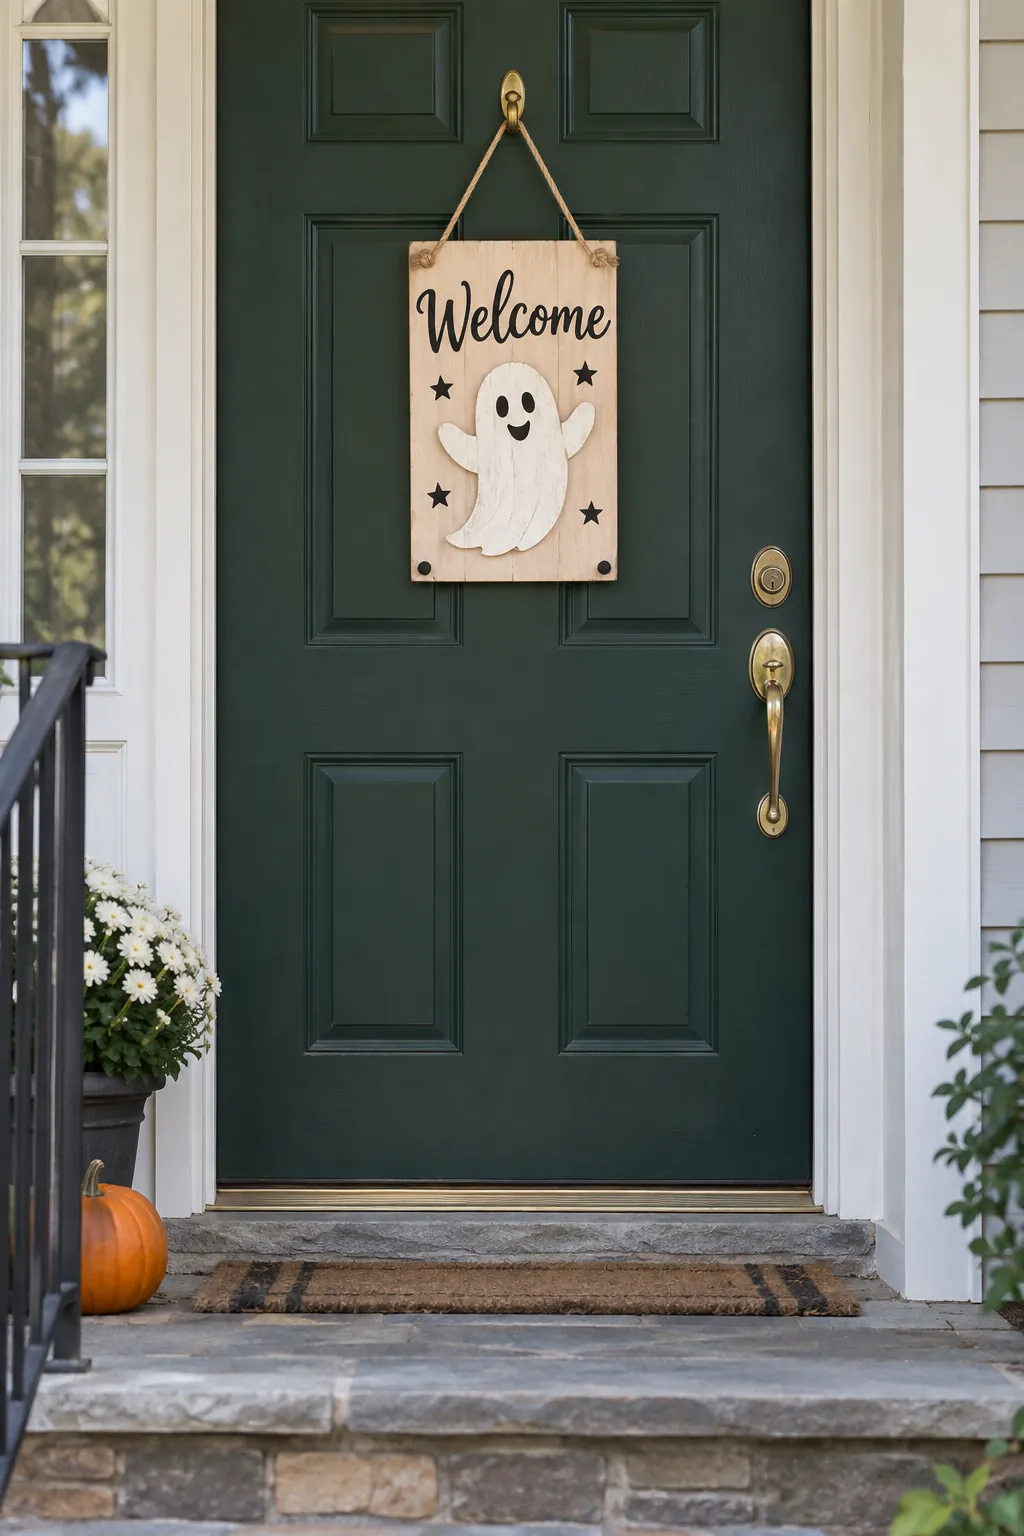
Paint one friendly ghost beside a short Welcome message on a rectangular wood blank. Keep the lettering large and test it from the curb before adding any tiny stars. Fasten the hanging cord through the board rather than only to the back paint. Felt pads at the lower corners can reduce tapping and help protect the door.
Mini Wreath with Orange Berries
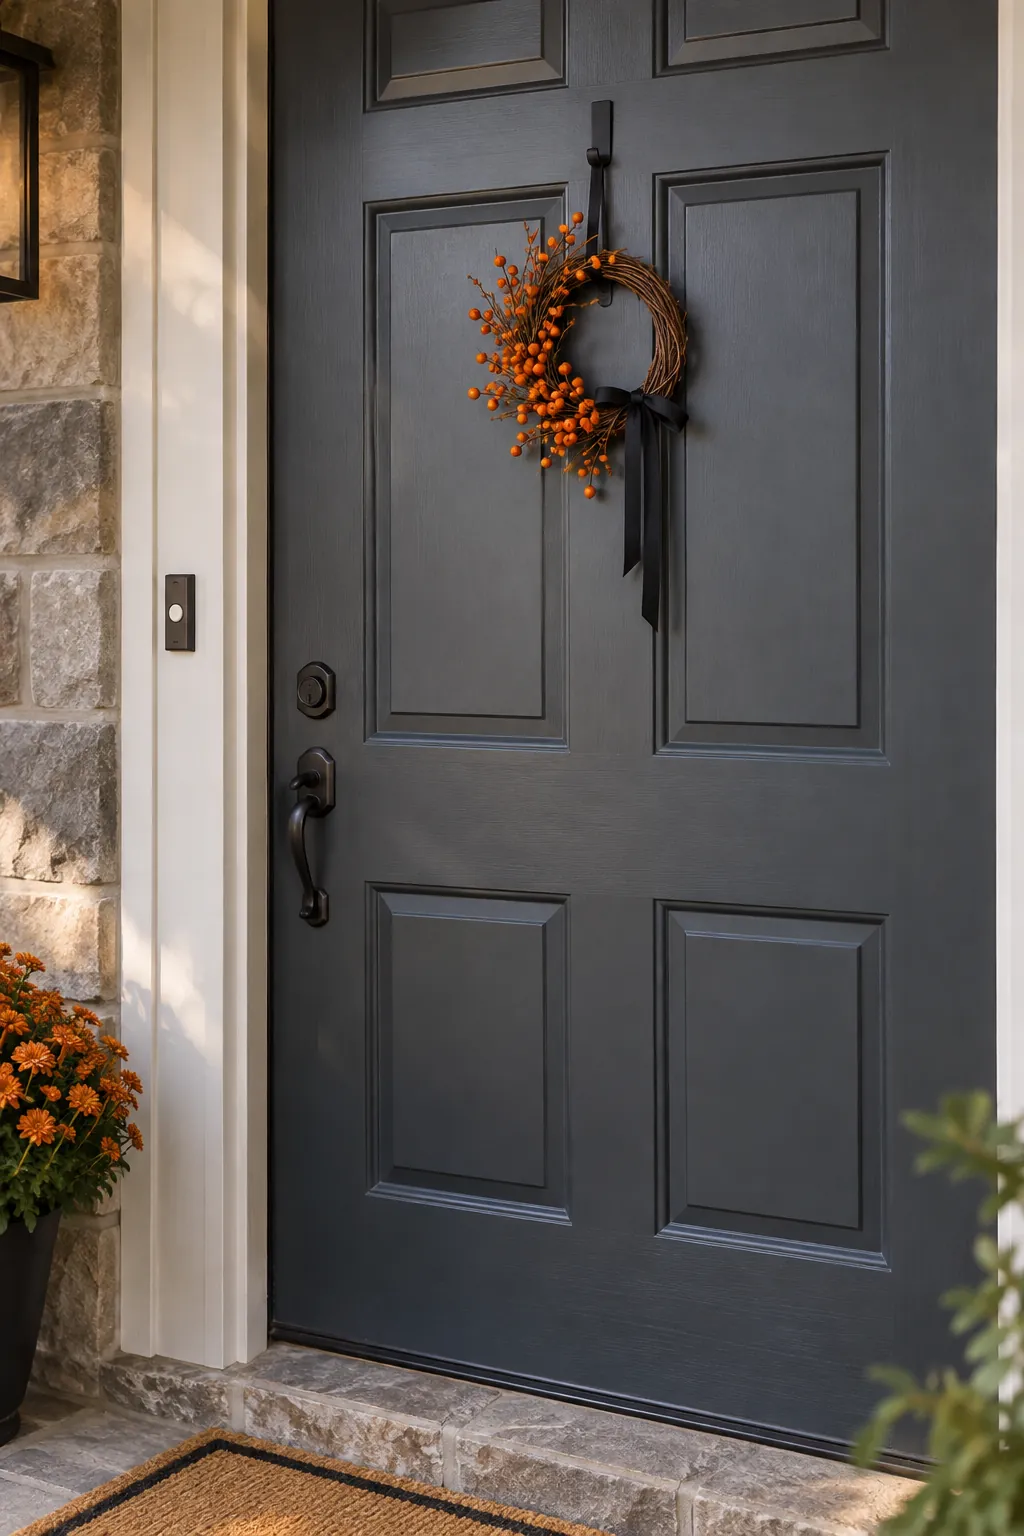
Wire short faux branches and orange berry stems around a small grapevine ring, leaving some vine visible. Twist wire ends toward the back and cover them so they cannot scratch the door. A narrow black ribbon gives the wreath a Halloween cue while remaining useful through autumn. If the porch is exposed, choose outdoor rated stems and inspect the wire after storms.