
Paint can transform a pumpkin, but the shape, surface, and drying time decide whether the result feels intentional. Choose a firm pumpkin without soft spots, wipe away soil, and let its skin dry before you begin. Thin coats of acrylic craft paint usually show the curved ribs better than one heavy coat. If a design needs dots, lettering, or fine lines, give the base color time to dry first.
These ideas range from tiny painted pumpkins for a shelf to a single larger centerpiece. Use a small brush for details, a foam tool for even dots, and a tray to catch glitter or drips. A fresh pumpkin will still age, so plan your display close enough to the event to enjoy it at its best.
Pastel Pink Ombre
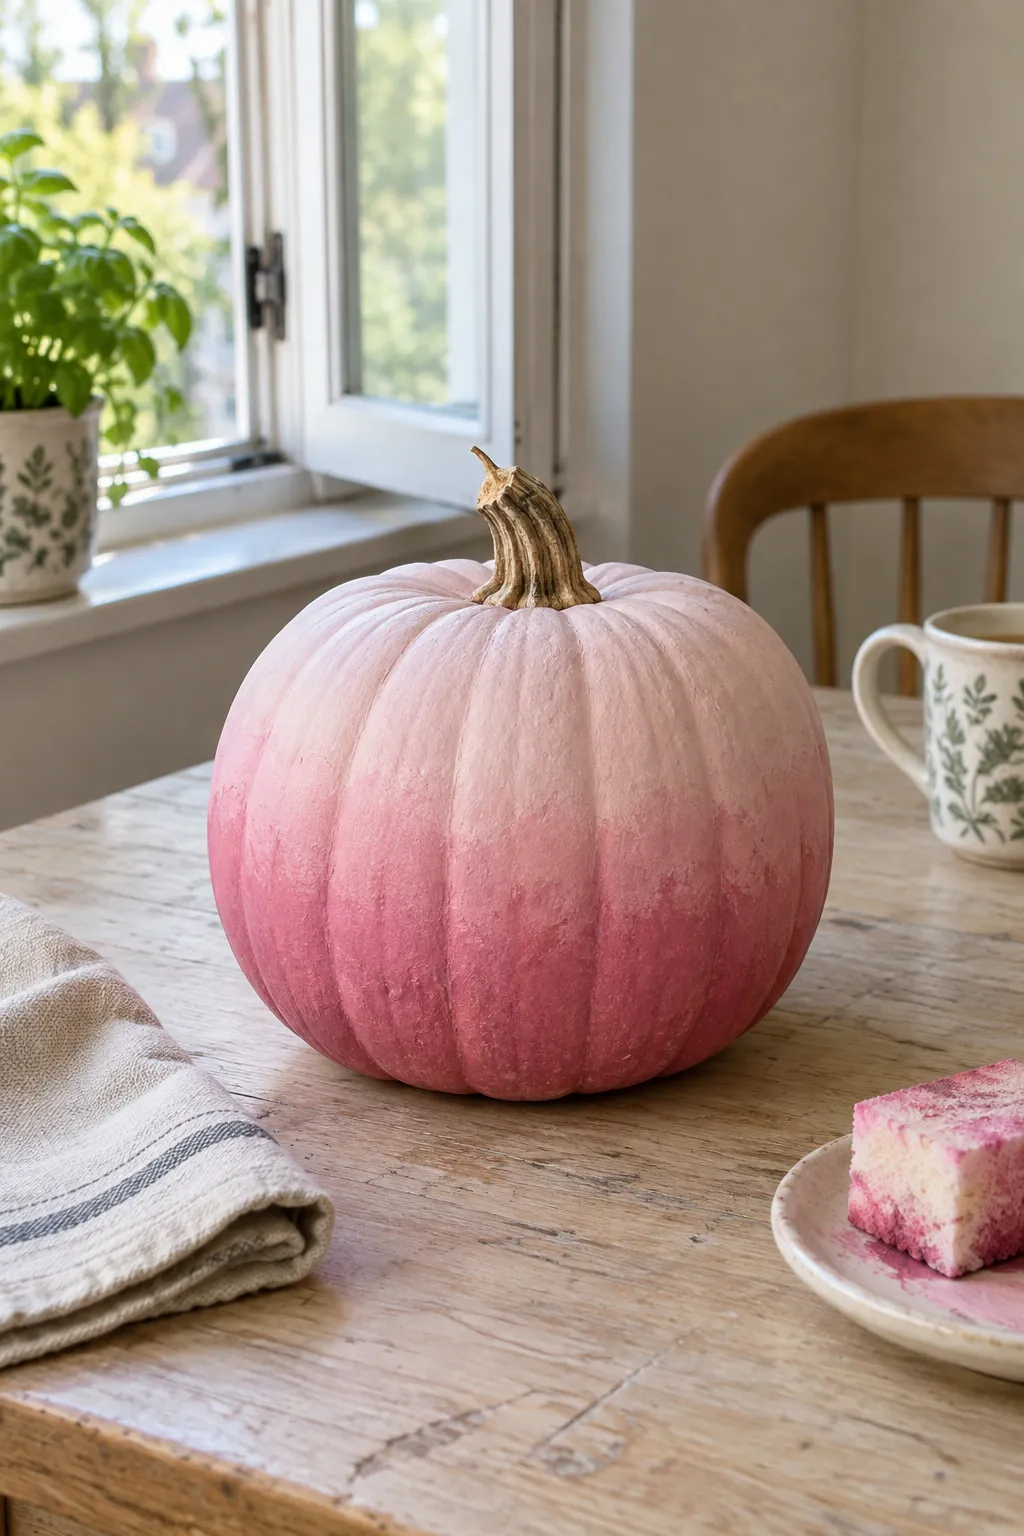
A gradual blush to rose transition gives one pumpkin enough detail to stand alone on a mantel. Paint the entire clean, dry shell in the palest shade, then dab a darker pink around the lower ribs with a nearly dry sponge. Blend the meeting line while both colors are still workable, keeping the stem and top lighter. Try the colors on the back first because paint can look more saturated after it dries.
White Dots on Bubblegum Pink
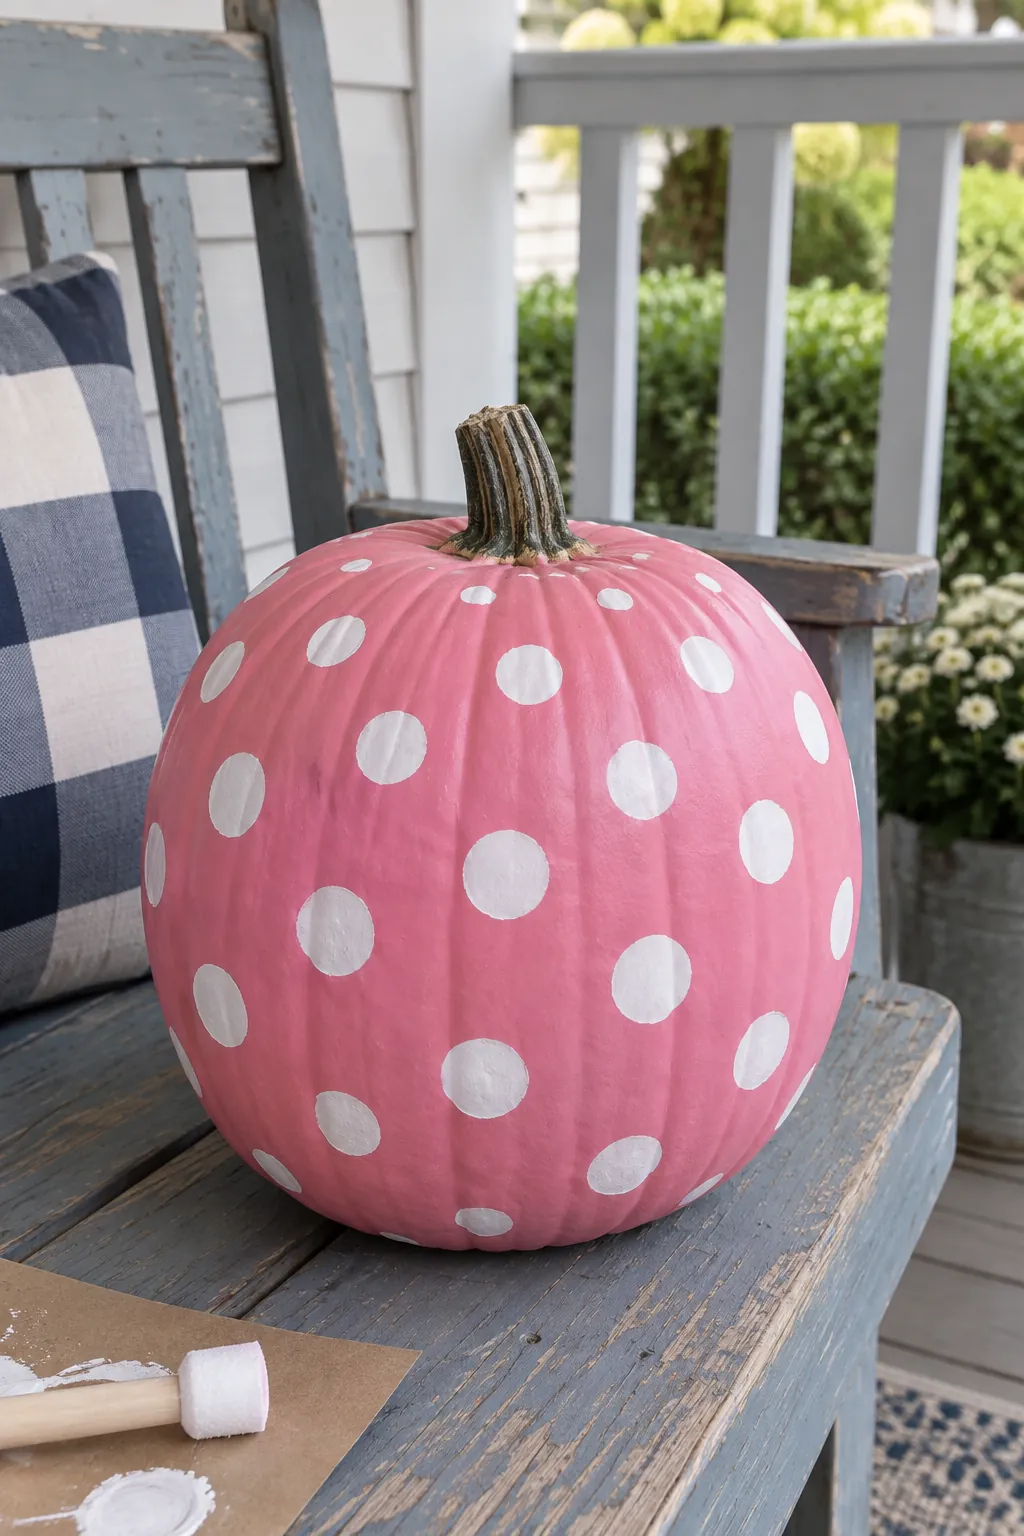
Bright pink and tidy white dots make a cheerful design that reads clearly from across a room. A round foam dauber gives more even circles than a pointed brush, especially on a pumpkin with shallow ribs. Work in staggered rows and leave room near the stem so the pattern does not crowd at the top. Let the base coat dry fully before dotting or the white will pick up pink.
Preppy Pink and Cream Stripes
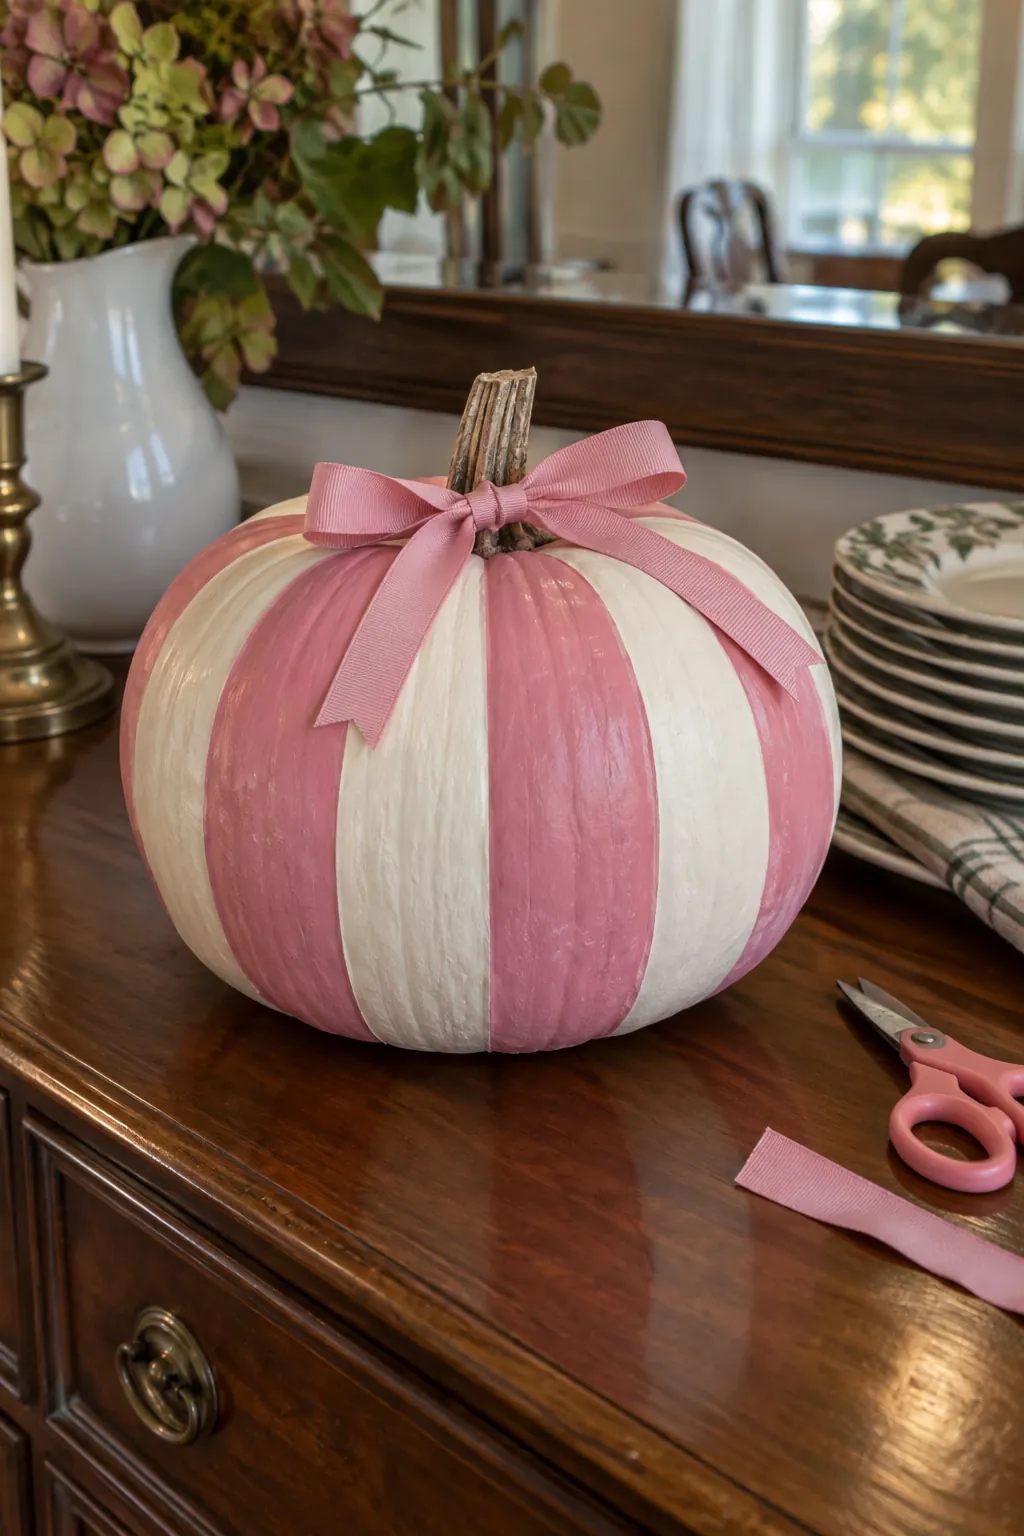
Alternating pink and cream bands turn a medium pumpkin into a graphic table centerpiece. Mark the widest ribs with small pencil guides, then follow each rib rather than forcing perfectly straight bands across the curved surface. Use two thin coats where cream covers orange, allowing the first to dry before adding the next. A narrow fabric bow tied to the stem adds softness without hiding the painted pattern.
Cherry Blossom Branches
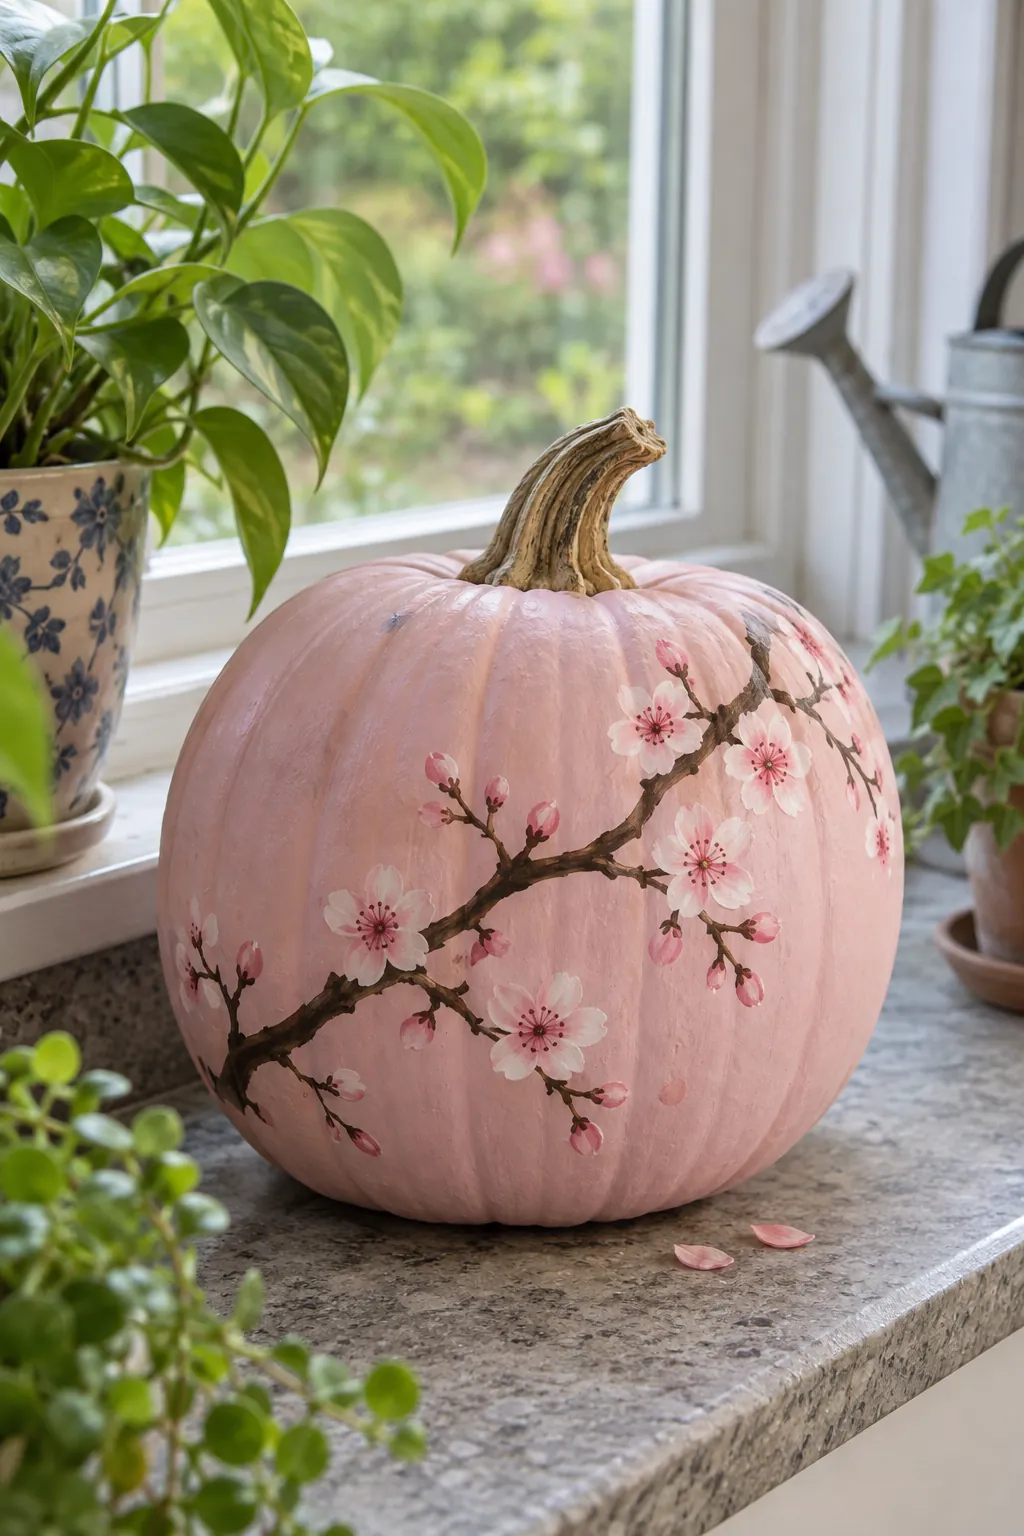
A few slender brown branches and clusters of five petal blossoms bring a quiet floral look to a pale pink pumpkin. Place the branches asymmetrically so they appear to travel around the curve instead of ending abruptly at the front. Dot deeper rose paint at the flower centers only after the lighter petals dry. This design suits a small pumpkin beside a vase of simple greenery.
Friendly Pink Ghost
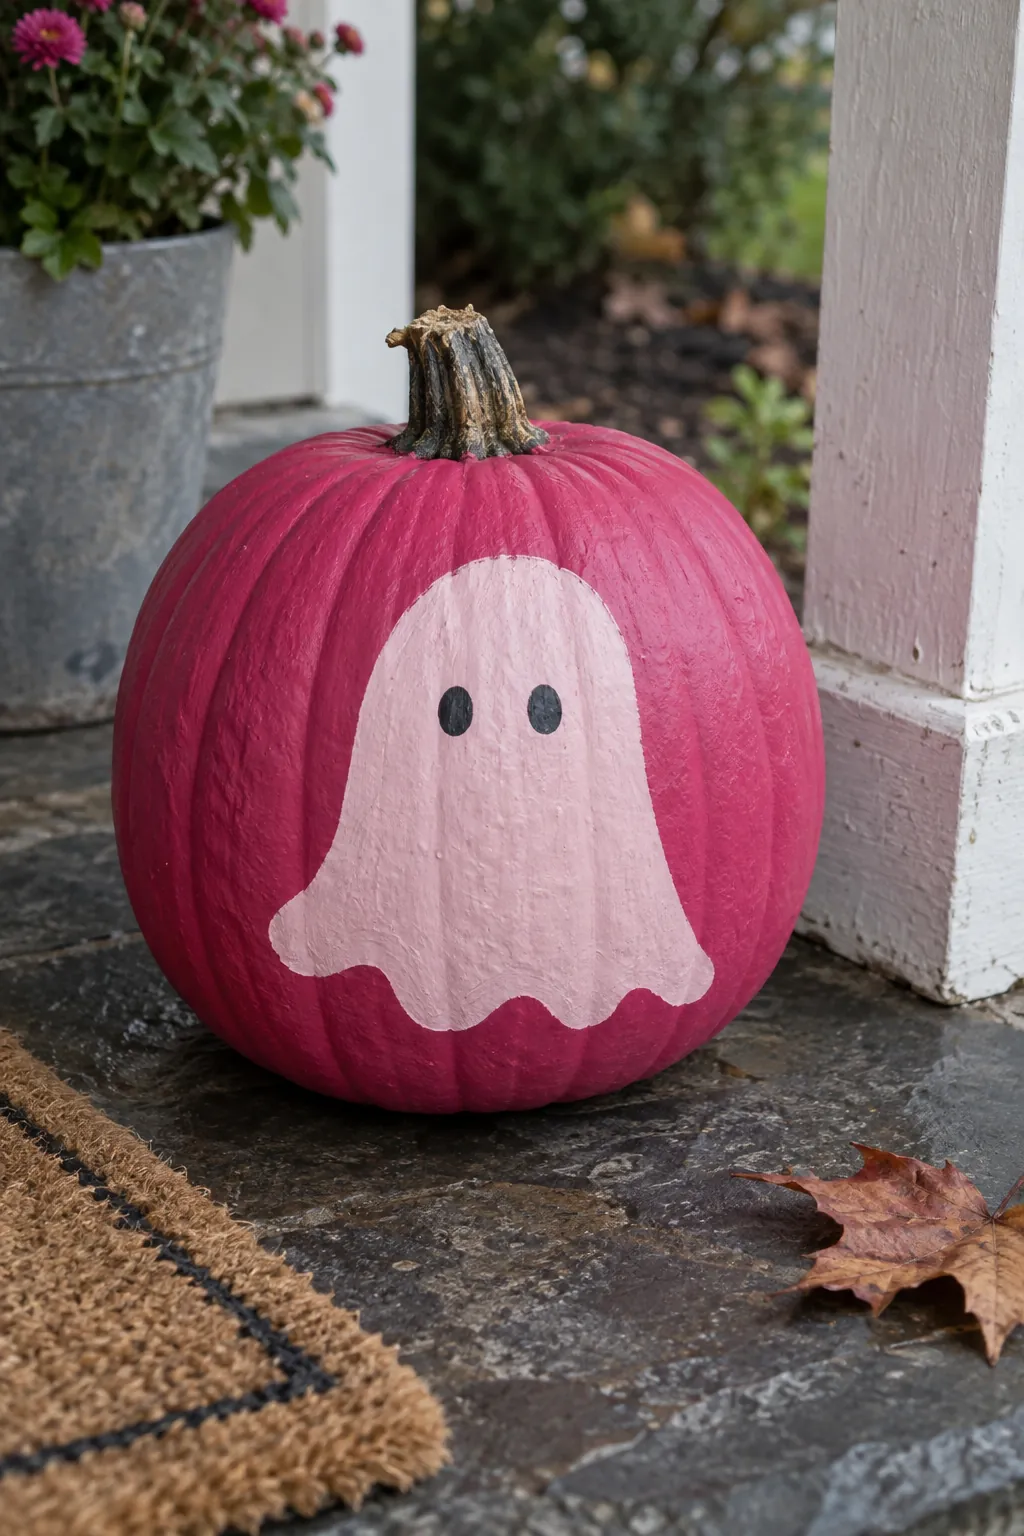
A darker pink pumpkin can carry a single pale ghost shape that is easy to recognize from a doorway. Sketch a rounded head and a gently wavy lower edge, then fill the shape with opaque blush paint. Add two small dark eyes after the ghost dries and leave its expression simple. If the pumpkin sits outdoors, keep the display under cover because moisture shortens the life of both paint and the pumpkin.
Painted Satin Bow
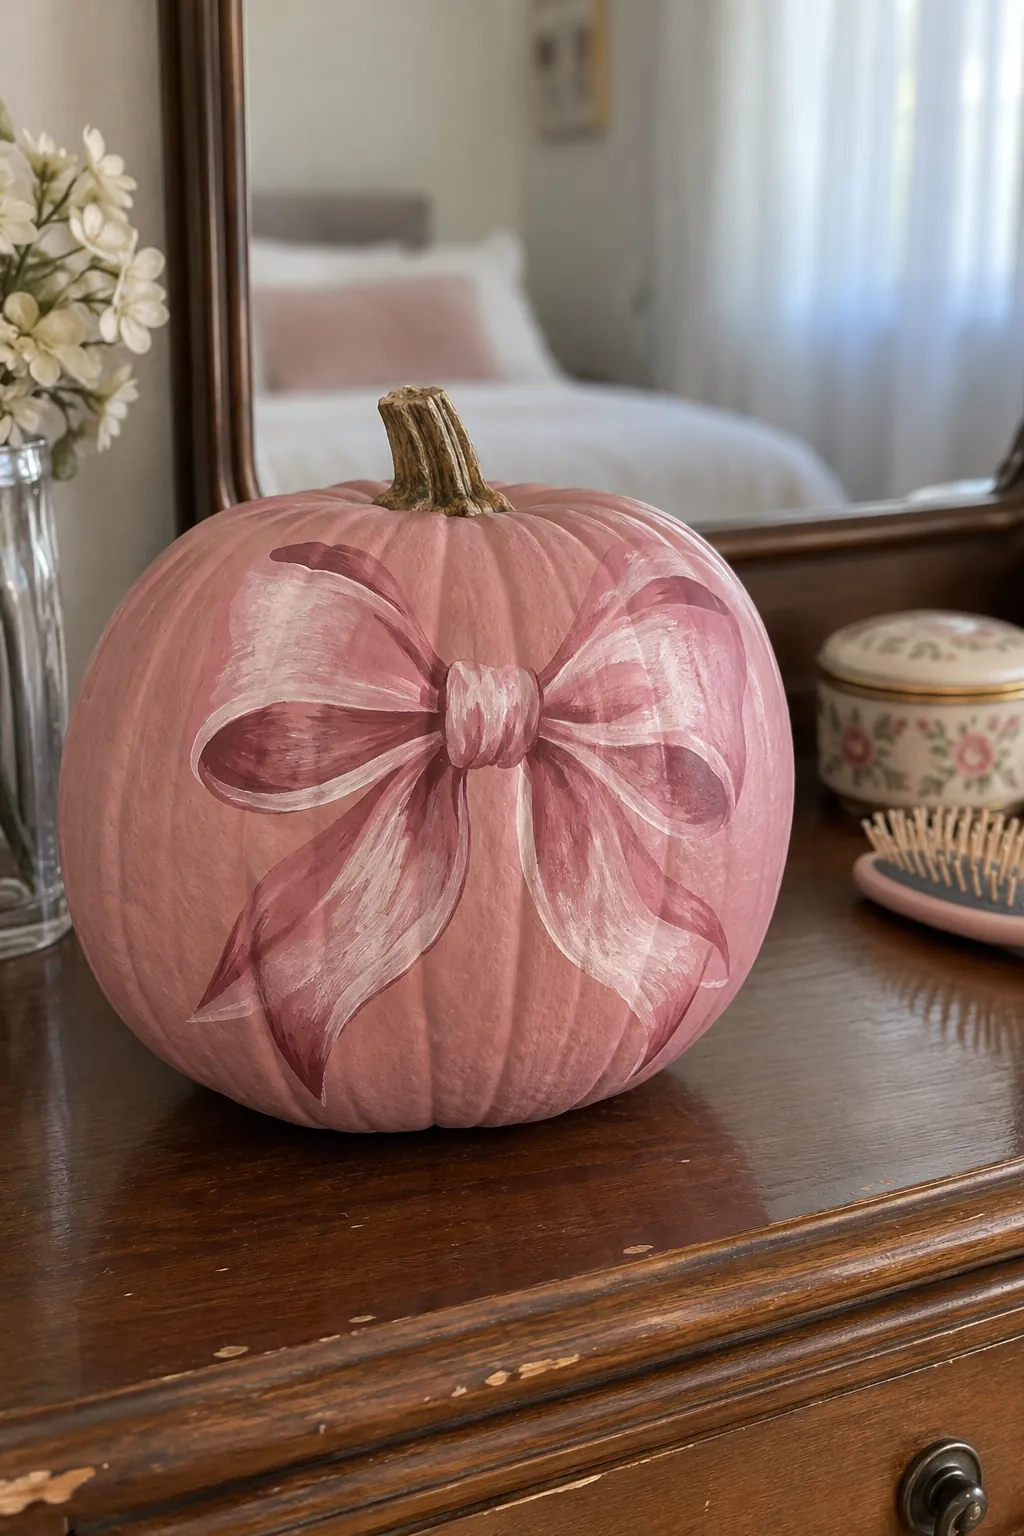
A painted bow offers the coquette look without a loose ribbon that might slip down the stem. Draw two loops slightly off center, make their folds with a deeper rose line, and reserve a small white highlight on each loop. Use a fine brush for the tails so the design still follows the pumpkin ribs. Display it on a plain tray so the bow remains the focal point.
Blush Checkerboard
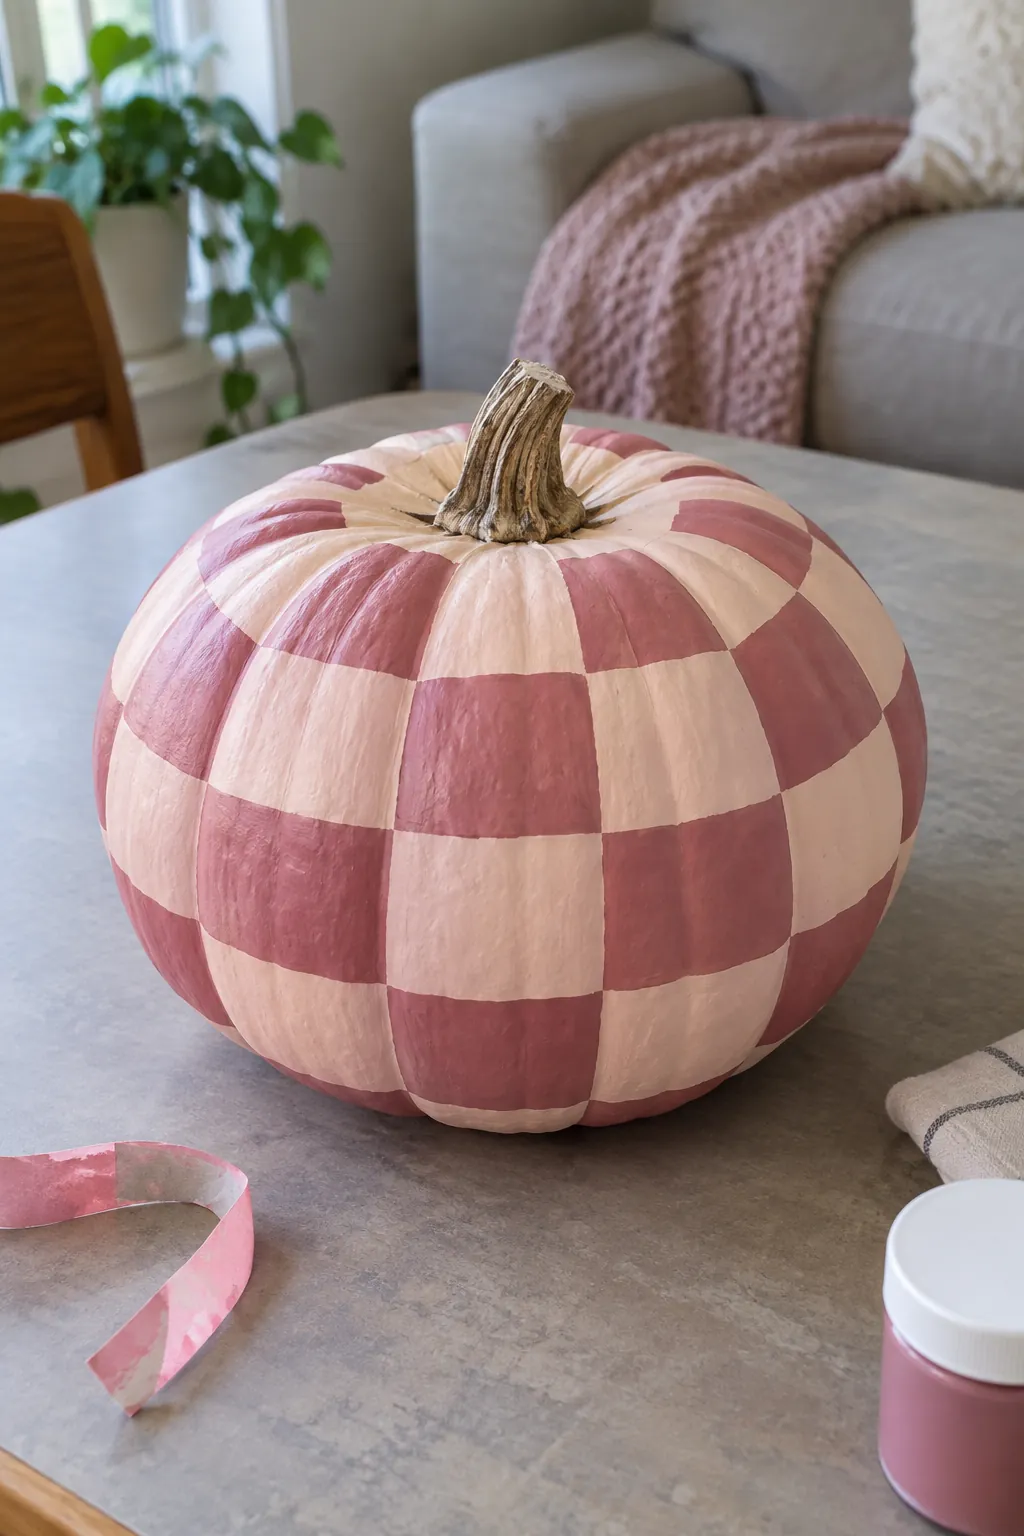
Soft rose and dusty pink squares create a playful pattern with more structure than scattered marks. Map a loose grid with removable painter tape on the broadest part of the pumpkin, then paint every other space. Lift the tape while the paint is only just dry to the touch and tidy uneven corners with a small brush. Narrow squares near the stem can remain unpainted instead of being squeezed into awkward shapes.
Swirled Pink Marble
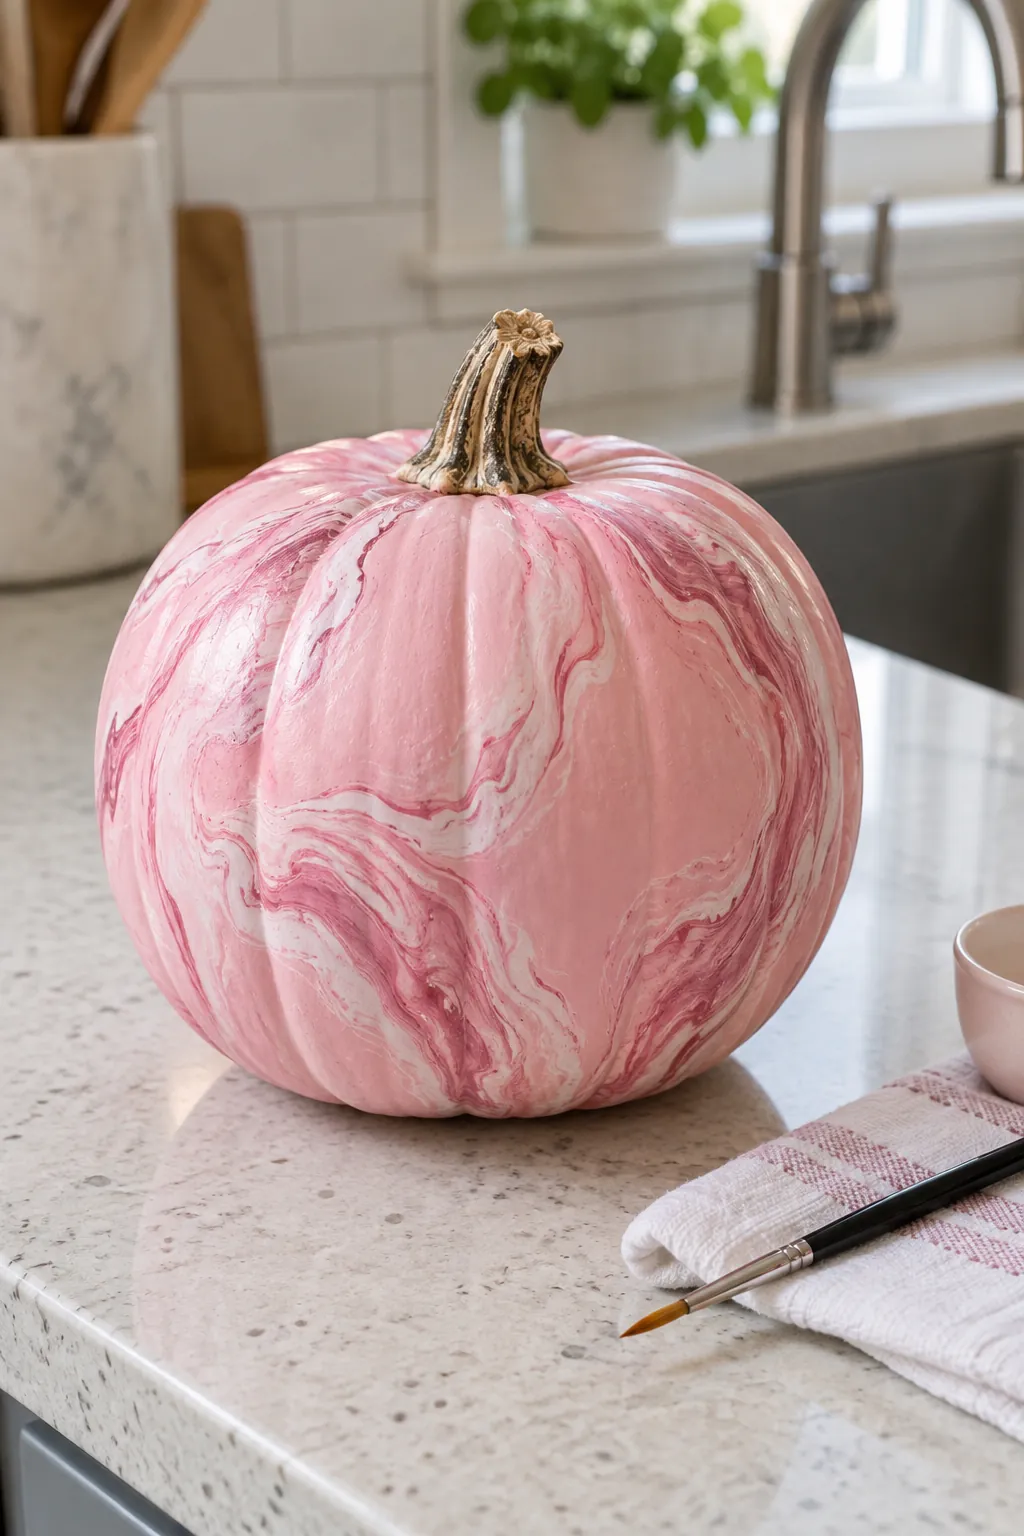
Marble veining works best when the pumpkin has a smooth solid base and only a few branching lines. Paint a pale pink shell, then drag a thin brush loaded with rose and white through short curved strokes. Soften selected edges with a clean damp brush without blending every vein away. Leave open areas between the lines so the result resembles stone rather than a crowded scribble.
Tiny Pumpkins with Wildflowers
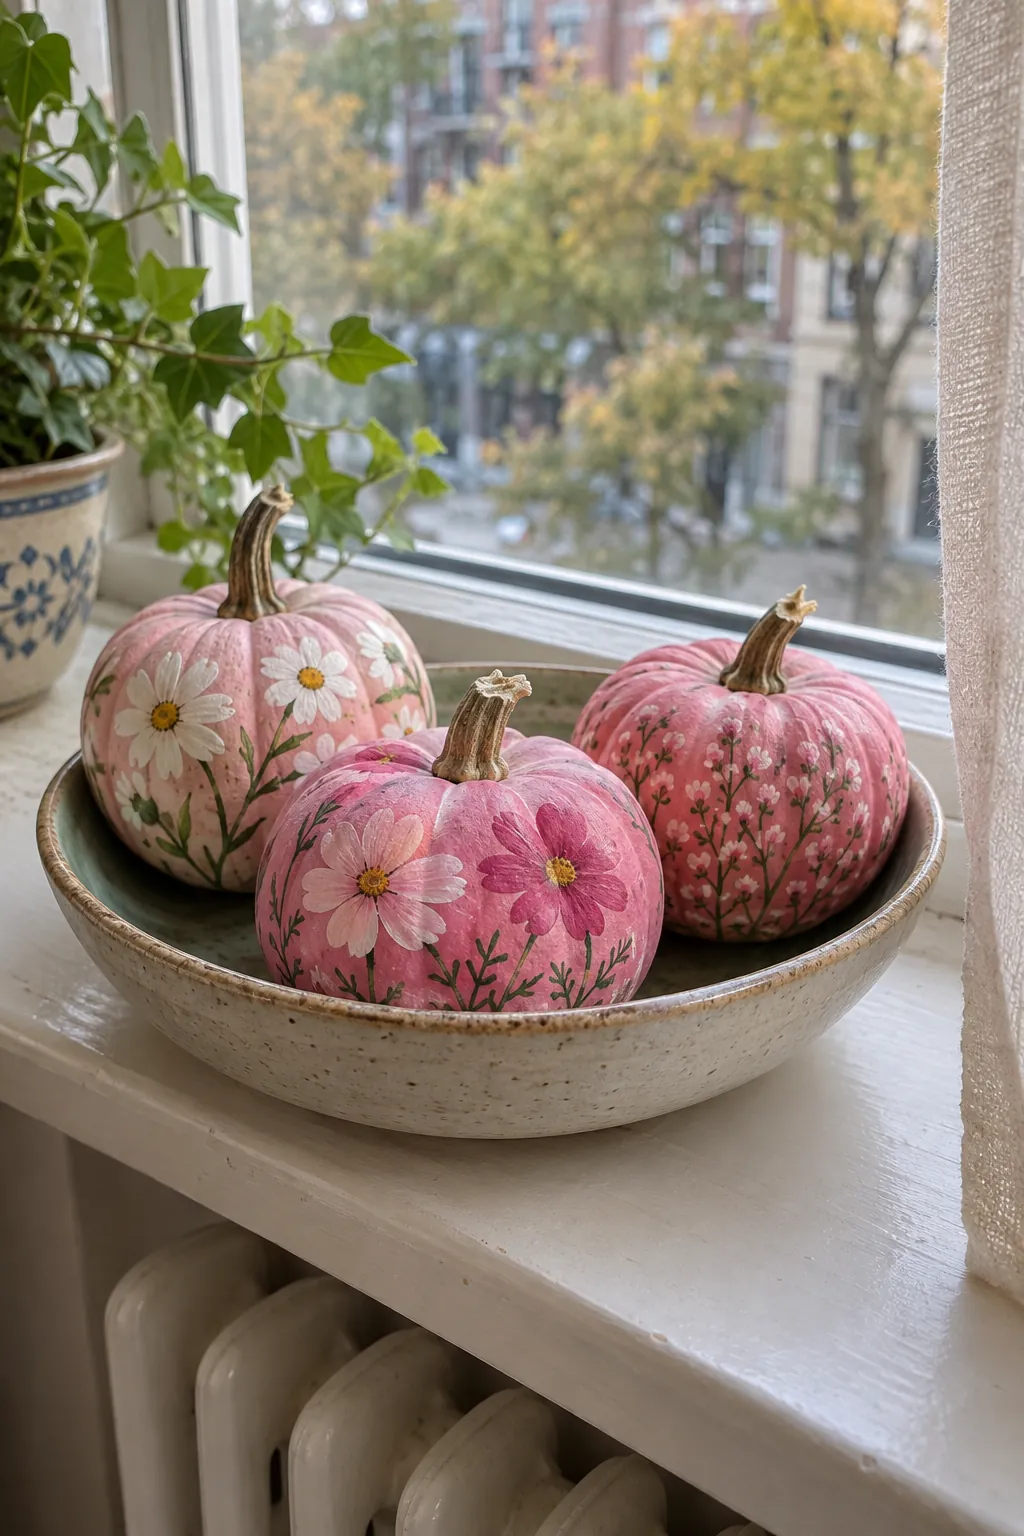
Mini pumpkins become a cohesive group when each carries a different small flower in the same pink palette. Paint one with daisies, another with simple cosmos petals, and a third with tiny bud sprays. Keep the stems mostly natural so the flower heads have a visual anchor. A shallow bowl or windowsill can hold the group without hiding the painted sides.
Heart Stencil Scatter
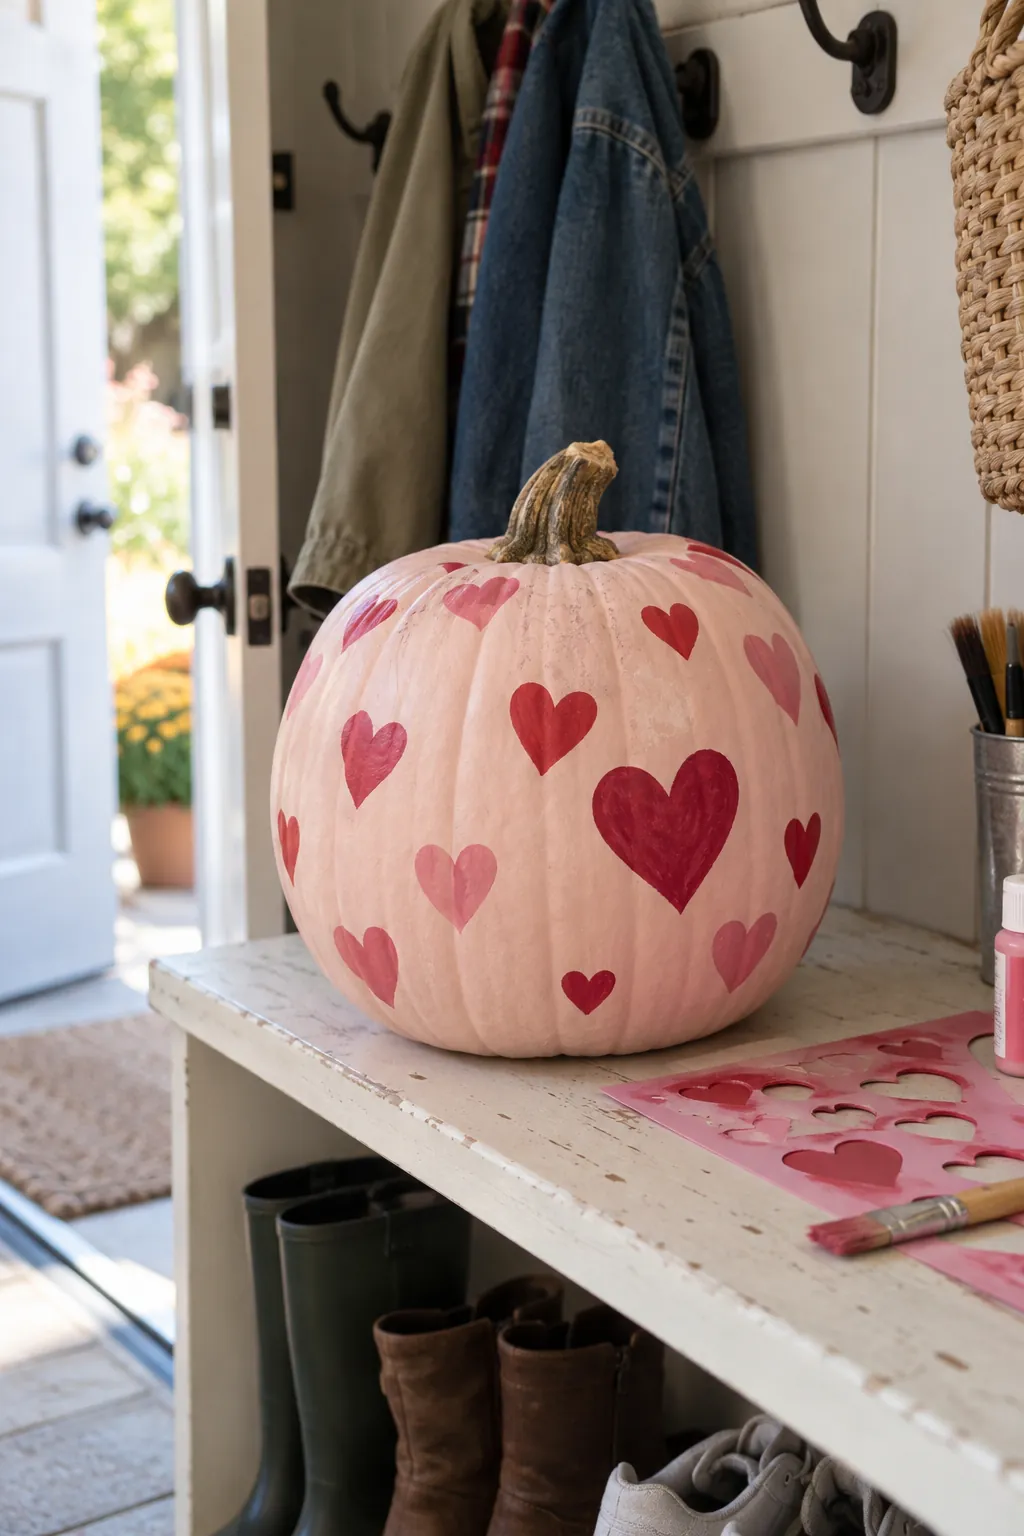
Small hearts give a pink pumpkin an easy pattern that still feels deliberate. Cut a stencil from a flexible sheet, hold it flat against one rib, and dab paint inward from the edge to avoid bleed. Rotate the pumpkin between impressions and change the spacing rather than repeating a rigid row. A single deeper red heart near the front can make the arrangement feel more personal.
Rose Gold Flecks
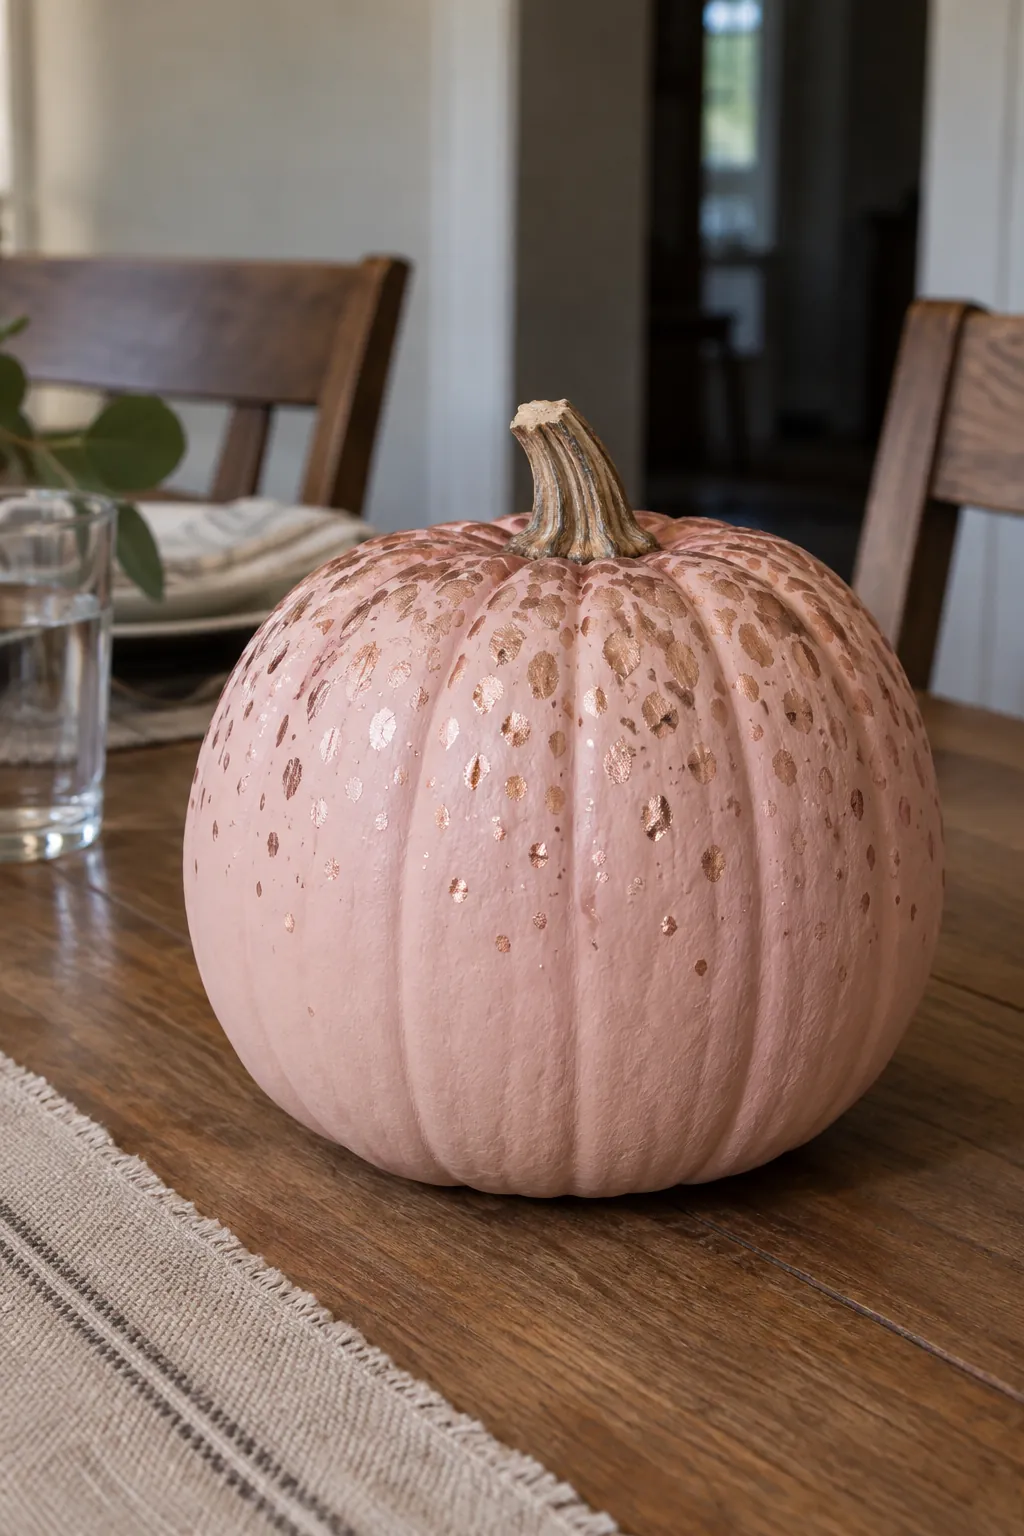
Sparse metallic flecks add light without covering the softness of a matte blush base. Use a narrow brush to place irregular rose gold marks near the upper ribs, then thin them out toward the bottom. Keep the marks separated so each catches light on its own. This is a good choice for a dining table where heavy glitter might shed onto linens.
Unicorn Face with Painted Mane
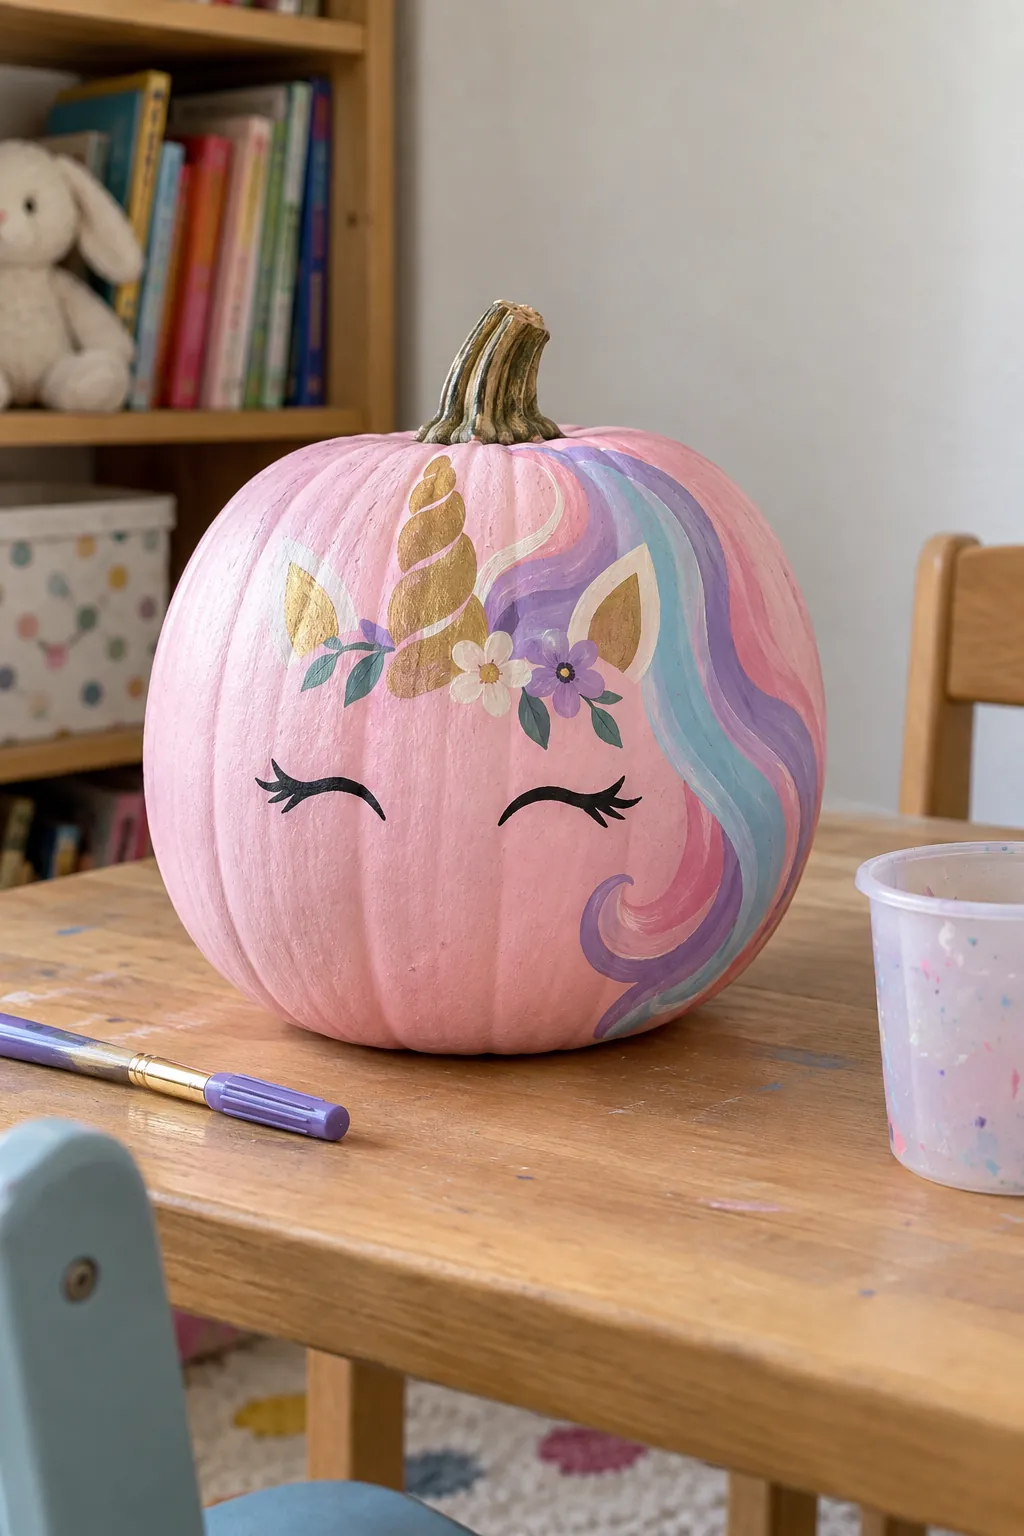
A unicorn pumpkin can stay charming without attaching fragile craft pieces. Paint closed eyes on the front, curve a pastel mane around one side, and add a small painted horn above the face. Let each color dry before crossing it with the next to keep the shapes crisp. Place the face at eye level on a shelf so its expression is easy to see.
Bow and Whisker Cat
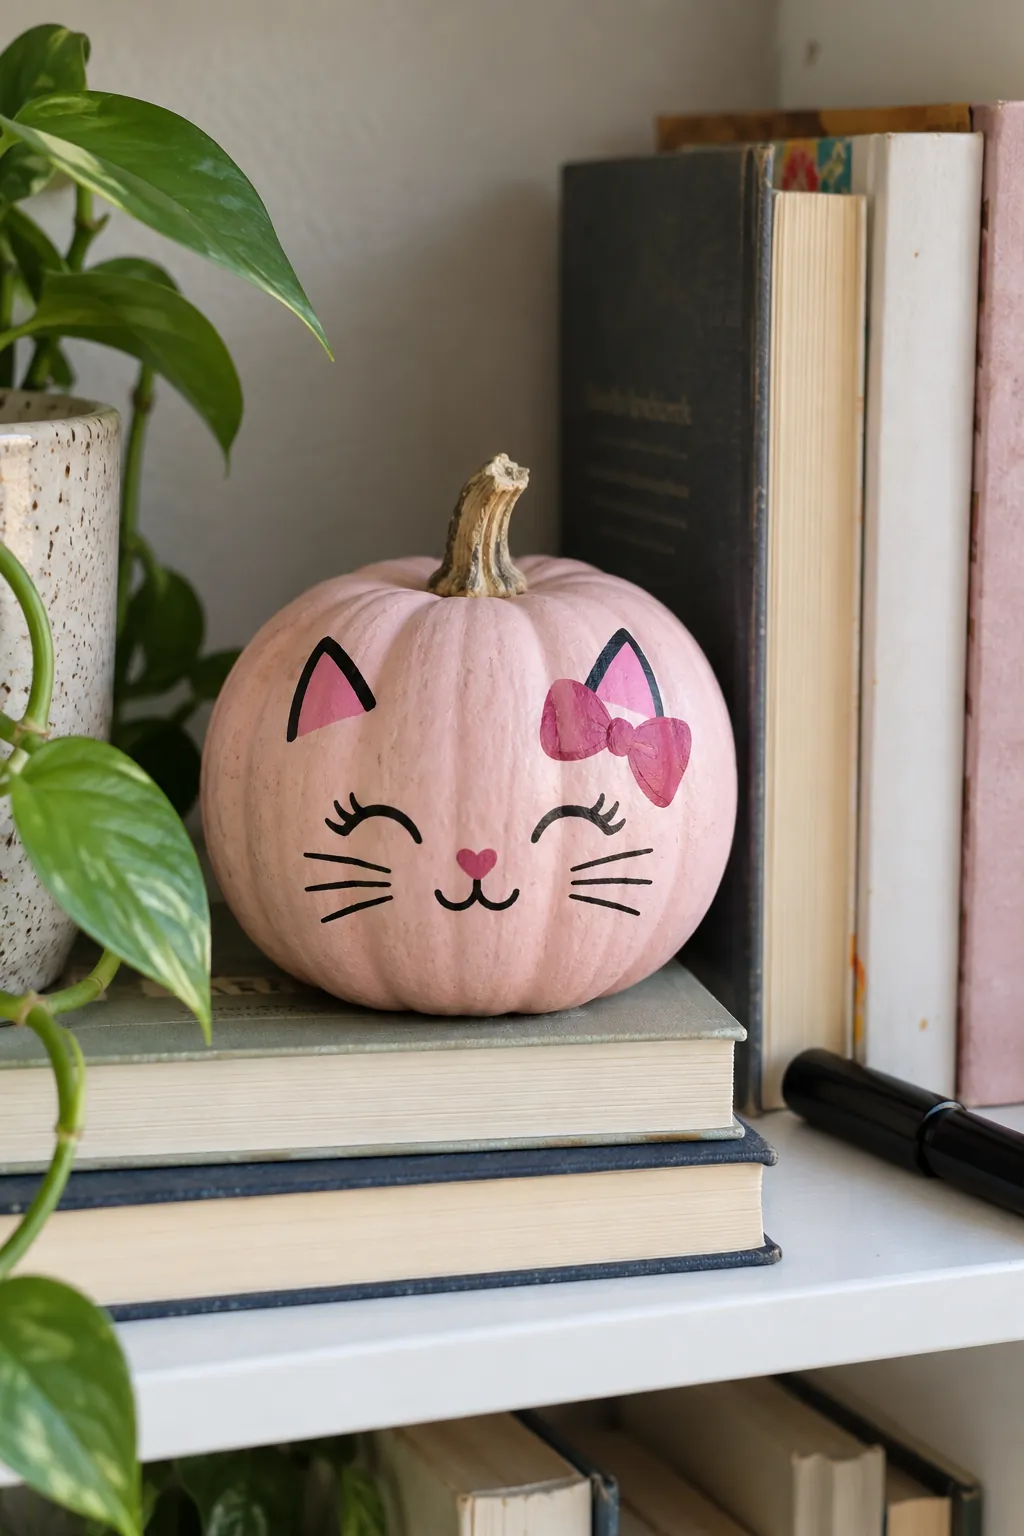
For a playful cat design, give a pale pumpkin two pointed ears painted near its stem and a simple face below. A pink bow beside one ear nods to Hello Kitty pumpkin painting ideas without requiring a printed character decal. Use a paint pen only after the base is fully dry so the whiskers remain fine. Try the face on a small pumpkin first if you want a tidy cluster of matching cats.
Glitter Dipped Base
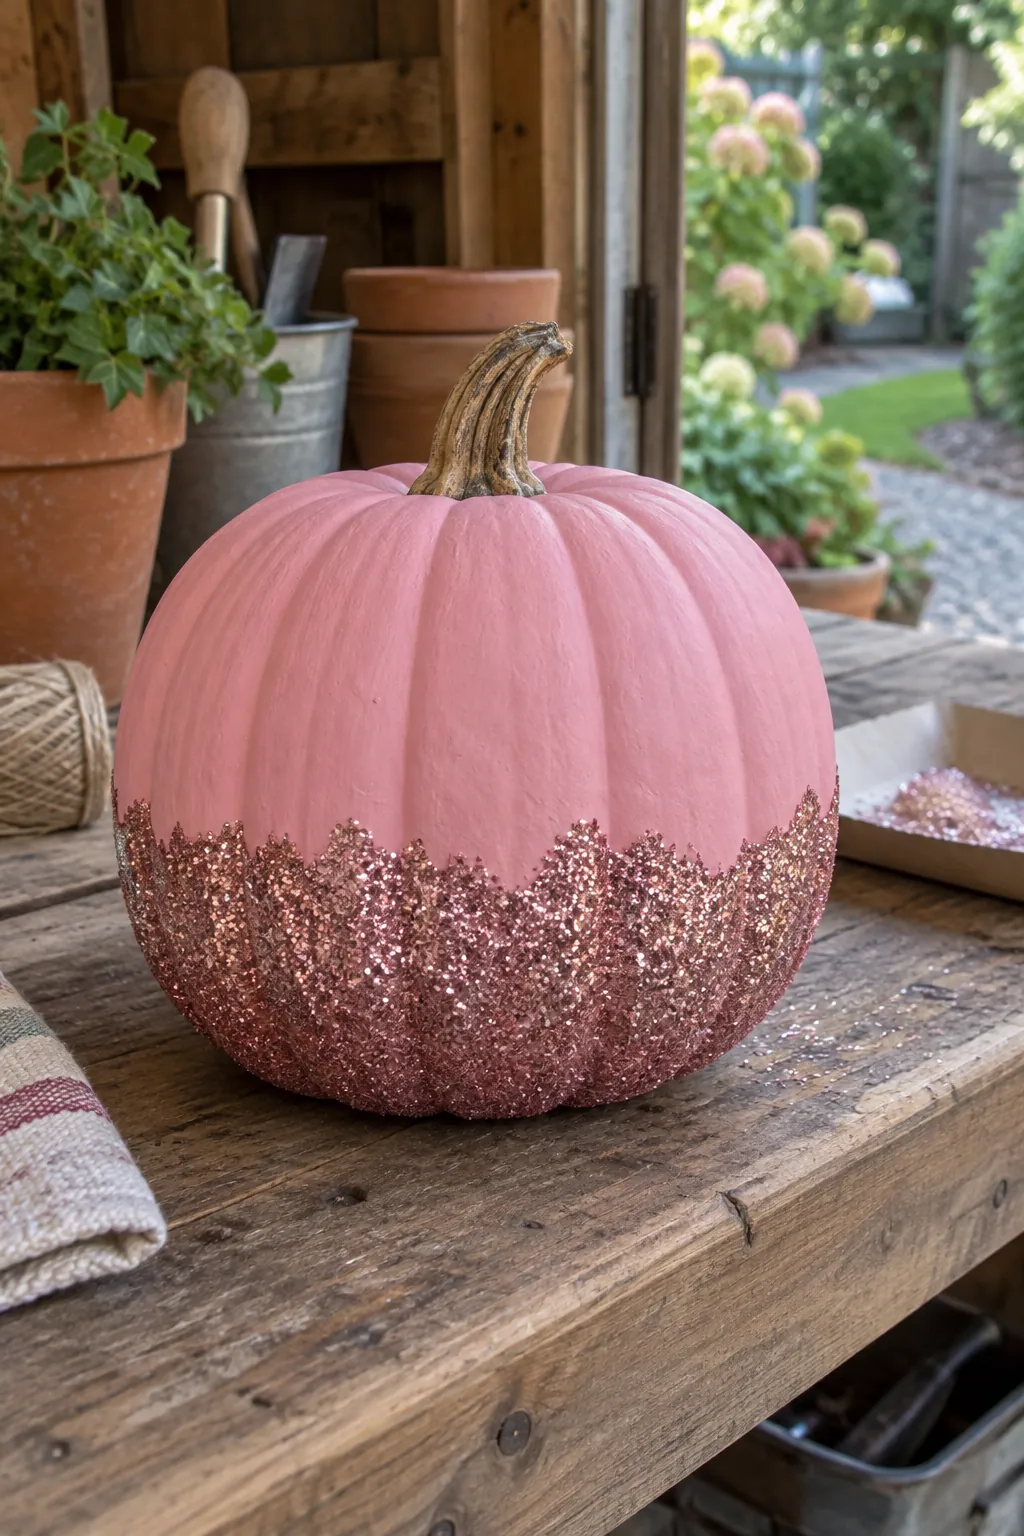
A glittered lower edge looks polished when it stops at a clear, slightly uneven horizon. Cover the pumpkin with pink paint first, brush a thin band of craft adhesive around the lower third, and add fine glitter over a tray. Gently shake away loose glitter after the adhesive cures according to its label. Keep the stem and upper half matte so the sparkle has a quiet counterpoint.
Gold Leaf Branches
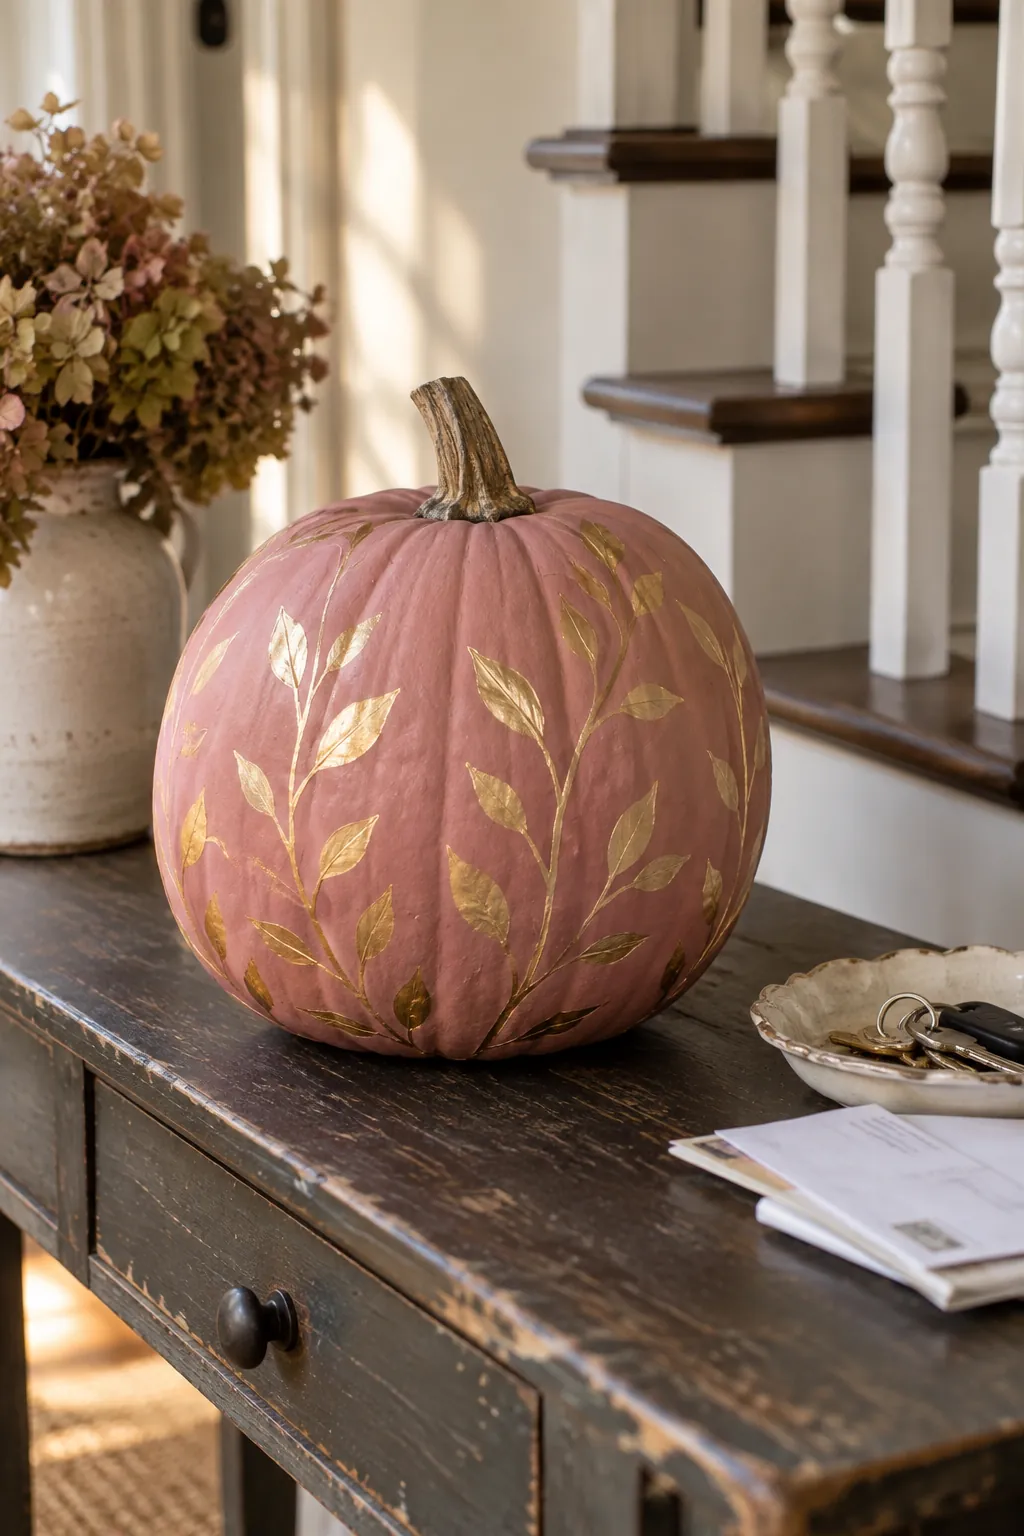
Fine gold branches can echo autumn foliage without turning the whole pumpkin metallic. Draw a few stems from the base upward, then add pairs of small oval leaves with a detail brush. A muted rose background lets the gold remain readable in warm indoor light. If metallic paint is thin, make a second pass after the first has dried rather than pressing harder.
Watercolor Style Wash
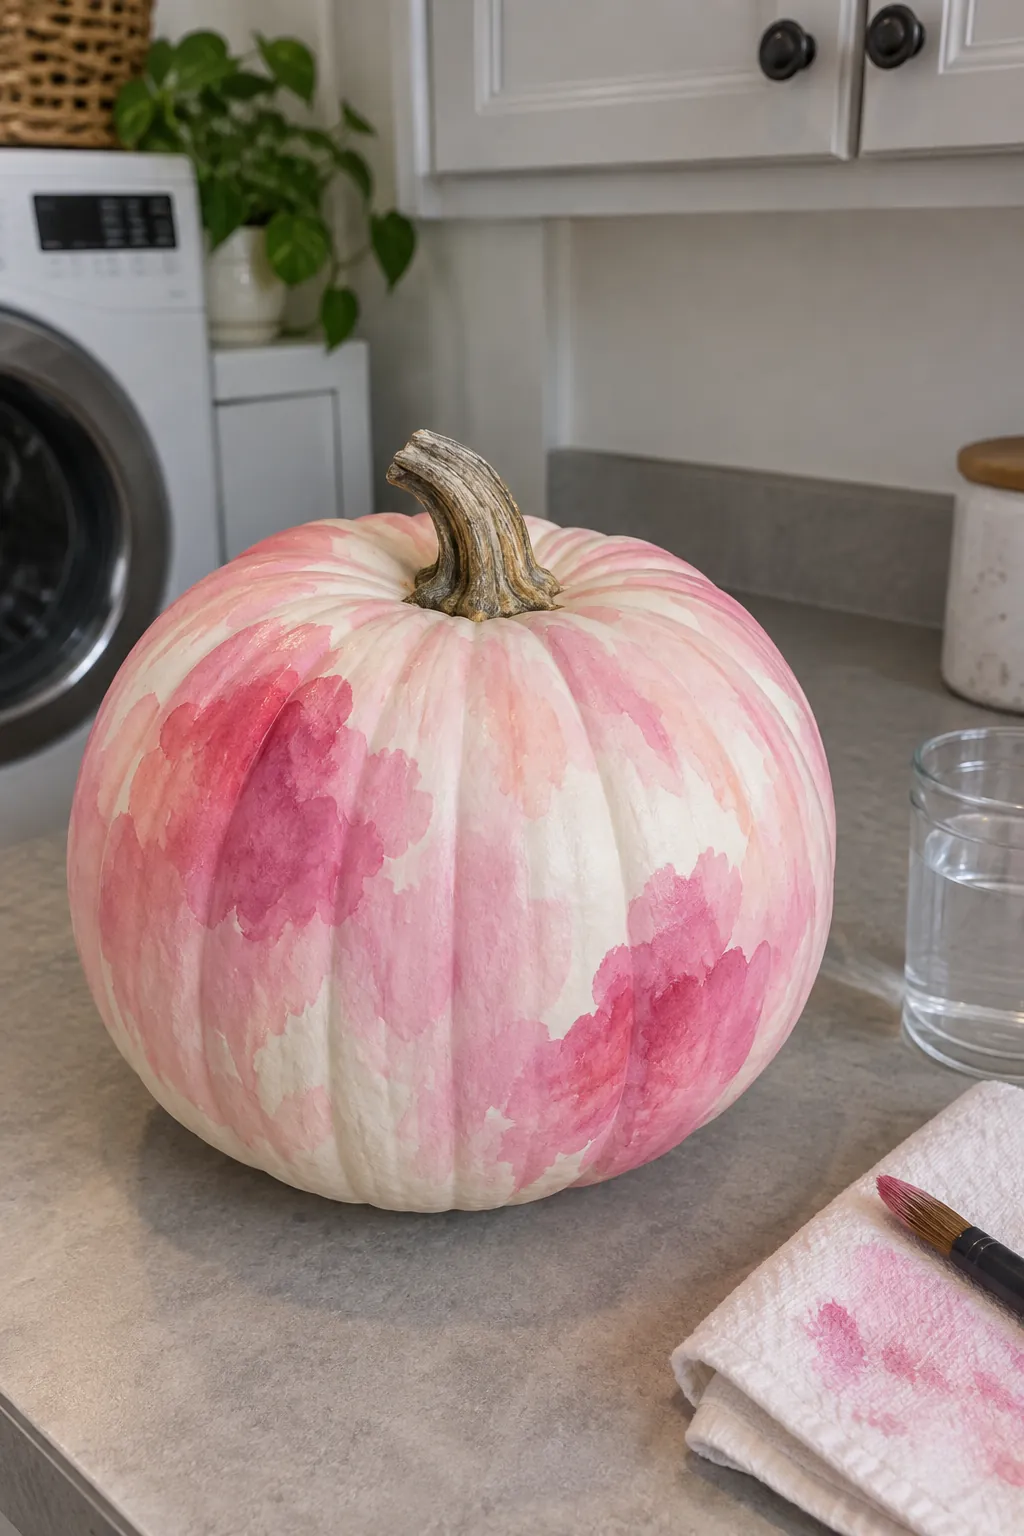
A loose wash creates soft variation across a pumpkin without a precise motif. Start with a dry pale base and build transparent pink patches using very little water so the paint does not run into the stem. Leave a few light gaps that reveal the base and add a deeper edge to only two or three patches. Rotate the pumpkin as you work to make the composition feel continuous.
Scalloped Pink Bands
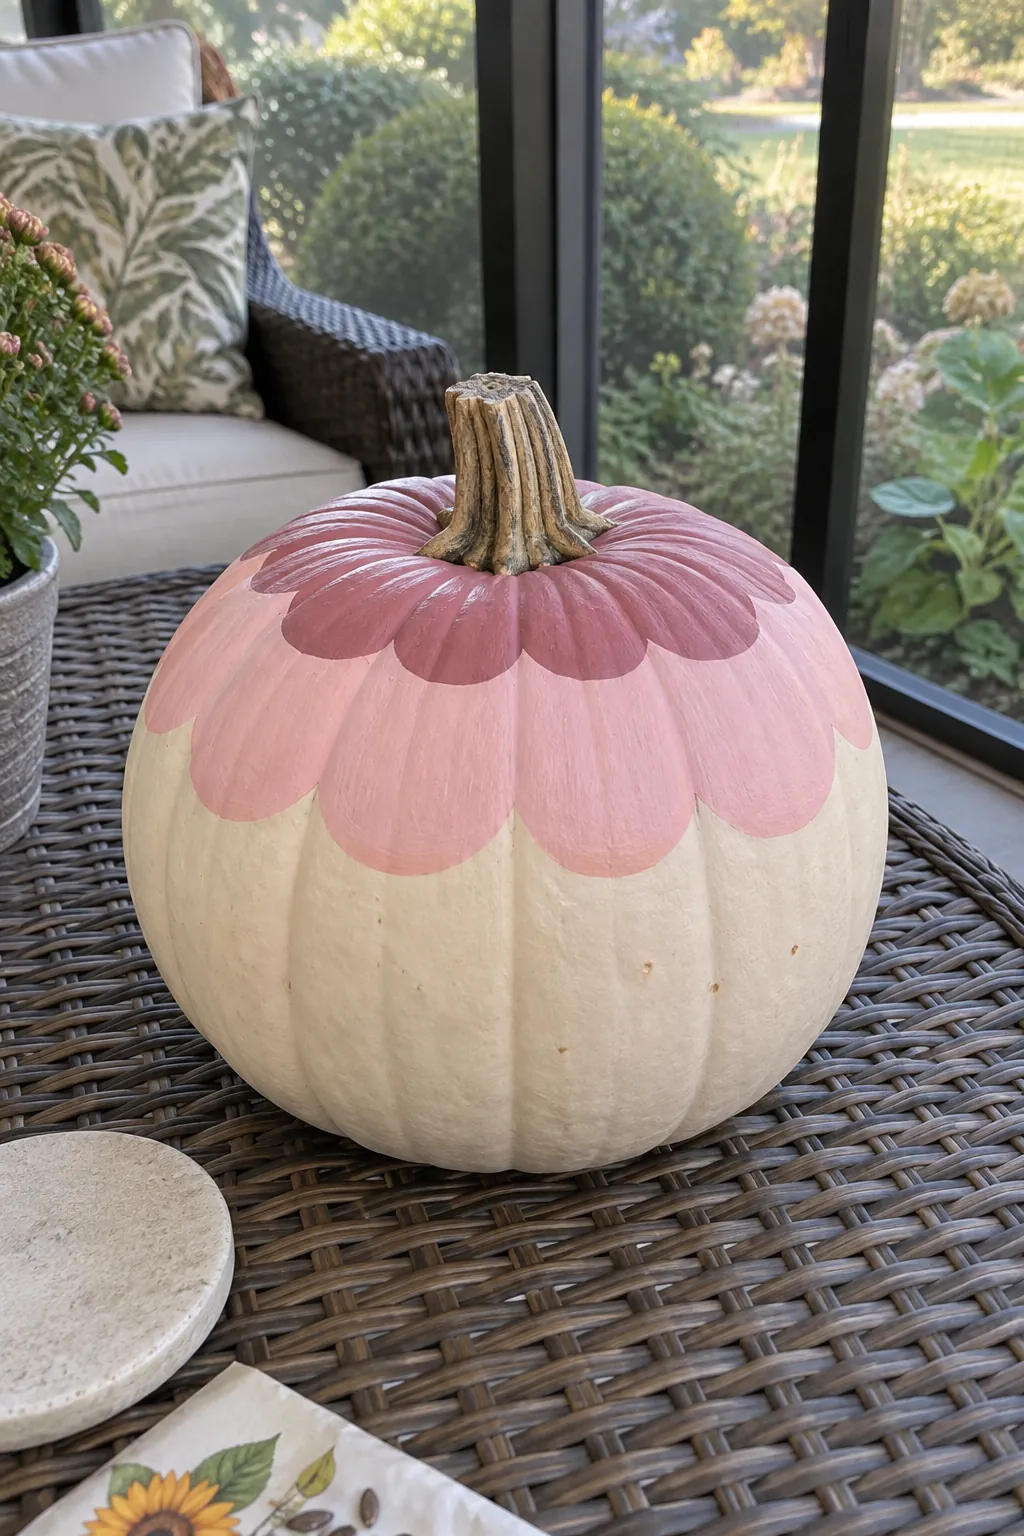
Rounded scallops are a fresh alternative to straight stripes on a pumpkin with strong ribs. Draw a row of joined half circles around the middle and fill the area below with dusty pink. Repeat a smaller scallop line near the shoulder in a lighter tint for depth. Work around the pumpkin in short sections so the border meets neatly at the back.
Rose and Cream Plaid
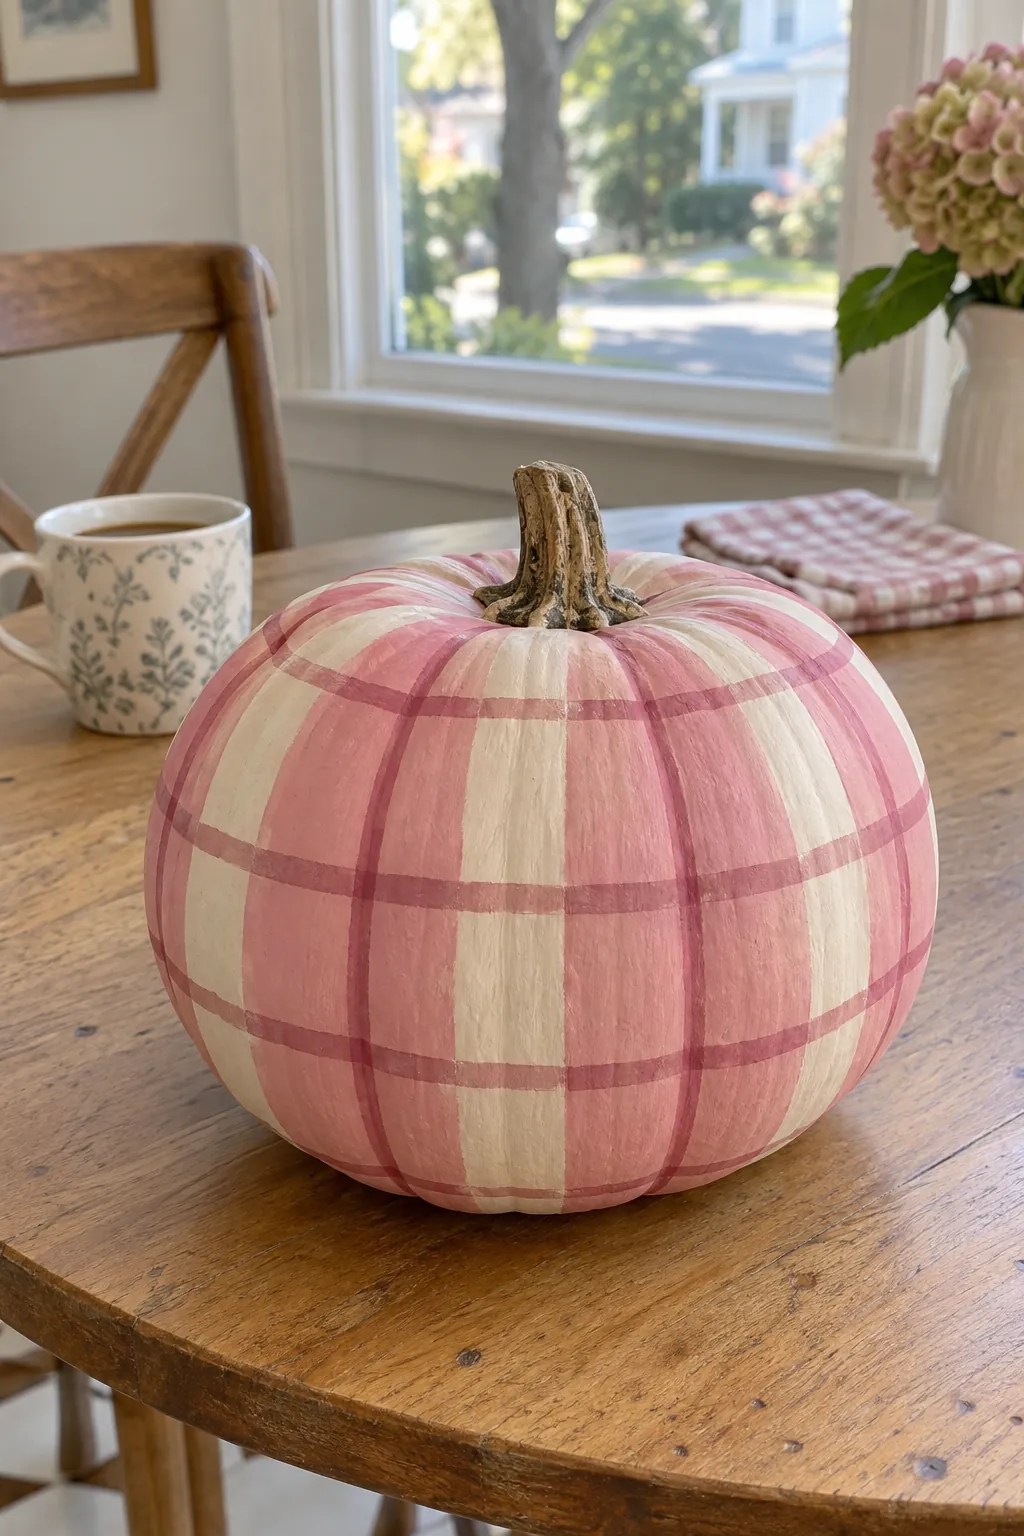
A loose plaid turns a broad pumpkin into an autumn accent with a preppy feel. Paint several wide cream vertical bands, then cross them with thinner rose lines once the first layer dries. Add just a few darker intersections to suggest woven fabric instead of painting a dense grid. Keep the lines relaxed as they bend around the ribs; perfect geometry is unnecessary.
Strawberry Pink Pumpkin
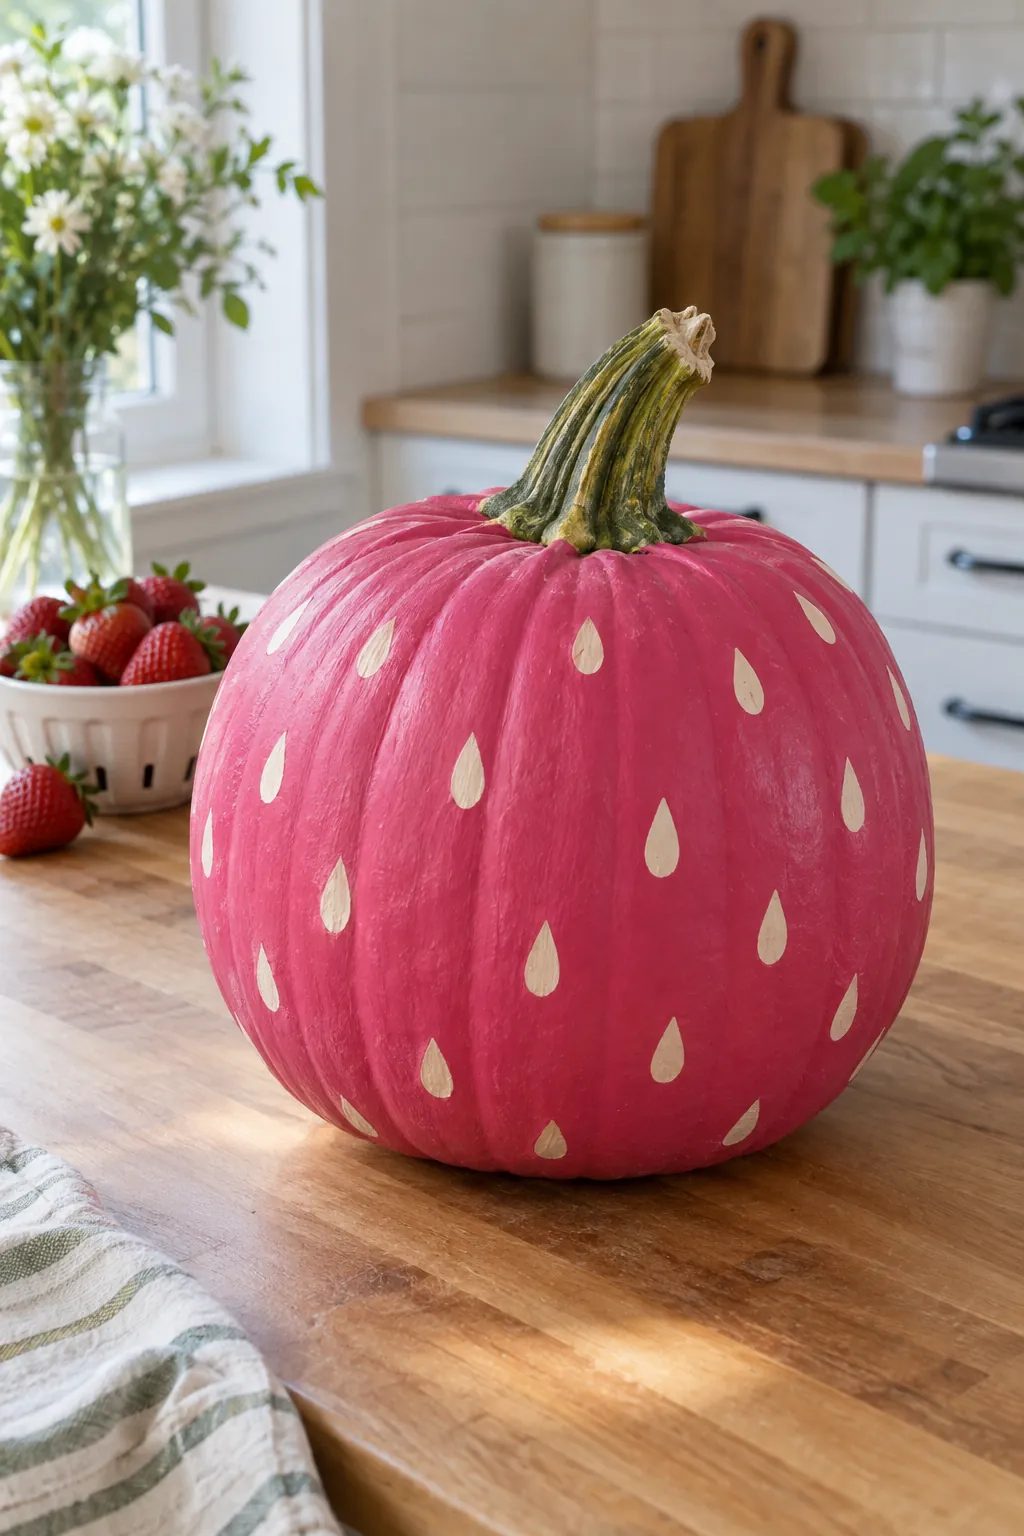
A pink pumpkin can suggest a strawberry through a few well placed seed marks. Paint the shell a fresh berry shade and add small cream teardrops in loose vertical groups. Leave the real green stem visible or tint it a natural leafy green. Pair the finished pumpkin with plain mini pumpkins so the fruit reference stays clear.
Blushing Face
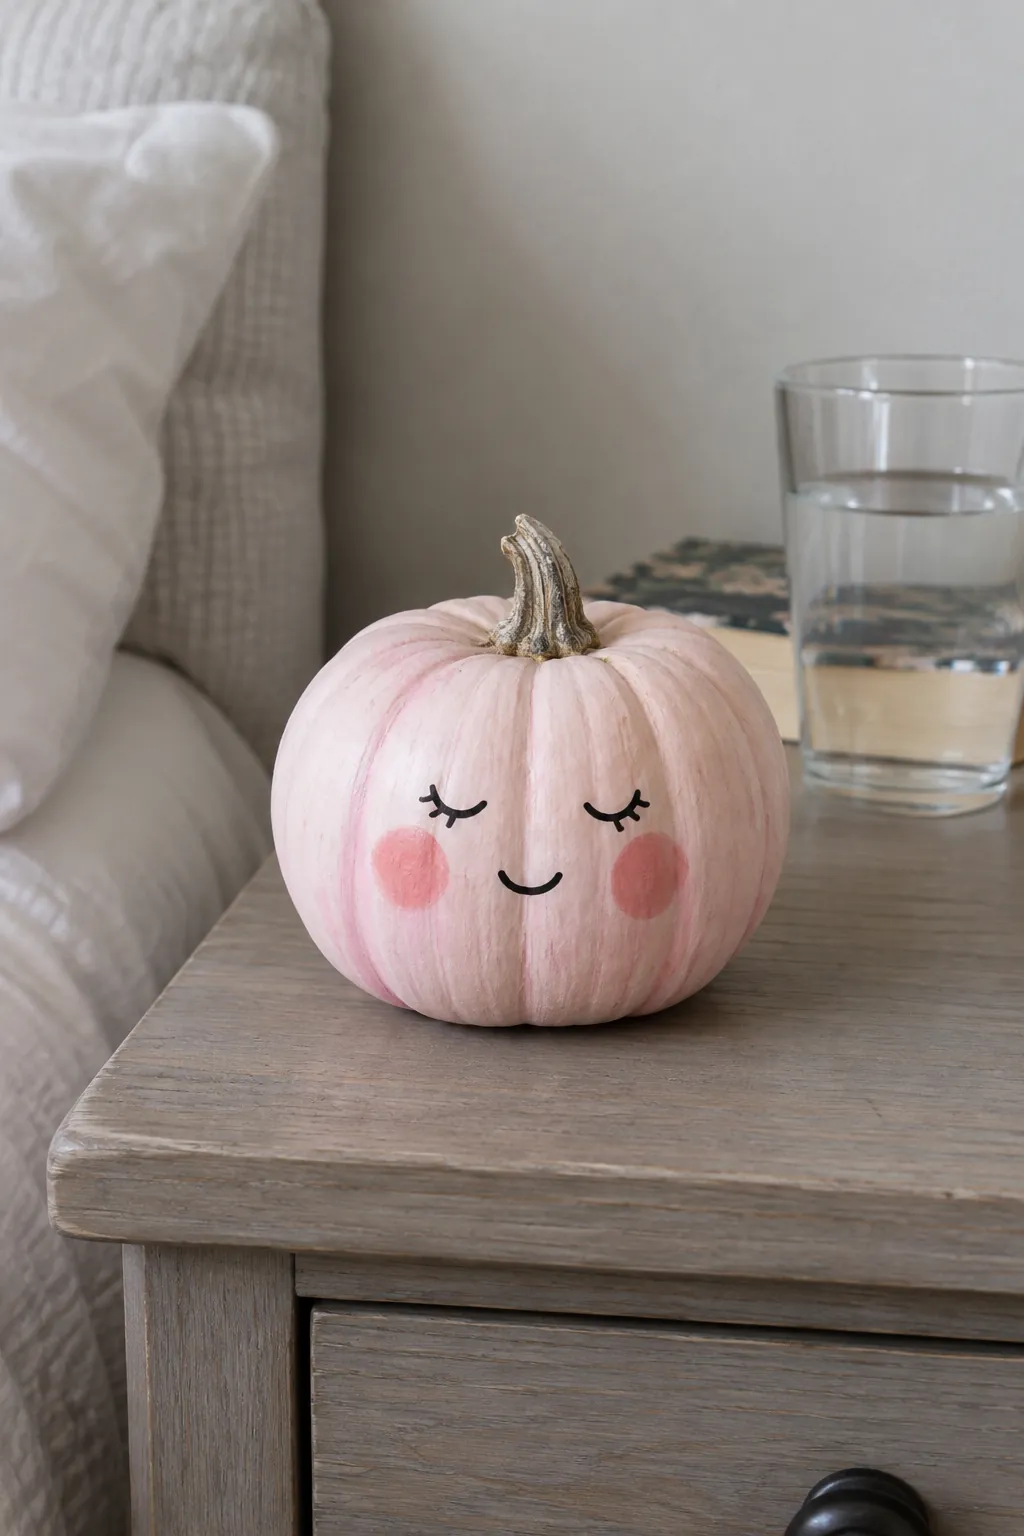
A restrained face can make a mini pumpkin feel expressive without becoming a complicated character. Add two closed eyes, a short curved smile, and lightly blended rosy cheeks to a pale base. Test cheek color on scrap paper before touching the pumpkin because a strong red spot is hard to soften. Several faces with slightly different expressions make a sweet shelf display.
Pink Moon and Stars
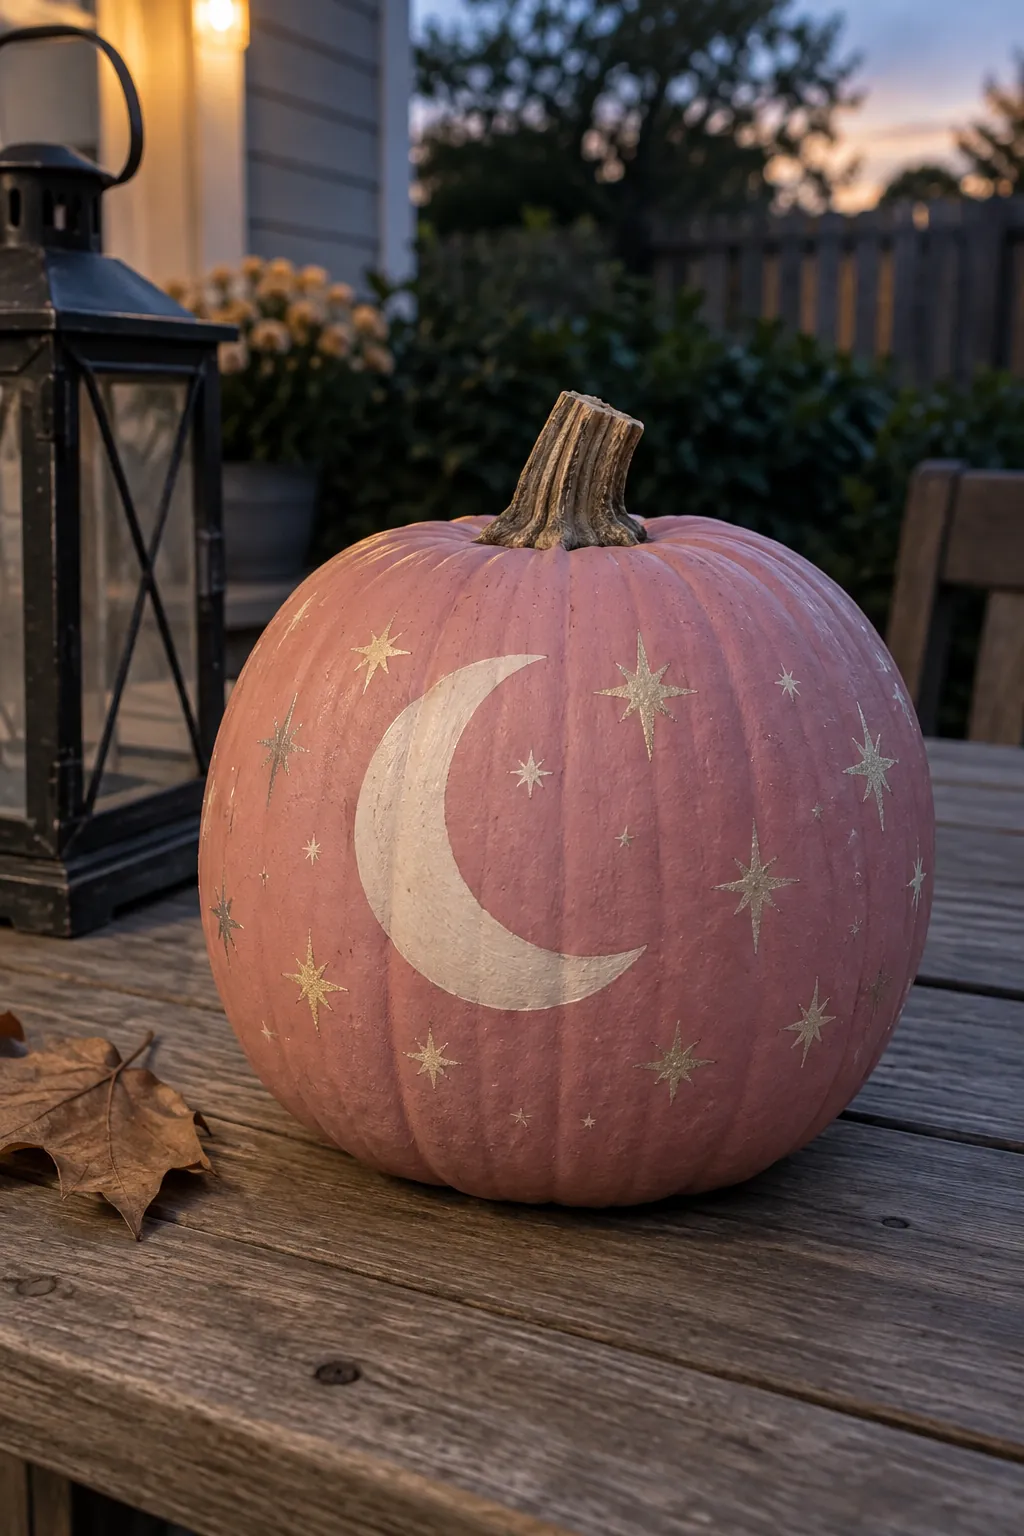
A night sky motif becomes softer when dusty pink replaces black as the background. Paint a cream crescent moon across the broadest rib and scatter tiny metallic stars with generous space between them. Vary the star sizes but keep the moon large enough to be recognized at a glance. A porch lantern nearby can catch the metallic marks without requiring paint over every surface.
Daisy Wreath around the Stem
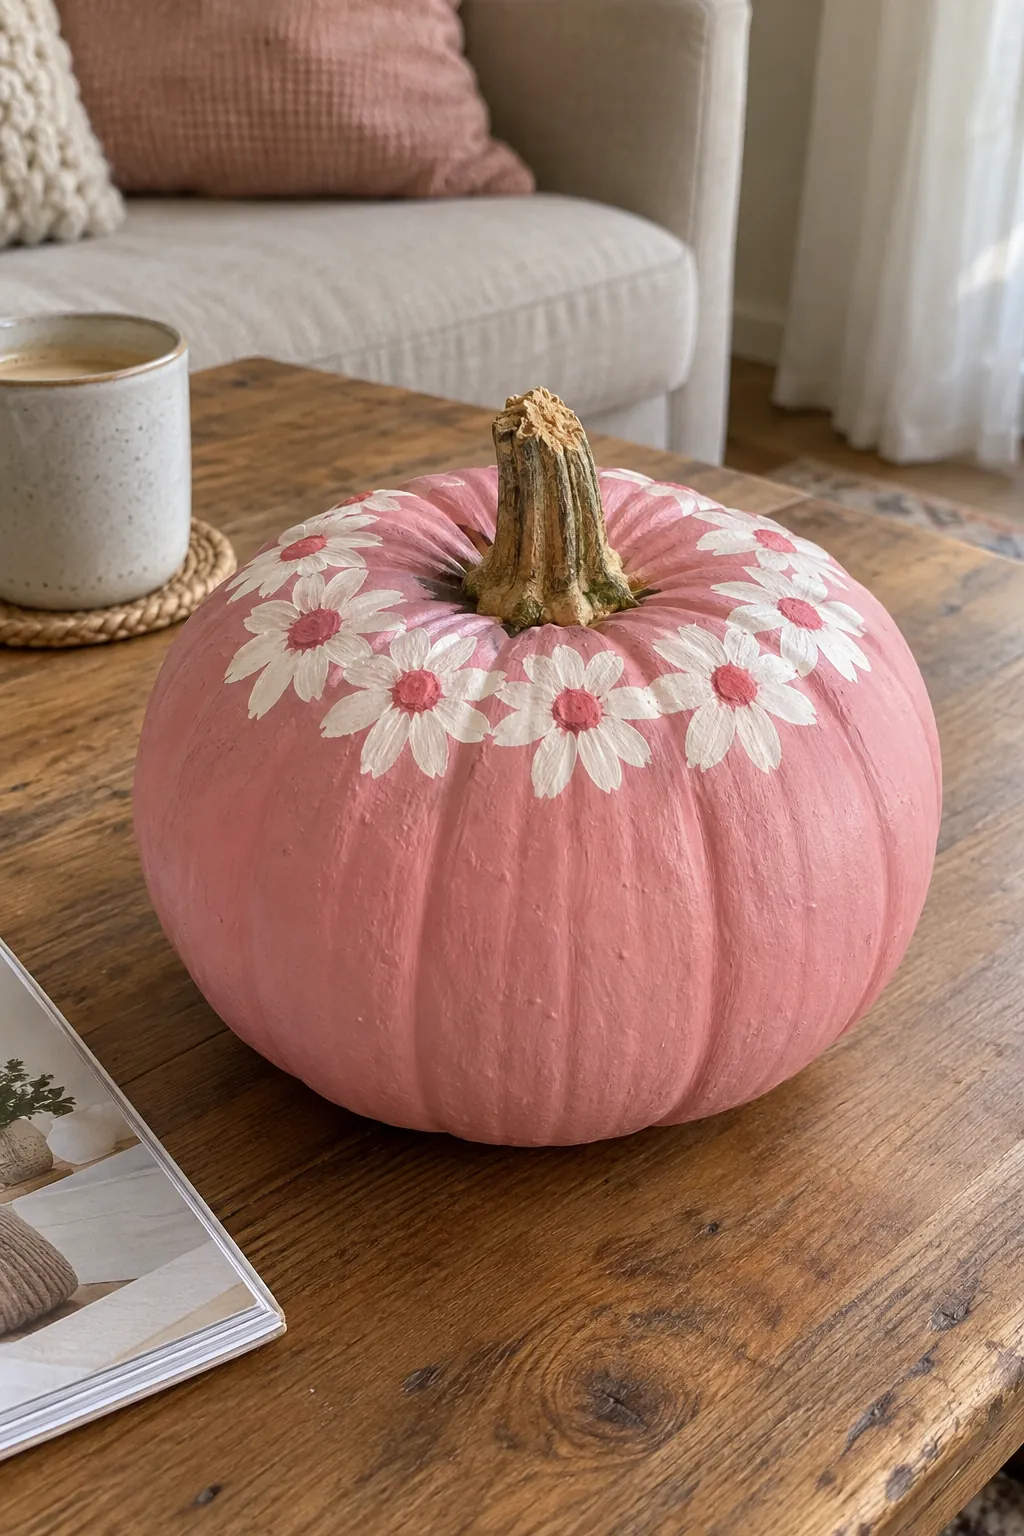
A ring of daisies draws attention to the pumpkin shape from above. Paint small white petals around the shoulder and add warm pink centers, allowing a little natural shell to show between flowers. Keep the wreath narrow so it reads as a border rather than a solid cap. This works particularly well on a squat pumpkin viewed on a low coffee table.
Confetti Brushstrokes
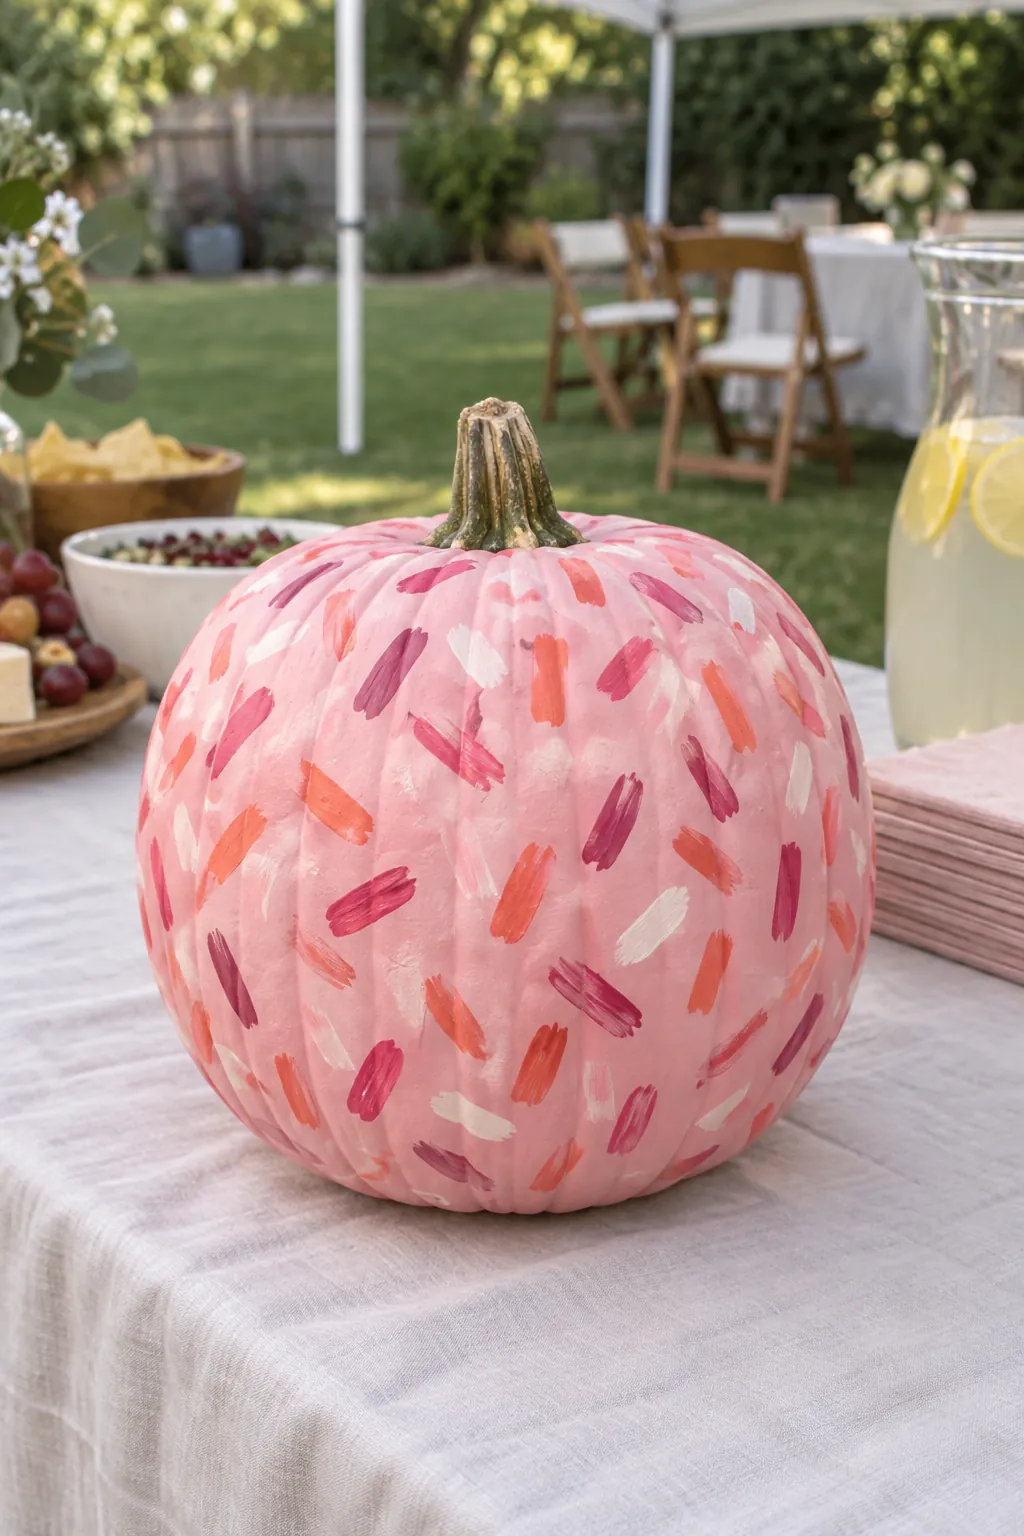
Short painted dashes give the energy of sprinkles without glued pieces that might fall away. Start with a light pink base and use a flat brush to make scattered marks in coral, raspberry, and cream. Change the direction of the strokes and leave breathing room between groups. The result is lively enough for a party table while remaining simple to paint.
Purple and Pink Color Blocks
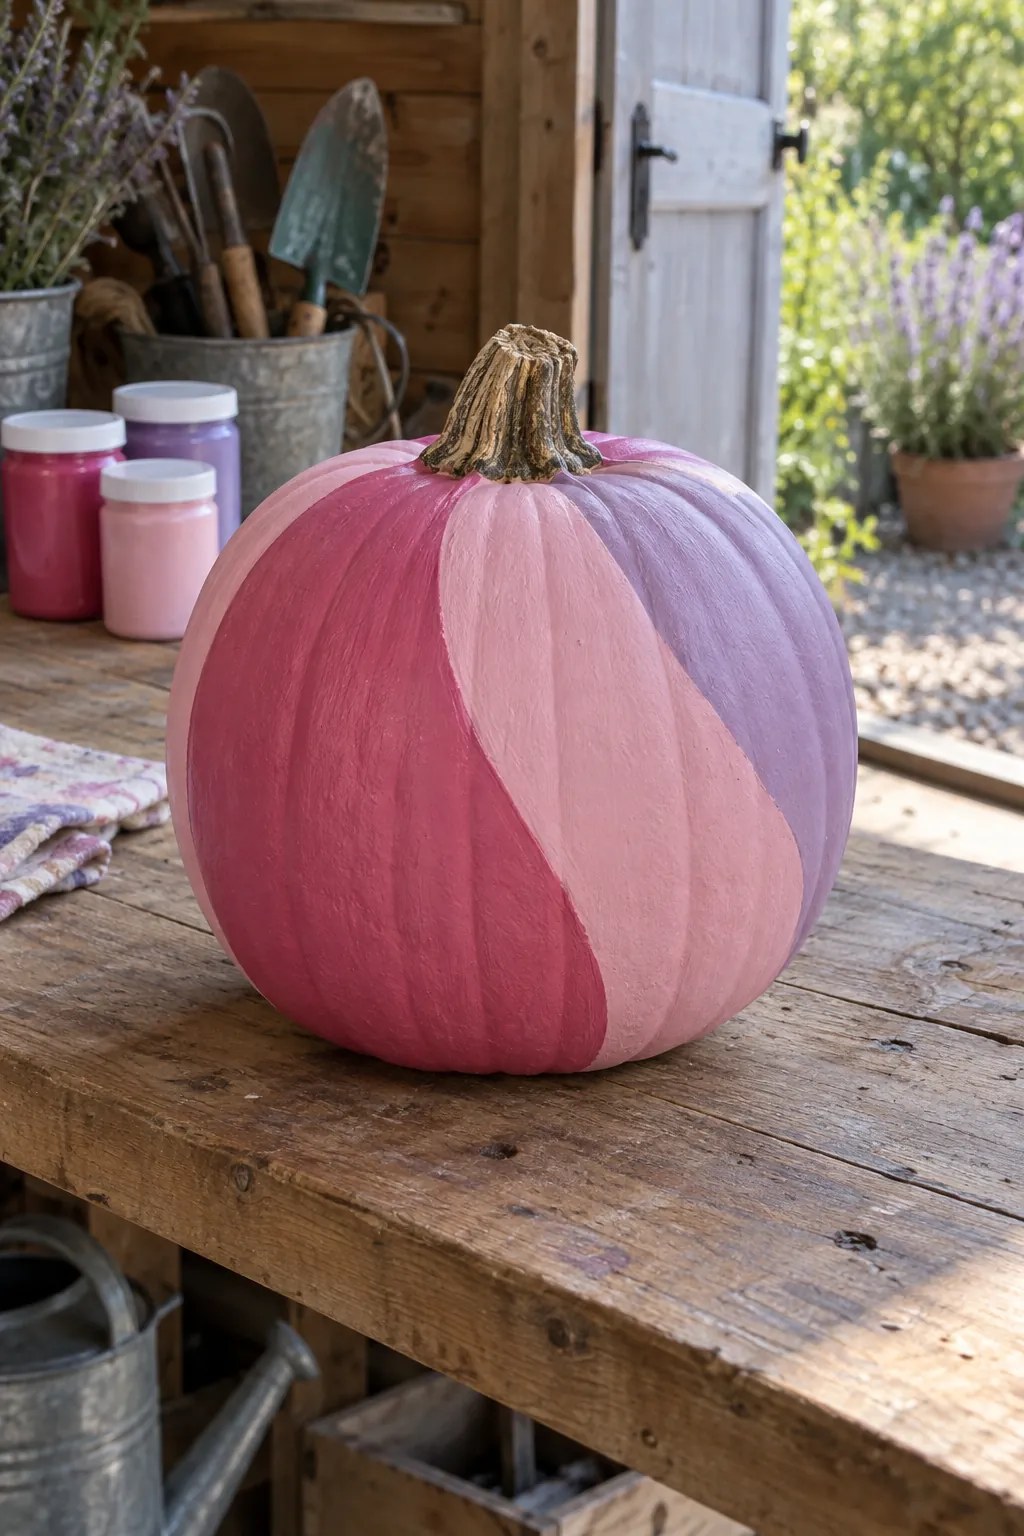
Purple can sharpen a pink palette when the shapes are large and few. Divide the pumpkin into three uneven curved fields, paint two in different pinks, and reserve one for soft lavender. Follow the natural ribs to make the boundaries feel connected to the form. This is a practical way to use leftover paint from other pumpkins without adding fussy detail.
Simple Rose Outline
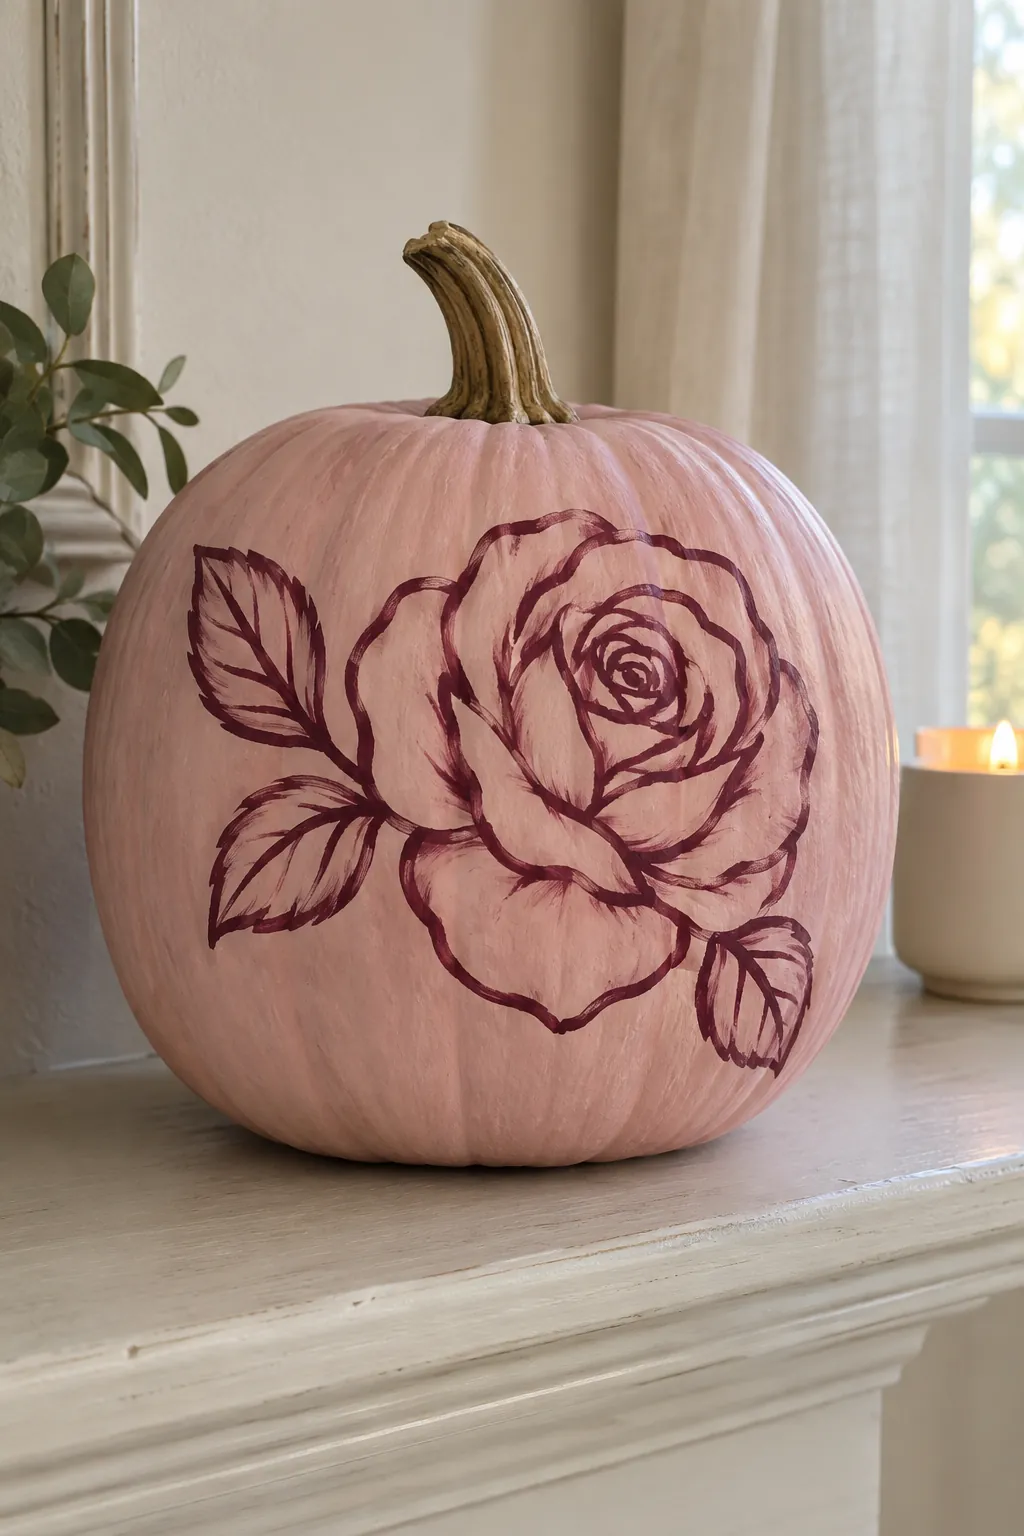
A single continuous rose outline makes a final pumpkin feel calmer than the busier designs around it. Paint the shell in a muted pink, sketch one open rose and two leaves lightly, then trace the lines with a darker berry brush. Keep enough blank space around the flower so its curling petals remain readable. Set it beside the more patterned pumpkins to give the whole display a place for the eye to rest.