
The prettiest paper display can become a nuisance when half the shapes fall overnight or a strong adhesive lifts paint. Start with a clear route for the eye, then choose each attachment for the surface beneath it. The ideas below move from large statement walls to small corners, with practical checks for heat, traffic, and cleanup. A few well placed silhouettes usually carry more atmosphere than covering every surface.
A Flight Path Above the Sofa
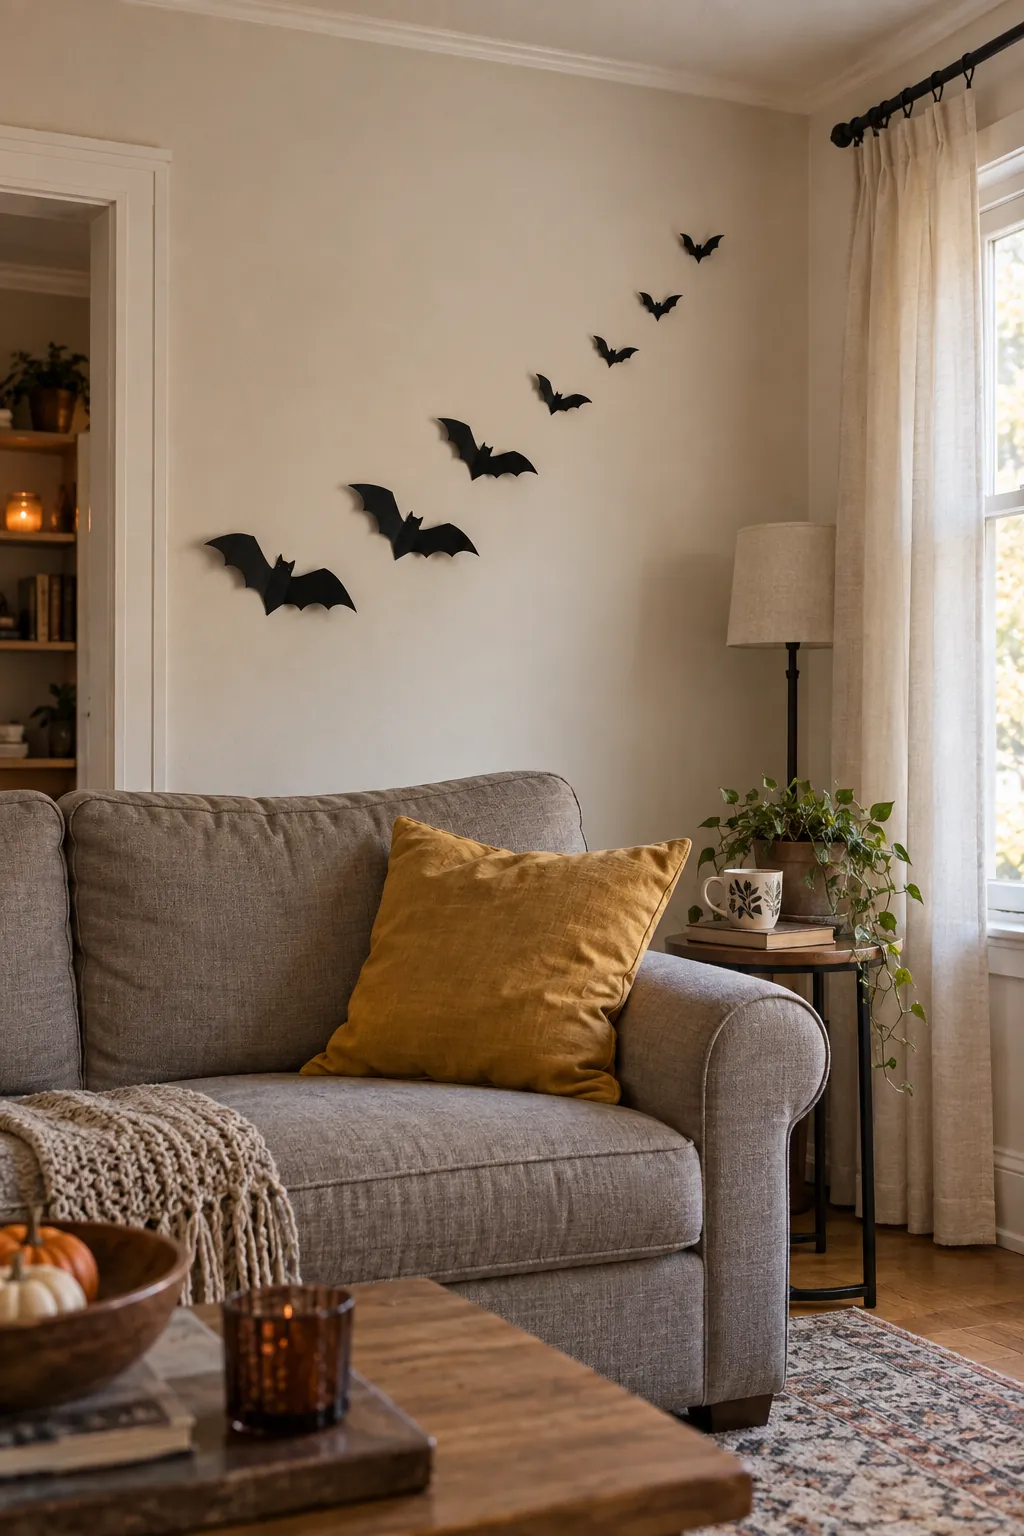
Begin with three large paper bats above one end of the sofa, then taper the group into smaller shapes as it travels toward the opposite corner. That change in scale makes the arrangement feel like movement instead of a row of stickers. Leave breathing room around the artwork or lamp already on the wall so the shapes remain legible. Test a removable adhesive on an unseen painted patch before committing to the full cluster.
A Bat Halo Around a Mirror
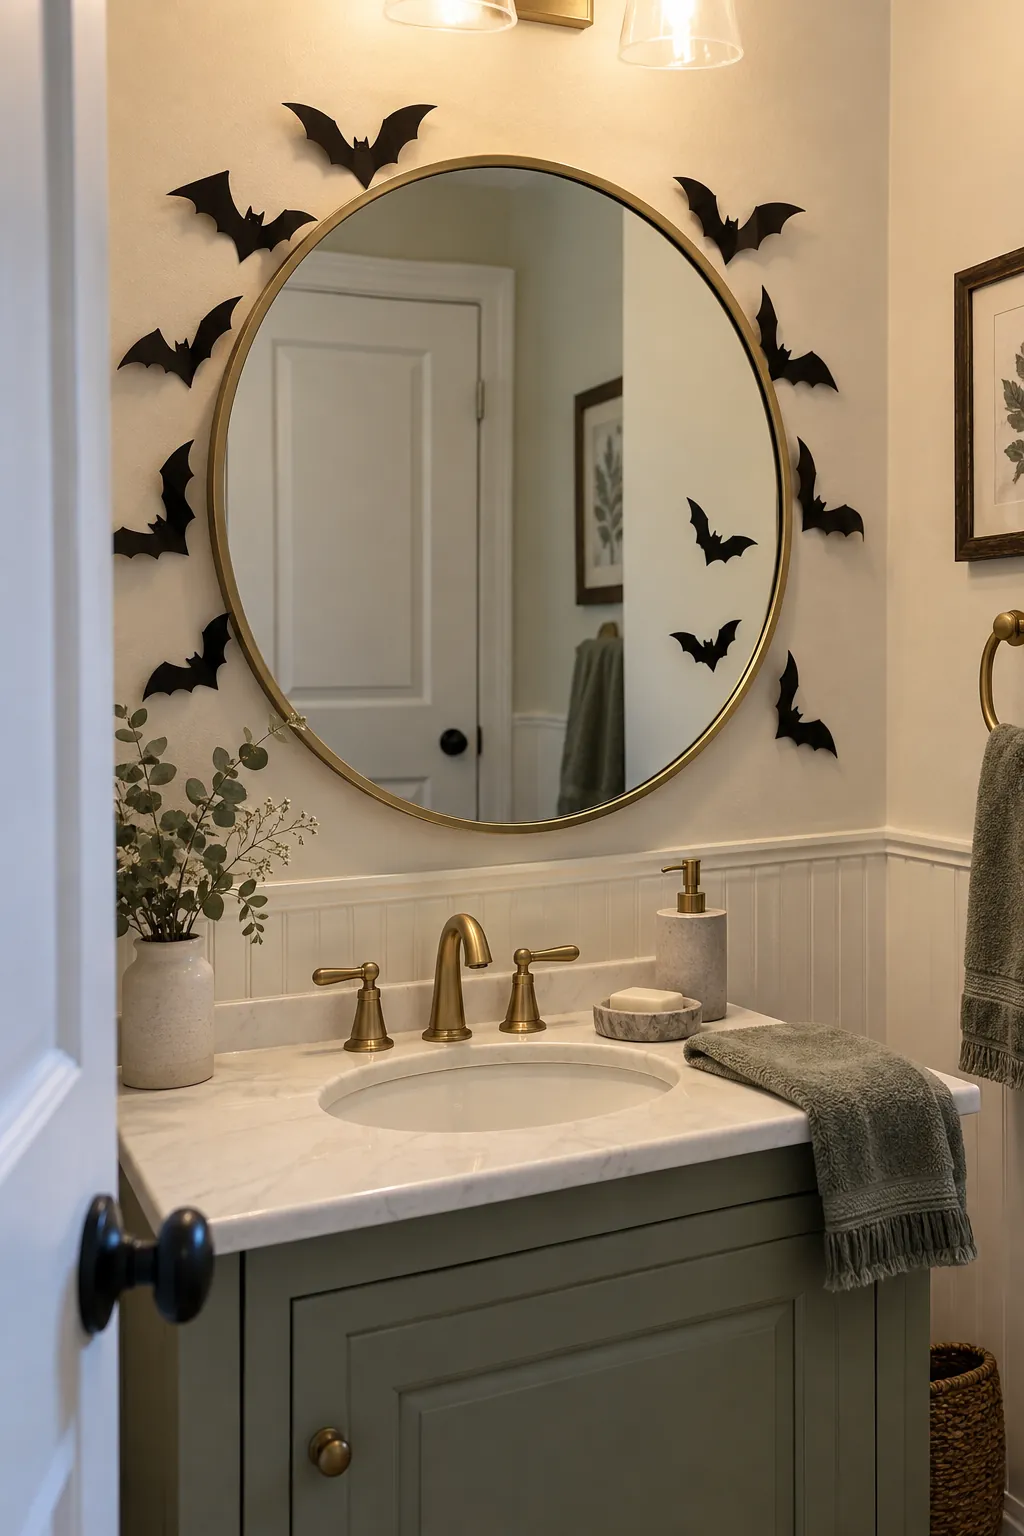
A mirror gives a small display a second layer through reflection, especially in an entry or powder room. Place bats on the surrounding painted wall and use a few static cling shapes on the glass if the mirror surface allows it. Keep the reflective center open so the mirror still works for everyday use. Clean the glass first and remove any cling gently after the season.
A Swarm Turning a Room Corner
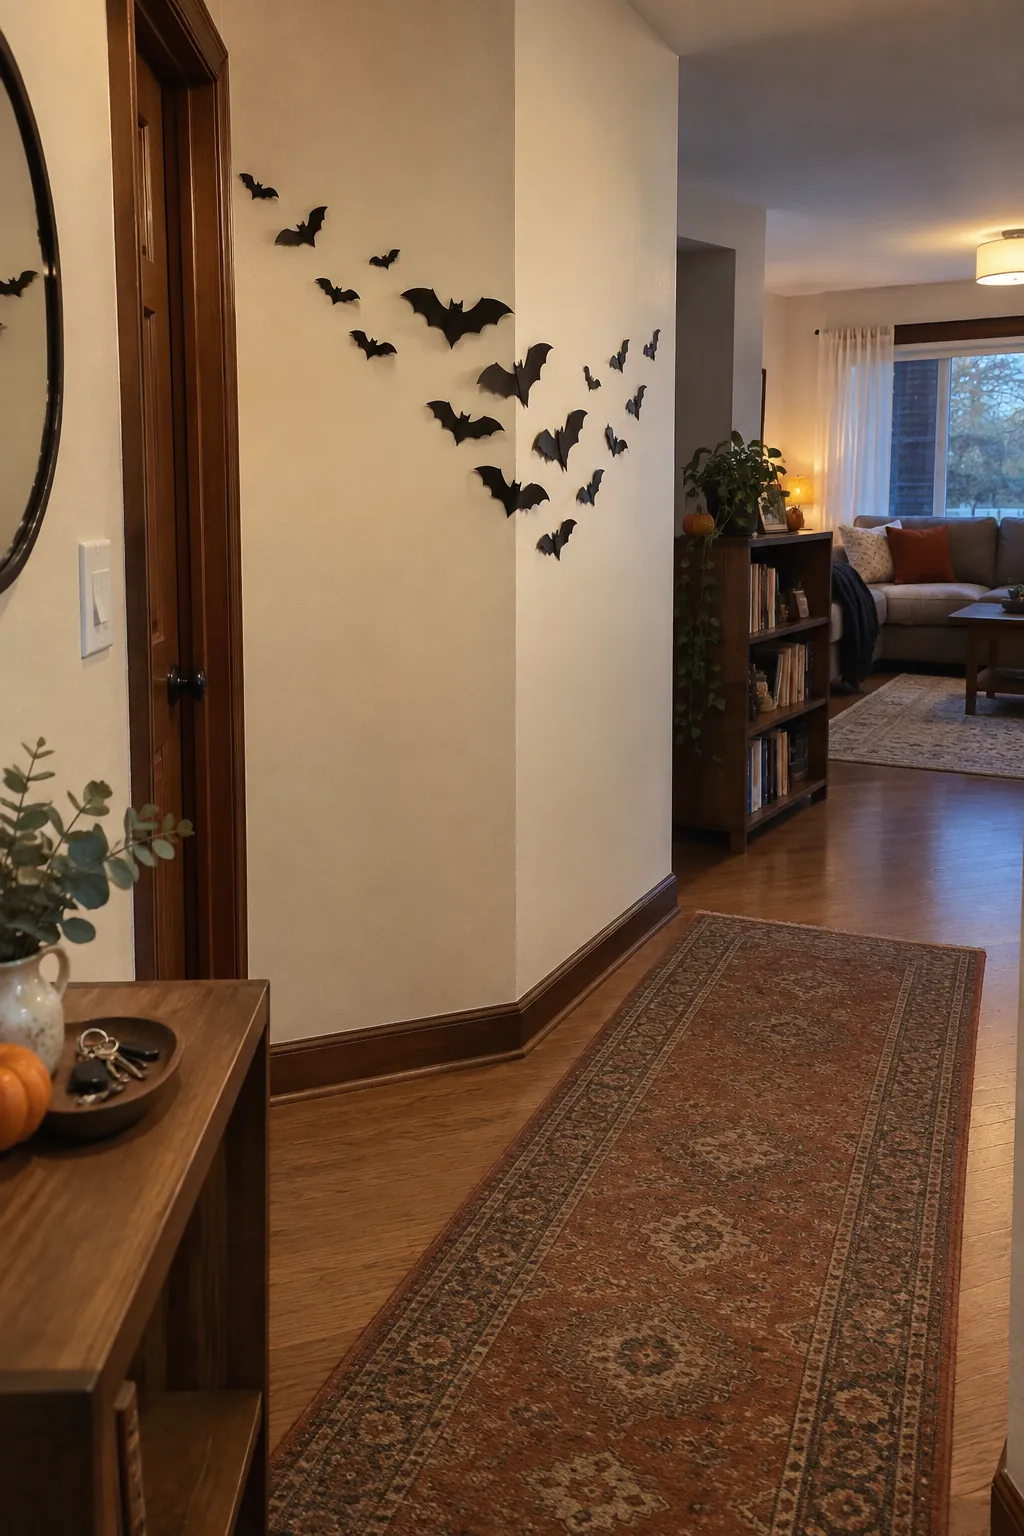
Carry a loose group across two adjoining walls so the bats appear to turn the corner. Put the largest silhouettes nearest the bend and send a few smaller ones into each room. View the arrangement from the doorway before attaching the last pieces, because the corner changes how spacing reads. Keep shapes clear of door trim and switches.
An Ascent Along the Stair Wall
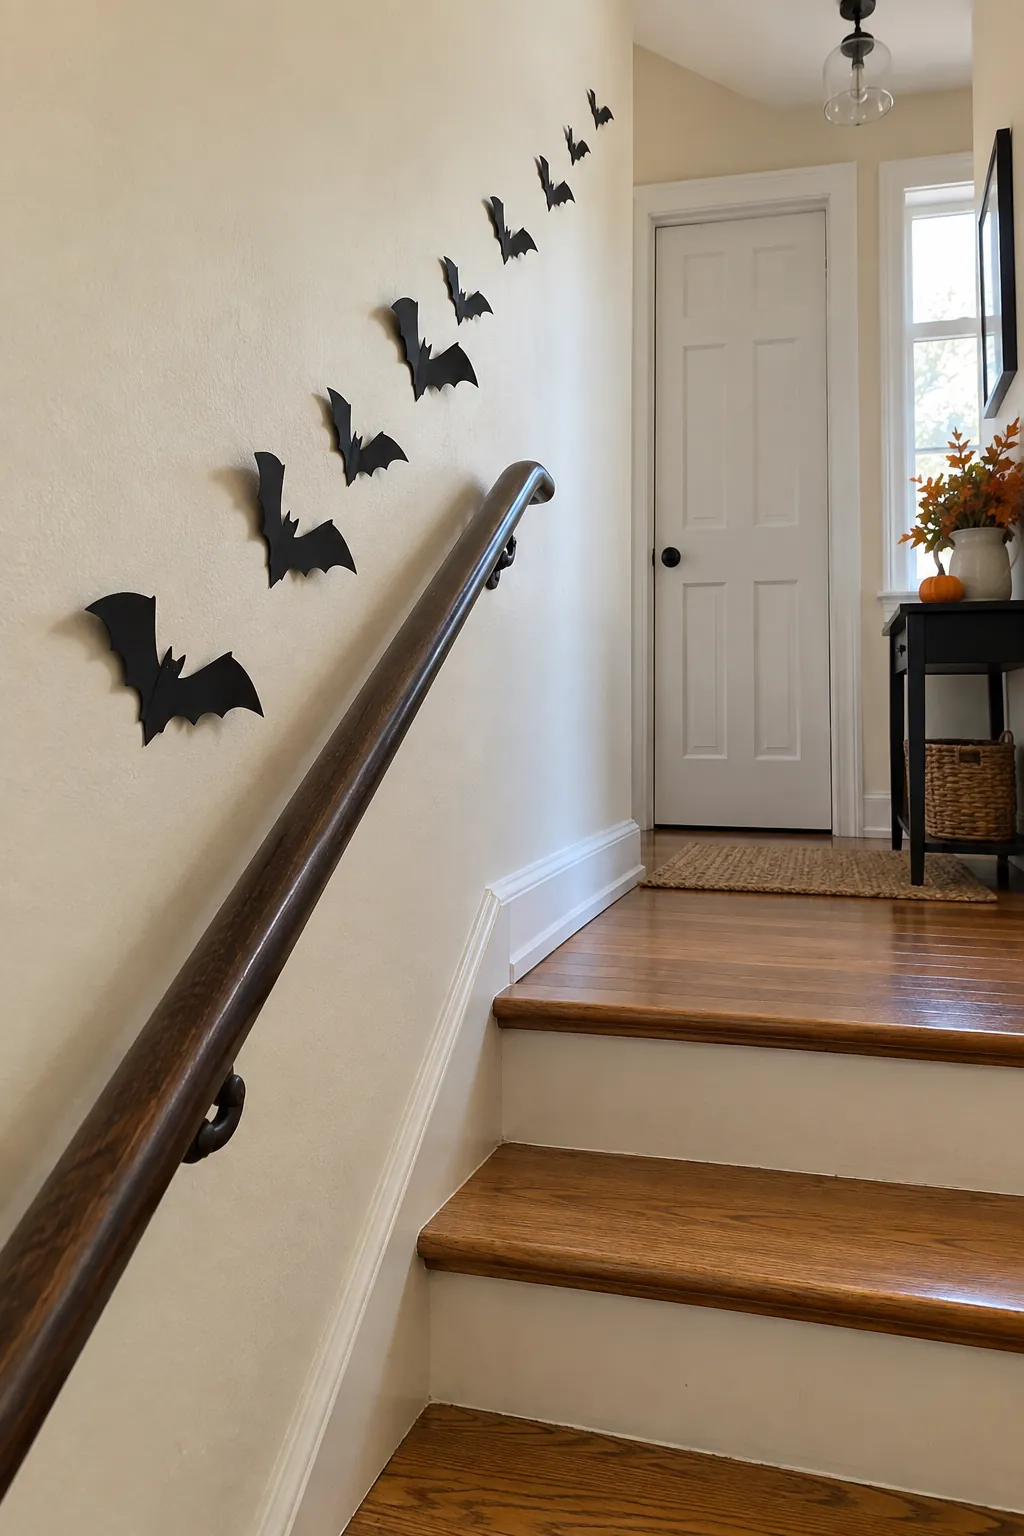
A staircase offers a natural rising line without needing a dense wall covering. Set a few bat shapes low near the first step and increase their height gradually with the railing. Keep the paper well beyond hand level where people use the rail, and leave the landing clear. Check the composition from the bottom of the stairs, where the whole flight path is visible.
A Doorway That Releases the Bats
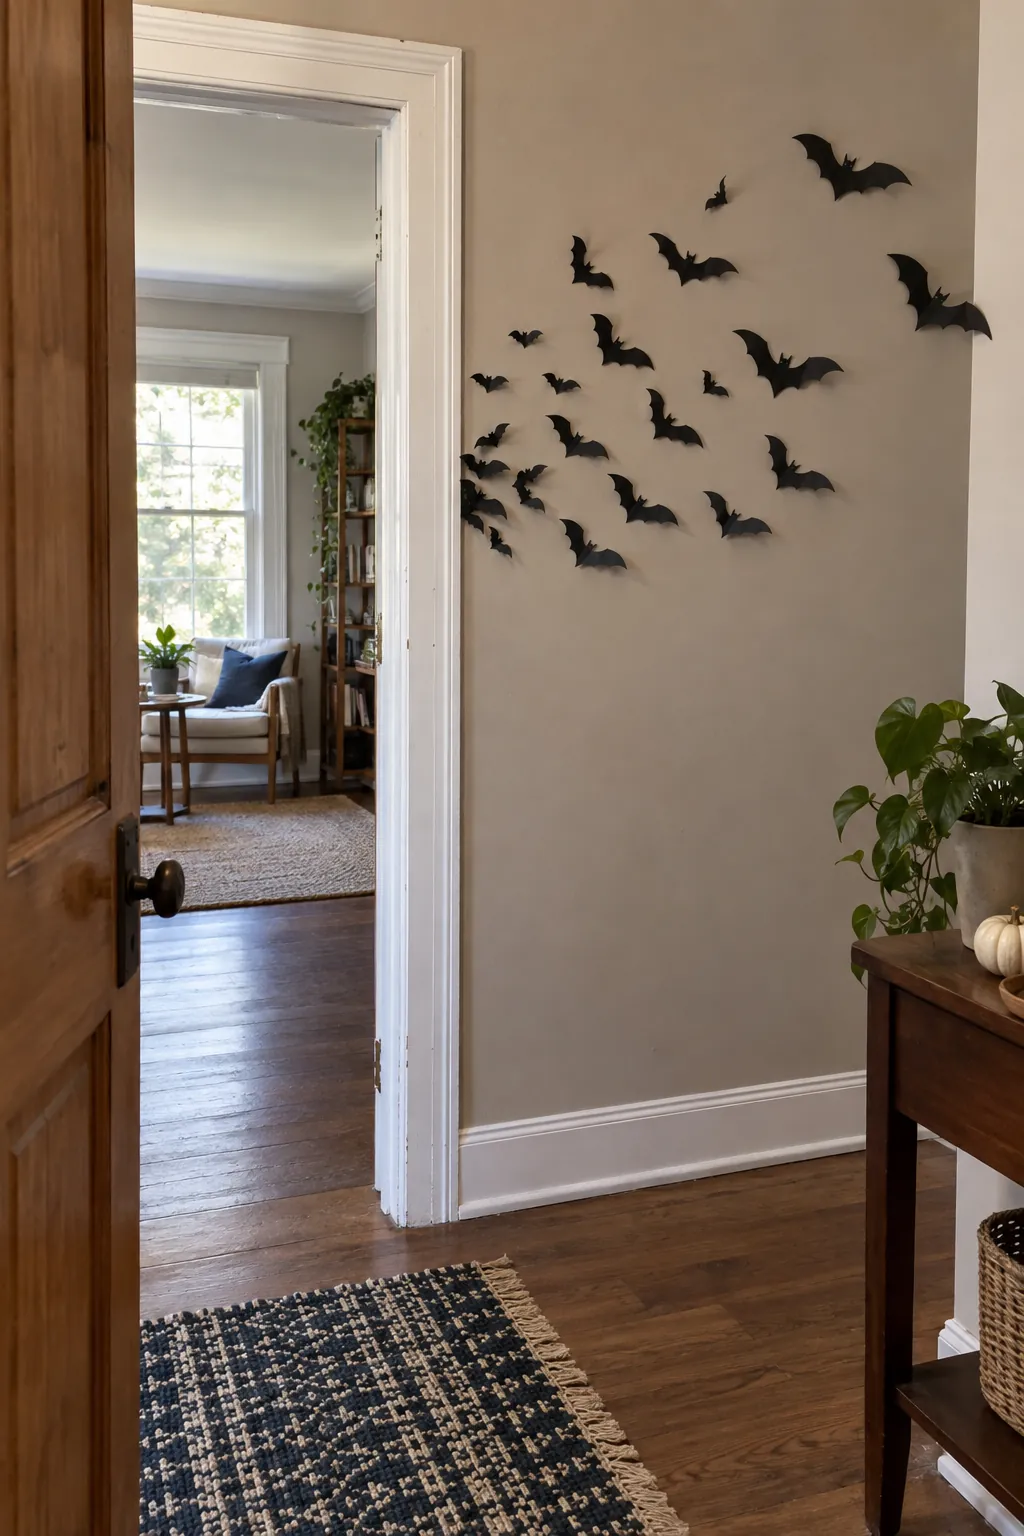
Gather the first bats just outside one side of a doorway, then fan them across the neighboring wall. This gives the display an origin and makes a narrow hall feel more intentional. Mount every shape outside the swing of the door so edges do not catch when it opens. A small number of different wing positions is more convincing than repeating one identical cutout.
Window Silhouettes at Dusk
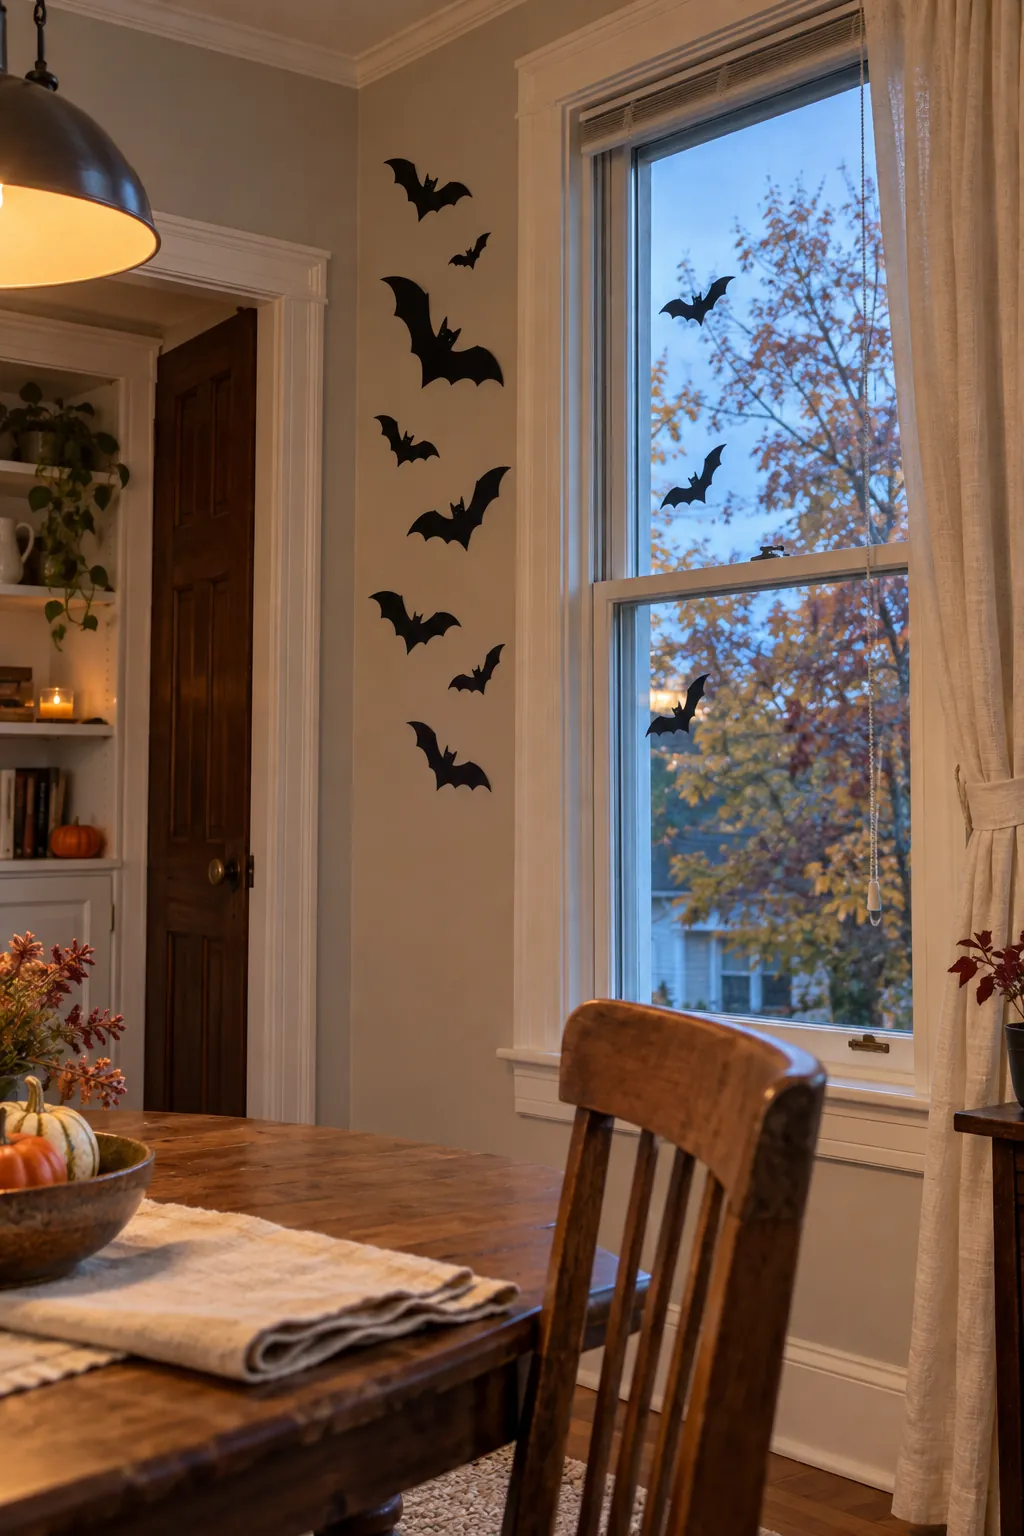
Position dark bats around the wall beside a window rather than filling the pane. At dusk, the remaining glass and the changing light give the silhouettes a clear backdrop from indoors. Use a few removable glass clings only if you also want the effect visible from outside. Keep window latches, blinds, and curtains free to move.
A Mantel Wall With a Low Sweep
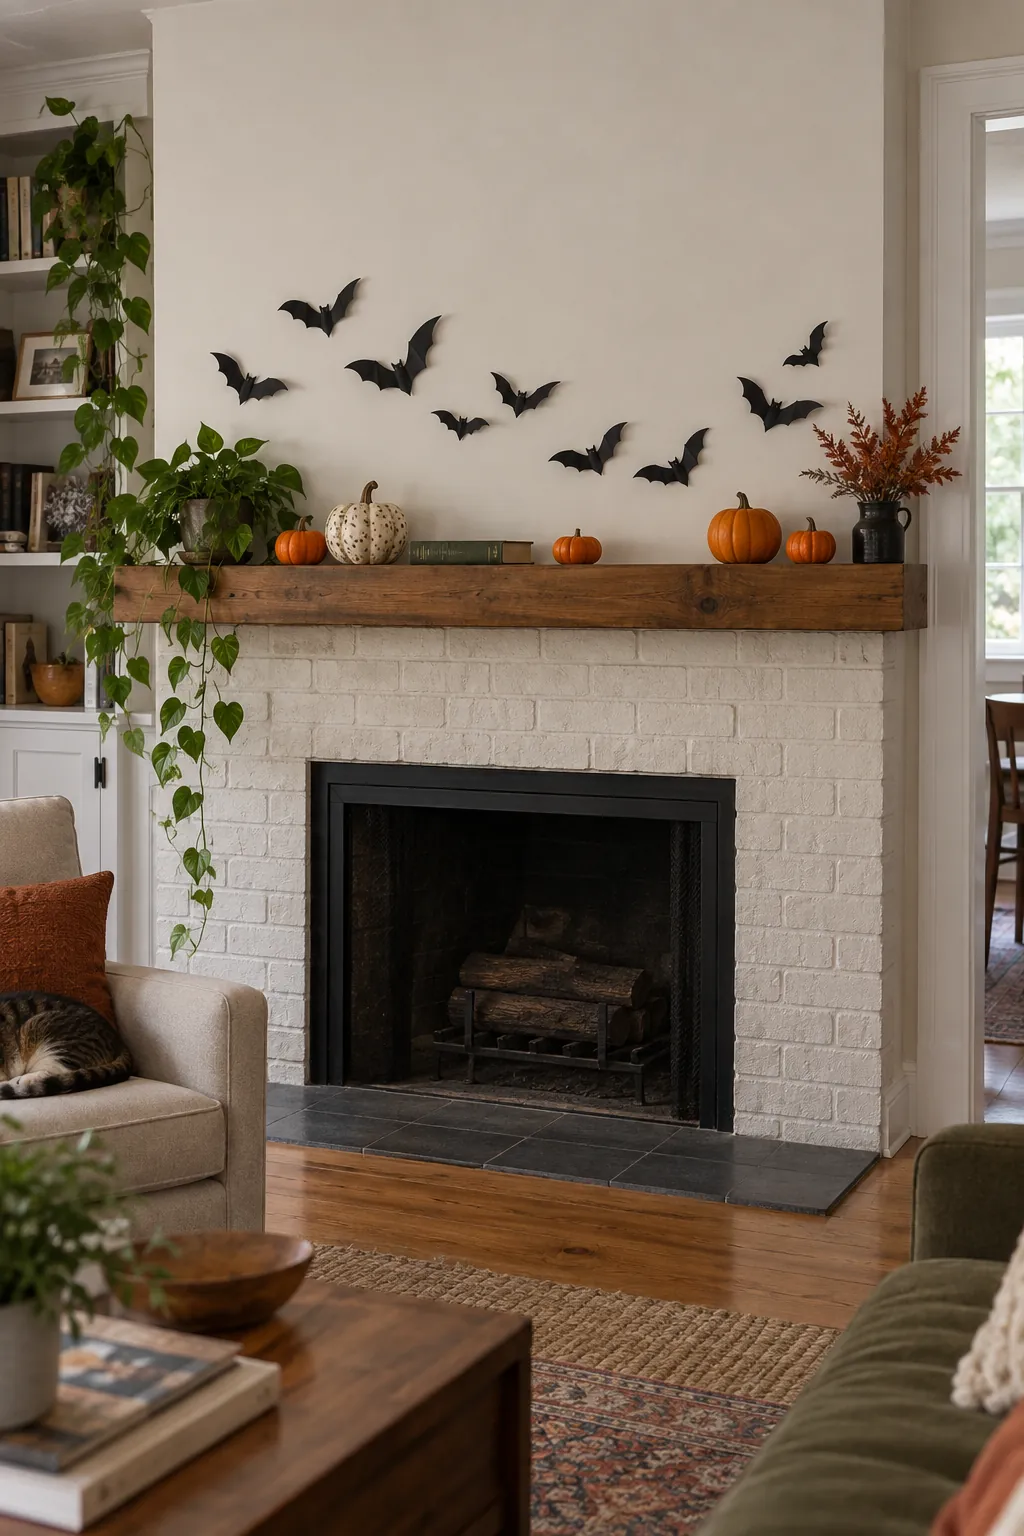
Let a compact group skim the wall above a mantel while pumpkins or books stay below on the shelf. The gap between the paper and the objects prevents the display from becoming a single dark mass. Avoid placing paper near candles, hot bulbs, or a working fireplace opening. Battery powered lights can add glow without putting heat near the bats.
Bats Weaving Through a Gallery Wall
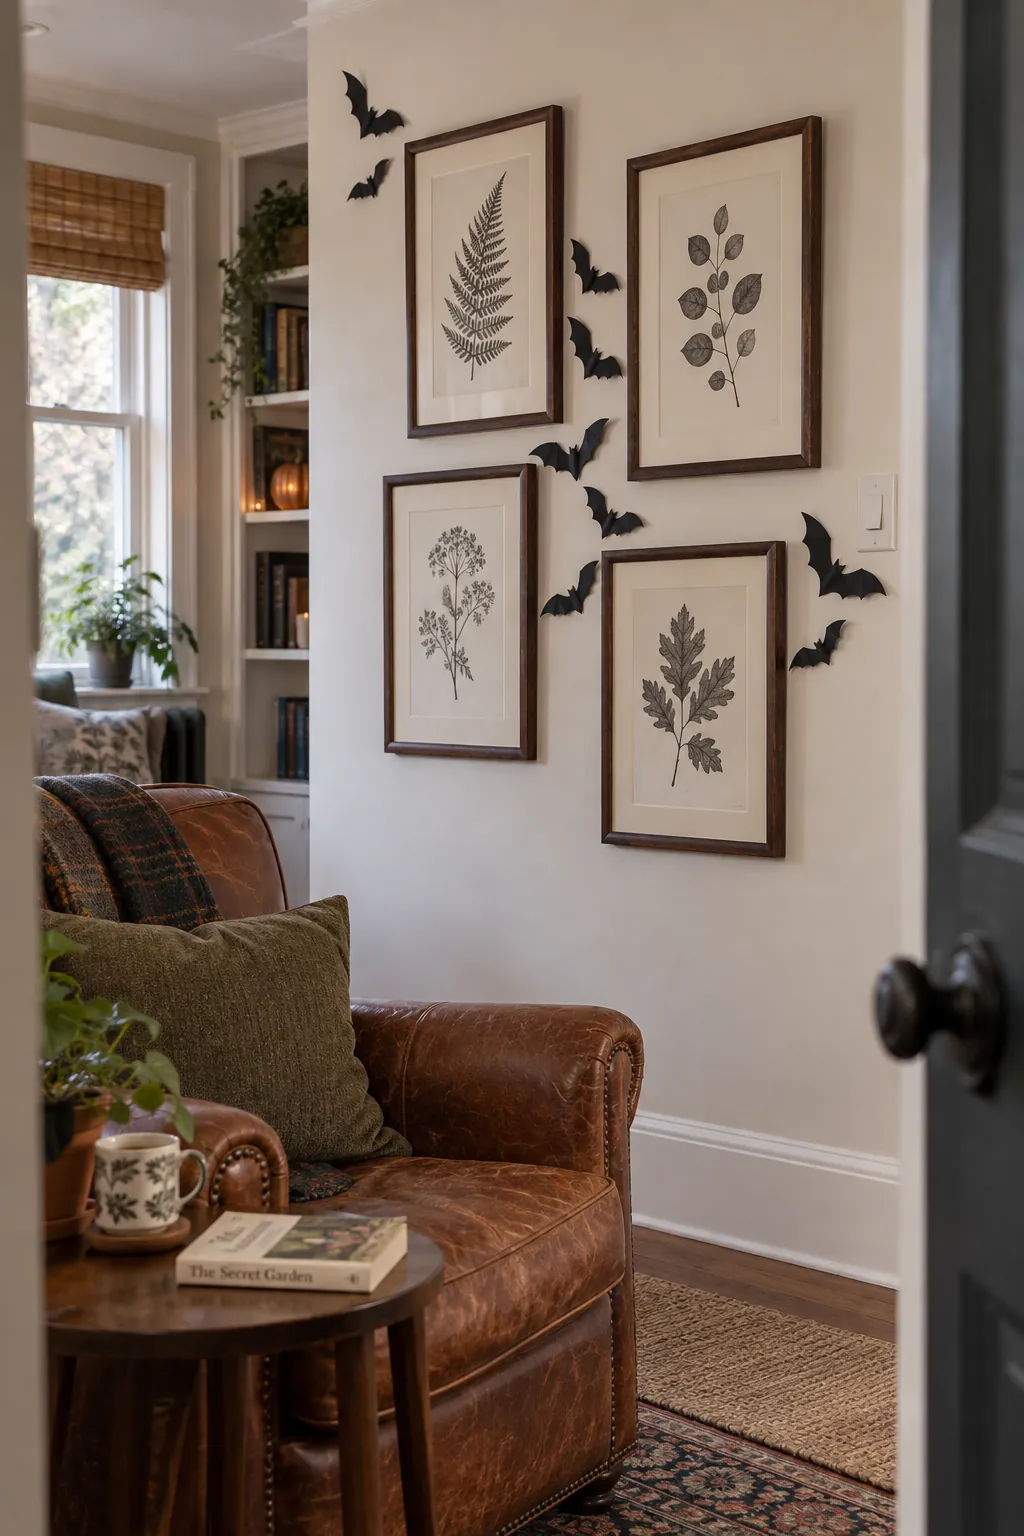
Use the spaces between existing frames as a route for small silhouettes. Begin beside one frame, pass through a wider gap, and finish before the next picture becomes crowded. This approach keeps treasured artwork visible while adding a seasonal layer. Put adhesive on the wall only where the finish is sound, never on an irreplaceable frame.
A Safe Sweep Around a Wall Sconce
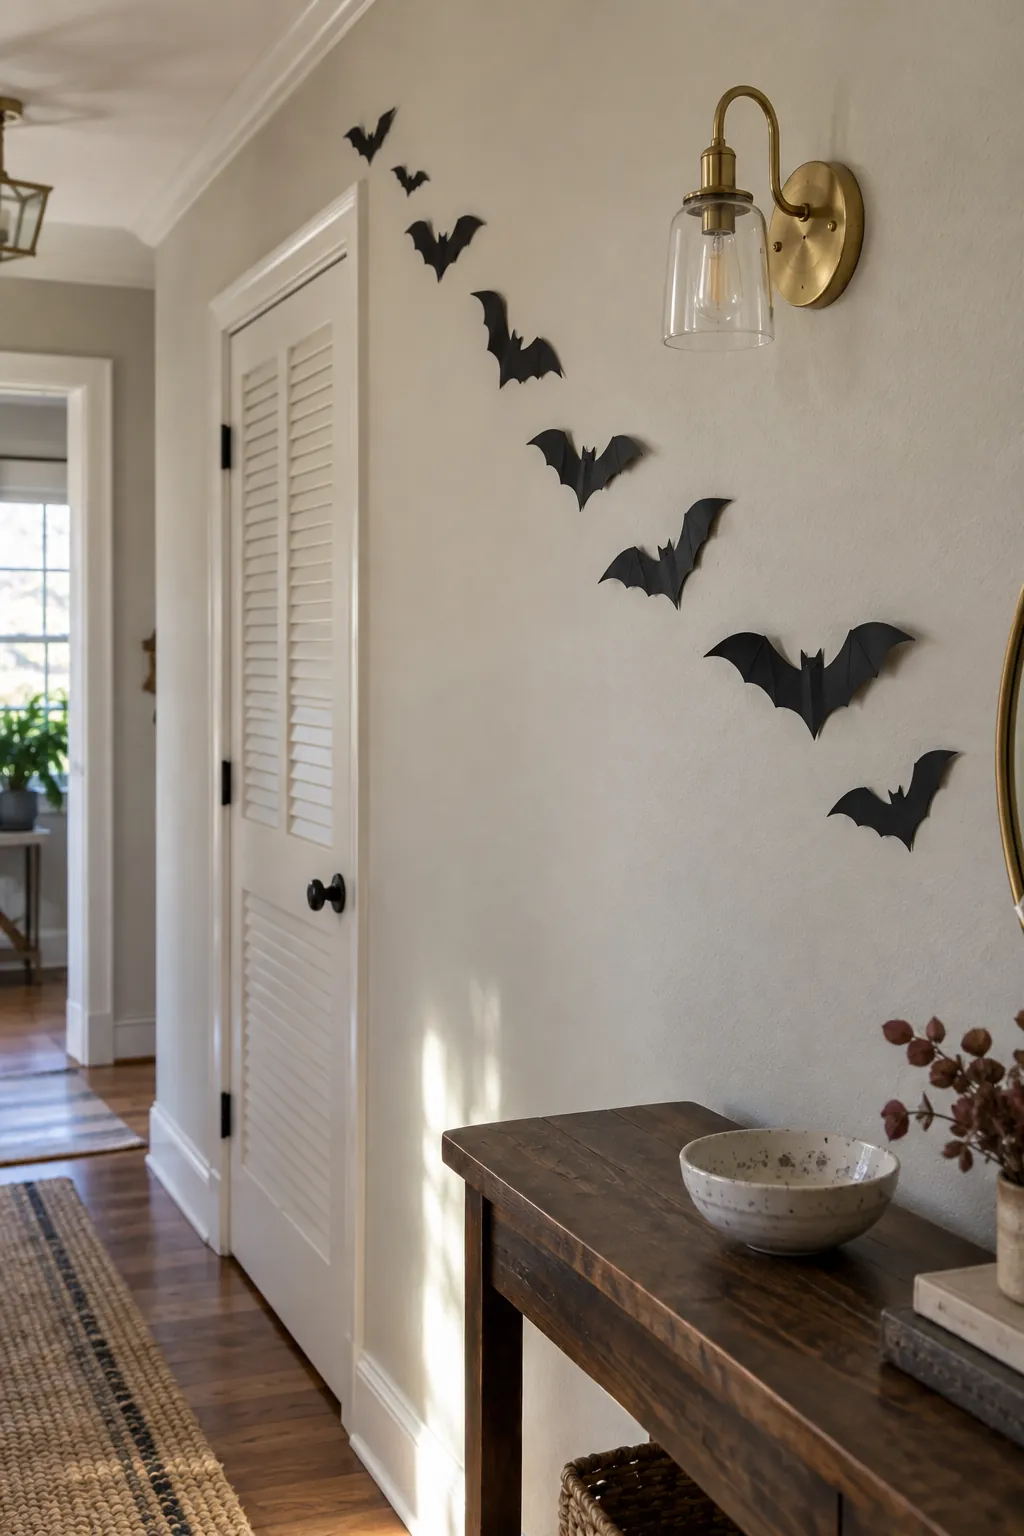
A wall light can make bat shapes cast subtle shadows, but the paper needs generous distance from the fixture. Arrange the silhouettes on the cool wall outside the manufacturer specified clearance around the bulb and shade. Switch the light on and check for heat before leaving the display in place. If the fixture runs warm, move the flight path to a nearby unlit section instead.
An Entry Console Backdrop
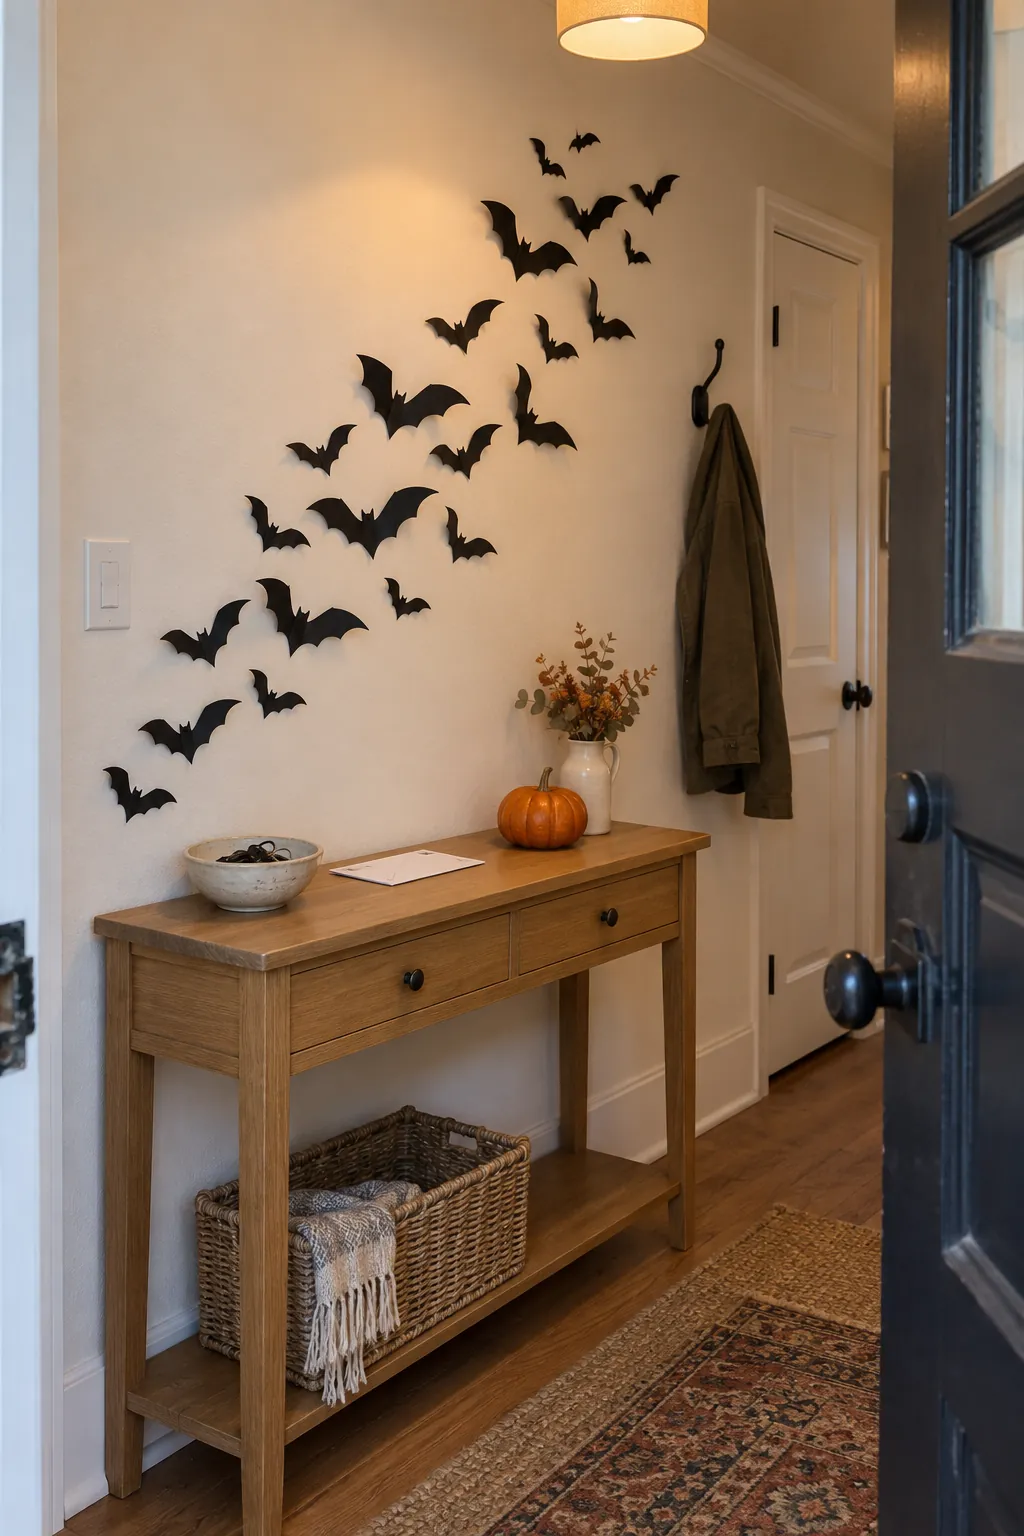
A short cluster above an entry table greets guests without filling the entire foyer. Anchor it visually to a bowl, vase, or low pumpkin arrangement and leave space for keys and mail. Use one strong diagonal rather than scattered bats at every height. Stand at the front door to check that the scene reads immediately on arrival.
Folded Wings for Gentle Relief
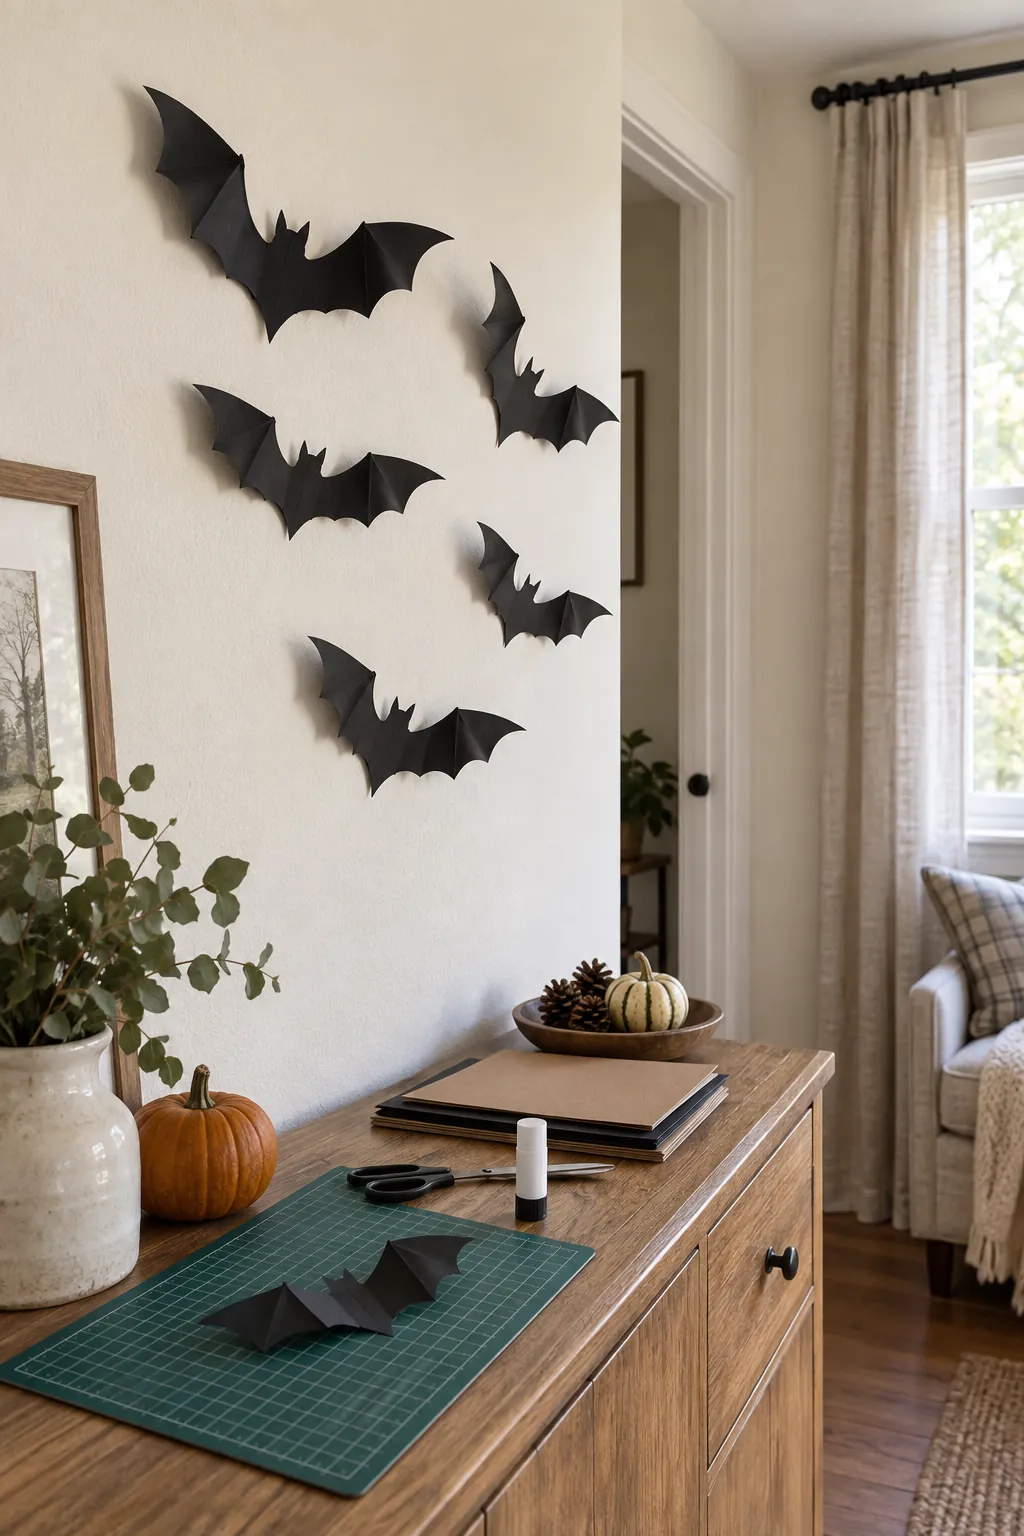
Crease each cardstock bat along its body and lift the wings slightly from the wall. The shallow fold creates a convincing dimensional effect in side light without bulky foam pieces. Attach the center body only so the wings remain free, and avoid placing them where coats brush past. Test one bat overnight to make sure its attachment supports the paper weight.
A Reusable Bat Display Board
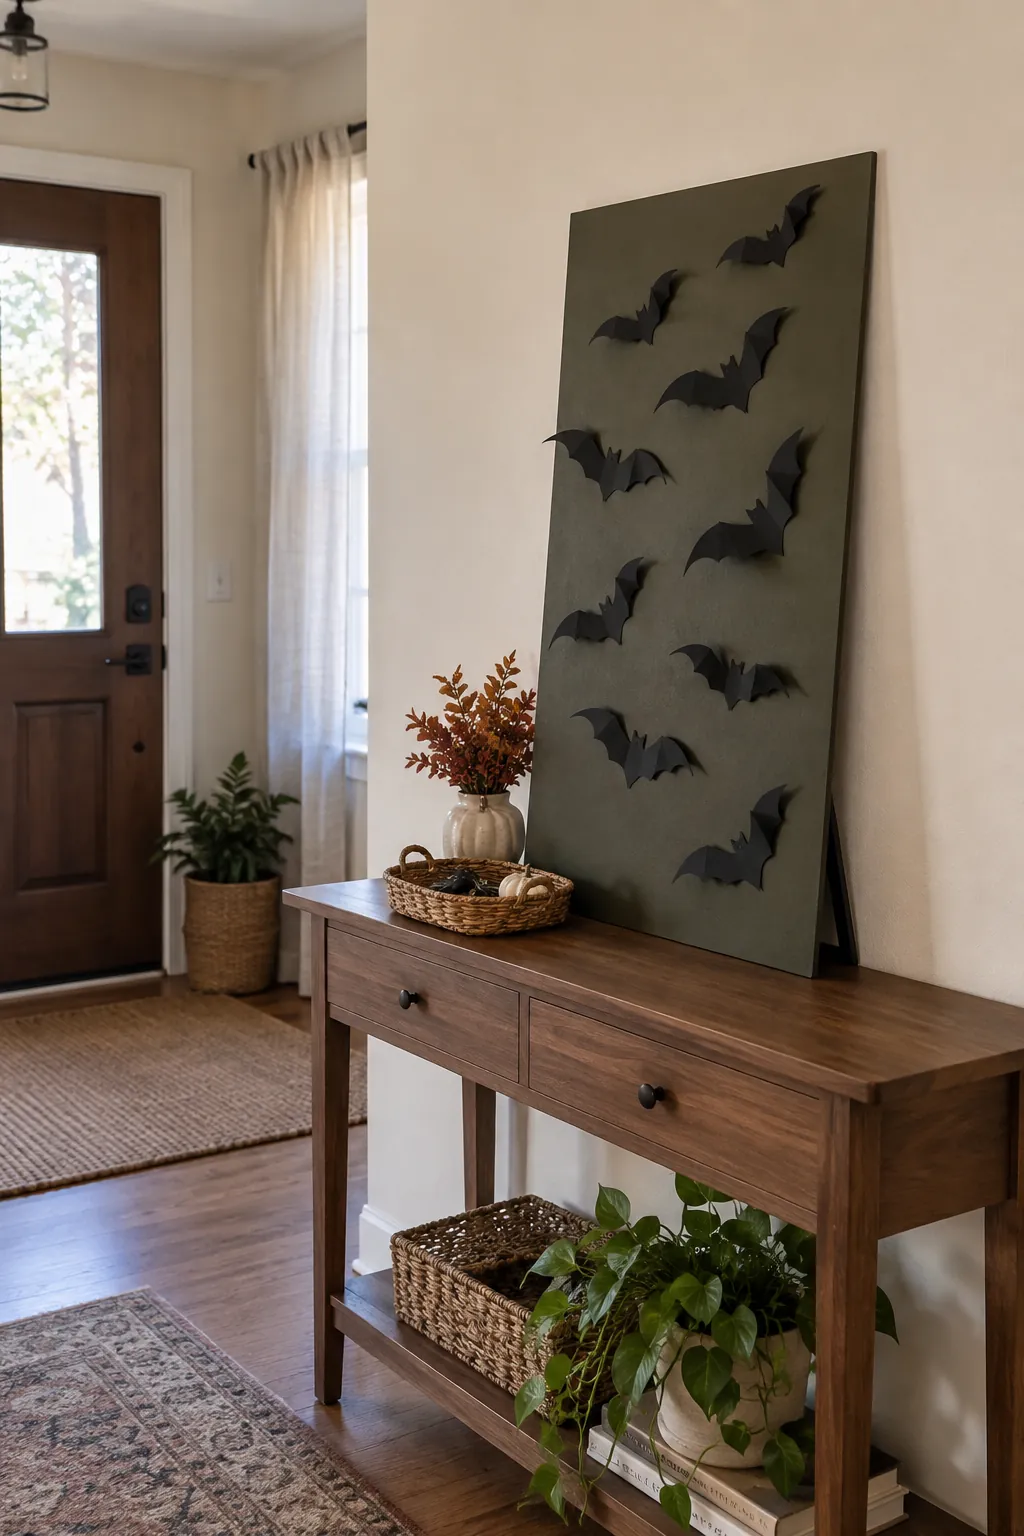
When painted walls are delicate, put the entire arrangement on a lightweight board leaned securely on a console. Cover the board with a dark or warm neutral surface, then mount the bats on that surface. The board can be moved or stored as one piece, which avoids dozens of adhesive points on the wall. Secure it against tipping in homes with children or pets.
Pale Bats on a Dark Wall
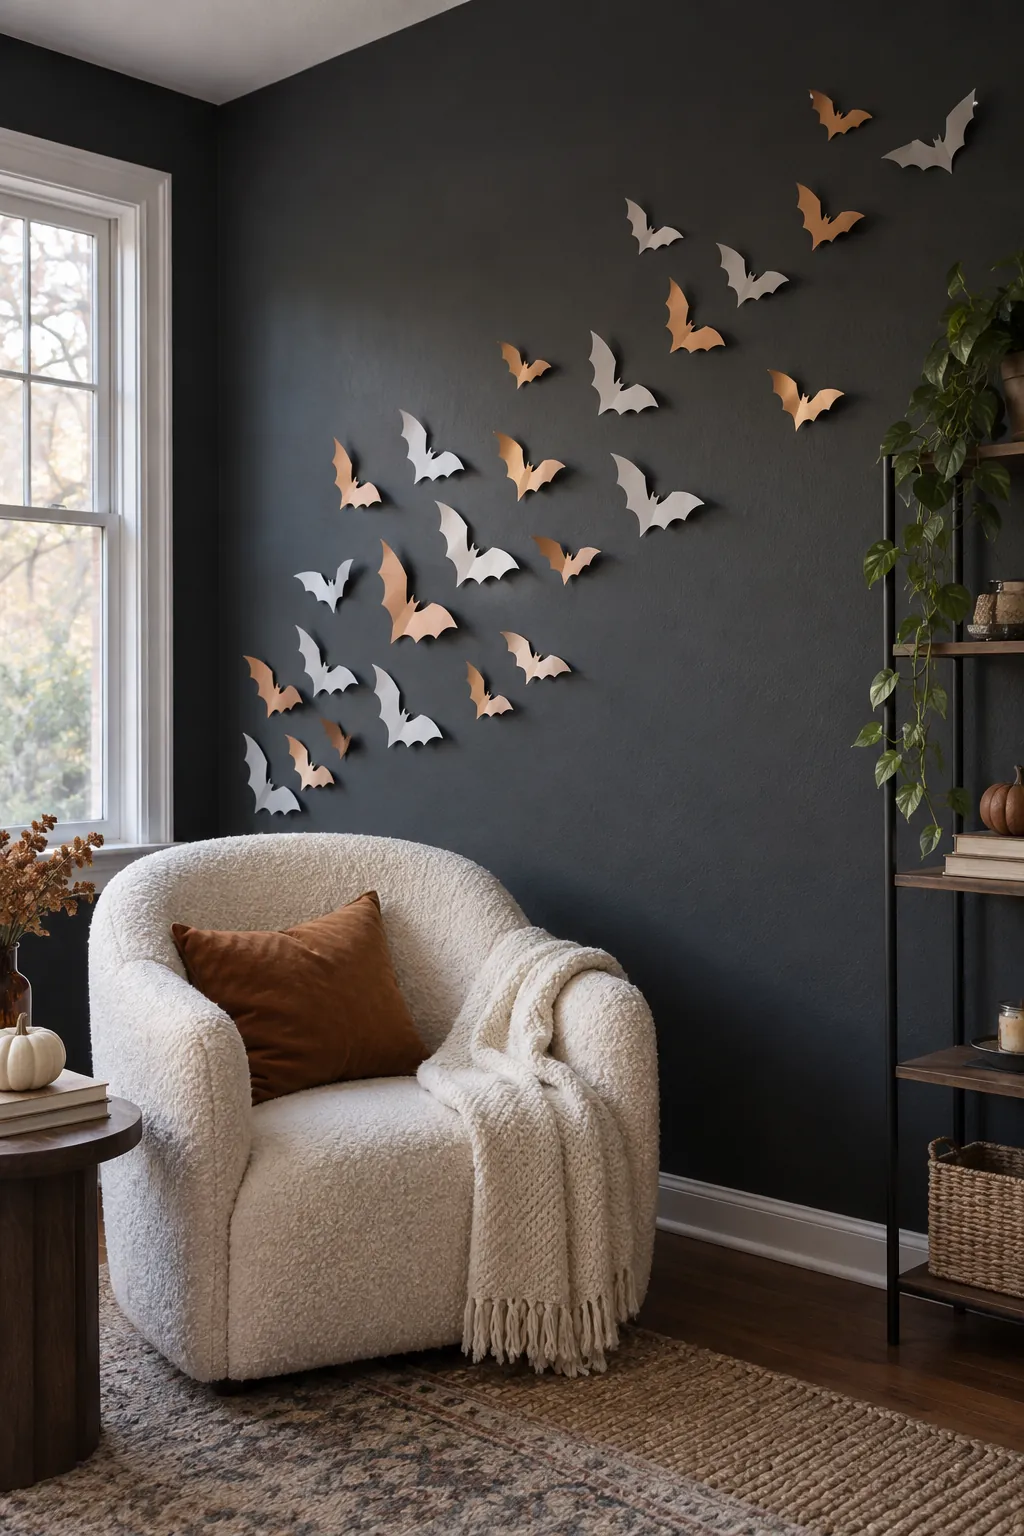
Black cutouts disappear against charcoal paint, so try pale gray or muted copper paper instead. Keep the shapes simple and matte so their outlines remain clear from across the room. Concentrate the group near one lighter furnishing to give the eye a starting point. Test any mounting product against the wall finish, especially if the paint is recent.
A Narrow Ribbon Above a Bookshelf
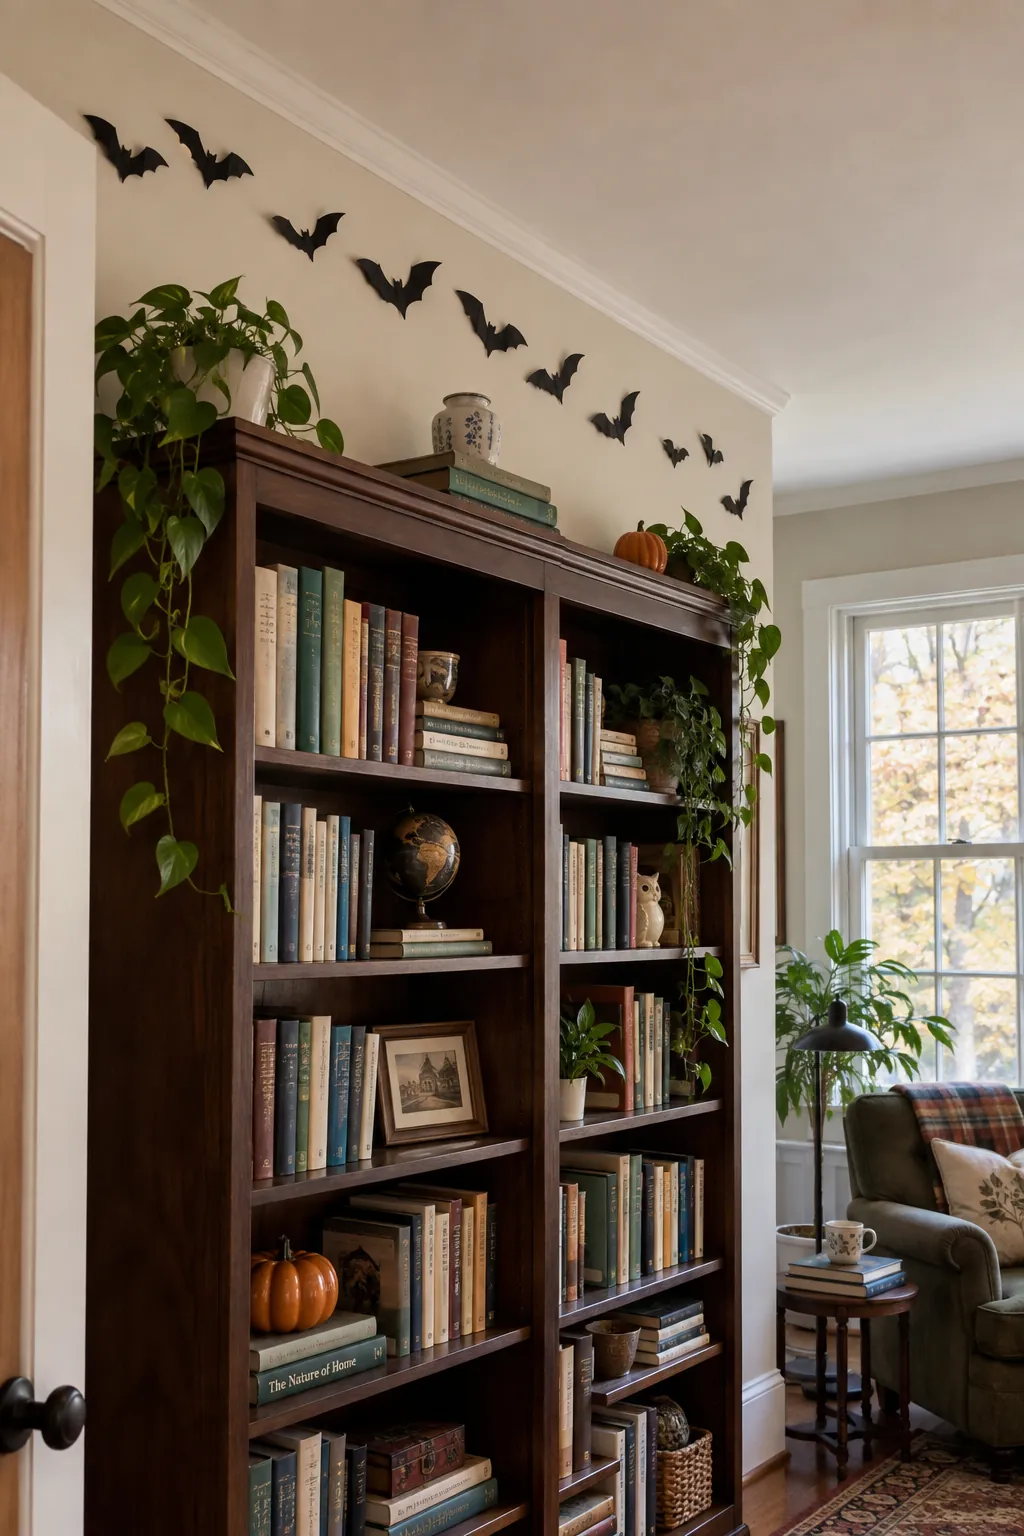
The strip of wall between a bookshelf and the ceiling is often enough for a restrained bat trail. Use small shapes that fit entirely within the band and let a few angle toward the open wall. Keep every paper edge away from ceiling fans and vents, where airflow can loosen it. This is a good place to use fewer bats with more precise spacing.
Bats Framing a Seasonal Sign
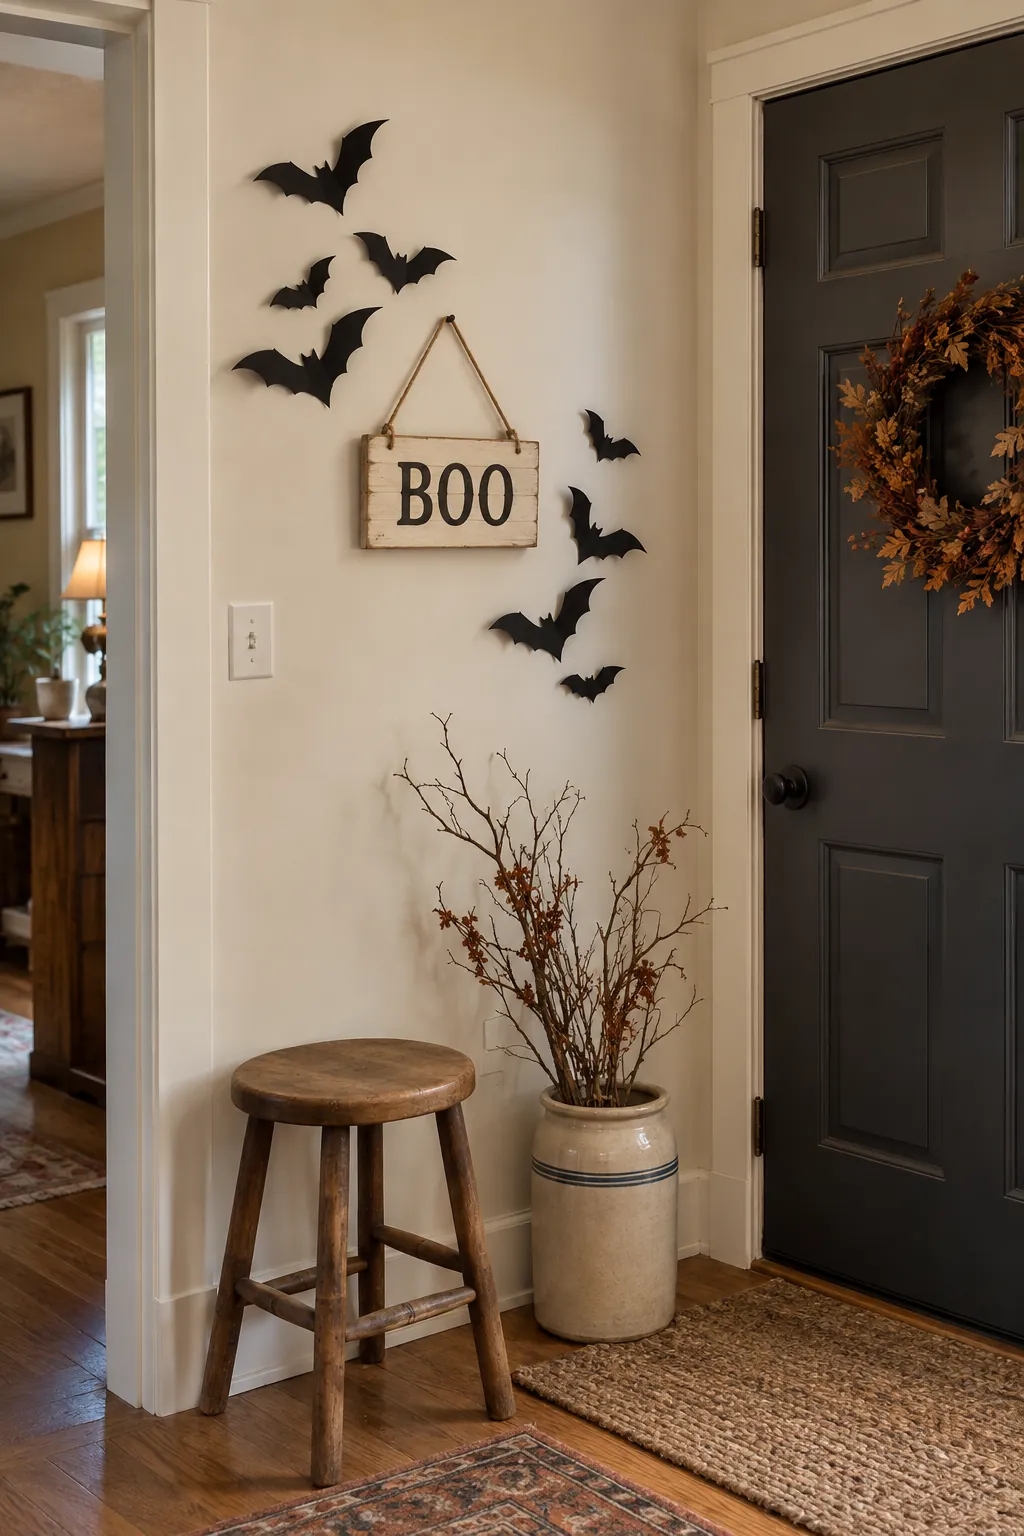
A simple Halloween sign can become the still point in a moving bat arrangement. Place the paper shapes around two sides of the sign, leaving its lettering fully readable. Vary the size and orientation so the bats appear to pass behind the display rather than form a rigid border. Check that the sign hangs securely before adding anything around it.
A Photo Corner With Clear Space
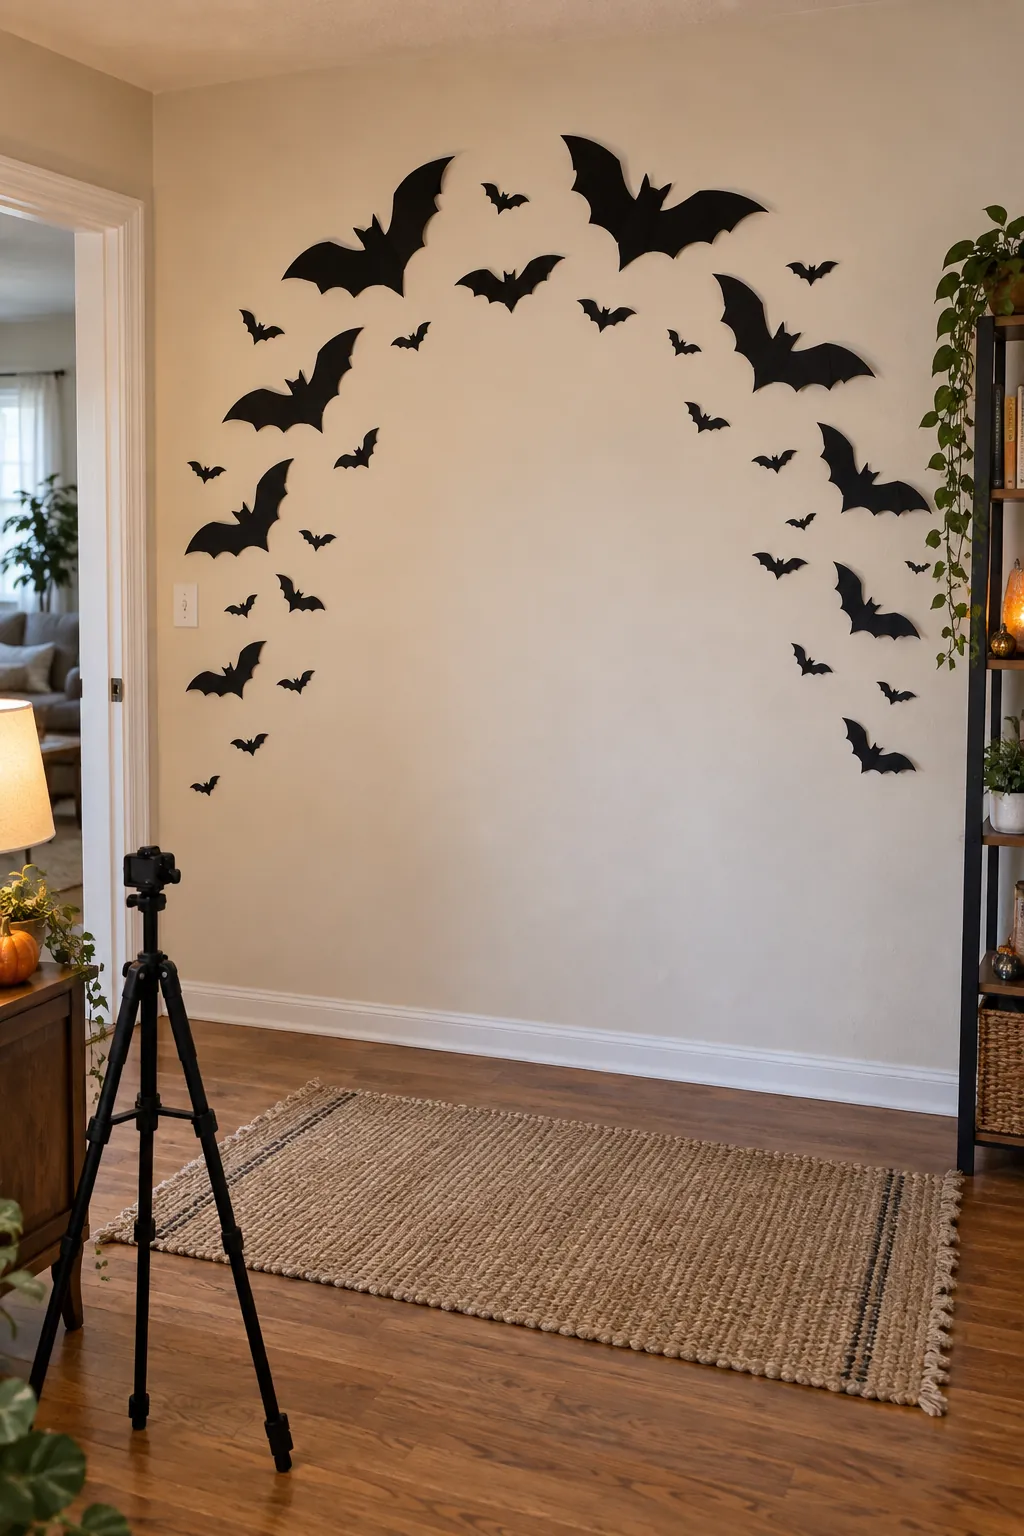
Build a bat arc across one wall to create a party photo spot without a printed backdrop. Keep the center area open for people and position the largest silhouettes above shoulder height. Look through a phone camera from the expected standing point before finalizing placement. Avoid attaching paper where guests are likely to lean against the wall.
A Laundry Room Surprise
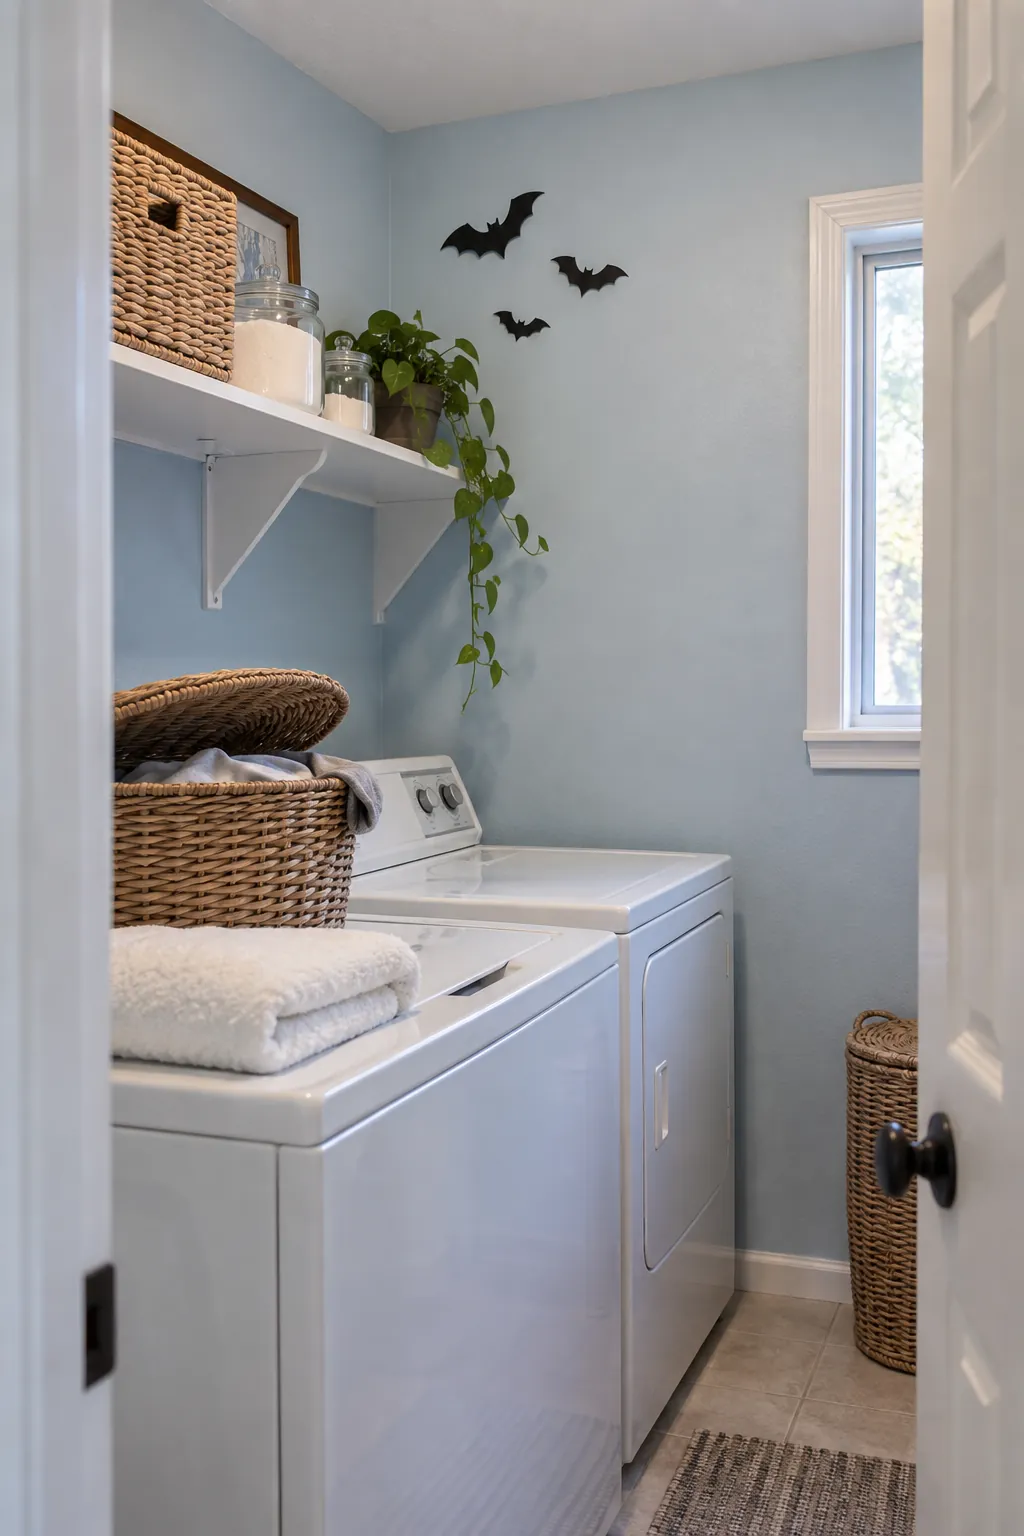
A tiny group above a laundry shelf can make a practical room feel playful without disrupting work surfaces. Use moisture tolerant cardstock or removable vinyl if the room becomes humid. Keep bats away from appliance vents and shelves that need to be lifted or cleaned. A restrained arrangement will be easier to remove once the holiday ends.
A Dining Wall in Candlelight
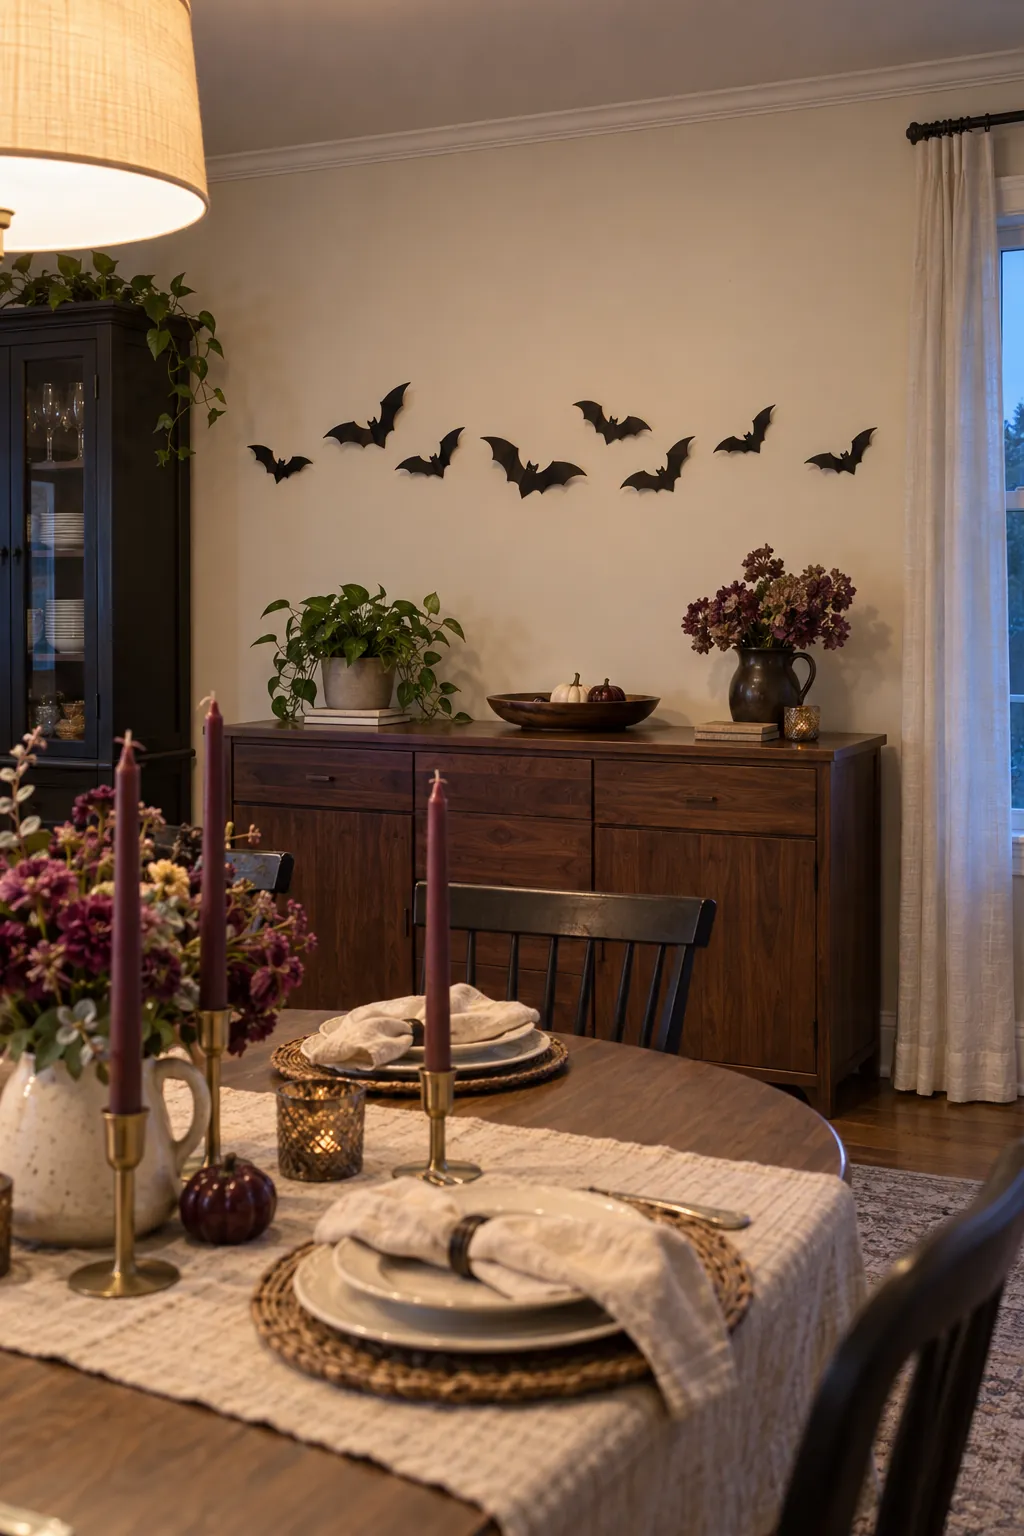
A loose band of silhouettes above a sideboard can support a Halloween table without competing with the meal. Keep real flames on the table far from paper decorations and make sure hanging lights do not heat the wall. The display can echo the table palette with black, cream, or deep plum shapes. Step back from the seated viewpoint to see whether the bats sit at a comfortable height.
Layered Bats Beside a Reading Nook
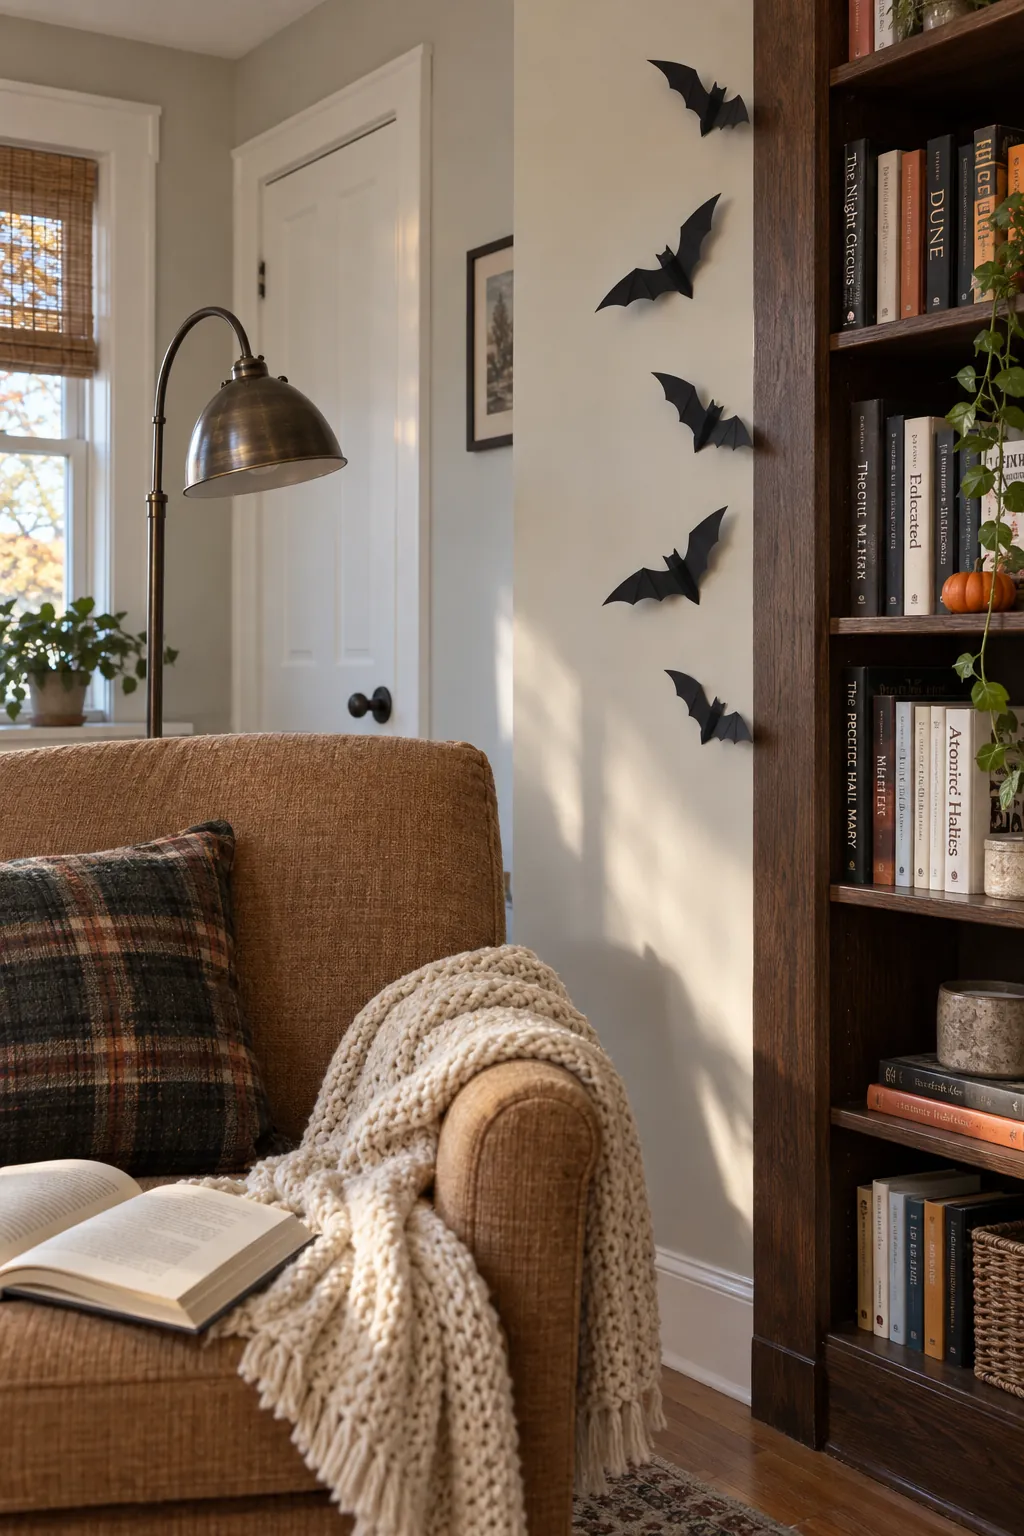
A few folded silhouettes can follow the edge of a bookcase beside an armchair. Place the shapes on the wall rather than across book spines, so favorite shelves remain usable. A nearby reading lamp will reveal the lifted wings when it is safely separated from the paper. Keep the lower wall free where a chair or throw may rub it.
A Small Cluster Above a Headboard
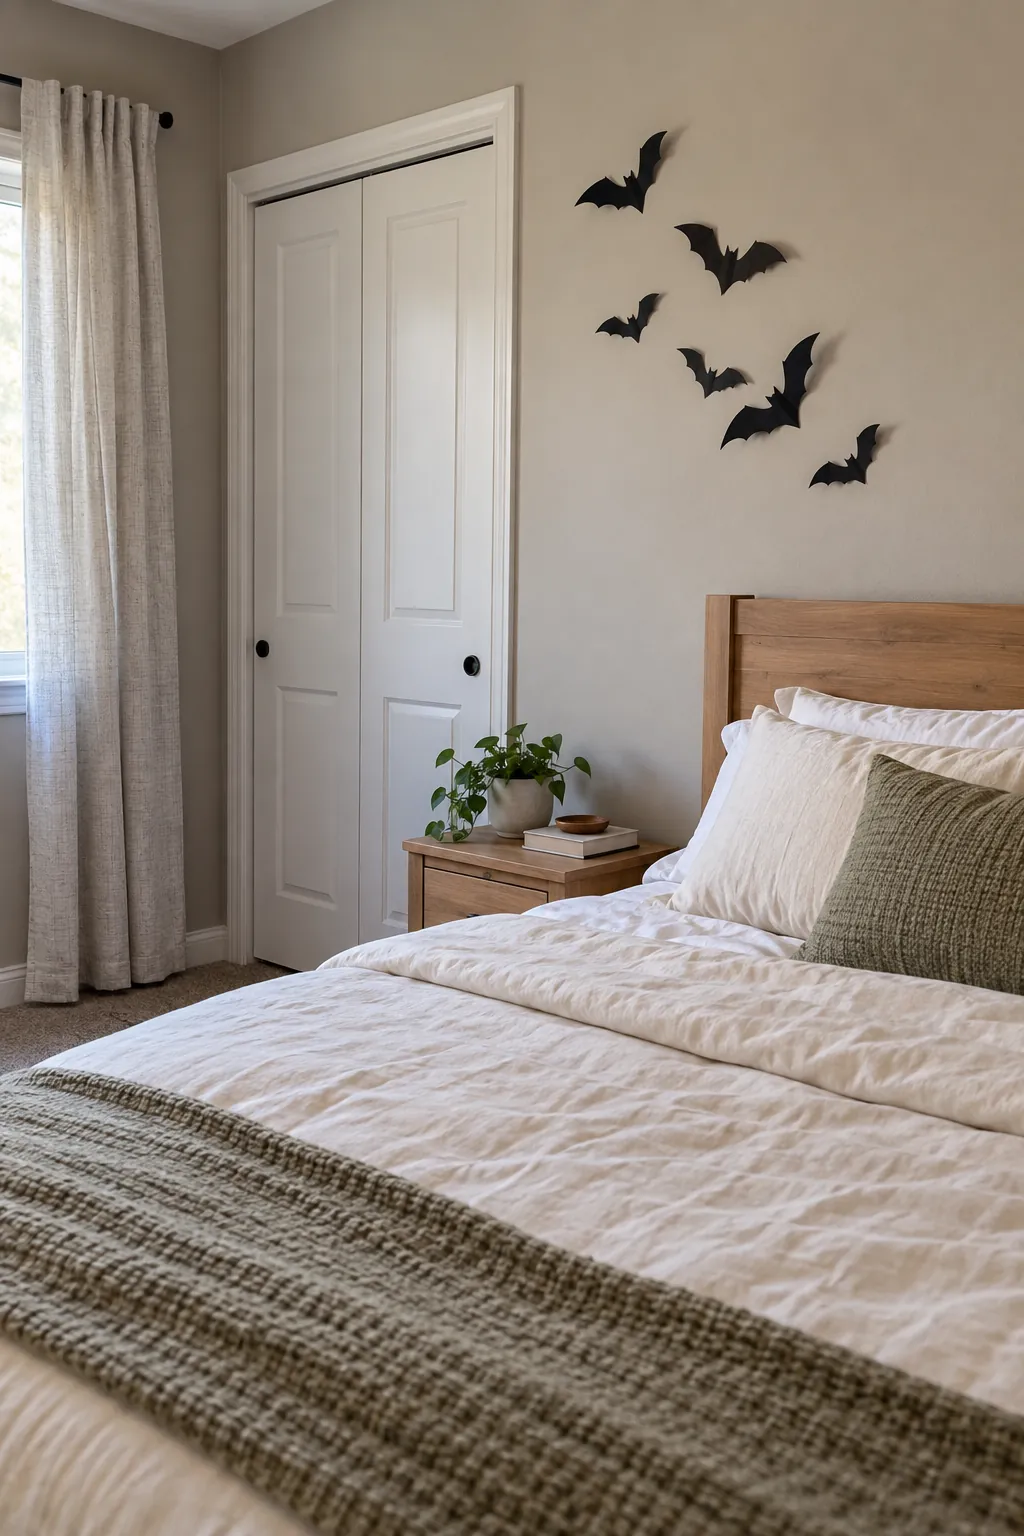
A compact group high over the bed can be festive without turning the whole bedroom into a display. Use lightweight paper and an attachment suited to the wall finish, then check that every piece stays fixed overnight. Do not place shapes directly above a sleeping child or where bedding catches them. Restrained spacing makes the group feel considered rather than restless.
A Bat Trail on a Chalkboard Wall
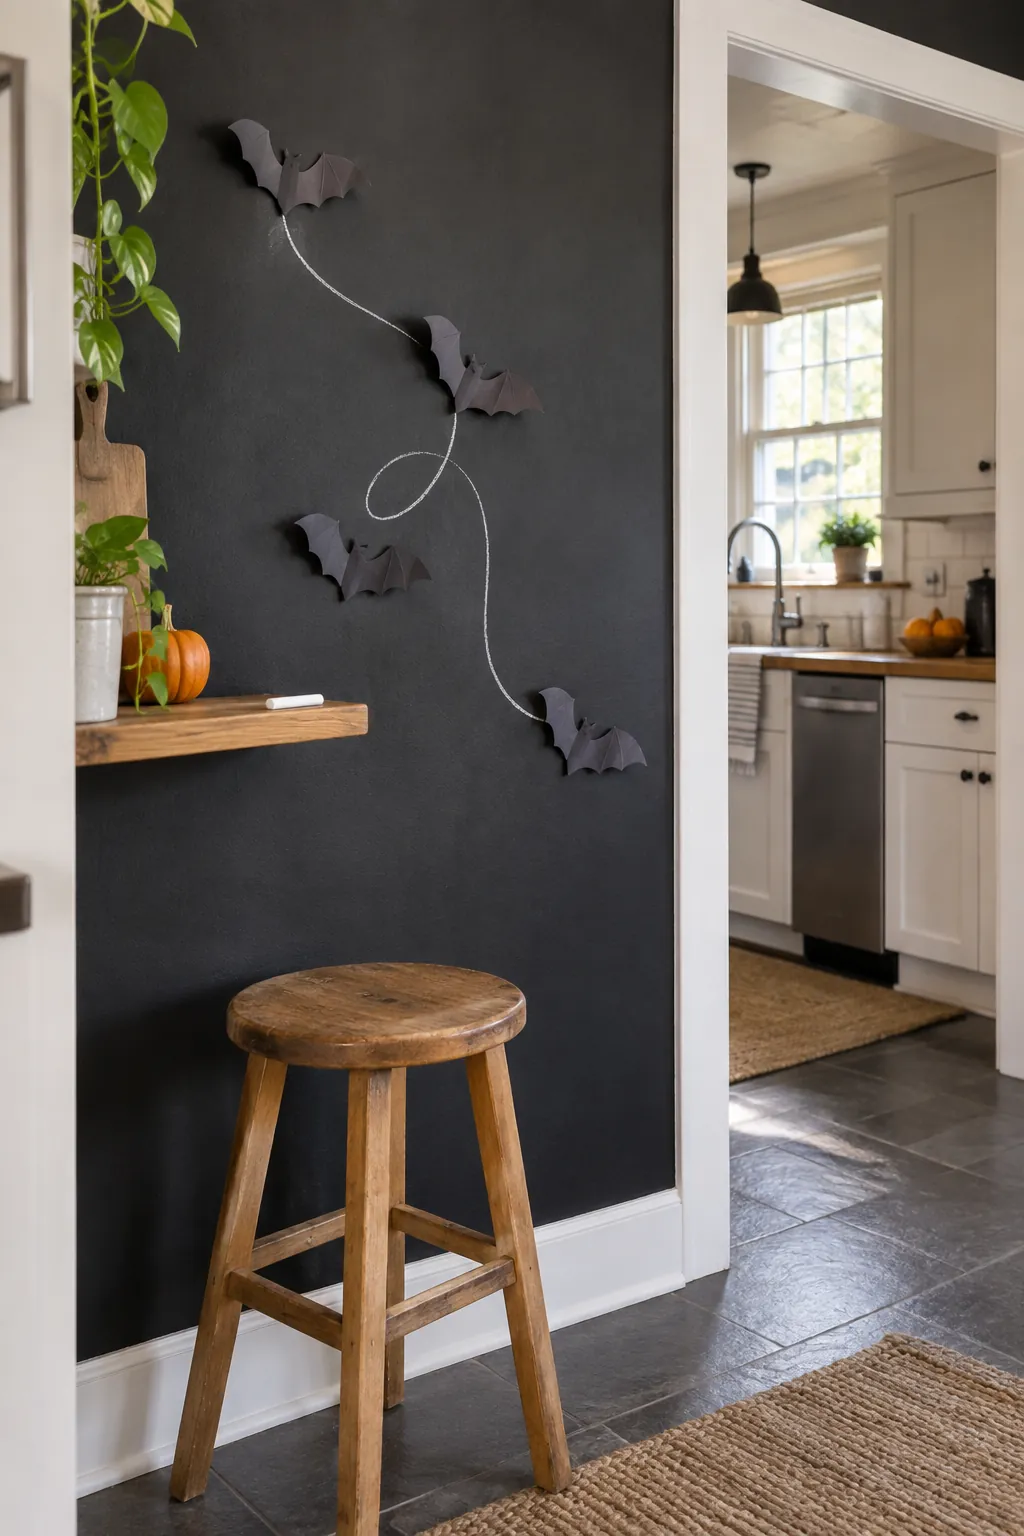
If you already have a chalkboard painted wall, combine removable paper shapes with a simple chalk flight line. Let the drawn line guide the arrangement around the silhouettes without covering their outlines. Test the adhesive on that specialty finish because it may behave differently from ordinary paint. Erase the chalk only after the paper is removed so the cutouts do not snag.
A Temporary Scene on a Glass Partition
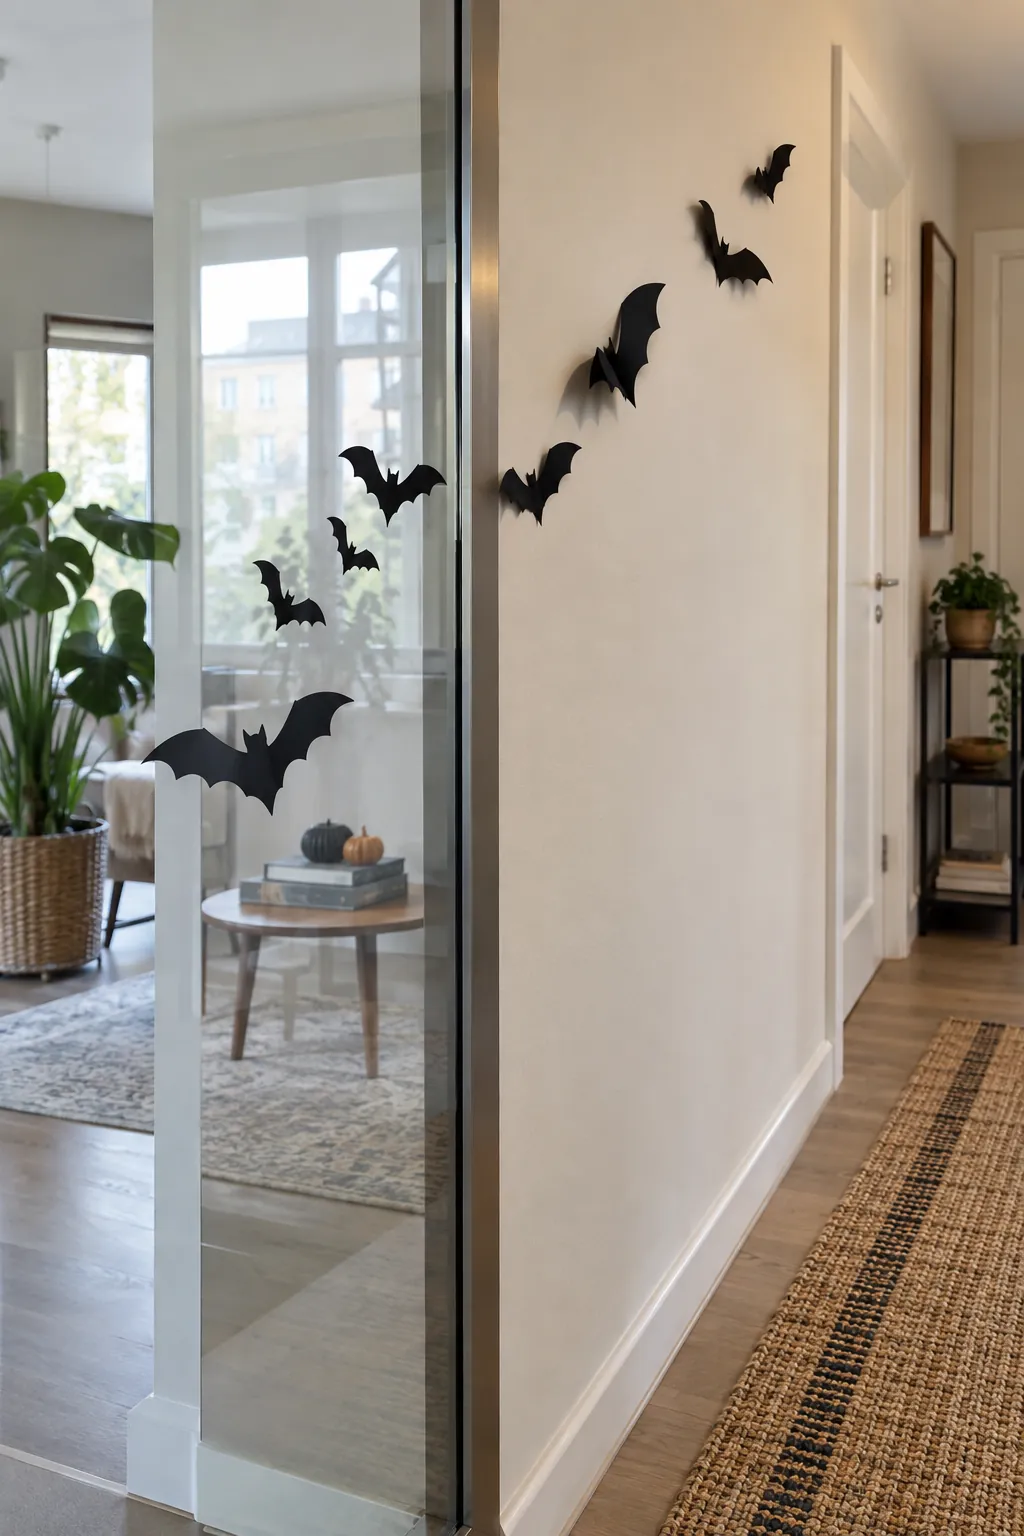
An interior glass panel can carry bat clings while the adjacent wall holds a few paper silhouettes. This creates depth as people walk past without adding adhesives to every painted surface. Keep the glass clear at eye level so no one mistakes a closed panel for an opening. Use products made for glass and remove them according to their instructions.
A Display Designed for Easy Removal
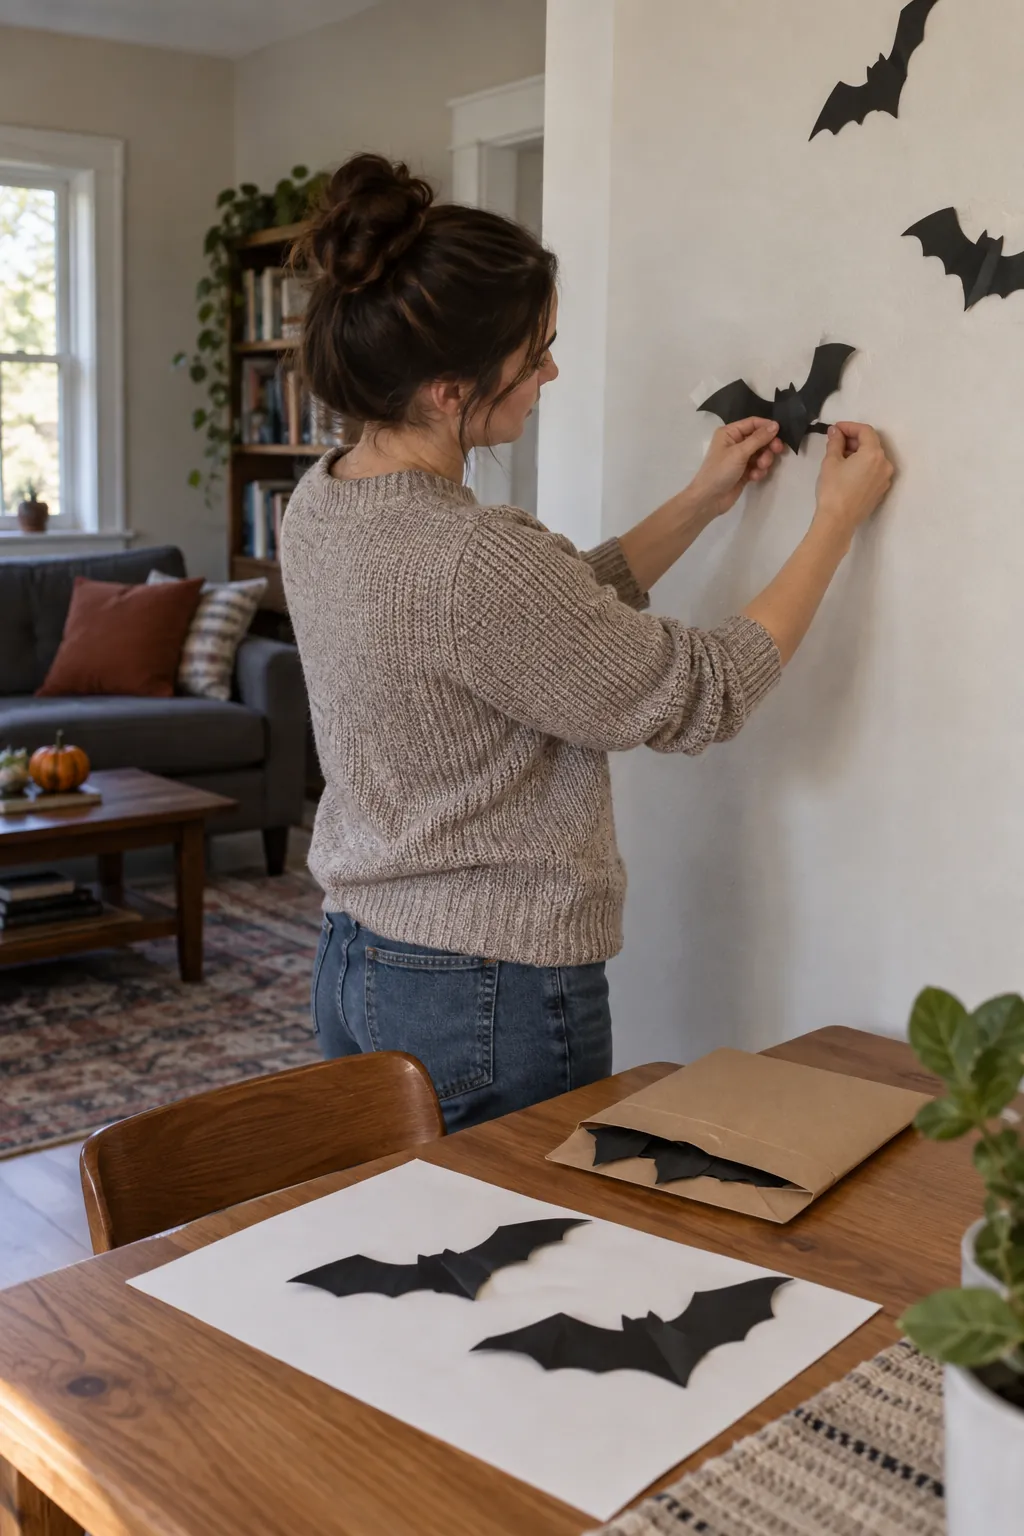
Plan the final bat layout with cleanup in mind by grouping shapes on smooth, sound surfaces that you can reach safely. Test the chosen adhesive early, press only as directed, and do not leave residue to harden for months. At removal time, follow the product instructions and support the paper with one hand instead of pulling hard at the wall. Store intact cardstock bats flat between sheets of paper so the display can return next October.