A craft can be enjoyable and still leave a usable place to eat. Choose one project that fits the children's attention span, prepare the parts that need adult tools, and give the finished work a clear display spot. Washable materials and a small tray of supplies make Thanksgiving day crafts for kids easier to manage without expecting a perfect matching set.
Paper plate turkeys with large paper eyes
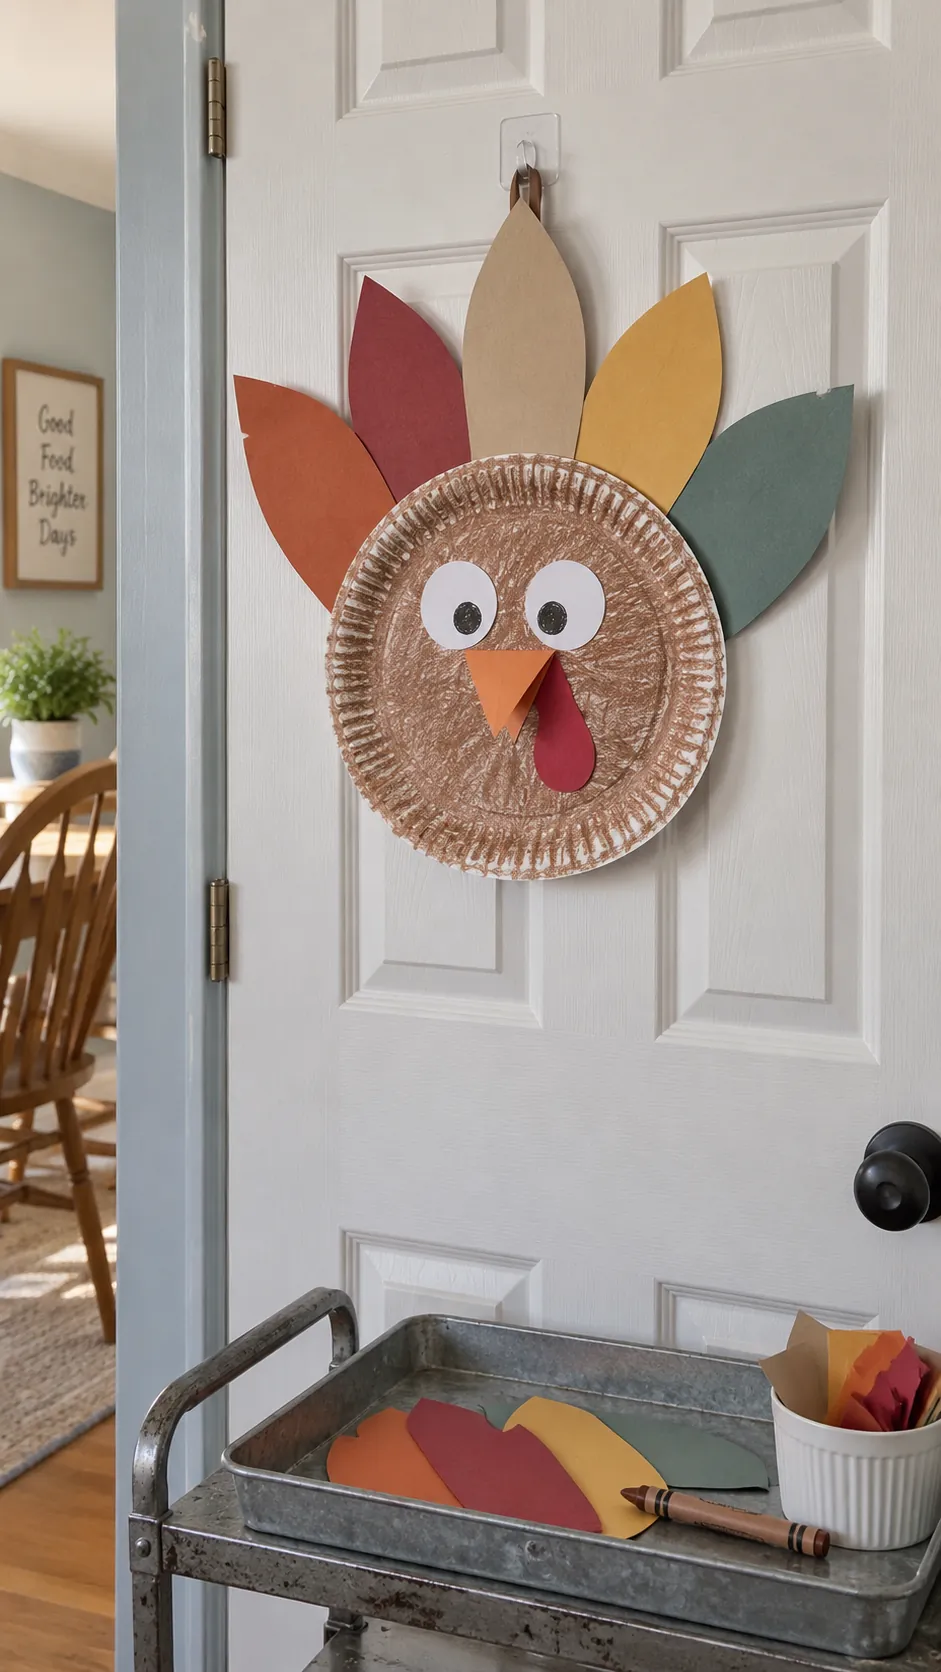
A paper plate gives younger children a broad surface to color without having to build a standing figure. Offer washable brown paint or crayons, then let each child choose several large paper feathers for an adult to cut if needed. Glue the feathers behind the plate and add a paper beak and large paper eyes instead of loose plastic pieces. Dry the turkey flat before hanging it on an indoor door with a removable hook.
Pinecone turkeys on a stable base
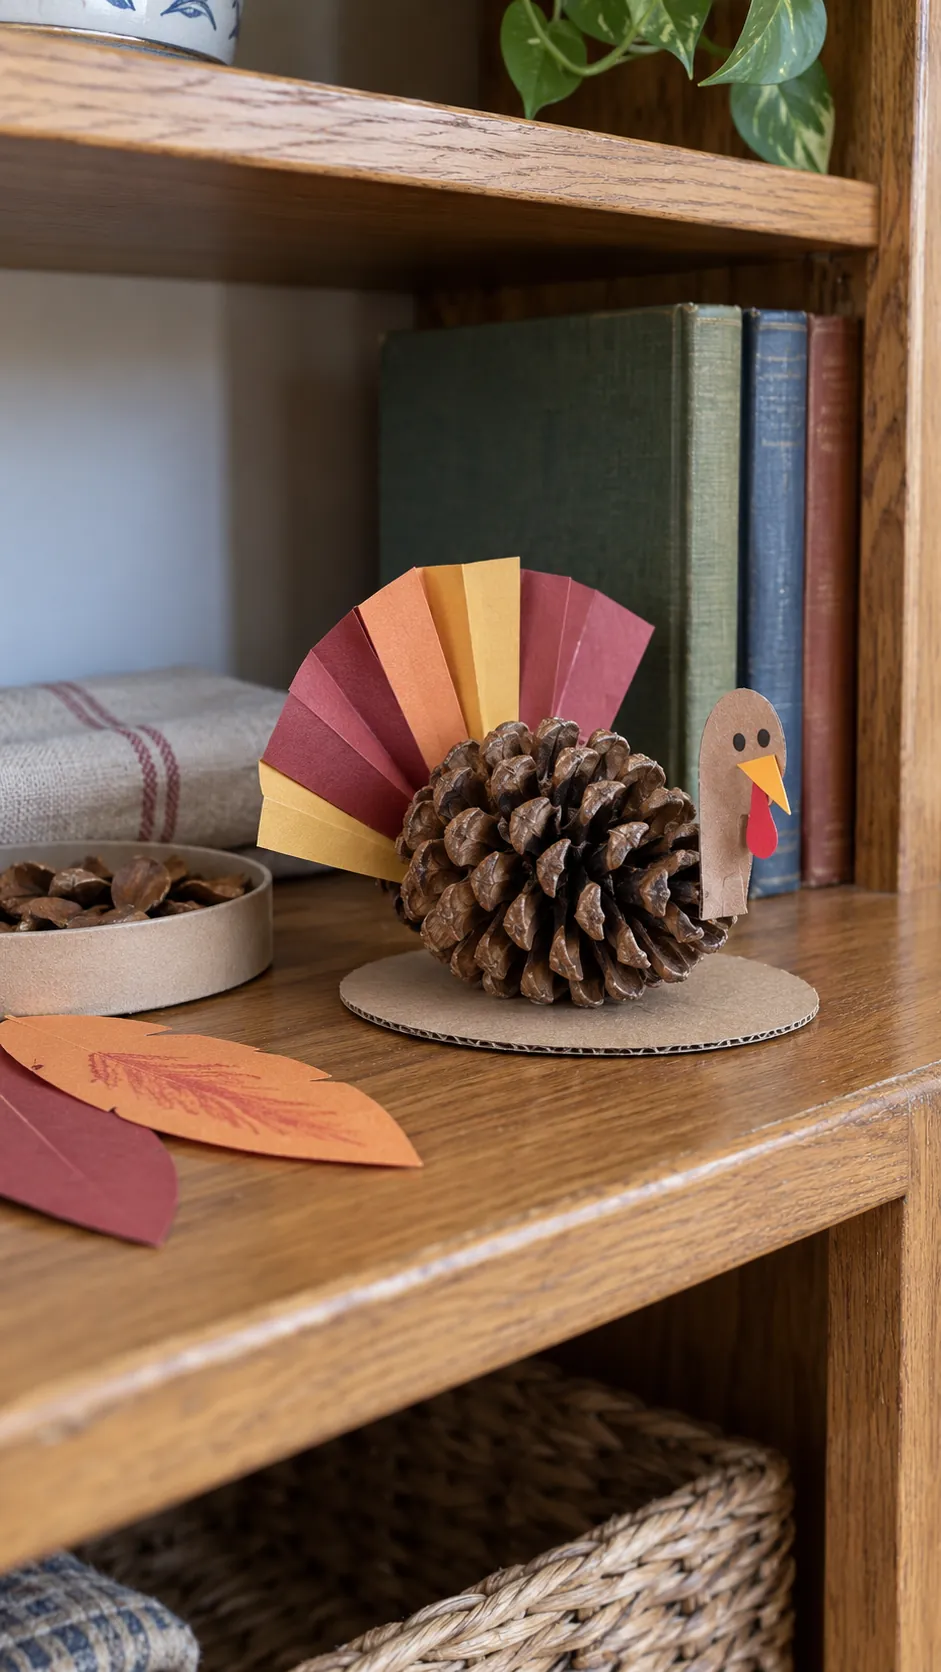
Clean, dry pinecones can become small turkeys for a shelf display. An adult should check them for sharp points and insects before children attach folded paper tails and a simple cardstock head with craft glue. Fix each pinecone to a wide cardboard base so the finished figure does not roll across the table. Keep this project for children who can work with small materials safely, and choose the paper plate version for children who still put objects in their mouths.
Traced handprint keepsake leaves
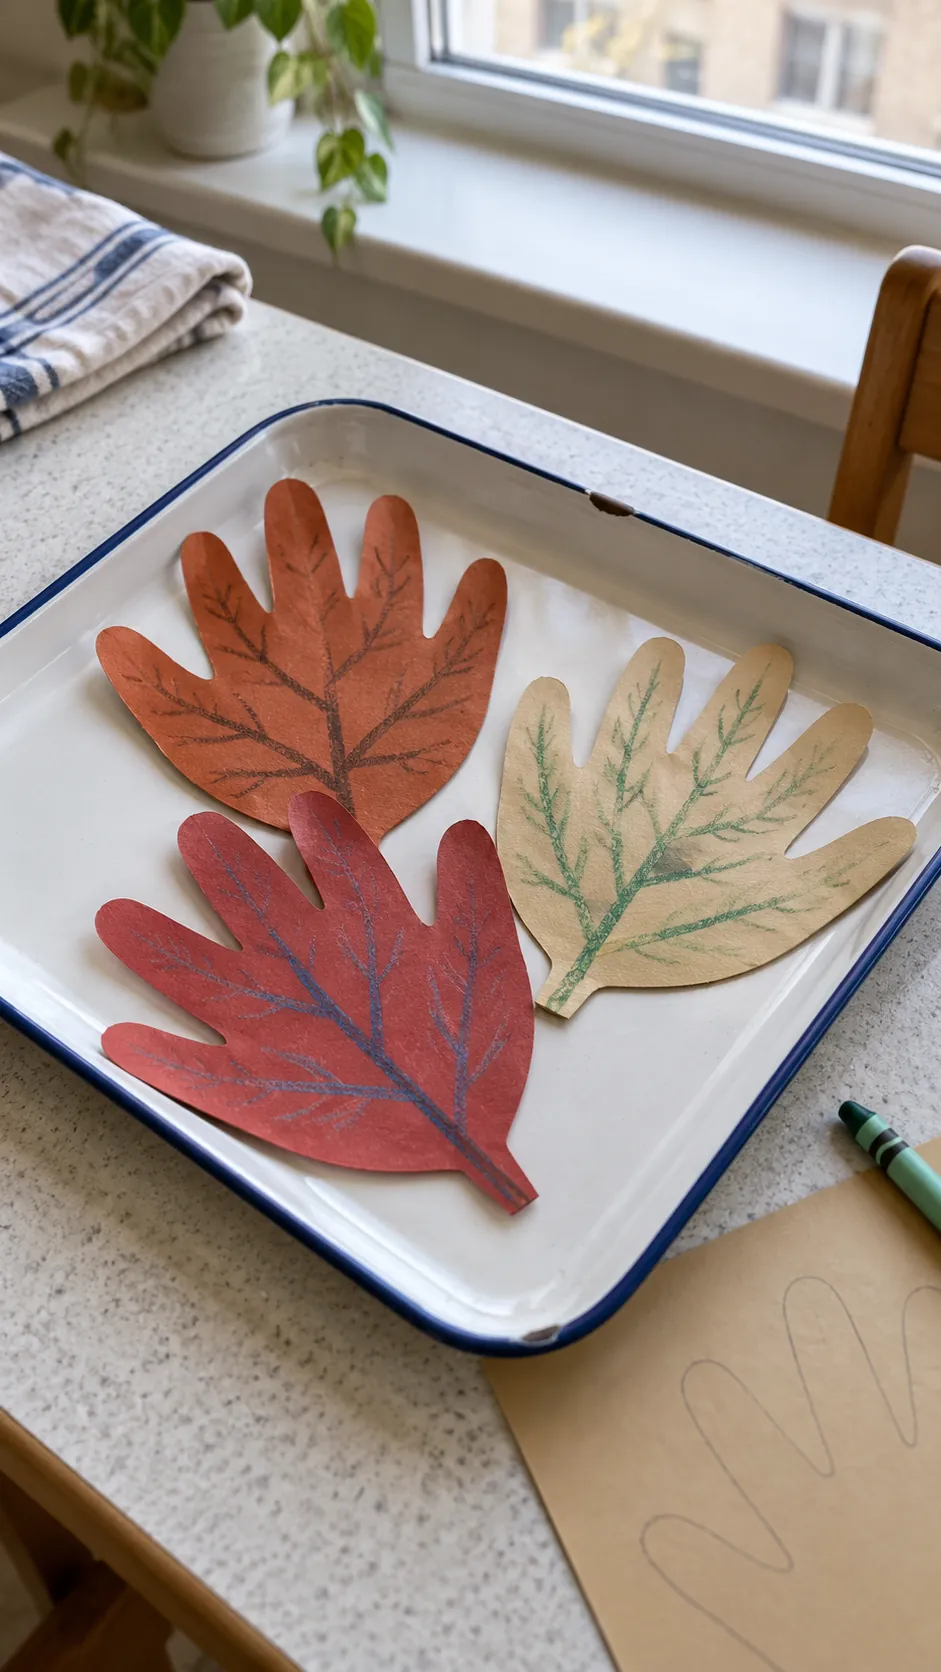
Trace a child's hand on colored cardstock to make a leaf shaped keepsake without a paint cleanup. Older children can cut their own outlines with suitable scissors, while an adult can prepare the shapes for younger children. Add branching veins with a crayon and write the year on the reverse so the front remains the child's own design. Display several leaves on a shallow tray rather than requiring every child to produce the same neat result.
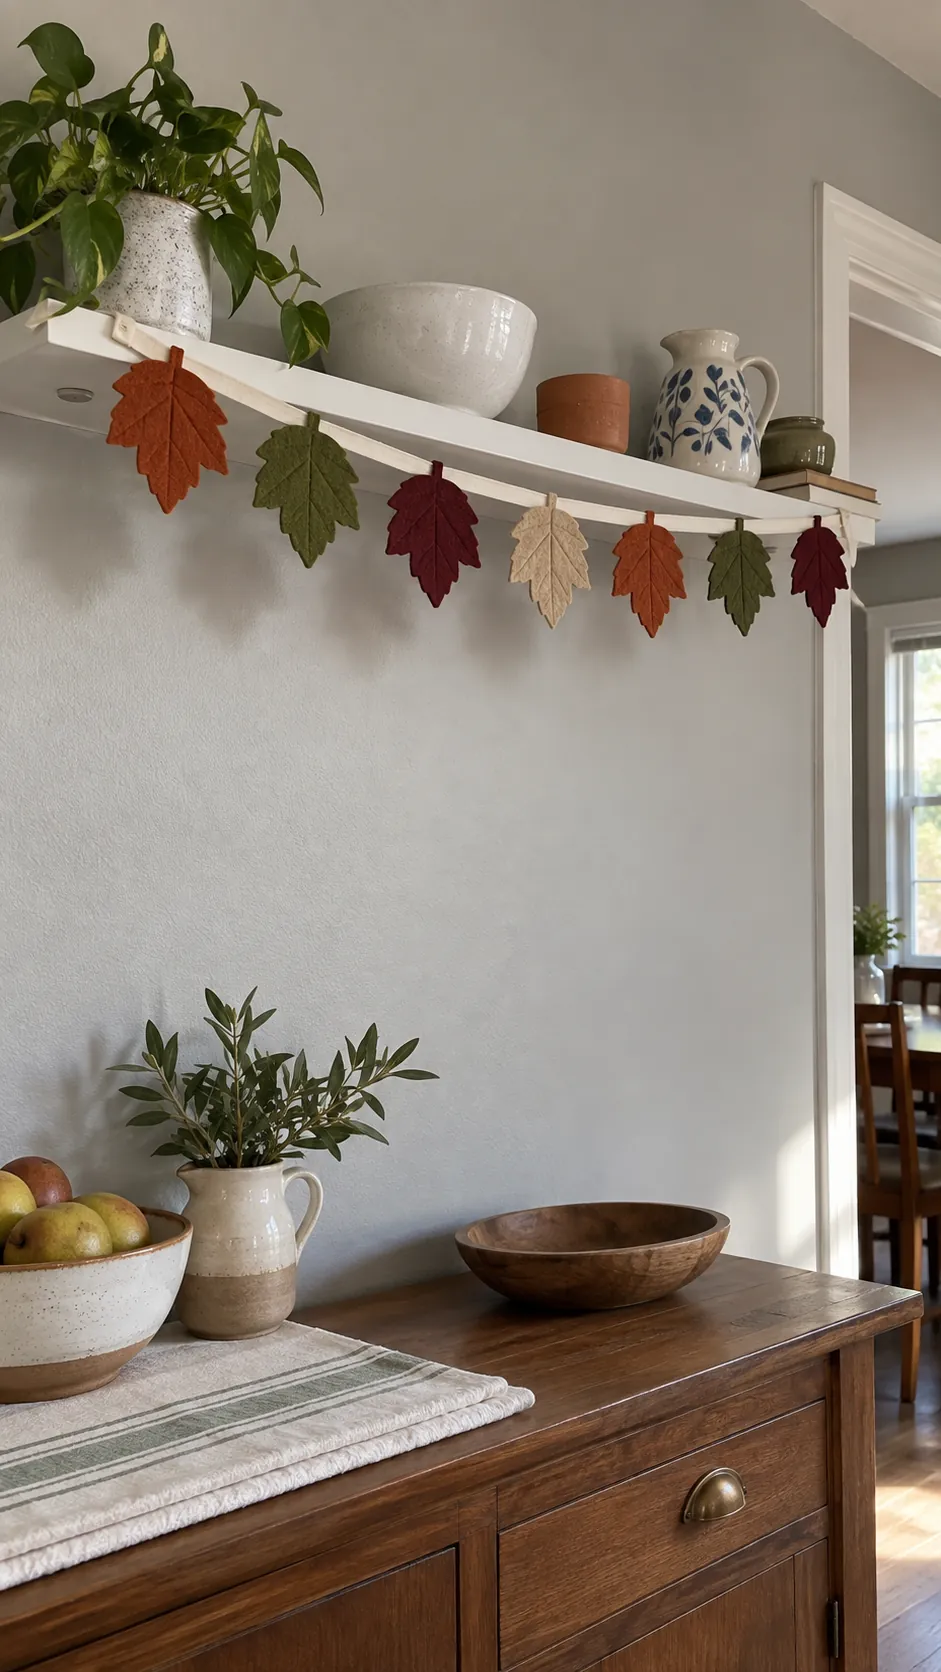
Felt leaves on a short garland
Felt makes a soft garland that can be packed away without crushing paper shapes. Adults can cut broad oak or maple leaves, and children can arrange them by color before attaching them to a ribbon with craft glue. Space the leaves far enough apart that their outlines remain visible, then let the glue dry before lifting the ribbon. Hang the garland high on an indoor display shelf, away from beds, cords, heat and play areas.
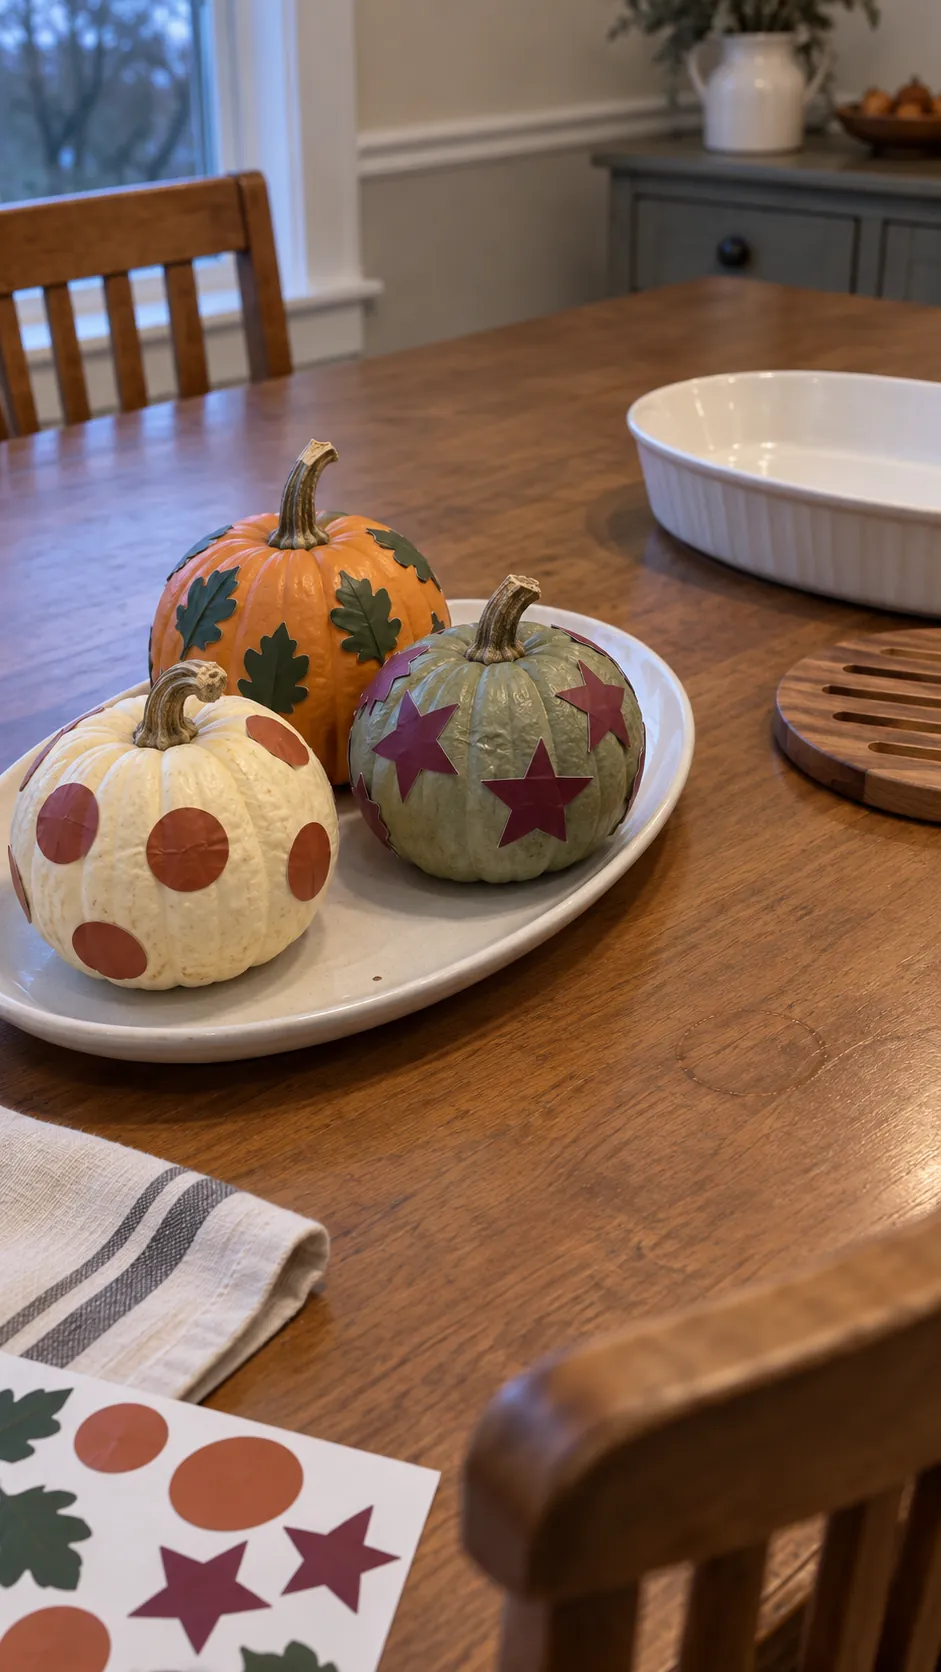
Sticker pumpkins for the dining table
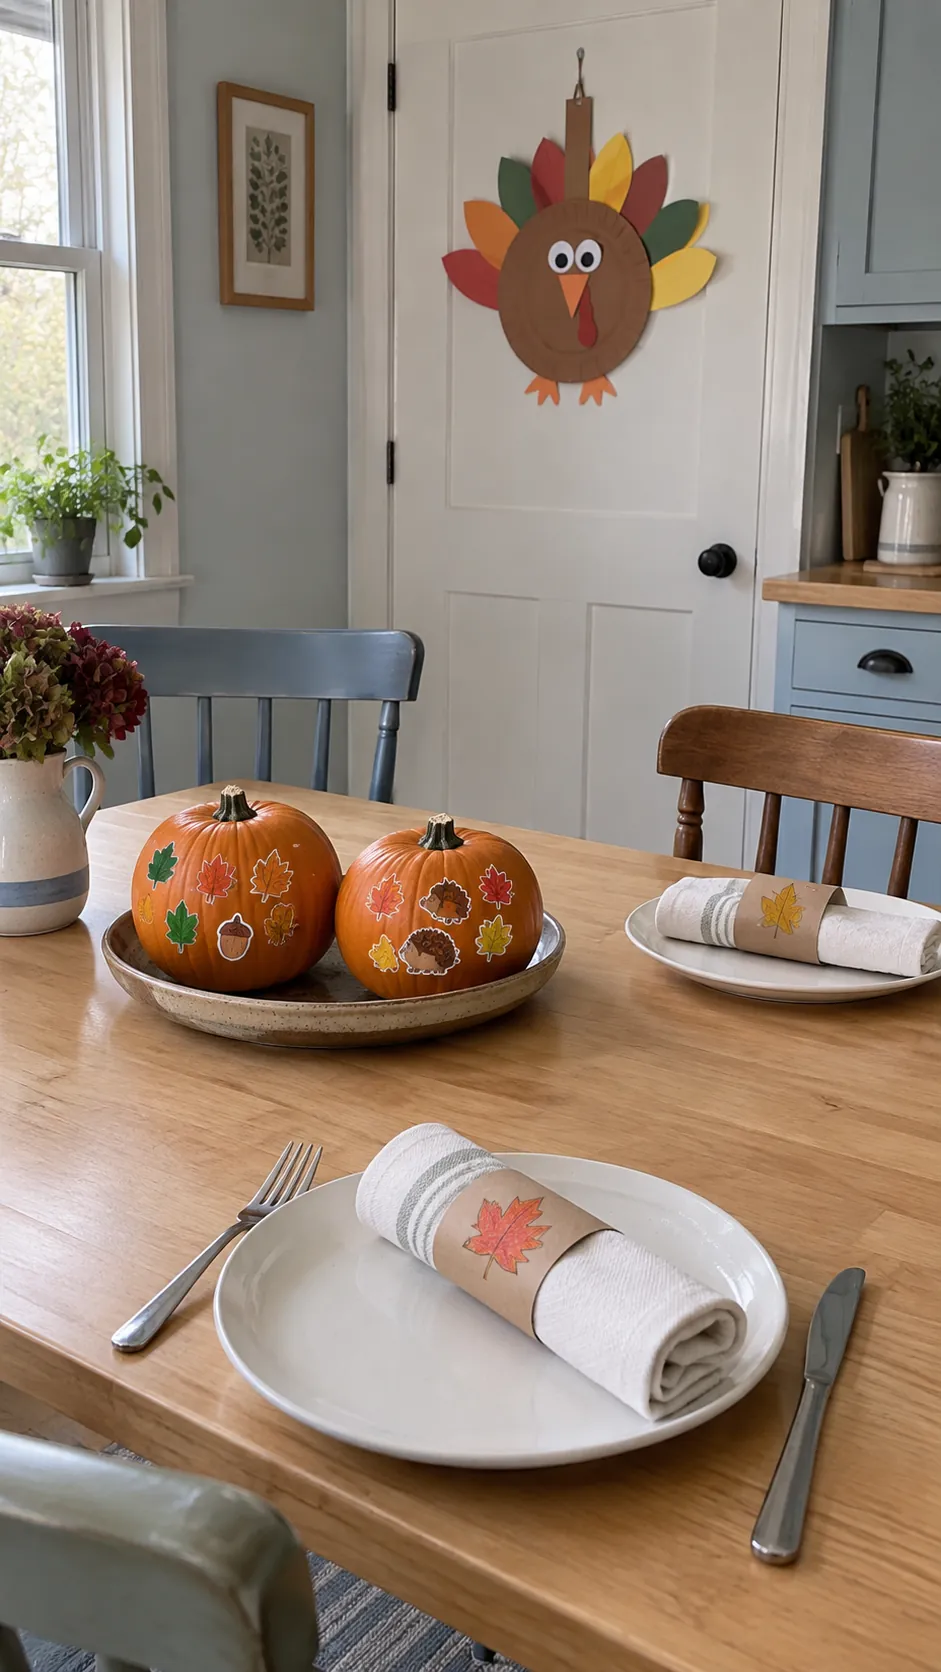
Small intact pumpkins let children decorate a centerpiece without knives or carving tools. Wipe and dry each pumpkin, then offer large adhesive shapes or washable markers that suit its surface. Set the finished pumpkins on a shallow platter and leave room for serving dishes around it. Check the pumpkins for soft spots before bringing them indoors, and discard any that begin to spoil.
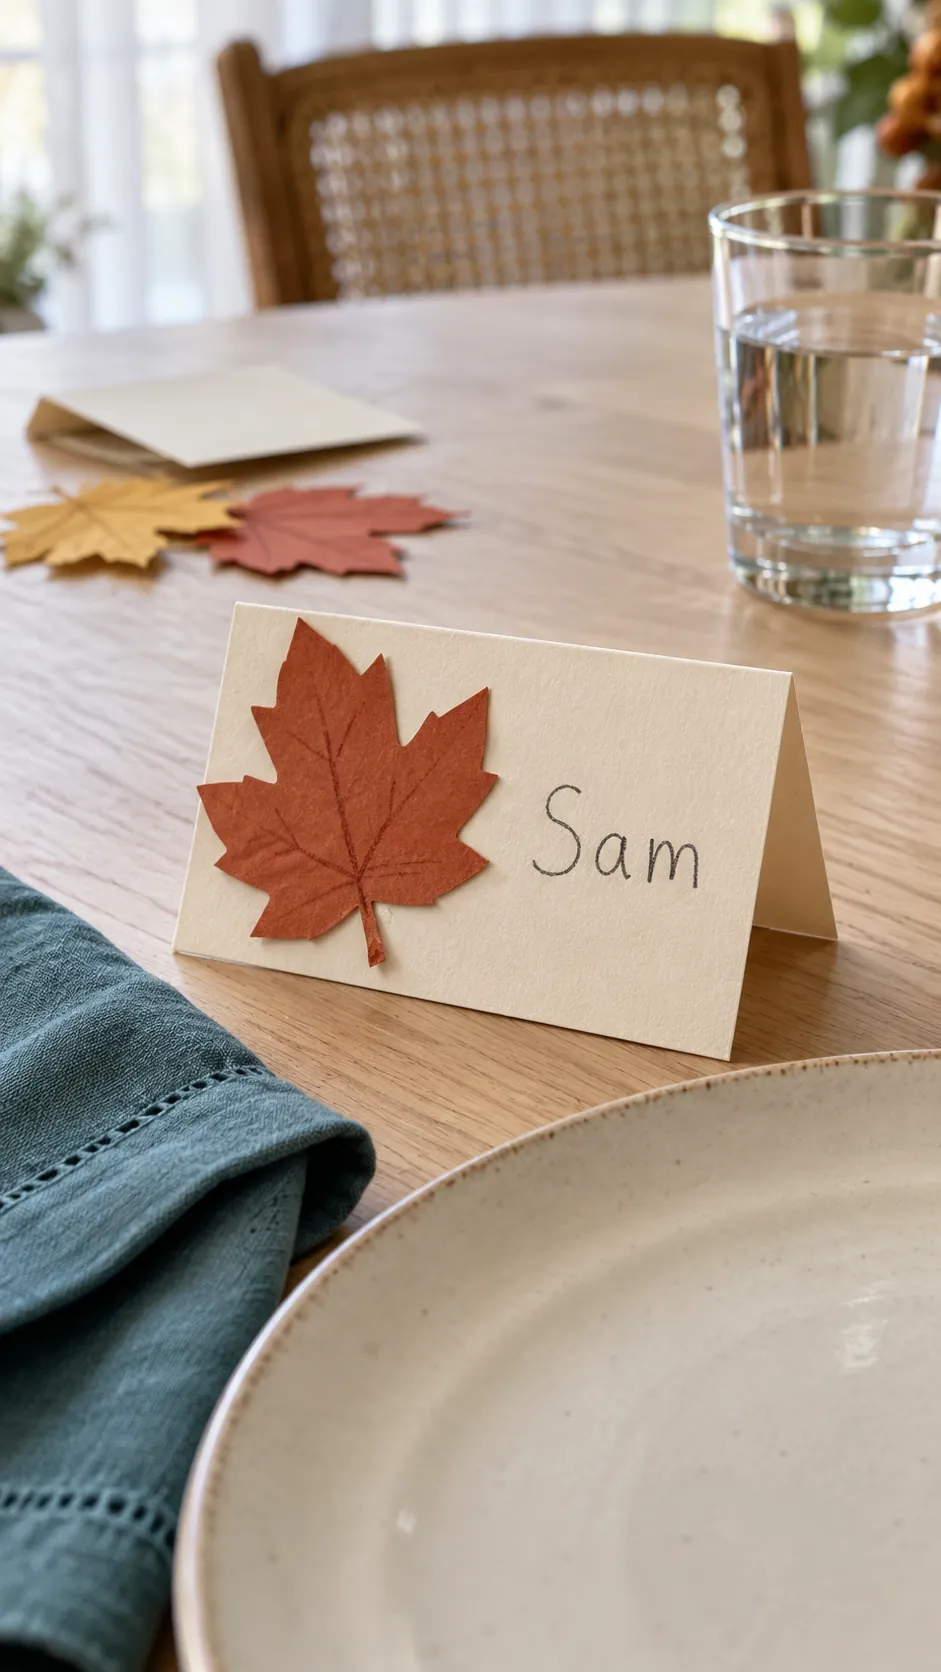
Folded leaf place cards
Fold sturdy cardstock into a tent, then glue one large paper leaf to its front. Children who can write can add a guest's name, while younger children can choose the leaf color and dictate the name to an adult. Make the tent wide enough to stand when a chair moves or a napkin brushes it. These Thanksgiving table decorations give children a real hosting job without placing loose craft pieces on anyone's plate.
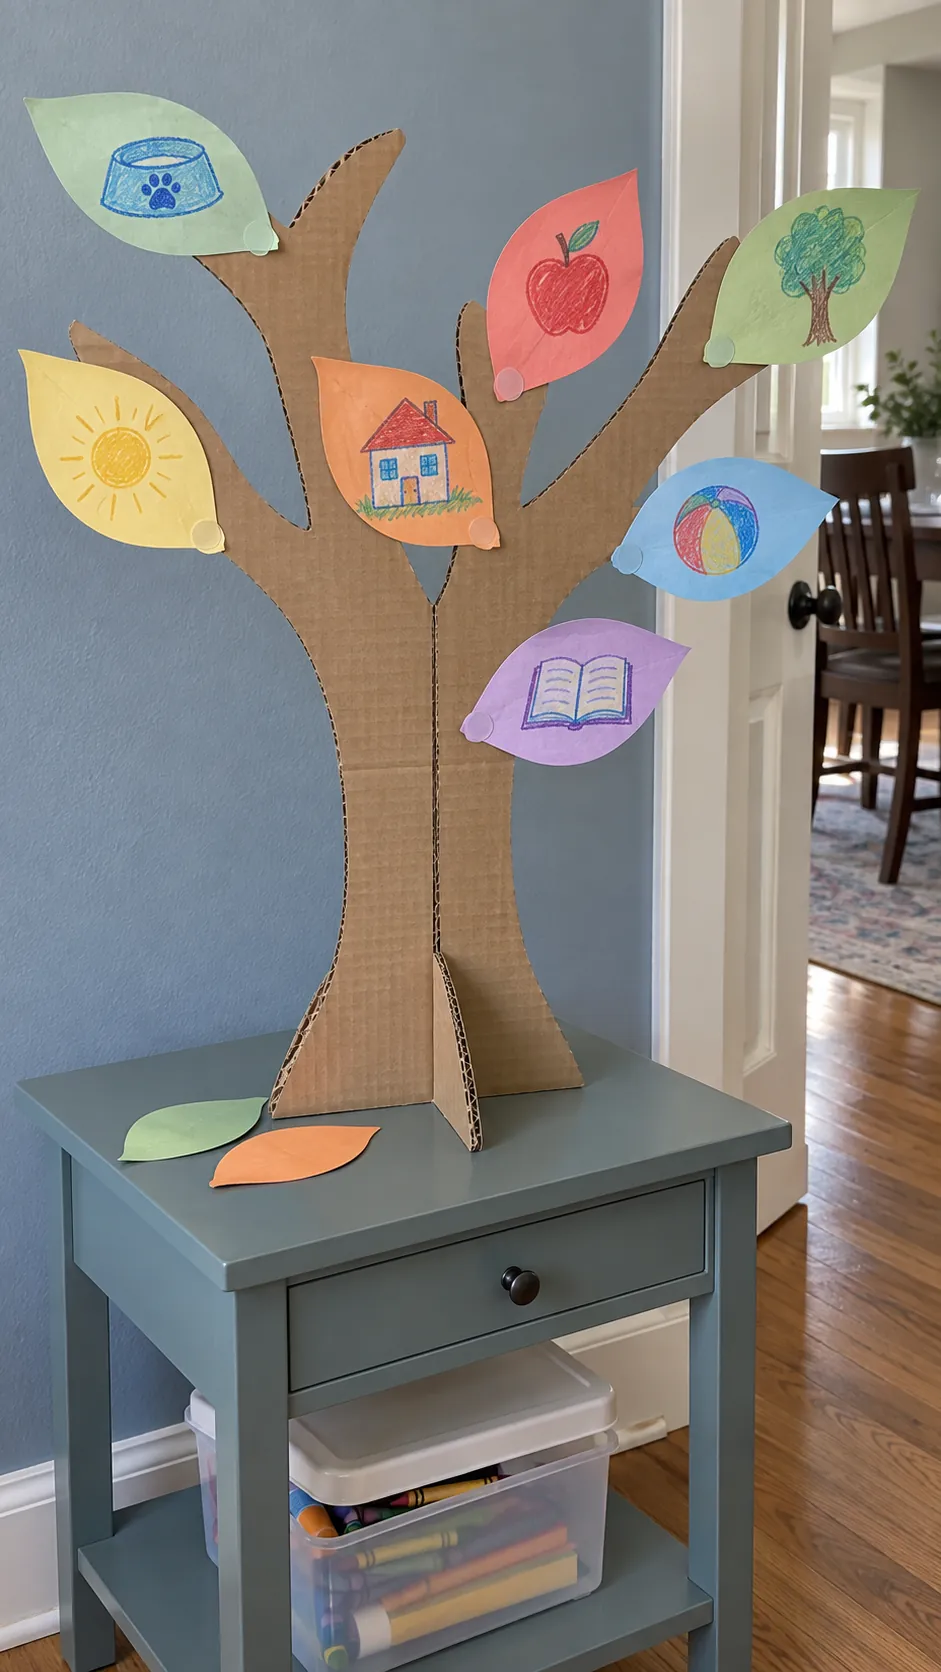
A cardboard gratitude tree
Cut a broad tree silhouette from reused cardboard and support it with a folded base. Invite each child to draw something they appreciate on a paper leaf or dictate a short thought for an adult to write. Attach the leaves to the branches with glue dots, keeping the lowest branches light so the tree stays upright. Put the tree on a side table where guests can see the drawings and children can explain them without interrupting dinner.
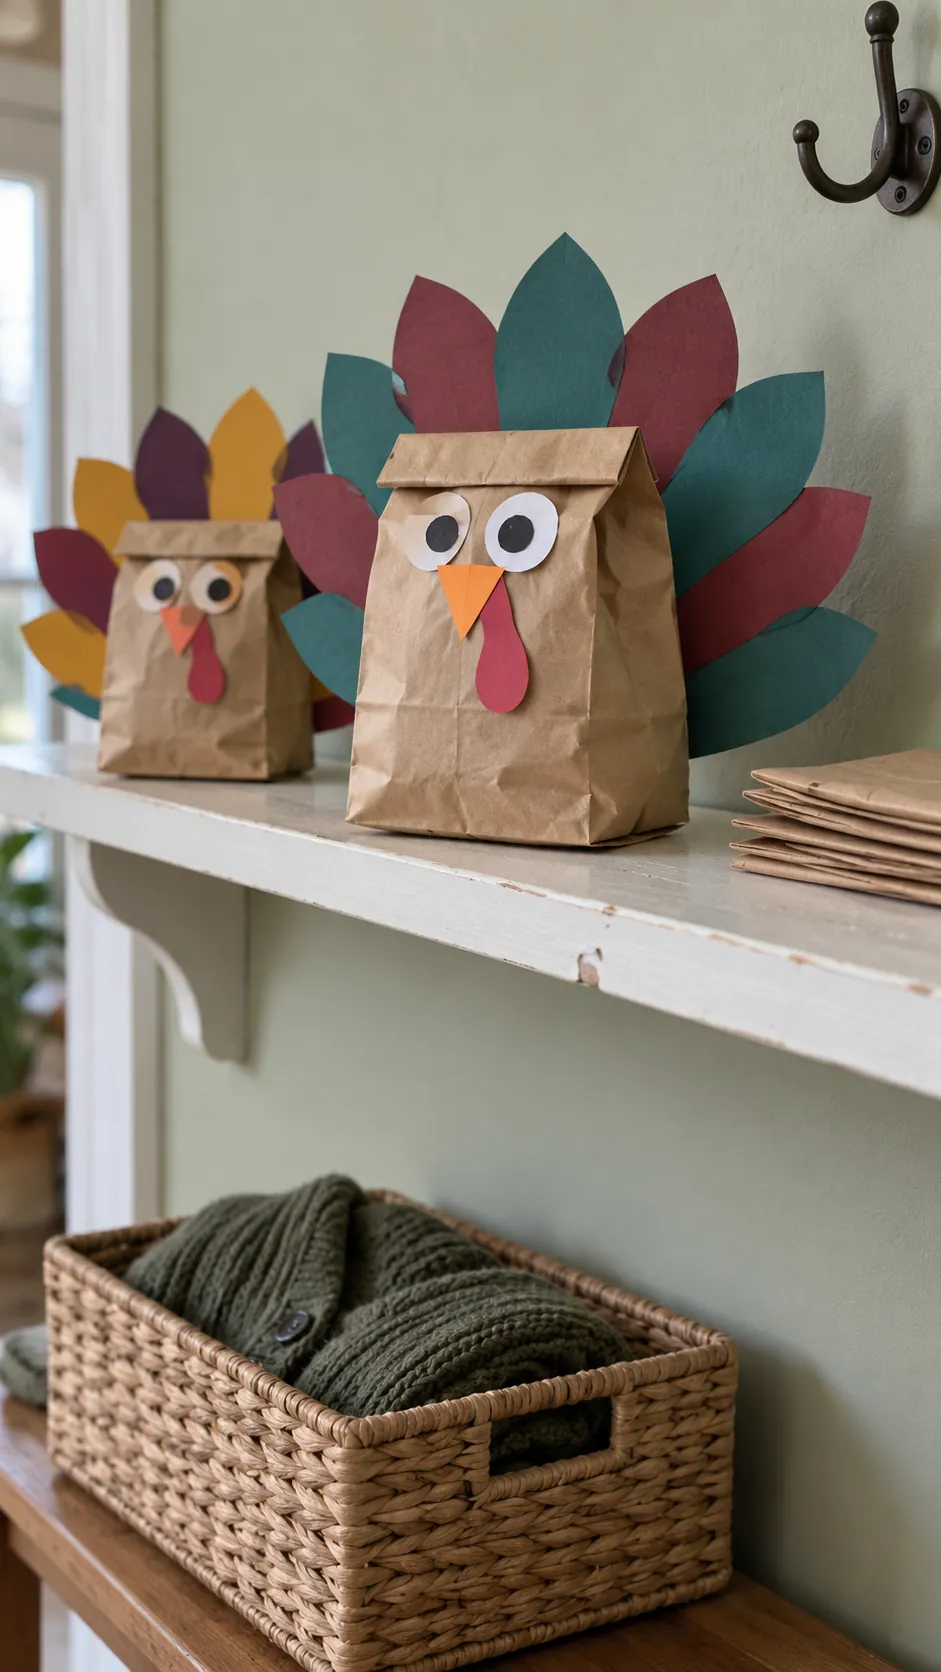
Paper bag turkey shelf figures
A small paper bag can hold its shape with a few sheets of scrunched scrap paper inside. Fold the top down, glue a broad feather fan behind it, and add a paper face to the front. Let children make different expressions or feather arrangements rather than correcting every uneven edge. Place these figures on a dry shelf instead of turning bags into head coverings that may tear or interfere with visibility.
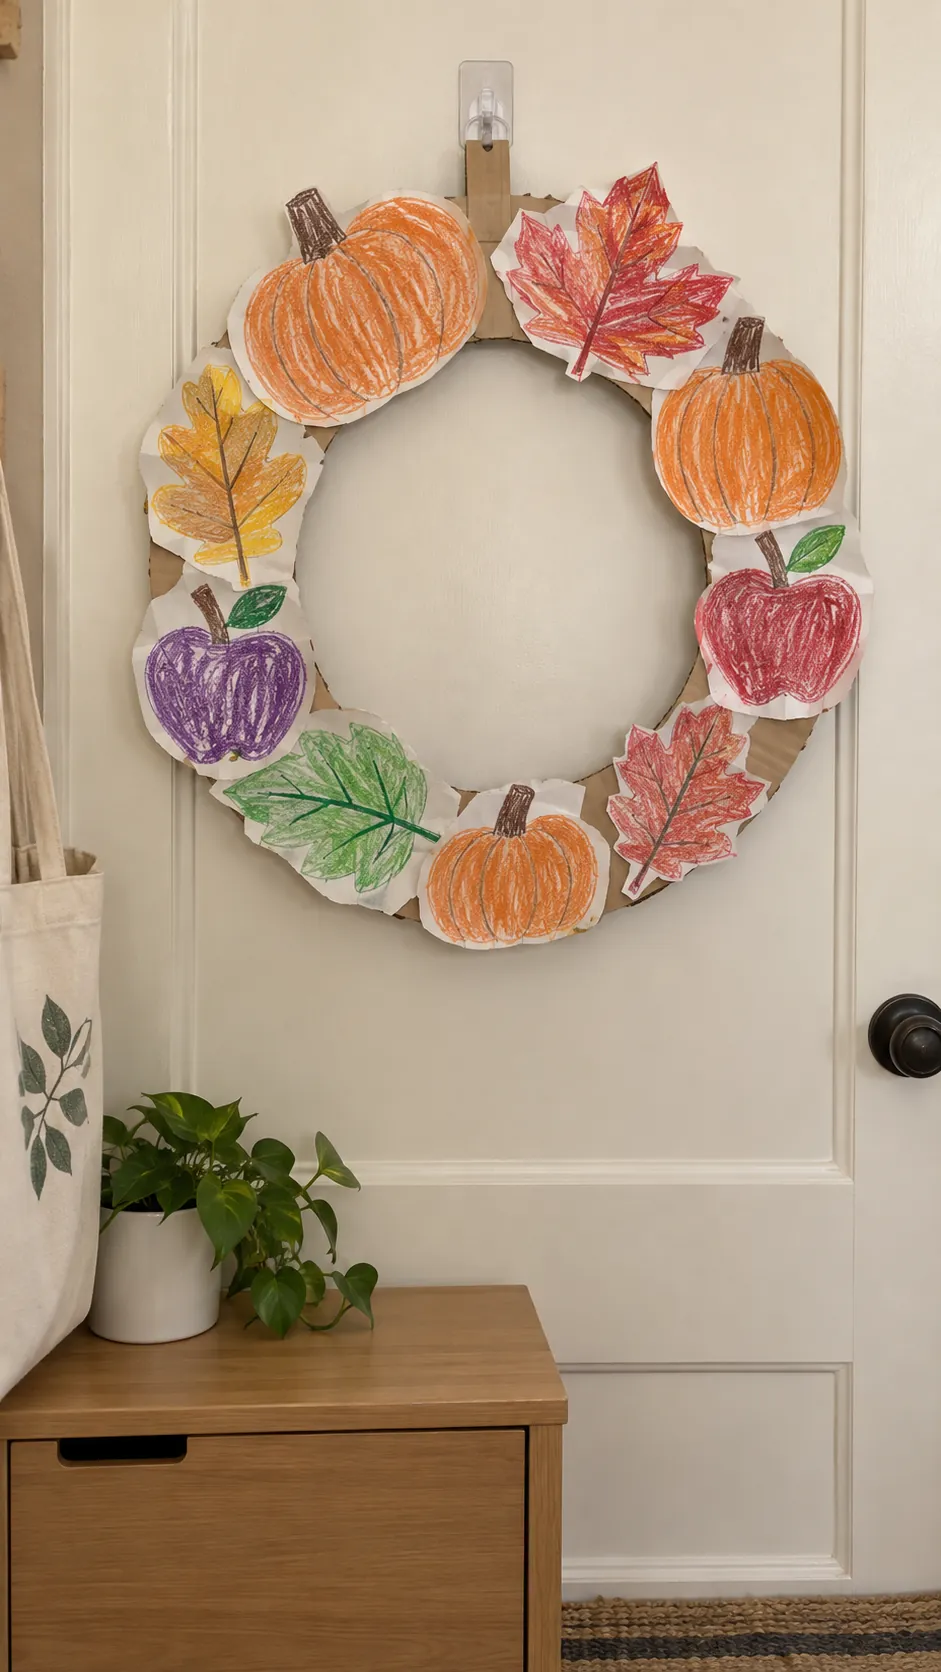
A wreath made from children's drawings
Save a few pumpkin and leaf drawings for an indoor wreath with a cardboard ring underneath. An adult can cut the ring, then children can tear or trim their drawings and arrange the pieces around it. Overlap the paper just enough to hide the base without covering all of the original marks. This wreath belongs indoors, where rain and damp air will not loosen the glue or curl the drawings.
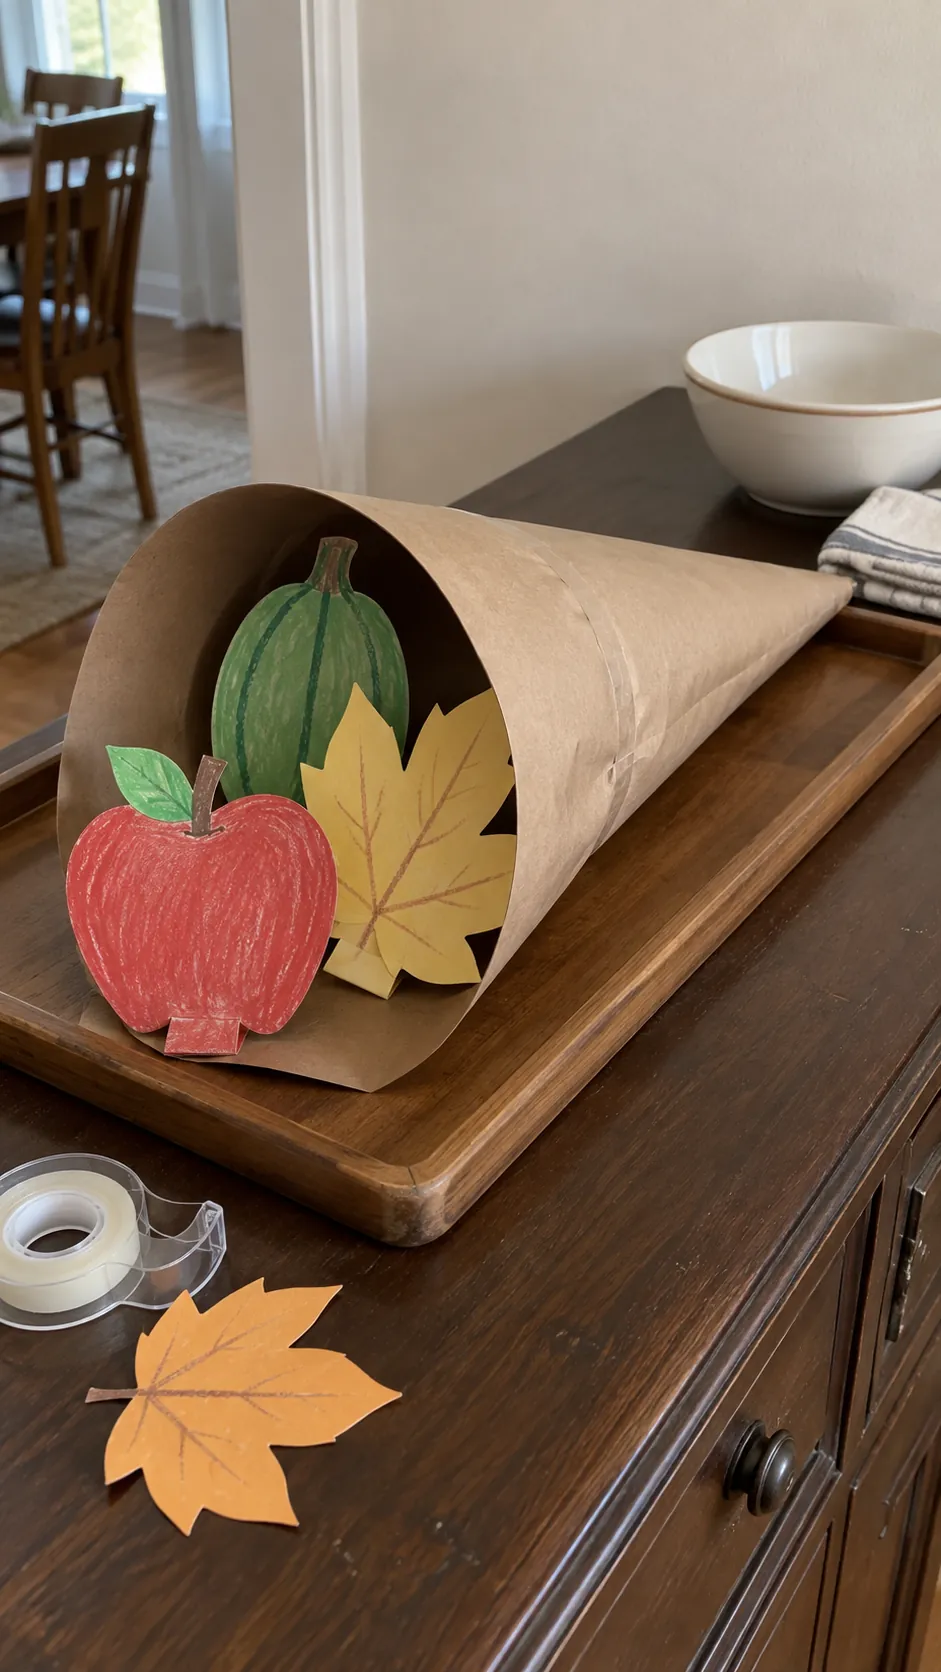
A paper cornucopia with large harvest shapes
Roll sturdy brown paper into a broad cone and secure the seam with tape. Children can fill its open mouth with oversized paper apples, squash and leaves, using folded tabs to keep the shapes visible. Explain that a cornucopia represents a plentiful harvest rather than using the project as a simplified history lesson. Lay the cone on a buffet with its point against a tray edge so it cannot tip into a dish.
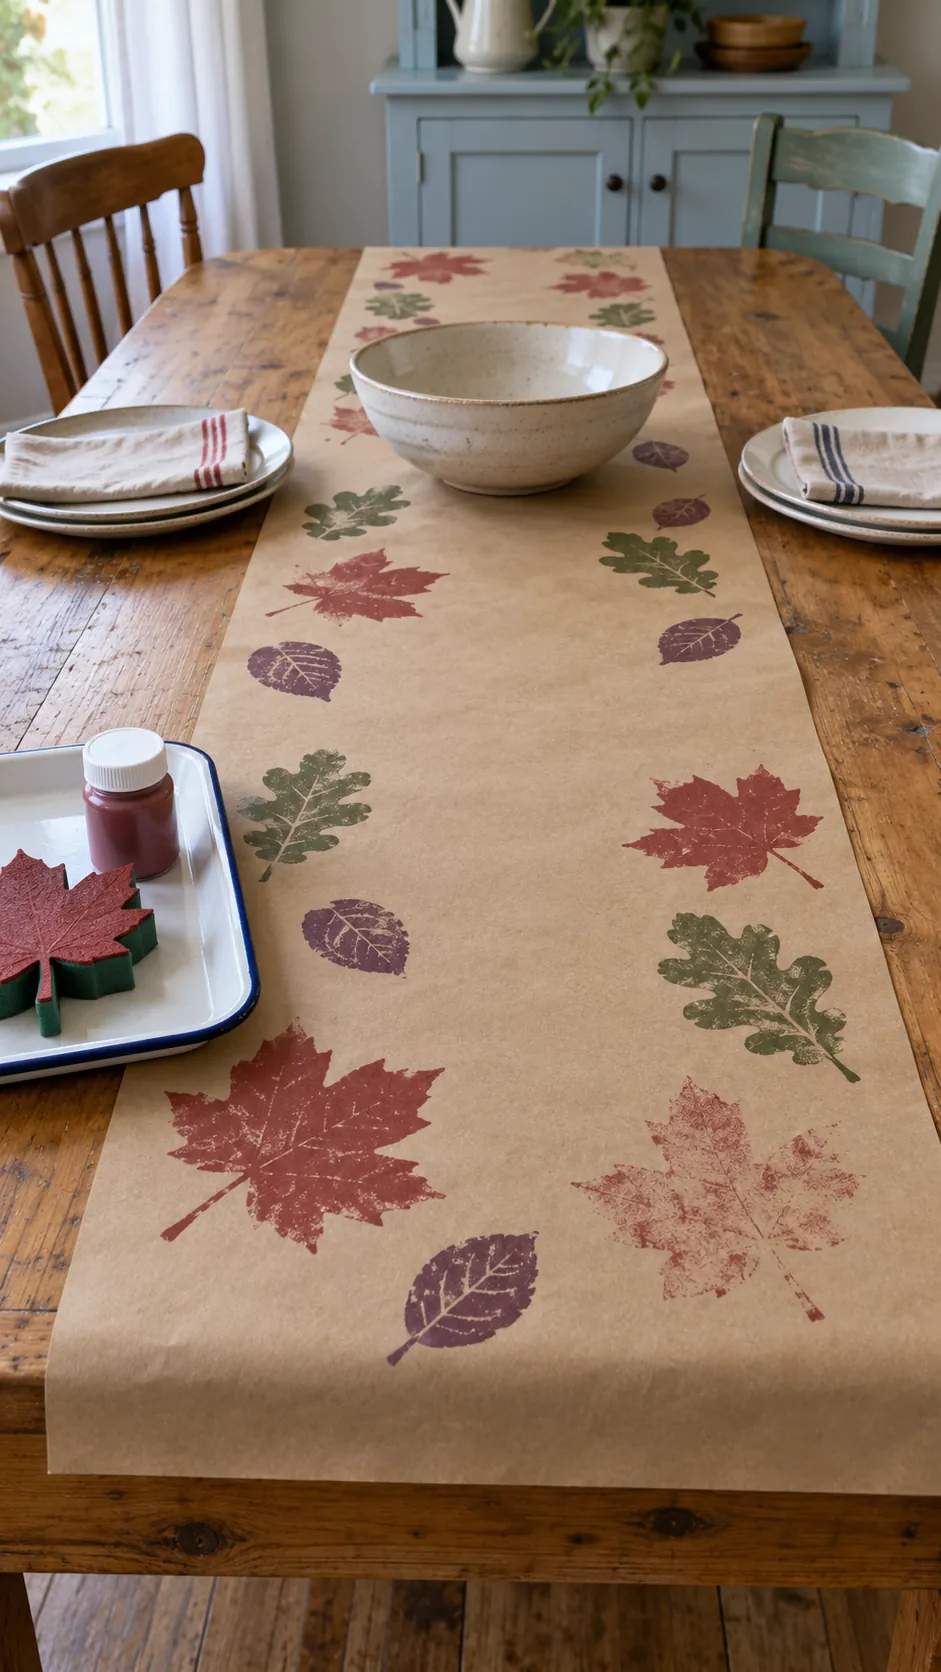
A stamped paper table runner
A roll of plain kraft paper can protect a craft table while children make the runner that will later decorate it. Use broad foam leaf stamps with washable paint, leaving empty spaces for dishes and elbows. Allow the paper to dry completely, then cut away any heavily soaked edges before placing it on the dining table. Unlike a permanent fabric keepsake, this version can be recycled or discarded after a spill without upsetting the children.
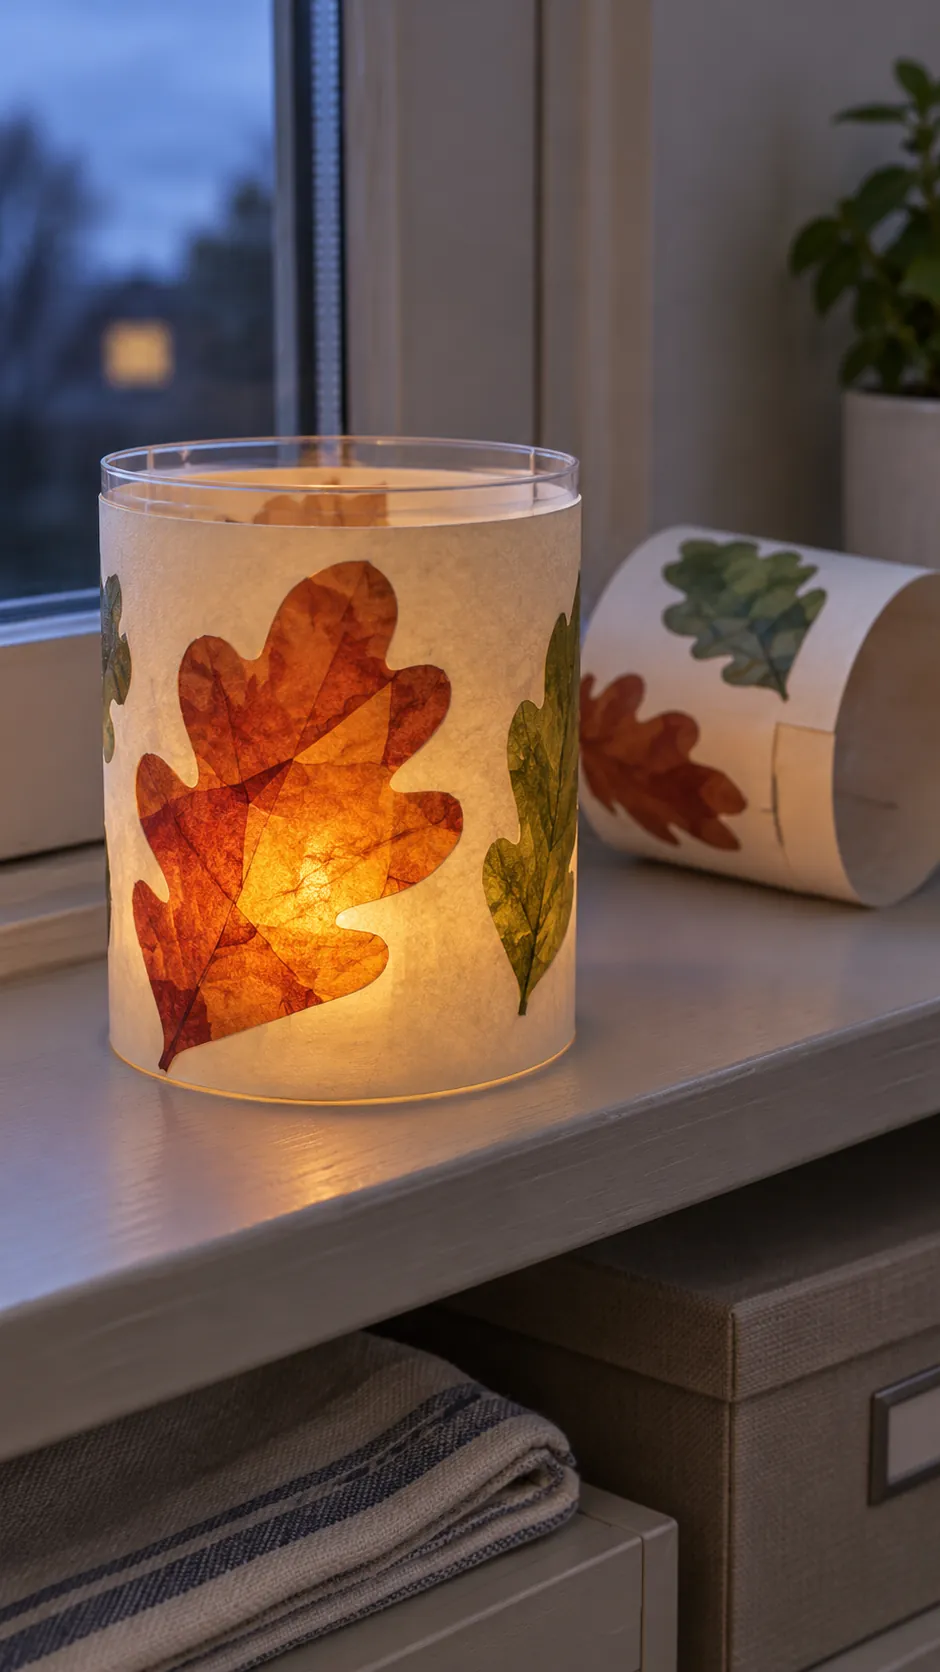
Translucent leaf lantern sleeves
Tissue paper leaves on a cardstock sleeve create a glowing decoration without asking children to handle glass jars. An adult can fit the sleeve around a sturdy clear plastic container and check that the materials stay well away from its light source. Use only an enclosed battery light with a secured battery compartment, never a real candle. Keep the lantern on a supervised display surface and put the light away after the gathering.
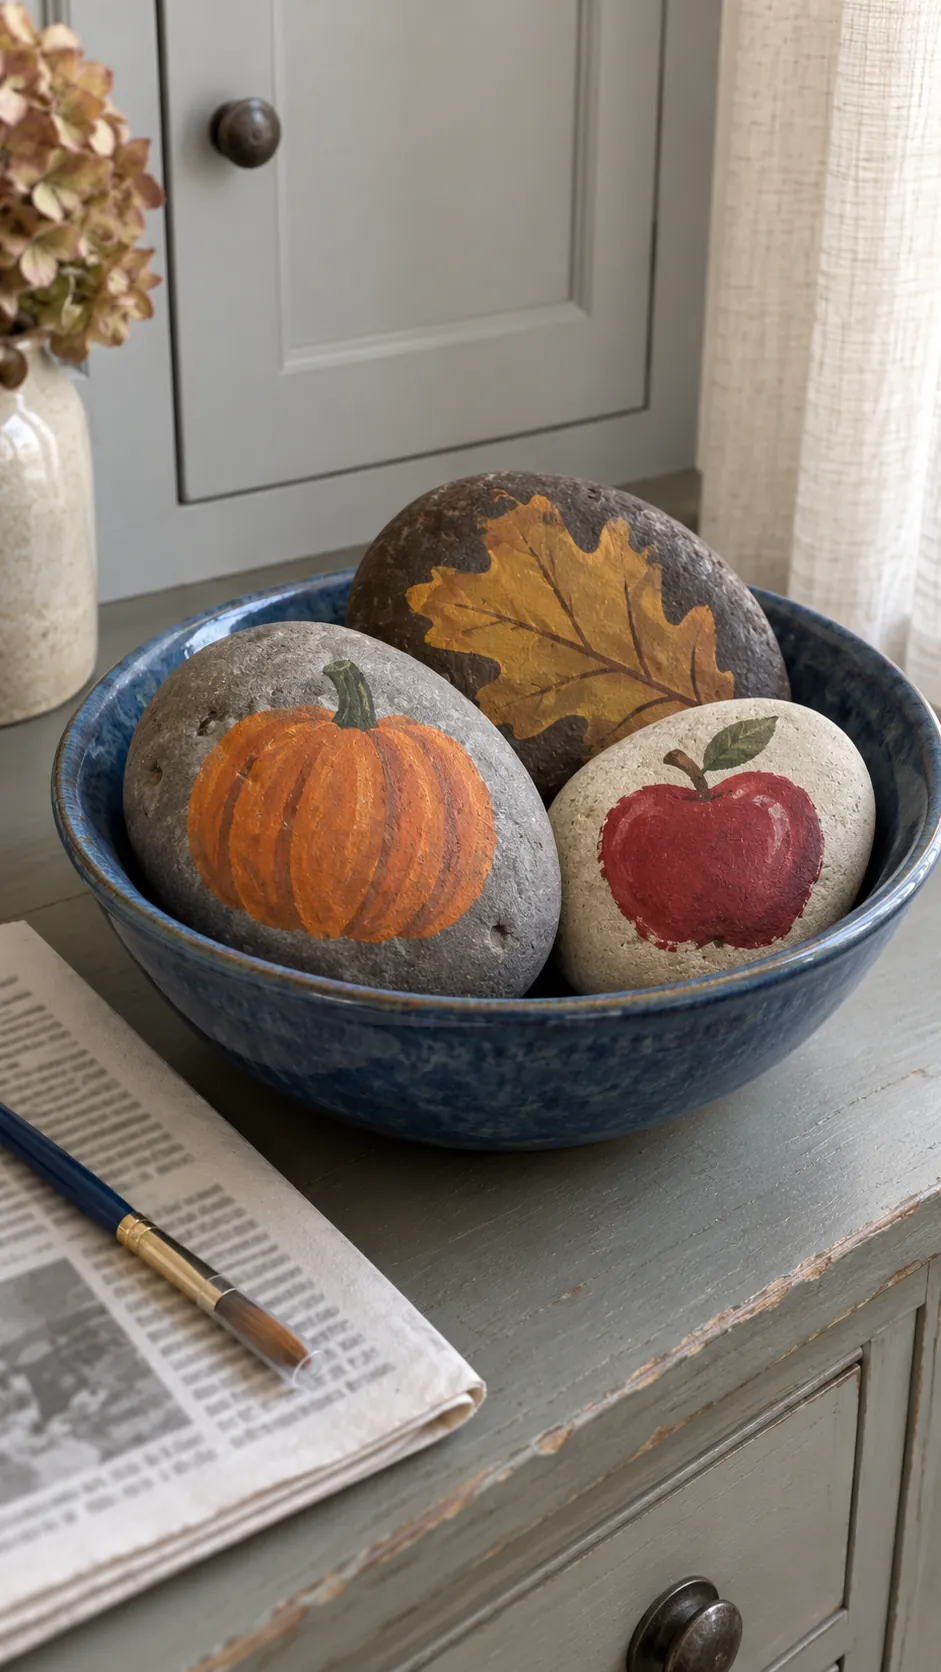
Painted stone harvest markers
Choose large smooth stones that are too big for a young child to swallow, then wash and dry them before painting. Older children can paint a pumpkin, apple or leaf with a small brush and let the design dry on newspaper. Arrange the stones in a low bowl on a sideboard, where their weight will not damage a plate or fall from a high shelf. Skip this craft for children who throw objects or mouth materials, even when the painting activity appeals to them.
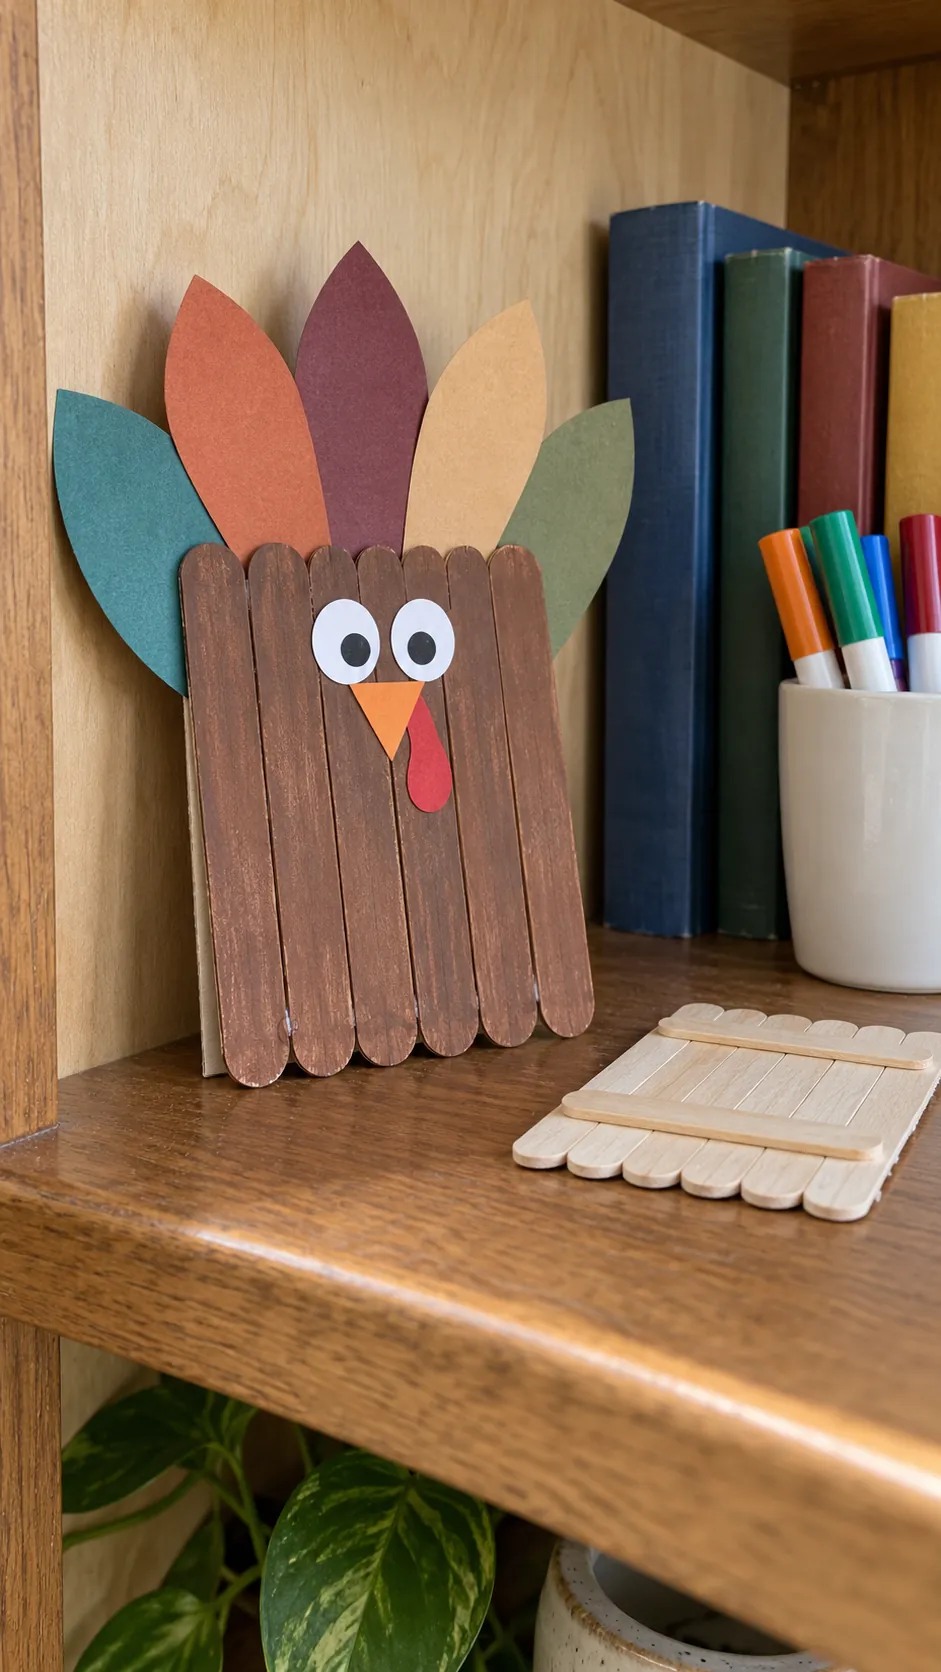
Craft stick turkey plaques
Lay broad craft sticks side by side and glue two support sticks across the back to create a flat plaque. Children can paint the front, then add a paper tail, beak and eyes after the paint dries. A backing rectangle of cardboard helps hold the sticks together while the glue cures. Lean the finished plaque against a bookshelf wall rather than balancing it upright at a busy dinner place.
Tissue leaf window pictures
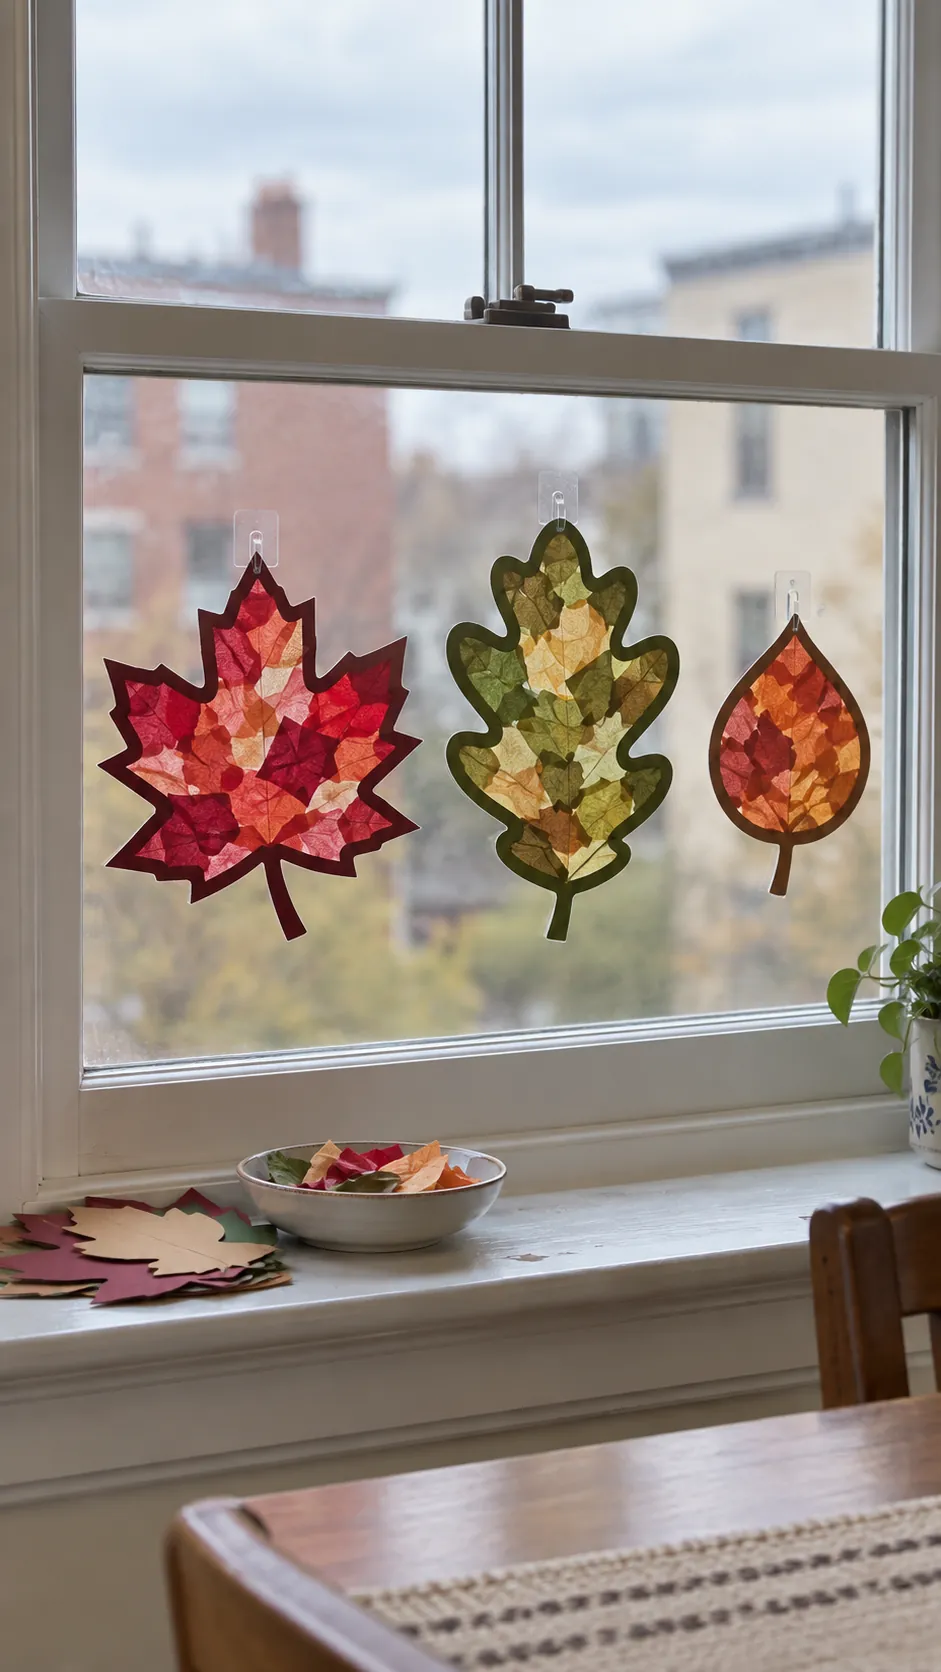
Torn tissue paper makes translucent leaves that catch daylight at an indoor window. An adult can cut a leaf outline from cardstock and cover the opening with clear adhesive film, keeping the sticky side accessible for children to add tissue pieces. Seal the reverse with another layer, trim the outside edge and test a removable attachment on the glass. Make a few broad shapes rather than covering the whole window, so the decoration still lets light into the room.
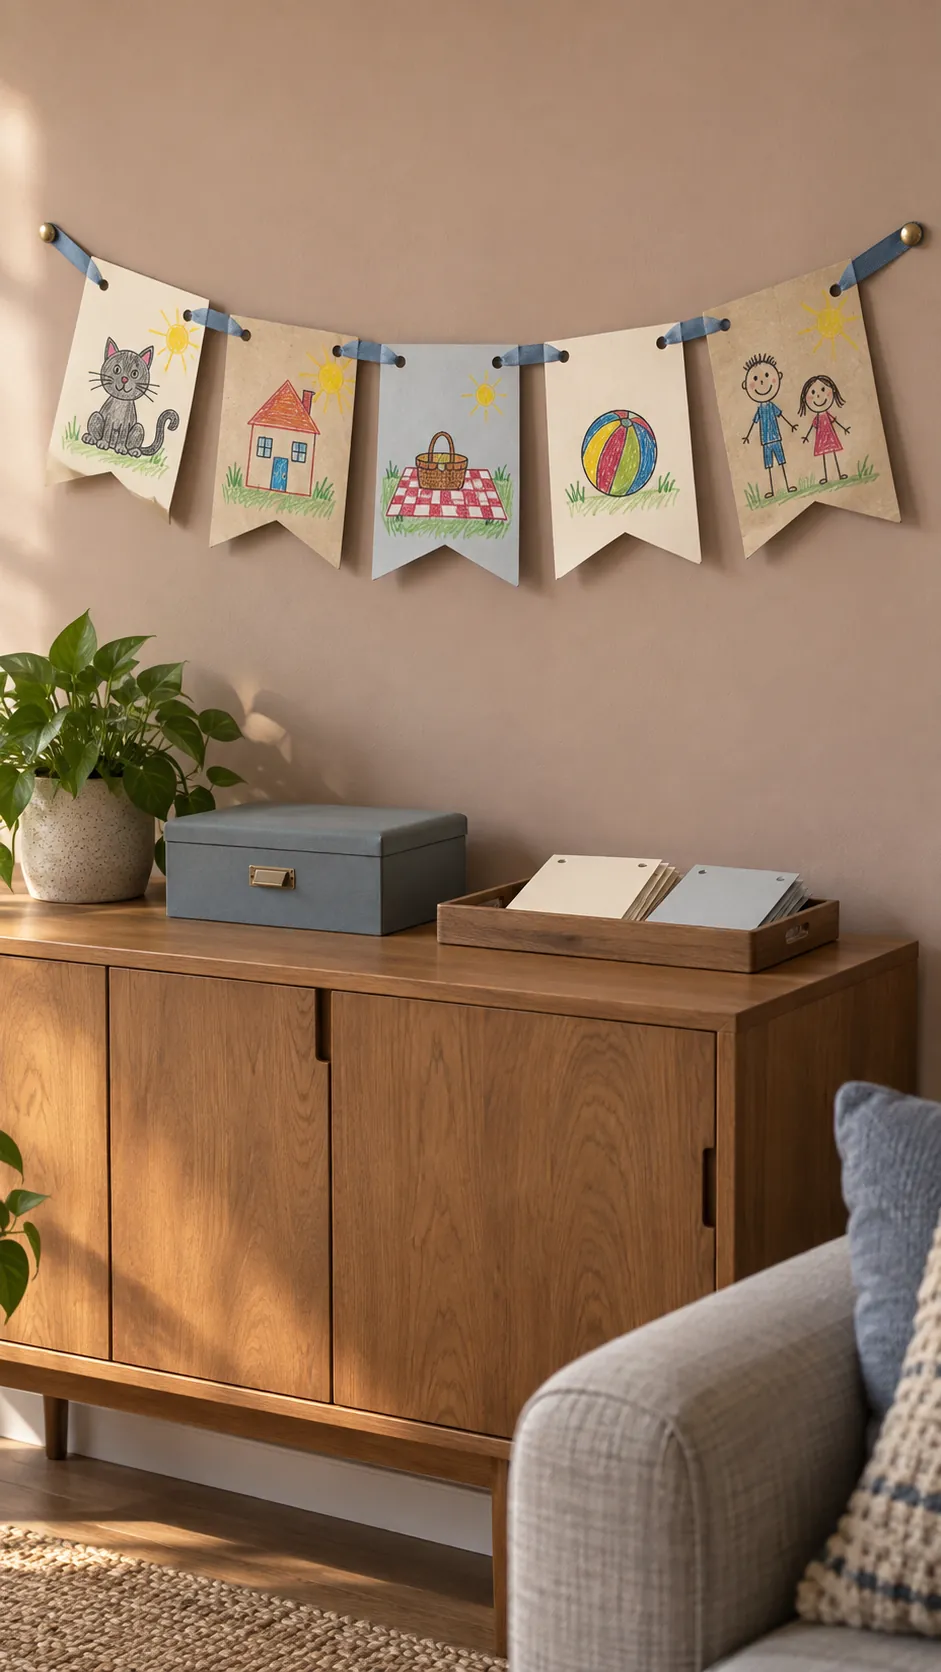
A family drawing banner
Ask each child to draw a family member, a pet or a favorite shared moment on a paper flag. Adults can punch the flags and thread them onto a short ribbon once the drawings are finished. Leave a little space between the flags so each picture feels like its own contribution. Hang the banner on a high sideboard wall, and avoid publishing children's names or private family details in photos of the display.
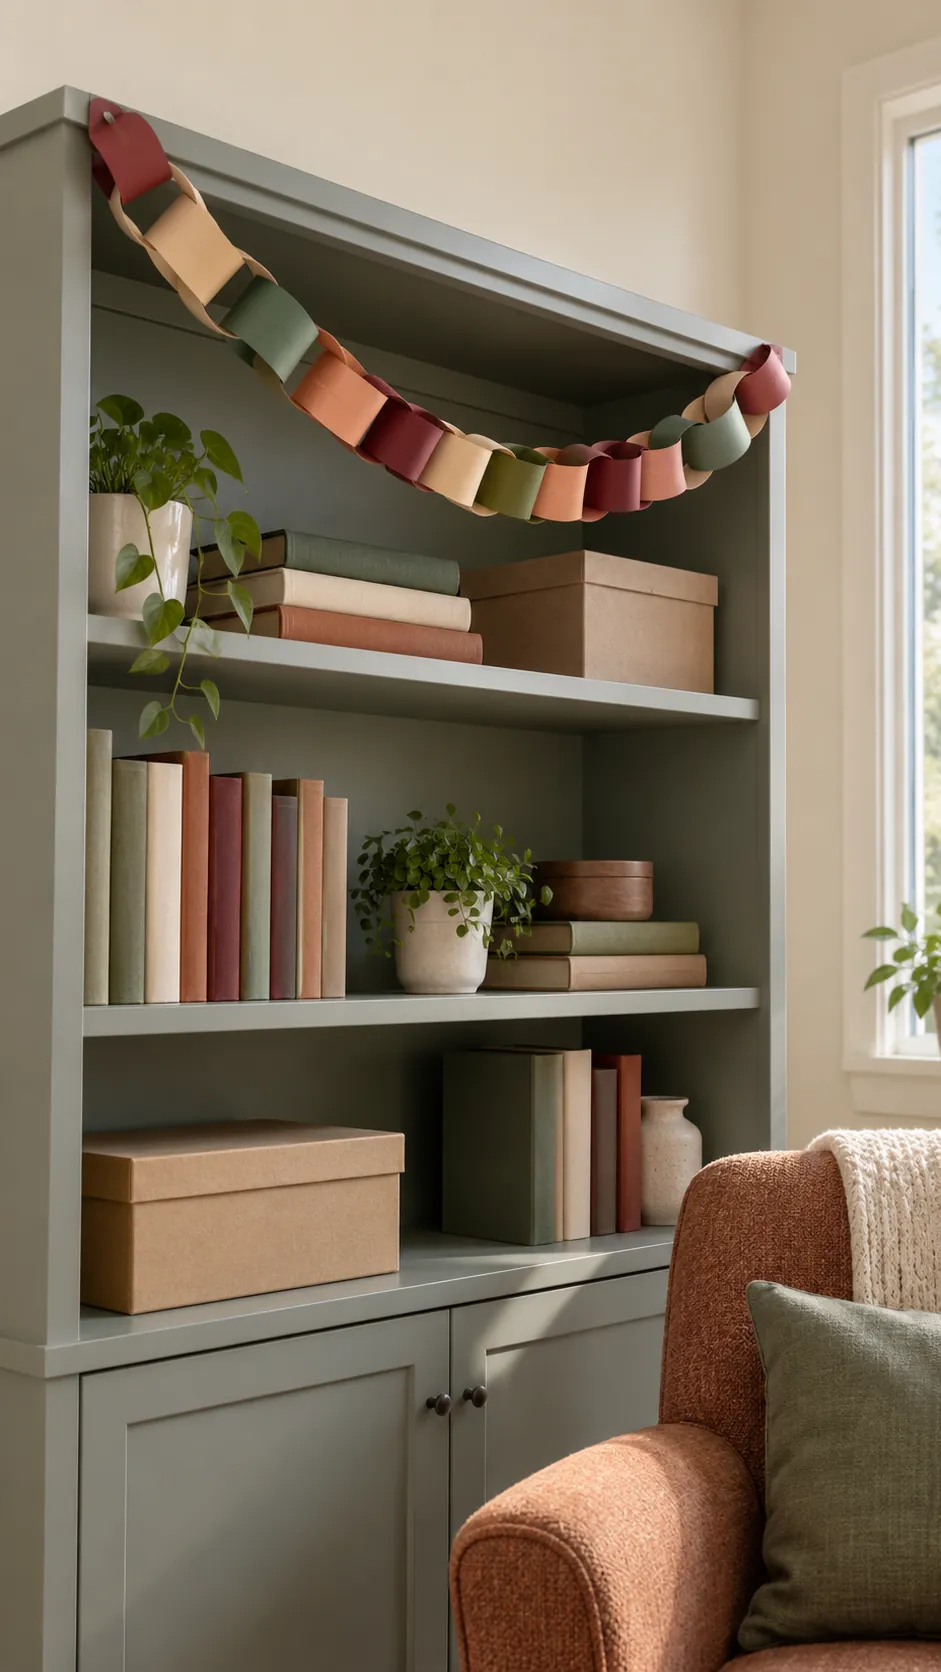
Autumn paper chains with shared jobs
Prepare wide strips of colored paper so children can focus on joining loops instead of cutting many narrow pieces. Younger children can choose the next color while older children close each loop with a glue stick and hold it until it sticks. Keep the chain short enough to carry without dragging and tearing. Drape it across a high bookcase for Thanksgiving decor, well away from small children who might pull on a hanging loop.
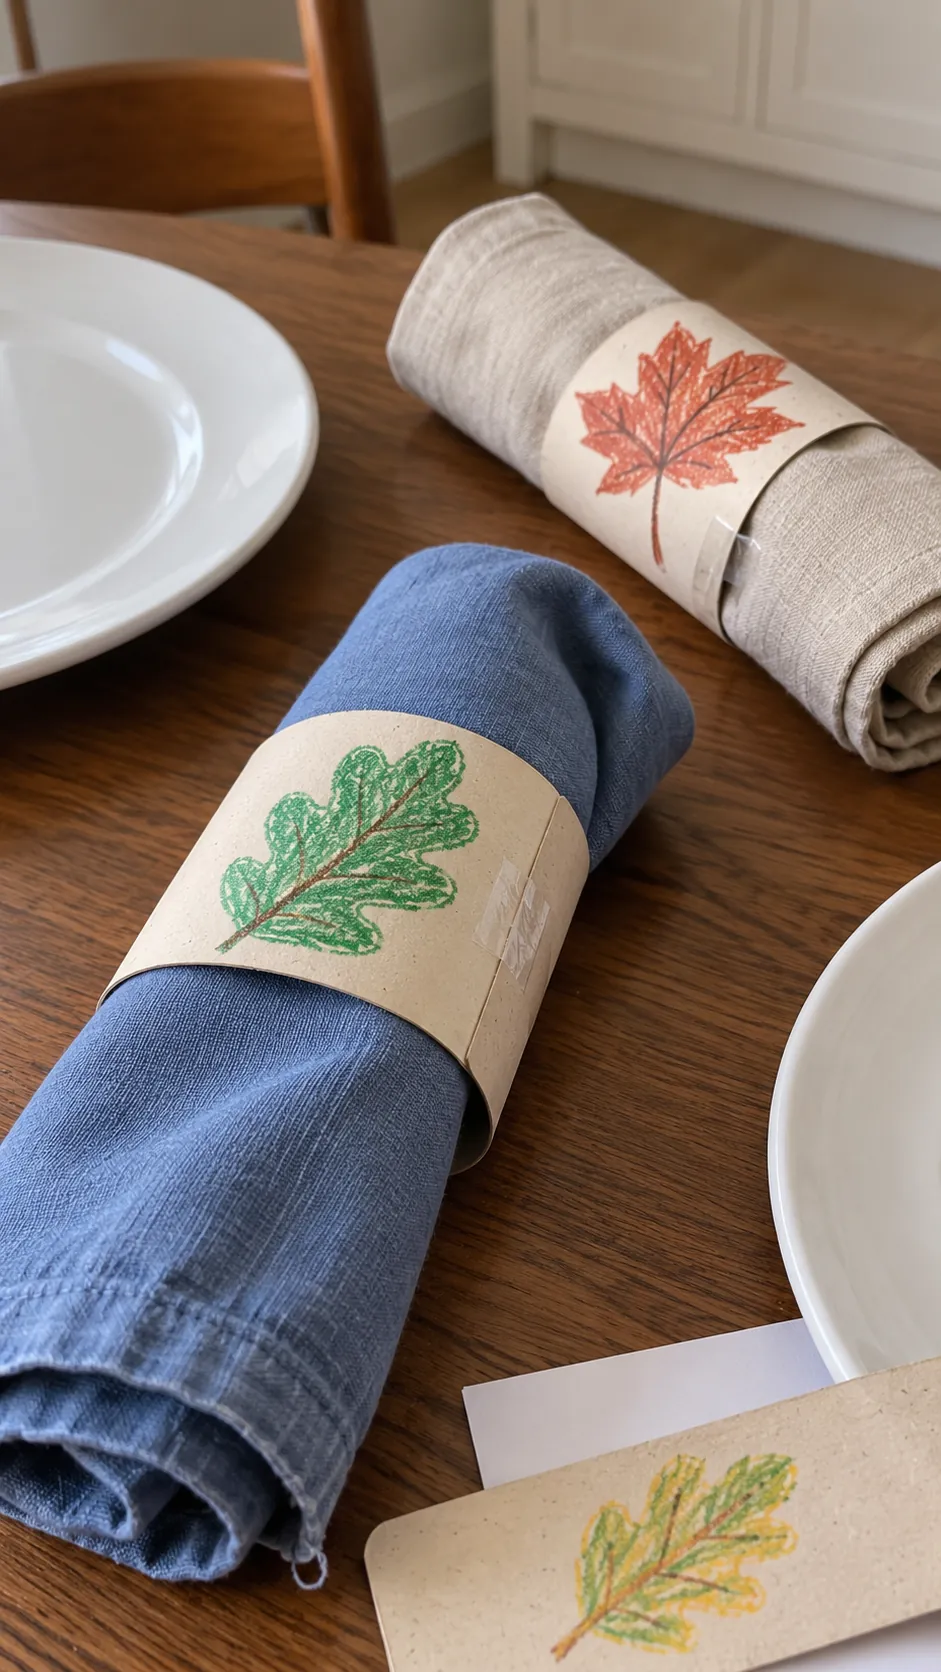
Cardboard napkin bands with leaf drawings
Cut broad strips from thin cardboard and let children draw one leaf on the center of each strip. An adult can wrap each strip around a rolled cloth napkin and secure the ends with tape on the outside. Keep markers and glue on the outer face, and use fully dry bands before setting the table. The rings give children a useful finishing task and can be removed before anyone eats.
A shared torn paper harvest mural
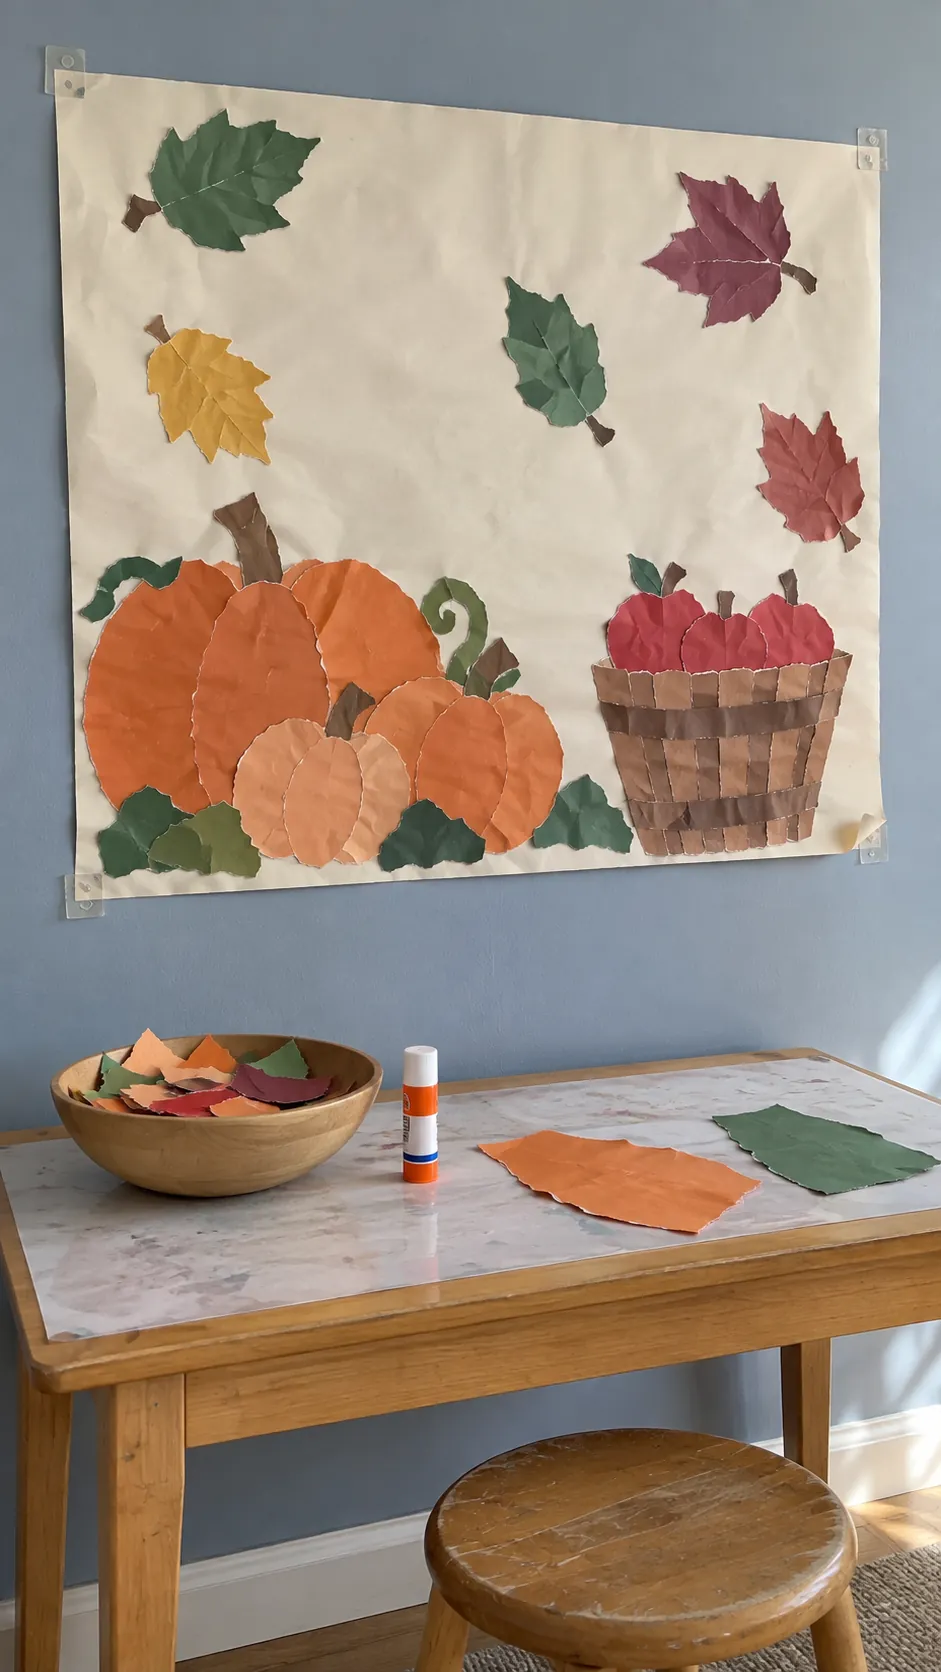
Tape a large sheet of paper to a protected table and invite children to build a harvest scene from torn colored scraps. One child might make a pumpkin while another adds an apple basket or a patch of falling leaves. Glue the largest shapes first so younger children can contribute without waiting for tiny details. After it dries, display this handmade paper scene on an indoor wall and photograph it before recycling it if storage space is limited.