
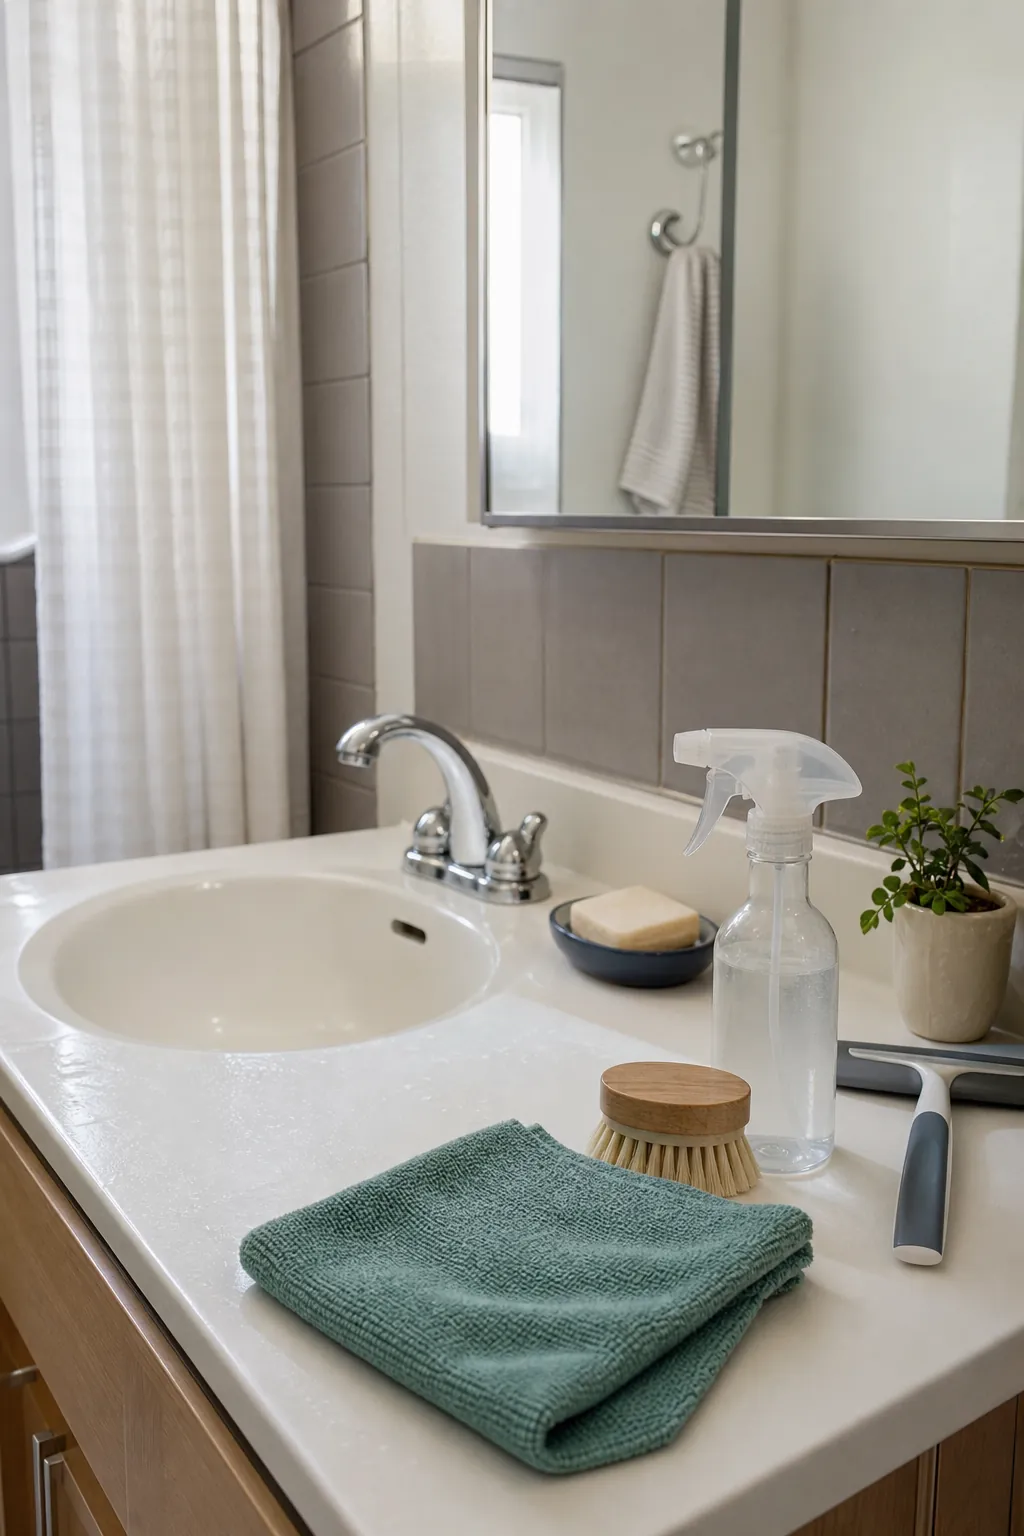
Most bathroom cleaning hacks fail for the same reason: they jump straight to scrubbing. A bathroom usually looks grimy because loose dust turns into sludge, soap scum has not had time to soften, hard water keeps drying in the same spots, and the odor is hiding around edges instead of in the obvious middle of the room.
This routine is built for a real small bathroom, not a spotless showroom. It uses simple tools, avoids unsafe cleaner mixing, and turns the job into a sequence you can repeat: dry reset, dwell time, mineral control, edge detailing, toilet-area reset, then a short maintenance loop.
Start With A Dry Decluttered Counter
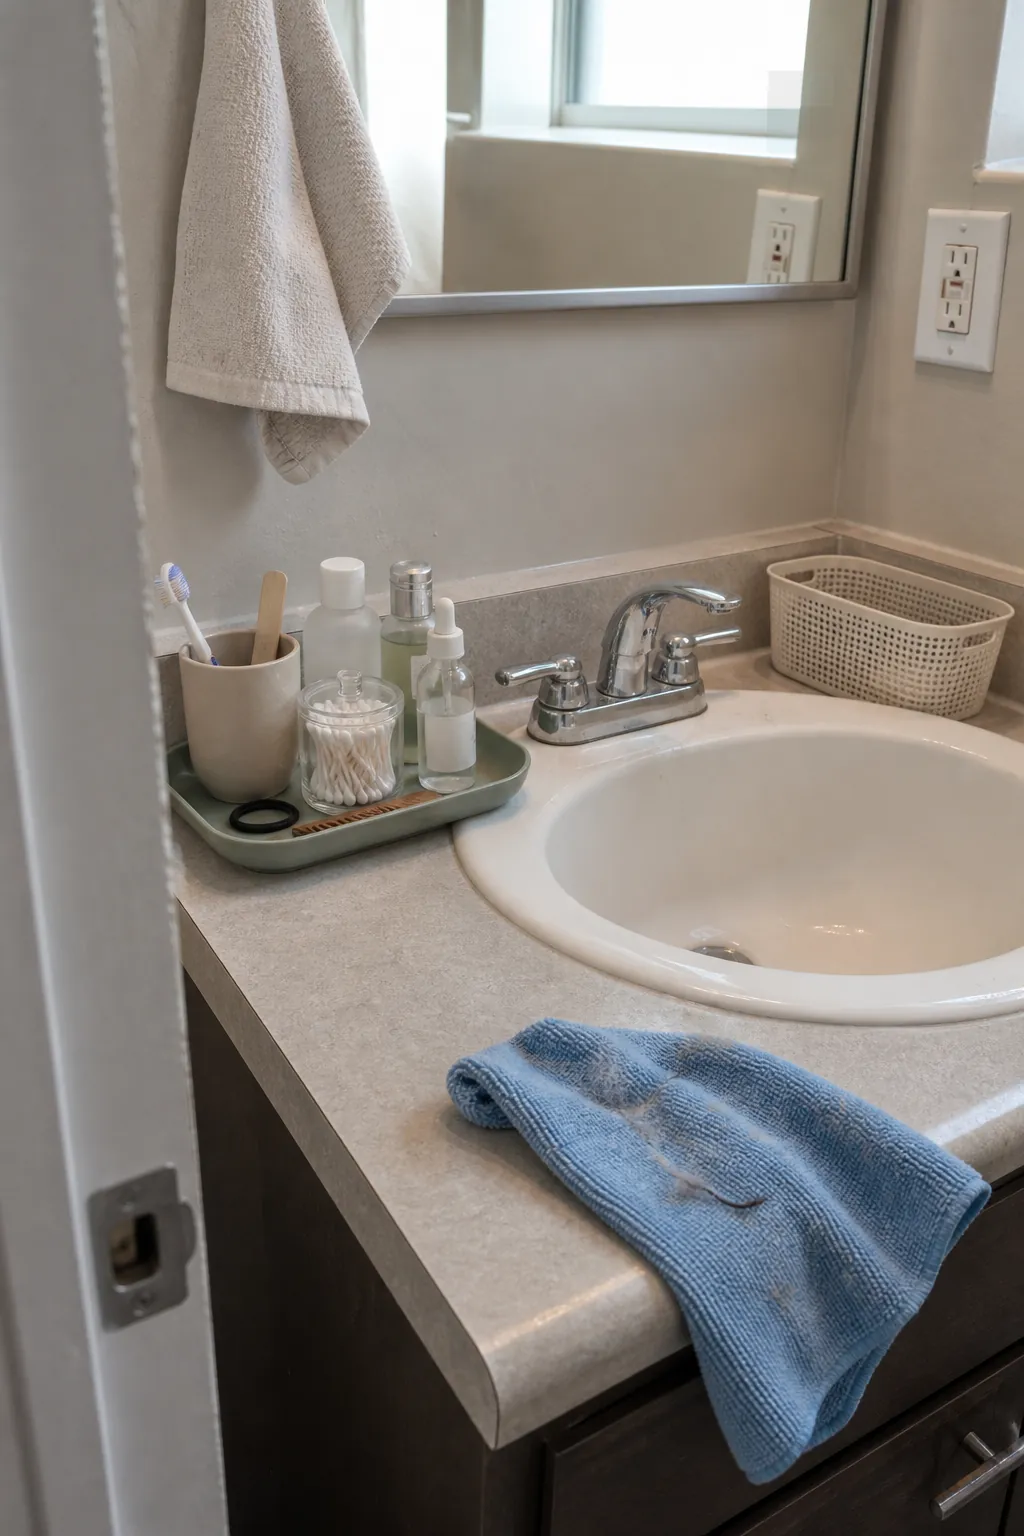
The fastest way to make bathroom cleaning harder is to spray over hair, lint, loose powder, and half-used products. Water turns that dry debris into paste. Before any wet cleaner comes out, move daily items into a small tray, toss empty packaging, and wipe the counter with a dry microfiber cloth.
This is where decluttering ideas and cleaning overlap. You do not need a full cabinet makeover. You need enough open surface to clean the sink rim, faucet base, mirror bottom, and counter corners without working around ten bottles.
- Use a tray for items that must return to the counter.
- Put rarely used products under the sink before you clean.
- Dry-wipe dust and hair before spraying anything wet.
- Keep one cloth for dry debris and a second cloth for wet wiping.
Loosen Soap Scum Before Scrubbing
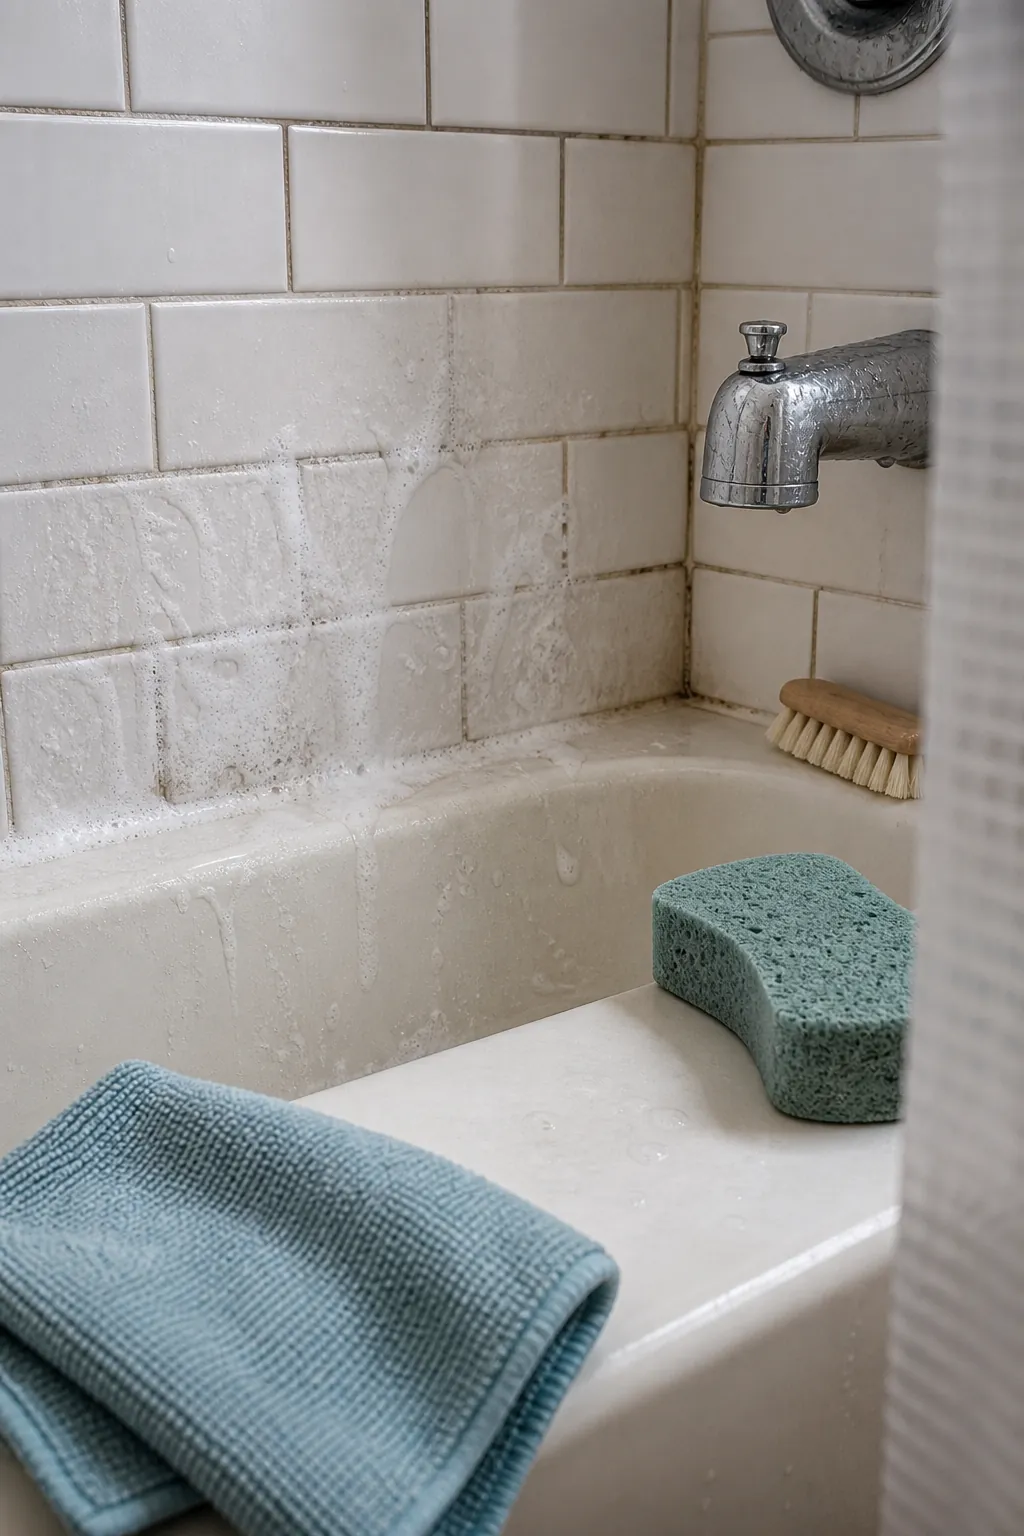
Soap scum is not a dust layer. It is a stubborn mix of soap residue, body oils, minerals, and humidity. If you spray and scrub immediately, you spend more effort for a duller result. A better hack is to wet the area, apply a suitable bathroom cleaner, and give it several minutes of dwell time before touching it with a sponge.
For a homemade approach, use a mild dish-soap-and-water mix on routine buildup, or vinegar only where the surface can safely handle acid. Do not mix vinegar with bleach or other disinfectants. If you use a disinfecting product, follow that label by itself and rinse tools before switching products.
- Let cleaner sit long enough to soften the film.
- Use a non-scratch sponge on acrylic tubs and fiberglass surrounds.
- Rinse from top to bottom so residue does not dry lower on the wall.
- Dry the ledge afterward so the haze does not return the same day.
Treat Hard-Water Spots At The Source
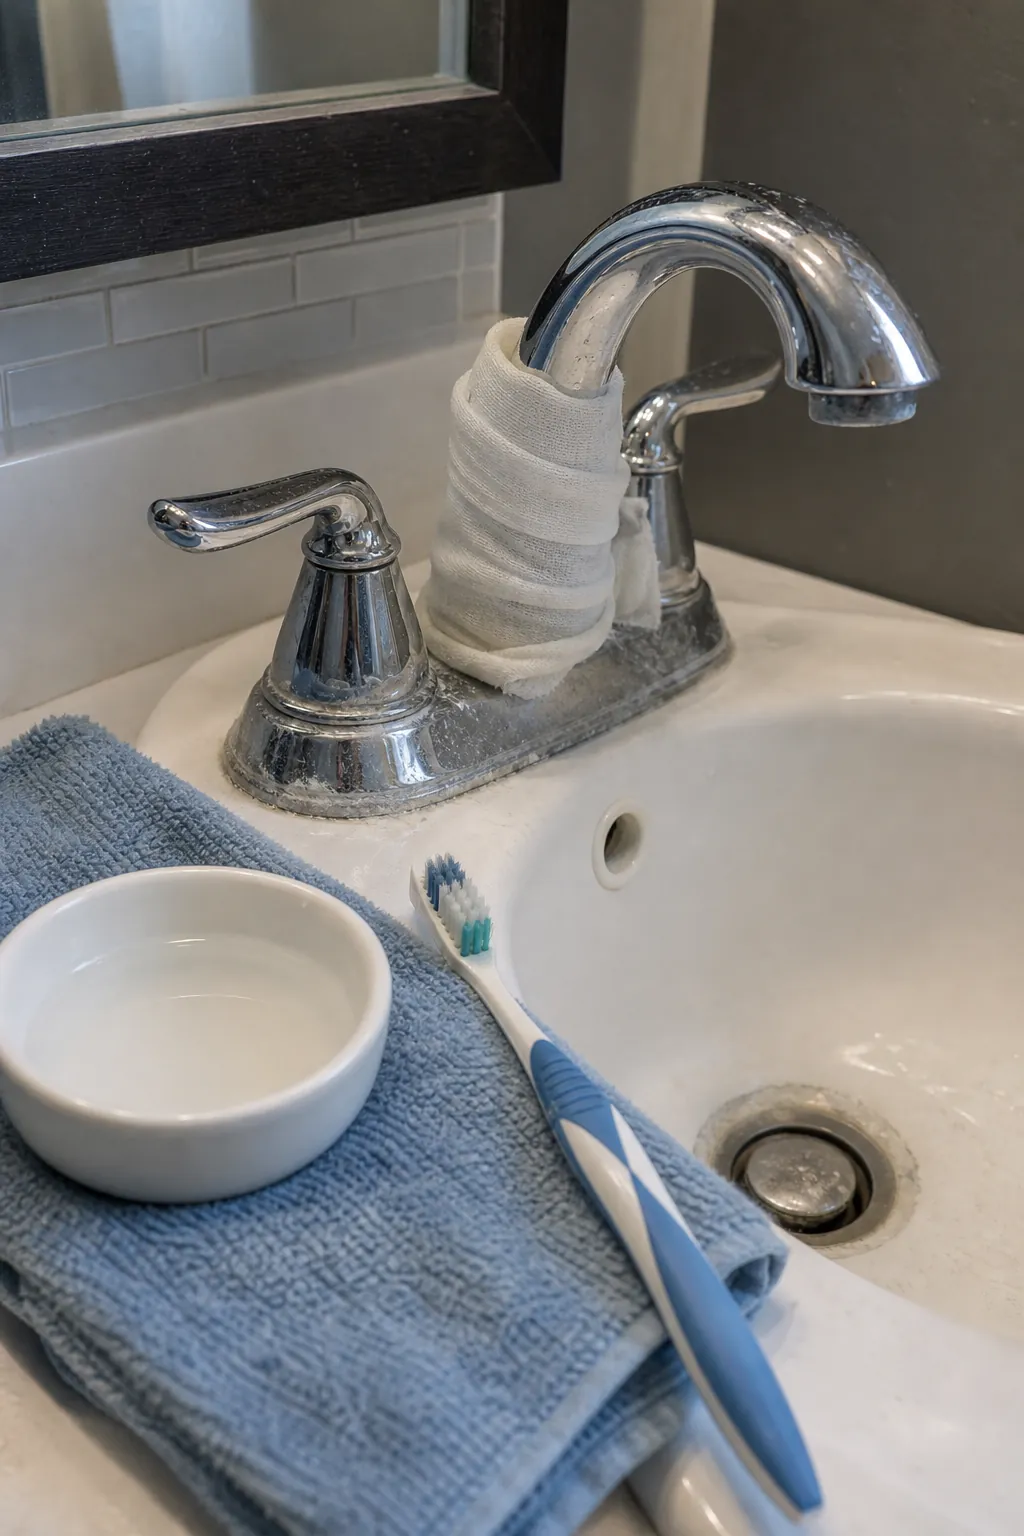
Hard-water spots make a clean bathroom look unfinished. The trick is to stop wiping the same chrome over and over and target the mineral buildup directly. Around faucets, wrap a vinegar-dampened cloth around the cloudy area for a short soak, then detail with a soft toothbrush and rinse well. Skip vinegar on natural stone and check delicate finishes first.
This is one of the best cleaning hacks because it changes the problem from force to contact time. You are not trying to polish a crusty ring dry. You are giving the mineral deposit a chance to loosen before you wipe.
Detail Grout, Seams, And Faucet Bases
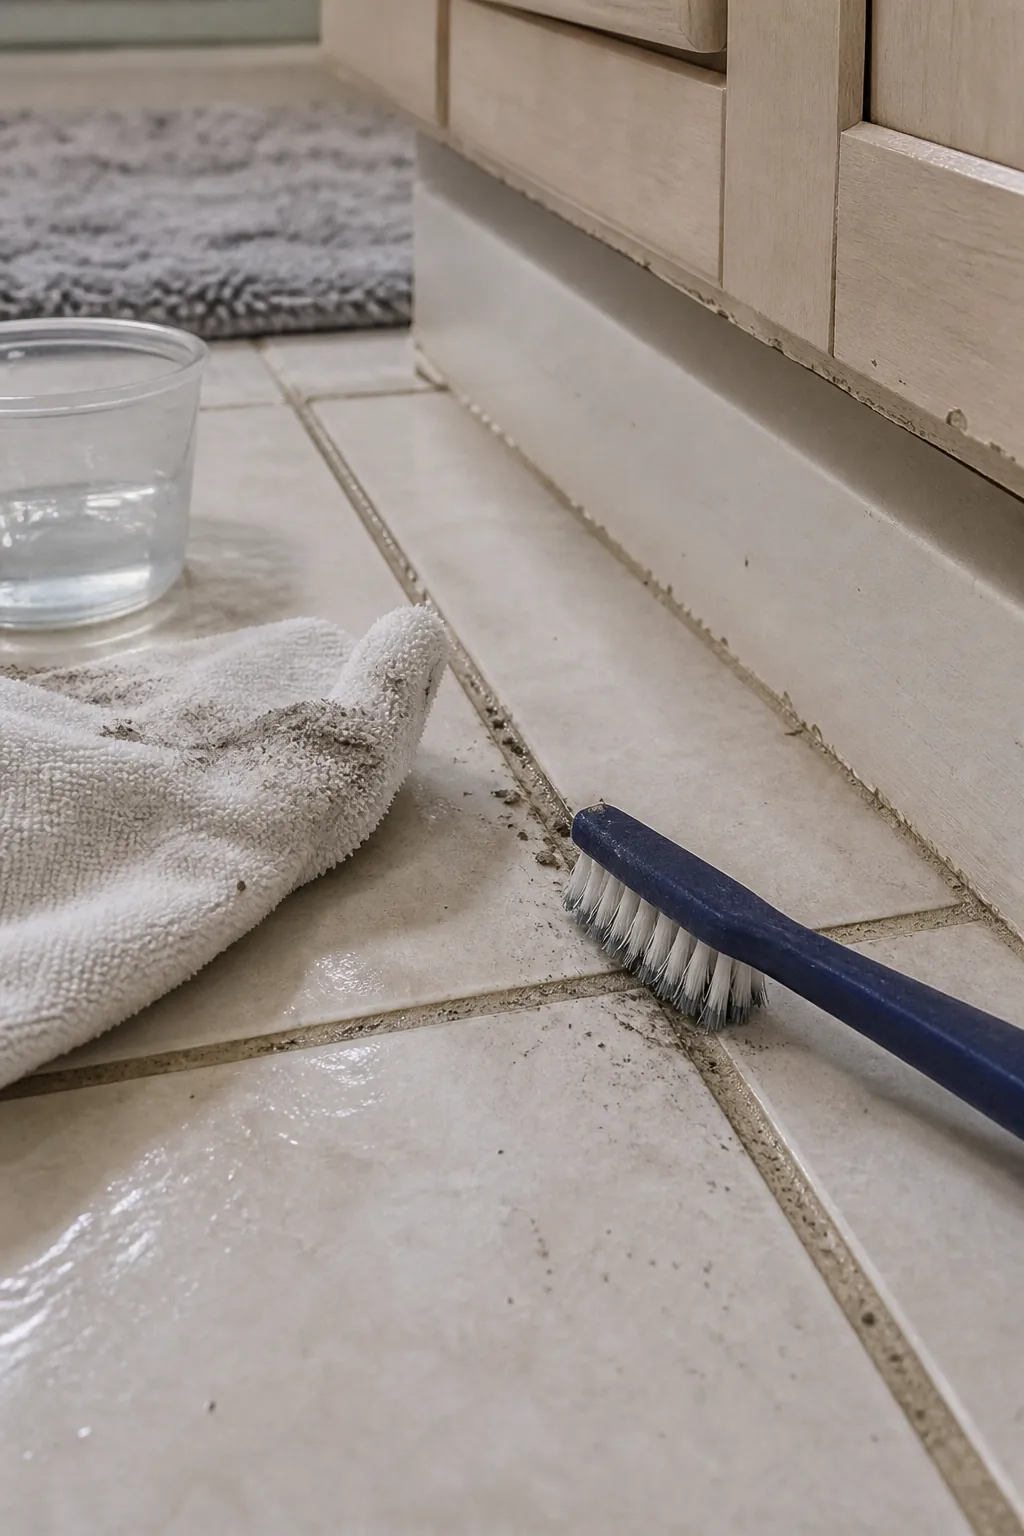
A bathroom can be technically clean and still look neglected if the edges are gray. Grout lines, faucet bases, caulk seams, vanity toe-kicks, and the floor edge behind the door collect residue that a broad wipe misses. Use a soft detail brush, work in small sections, and wipe away loosened residue before it dries back into the seam.
Keep the pressure moderate. If grout is crumbling, caulk is peeling, or stains return immediately, that is a maintenance issue rather than a scrubbing challenge. Cleaning should reveal the surface; it should not damage it.
Reset The Toilet Area Without Guesswork
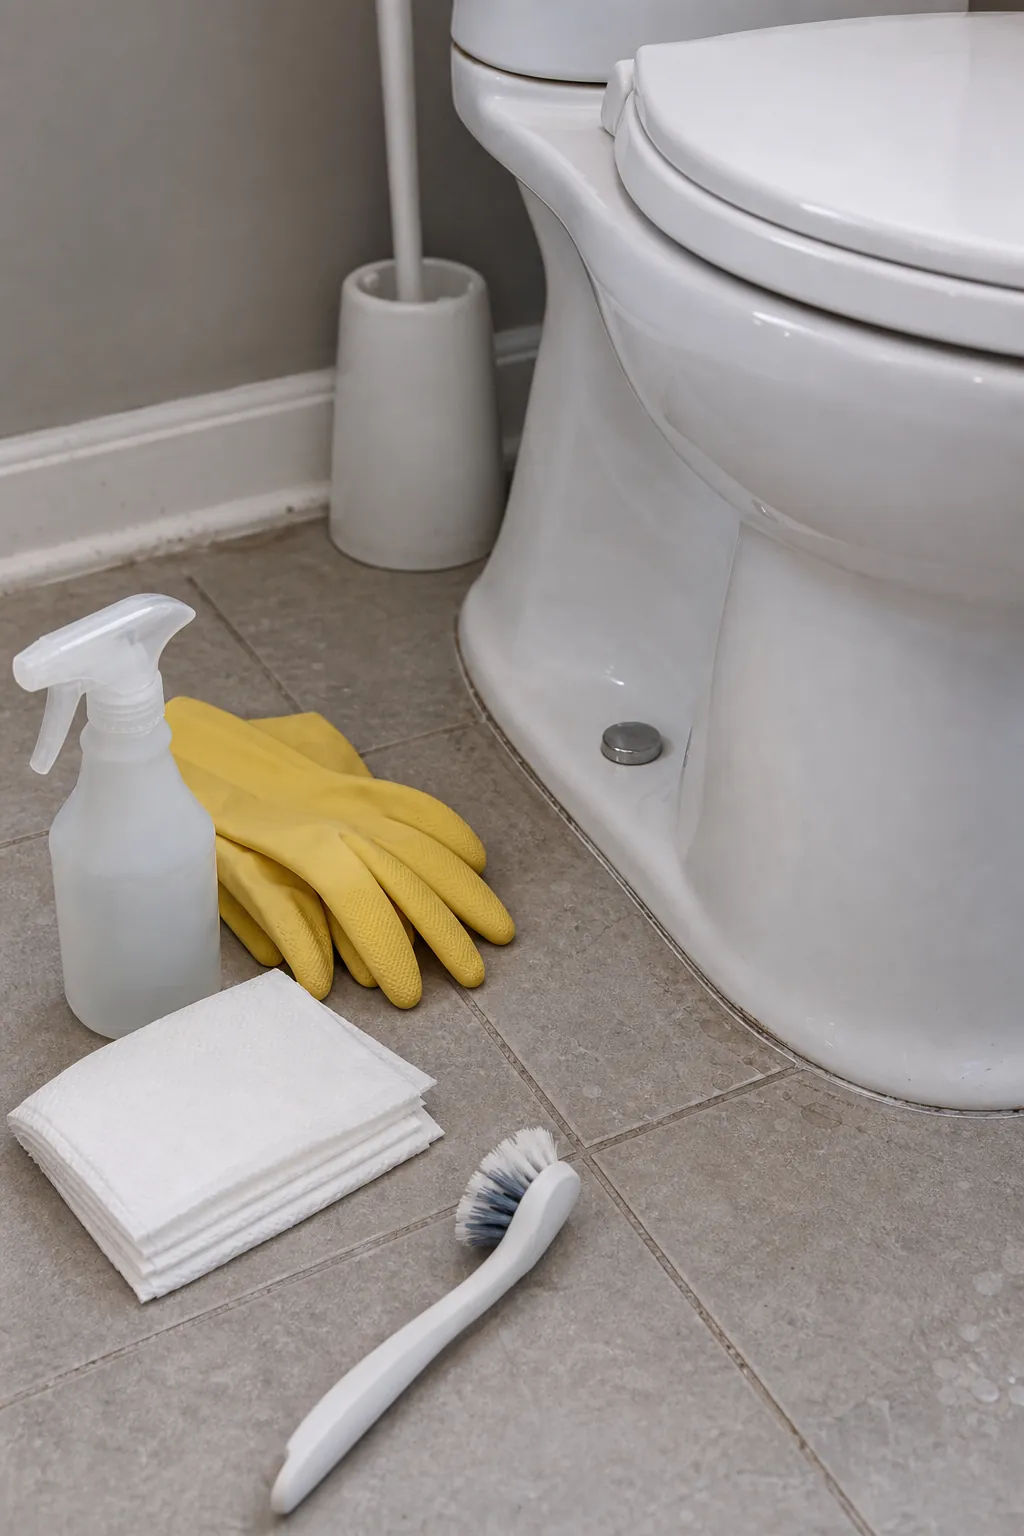
When people ask about bathroom smell, the bowl is not always the whole story. Odor can linger around the toilet base, hinge caps, floor seam, nearby wall, trash can, toilet brush holder, and bath mat. Clean the visible bowl with a toilet product by itself, then switch to the surrounding area with fresh cloths and a separate cleaner.
Use disposable paper towels or washable cloths dedicated to the toilet zone. Wipe the hinge area, underside of the seat edge, base curve, floor seam, and wall splash zone. Then dry the floor edge so moisture does not sit under the base. This small detail is more useful than another scented product in the tank.
Keep The Bathroom Clean With A Ten-Minute Loop
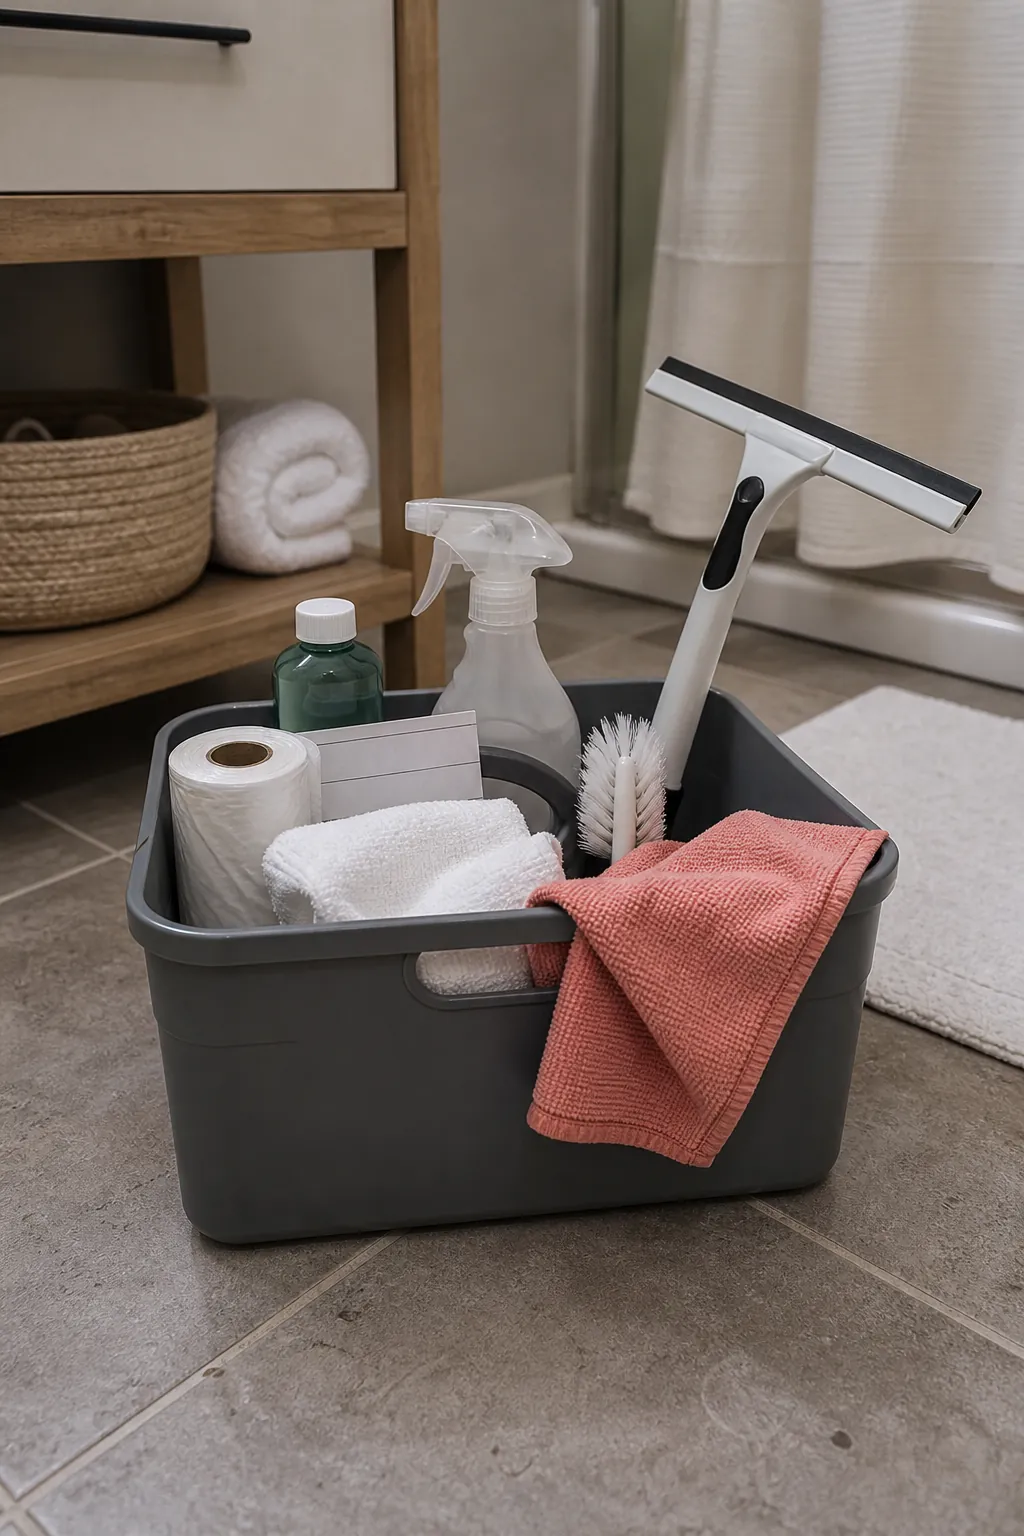
The most realistic bathroom cleaning system is not a marathon deep clean. It is a short loop that keeps buildup from hardening. After showers, squeegee glass or tile, hang towels where air can reach them, leave the door open when possible, and give the sink a quick wipe before toothpaste dries.
Once a week, run a ten-minute pass: empty trash, dry-dust the counter, wipe the mirror, clean the sink, brush the toilet zone, and spot-clean the floor edge. This is the part that makes cleaning hacks tips and tricks feel less like a rescue mission and more like a rhythm.
- Keep a small caddy with a cloth, brush, squeegee, and one general bathroom cleaner.
- Store products where you actually use them, but do not crowd the counter.
- Dry shiny surfaces after wet cleaning to prevent streaks.
- Use ventilation as part of cleaning, not as an afterthought.
The real hack is sequence. Clear dry debris first, let cleaners do some work, target mineral buildup, detail the edges, reset the toilet area, and dry what usually stays damp. That is how to clean your house in a way that lasts beyond the first shiny photo.