A hardware swap looks inexpensive until a new pull does not match the old holes or a trendy finish starts showing every fingerprint. A careful measurement session prevents both problems and makes it easier to compare complete sets instead of single pieces.
Measure the existing holes before you shop
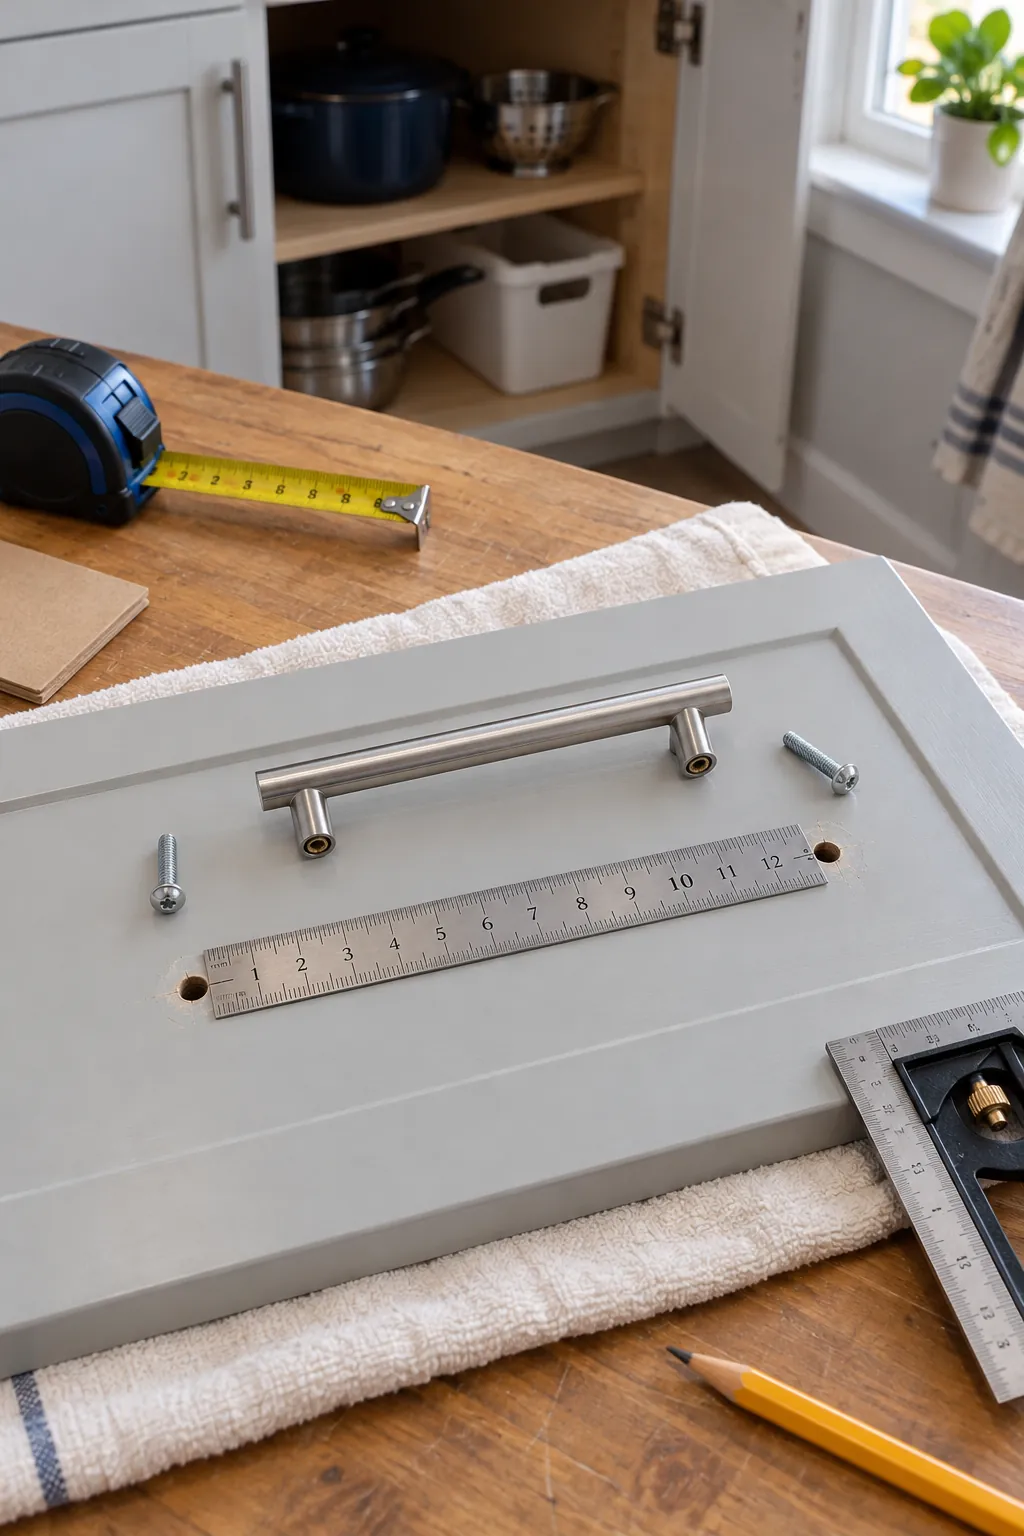
Remove one pull and measure from the center of one screw hole to the center of the other. That center to center distance is the cabinet hardware hole spacing, and it matters more than the overall pull length when you want to reuse existing holes. Check several doors and drawers because older kitchens sometimes contain more than one spacing.
Record the result in both inches and millimeters because many affordable kitchen cabinet knobs and pulls use metric spacing. Common three inch spacing is close to 76 millimeters, but it is not the same as 96 millimeters. Never order from appearance alone.
Choose a pull length that feels balanced
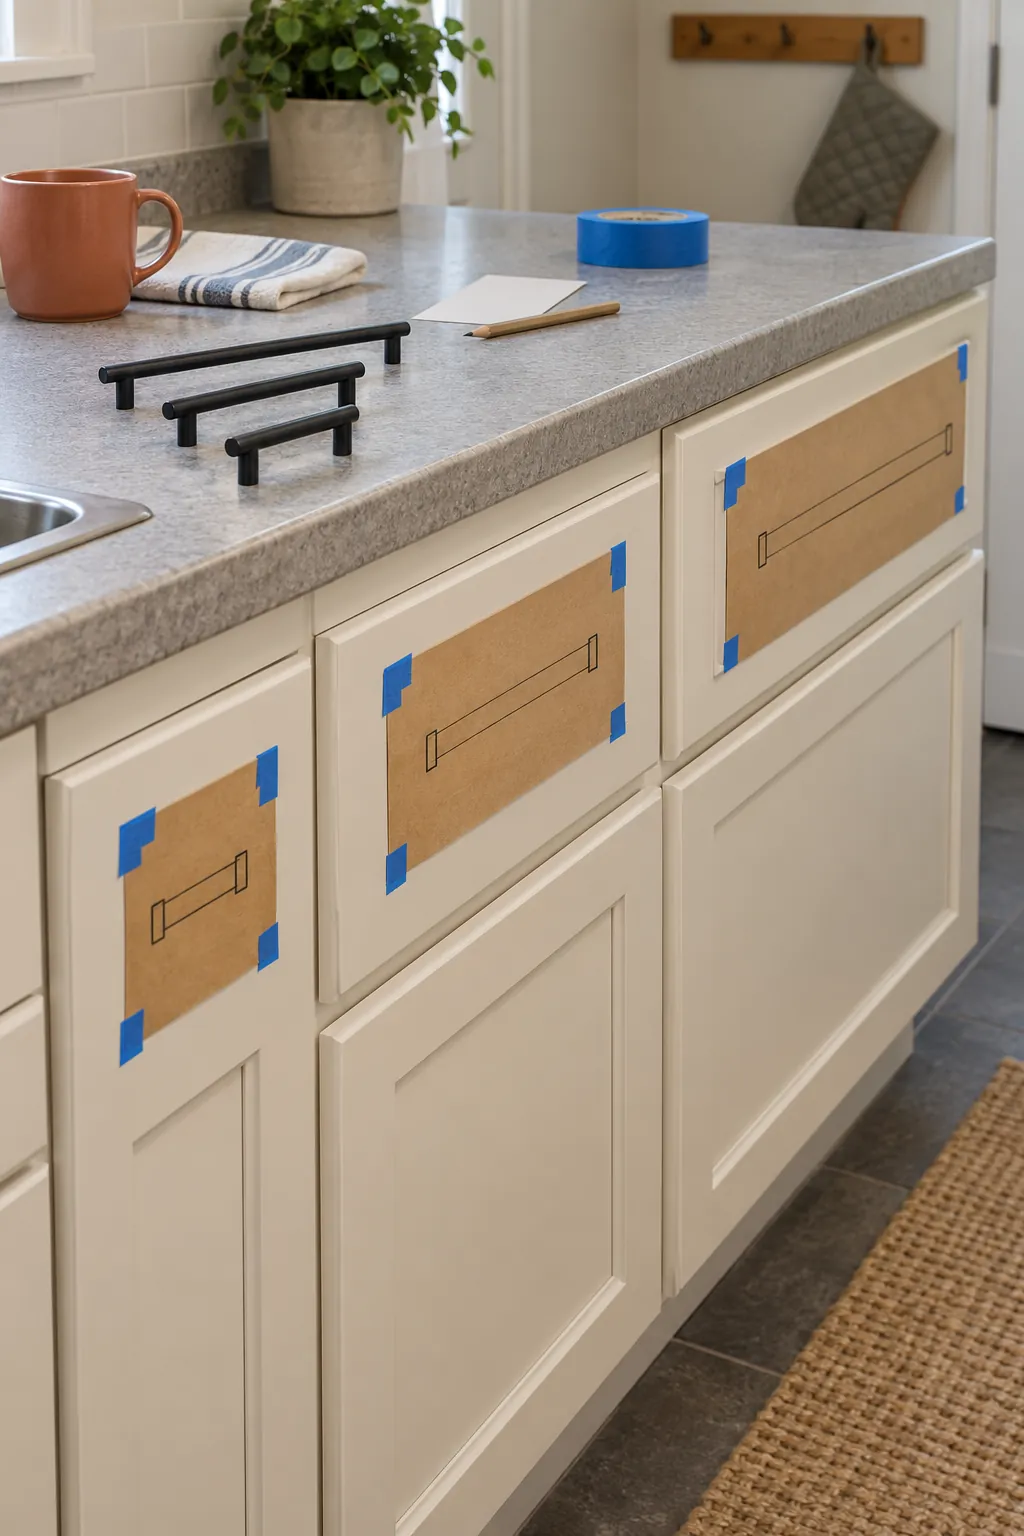
The familiar one third guideline is a useful starting point, not a rule that every drawer must obey. A pull near one quarter to one third of the drawer width usually looks balanced, yet using two or three coordinated sizes often looks calmer than matching every width with a different handle. Make paper templates and tape them to the fronts before you buy.
For wide, heavy drawers, a longer pull gives the hand more room and spreads the visual weight. Two small pulls can work on an especially wide traditional drawer, but one substantial pull is often easier to align and operate. Comfort matters as much as proportion.
Use knobs and pulls where each works best
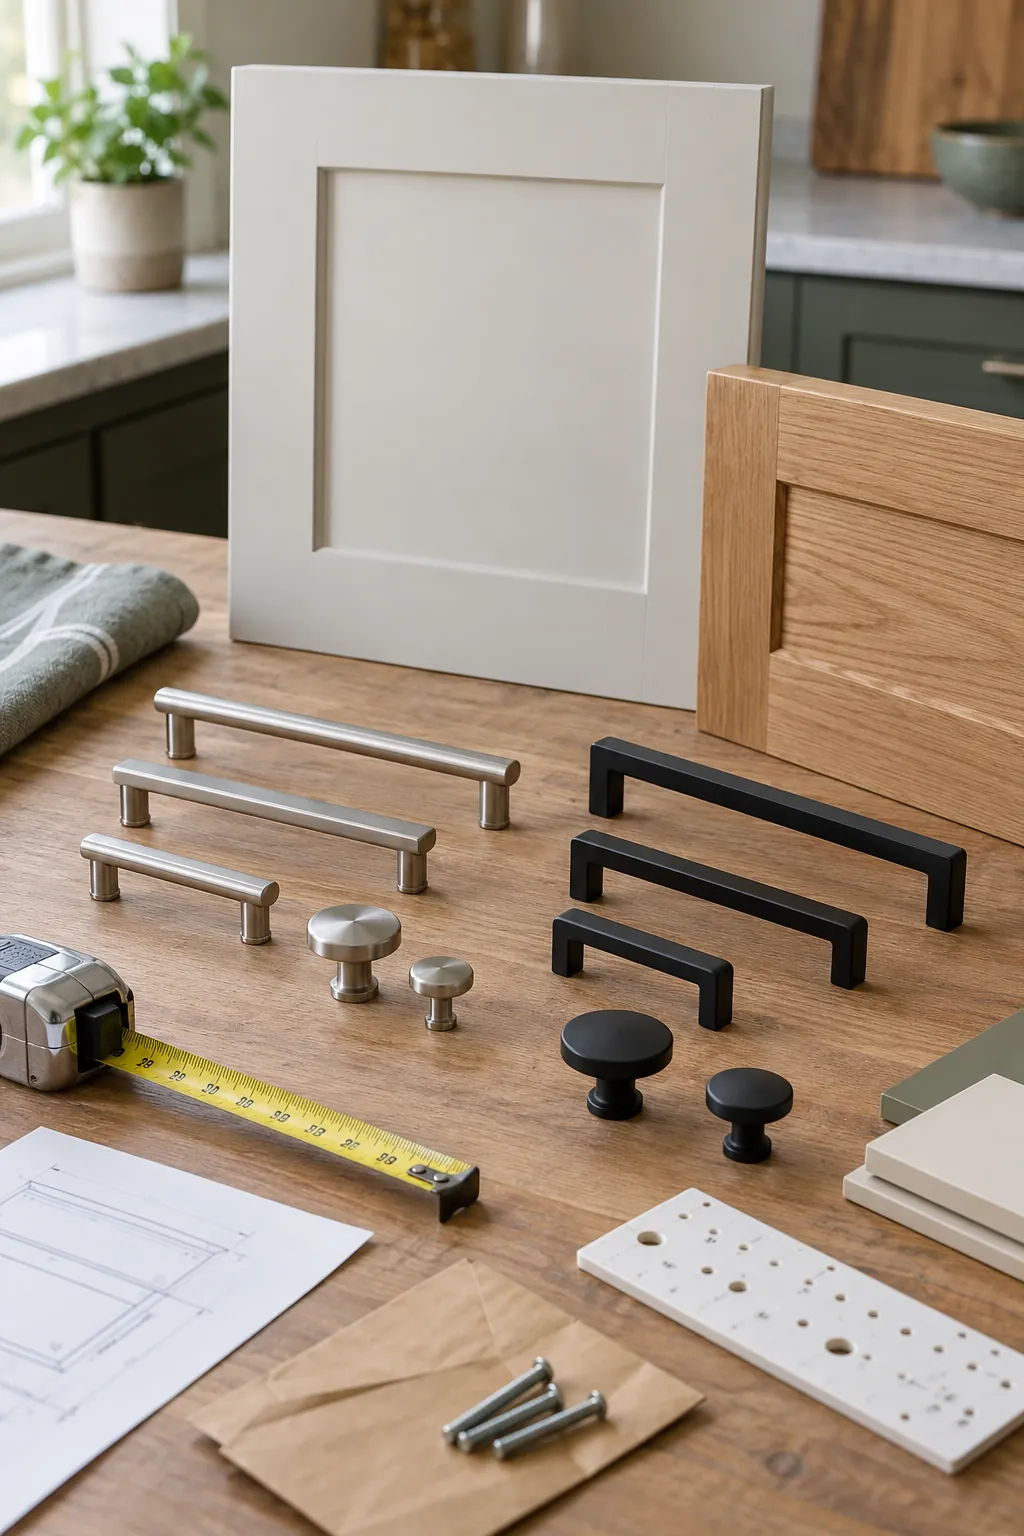
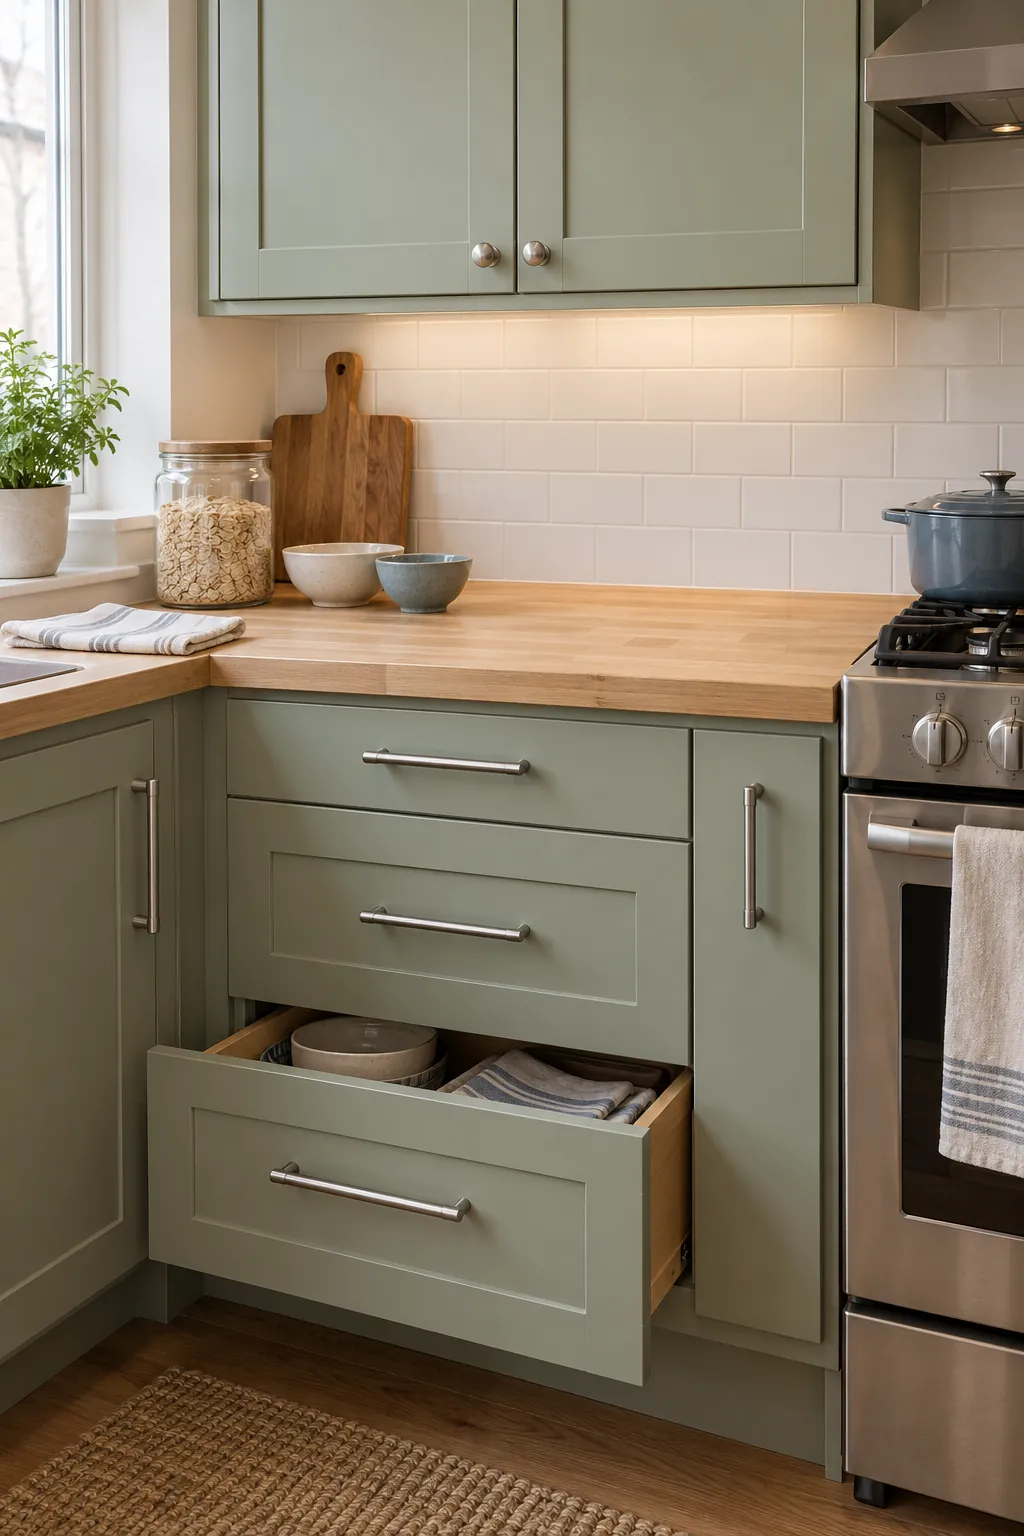
Cabinet pulls versus knobs is mainly a question of grip, cleaning, and style. Knobs cost less and need only one hole, so they suit light doors and tight budgets. Pulls give a fuller grip on deep drawers, trash pullouts, and frequently used doors.
A mixed plan can control cost without looking random. Use one knob style on upper doors and one matching pull family on drawers and lower doors. Keep the finish, shape language, and placement consistent so the two types read as one collection.
Compare brushed nickel and matte black
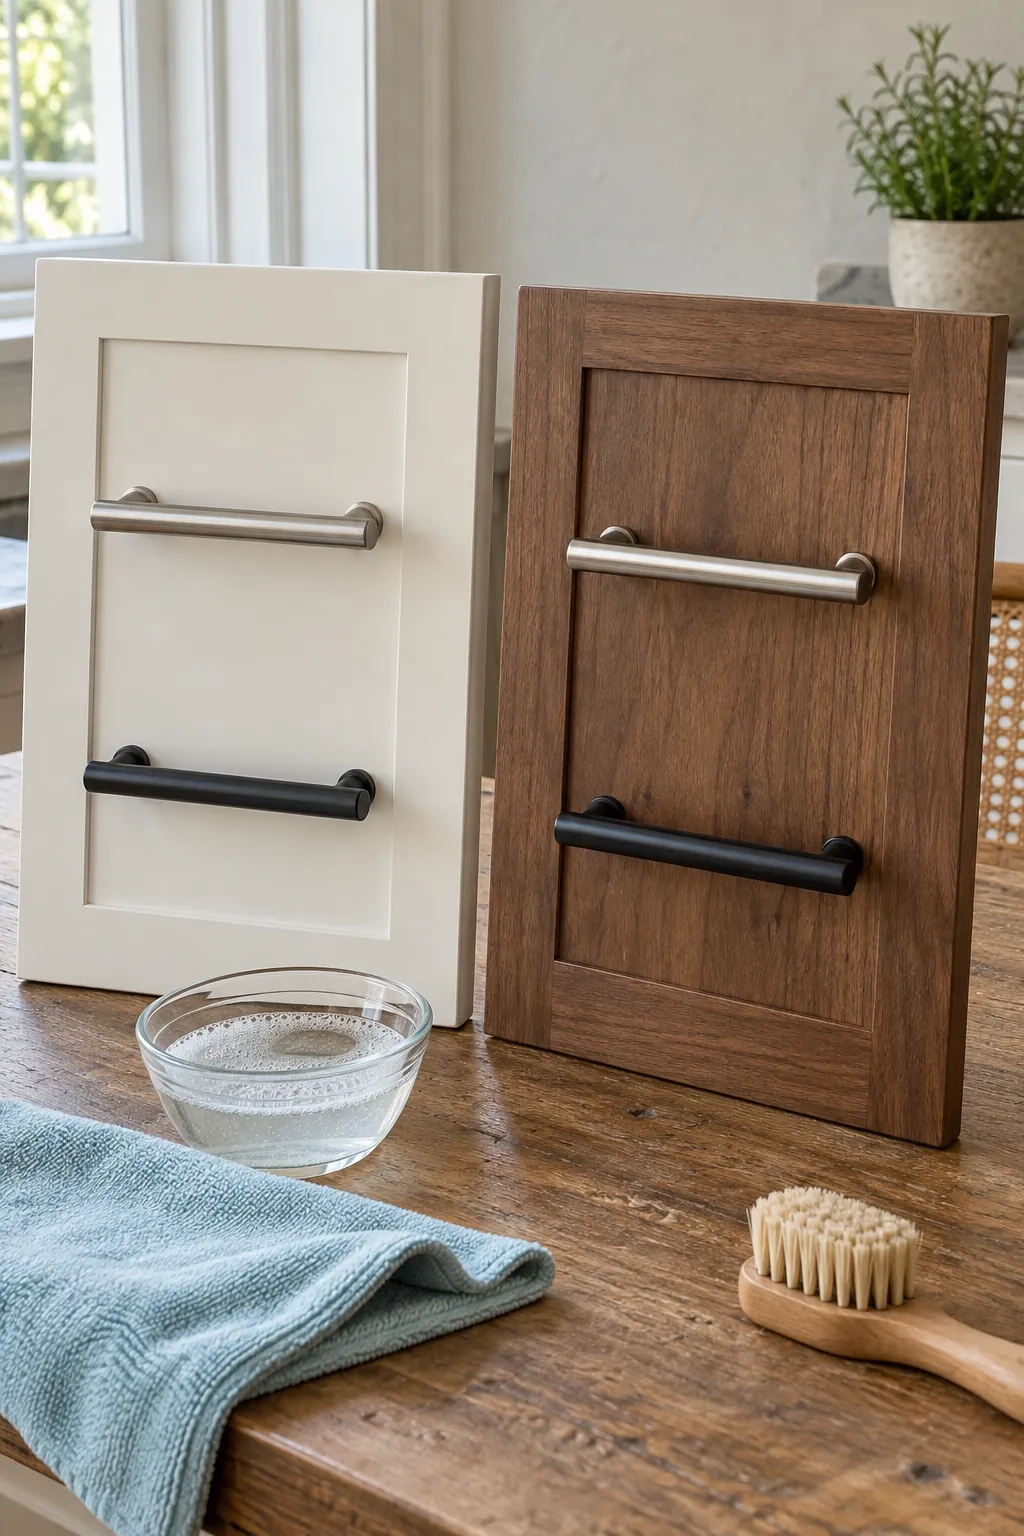
Brushed nickel hides light scratches, water spots, and fingerprints better than many polished finishes. Its soft sheen works with stainless appliances and offers an easy choice for a busy family kitchen. Matte black creates stronger contrast, especially on pale cabinets, but dust and oily marks can be more visible.
Finish durability depends on the coating quality and cleaning method, not color alone. Look for consistent coverage around edges and screw posts, then test a sample with the cleaner you normally use. Avoid abrasive pads and harsh chemicals on either finish.
Price the complete hardware set
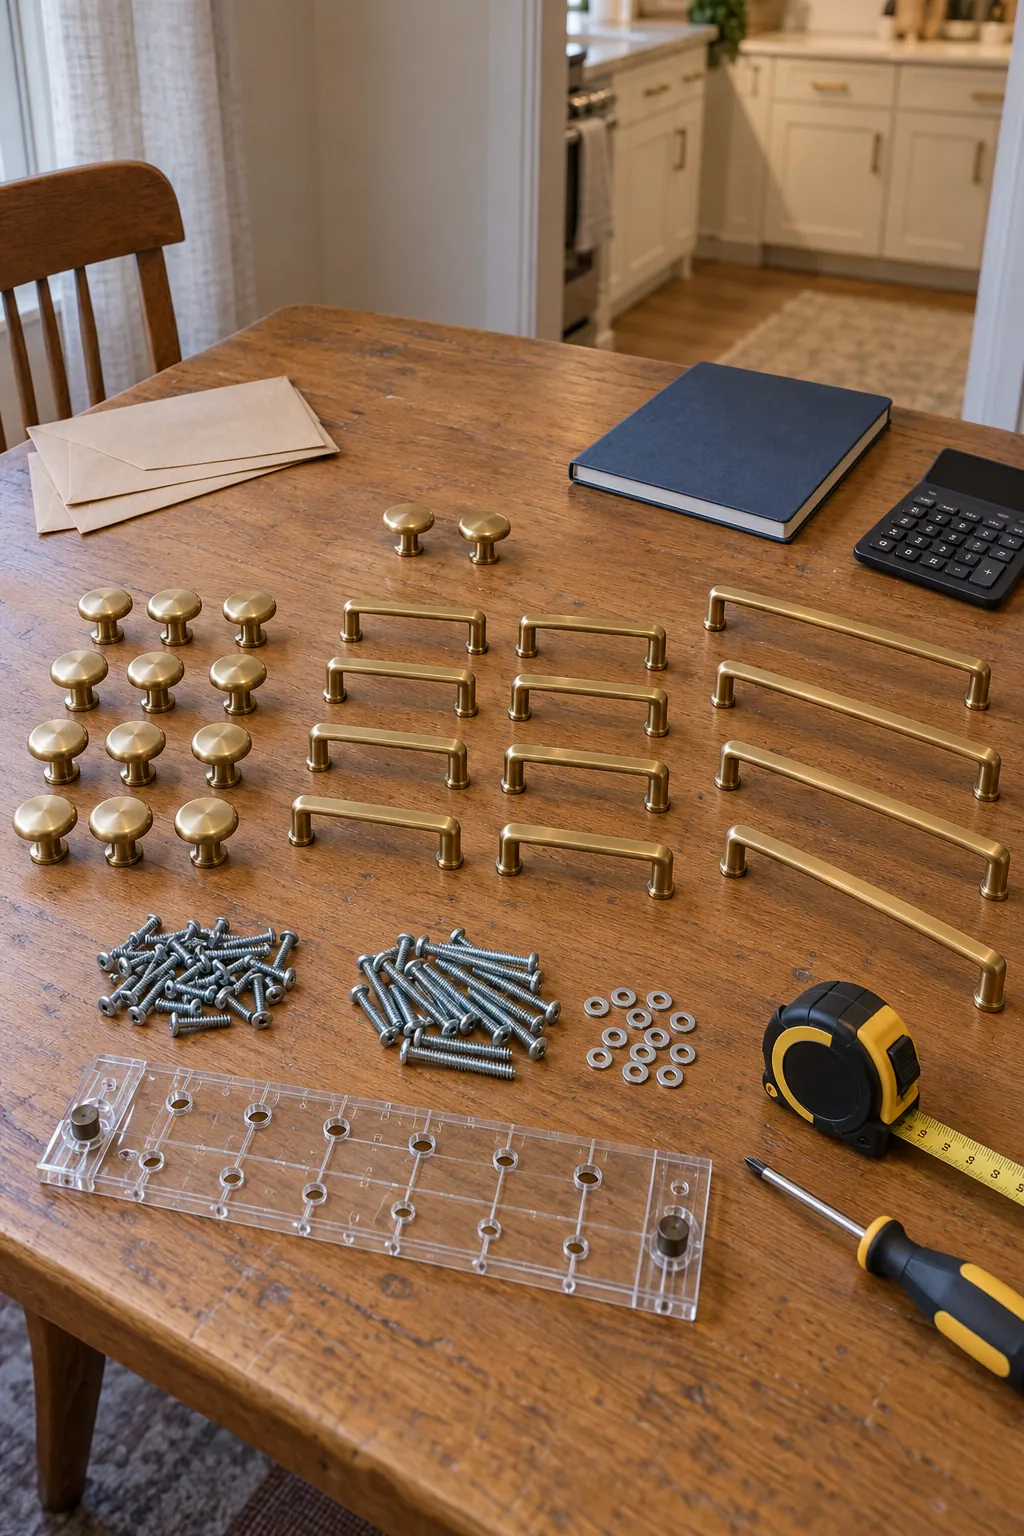
Count every door, drawer, false front, and specialty pullout before comparing budget cabinet hardware sets. Add a few spare pieces from the same production batch because finish tone can vary later. Include longer screws, washers, a drilling template, and possible hole repair in the true project cost.
Multipacks usually lower the price per piece, but only if the package contains the sizes you need. Compare weight, projection, edge comfort, included screw lengths, and return terms. A slightly higher priced solid pull can be a better value than a hollow pull with rough seams.
Test placement before drilling
Install samples on a scrap board or hold them in place with removable putty. Open nearby doors and appliances to confirm that long pulls do not collide, then grip each sample with wet and dry hands. Check sharp corners, finger clearance, and how easily the finish wipes clean.
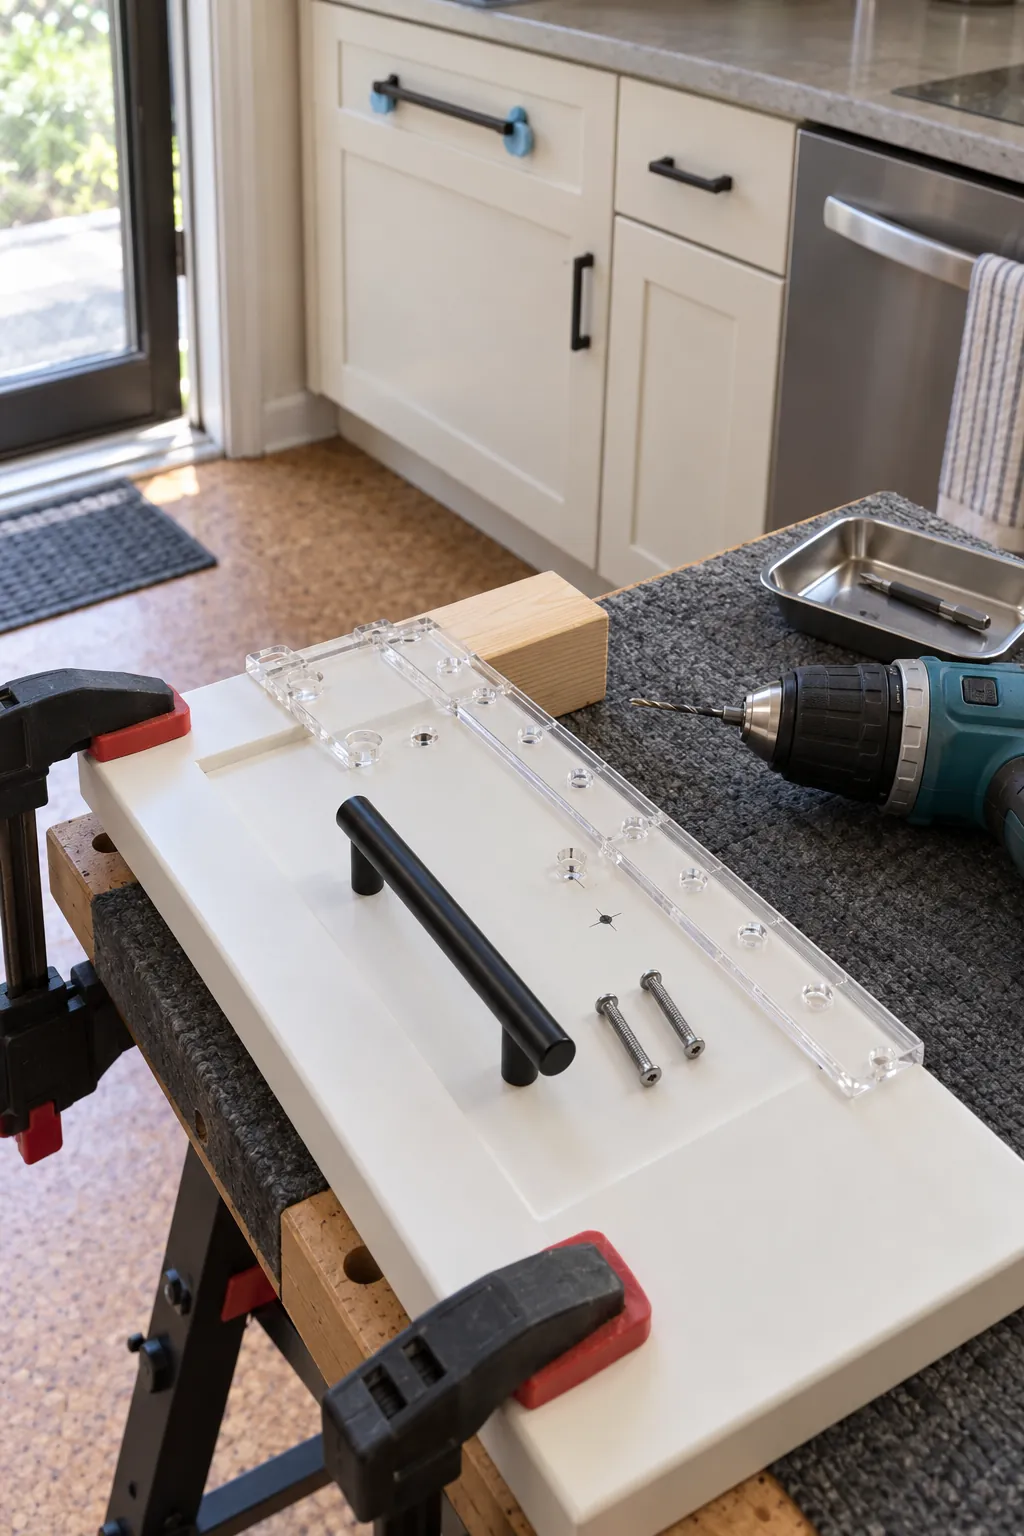
Use a rigid template and mark every location from the same cabinet edge. Drill a small pilot hole from the front, support the back with scrap wood, and avoid overtightening the screws. The few minutes spent on a test layout protect the entire budget.