
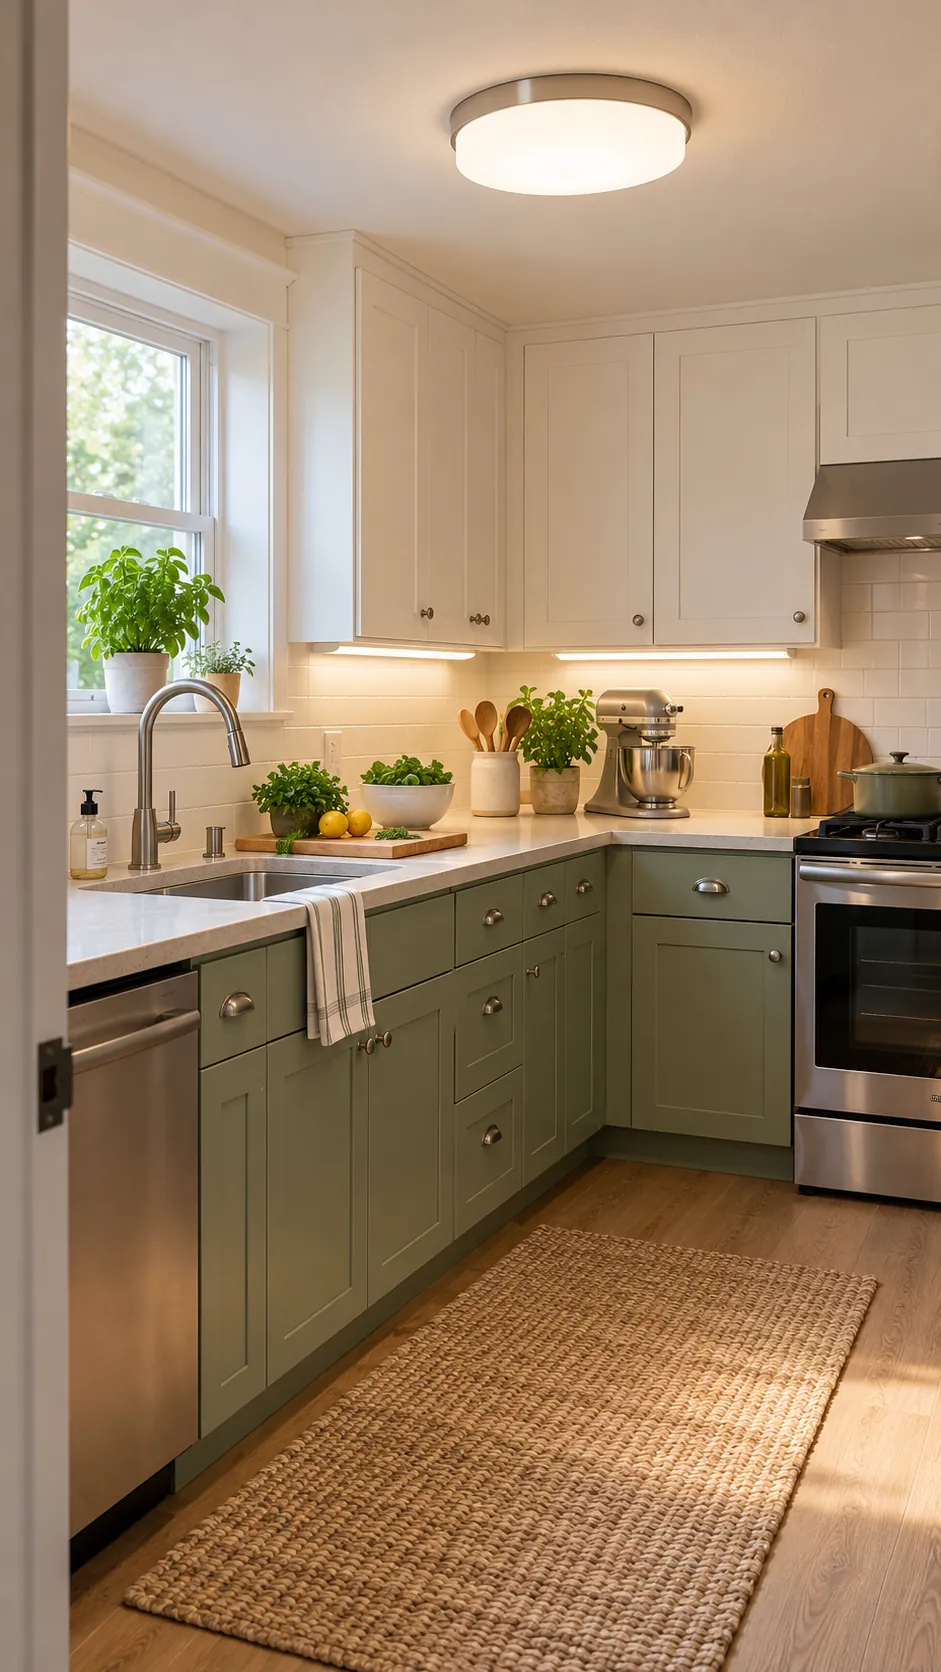
A small lighting budget works best when each purchase solves a specific problem. Start with the counter where you prepare food, then improve the main ceiling light, and use any remaining money for controls or bulbs. The sample prices below are planning allowances, so check local prices and keep tax, delivery, and any professional electrical work outside the product total.
Measure the kitchen before you shop
Walk through the room after dark and note where your body blocks the ceiling light. Measure the cabinet runs that need task light, count available outlets, and record the base type in every existing fixture. A phone photo of each label and junction point can prevent a second store trip, but do not open a wired box or handle live conductors.
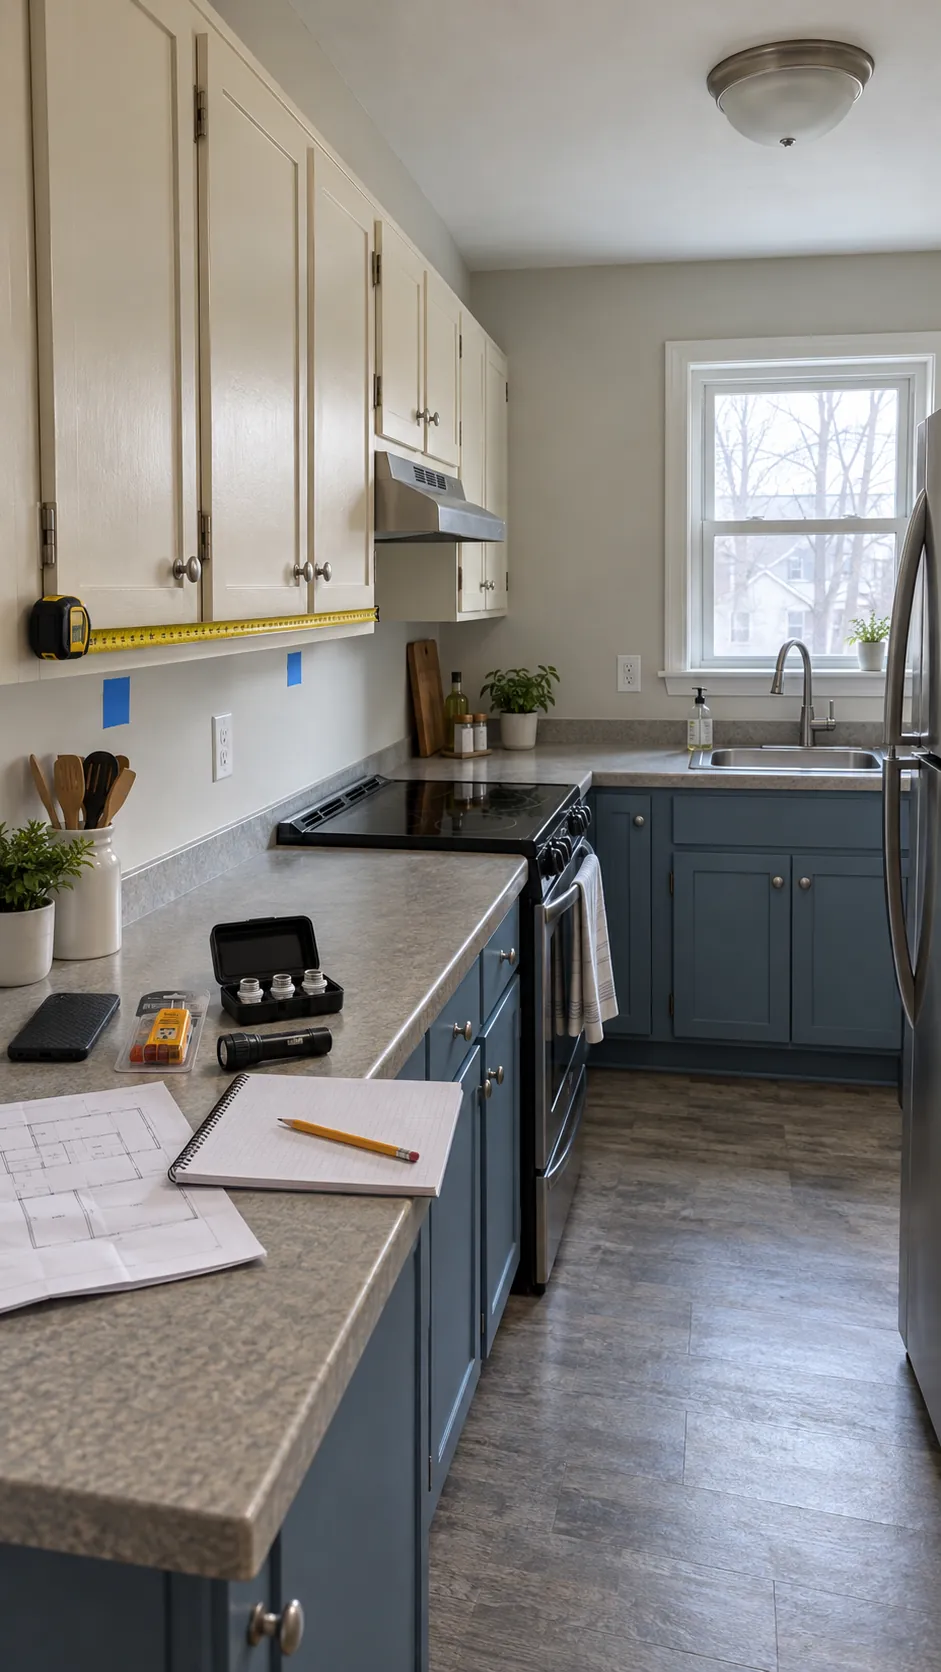
Write down three priorities in plain language: safer food preparation, brighter general light, and softer evening light. Those goals matter more than a long product list. If the room already has good ceiling coverage, move more of the budget toward counter lighting and reliable dimmable bulbs.
Allocate about eighty dollars to task lighting
Under cabinet lighting usually produces the largest practical improvement because it puts light in front of you instead of behind you. For a simple plug in plan, allow about fifty to eighty dollars for linked light bars or a quality strip kit with a listed power supply, diffuser, clips, and enough cable for the measured run. Choose a product with a clear lumen figure, a neutral white option, and a switch or dimmer that you can reach without moving appliances.
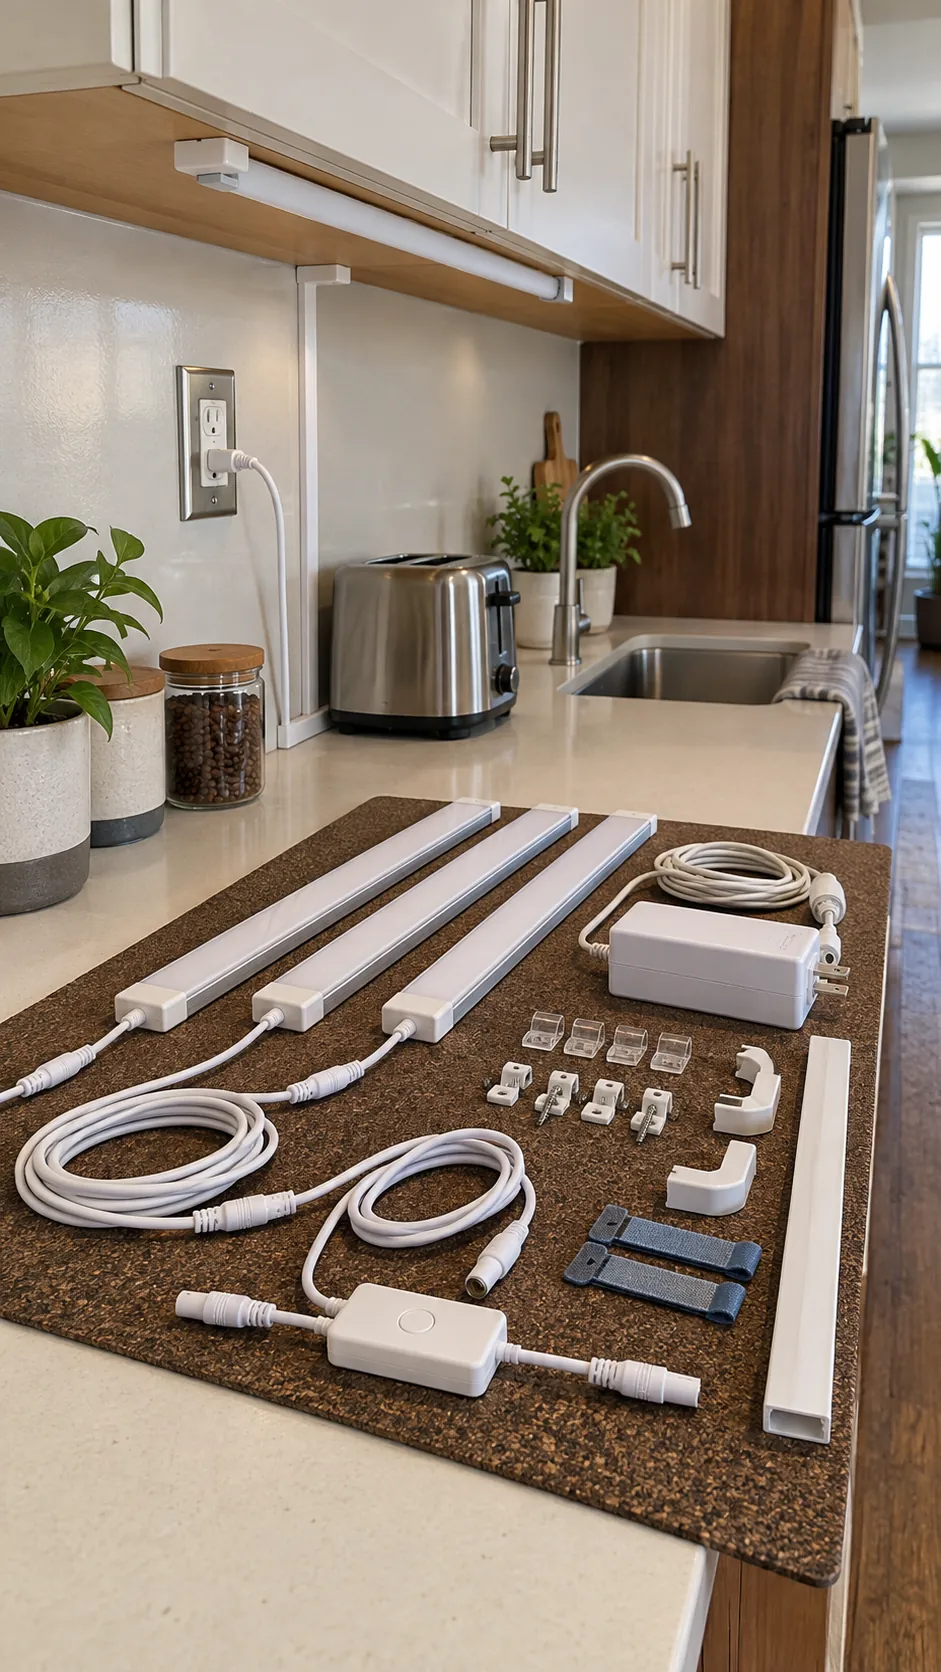
Place bars near the cabinet front edge so the beam reaches the work surface and hides the bright source from normal view. A strip should sit in a channel with a diffuser when individual points would reflect from polished stone. Do not run a low voltage cable across a cooktop, pinch it in a door, or hide a power supply where heat cannot escape.
Reserve sixty dollars for the main ceiling fixture
A shallow flush mount can improve general light without the cost and ceiling work of adding recessed fixtures. A planning allowance of forty to sixty dollars can cover a simple fixture with a diffused lens, provided the existing box is correctly placed and rated. Compare the fixture diameter with cabinet doors and ceiling obstructions before buying.
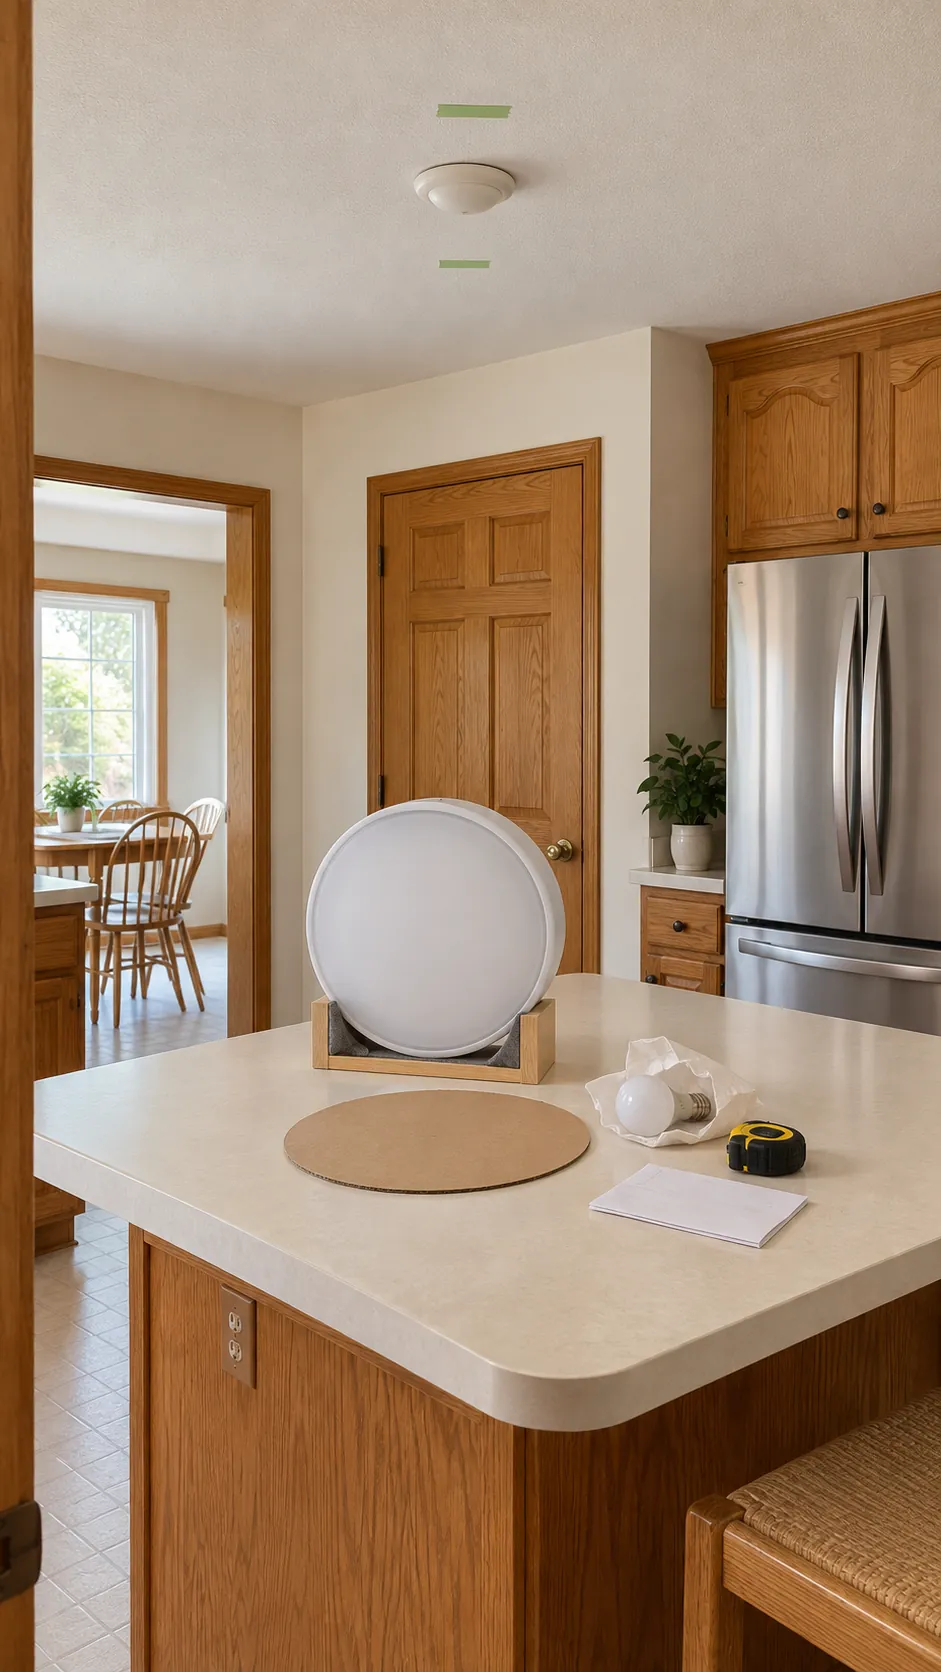
Look for a replaceable bulb design if easy future service matters, or choose an integrated fixture only when its warranty and output information are clear. A broad diffuser is usually more comfortable than a small exposed source. Hire a qualified electrician when the box, wiring, grounding, switch, or installation condition is uncertain.
Spend thirty dollars on matched LED bulbs
Matched bulbs can make mixed fixtures look intentional. Set aside about twenty to thirty dollars for a small multipack with the correct base, useful brightness, consistent color appearance, and compatibility with any existing dimmer. For most kitchens, a neutral or warm neutral color keeps food natural while remaining comfortable in the evening.
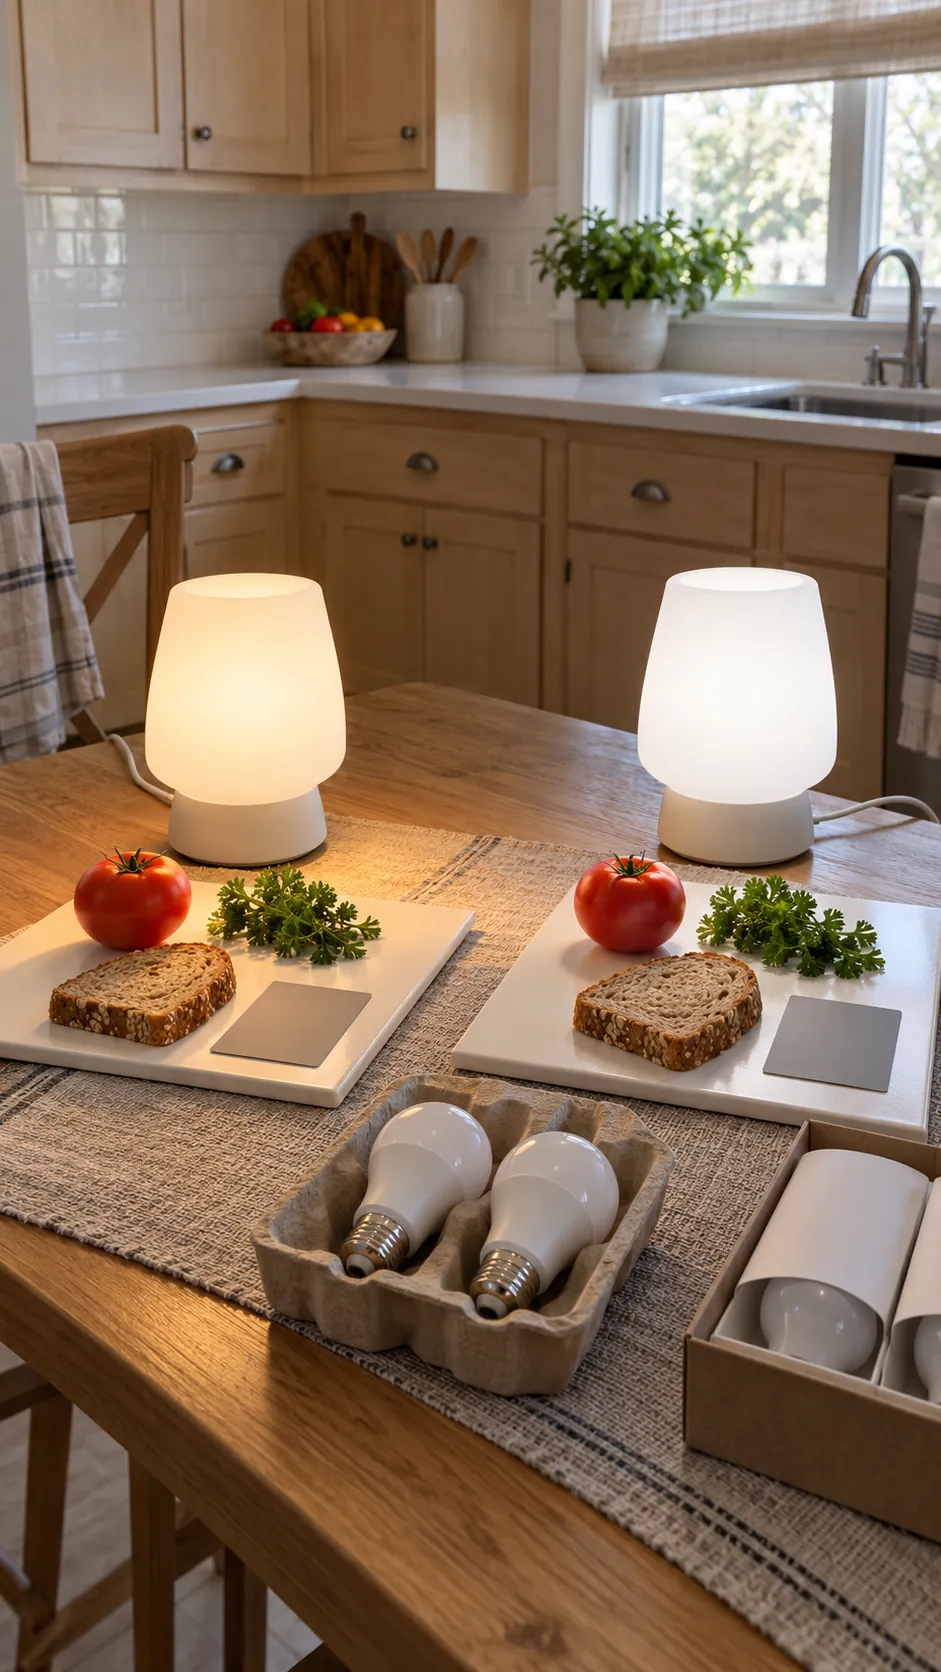
Brightness should match the job rather than a single room total. Stronger general light can come from the ceiling fixture, while under cabinet lights handle cutting and cleaning. Keep the receipt until every bulb has been tested for flicker, noise, color consistency, and stable dimming.
Use the last thirty dollars for control and cable management
A plug in dimmer, smart plug, cord clips, and a small cable cover can make an inexpensive system easier to use. Reserve about twenty to thirty dollars for these finishing parts instead of treating them as an afterthought. Verify the control rating and confirm that the lamp or power supply is designed for that control method.
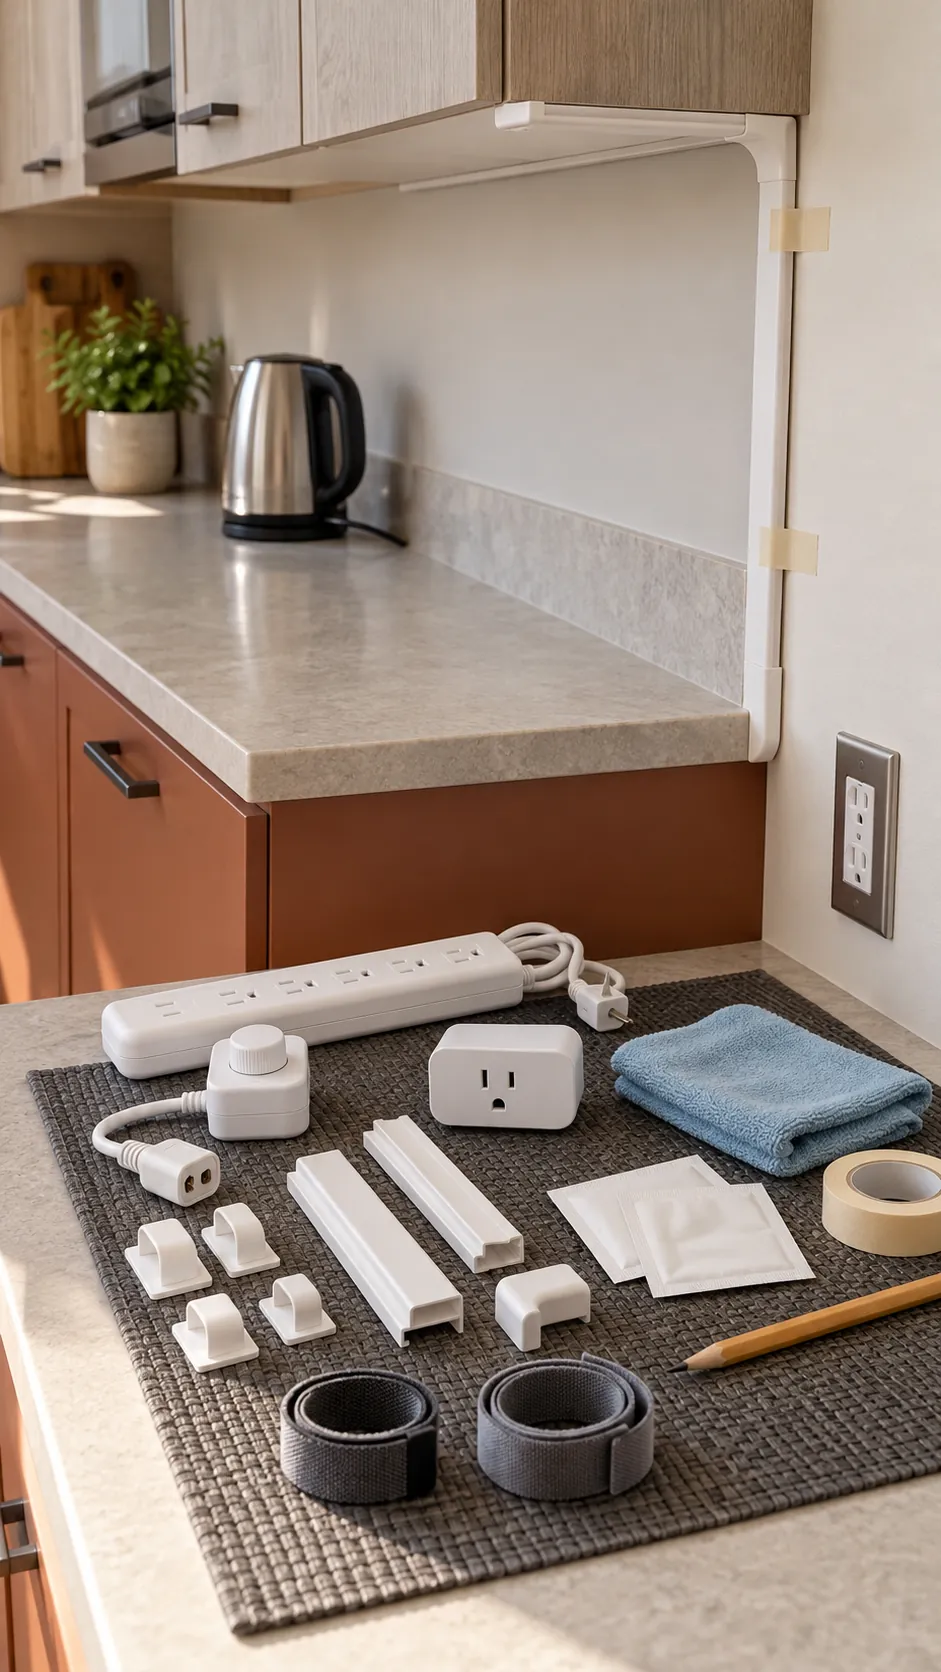
Route cords along cabinet edges and keep plugs accessible. Adhesive clips need a clean surface and enough time to bond. If a cord must cross a sink, range, drawer, or doorway, change the layout rather than forcing the route.
Test the complete two hundred dollar plan
A balanced sample budget is eighty dollars for task lighting, sixty dollars for a ceiling fixture, thirty dollars for bulbs, and thirty dollars for controls and cable management. Install only the plug in parts that you can use safely, then test the kitchen at breakfast time, during food preparation, and after dark. Return products that flicker, create glare, show poor color, or leave important counter zones in shadow.
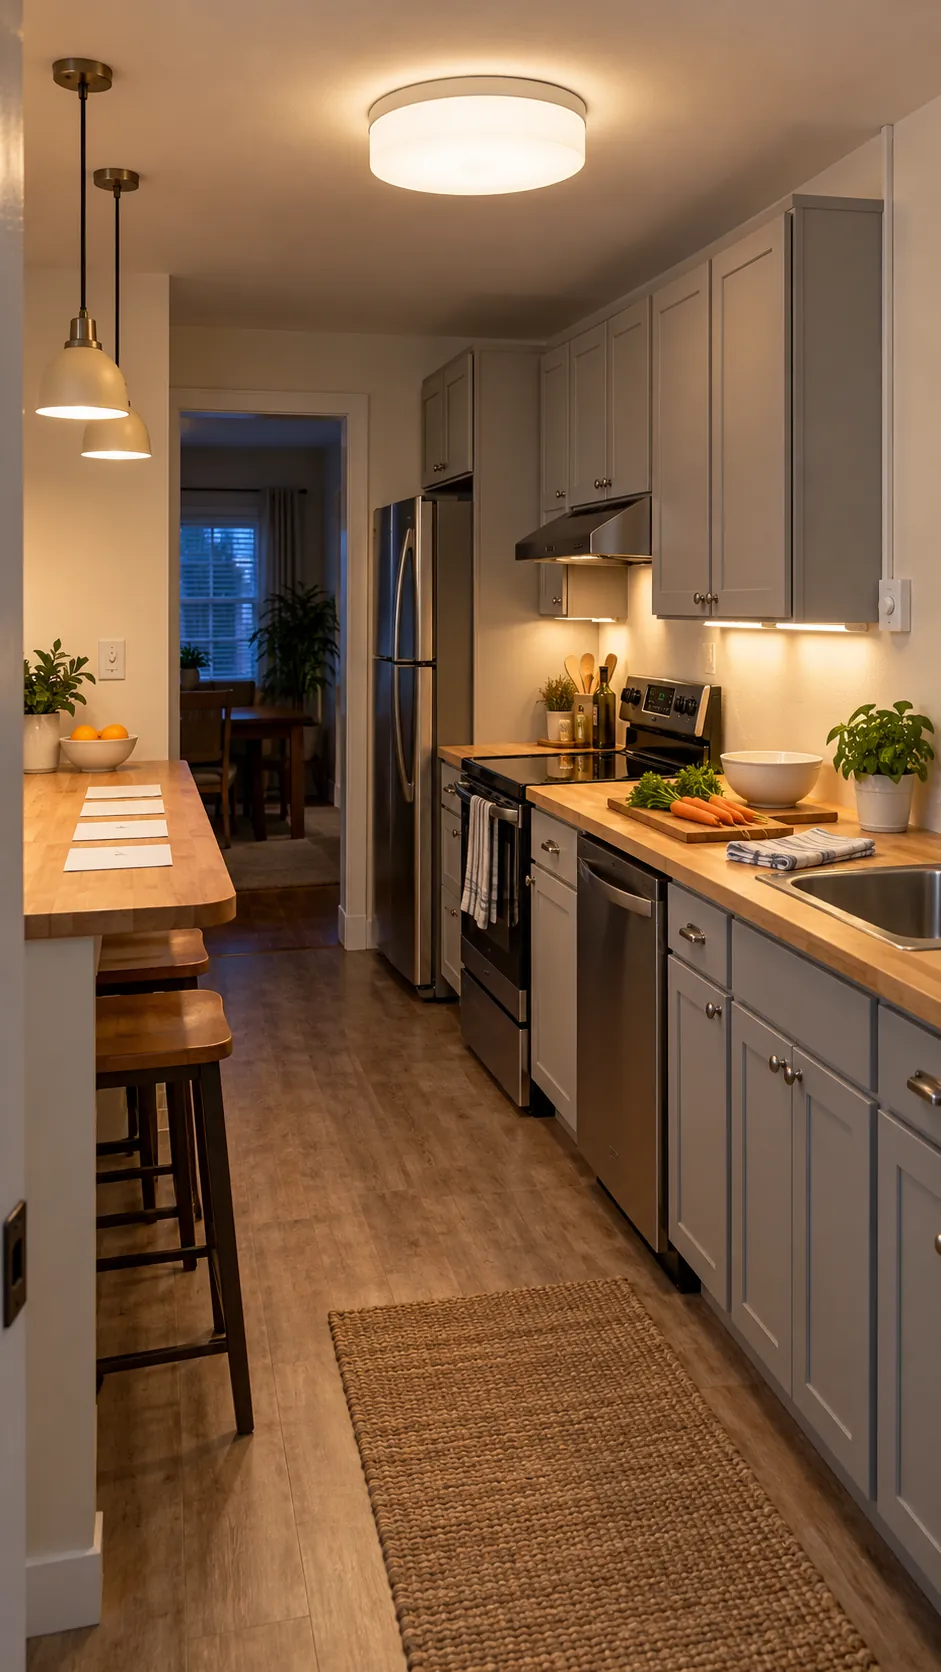
Keep a small reserve when prices permit, because connectors and longer cords often appear after the first layout test. Do not spend the whole allowance on one decorative fixture while work surfaces stay dark. The best result is a kitchen that feels easier to use every day, with safe installation and enough flexibility to replace one component later.