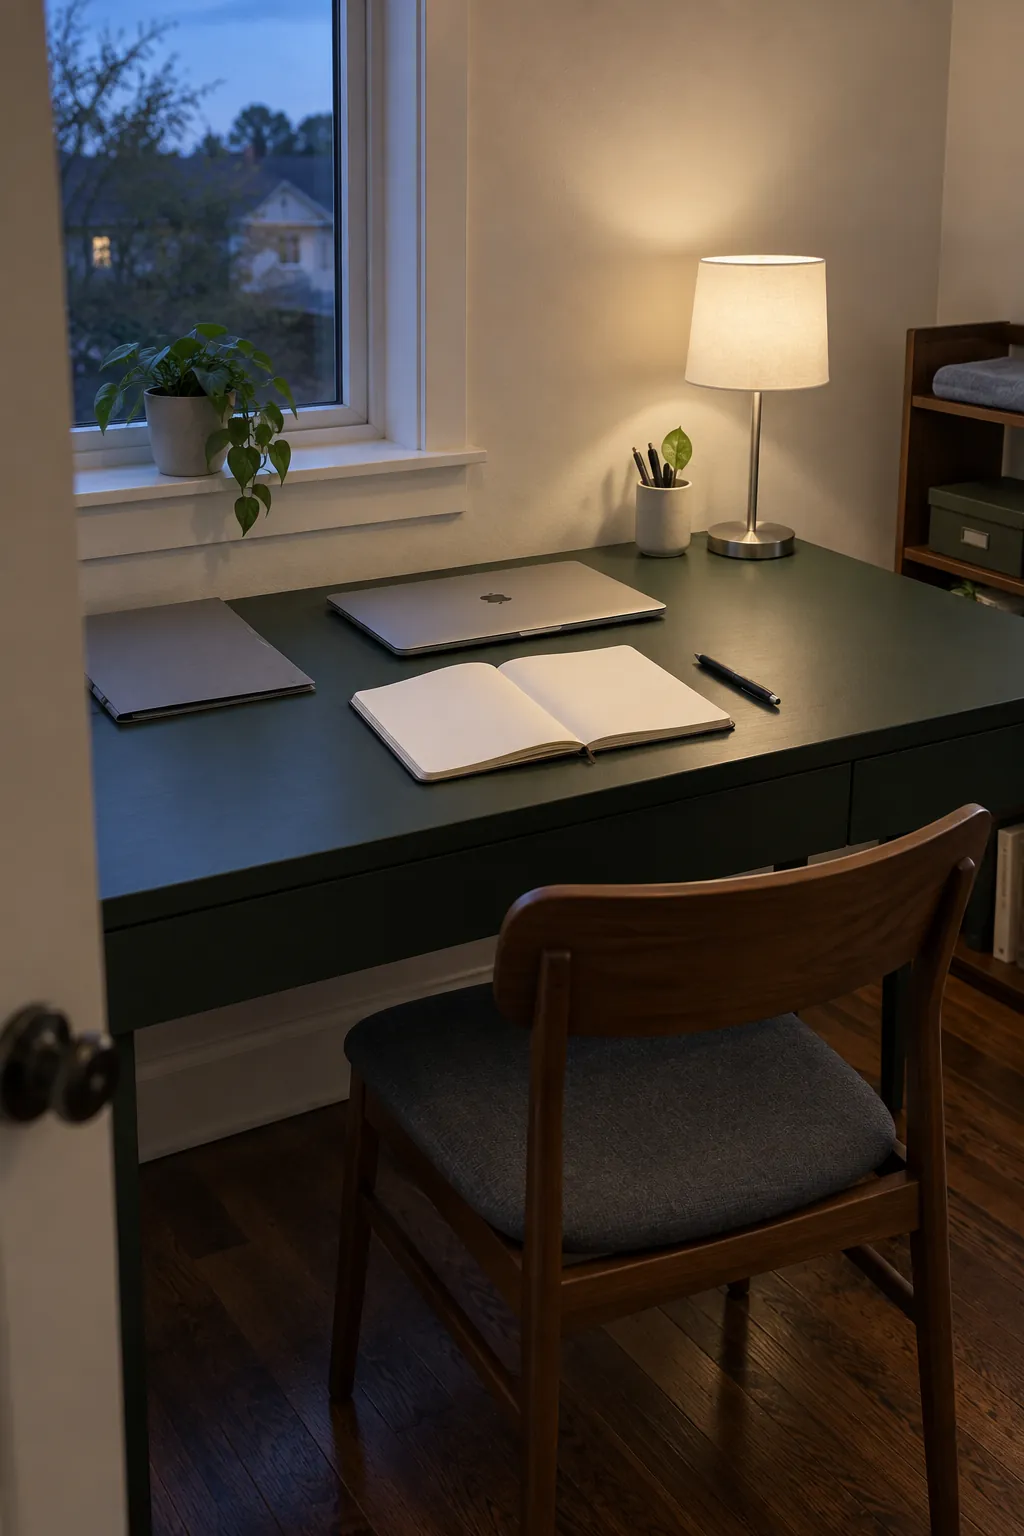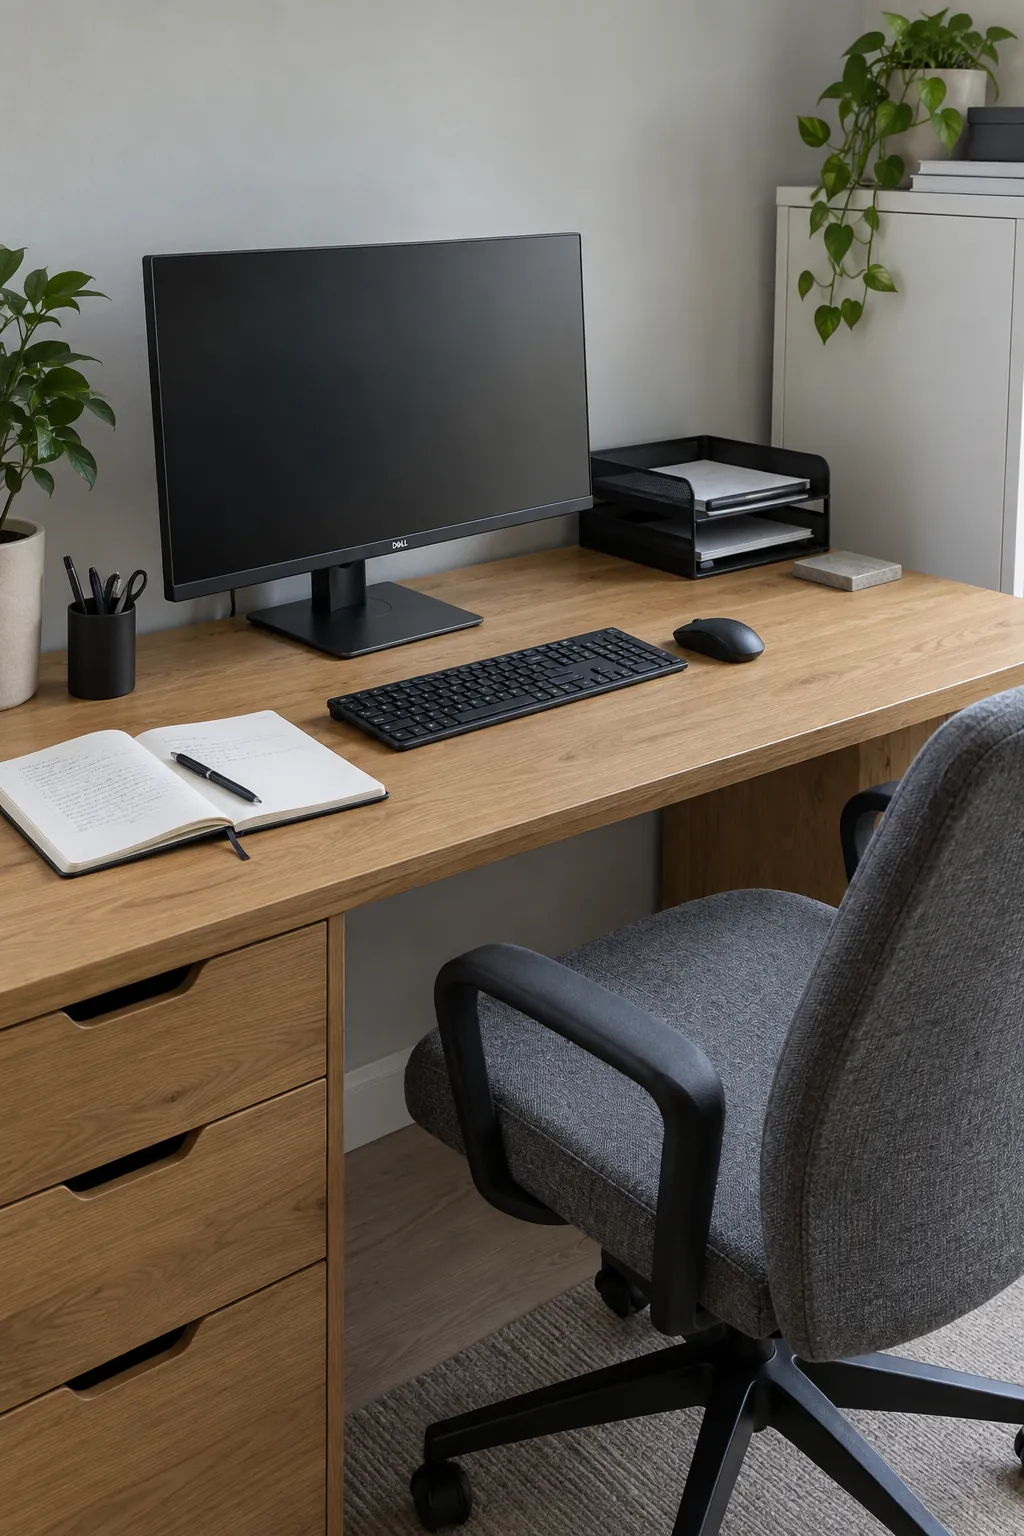
If the desk is clear on Sunday and covered again by Tuesday, buying another organizer may only move the pile. The missing piece is usually a destination for incoming papers, loose cables or the tools you use between tasks. Build those destinations into the layout so putting things away is part of using the desk.
Decide what earns a permanent place
A desk that stays usable needs a smaller permanent inventory than the room around it. Put everyday work tools in one group, occasional supplies in another and objects that belong elsewhere in a third. Remove rubbish and dishes first so they do not get disguised as an organizing problem.
Return the items you genuinely use during a normal work session, starting with the computer, input devices and current notebook. Add a lamp if the position needs one, then stop and try the arrangement. If you keep shifting an object to reach the keyboard, its assigned place is probably wrong.
A clean desk aesthetic does not require throwing away useful belongings. It requires keeping spare chargers, old projects and decorative extras out of the active work zone. Store them where they can be found without emptying a crowded drawer.
Protect one clear area for the current task
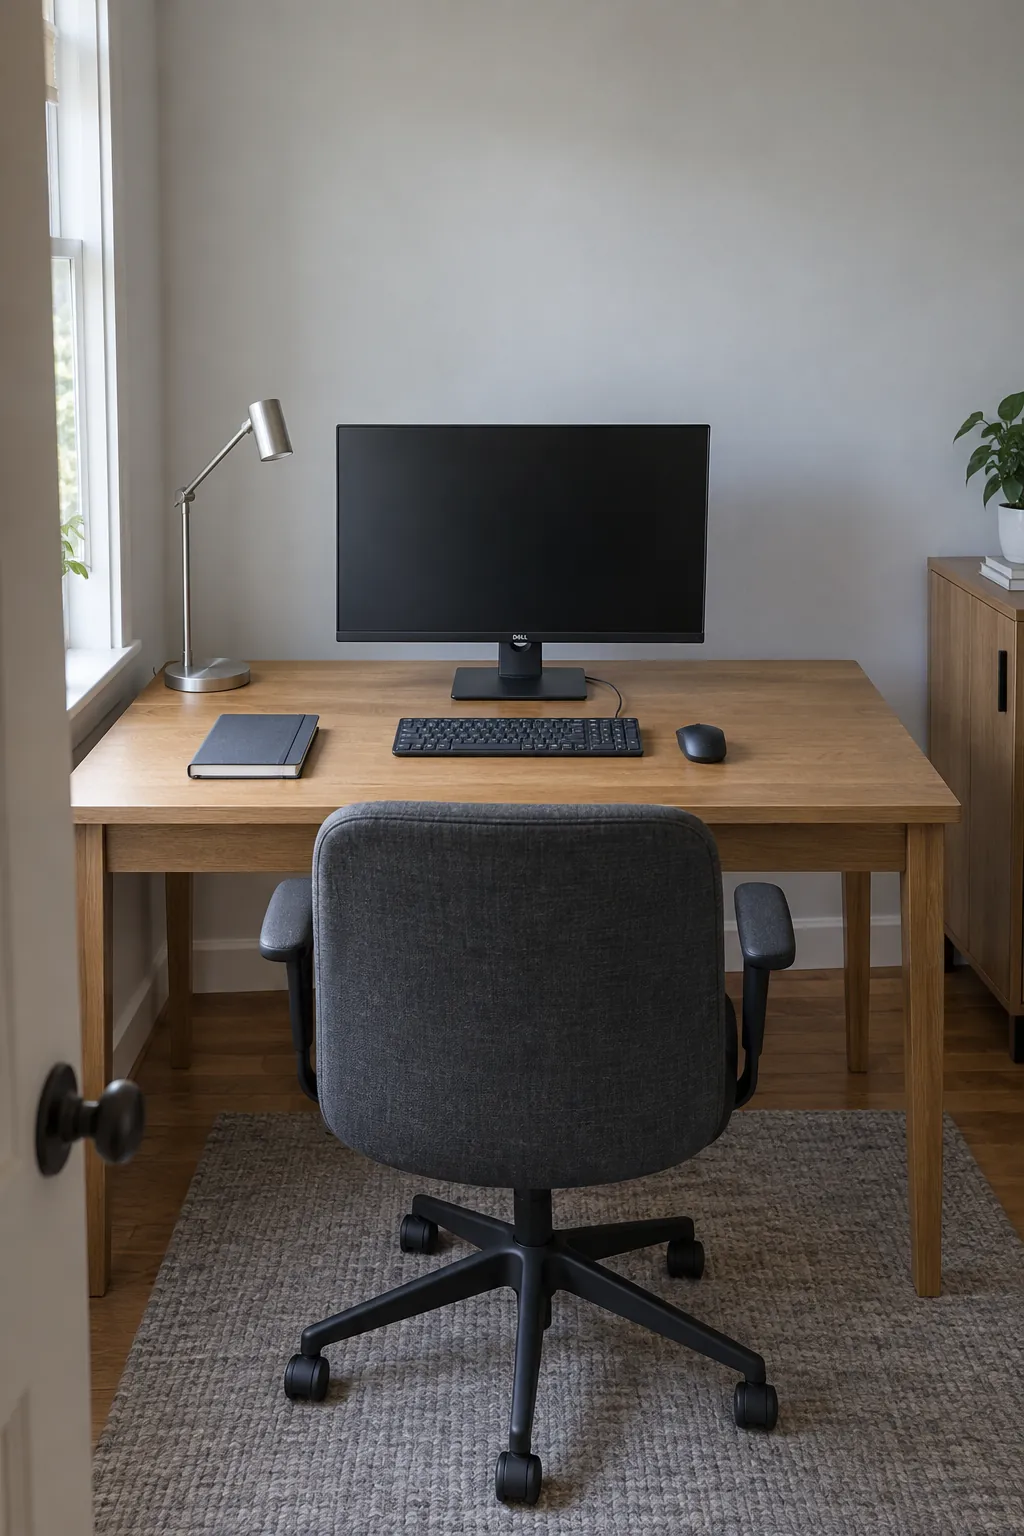
Place the main screen and keyboard around your seated position, then reserve a neighboring patch of desk for paper work. That area should fit the notebook or document you actually use, not merely a decorative tray. In a small desk setup, keeping one side open often matters more than adding another organizer.
If your laptop is raised, use an external keyboard and mouse so the screen position does not determine your wrist position. Keep the mouse close enough that you are not reaching around a mug or speaker. Check chair clearance and foot space before moving storage underneath the desk.
Give incoming paper an exit route
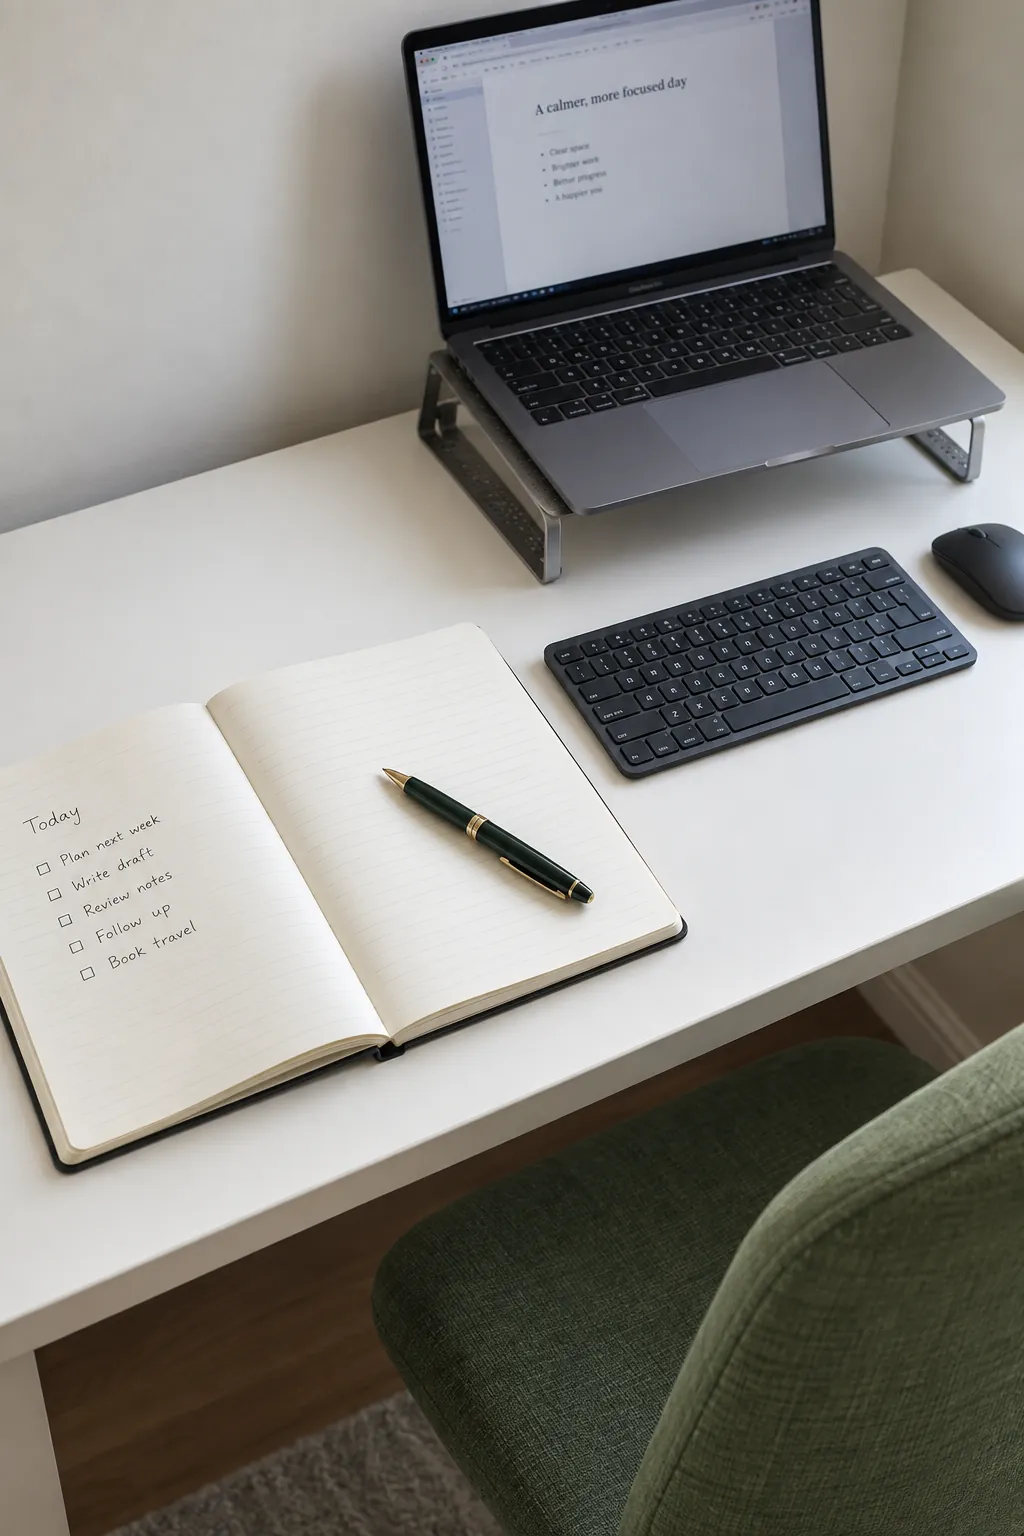
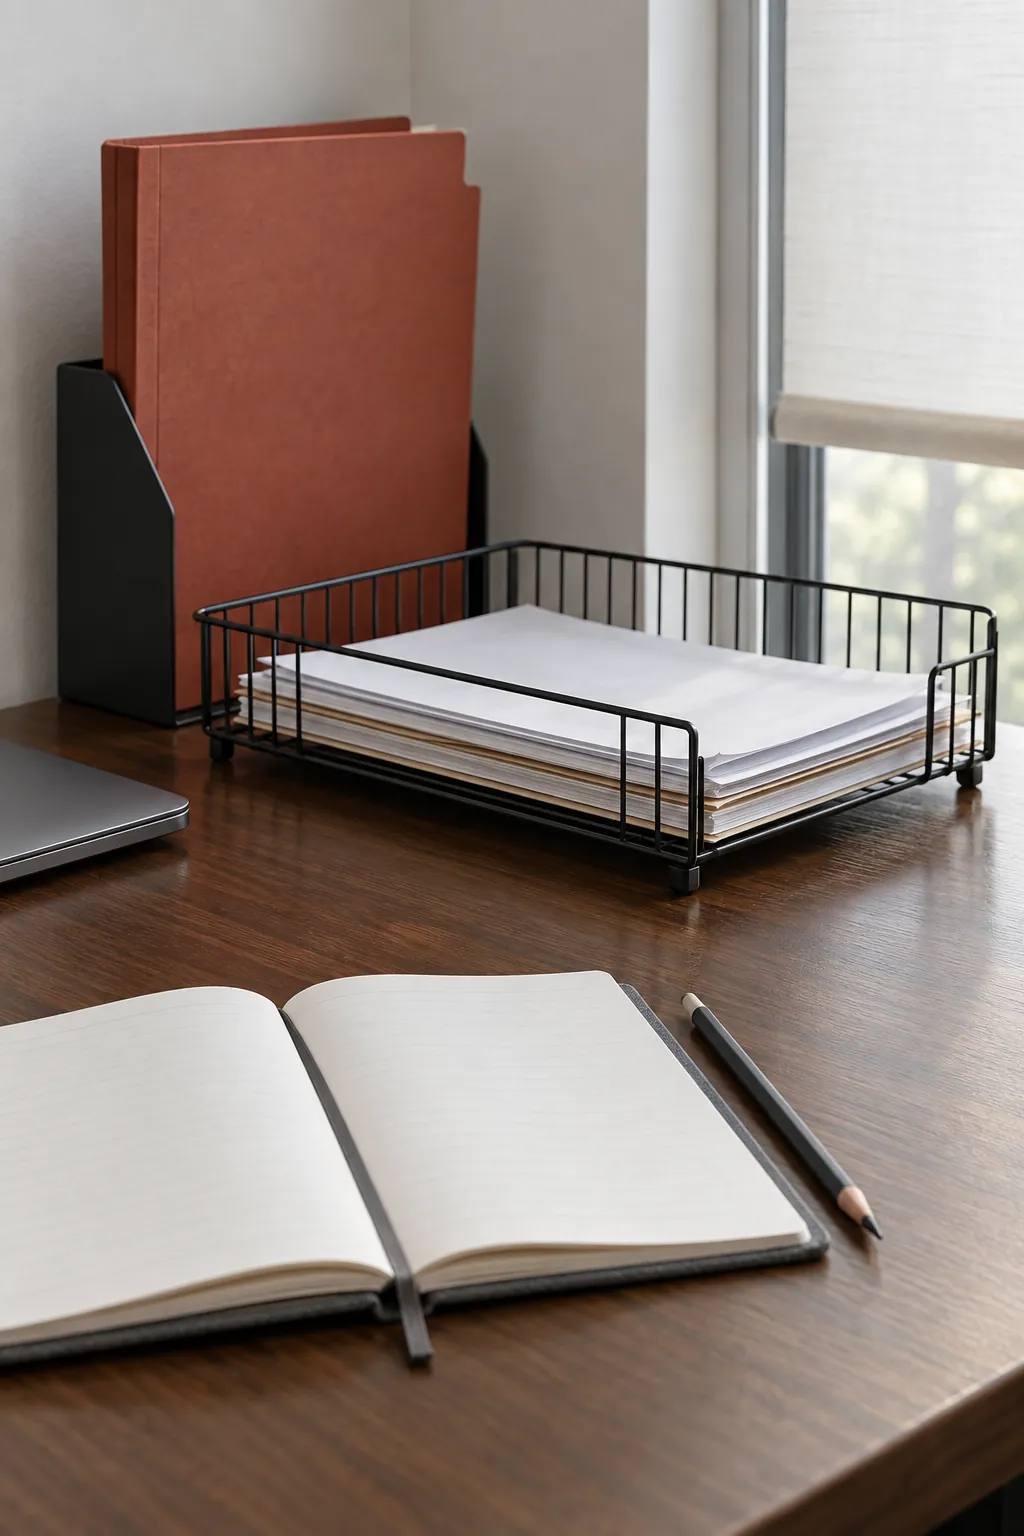
Use one shallow tray for papers that still require action. Put reference documents in their proper file and remove papers you no longer need, handling personal information appropriately. A taller pile is not a better system just because it fits inside an attractive container.
Choose a regular moment to review the action tray, such as the end of your working day. For each paper, decide the next action and where it belongs after that action is finished. If the tray fills faster than you empty it, reduce what enters or review it more often instead of adding a second unsorted pile.
Keep the current project within reach and archive finished projects away from the desktop. A slim folder can hold materials you need to resume tomorrow without leaving every sheet spread out. A digital copy is useful only when it is readable, securely stored and acceptable for the document’s purpose.
Route working cables rather than hiding the problem
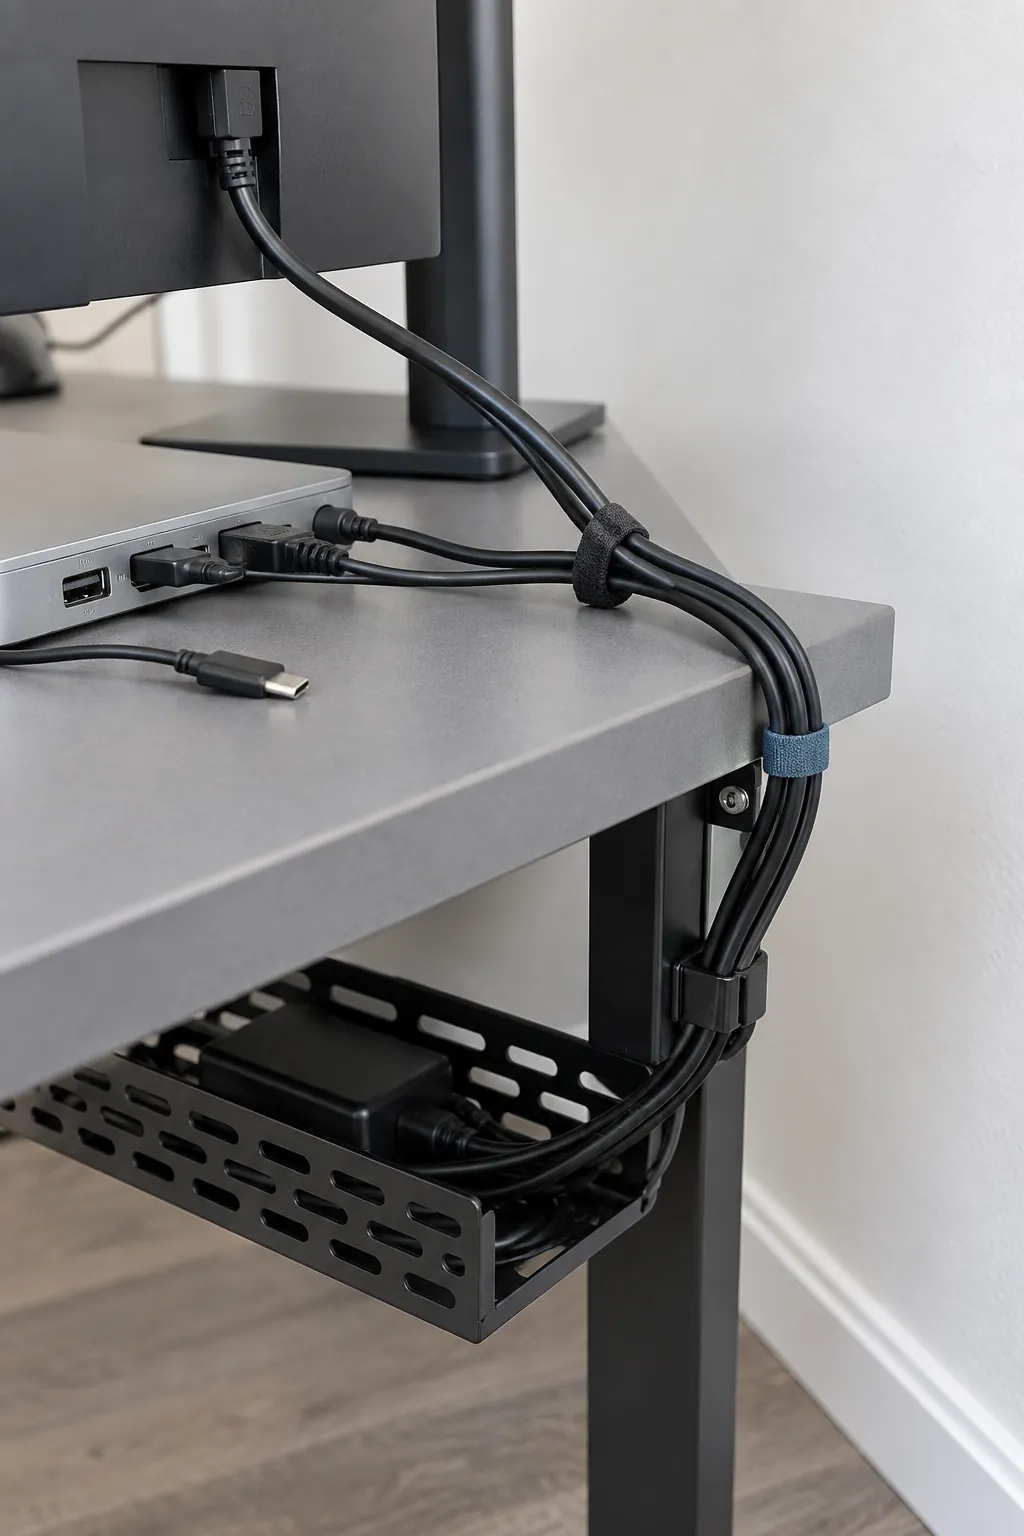
Identify each cable before bundling it so you know which device it serves. Remove unused leads and route the remaining ones toward a shared rear path, leaving gentle slack at connectors. Reusable ties are easier to reopen than permanent tight bundles when you change a device.
Keep power adapters ventilated and follow the mounting instructions for any tray or power strip. Never connect power strips to one another to make the desk look tidier. Avoid pinching cables under furniture, bending them sharply or routing them where a chair wheel can catch them.
For a standing desk, test the cable path throughout the height range you use. A tidy bundle at sitting height may pull on a socket once the desktop rises. Leave the laptop’s daily connection accessible so packing it away does not disturb the entire arrangement.
A cable that is visible but safely routed is better than one concealed in a location you cannot inspect. Aim to reduce distracting loops while keeping plugs reachable. Photograph the finished connections for your own reference if the equipment is difficult to see from the chair.
Keep supplies close without filling the surface
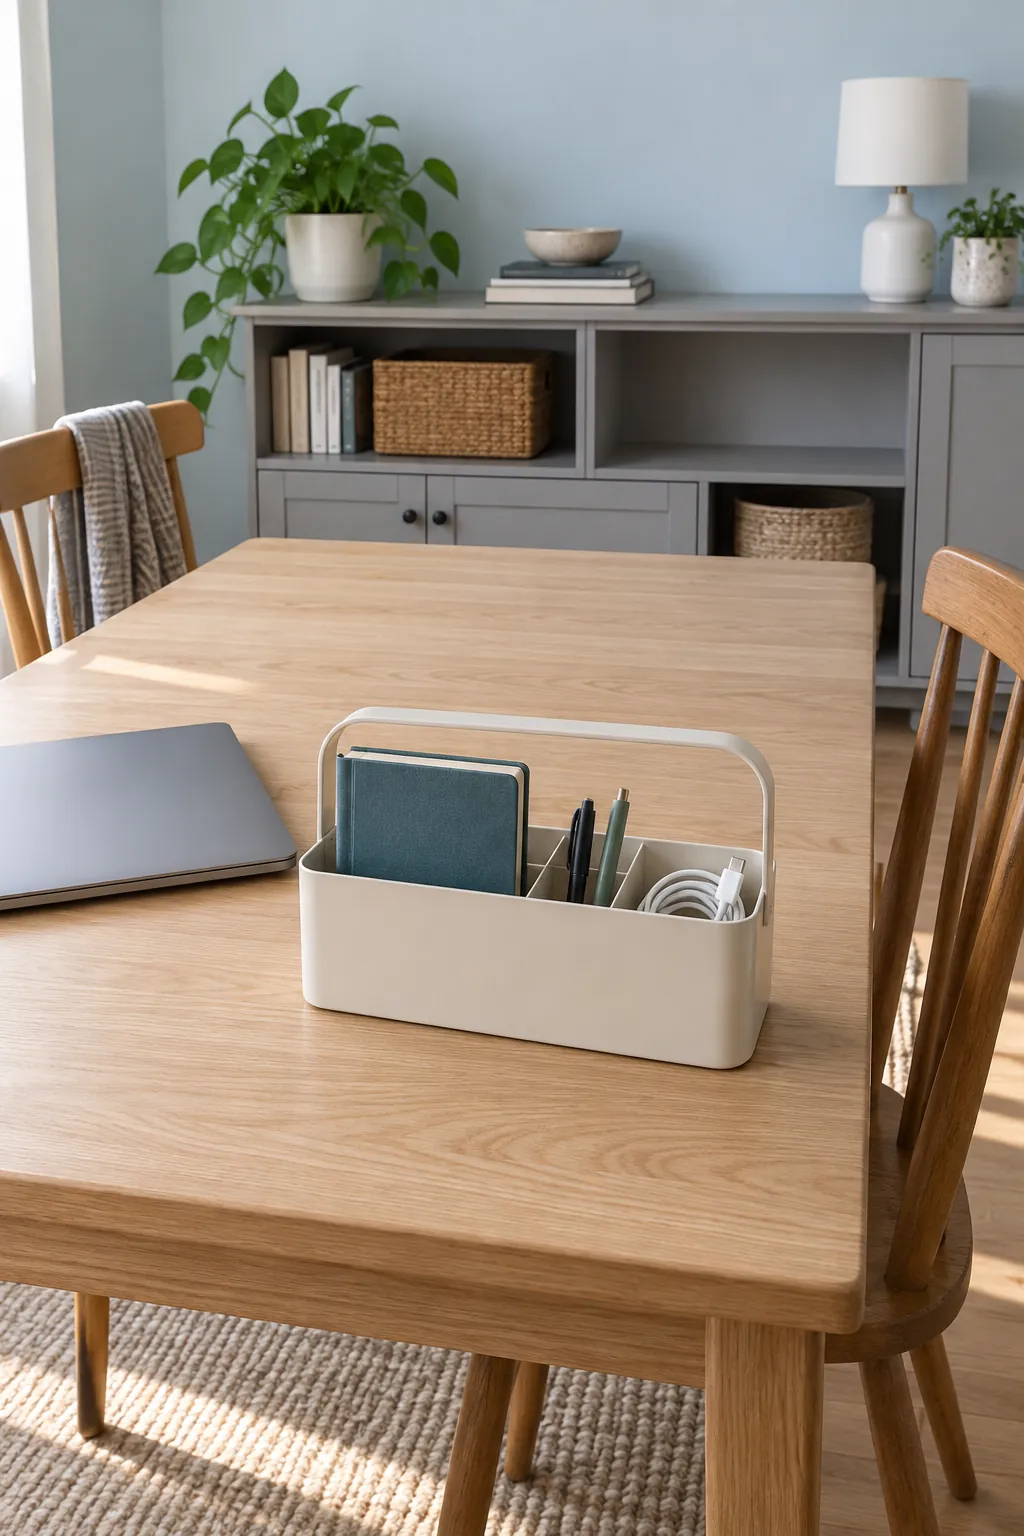
Store frequently used stationery in a shallow drawer or a small nearby caddy. Group items by the task they support, such as writing, mailing or charging, rather than buying a compartment for every object. Leave some room in each container so returning an item does not require rearranging everything.
A portable caddy works well when the same table serves for study and meals. Choose one that holds the essentials you actually carry, then keep spare stock elsewhere. On a dedicated desk, place occasional supplies farther away and preserve nearby space for the tools you use repeatedly.
Finish with a reset you can repeat
At the end of a session, return tools to their places, remove dishes and put unfinished papers in the action tray or current project folder. Leave the next useful task ready, such as a notebook beside the keyboard. This is easier to repeat when every object already has a destination.
Clean the surface and devices according to their manufacturers’ care instructions. Power down and disconnect equipment when required, use suitable cloths and products, and keep liquids away from ports and openings. Never spray cleaner directly onto a screen or keyboard.
After several working days, look for the object that keeps landing in the wrong place. Move its storage closer, reduce an unnecessary step or decide it belongs outside the workspace. The best work desk setup is one you can restore after using it, not one you must avoid using to keep it tidy.