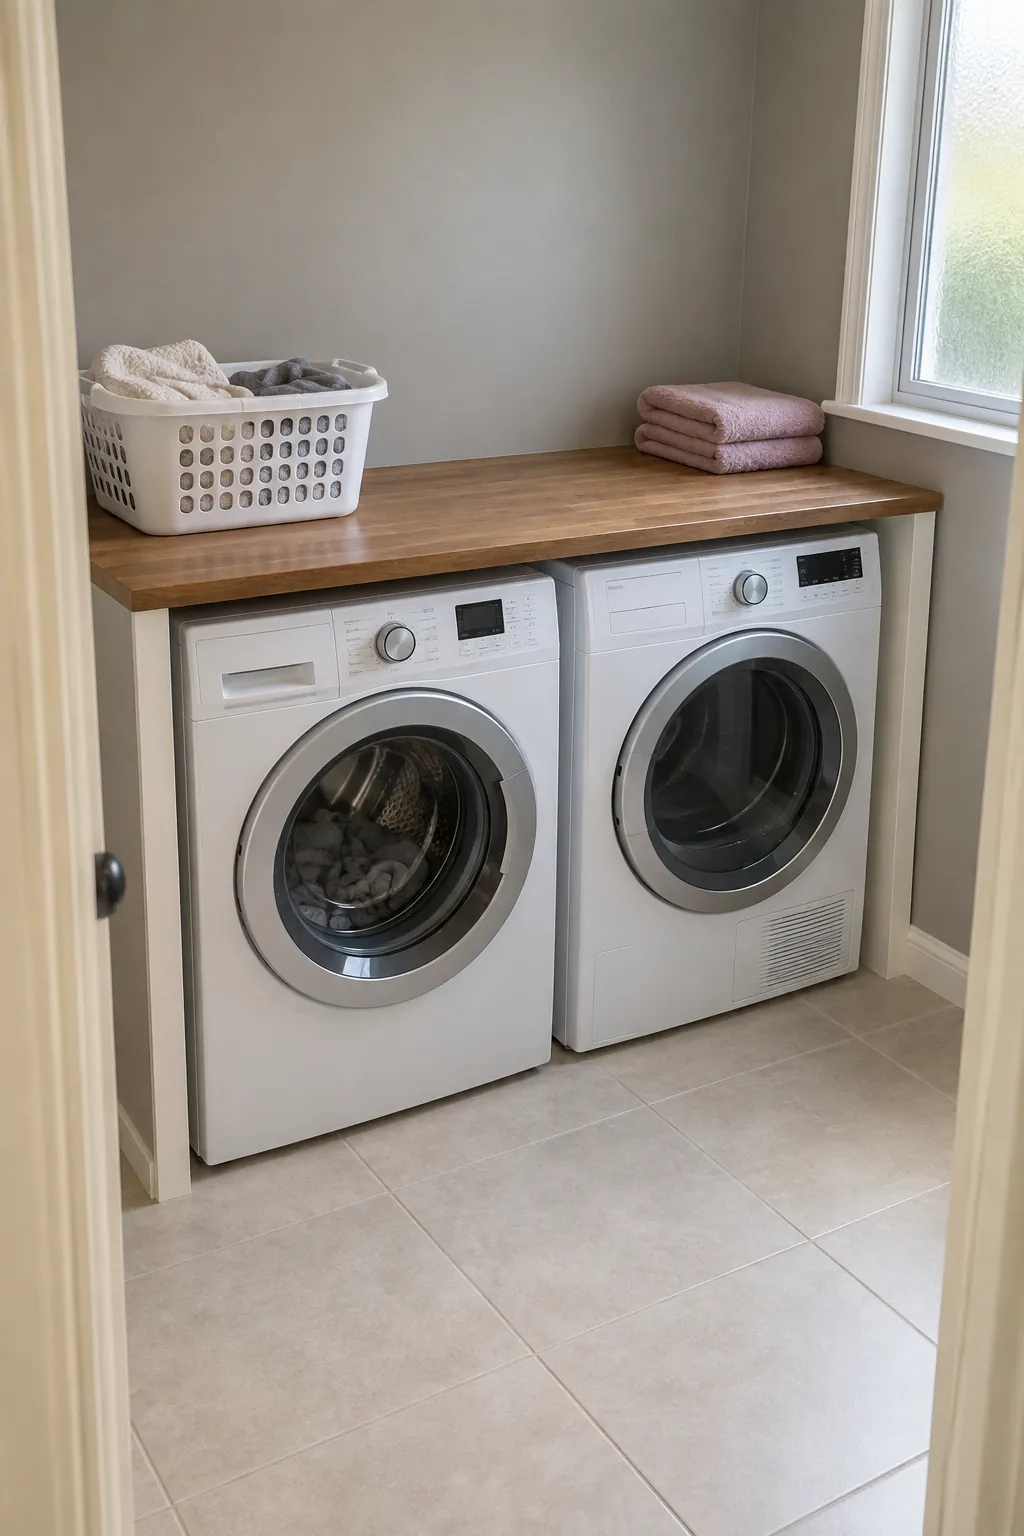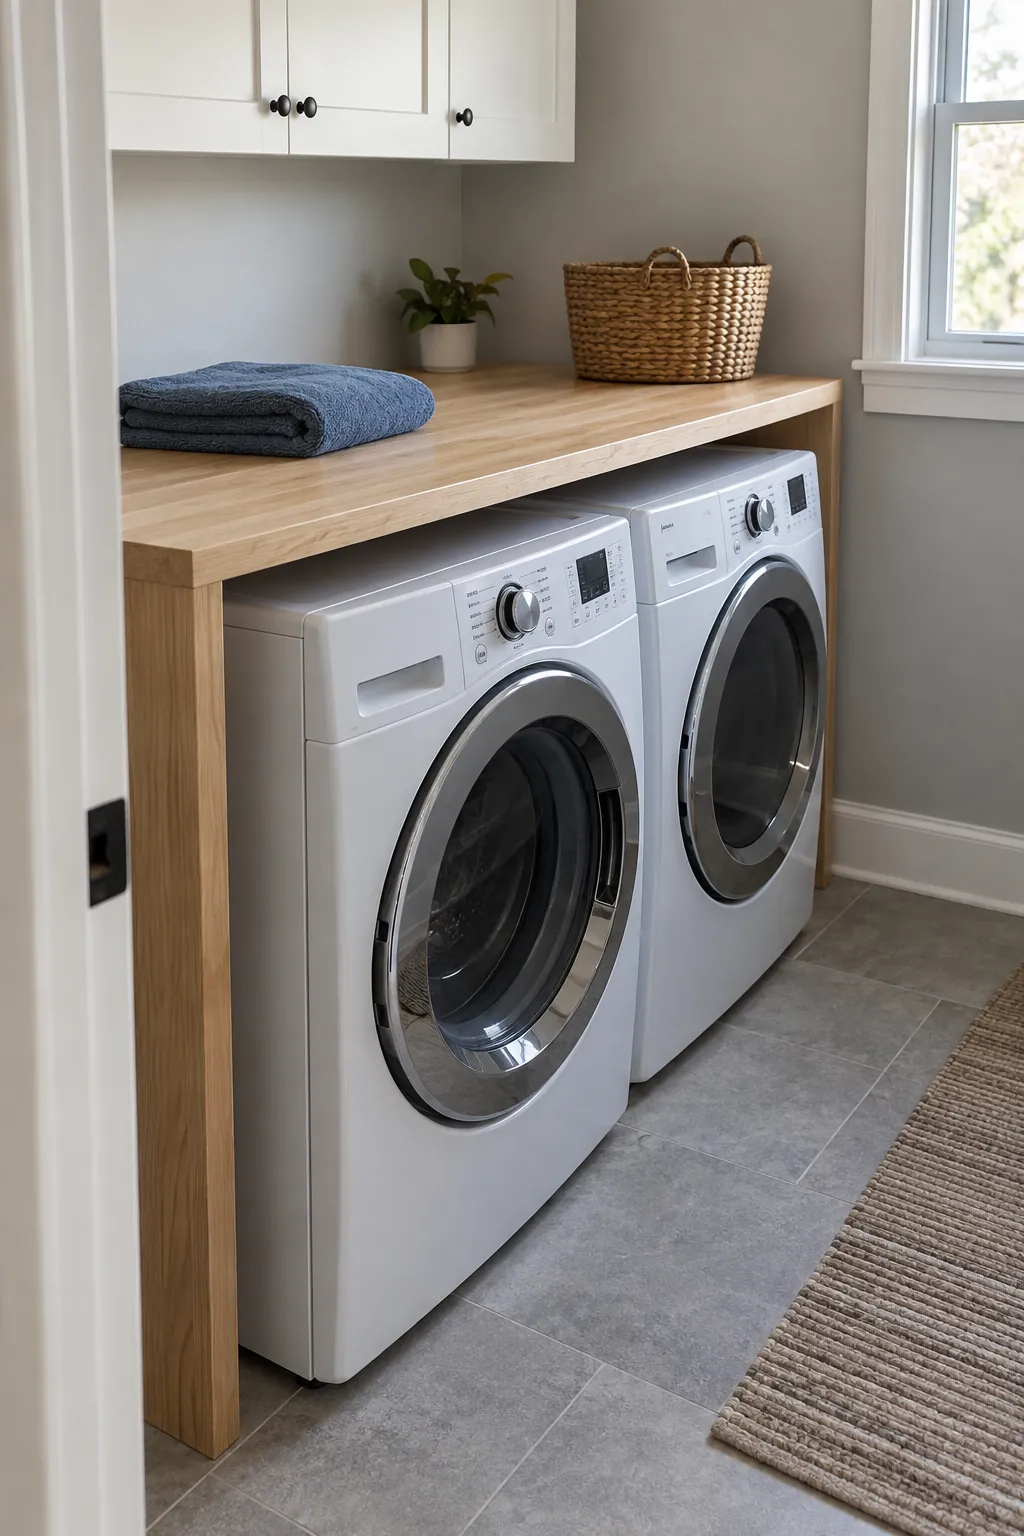
A folding surface is only useful if you can still open the detergent drawer, reach a leaking hose, and pull the washer out for service. Plan those movements before buying lumber. The best shelf carries its own load without resting on vibrating appliances.
This project is a storage shelf or laundry folding counter above appliances standing on the floor. It is not a platform for supporting a washer or dryer. The approach below suits a pair of front loading machines; a washer with a lid needs a different shelf height and depth.
Decide whether you need storage or a folding counter
A shallow shelf above the controls holds light supplies while leaving more access behind the machines. A deeper counter gives you space to fold towels, but it needs stronger support and a deliberate way to reach valves and connections. Pick the job first, because shelf depth changes the leverage on brackets.
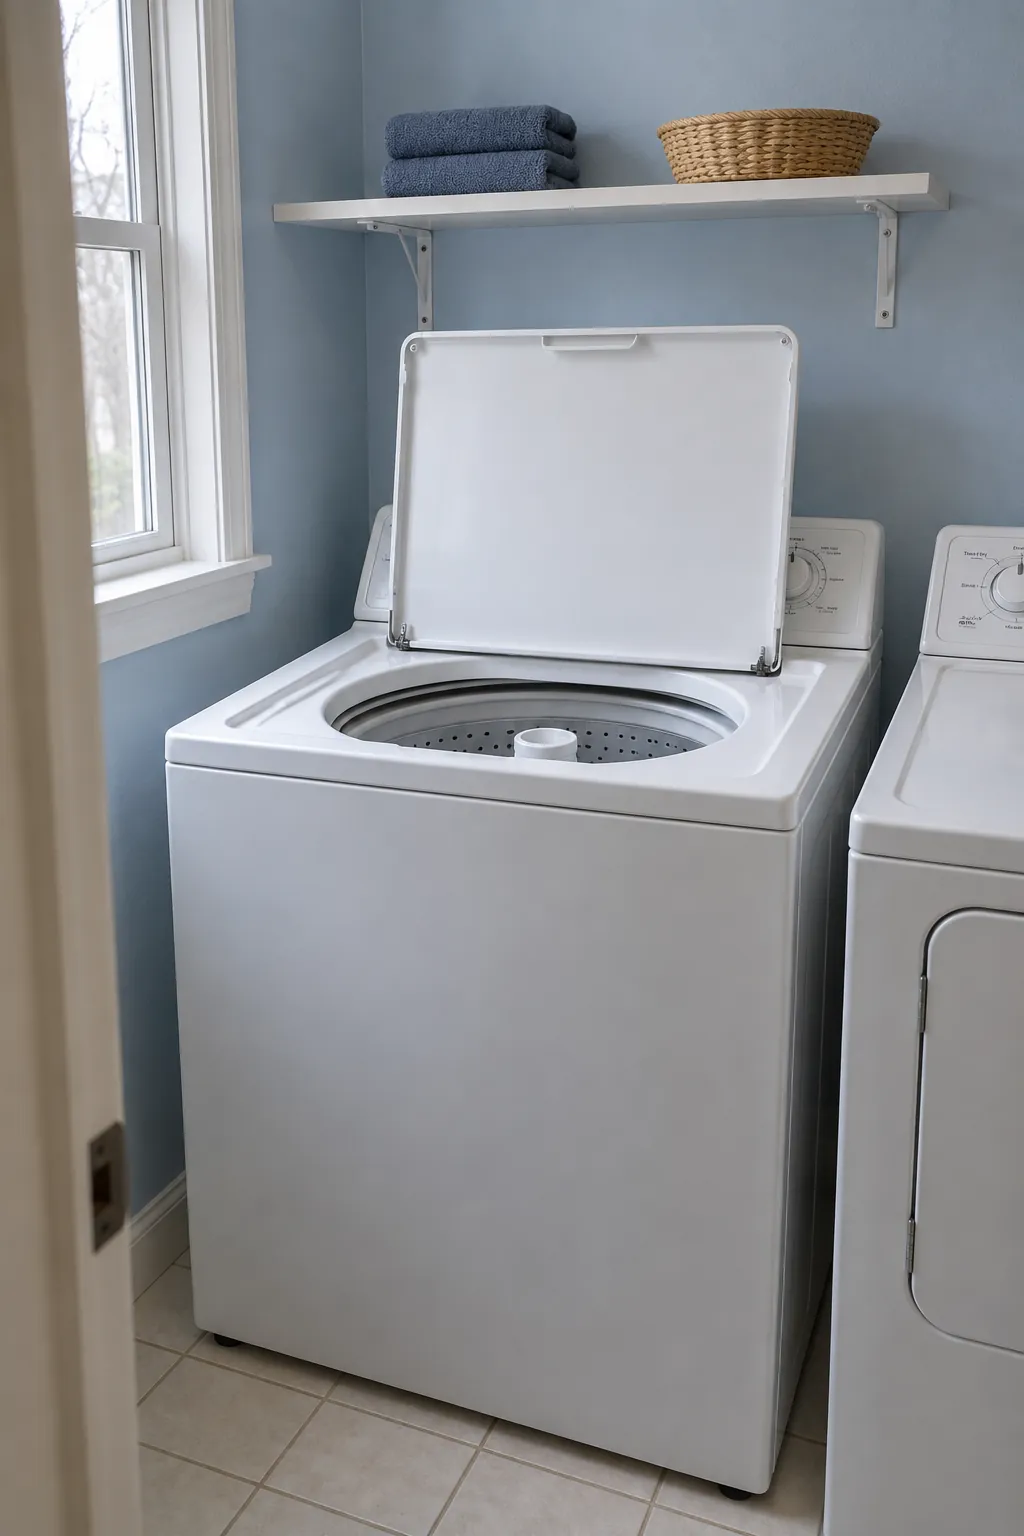
For a washer that opens from the top, lift the lid fully and trace its entire movement before placing any shelf. Include room for your hand and for loading bulky bedding. A shallow shelf higher on the wall often makes more sense than a counter over the lid.
Measure the machines in their working position
Start with the installation manuals for both appliances. Their required clearances, ventilation provisions, and service access take priority over a tidy looking gap. There is no single safe clearance that fits every washer and dryer.
With the machines level and correctly positioned, record the opening width at the front and back, the tallest point of either appliance, and the distance from the back wall to the desired counter edge. Measure at the planned shelf height too, since walls may not be parallel. Keep the dryer duct in its approved shape rather than pushing a machine back to make a board fit.
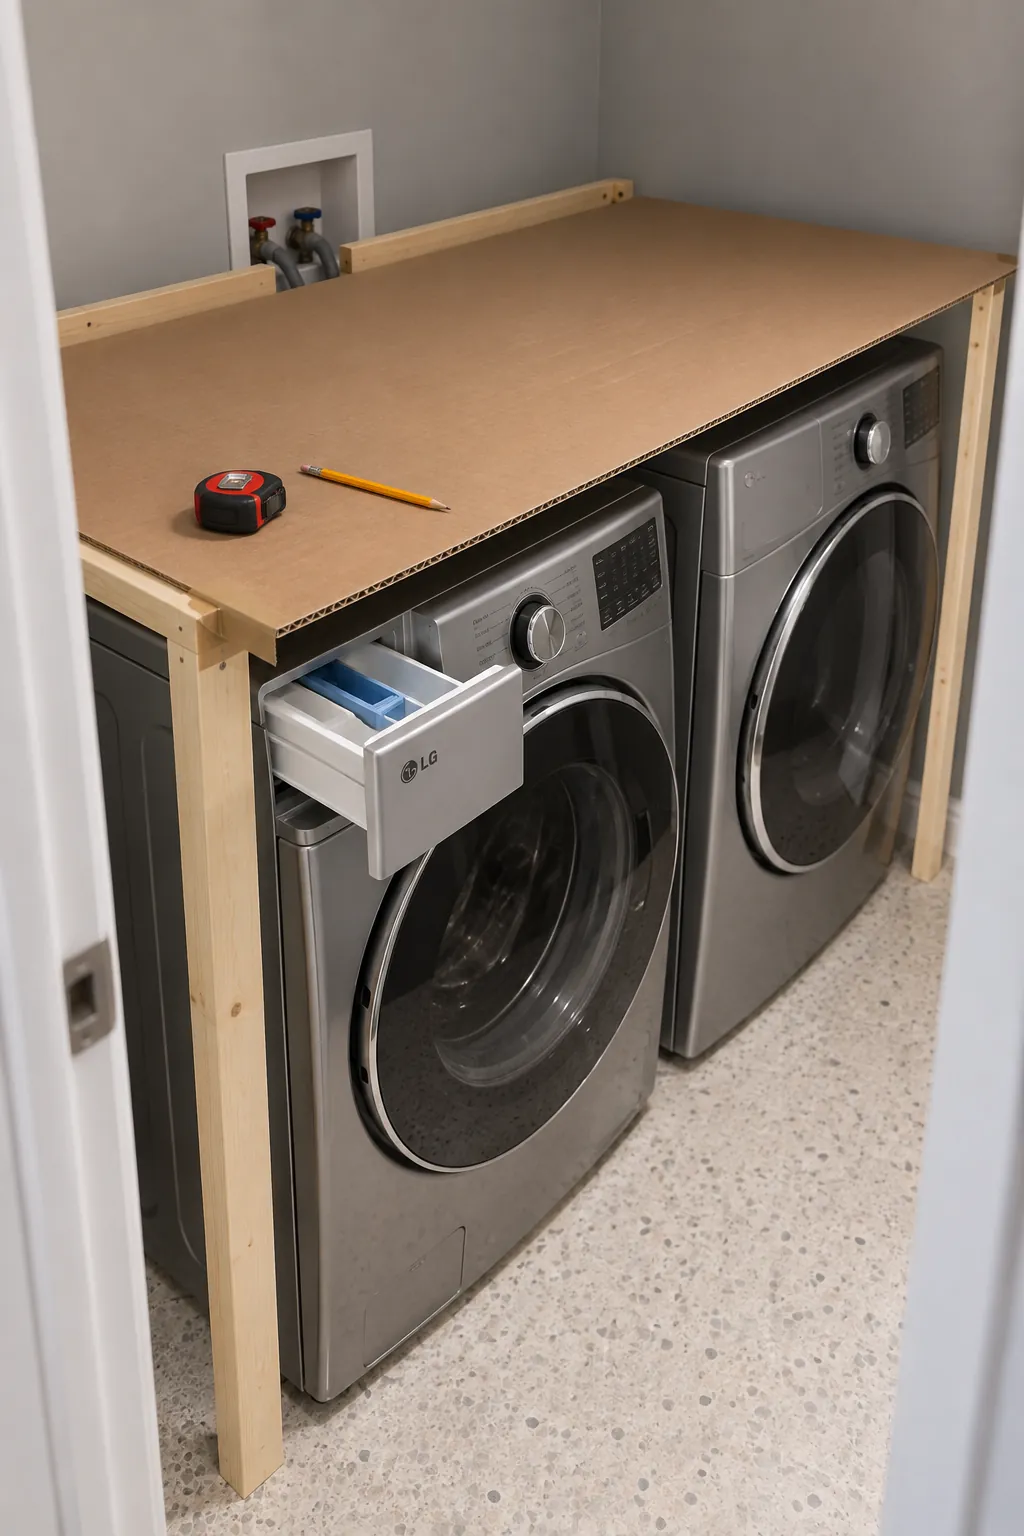
Use cardboard to test the proposed footprint. Open doors and detergent drawers, reach the controls, and check whether you can lift the eventual top out through the doorway. Mark the shutoff valves, receptacles, drain connection, and duct route on your sketch so a support cannot accidentally occupy them.
Choose a support system before cutting the top
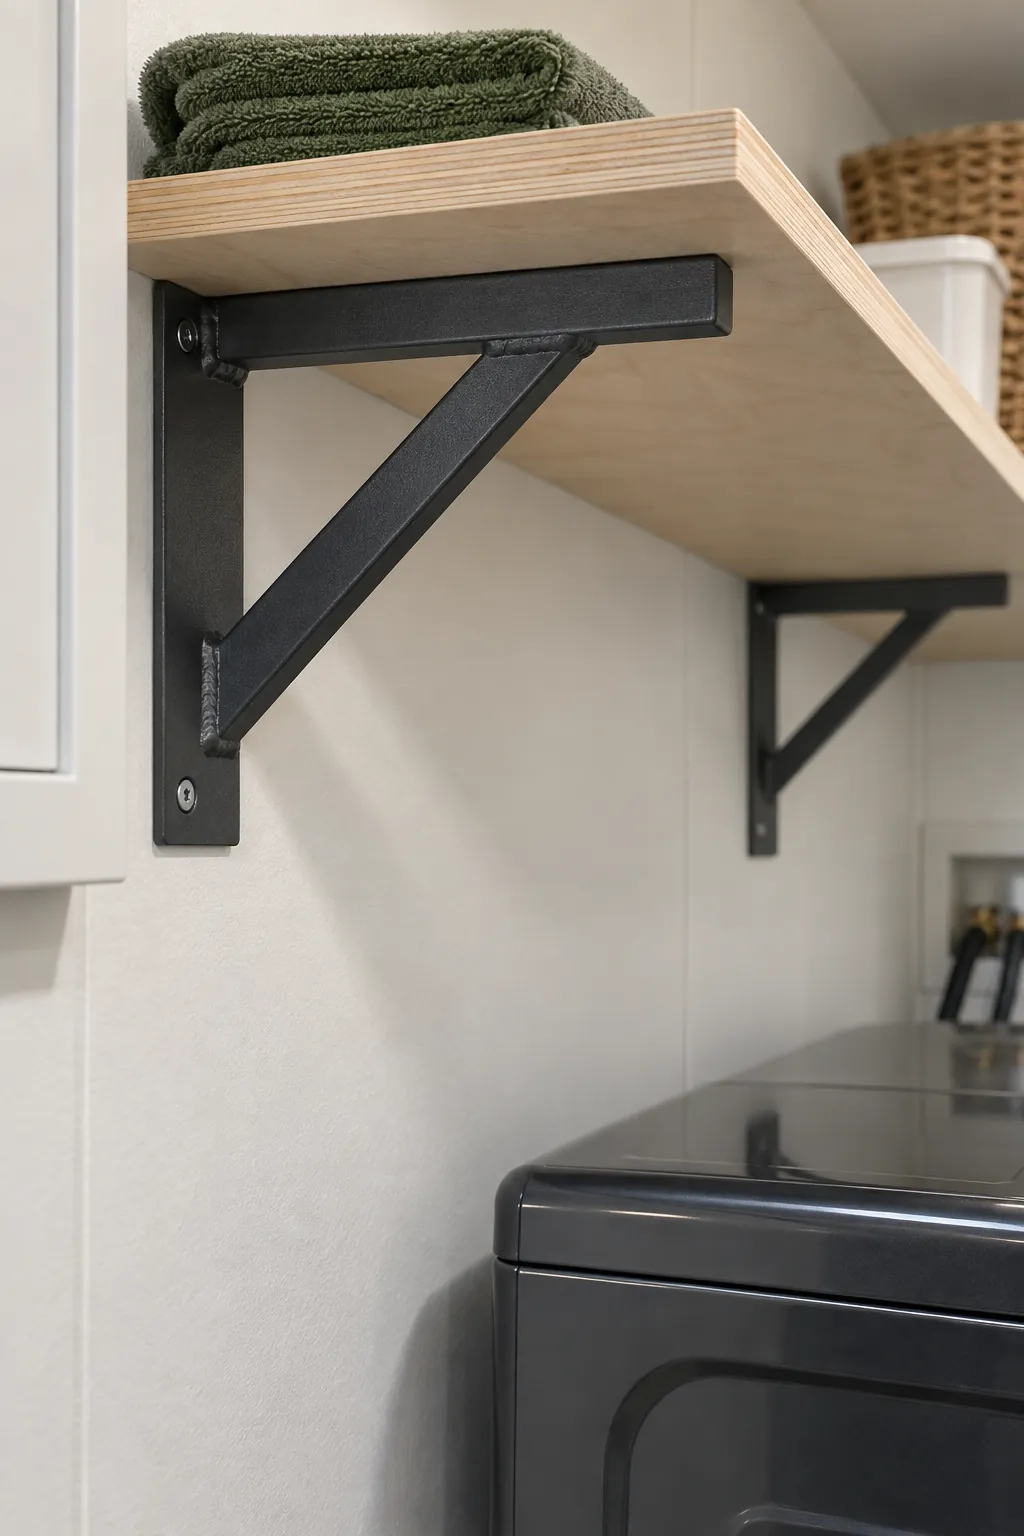
For a shallow DIY laundry room shelf, use rated shelf brackets attached to suitable structural backing. Match the bracket rating to the actual shelf depth, mounting surface, fasteners, and intended load. A rating from a different installation does not establish the capacity of yours.
A deep folding counter may need side panels, a frame, or additional supports designed for the span. Rear and side cleats alone do not automatically support a wide front edge. Do not assume a sheet of plywood can bridge two appliances without sagging; confirm the top material’s span requirements and the complete support arrangement with its supplier or a qualified carpenter.
Check for plumbing and electrical services before drilling. A stud finder is one clue, not proof that the drilling path is clear. Use fasteners specified for the chosen hardware and verified wall construction, and avoid substituting drywall screws or generic wall plugs for structural fixings. If the required anchors would land beside a laundry box or an uncertain service route, change the layout or get professional help.
Cut, smooth, and seal the board
Choose a top that suits the support plan. Cabinet grade plywood with a finished edge is one practical option; solid wood brings different movement and fastening requirements. Raw particleboard is a poor choice where spills can reach unprotected edges.
Transfer the confirmed dimensions to the board and account for fitting tolerance and any movement allowance required by the material. Clamp the work securely, support both sides of the cut, and use the saw manufacturer’s protective equipment and operating guidance. If you do not have a safe cutting setup, have the supplier cut the panel and make any wall fitting adjustments before finishing.
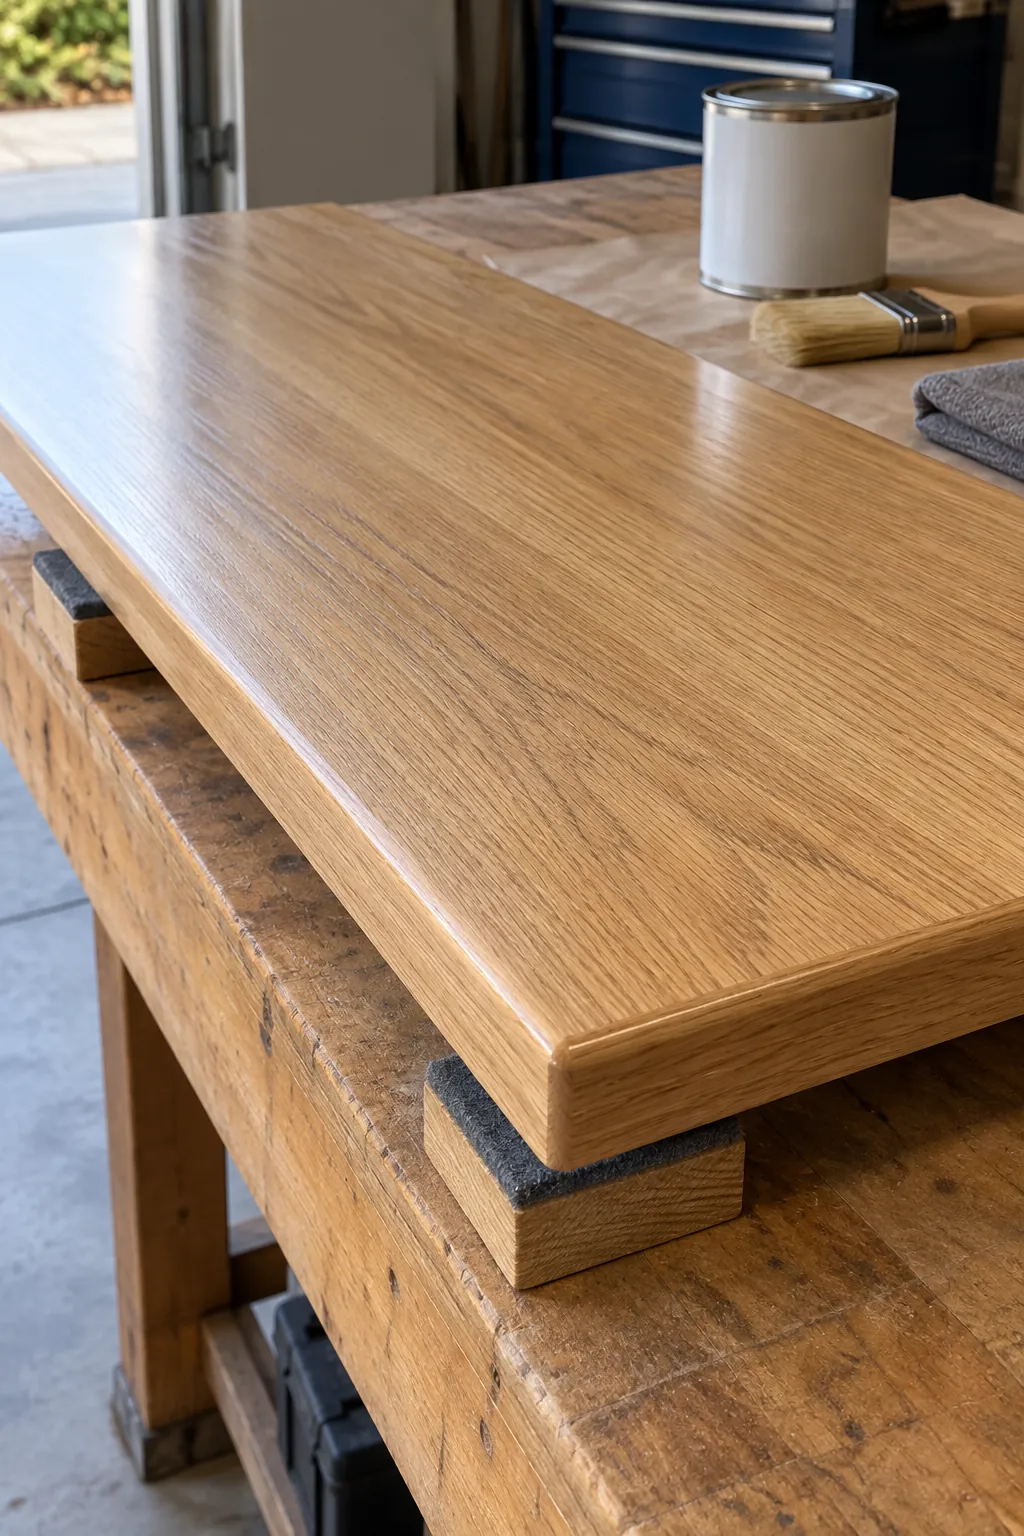
Ease sharp edges, sand the faces and cut edges, and remove dust. Apply a coating suitable for the material and occasional household moisture, covering the underside and exposed ends as well as the top. Follow its drying and full cure instructions before installation; a surface that feels dry may not yet tolerate a detergent bottle sitting on it.
Install a level top that can come out for repairs
Install the verified supports level and in one plane, then dry fit the top. The shelf must not touch appliance lids, controls, or cabinets during operation. Never pack the gap with foam, folded cloth, or wood blocks to borrow support from the machines.
Secure the top against shifting with fixings appropriate to the material and support system. Keep those fixings accessible so the counter can be removed deliberately for service. Solid wood may need slotted fixings or another method that allows seasonal movement; follow the top supplier’s detail.
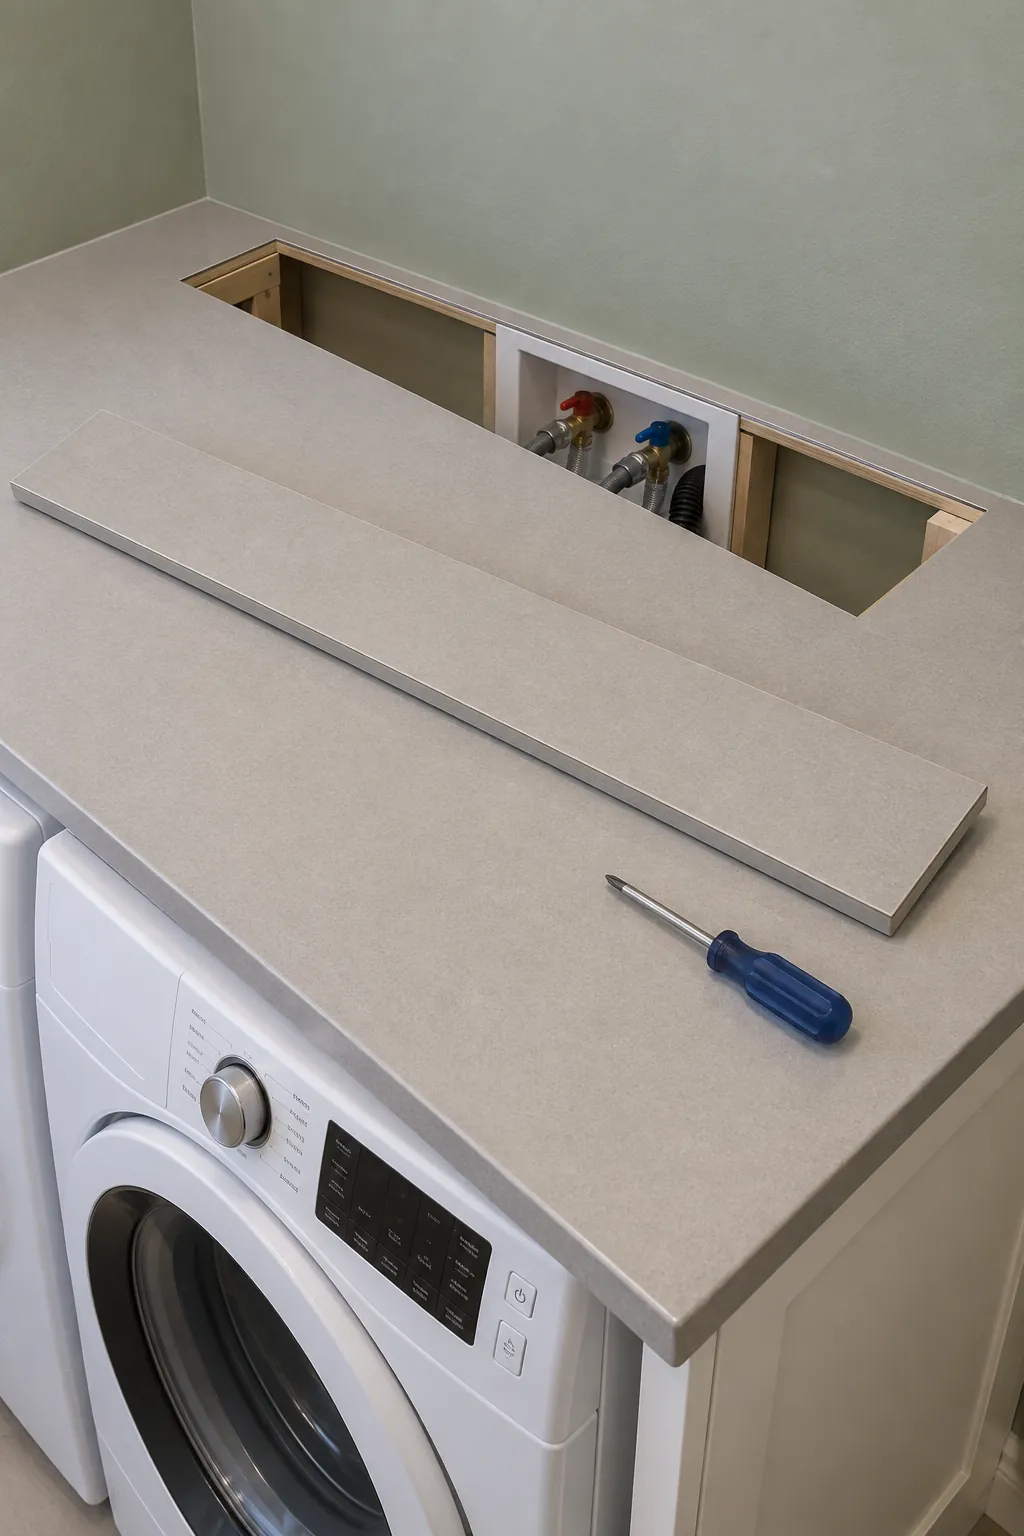
A removable rear strip can sometimes make valves easier to reach, but it needs its own support and must not conceal required ventilation. Avoid gluing the whole assembly into a permanent enclosure. Before calling the project finished, demonstrate that you can reach the shutoffs and remove the top without first moving a machine that the top traps.
Test a real laundry cycle before filling the shelf
Run a normal wash and spin cycle while observing the clearance. If the washer moves excessively, address leveling, installation, or the appliance fault according to its manual; do not use the shelf to restrain it. Check that the new surface stays still and that no hose or duct rubs against a support.
Keep the load within the verified capacity and distribute it as the support instructions require. Store laundry products in their original labeled containers, with hazardous supplies secured away from children and pets. A low tray can catch ordinary drips, but it does not make an accessible shelf safe storage for detergent pods.
Leave the middle of the laundry folding counter clear for the basket you actually carry. Recheck fixings and the finish during routine cleaning, and clean spills promptly. A successful shelf makes the next load easier while leaving the next repair possible.