A primer can look opaque and still fail to stop a stain. It can also hide the old color while doing little for adhesion, or seal a patch while leaving the whole wall uneven. The right choice starts with the material that must be controlled, not the word primer on the front of a container.
First decide whether the wall has an active moisture problem, a contaminant that can migrate through paint, a porous repair, a glossy surface, or only a strong color change. Each condition asks for a different performance claim. One product may handle several jobs, but no general interior primer is automatically best at all of them.
Identify the Stain Before You Cover It
Look at the stain’s shape, location, color, odor, and history. A brown ring below plumbing or a roof area suggests previous water movement. Yellowing near cooking, dark marks around a fireplace, ink, rust, smoke, and wood tannin behave differently and may need different cleaning or sealing.
Clean removable surface soil before testing primer, then let the wall dry. Primer is not a substitute for degreasing, mold correction, or a repaired leak. If the source is uncertain or the wall remains damp, solve that problem before repainting stained walls.
Treat Water Stains Only After the Leak Is Fixed
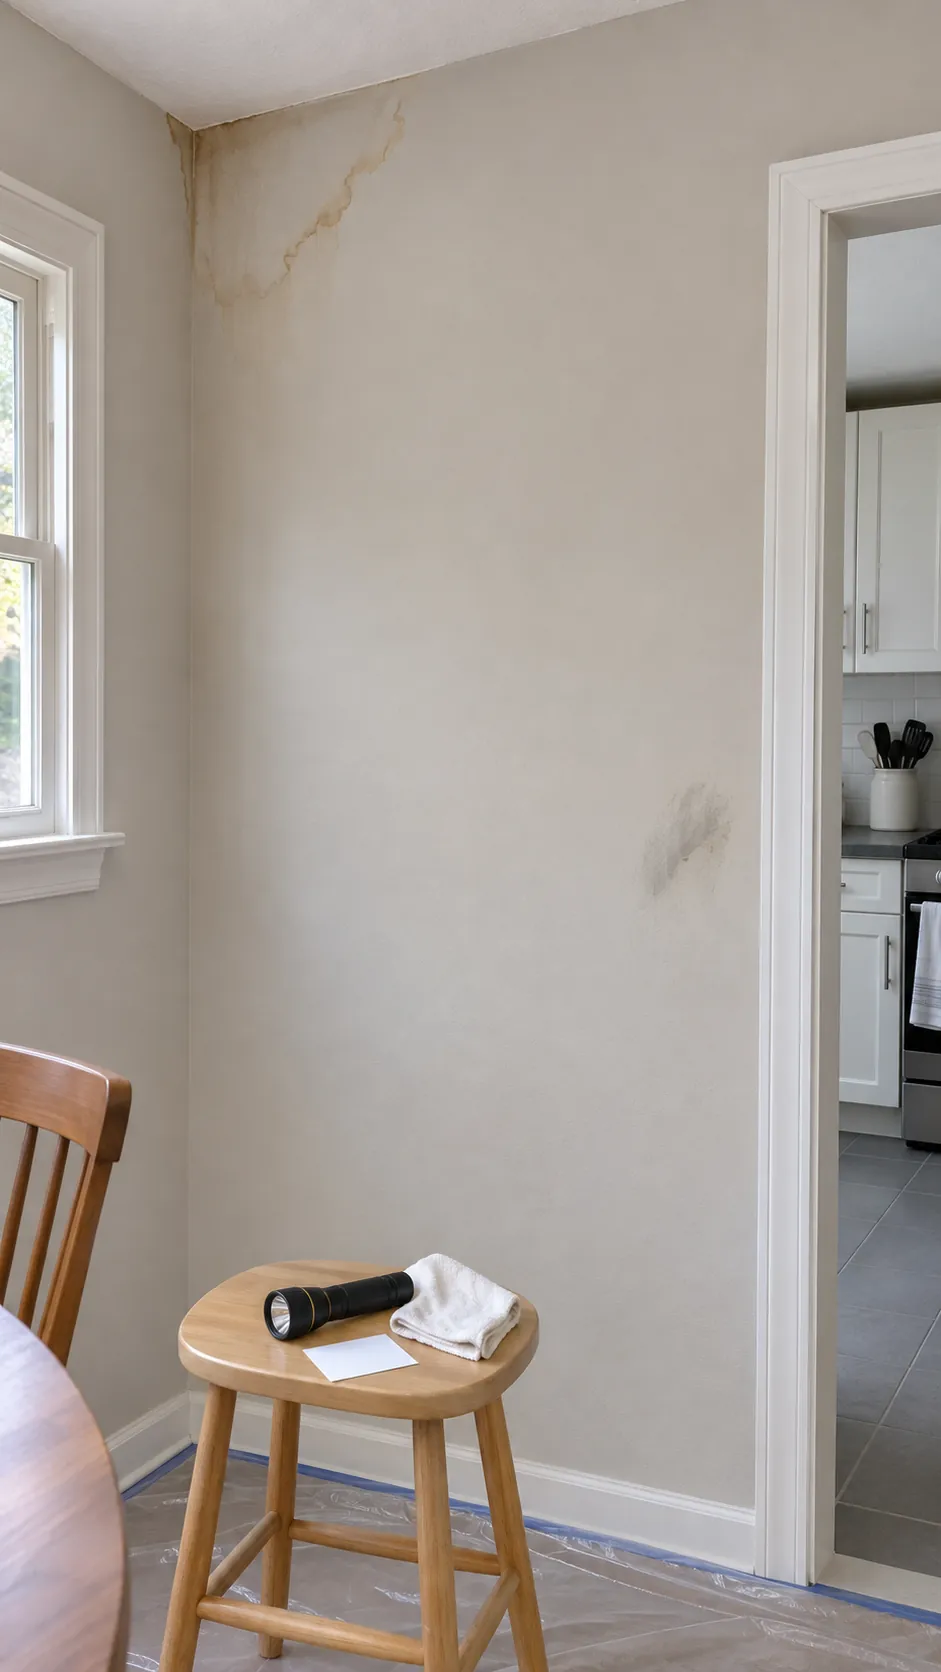
A dry water mark can contain discoloration that dissolves into a fresh water based coating. Choose a primer specifically rated to block water stains, and follow its surface and ventilation requirements. The old ring may remain faintly visible through the primer even when the sealer is working, because the finish coat provides the final color.
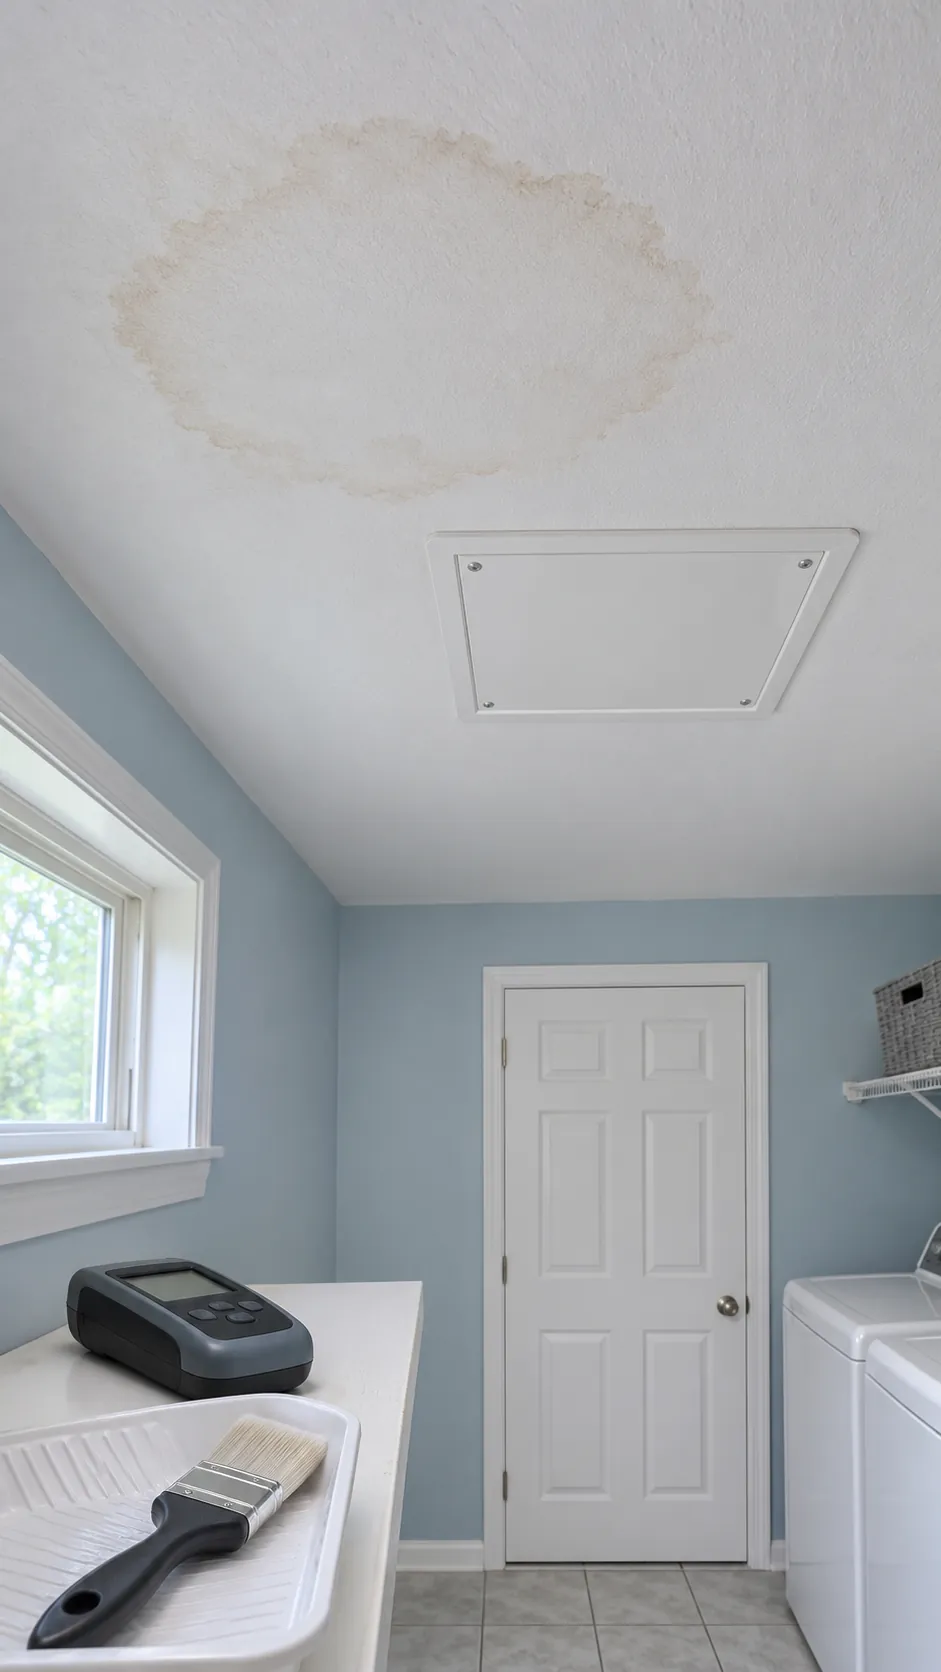
Active dampness changes the decision. No stain blocking primer can make wet drywall sound or stop water entering from behind. Verify that the repair is dry and stable, then test a small sealed area before coating the whole ceiling or wall.
Use Stronger Blocking for Migrating Contaminants
Wood tannins, smoke residue, ink, rust, and some oily stains can migrate through a basic water based primer. Repeated coats of the wrong product may delay the mark rather than stop it. Select a stain blocking system whose technical sheet names the contaminant and the intended substrate.
Oil based and shellac based sealers are often used for difficult bleed through, but they bring stronger odor, cleanup, and ventilation requirements. Follow the label and local safety rules. Spot priming can be enough for isolated marks, while widespread smoke or oil contamination needs thorough cleaning and a broader system.
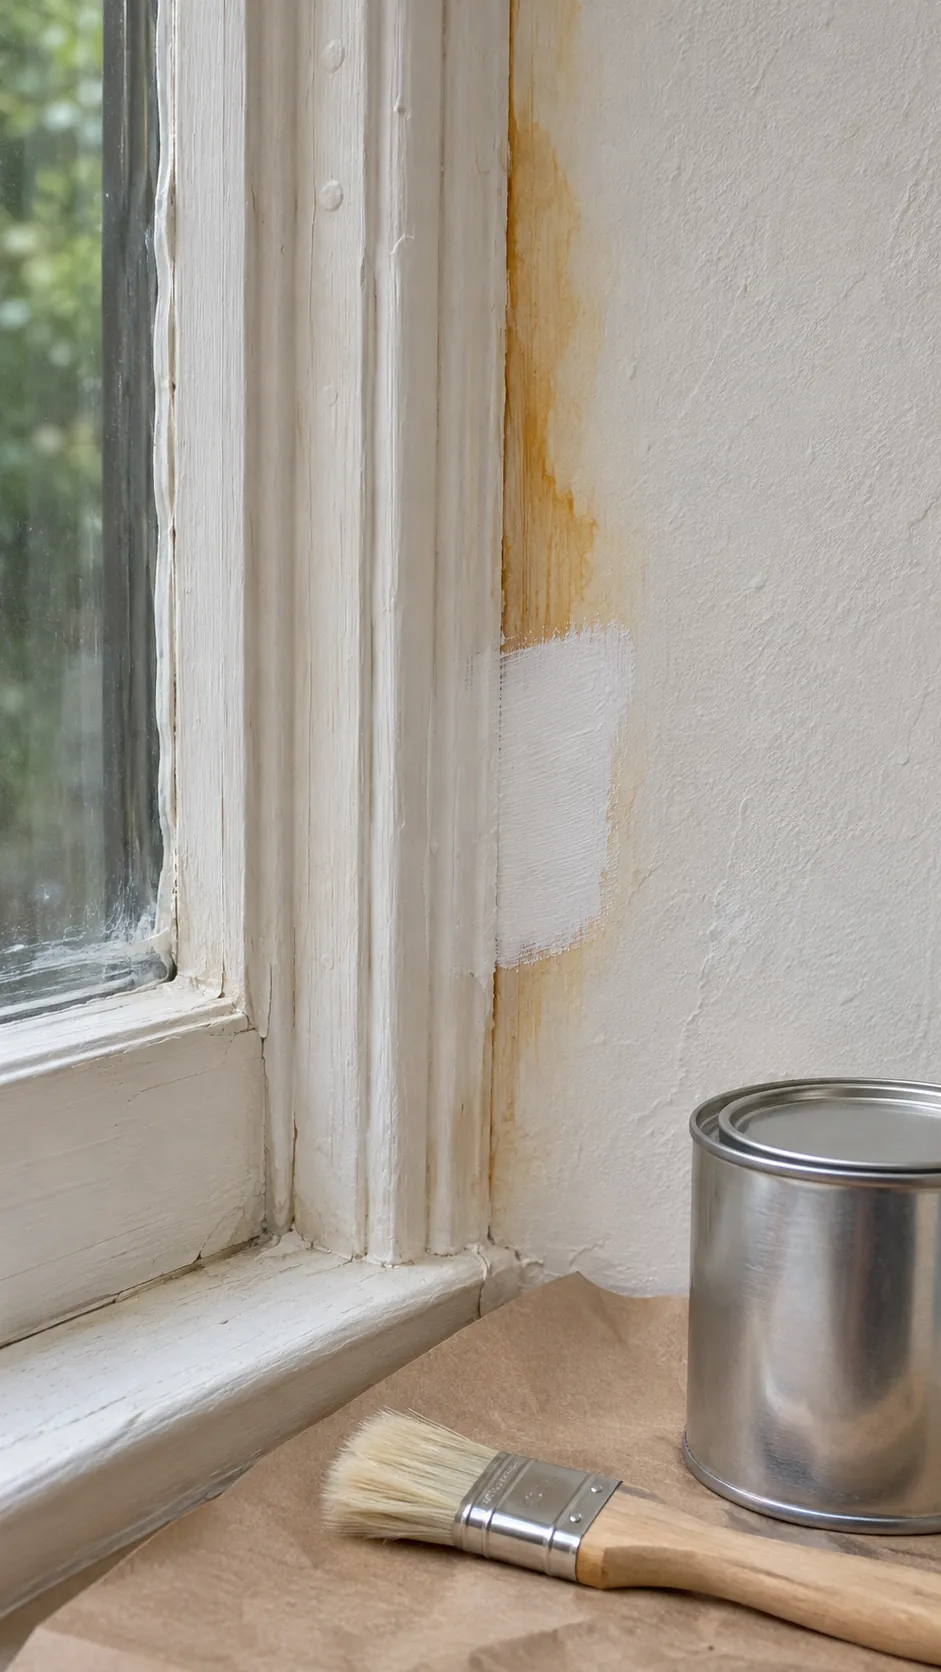
Seal Porous Patches for Even Color
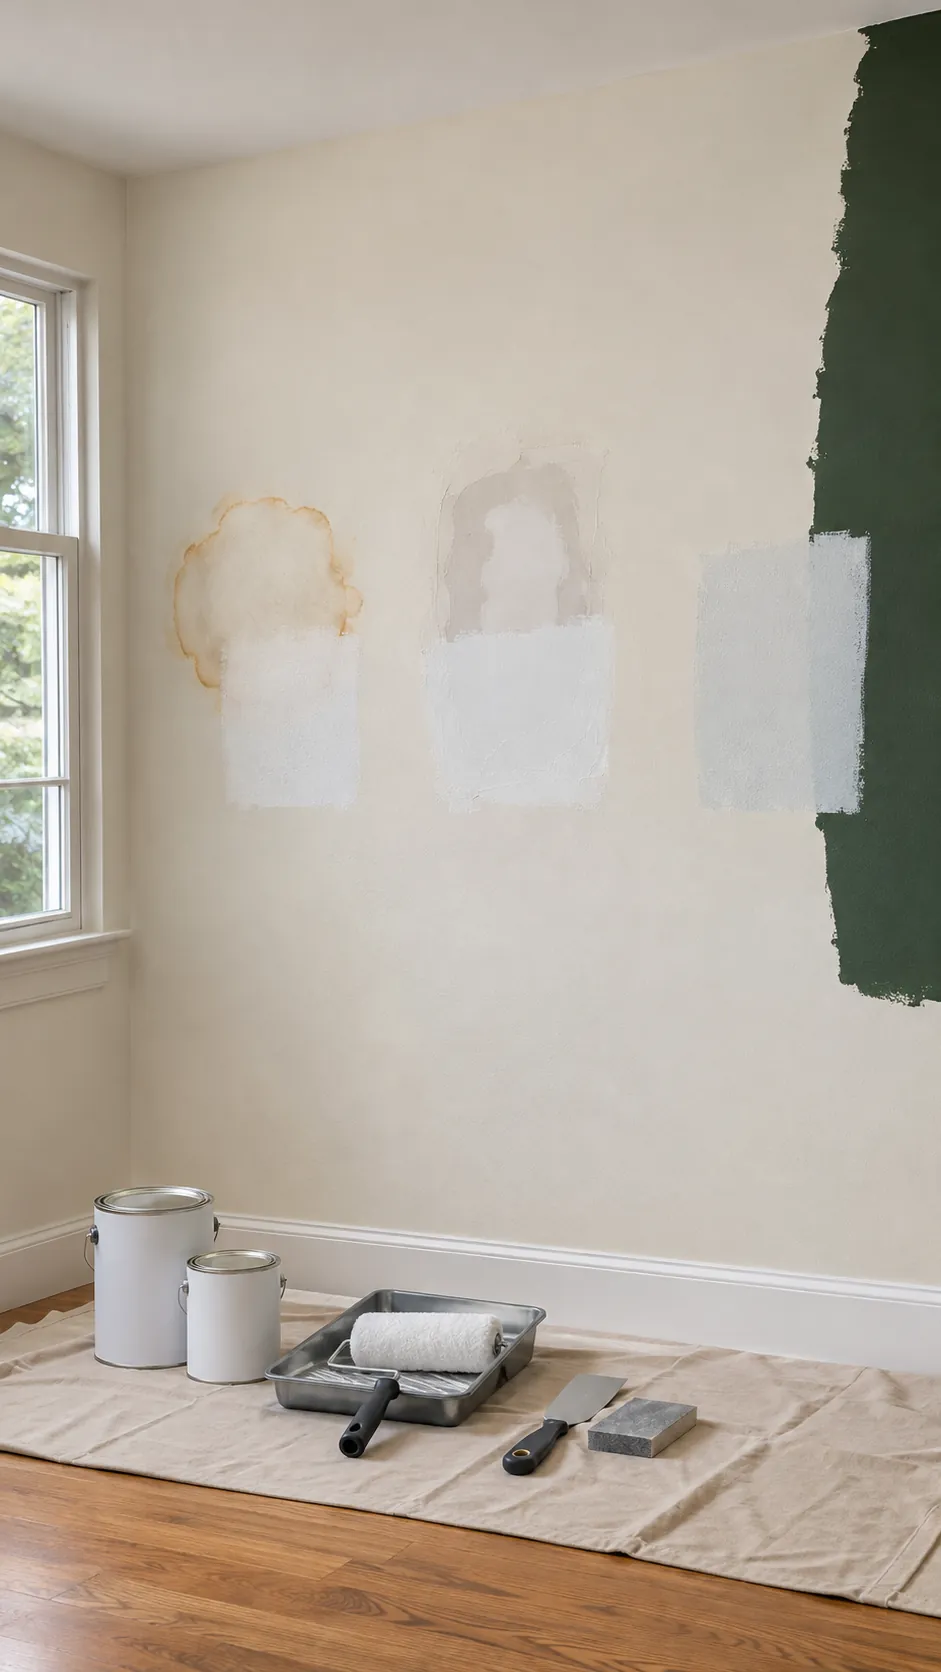
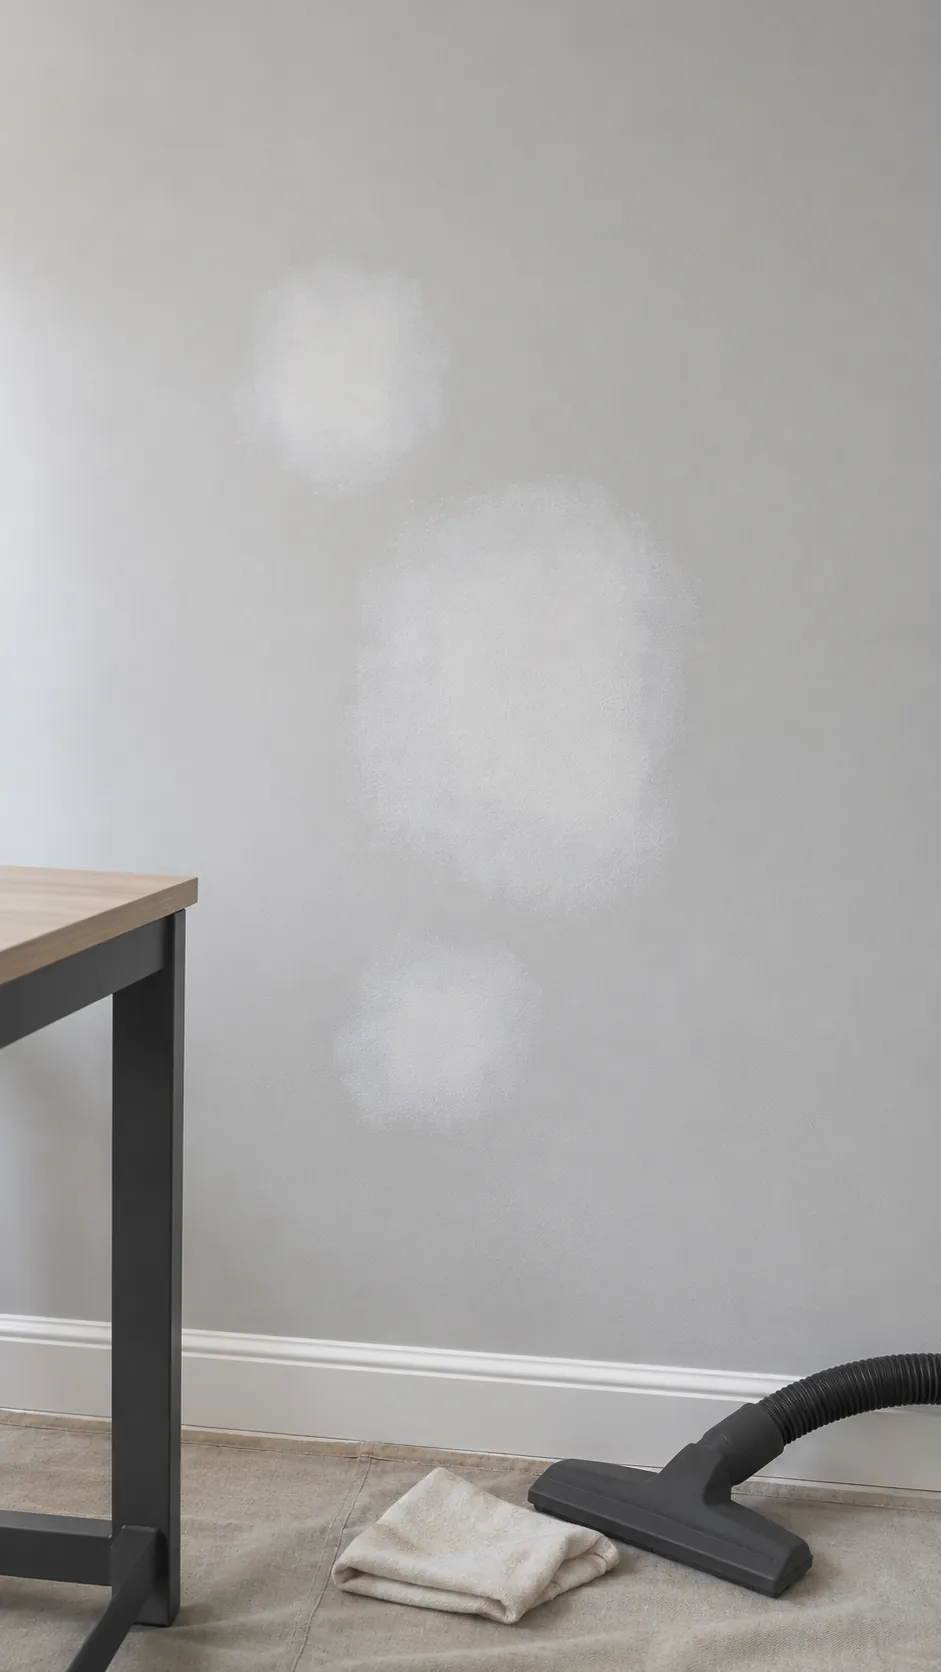
Fresh joint compound and bare drywall absorb paint faster than the surrounding coated wall. Without primer, the repaired area can look dull or lighter even when the color matches. A drywall or general interior primer equalizes porosity so the finish coat dries at a more consistent rate.
Prime beyond the patch edge, then inspect it in side light. A ridge or hollow still needs sanding or filling because primer cannot level the wall. Remove dust carefully so the new film bonds to the surface rather than to loose powder.
Tint Primer for a Major Color Change
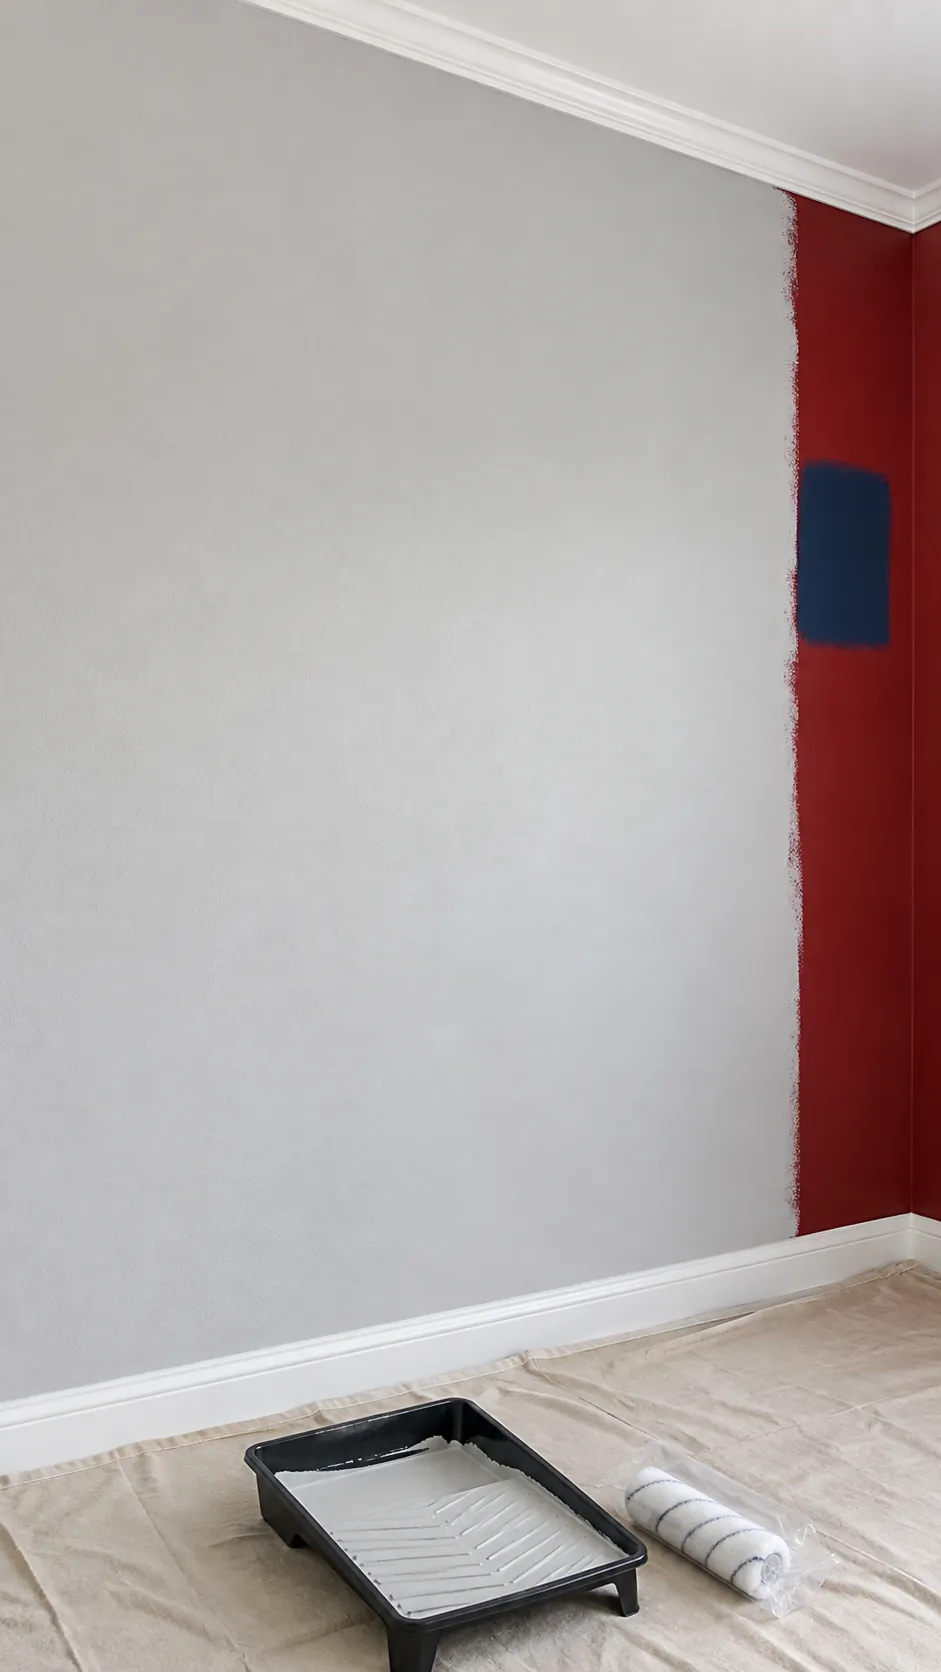
A strong old color showing through is a coverage problem, not always a stain. A suitable primer can create a uniform base, and a light gray or manufacturer recommended tint may reduce the work needed for some deep finish colors. The tint should support the topcoat rather than imitate it exactly.
Do not use tint to disguise missed preparation. Glossy paint may need cleaning, abrasion, and a bonding primer even when the color change is small. Check primer compatibility with both the existing coating and the planned finish paint.
Run a Small Compatibility Test
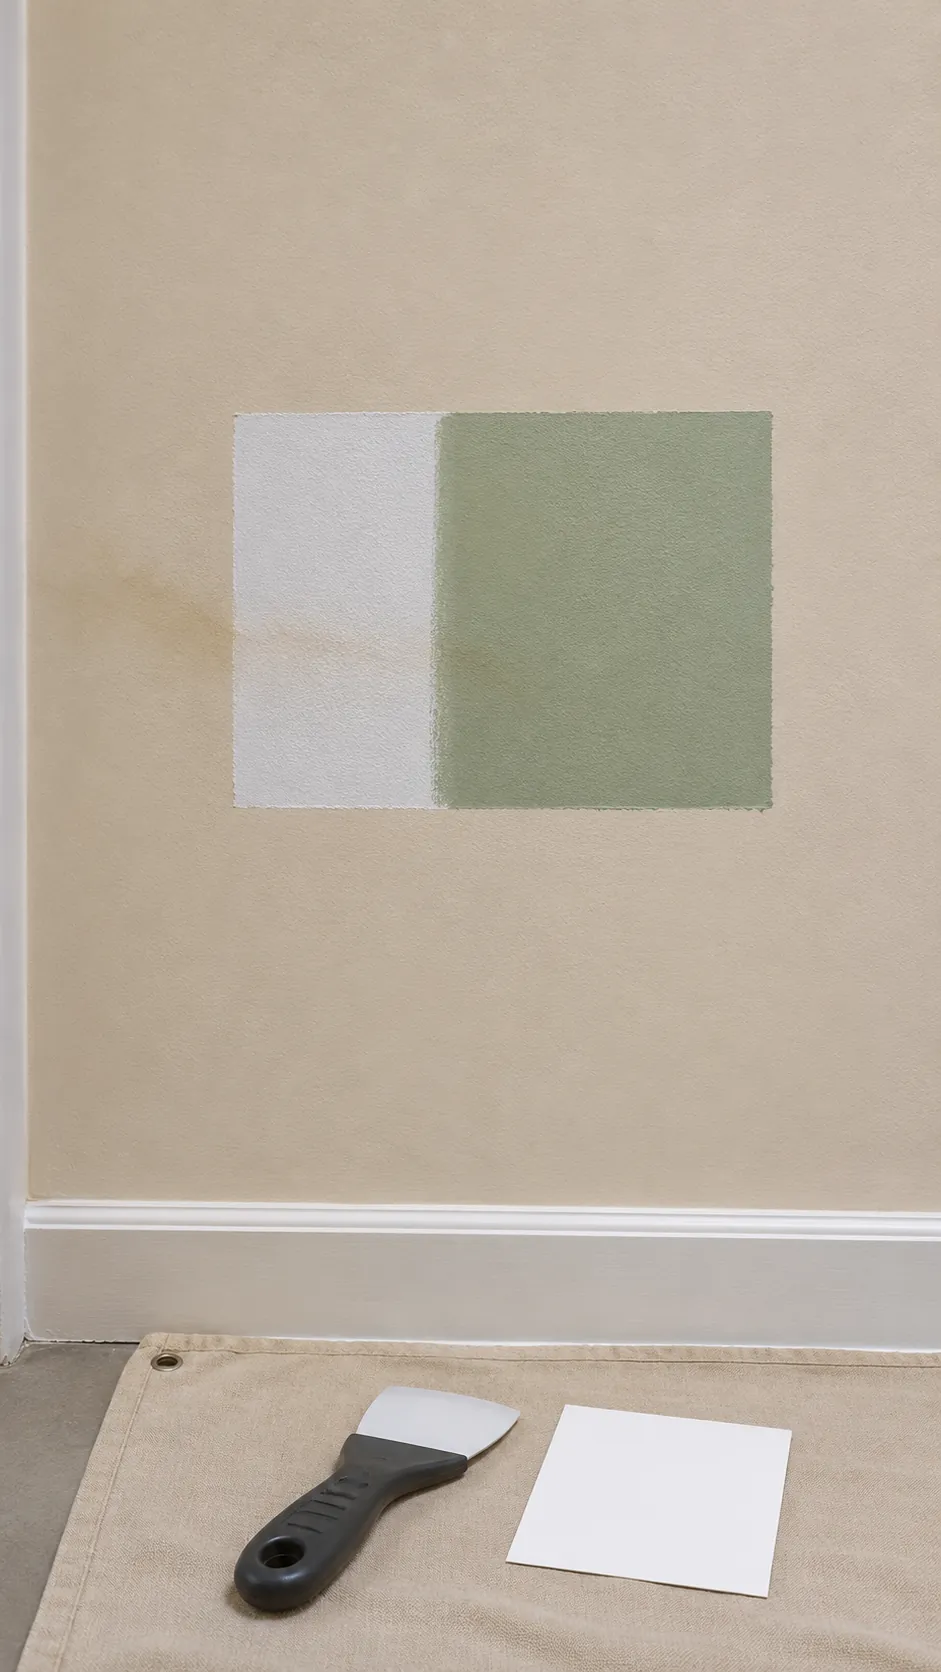
Apply the selected primer to a cleaned test area that includes part of the stain and part of the surrounding wall. Let it dry for the full stated time, then check for wrinkling, poor adhesion, renewed discoloration, or an unexpectedly soft film. Add the intended topcoat to part of the test when delayed bleed through is a concern.
A successful test stays firm and blocks migration after the finish dries. Record the product type, tint, drying conditions, and number of coats before expanding the repair. This small step is faster than discovering after wall repainting that the original stain or uneven absorption is returning.