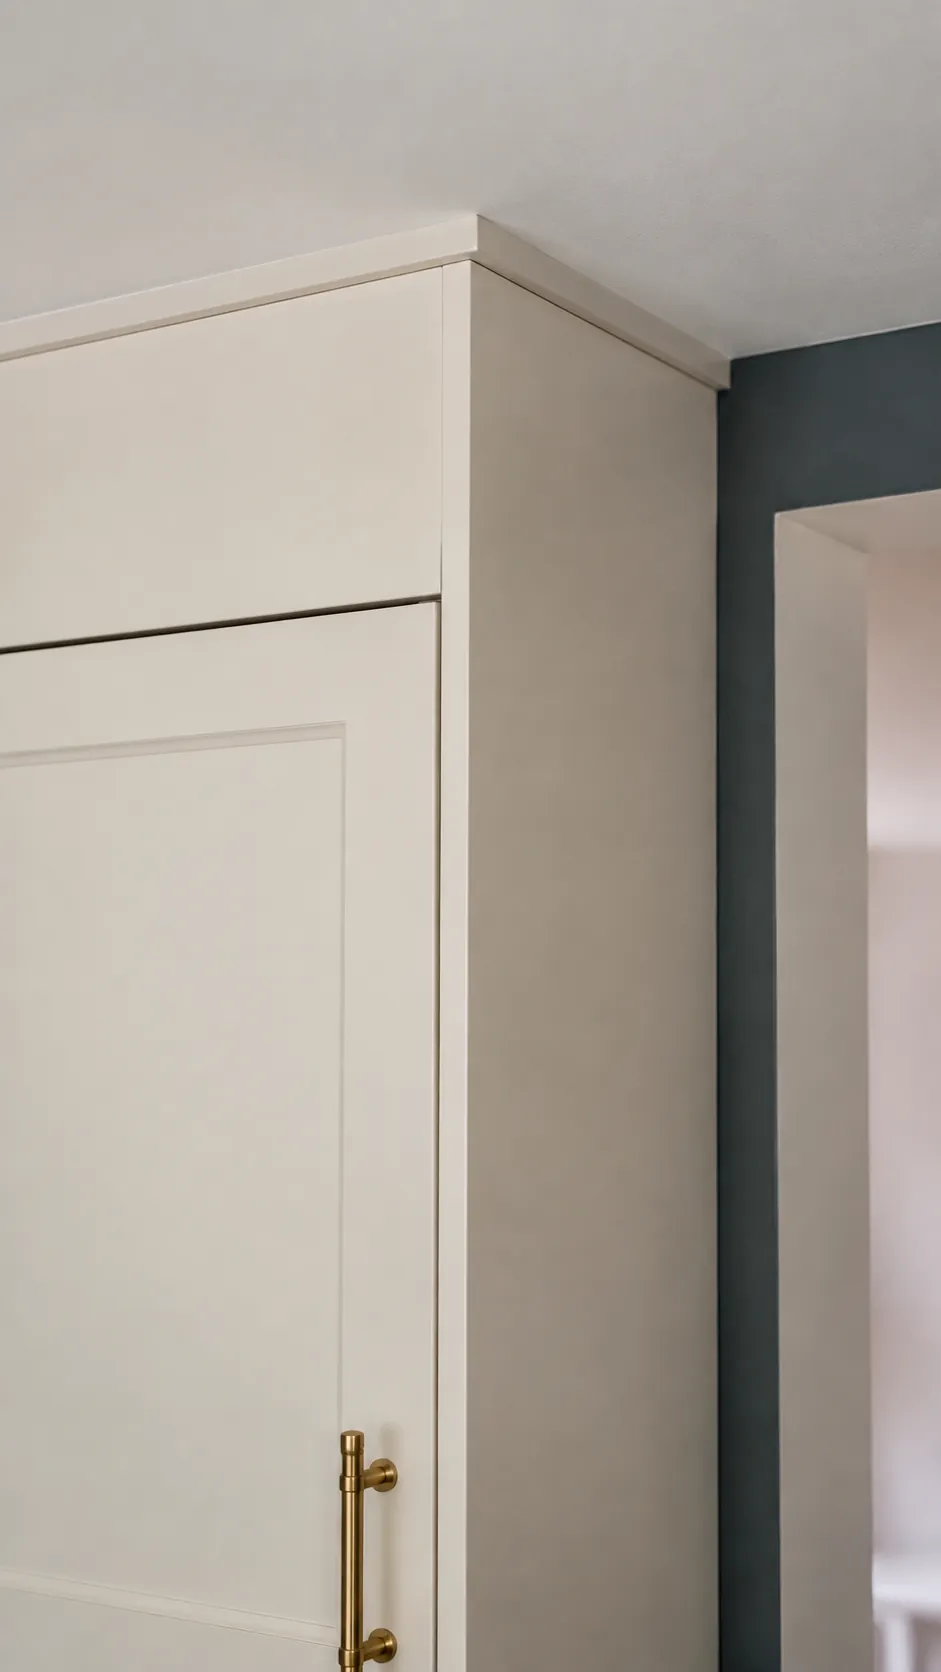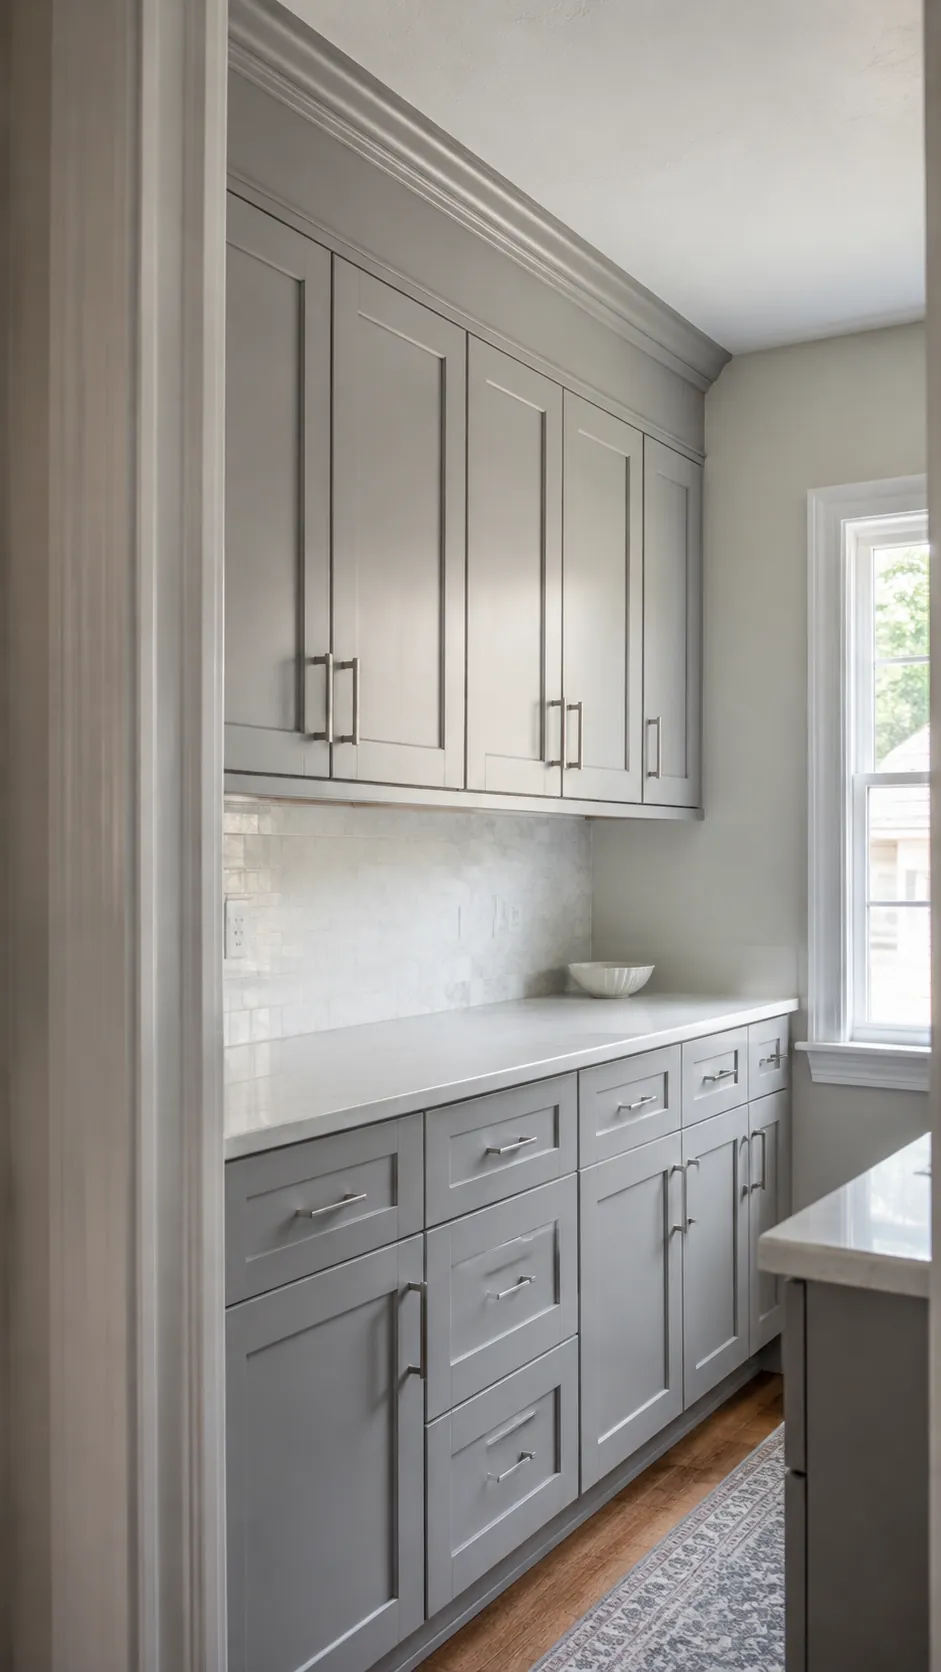
The strip above your cabinets can be a dust ledge, useful storage, or a detail that makes the whole kitchen look unfinished. Those are different problems, and they need different fixes. Before buying trim, decide whether you want to close the opening permanently or keep the space accessible.
Measure the opening and check what must stay clear
Measure the kitchen cabinet ceiling gap at both ends and at several points along the run. Record its height, depth, and any ceiling slope, then check where the cabinet doors sit relative to the top of the cabinet box. A single measurement can miss the low spot that prevents a straight filler from fitting.
Look for vents, wiring routes, junction boxes, appliance ventilation requirements, and anything that needs future access before designing an enclosure. Do not cover a vent or make an electrical junction inaccessible. If you cannot identify what is above the cabinets, have a qualified professional inspect it before fastening, cutting, or closing the area.
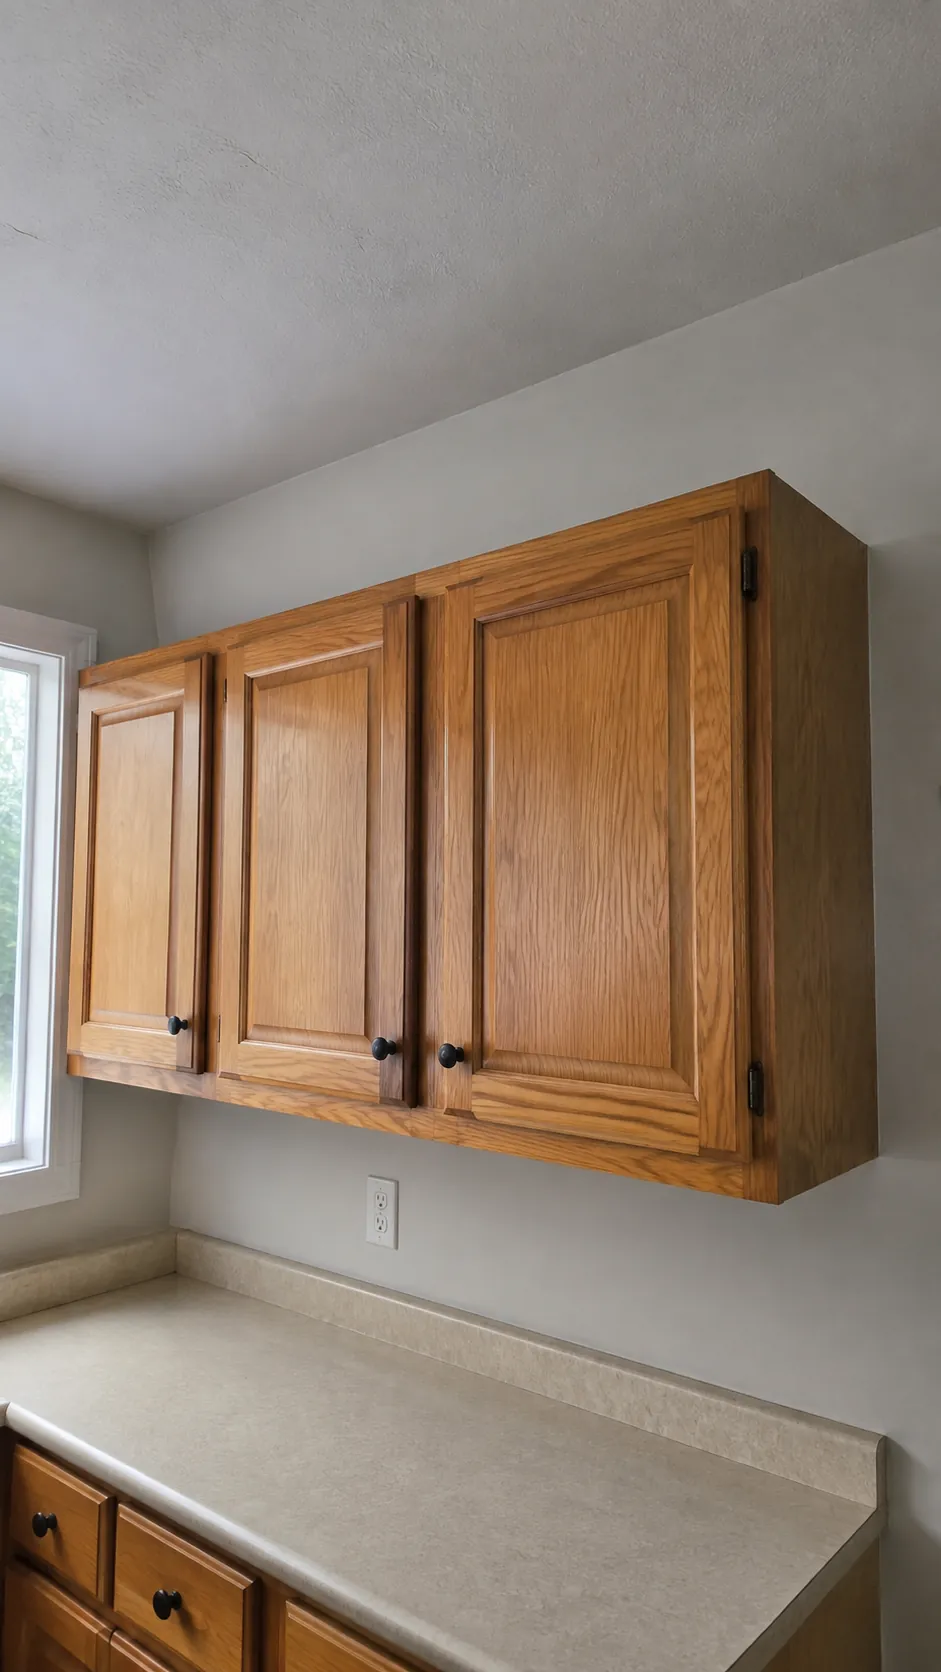
Close a shallow gap with a fitted filler and trim
For a relatively shallow opening, a matching filler panel with a small ceiling trim can make the cabinets appear finished without adding storage. Choose the combination from actual measurements and the cabinet style; large crown molding can overwhelm a simple flat door. Where the ceiling varies, the filler often needs to be scribed so its upper edge follows that variation.
The decorative face needs suitable backing and a fastening method compatible with the cabinet construction. Do not assume the thin cabinet top alone can carry an added assembly, or fasten through an area without checking for services. Test door clearance and the visible alignment before final fixing, then fill fastener holes and finish minor seams with products suitable for the materials.
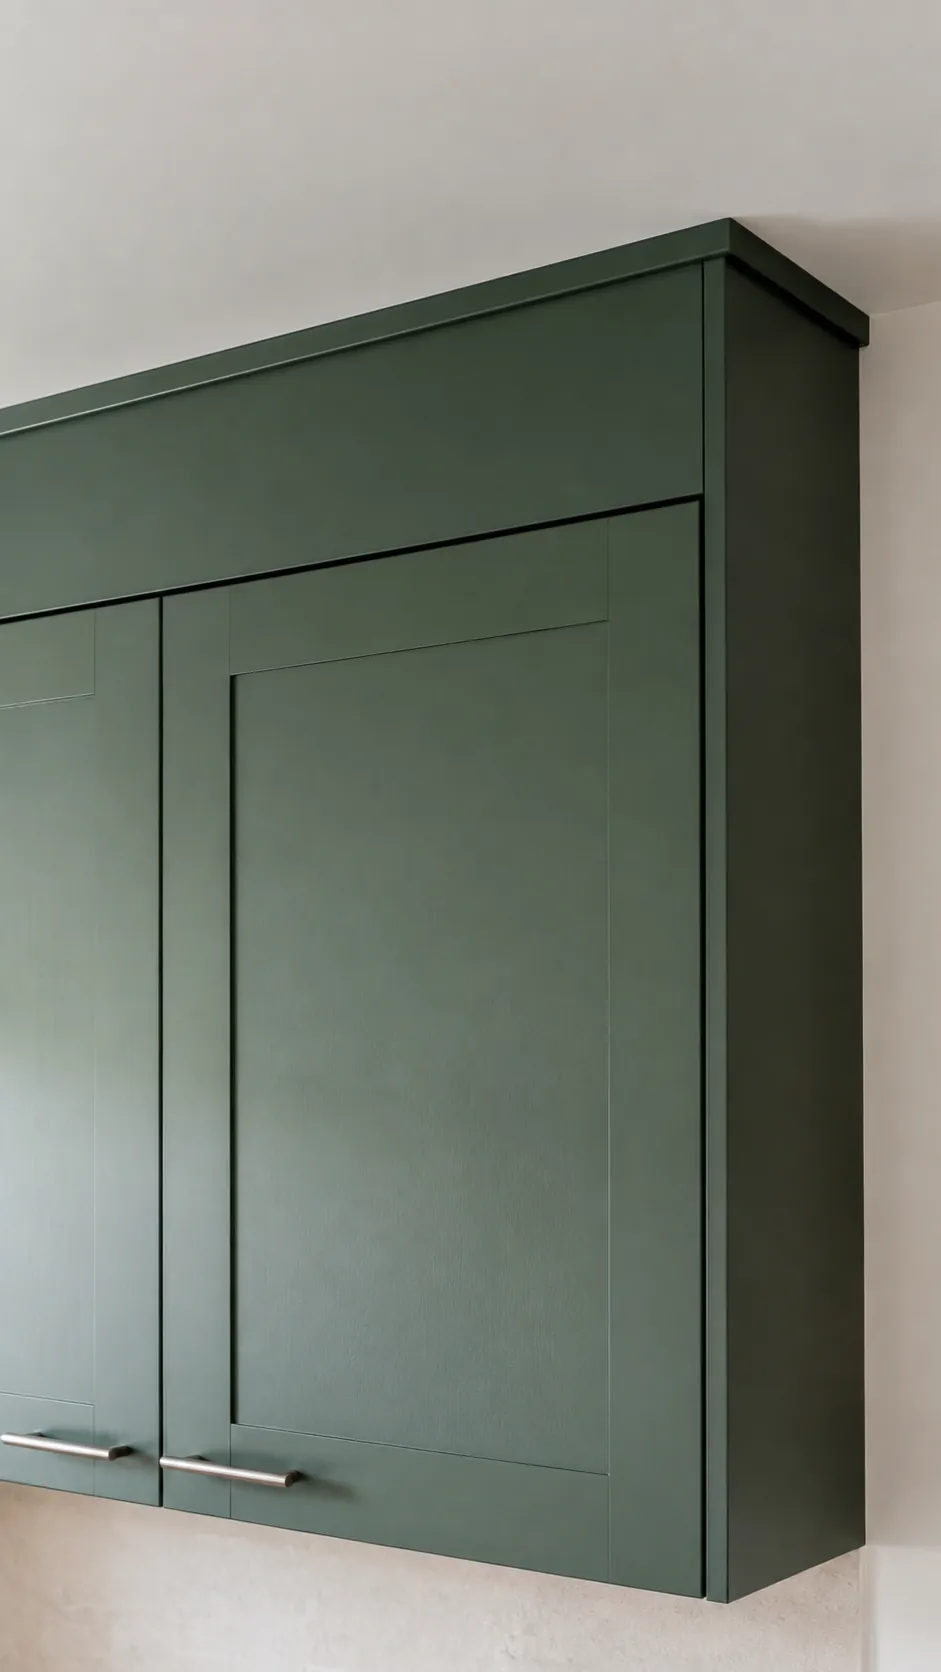
Use a bulkhead when the opening is too tall for trim
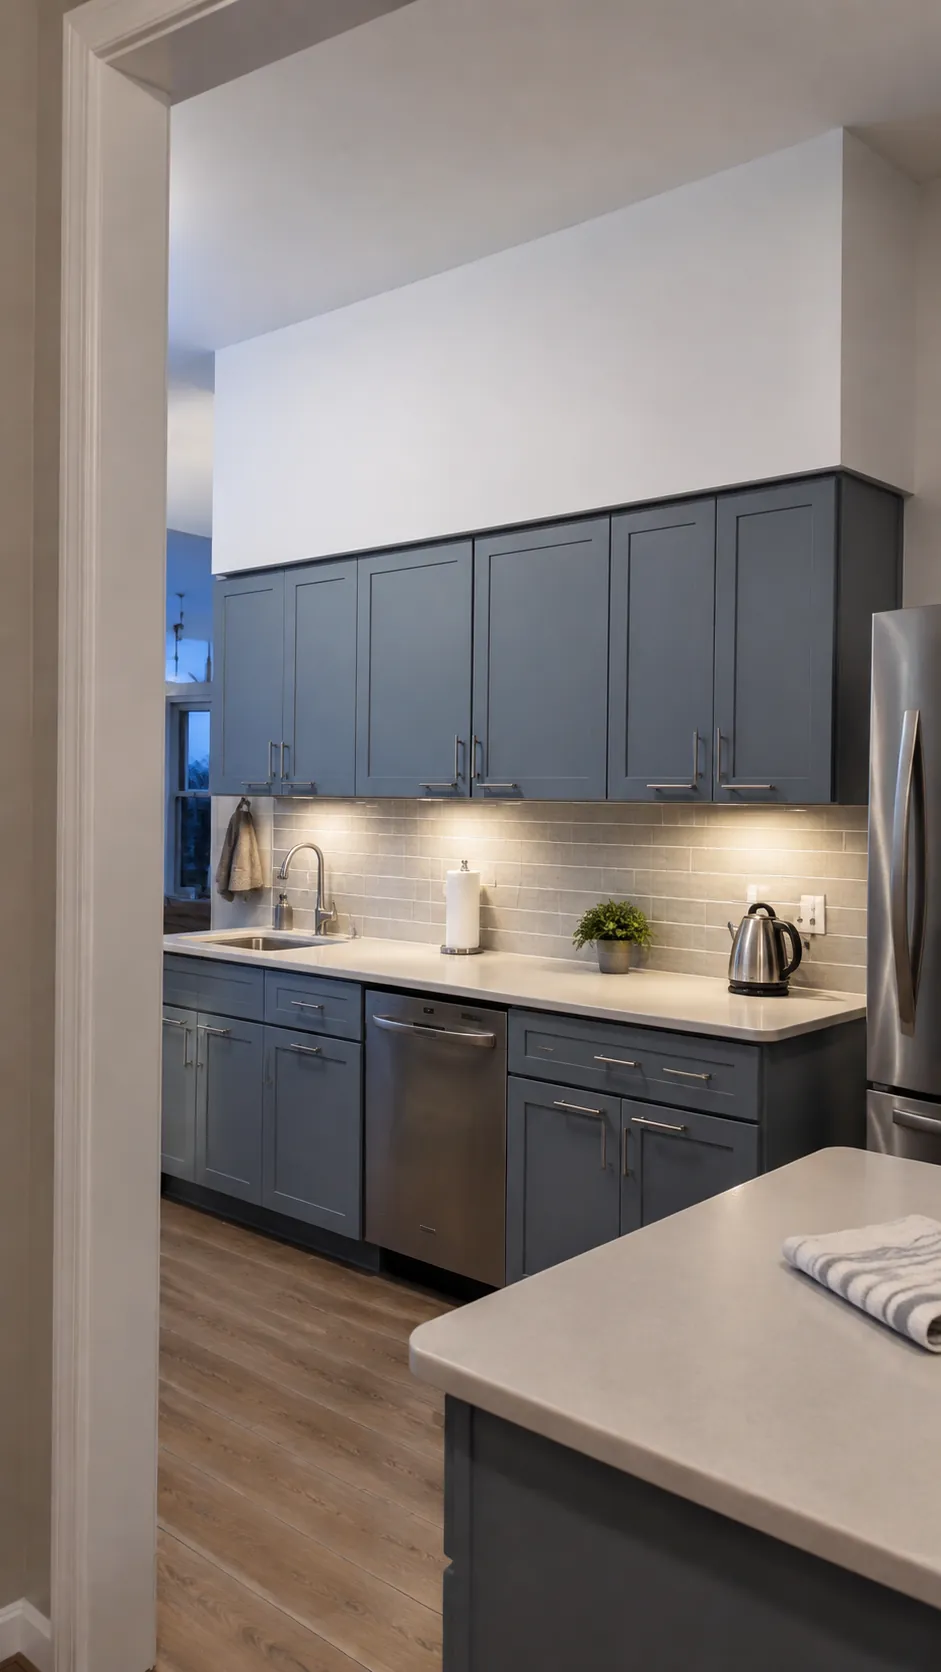
A broad ceiling gap can look awkward when filled entirely with decorative molding. A properly framed and finished bulkhead creates a plain architectural band instead, which can be painted like the wall or coordinated with the cabinetry. This solution closes the space rather than turning it into a usable cupboard.
Kitchen bulkhead ideas need a construction plan for the framing, attachment points, finish material, and any required service access. Existing cabinets should not be treated as an automatic structural support. Ask a carpenter or appropriate contractor to confirm the assembly, especially near ventilation equipment, concealed services, or an uneven ceiling.
Add upper cabinets only when the storage will earn its cost
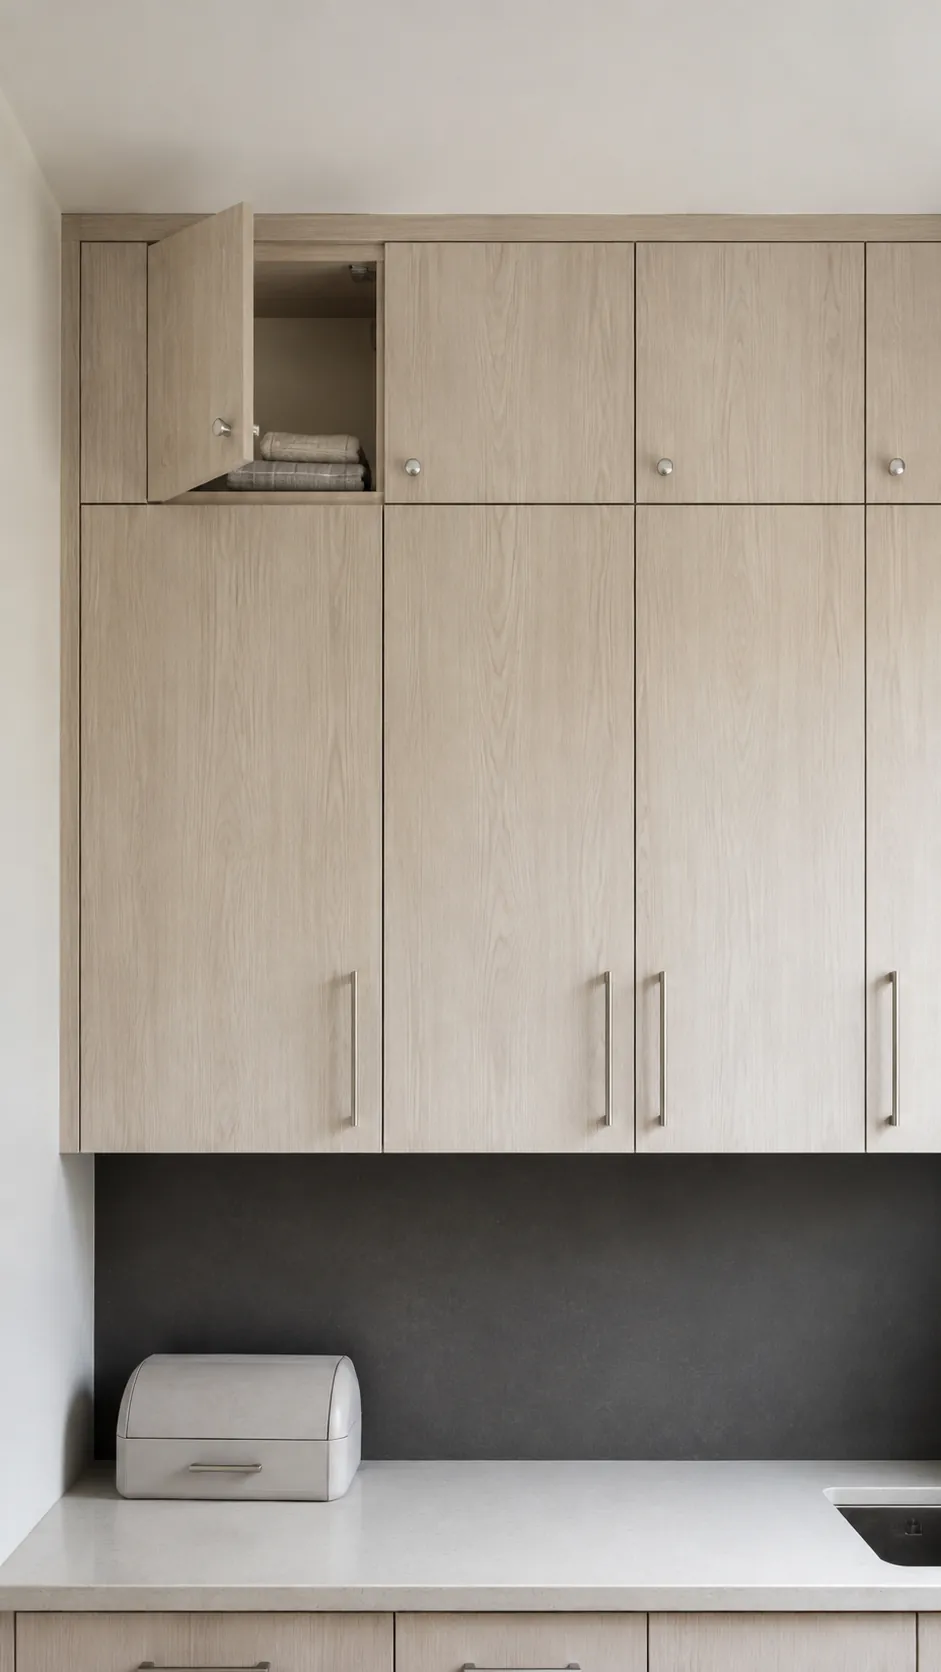
An upper cabinet extension can convert a generous gap into closed storage for lightweight seasonal items. It also requires suitable cabinet sizes, compatible doors, independent support where needed, and careful alignment with the existing fronts. Compare the cost of a coordinated extension with replacement tall wall cabinets before committing to custom pieces.
Plan how you will reach the top compartments using a stable step stool on a level floor, never the counter or a chair. Store heavy appliances and frequently used dishes lower down. If the available height only produces a cramped compartment that you cannot use comfortably, a simple enclosure may deliver the cleaner appearance with less complexity.
Keep removable storage light and easy to retrieve
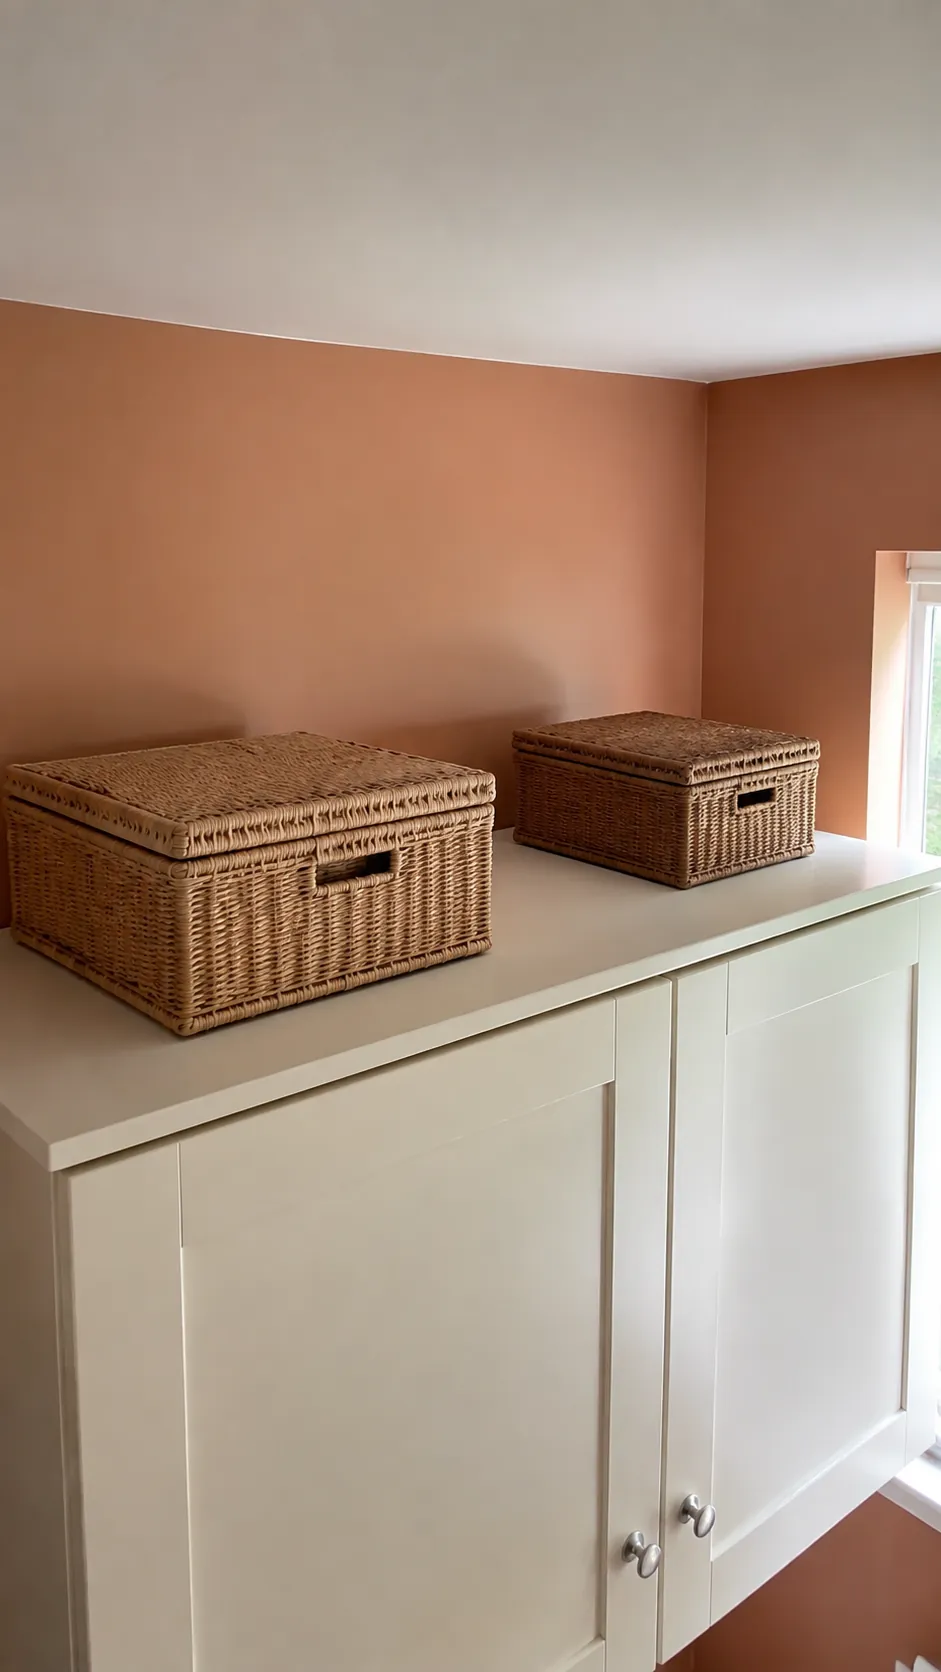
If permanent work is unsuitable, top cabinet basket storage can use an open ledge without changing the cabinetry. Measure the usable supporting surface and the clearance needed to lift each container out, not just whether it fits while sitting still. Choose lightweight lidded bins or baskets that rest fully on a suitable cabinet top, within the cabinet’s load limits.
Reserve above cabinet storage for infrequently needed light items, such as spare fabric napkins, rather than glassware or bulky appliances. Keep containers away from heat and required vents, and avoid stacking them. Baskets soften the appearance but still collect dust, so choose a finish you can clean and bring each container down before opening it.
Finish the edges and make the maintenance choice explicit
A convincing cabinets to ceiling finish depends on the end returns, corner joints, sheen, and door clearance as much as the main front panel. Compare a painted sample beside the existing cabinet in daylight and under kitchen lighting before coating the whole addition. A close color match with the wrong sheen can make the new strip stand out.
Closing the ledge reduces the exposed surface that collects dust, but it does not make the kitchen dust free. Keep any required access panels usable and clean the new exterior finish according to its coating instructions. If you choose to leave the gap open, leave a realistic way to reach and clean it; the right finish is one you can maintain after the project is done.