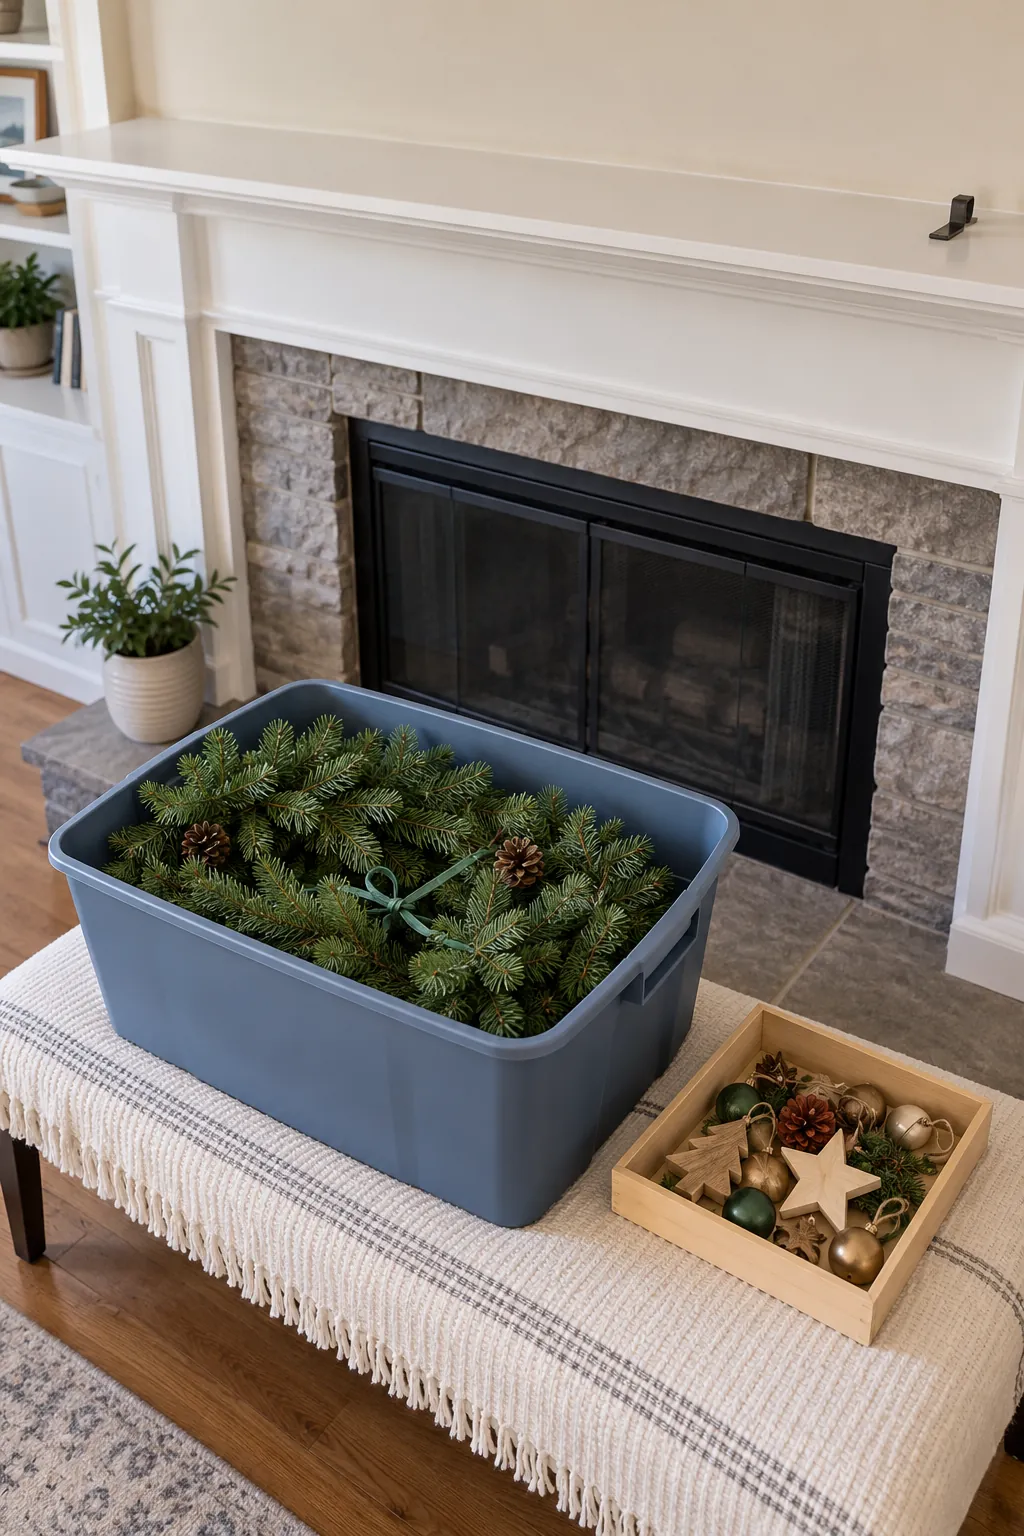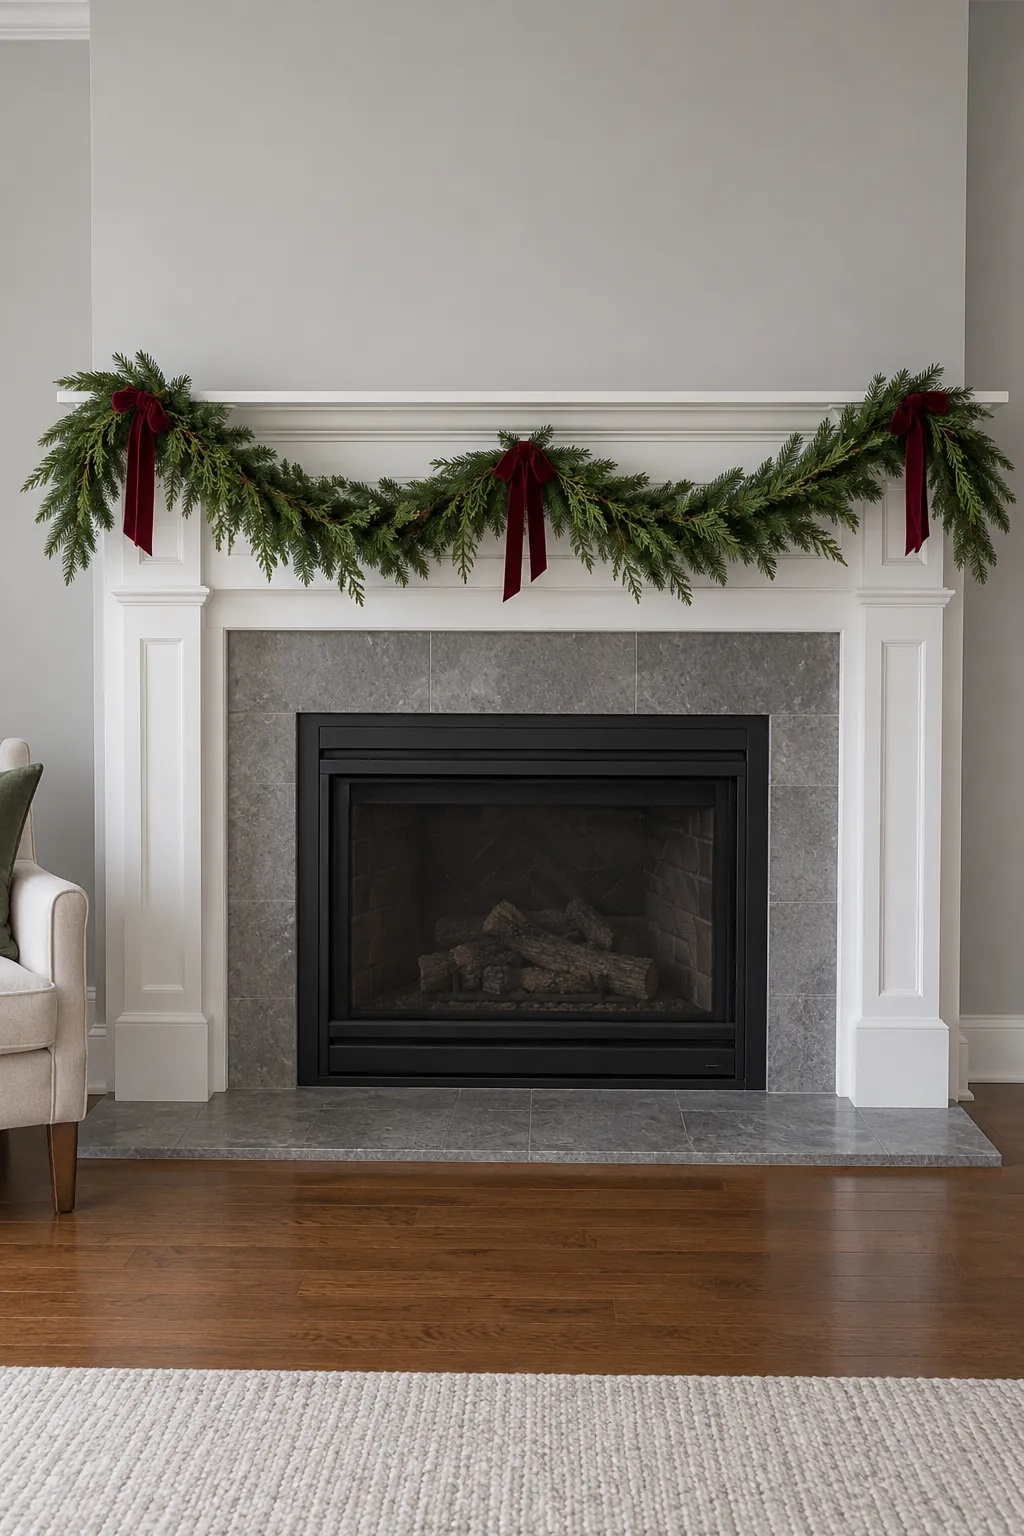
A garland that slips overnight usually needs a better match between its weight, the fixing, and the mantel surface. More hooks are not always the answer. Start with the finished display you want to support, then choose an attachment method that suits the actual material beneath it.
Check the fireplace and mantel first
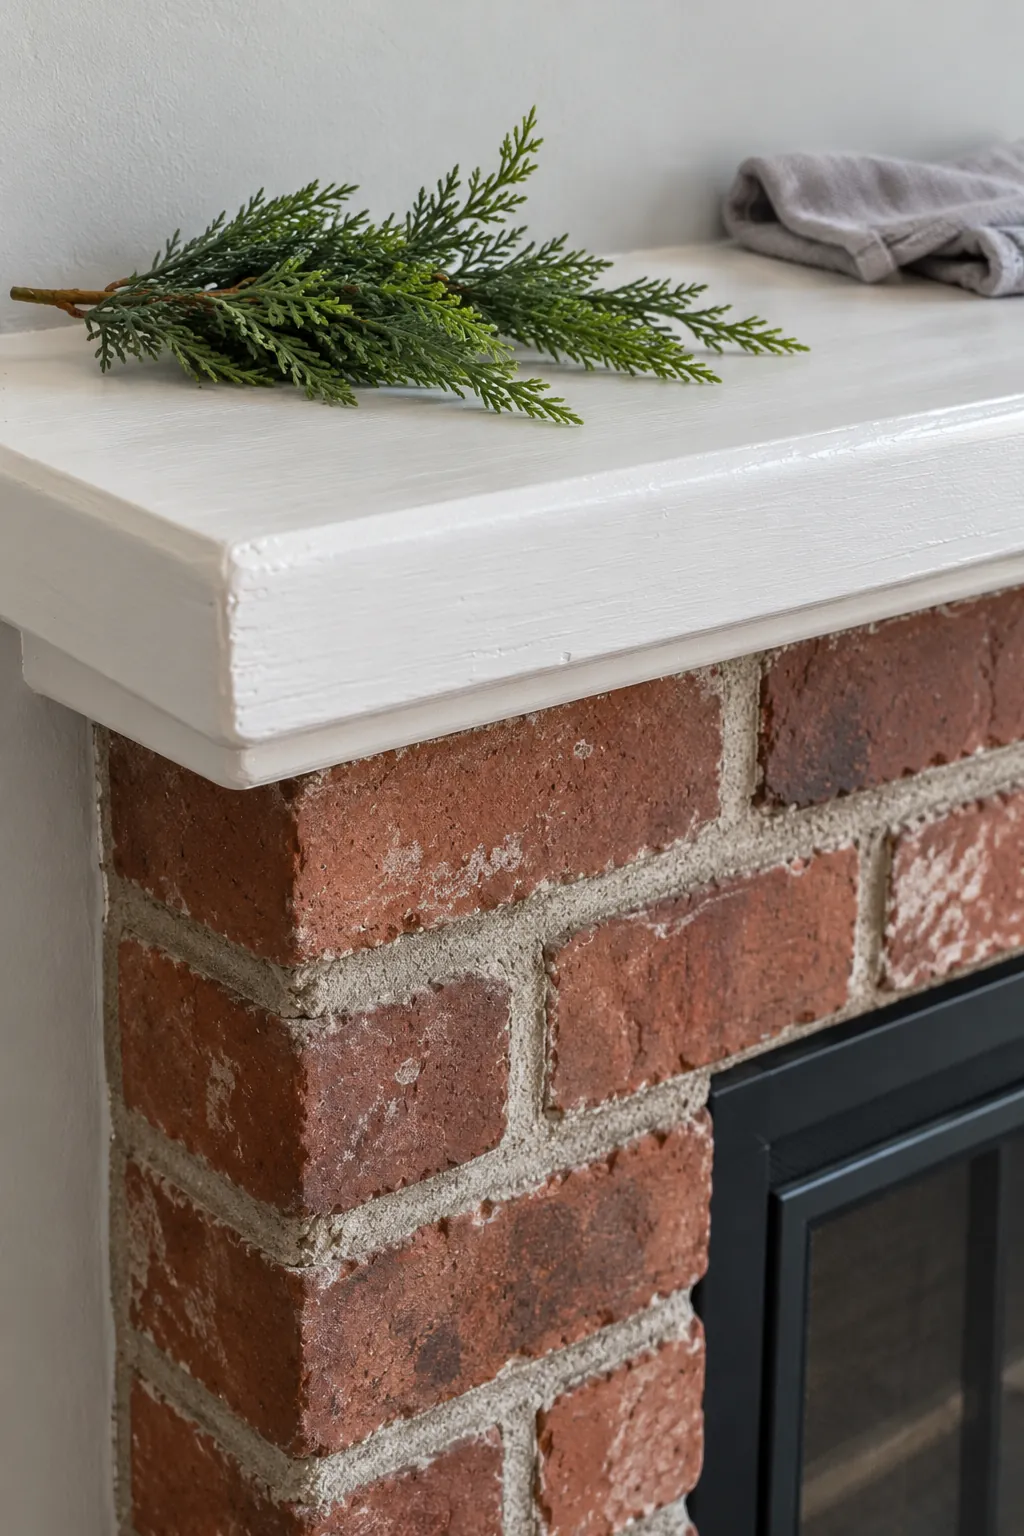
Before choosing hooks, identify what the mantel is made from and whether its finish is sound. Painted wood, sealed stone, rough brick, and delicate plaster do not accept the same fixings. Check whether the shelf itself is securely installed, and get advice from a qualified person if its construction or condition is uncertain. A loose mantel is not made safer by choosing a lighter hook.
Garland, ribbon, and dried foliage are combustible. Follow the fireplace manufacturer’s clearances, keep controls and vents accessible, and remove any decoration that conflicts with those requirements before using the fireplace. The draped arrangements shown here are for a fireplace kept out of use while decorated. A mantel that feels cool at one moment does not establish a safe operating clearance.
Measure the shape and weigh the complete strand
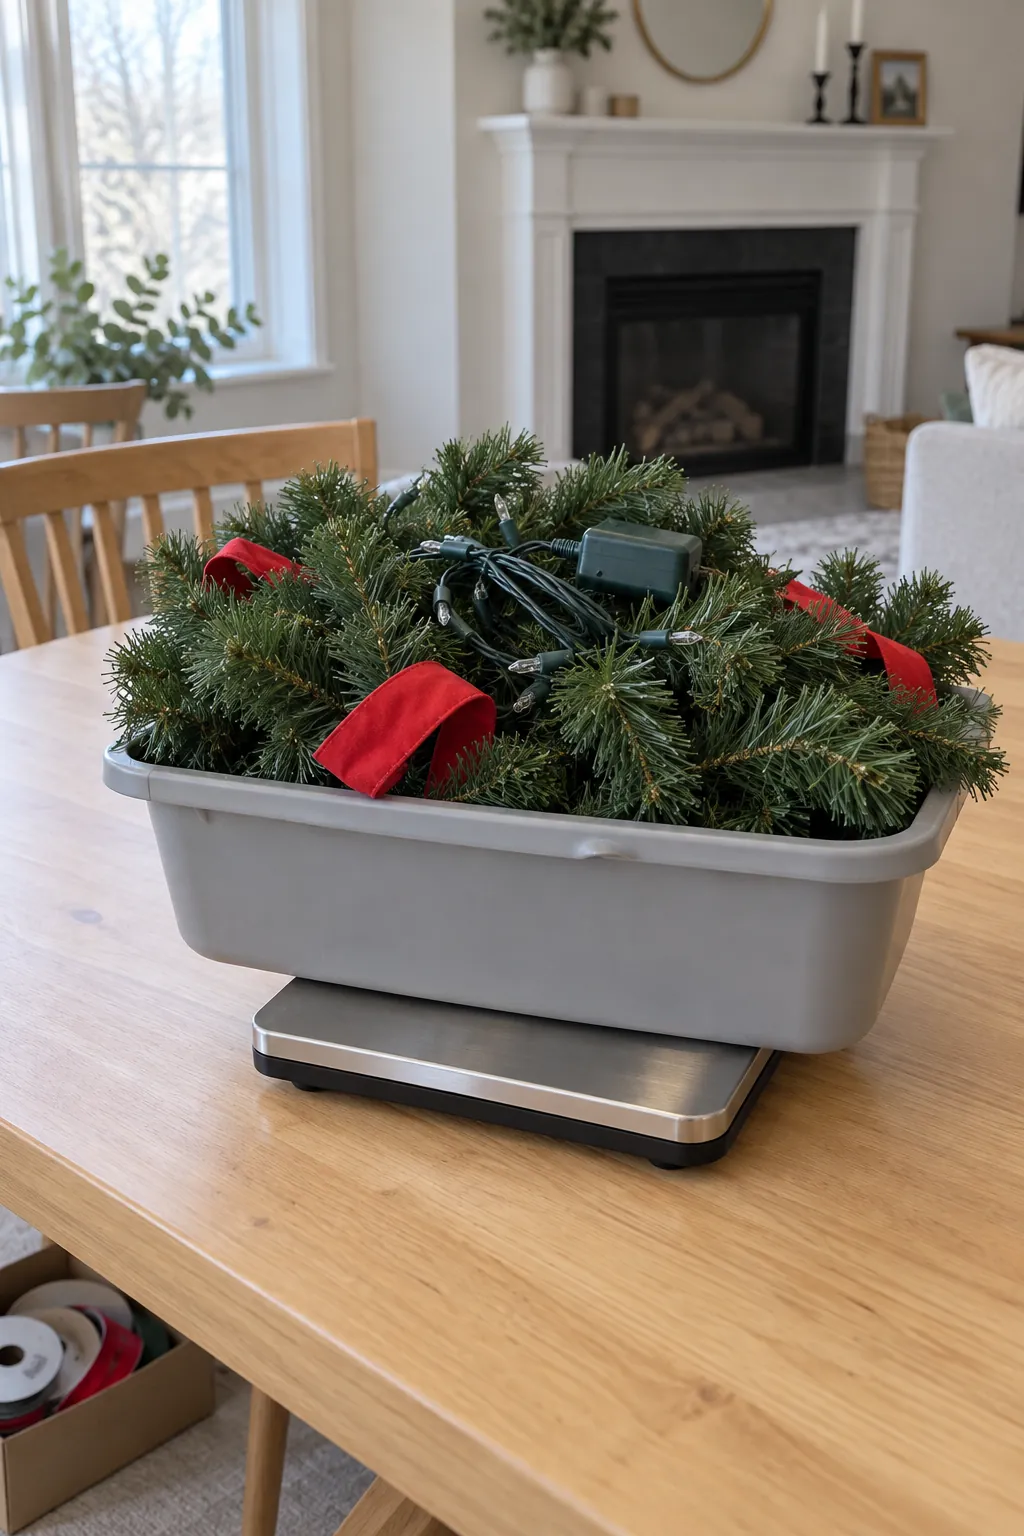
Decide whether the garland will rest along the shelf, form a shallow swag, or drop at one side. Measure that actual route rather than only the mantel width, including each bend and hanging end. Weigh the garland with the lights, ribbon, ornaments, and other additions you intend to use. A kitchen scale may suit a small strand; a suitable luggage scale can help with a larger bundle if it can be supported securely. Compare the finished weight and installation direction with the fixing manufacturer’s instructions, remembering that one point may carry much more than another. Do not assume that several hook ratings simply add together.
Choose a fixing that suits the surface
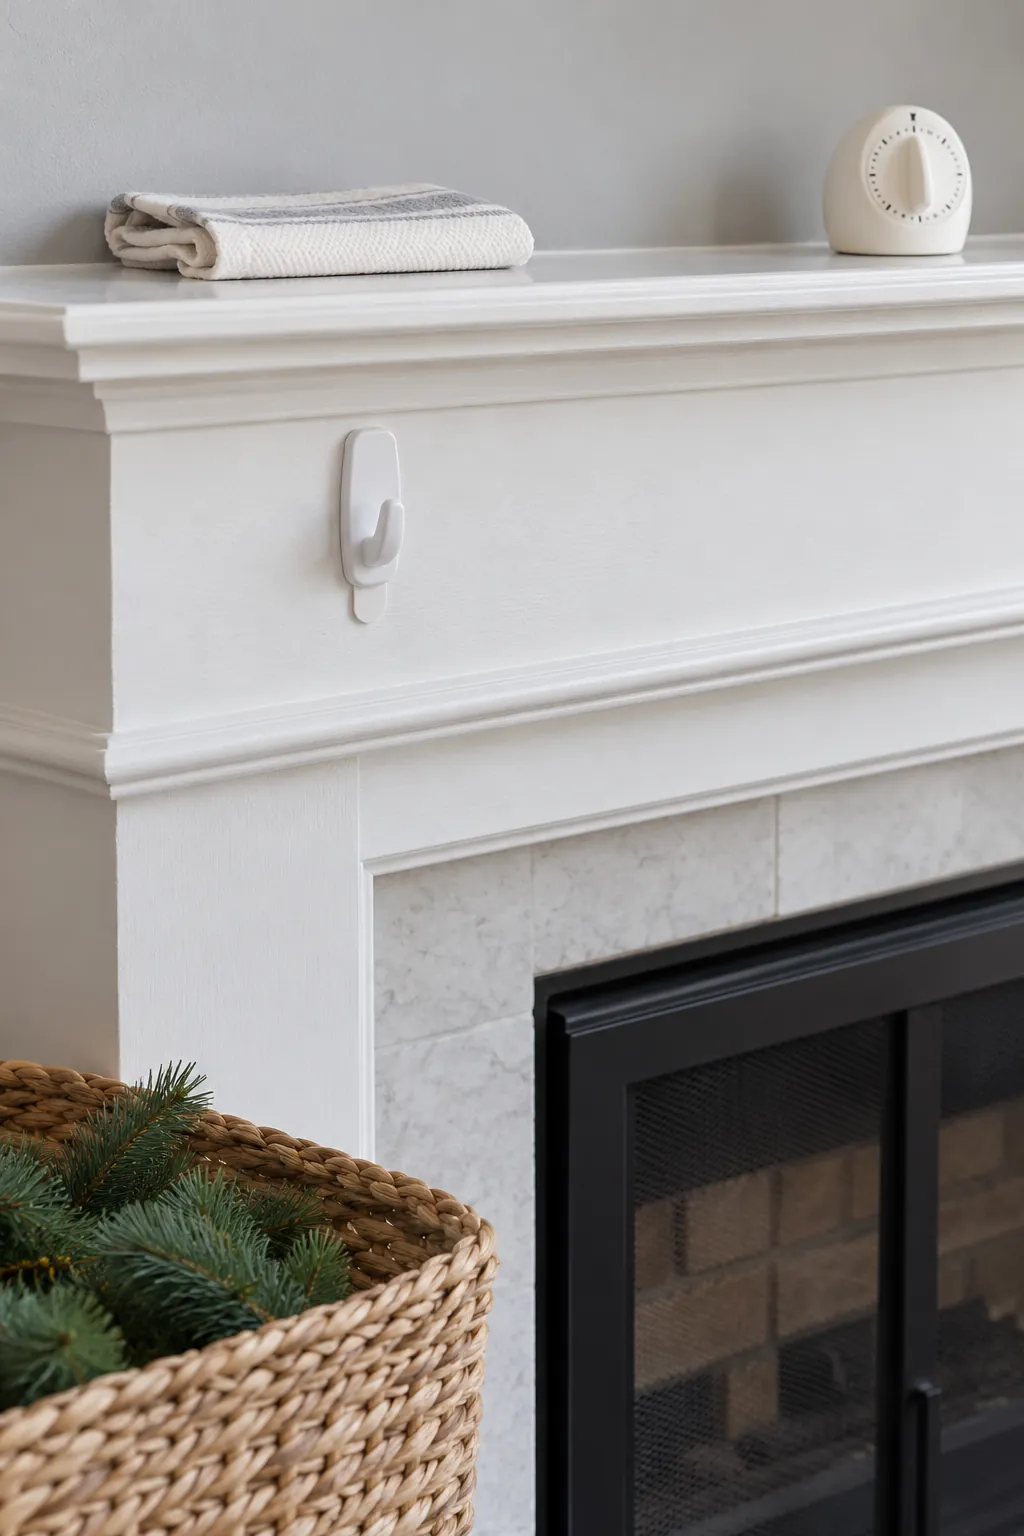
For a lightweight garland on a smooth compatible finish, removable adhesive hooks may be an option. Read the exact product instructions for approved surfaces, temperature, cleaning, paint curing, load direction, and waiting time. Avoid using them on a finish that is peeling, chalky, textured, or specifically excluded by the maker. Removable does not mean that paint damage is impossible.
For an owned timber mantel where permanent holes are acceptable, properly installed screw eyes or hooks can provide attachment points. Hardware size and placement depend on the timber and the load; avoid guessing about thin decorative trim or hidden construction. Masonry needs a fixing suited to the specific material and condition. Ask an installer if you cannot identify a sound fixing location.
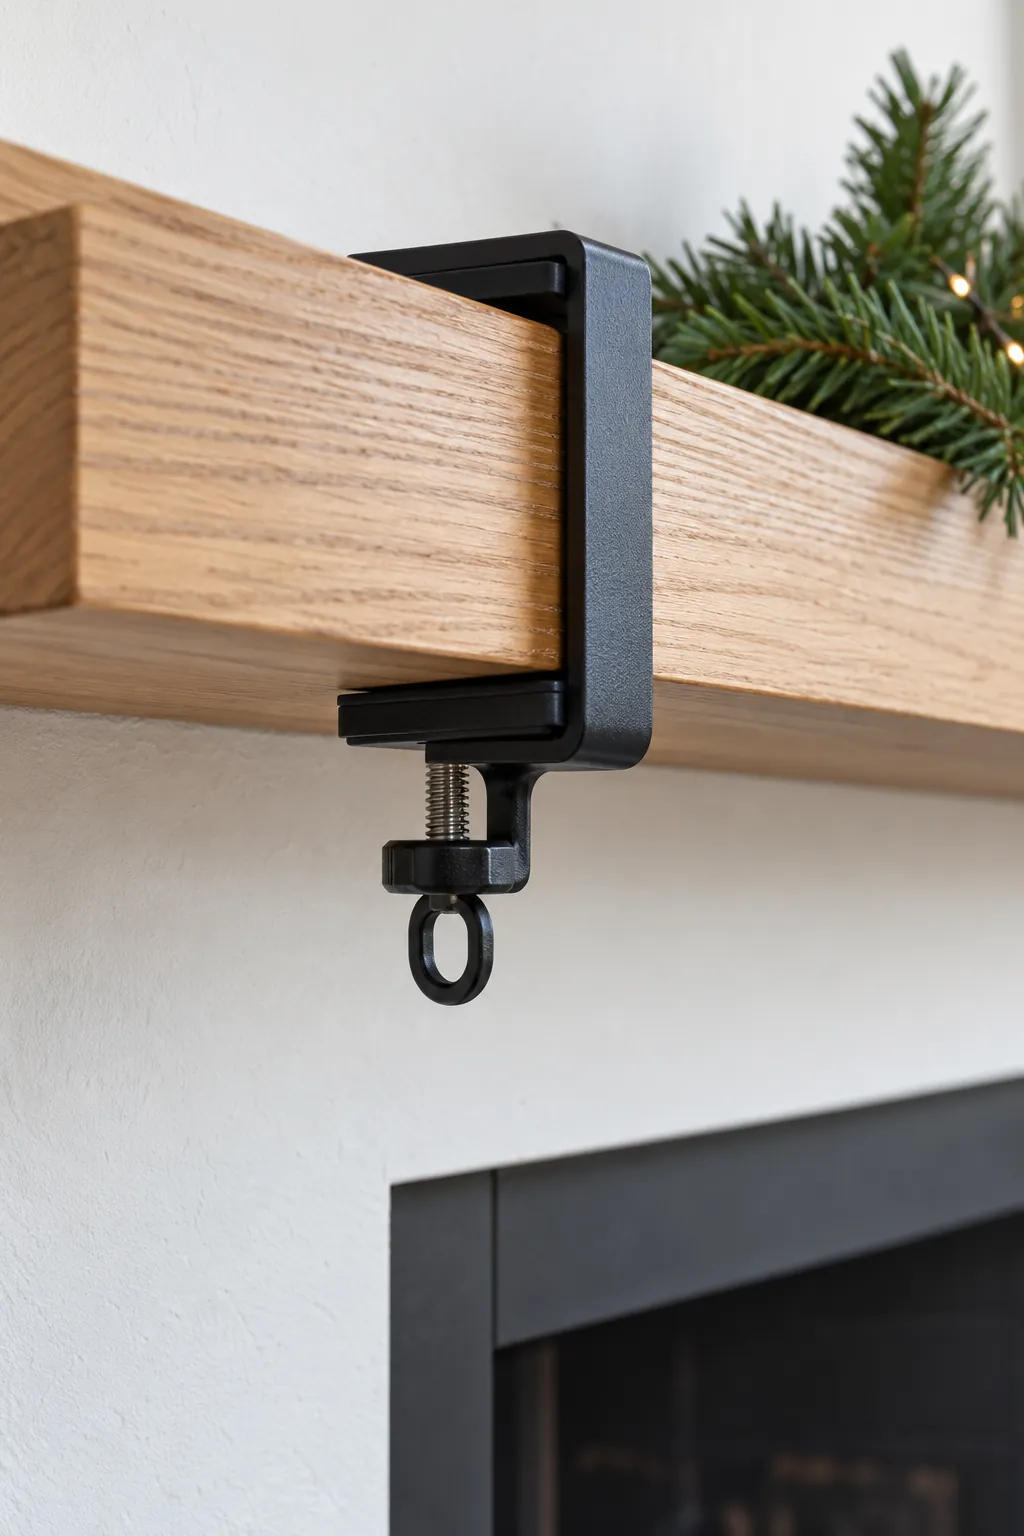
Purpose made mantel clamps are another possibility when their specified jaw shape, shelf thickness, load, and protective pads match your mantel. Decorative weighted stocking holders are not automatically garland anchors, and an ordinary vase is not a substitute for rated hardware. If no suitable fixing is available, choose a light shelf supported arrangement instead of a hanging swag. Advice about garland on a curtain rod or around a doorway does not automatically apply to a fireplace.
Prepare the locations and install the supports
Lay out the planned support locations before attaching the garland. Include support where the strand turns a corner or changes direction, then add the intermediate points required by your chosen hardware and arrangement. Keep all hardware outside prohibited heat zones. Leave enough access to release the garland later without pulling against the finish.
For adhesive products, use only the preparation method specified by the manufacturer and let the surface dry fully. Press and wait for the stated periods before applying weight; decorating immediately after sticking on a hook can defeat the installation. Do not reuse an old adhesive strip or cover it with extra tape to rescue a failed hook. Install permanent or clamping hardware according to its own directions rather than borrowing adhesive instructions.
Attach the spine, then hide the ties
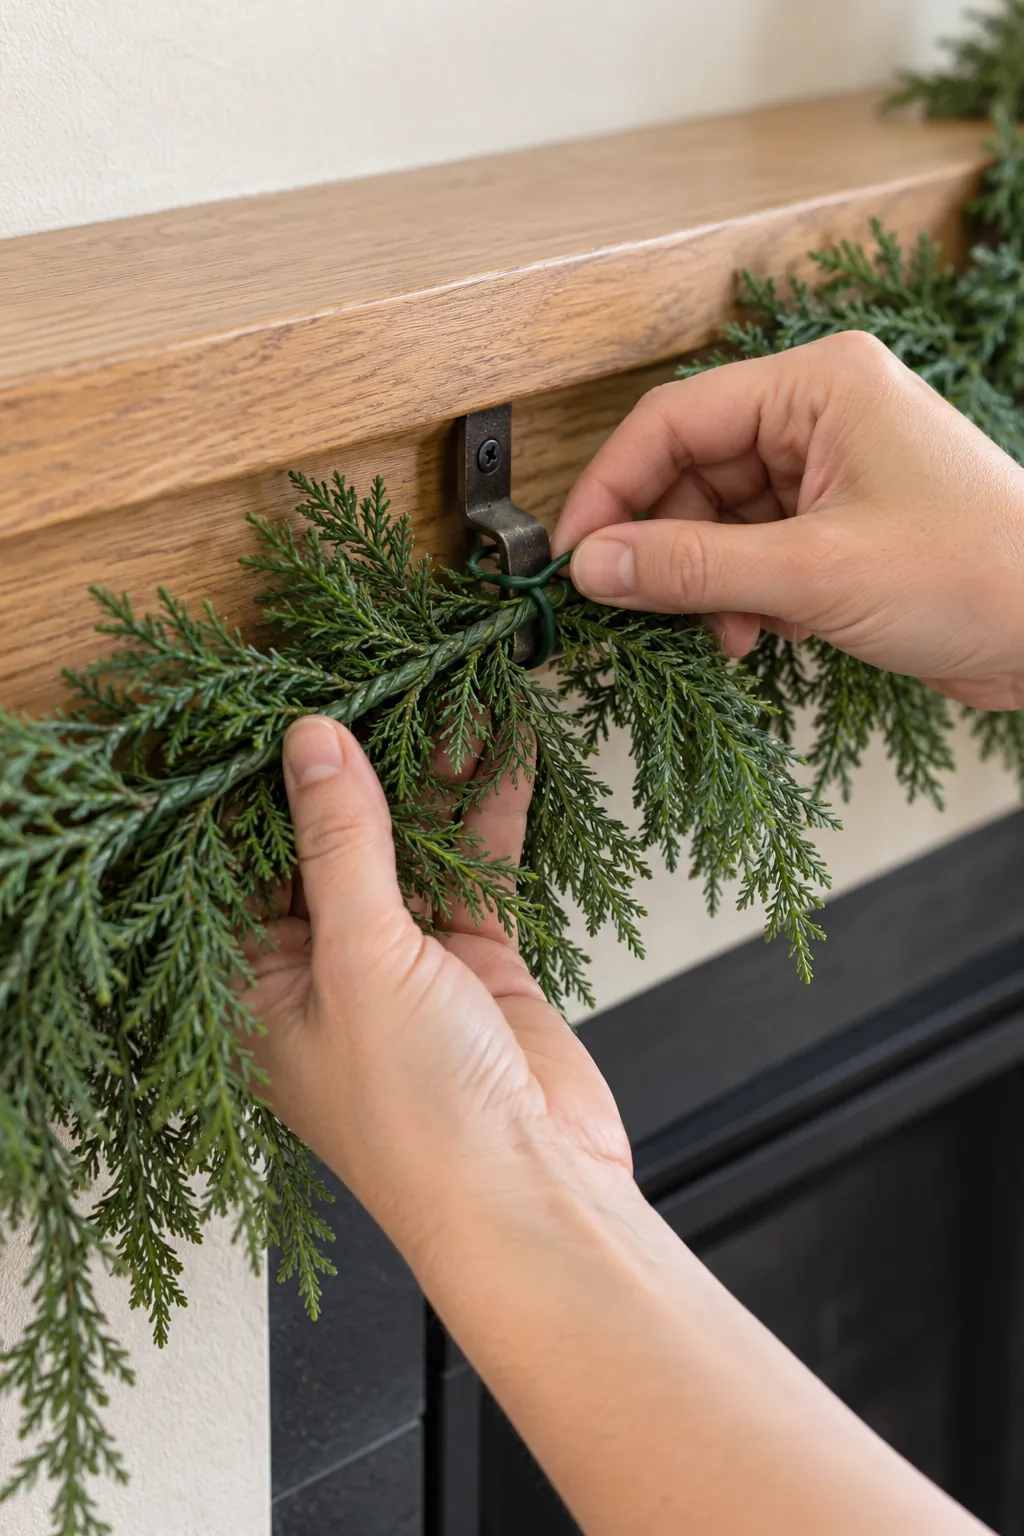
Work with the garland’s main wire or structural spine, not its leaf tips. Connect that structure to each support using a suitable short tie, keeping cut ends turned inward and away from the mantel finish. Support the strand with your hand as you make the connections so its full weight never hangs from one unfinished point. Once it is secure, adjust branch direction to conceal the ties while keeping the attachment locations accessible. Test any light strand before adding it, route cords without pinching them, and keep plugs or battery compartments reachable. Add ornaments only after you have allowed for their weight and confirmed that the arrangement remains within the fixing instructions.
Inspect movement and remove the garland carefully
If a hook tilts, an adhesive edge lifts, a tie slips, or the strand creeps toward the front, take the load off and reassess the installation. Do not hide a failing support with more greenery or tug harder to test it. Reduce the load or choose a different compatible method before replacing the display. Recheck after the garland settles and whenever you change the decorations.
Keep dangling ends clear of walkways and out of reach of children and pets. At the end of the season, remove ornaments and lights first, then support the greenery while releasing one attachment at a time. Follow the product’s exact removal method for adhesive strips, including its specified direction of pull. Stop if the finish starts to lift, and seek the maker’s guidance instead of prying the hook away from the wall.