
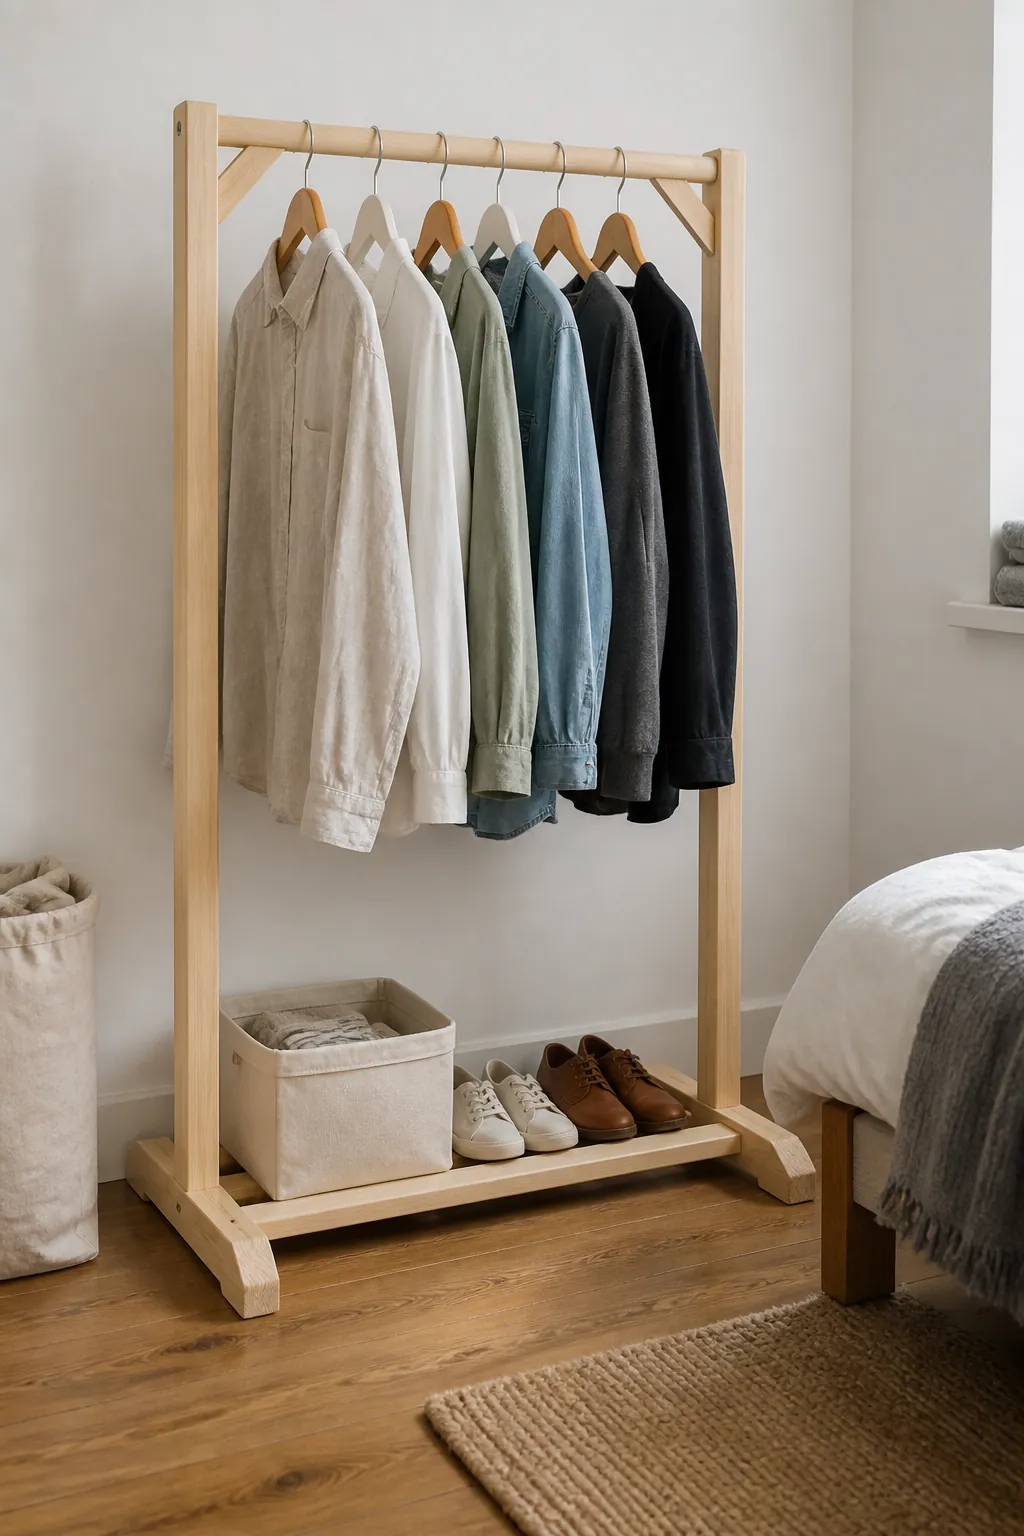
A compact rack only earns its floor space when it stays steady, holds the clothes you actually wear, and fits beneath the lowest obstruction in the room. The common mistake is choosing dimensions from a photo, then discovering that hangers strike the wall or the base tips forward under coats. A better build begins with the room, the wardrobe, and the weight.
Measure the Space and the Clothes
Mark the available width on the floor with painter tape, then place your widest hanger inside that outline. Leave several inches behind the hanger so sleeves do not rub the wall, and keep the rack clear of doors, drawers, and walking paths. Measure the longest garment you plan to hang, since shirts, children’s costumes, and full length dresses need very different rail heights.
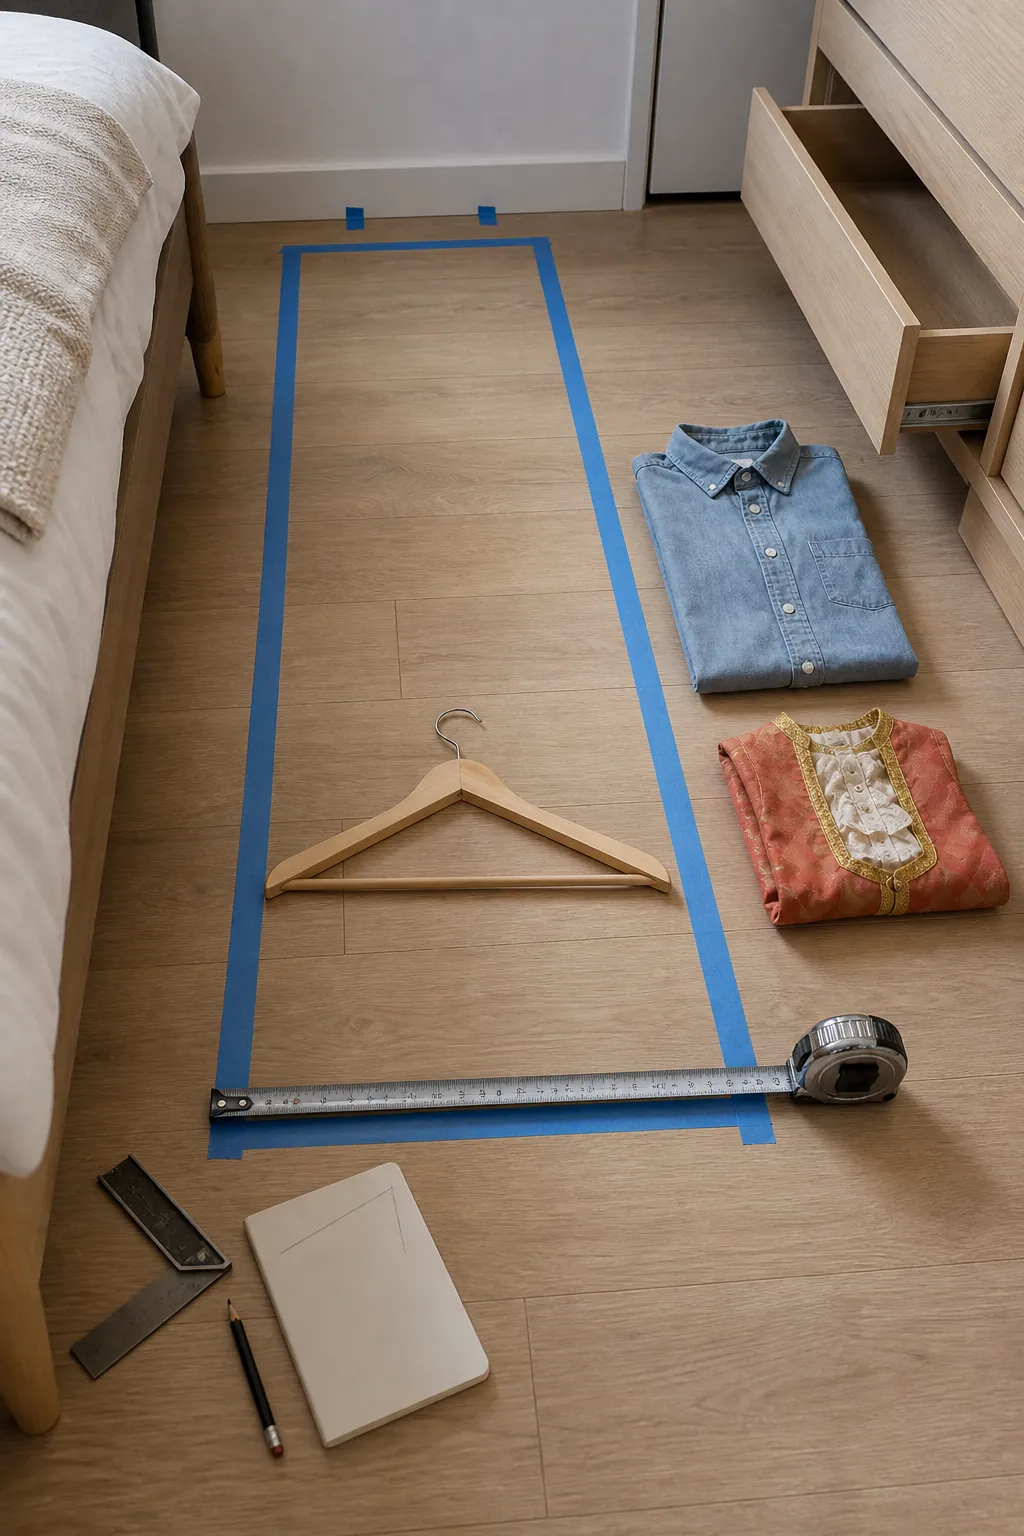
A useful adult rack is often about thirty six to forty eight inches wide, while a kids dress up rack can be much narrower and lower. Treat those figures as a starting point, not a pattern you must copy. Your finished width should match the usable wall zone and leave room for the feet to extend beyond the uprights.
Choose a Stable Wooden Design
A simple wooden garment rack needs two feet, two upright posts, one hanging rail, and a lower stretcher that ties the sides together. Straight construction lumber works well for the frame, while a hardwood closet dowel makes a smooth compact wardrobe rail. Select dry boards that sit flat without twisting, because a warped upright makes the entire frame harder to square.
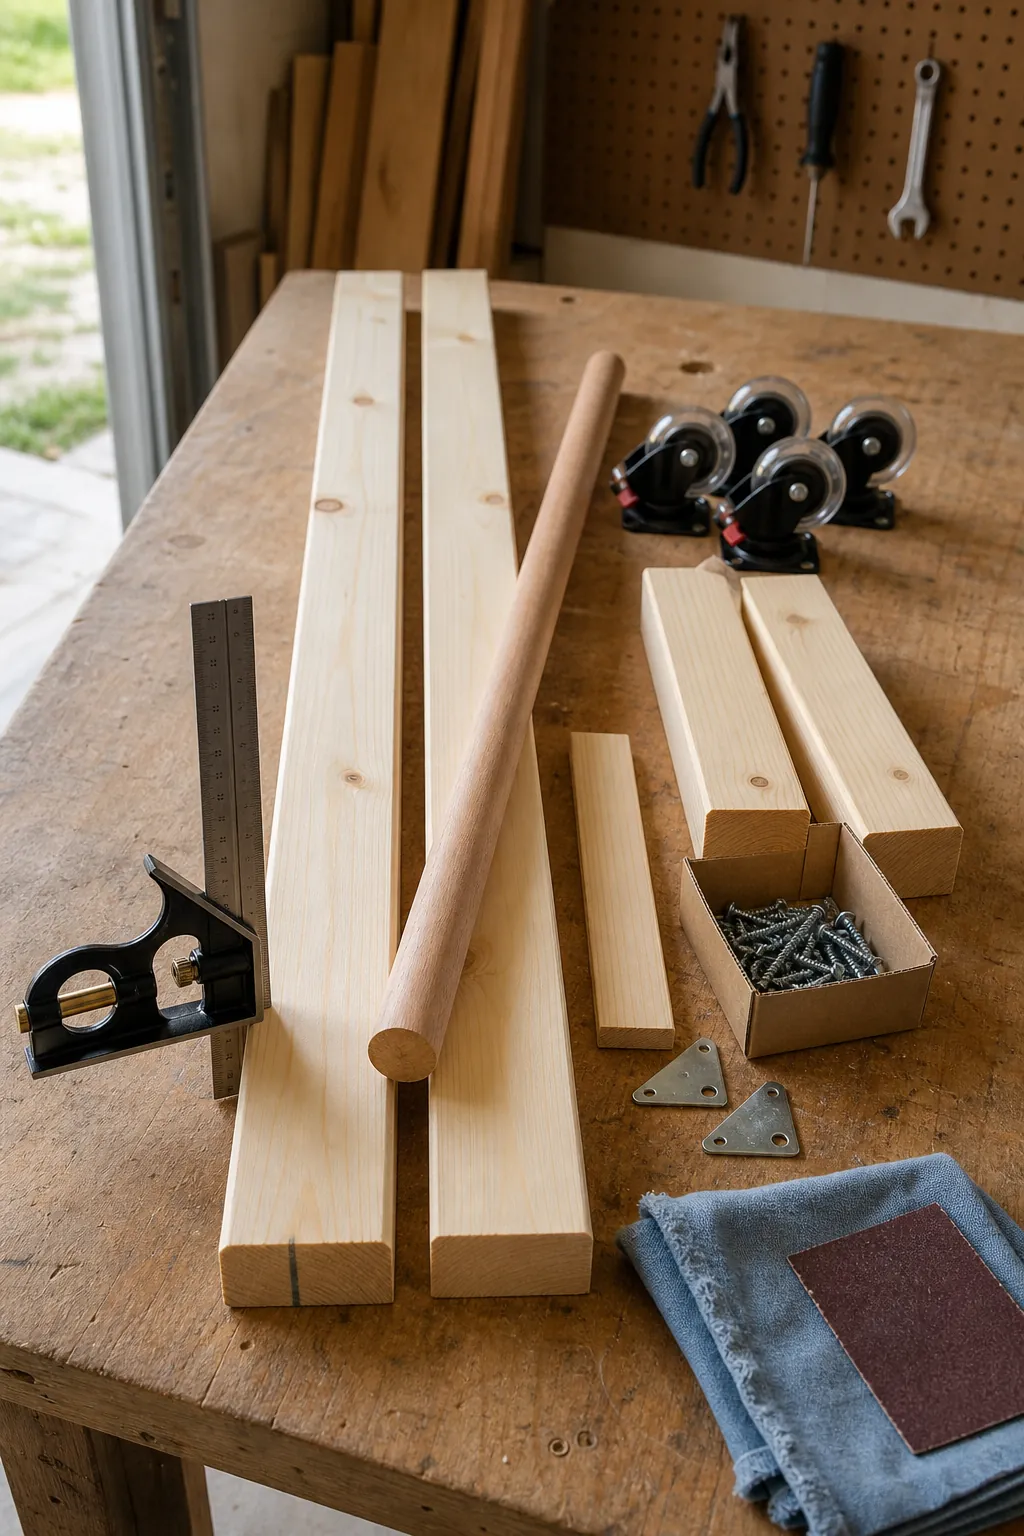
Make each foot deep enough to resist the loaded rail pulling the frame forward. A foot around sixteen to twenty inches deep is practical for many small bedroom builds, especially when the upright sits near its center. If you need a rolling clothes rack, use locking casters with a combined rating comfortably above the expected clothing load, and include their height in every measurement.
Cut and Prepare the Parts
Cut both uprights together so their lengths match exactly, then do the same for the feet. The stretcher length should place the uprights at your planned clear rail width. Before assembly, label mating faces lightly in pencil and sand every edge that hands, hangers, or clothing could touch.
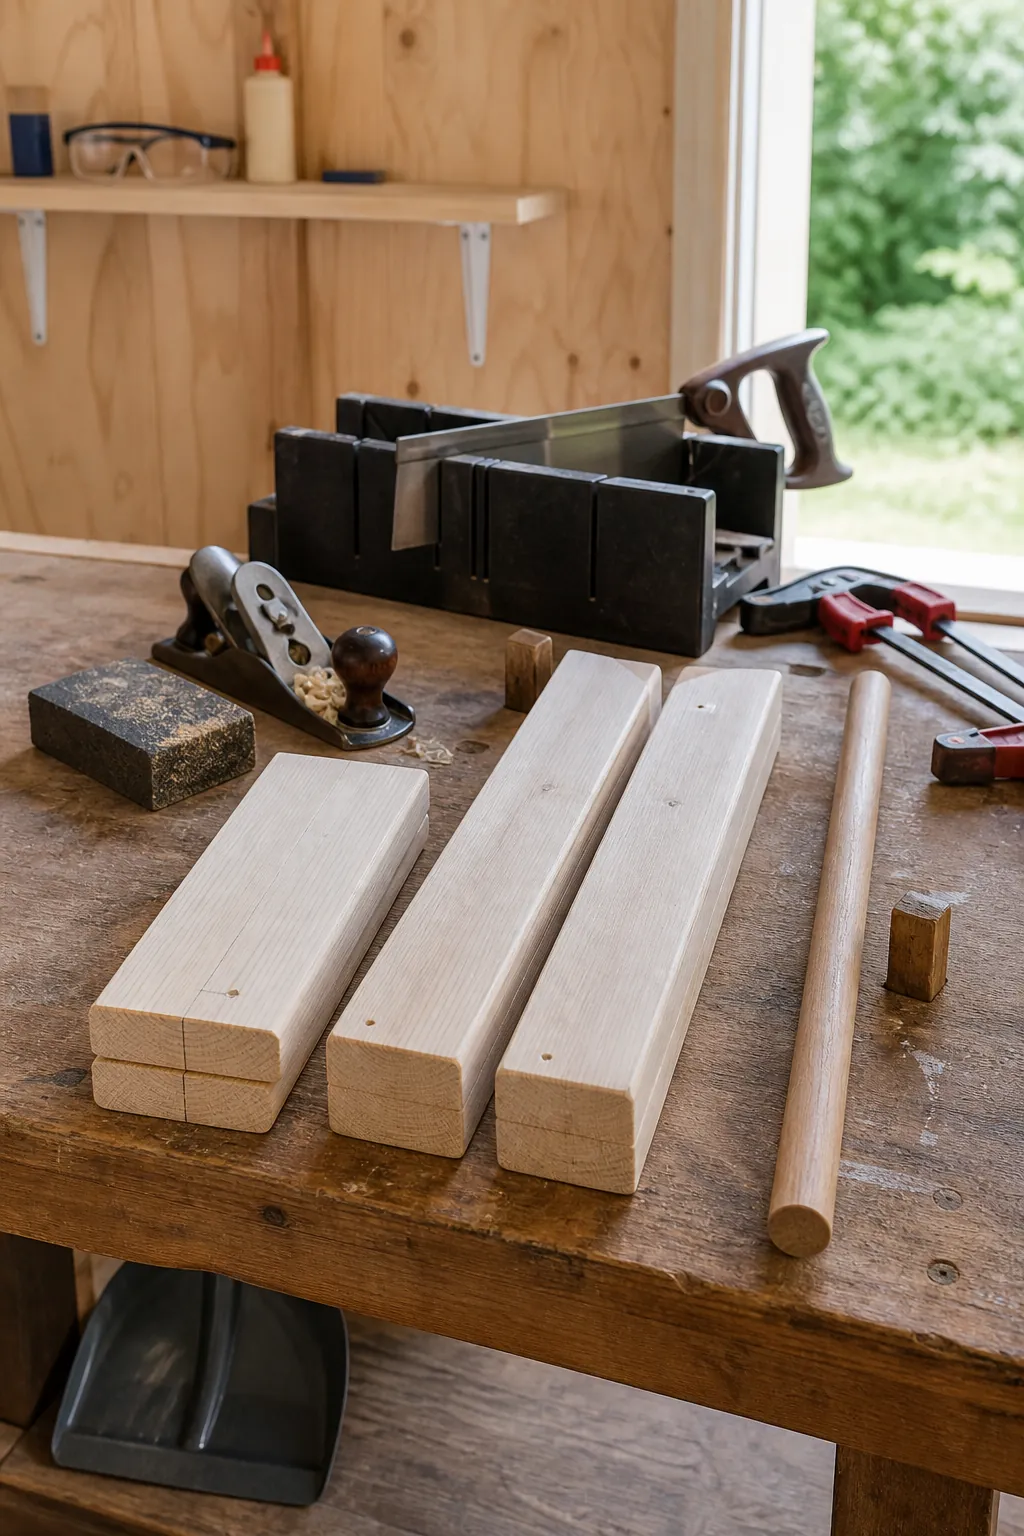
Drill pilot holes before driving screws near the ends of boards. This reduces splitting and makes alignment easier, particularly with narrow stock. For the rail, use matching sockets or bore shallow centered recesses in the uprights, making sure the dowel cannot rotate loose or slide sideways.
Assemble the Feet and Uprights
Center each upright on its foot and check it with a square from two directions. Wood glue adds stiffness, but screws or bolts provide the mechanical connection that a loaded rack needs. Assemble both side frames on a flat floor, then stand them up and connect them with the lower stretcher.
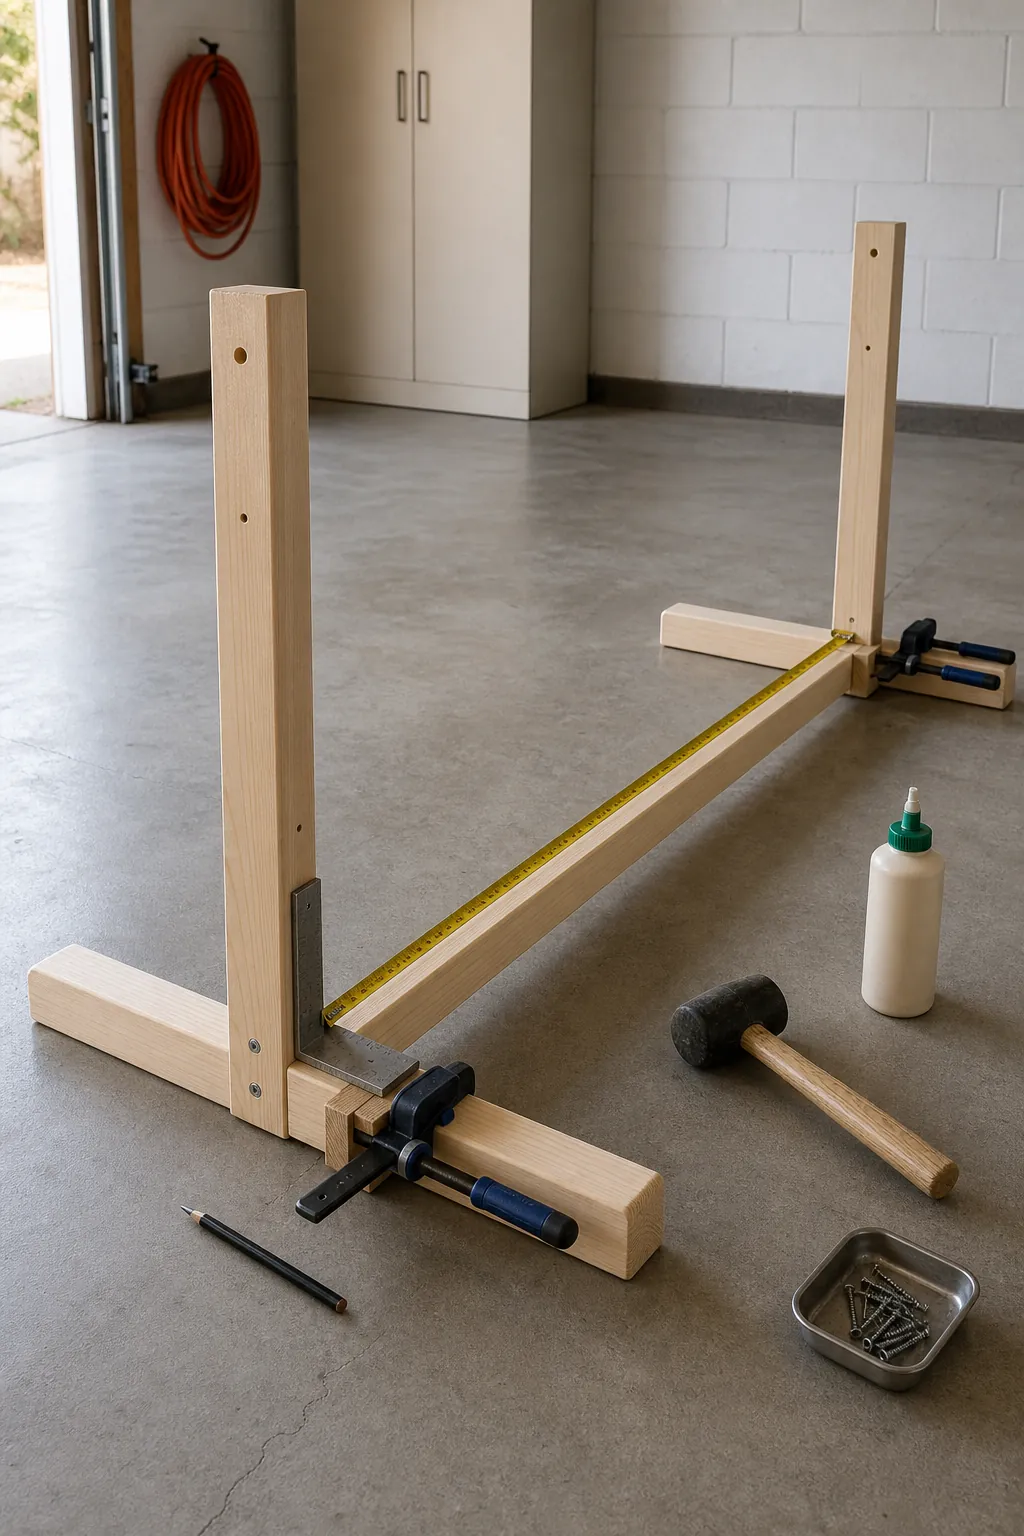
Measure both diagonals across the frame before tightening the stretcher fasteners. Equal diagonal measurements mean the rack is square, which helps every foot contact the floor evenly. If the frame still sways sideways, add small triangular wood braces where the uprights meet the feet or fit a discreet back brace.
Install the Rail and Control the Load
Fit the rail only after the base stands square and level. Secure it so it cannot pull free when hangers are moved, then test the center with gentle downward pressure before adding clothes. A shorter span is naturally less likely to sag, which is one reason a mini rack can outperform a long inexpensive commercial rail.
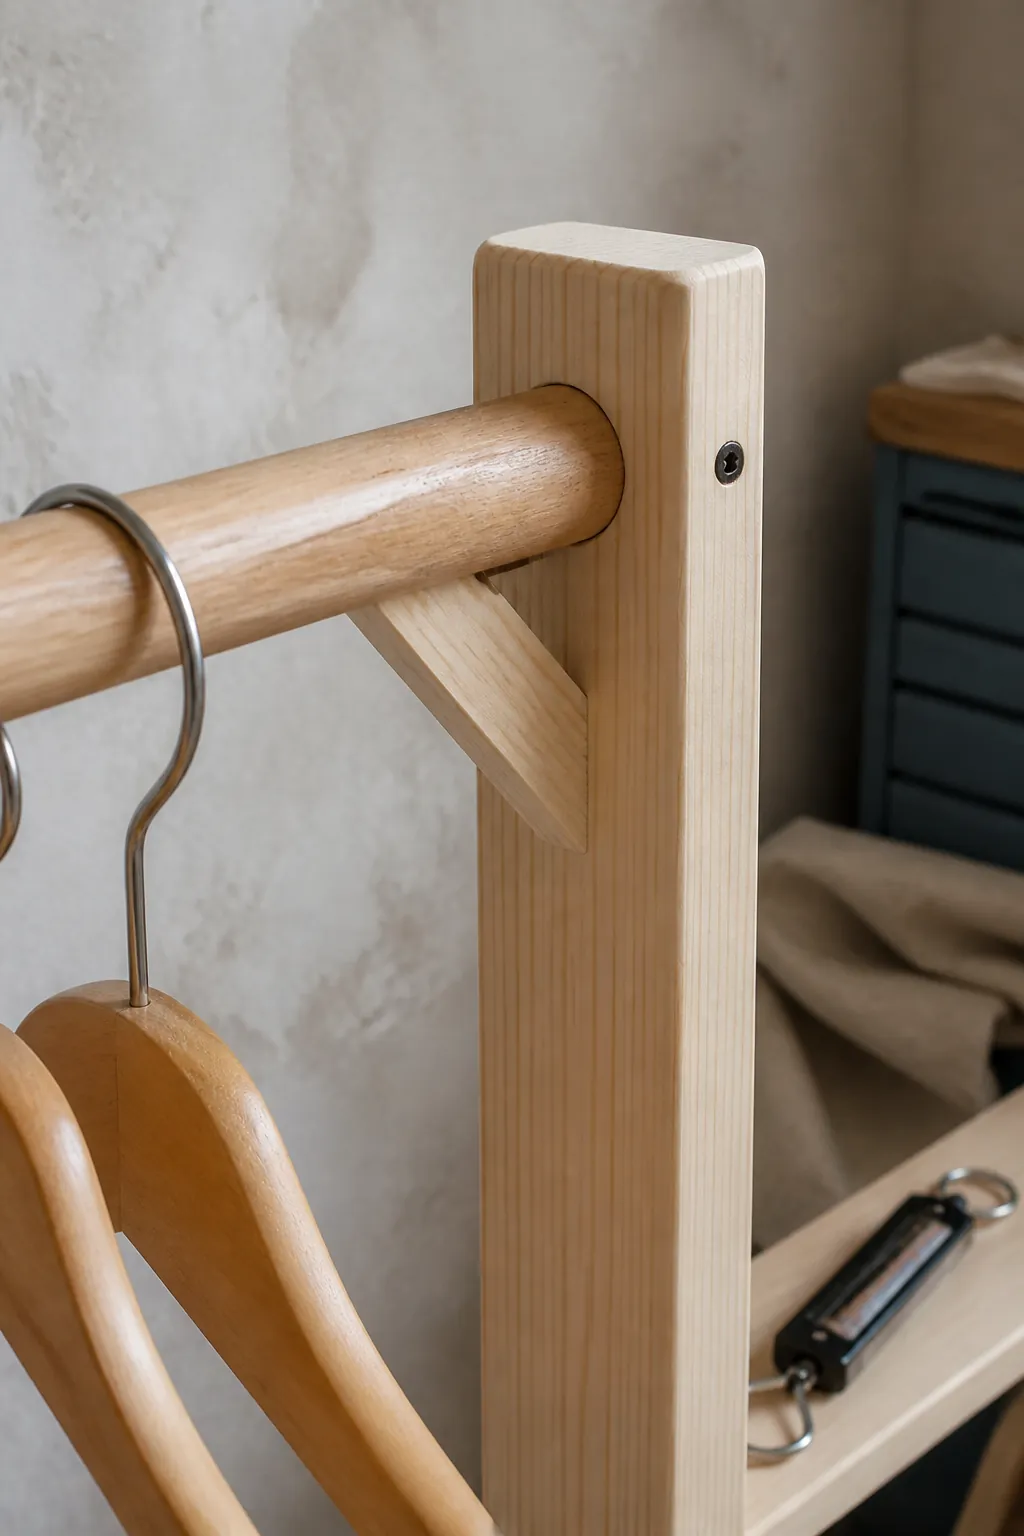
Add garments gradually and watch the joints, feet, and center of the rail. Put heavier coats near the uprights rather than clustering them in the middle. If the rack rocks, correct the floor contact or strengthen the base instead of hiding the problem with more weight at the bottom.
Finish It for Everyday Use
Round sharp corners and remove every rough spot before applying a finish. A clear water based finish keeps pale wood looking natural, while paint can connect the rack with other open closet ideas in the room. Let the finish cure fully so it does not transfer odor or color to clothing.
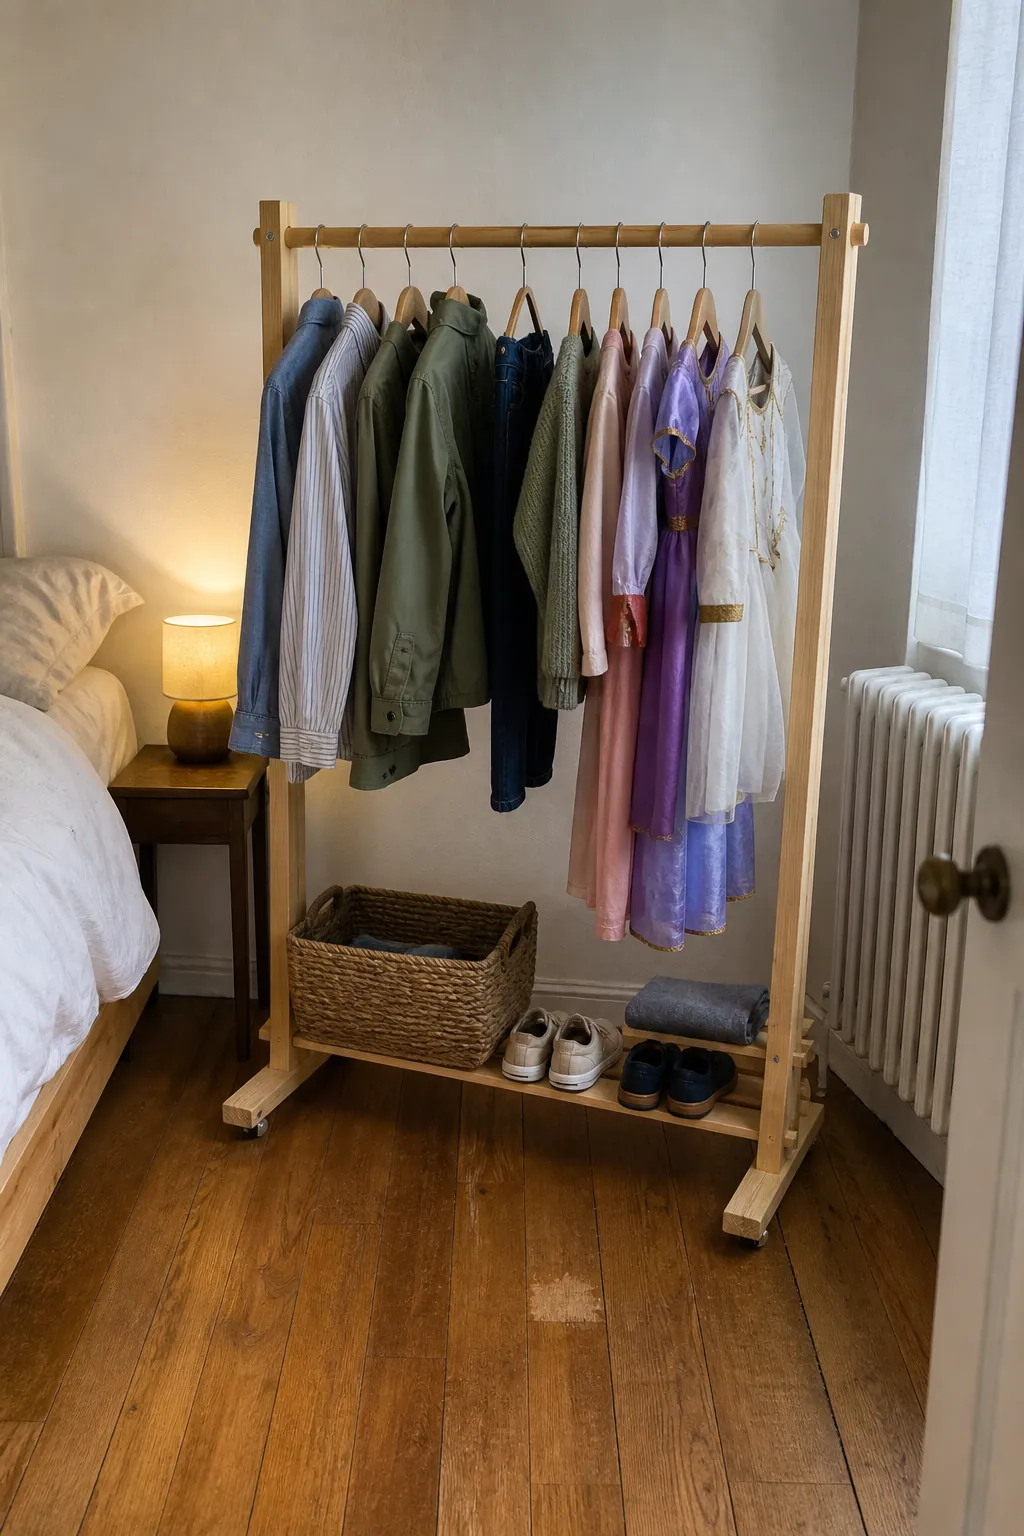
Load the finished rack with a realistic weekly rotation rather than every garment you own. Keep shoes or a low basket within the footprint to avoid creating a trip hazard around the feet. The best bedroom clothing display is not the fullest one; it is the one that stays balanced, makes clothing easy to reach, and leaves the small room calmer.