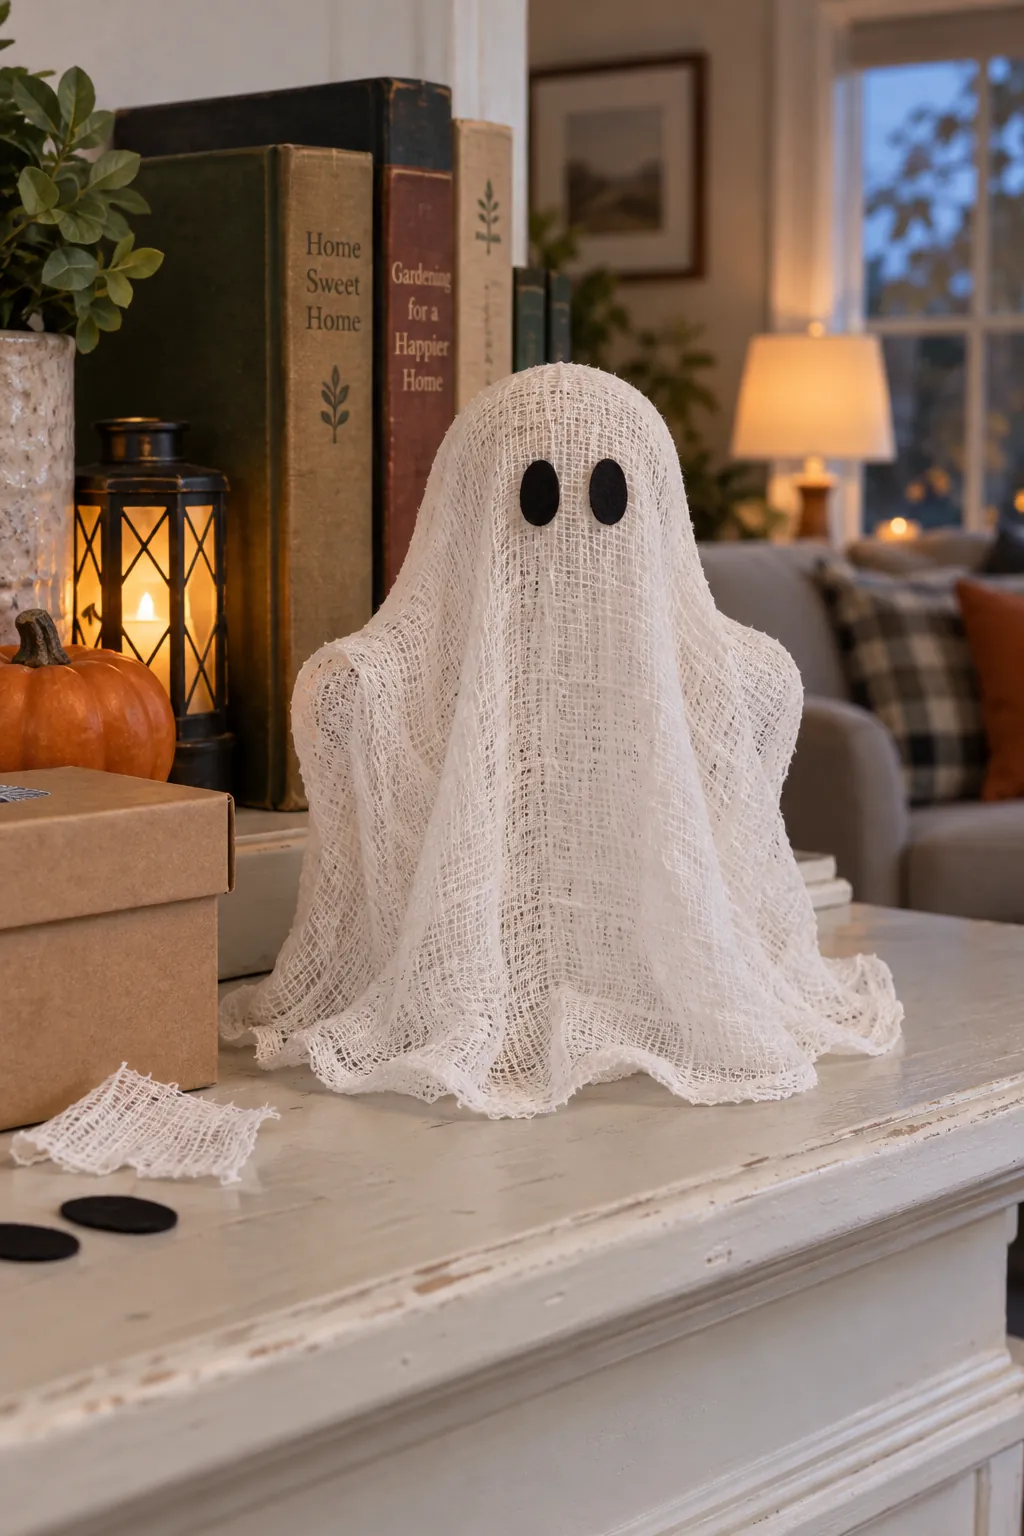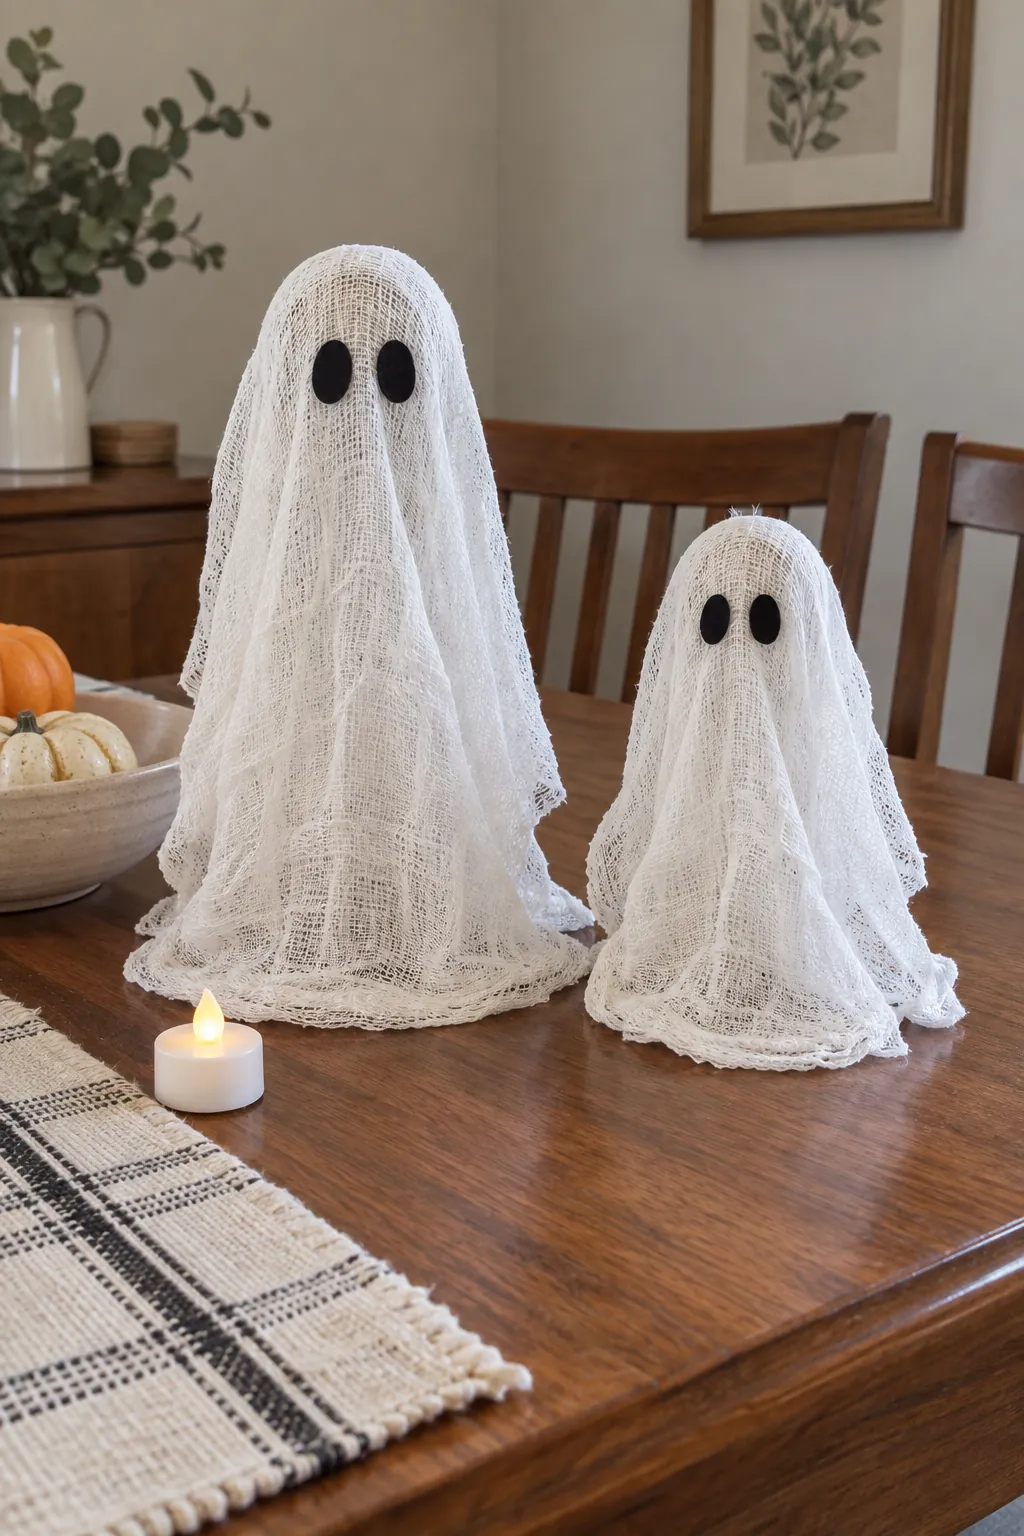
A balloon can shift, pop, or leave a round head that feels too large for a small tabletop ghost. An upside down jar gives the cloth a steady support while it dries, and a rounded foil cap softens the top. The key is to leave enough stiffened fabric at the bottom to form a stable foot.
Gather Cloth, Stiffener, and a Stable Mold
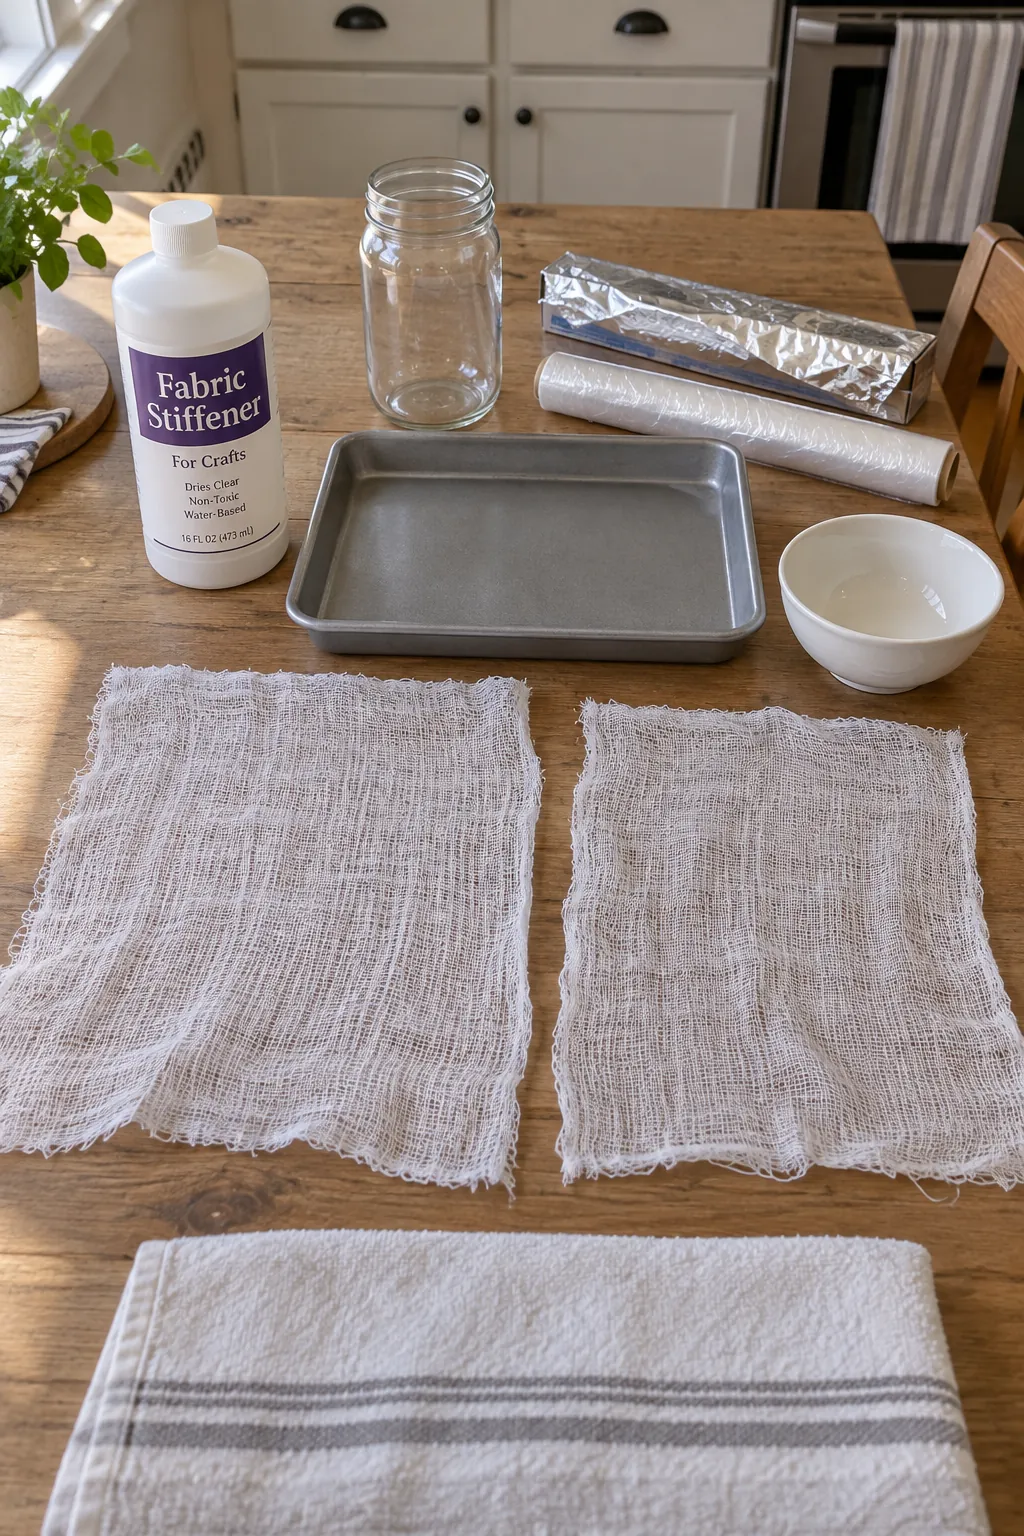
Use clean cheesecloth, a fabric stiffener intended for crafts, an empty jar or glass, aluminum foil, plastic wrap, a shallow tray, and a small bowl. A taller jar makes a taller ghost, but a wide base makes the mold less likely to tip while you work. Check the stiffener label for drying time, ventilation, and surface protection before opening it.
Tear or cut two pieces of cheesecloth so each can fall past the jar rim and spread several inches onto the tray. The extra fabric becomes the ghost base after the mold is removed. If the cloth barely reaches the tray, the finished form may look like a narrow tube and struggle to stand. Set aside dark felt or fabric paint for the face once the shell is fully dry.
Build a Rounded Jar Support
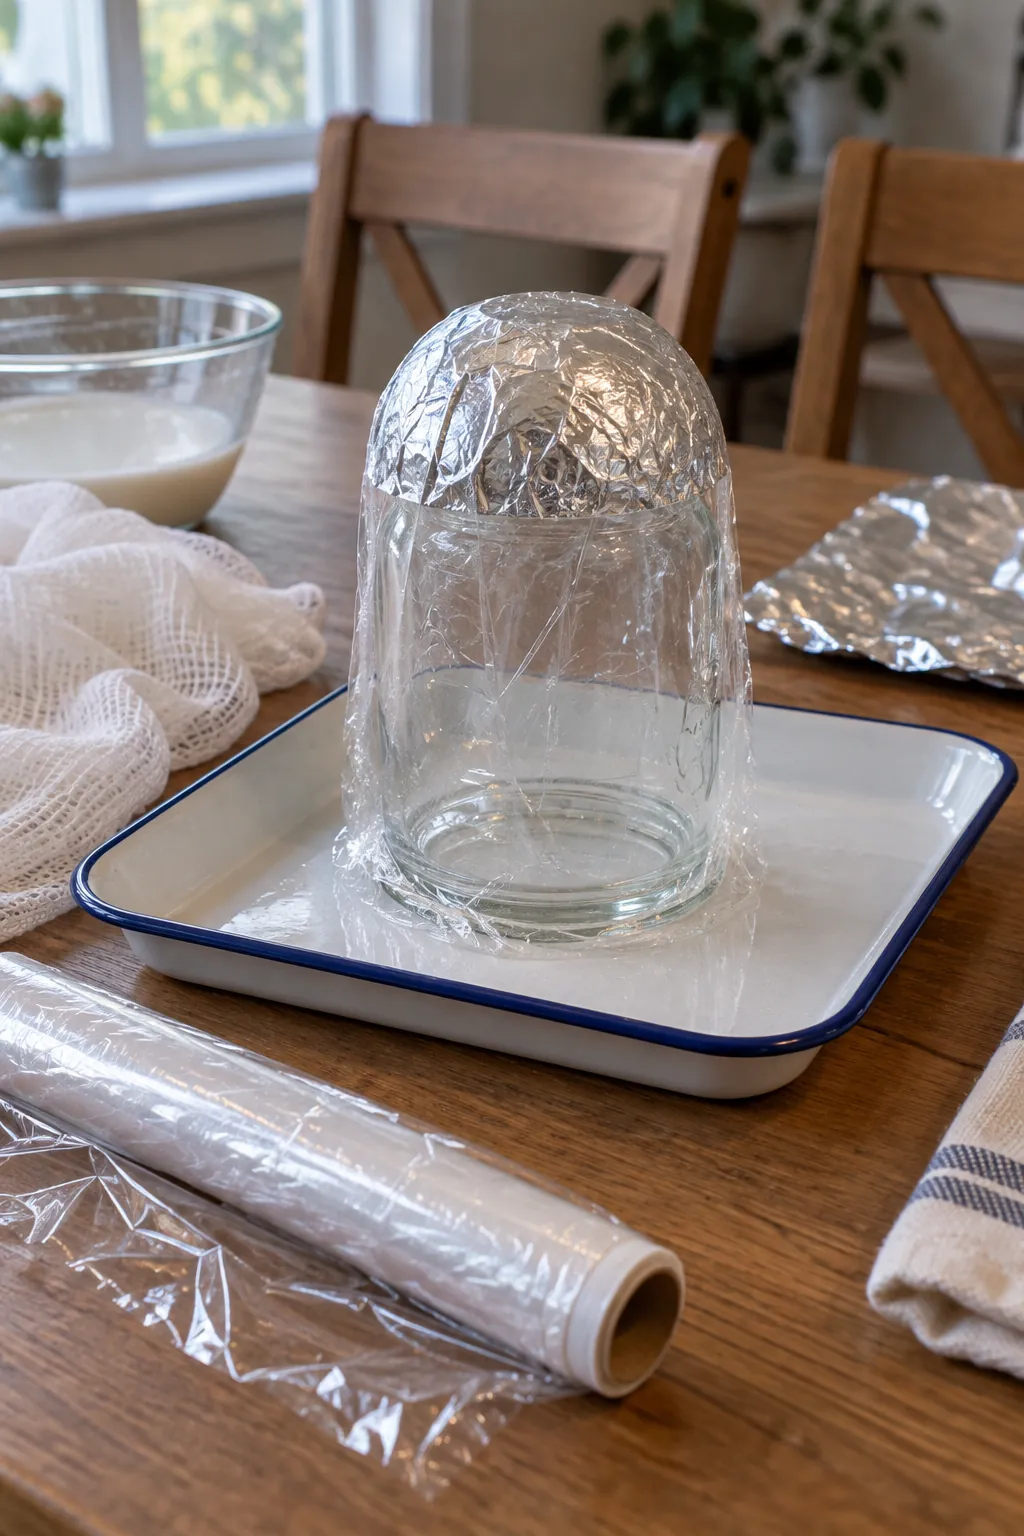
Place the jar upside down in the middle of the protected tray. Shape a small dome of foil over its base to round off the top, then cover the foil and jar with smooth plastic wrap. Tuck the wrap beneath the jar so loose folds do not imprint deep ridges into the cloth. The wrapped mold should lift free later without pulling at the fragile shell.
If the jar is very narrow, set it on a stable block or use a wider cup so the ghost gets enough shoulder width. Keep the support level and avoid balancing it on stacked objects that wobble. A modest head and a broad hem are easier for a beginner to shape than a tall, thin figure.
Wet the Cheesecloth Evenly
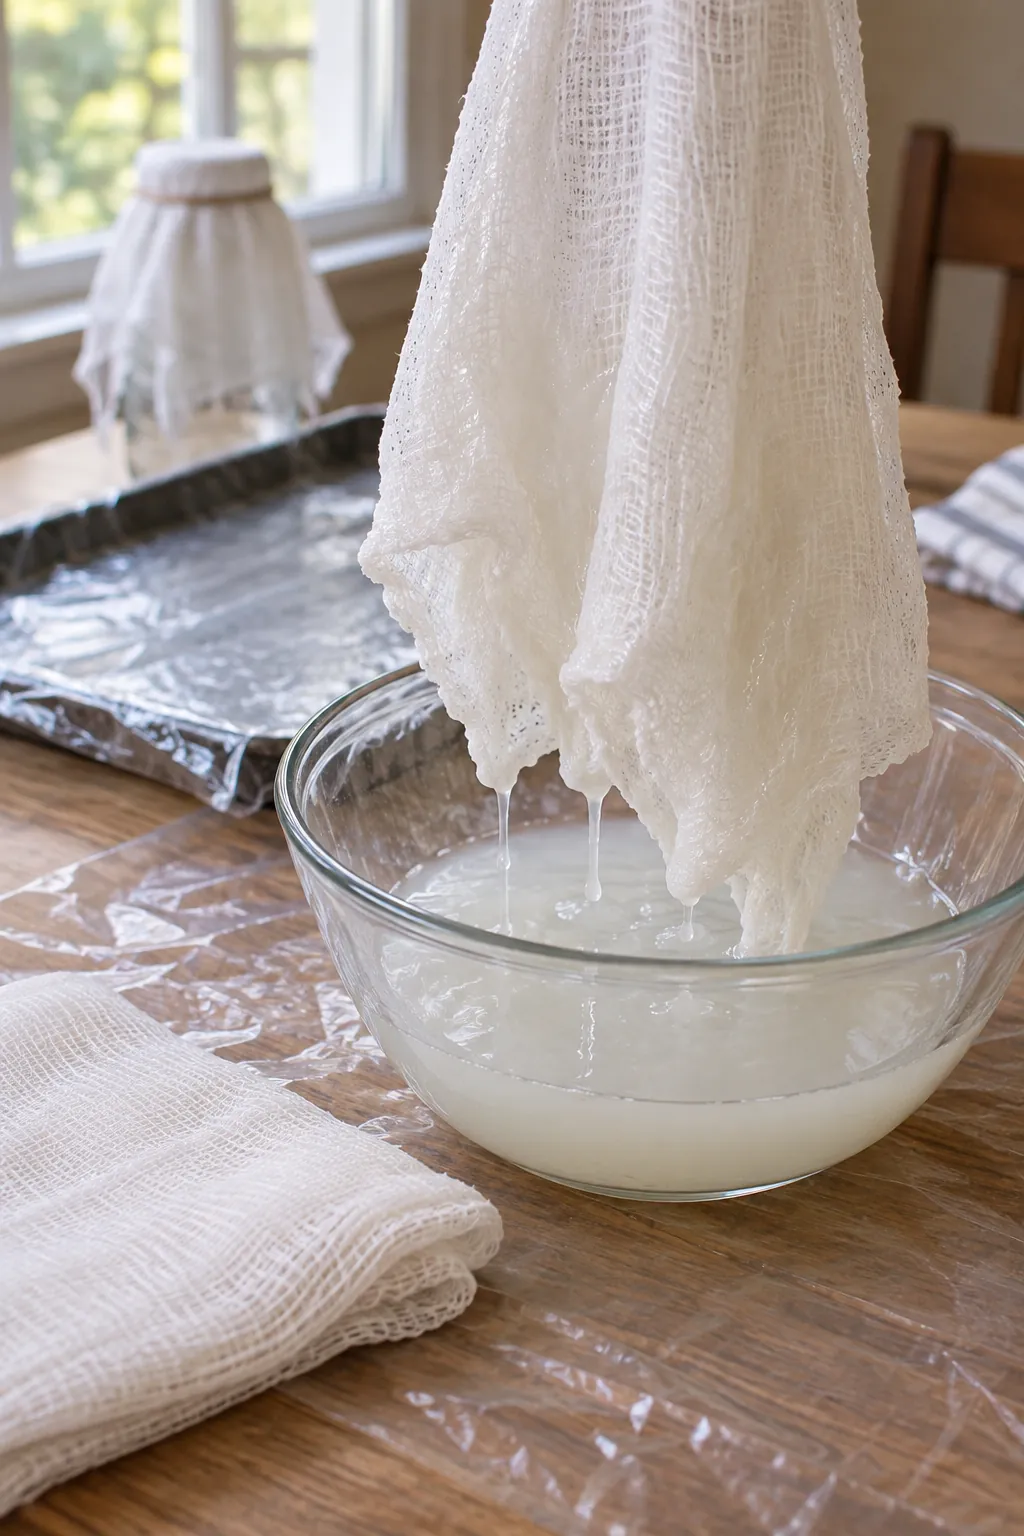
Pour enough fabric stiffener into a bowl to coat the cloth according to the product directions. Lower one piece into the bowl and work the liquid through the open weave with gloved fingers if the label calls for gloves. Lift the fabric and let excess drip back until it is saturated but not streaming. Repeat with the second piece rather than dumping the whole bowl over the mold.
Thin dry patches may remain floppy, while heavy pools can glue the fabric to the tray. Smooth out only the largest tangles before draping; small folds give the ghost character. Work over a protected surface and follow the product label if it calls for extra airflow or specific cleanup.
Drape Two Layers and Shape the Base
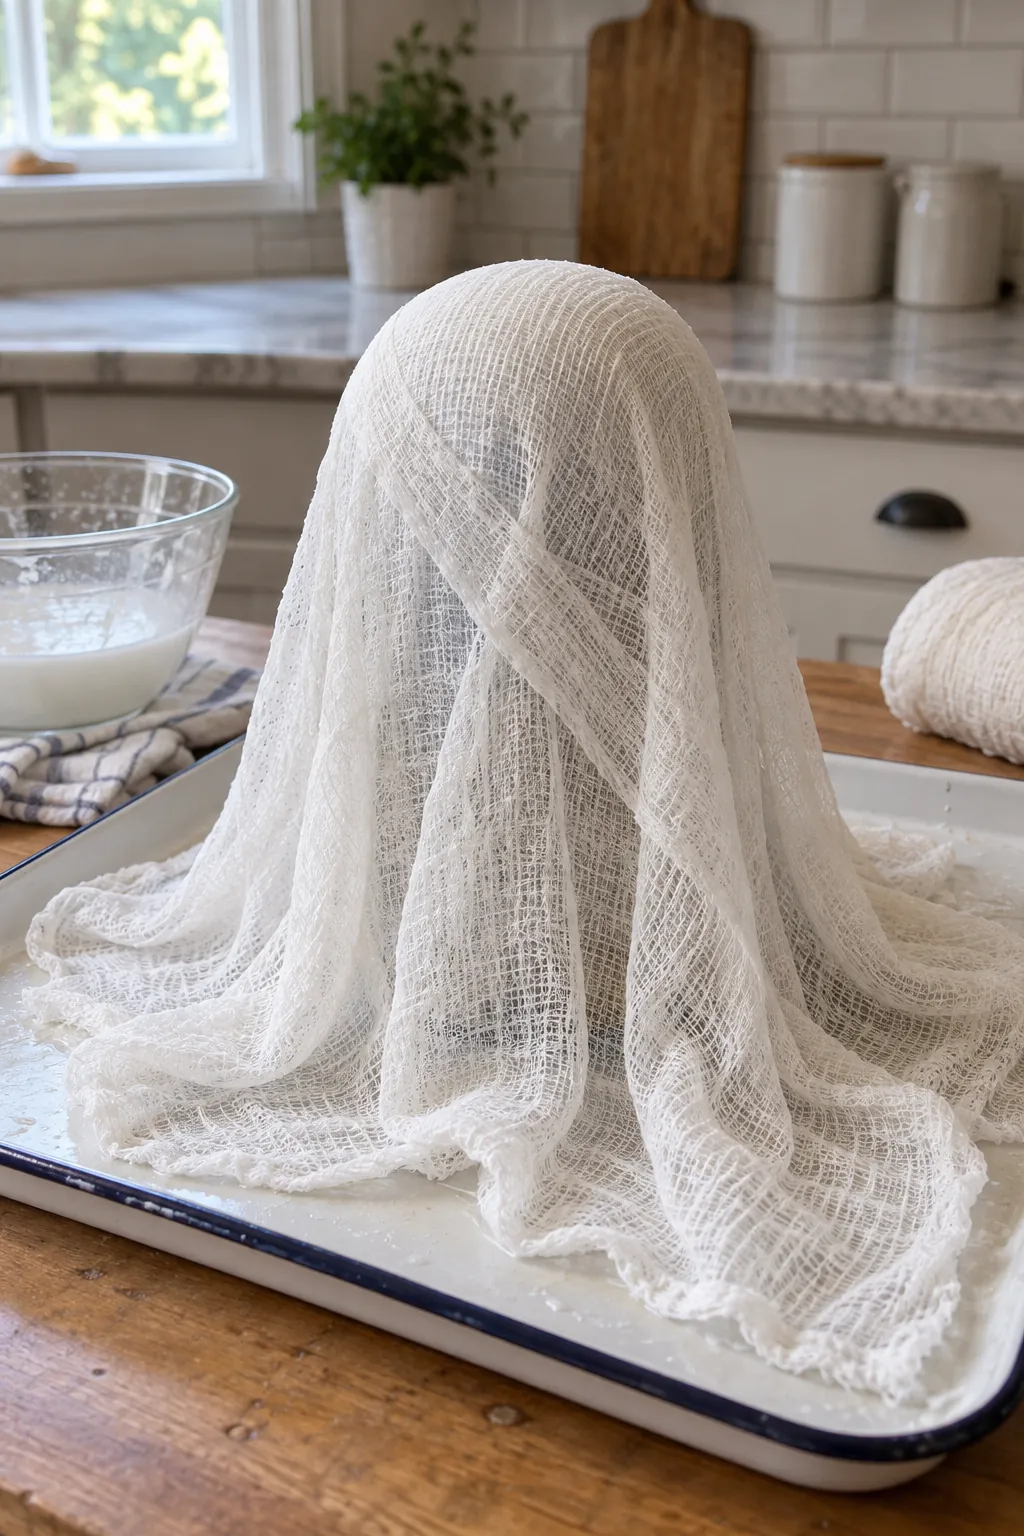
Center the first wet piece over the rounded top and let all sides fall naturally. Add the second piece at a slight angle so its folds cross the first and the head gains strength. Do not tug the cloth tight against the jar, because a little fullness creates the floating ghost silhouette. Keep the upper face area relatively smooth for the eyes.
Pull a few lower folds outward until the hem touches the tray in several places. Press those contact points lightly into a broad ring that can support the shell after it dries. Leave openings between folds for an airy look, but avoid lifting every edge off the tray. Step back and check that the figure is centered before the stiffener begins to set.
Let the Shell Dry Before Removing the Jar
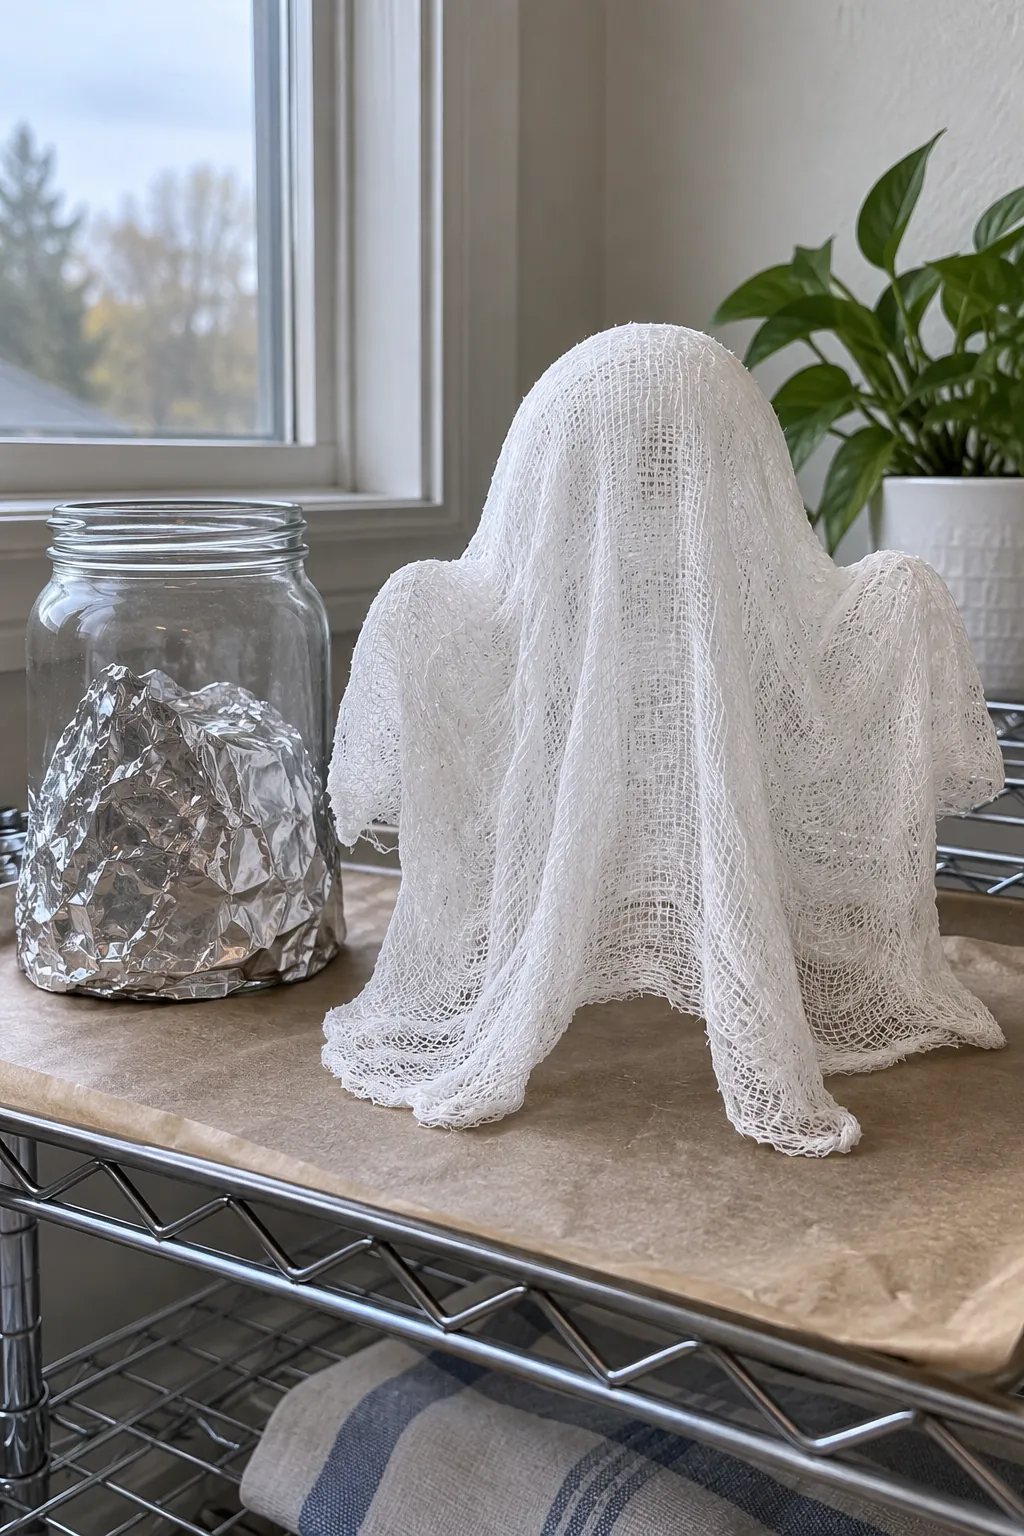
Leave the ghost undisturbed in a ventilated spot for the drying period on the stiffener label. A shell can feel dry on the outside while the thicker folds at its base remain soft. Check those folds before moving anything, and give them more time if they bend easily. Avoid rushing the process with high heat, which can distort the form or conflict with the product directions.
Once the cloth is firm throughout, ease the plastic wrap away from the inside and lift out the jar and foil support. Work slowly around a stuck area rather than yanking the entire mold. Set the hollow ghost on a flat surface and adjust the base with gentle pressure only if the stiffener still permits it. If it rocks, a small additional coat of stiffener at the hem can strengthen the contact points after another full drying period.
Add a Gentle Face and Display It Safely
Attach two small felt ovals or paint two simple eyes on the fully dry front. Try the placement with loose paper shapes first so the expression stays friendly and balanced. A tiny curved mouth is optional, and a quiet face often suits a soft fabric ghost better than a dramatic one. Keep glue and paint away from younger children until everything has cured.
Set the freestanding ghost on a shelf or tabletop where it will not be knocked over. For a glow, place an enclosed battery light nearby or inside only if the finished shell has enough clearance and the light remains cool. Never use a flame beneath fabric. Store the ghost in a roomy box after the season so the stiffened folds do not get crushed.