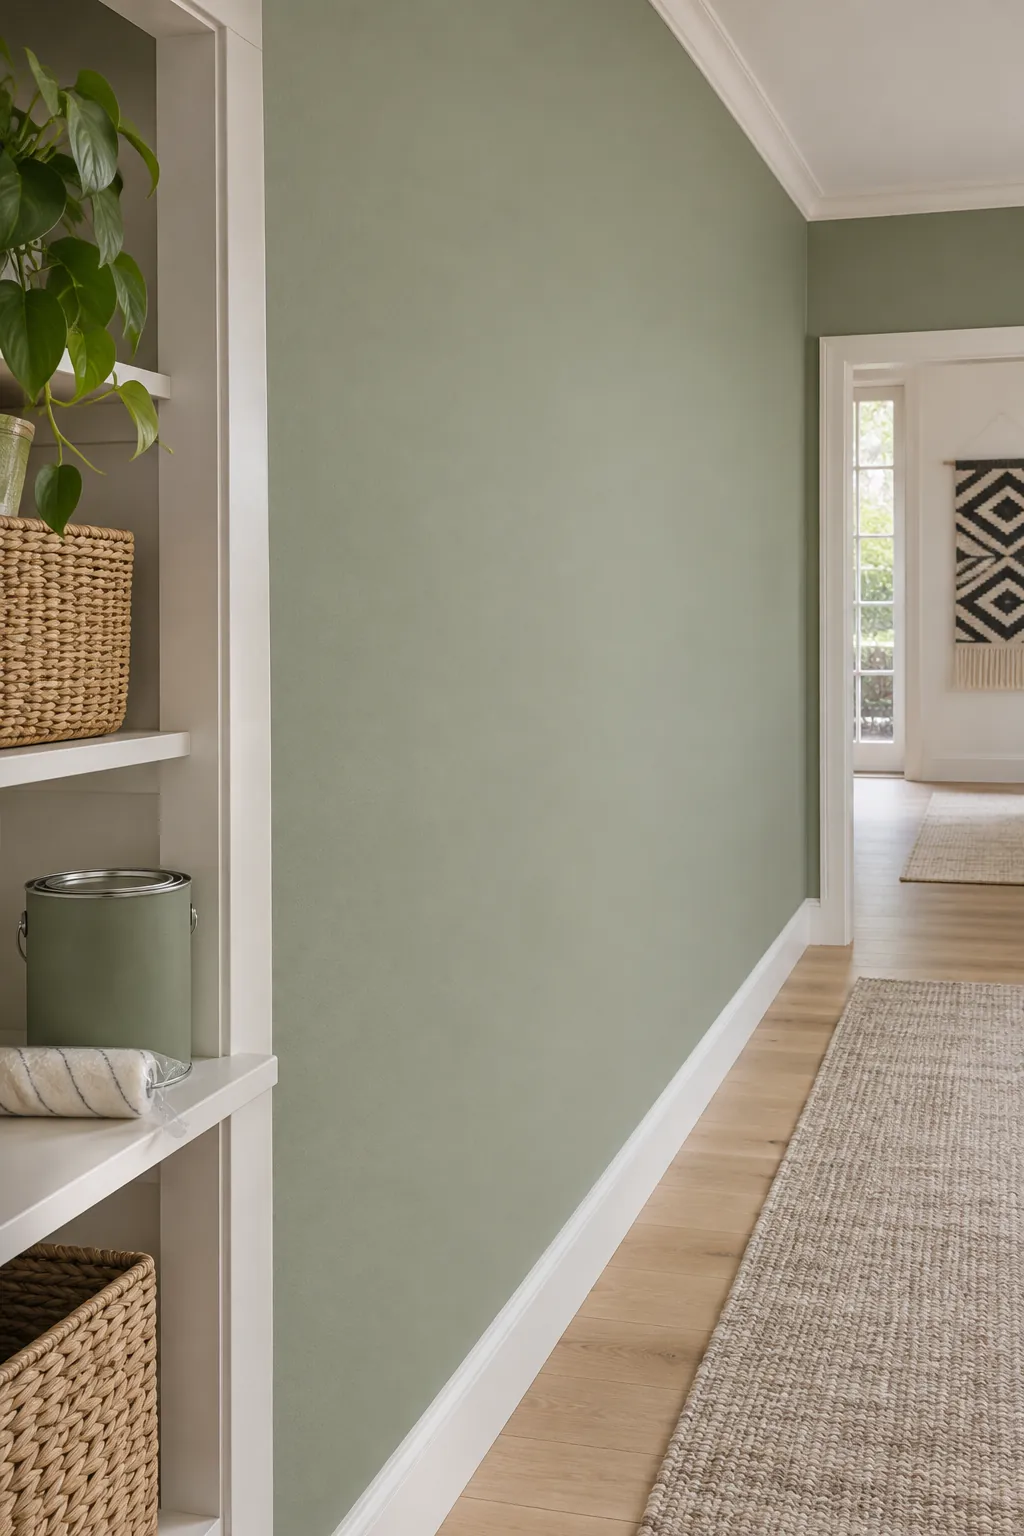
Glossy paint resists stains because its surface is hard and smooth. Those same qualities make it difficult for a new coating to grip. Painting directly over shine can look successful for days, then peel when tape, furniture, or a fingernail puts stress on the weak bond.
A durable finish change needs a sound old coating, a clean surface, enough texture for adhesion, and compatible primer and paint. Each step solves a different problem. Skipping one and adding extra finish coats does not create the missing bond.
Test the Existing Paint Before Adding More
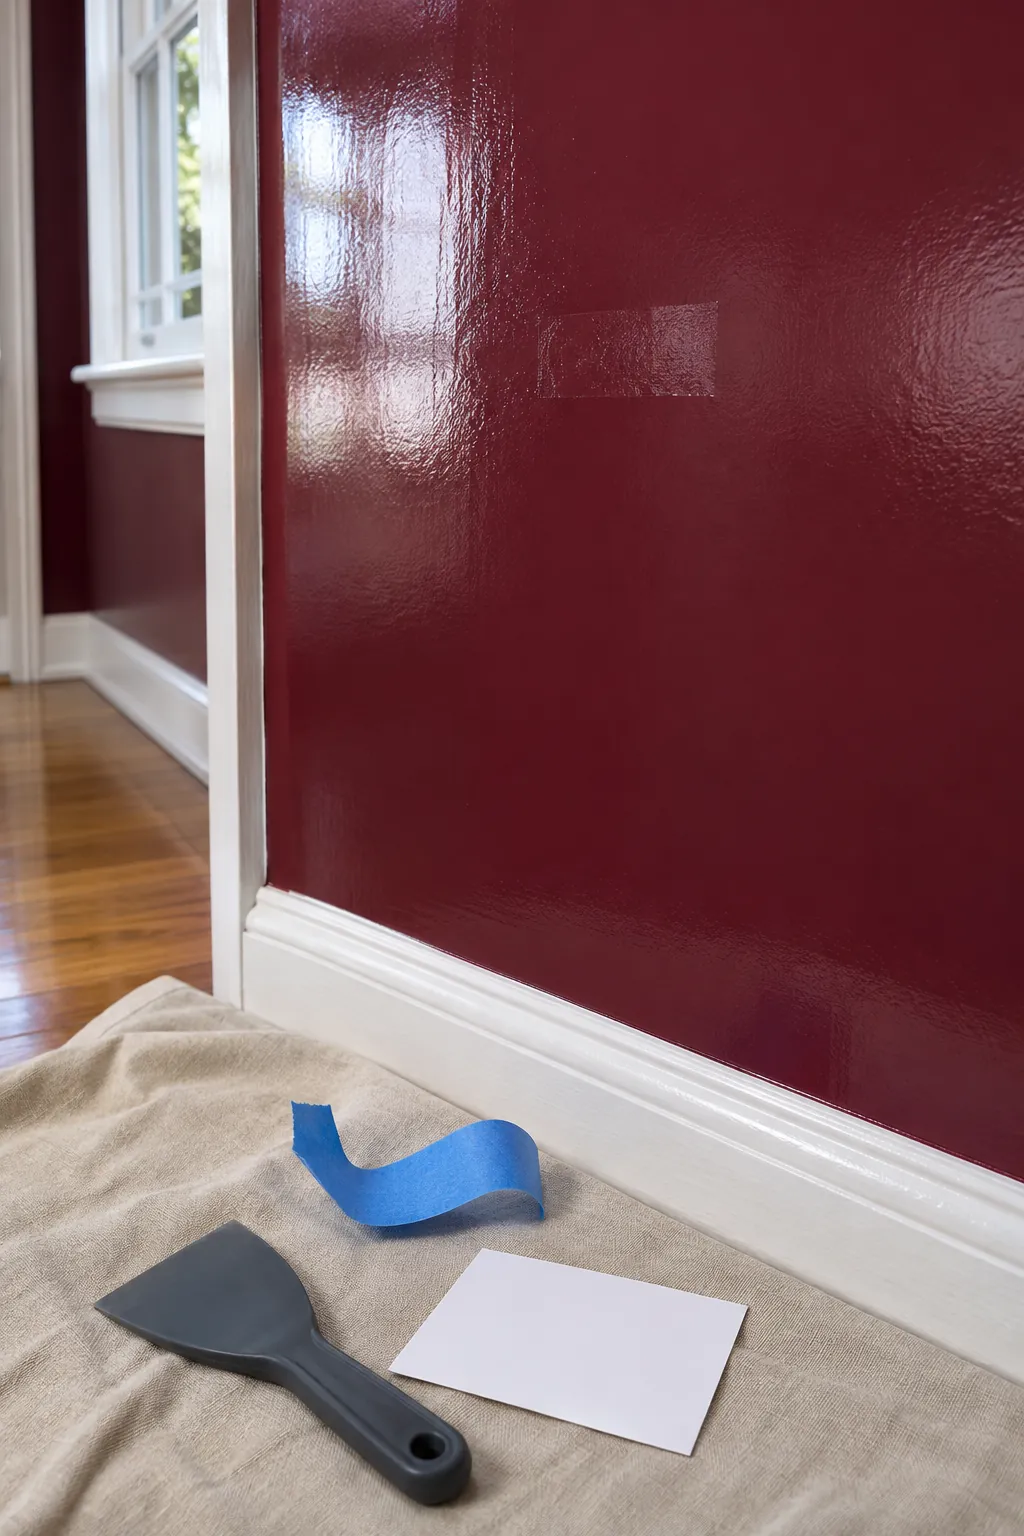
Inspect corners, window areas, repaired patches, and places where furniture has rubbed the wall. Press a strip of compatible painter’s tape onto a clean inconspicuous spot, then remove it according to the tape instructions. If old paint lifts, the underlying coating must be stabilized or removed before repainting interior walls.
Scratch only a small test area with a fingernail or plastic edge. A hard glossy film may resist the mark yet still need cleaning and deglossing. Widespread flaking, softness, or poor adhesion requires more than bonding primer because the new system is only as strong as the layer beneath it.
Remove Loose Paint and Repair the Wall
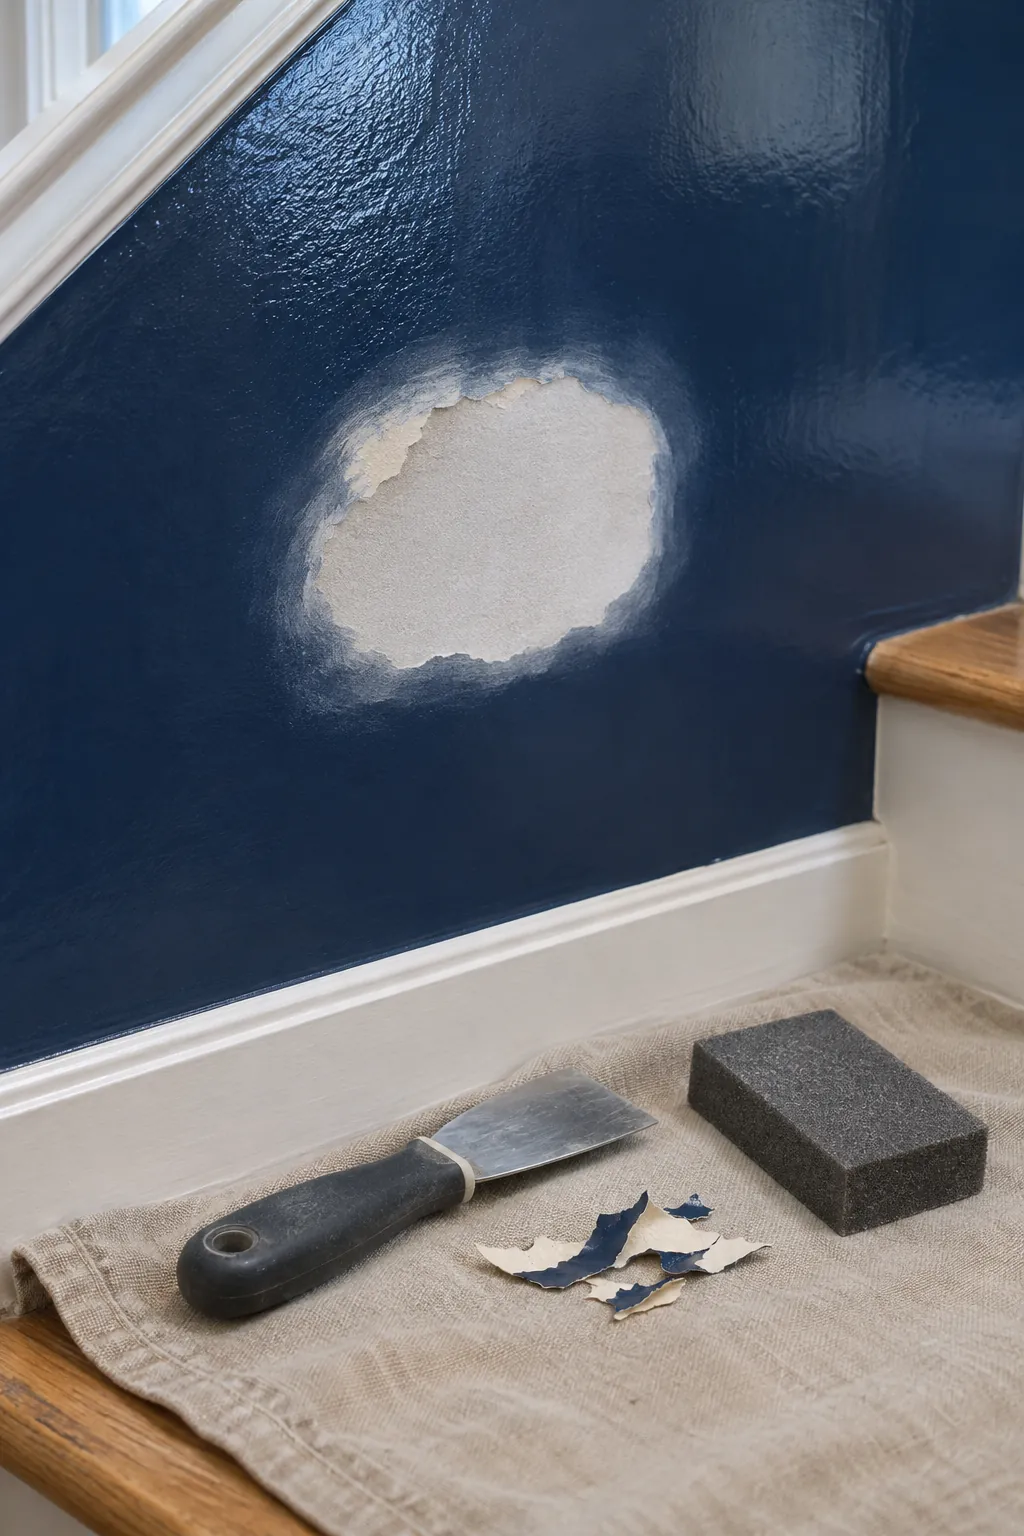
Scrape every edge that lifts with light pressure, then feather the remaining firm coating. Fill shallow damage with a compatible patching material and sand it after curing. Do not bury curled paint or brittle edges beneath primer.
Older homes may contain lead paint, so identify the coating before disturbing it and follow local safety requirements. Extensive failure, moisture damage, or an uncertain substrate may need professional assessment. Peeling paint prevention starts by removing the weak material rather than locking it under another film.
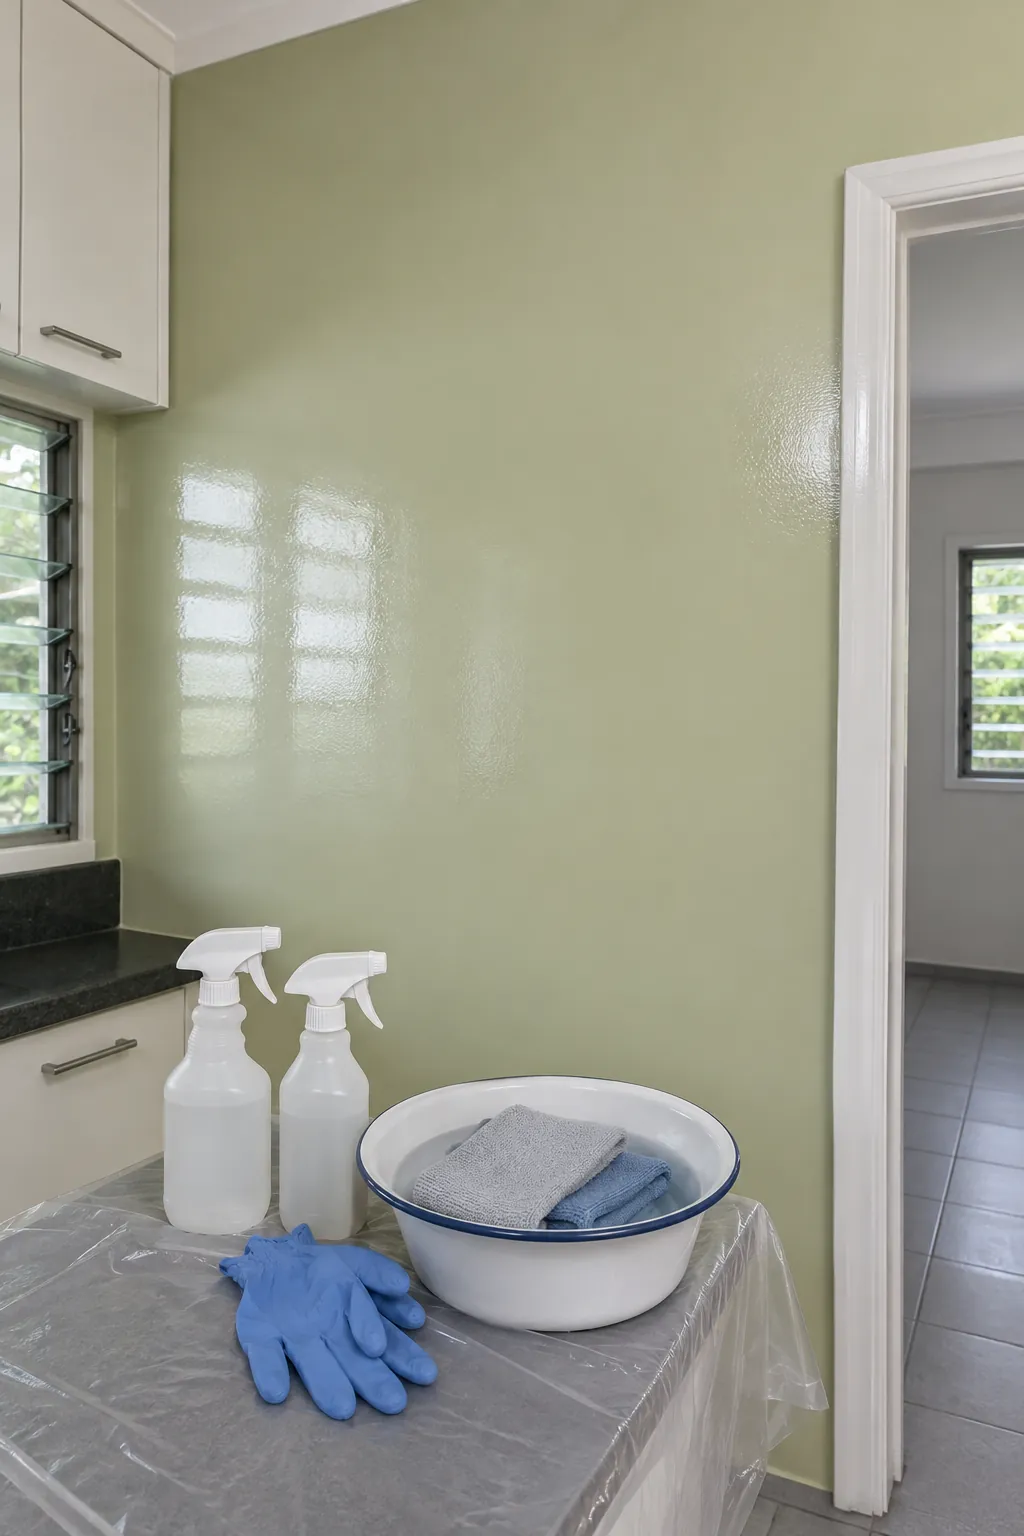
Clean Grease and Residue From the Gloss
Wash the wall with a cleaner approved for the existing coating and the room conditions. Kitchen film, smoke residue, polish, soap, and skin oil can remain invisible on a shiny surface. Rinse when the cleaner instructions require it and let the wall dry fully.
Wear the protection specified for the product and protect nearby finishes. Strong cleaners are not interchangeable, and mixing chemicals can be dangerous. The purpose of surface cleaning is to expose sound paint, not to leave another residue that interferes with adhesion.
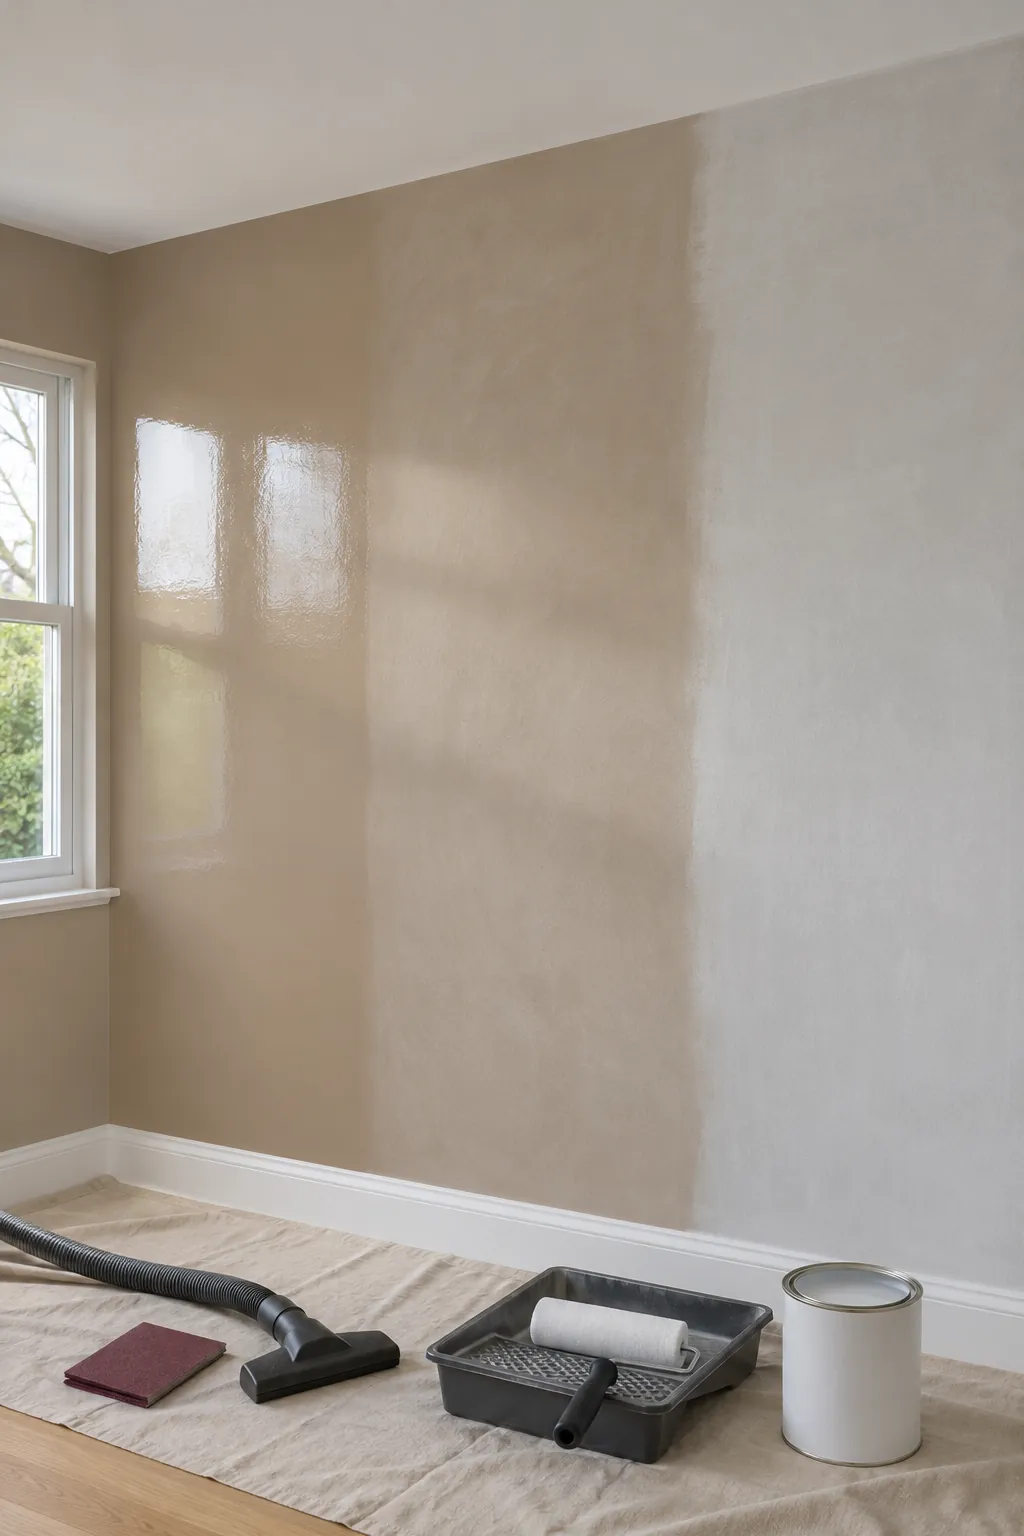
Dull the Surface Evenly
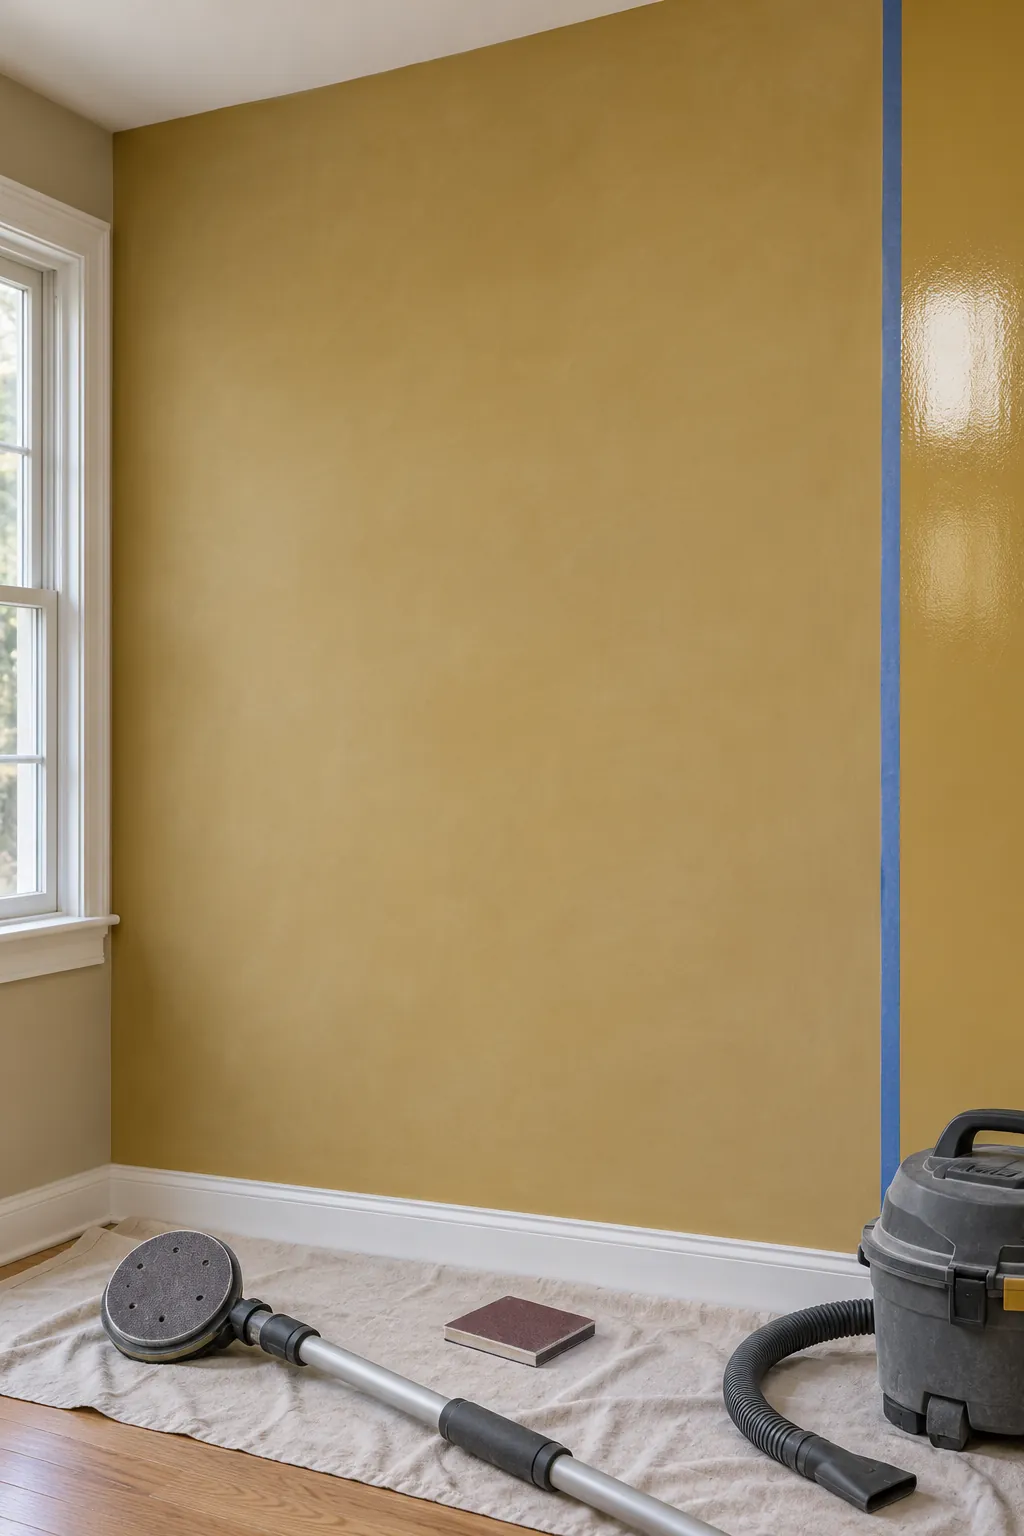
Use the abrasion method recommended for the old paint and planned primer. Light sanding should remove the uniform shine and create a fine key without cutting deep grooves. A pole sander can keep pressure consistent across a large wall, while a hand pad reaches corners.
Vacuum the dust and wipe the wall as the coating maker directs. If you use a liquid deglosser, follow its ventilation, application, and recoat window exactly. Wall deglossing is complete when the surface looks evenly dull, not when patches of high gloss remain between random scratches.
Apply a Compatible Bonding Primer
Select a bonding primer whose technical information includes the existing surface and the intended finish paint. This is especially useful when the old coating is very hard, the paint type is uncertain, or sanding cannot remove all sheen from detailed areas. Primer still needs a clean, sound substrate.
Apply a thin even coat and allow its full dry and recoat time. Test adhesion again on a small cured area before covering the whole room. If the primer scratches or peels easily, stop and resolve the compatibility or preparation problem.
Finish With Thin Coats and Full Cure Time
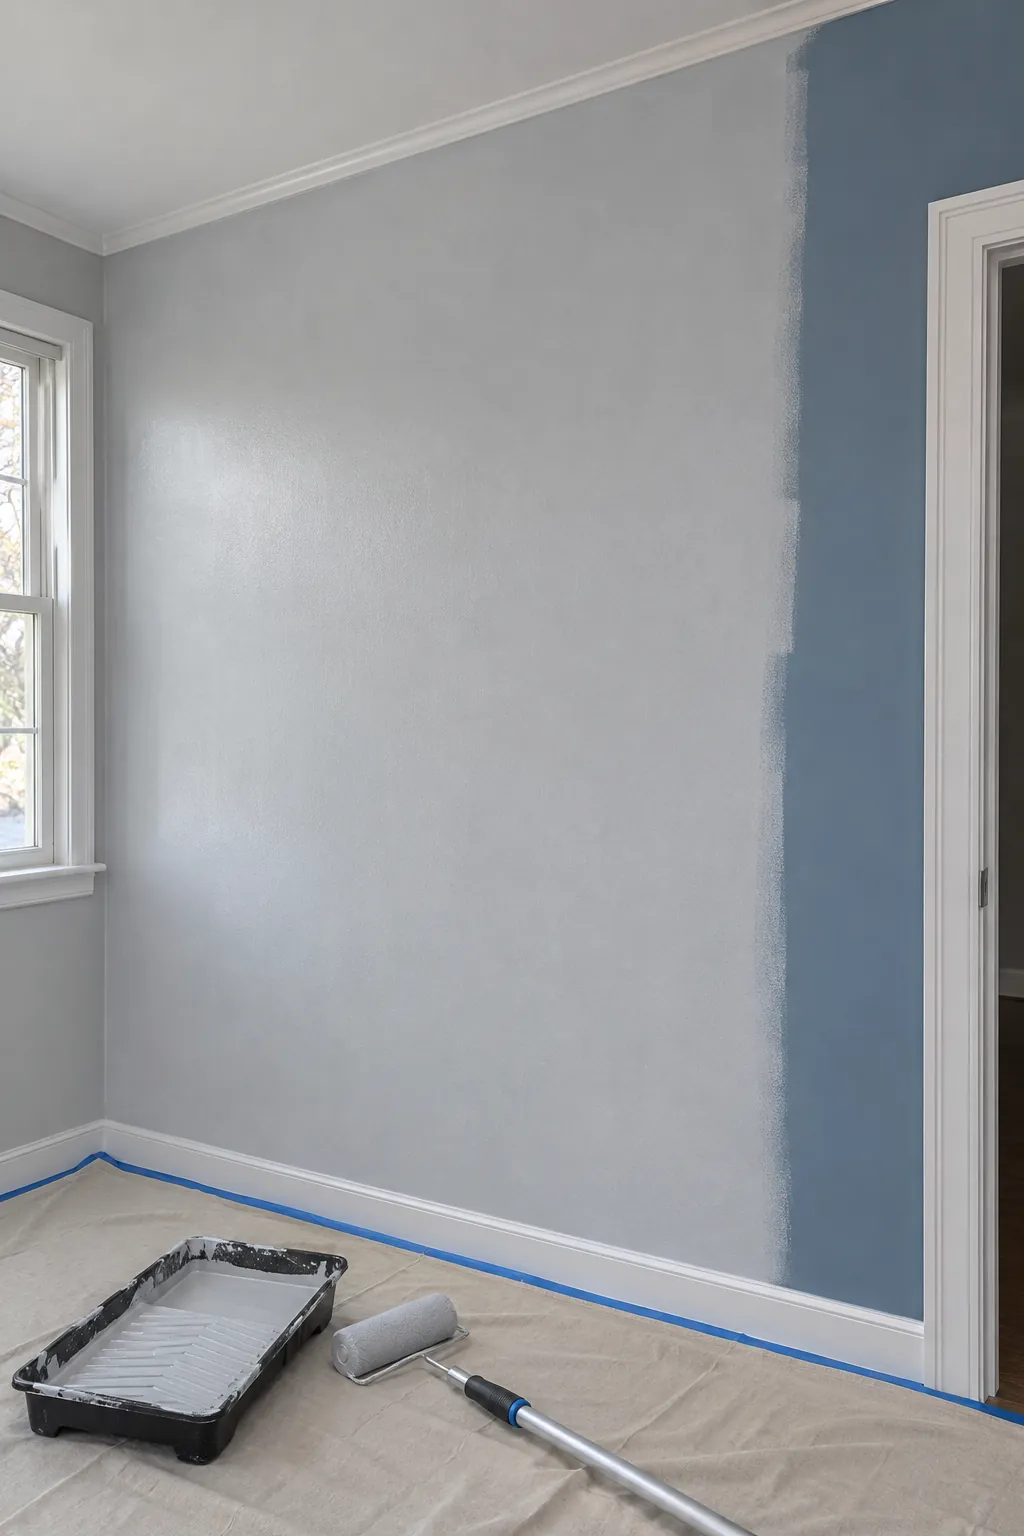
Roll the new wall paint in thin uniform coats within the recommended temperature and humidity range. Maintain a wet edge and avoid excessive pressure that leaves thin areas. Let each coat dry for the stated interval even when it feels dry at the surface.
Protect the wall from tape, cleaning, and furniture contact until the coating reaches its stated cure. Check the result in side light and test one hidden spot before returning the room to heavy use. A successful paint finish change remains firm because every layer is bonded, not because the final color hides the gloss.