
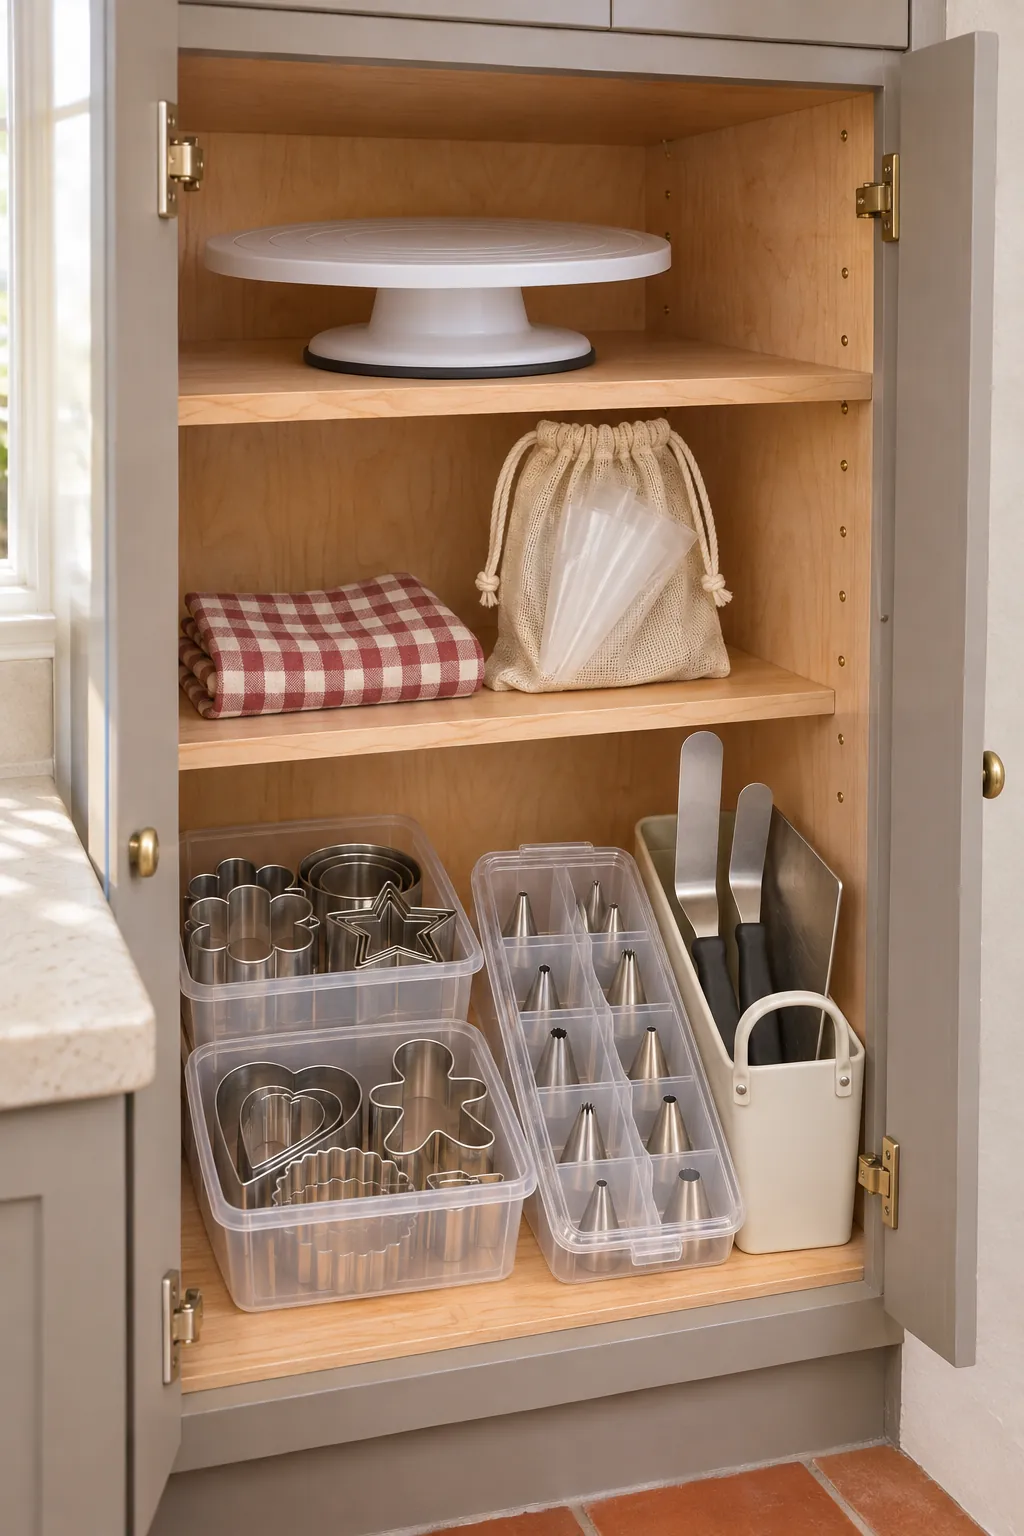
Small baking tools become frustrating when sharp cutters snag, piping tips disappear, and damp bags are folded away too soon. The solution is not one large container. It is a compact system that separates tools by shape, drying needs, and how often you reach for them.
Edit the collection around what you bake
Gather every cutter, tip, coupler, spatula, and bag in one place. Remove duplicate shapes that produce nearly identical cookies and any bent cutter that no longer makes a clean edge. Keep specialty tools only when they support a recipe or decorating style you still use.
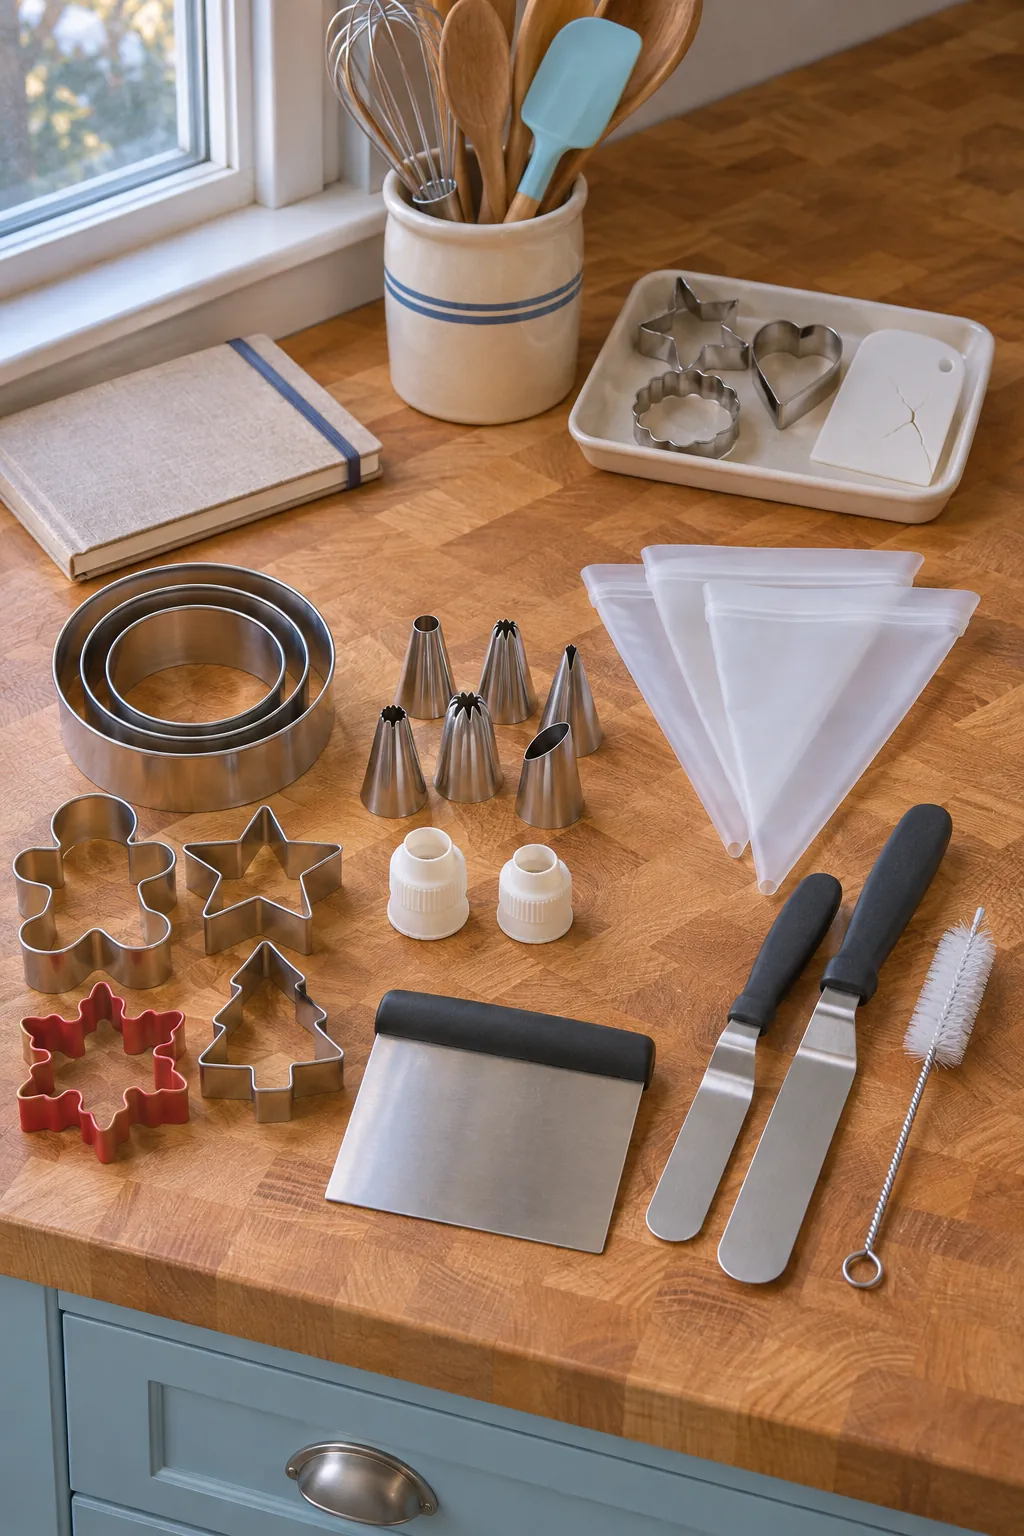
Count the tools that remain and group them by task. Everyday round cutters can form one group, seasonal cutters another, and small detail tools a third. This step prevents an oversized organizer from consuming more cabinet space than the tools require.
Sort cookie cutters into shallow categories
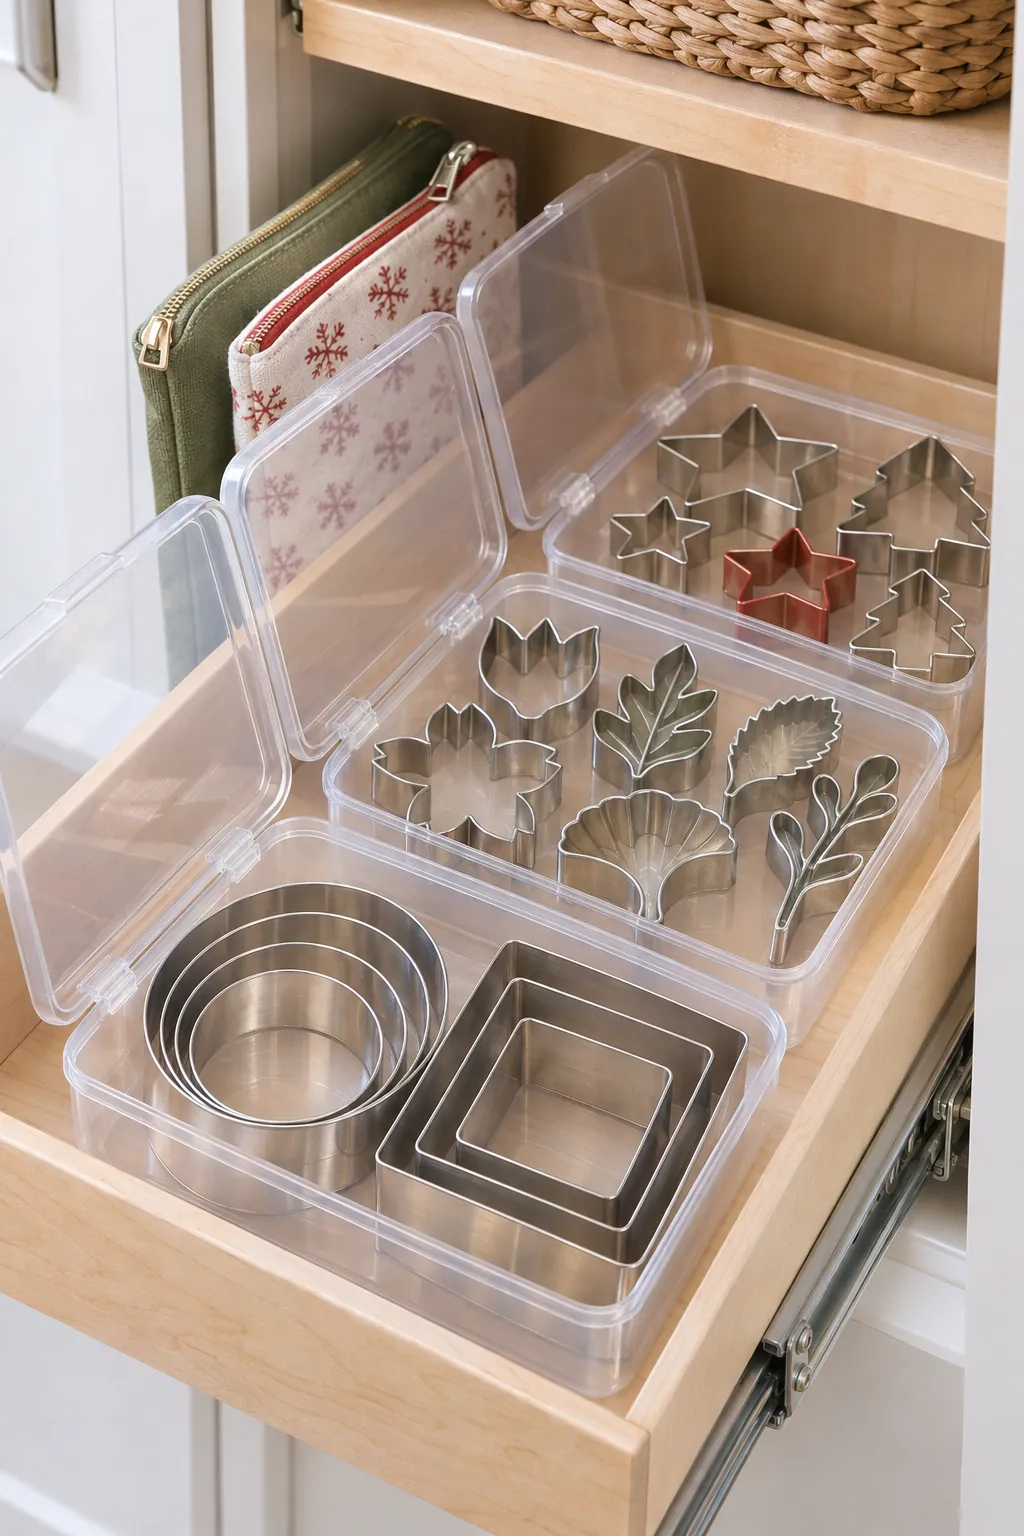
Store cutters in low lidded boxes, zip pouches, or shallow bins so you can see the whole category without digging through a deep pile. Nest graduated circles and squares, but avoid forcing detailed shapes inside one another because thin metal edges can bend. Give seasonal groups separate containers and label the container edge rather than each cutter.
Keep piping tips visible and protected
A divided craft box or purpose made tip case keeps small metal tips from rolling into drawer corners. Arrange them by opening style, such as round, star, petal, and leaf, then reserve one compartment for couplers and caps. The clear lid should close without pressing on tall tips.
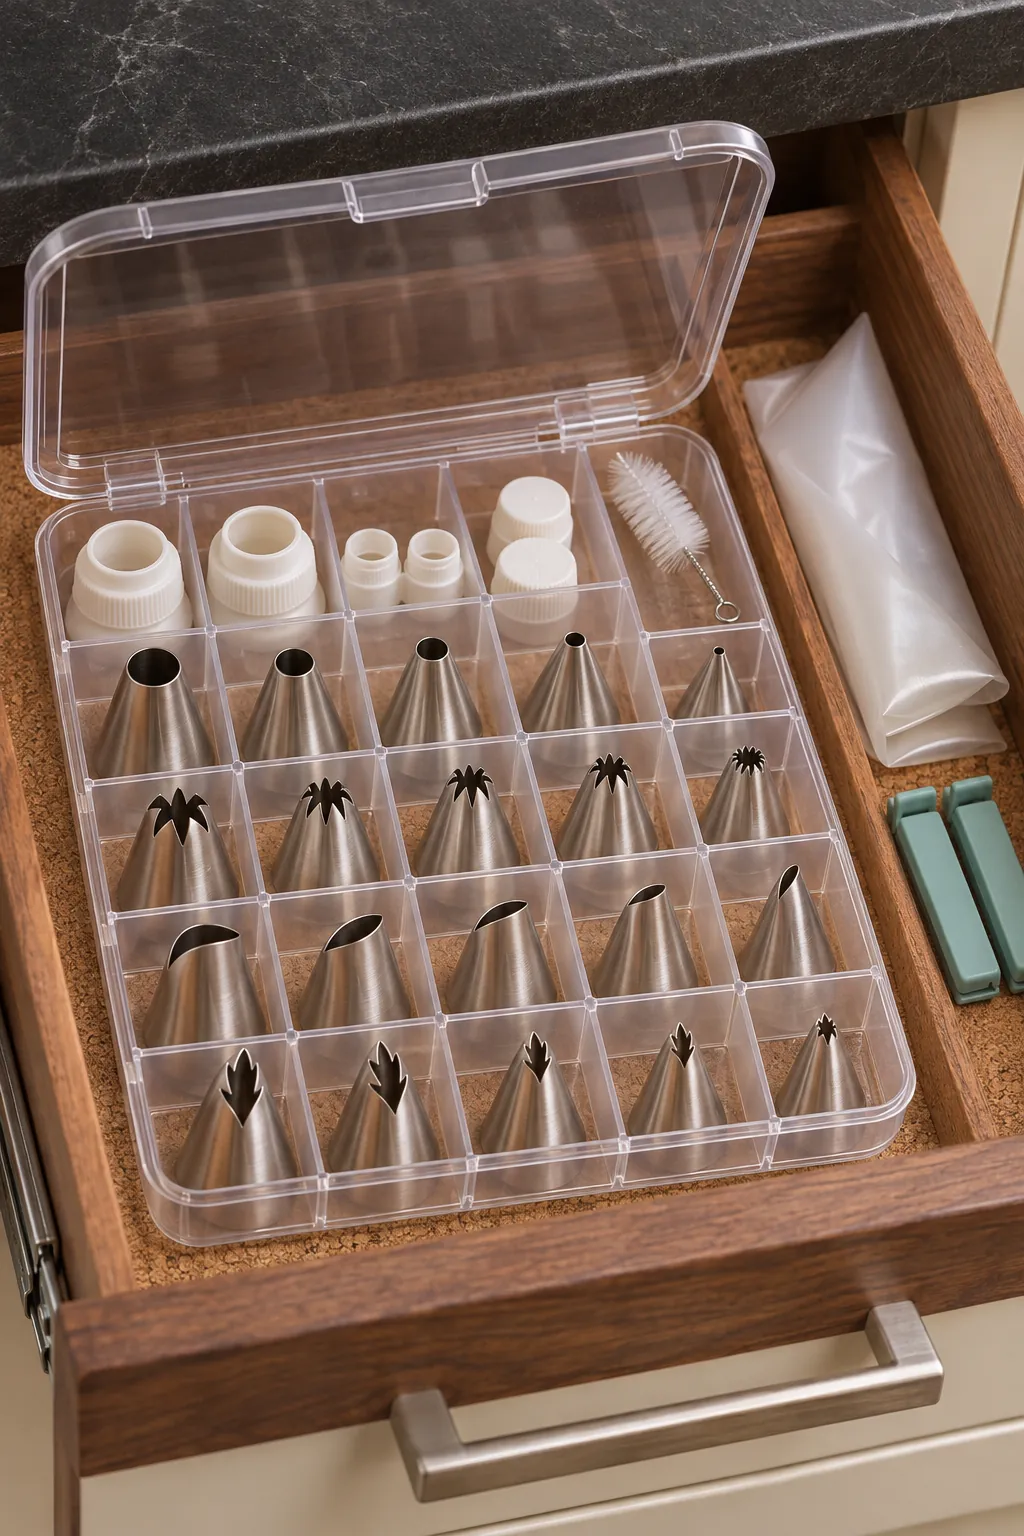
Make sure every piece is fully dry before closing the case. A trapped drop of water can leave spots and make the next decorating session unpleasant. Keep a tiny cleaning brush in the same compartment so narrow tips are easy to maintain.
Dry reusable bags before folding them
Wash reusable icing bags promptly, turn them as directed by the maker, and support them open until every seam is dry. A bottle drying rack or clean utensil crock can provide airflow without taking over the sink. Never seal a damp bag inside a compact baking kit.
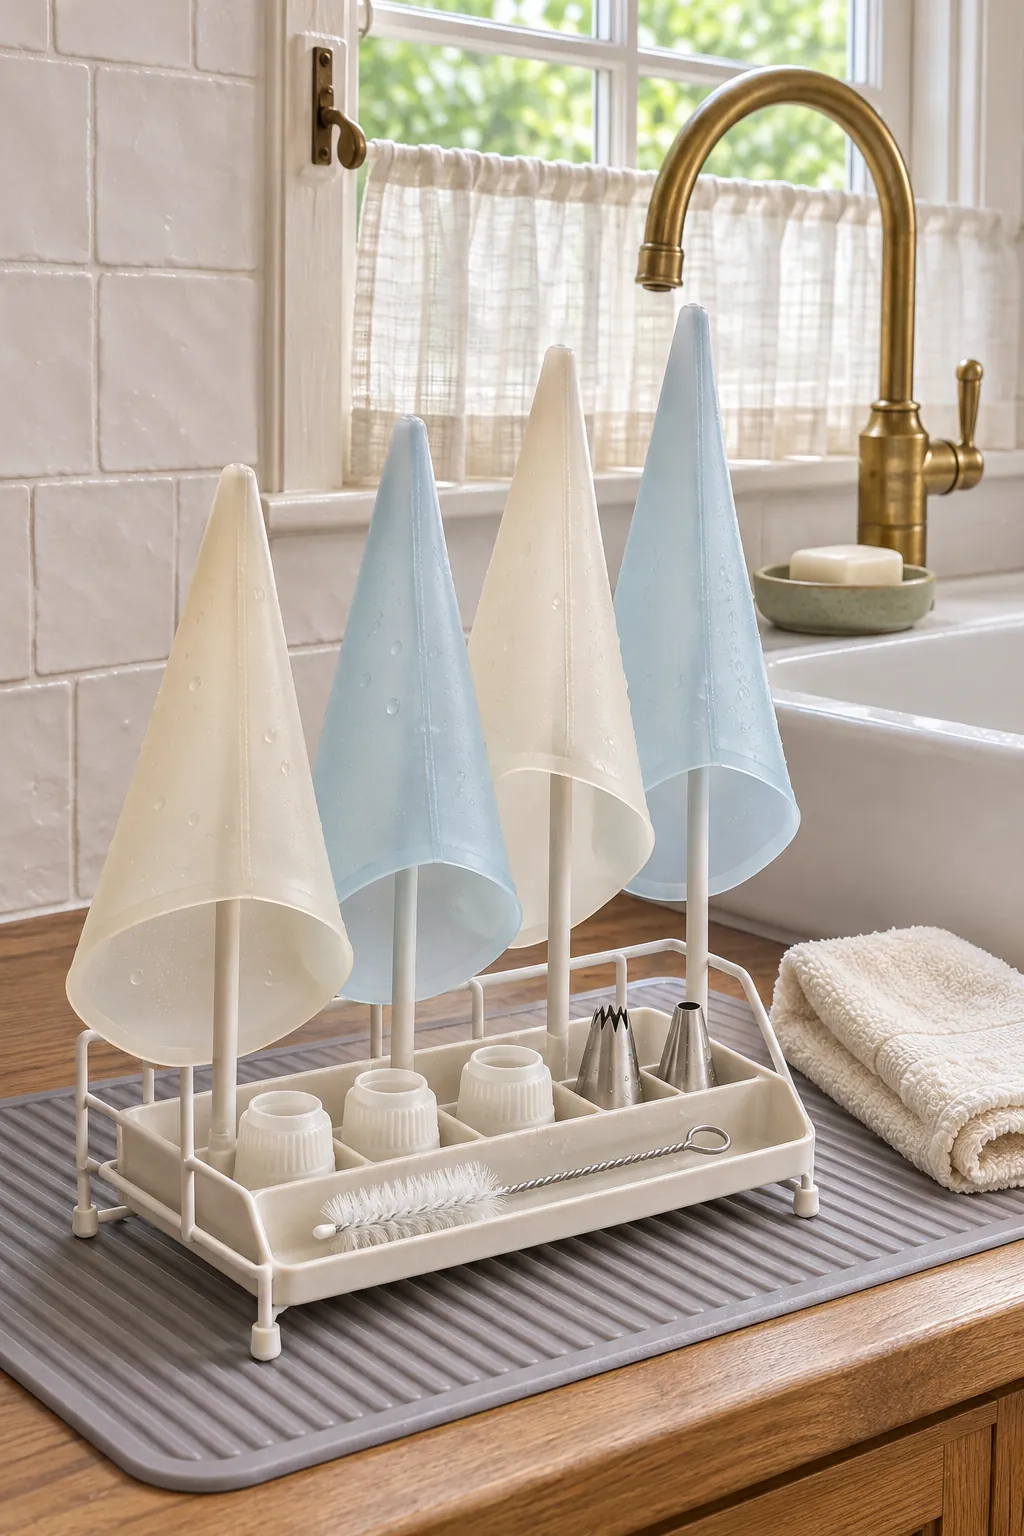
Once dry, fold bags loosely and place them in a breathable pouch with couplers removed. Store disposable bags flat in their original box or a narrow file holder. This keeps rolls from expanding across the drawer.
Build one compact decorating kit
Use a handled bin for the tools that normally travel together: offset spatulas, bench scraper, turntable mat, piping case, bags, clips, and a few gel colors. Place long tools along one side and small cases upright so nothing hides underneath. Keep ingredients and liquids outside the kit to prevent leaks and excess weight.
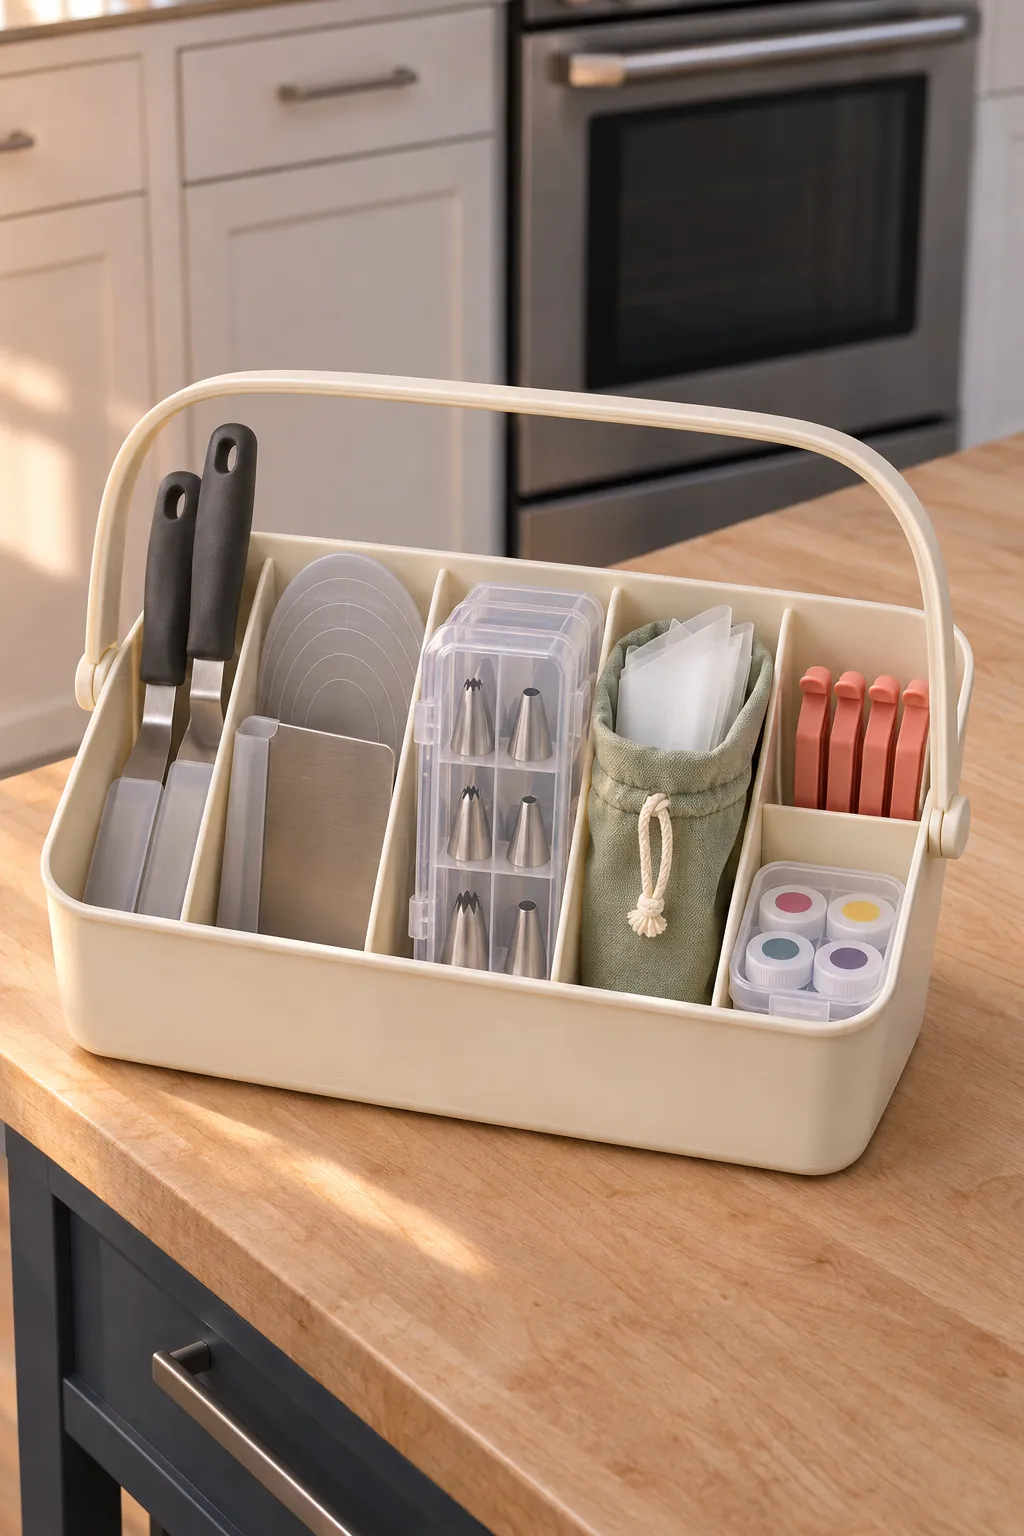
The bin should lift out in one movement and fit on the counter while you work. Return clean tools to the same zones after each project. A complete kit removes repeated searches without turning a whole cabinet into baking storage.
Choose a drawer or shelf by access frequency
Give the most accessible drawer to items used every month, not tools saved for one holiday. A shallow drawer works well for the decorating kit when containers stay below the drawer frame. Less frequent cutter boxes can stand vertically on an upper shelf like slim books.
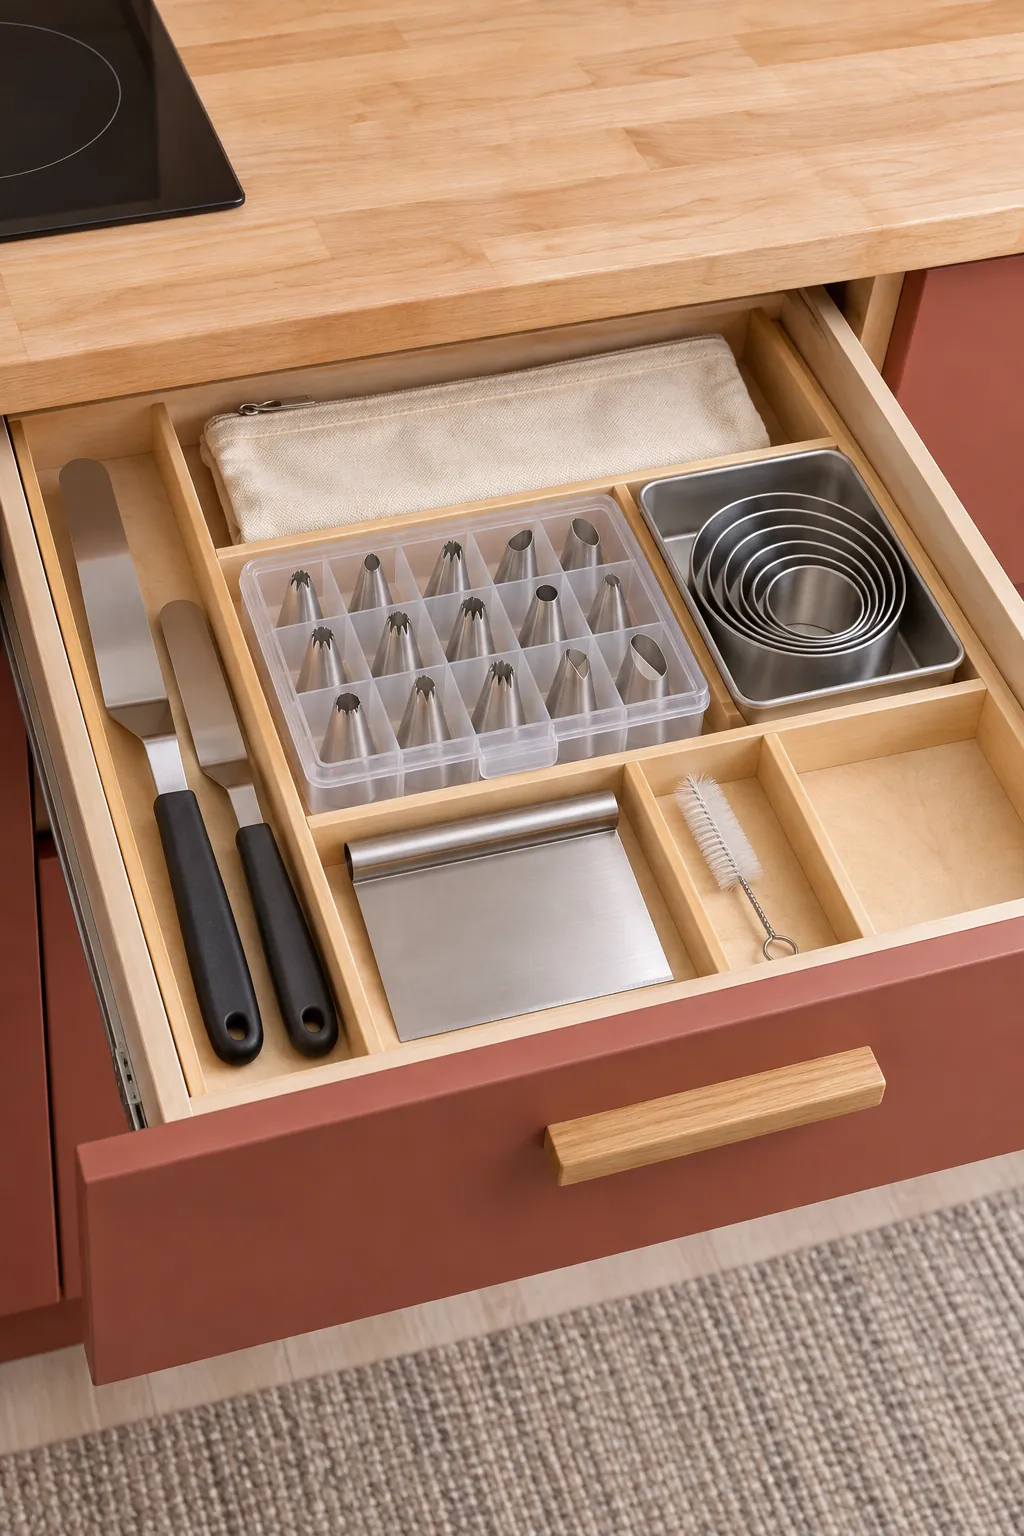
Leave a little open space so the system can absorb one useful new tool without becoming jammed. Check the collection after the main baking season and return misplaced pieces. A small baking drawer stays functional when every container has one clear purpose.