
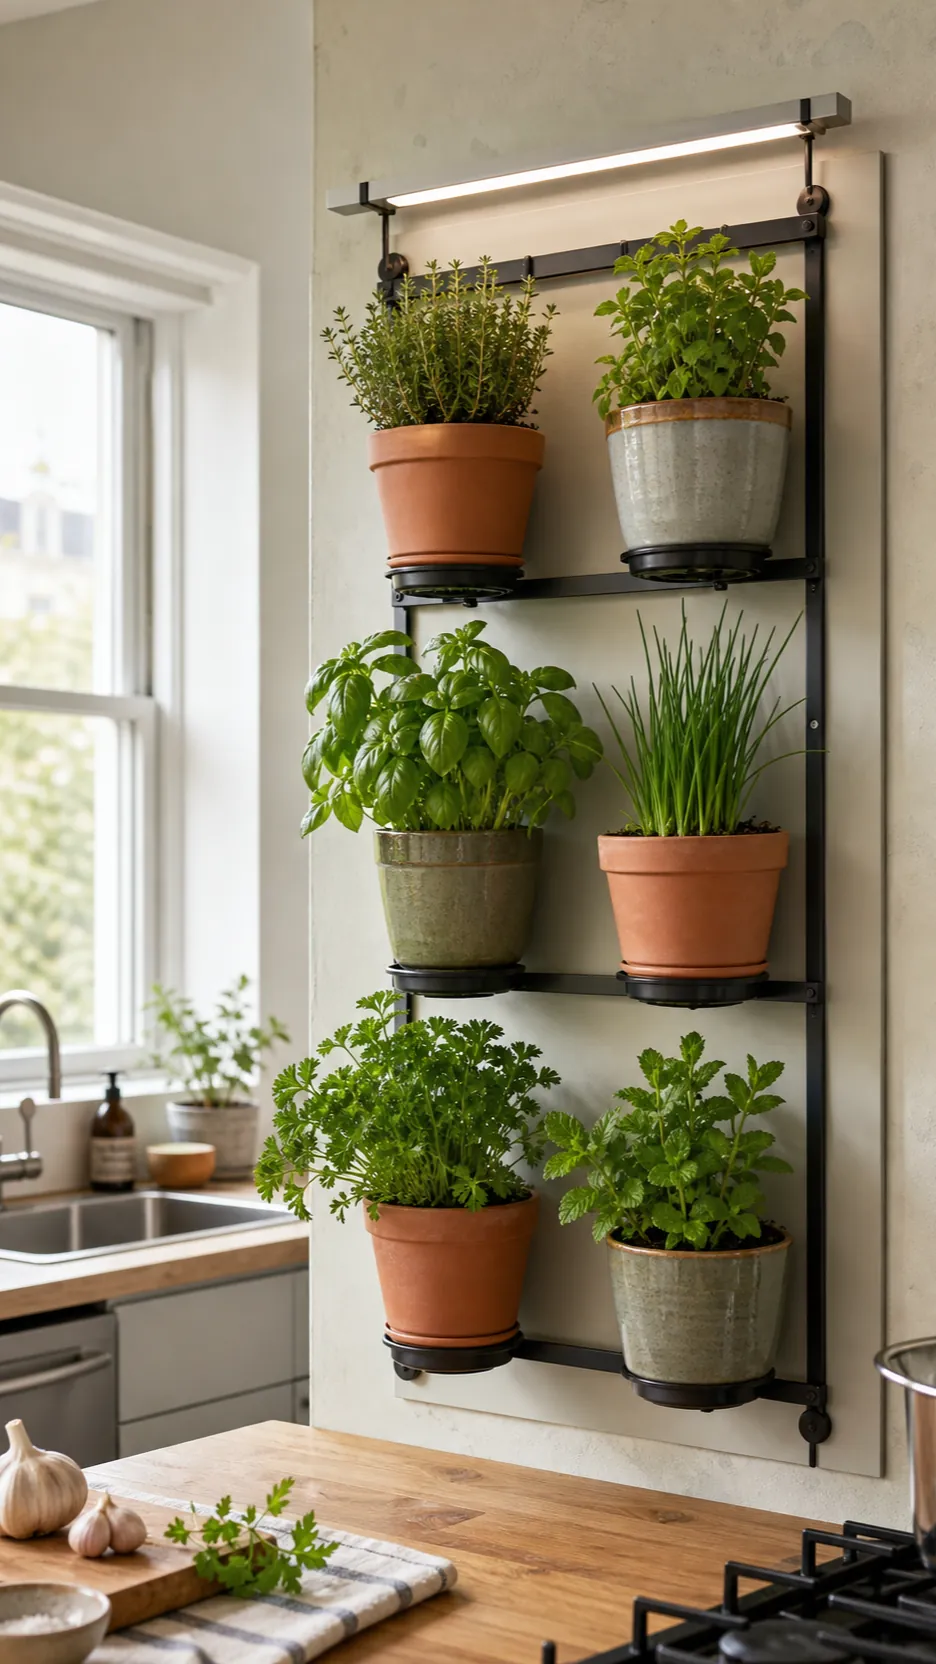
An indoor herb garden wall only works when it is designed as a growing system first and wall decor second. The dreamy version is a neat grid of basil, thyme, mint, and rosemary within arm’s reach of dinner. The frustrating version is leggy growth, damp soil, fungus gnats, and water marks behind the planters. The difference usually comes down to five unglamorous details: usable light, removable pots, honest drainage, compatible plant groupings, and easy access for weekly care.
This guide lays out a renter-conscious, kitchen-friendly approach that avoids the most common mistakes. It works whether you want a compact herb wall kitchen setup, a DIY vertical garden wall, or a tidy plant wall for a small apartment.
Choose the wall by measuring light, not empty space
A blank wall can look perfect and still be a poor growing location. Most culinary herbs need strong light; the University of Minnesota notes that most herbs grow best with at least six hours of direct sun, while indoor plants often need supplemental lighting during darker months. Before buying a rack, watch the proposed wall from morning through late afternoon. Note when direct sun reaches the leaves rather than merely brightening the room.
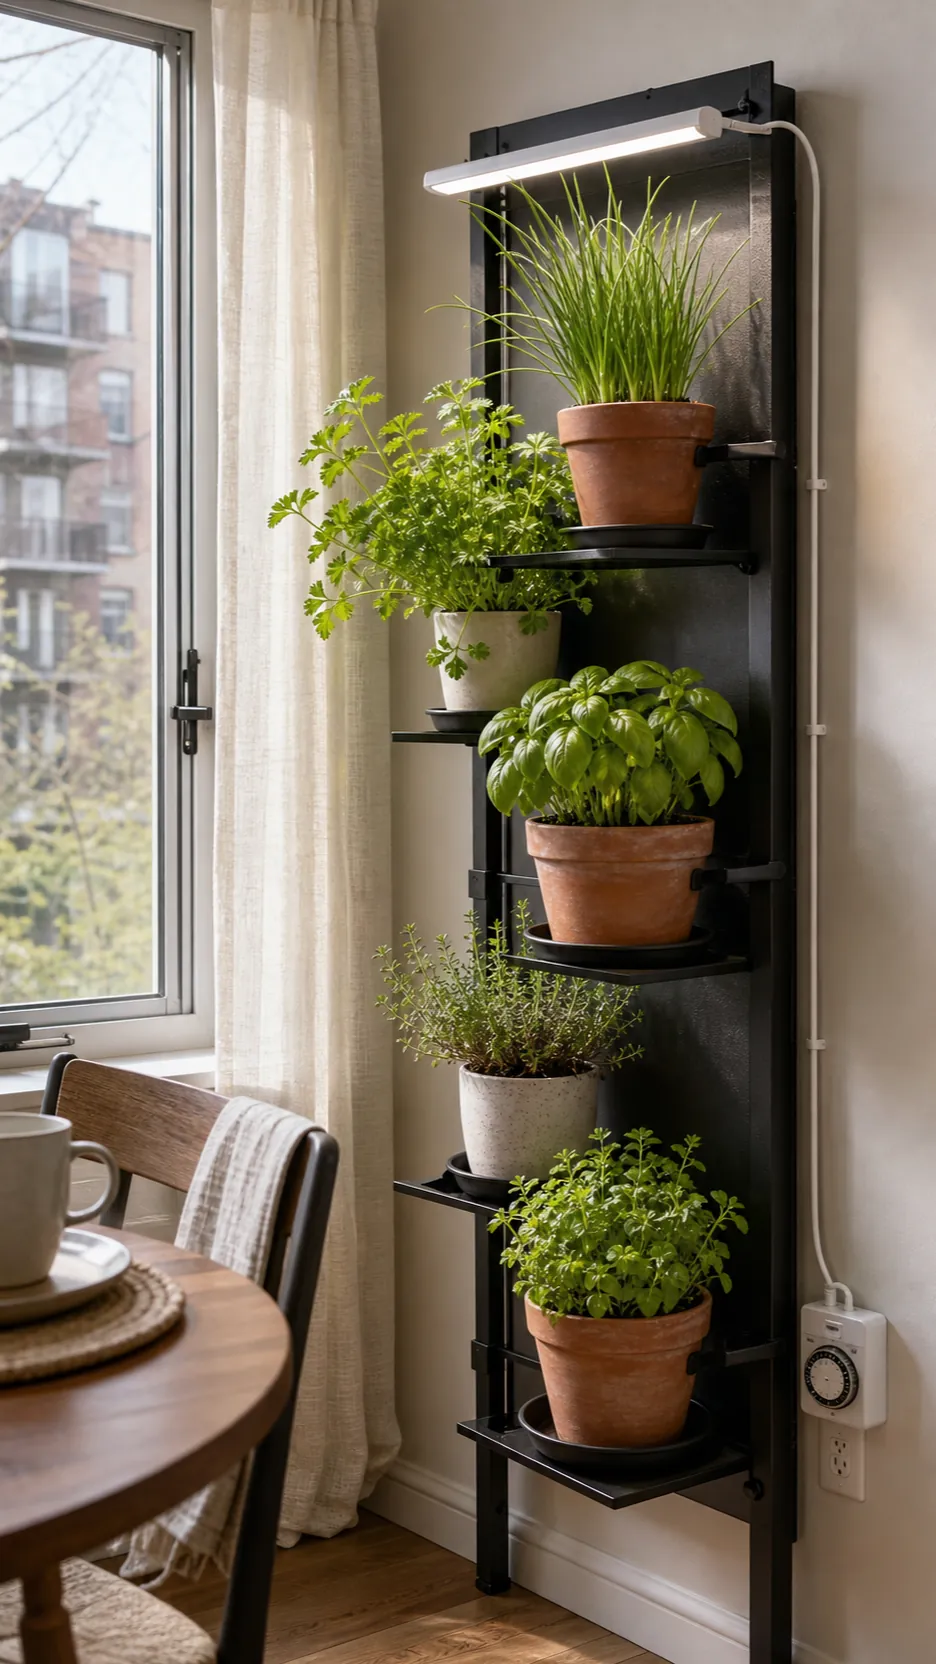
A south- or west-facing exposure is usually the strongest starting point. If the wall receives only indirect light, plan for a full-spectrum white grow light on a timer. A wall-mounted bar is more useful than a decorative bulb across the room because intensity falls quickly with distance. For many small herb setups, a consistent 12 to 14 hours under an appropriately positioned light is more reliable than chasing weak winter sun. Follow the light manufacturer’s distance guidance and raise or reposition the fixture as plants grow.
Build a moisture-safe layer between plants and paint
Do not mount wet pots directly against drywall. Leave an air gap and add a washable, water-resistant back panel sized wider than the planters. Powder-coated metal, sealed exterior-grade plywood, or a removable acrylic panel can protect the wall while making splashes visible. Use hardware rated for the total wet weight—not just the empty rack. Potting mix, ceramic containers, and retained water add up quickly.
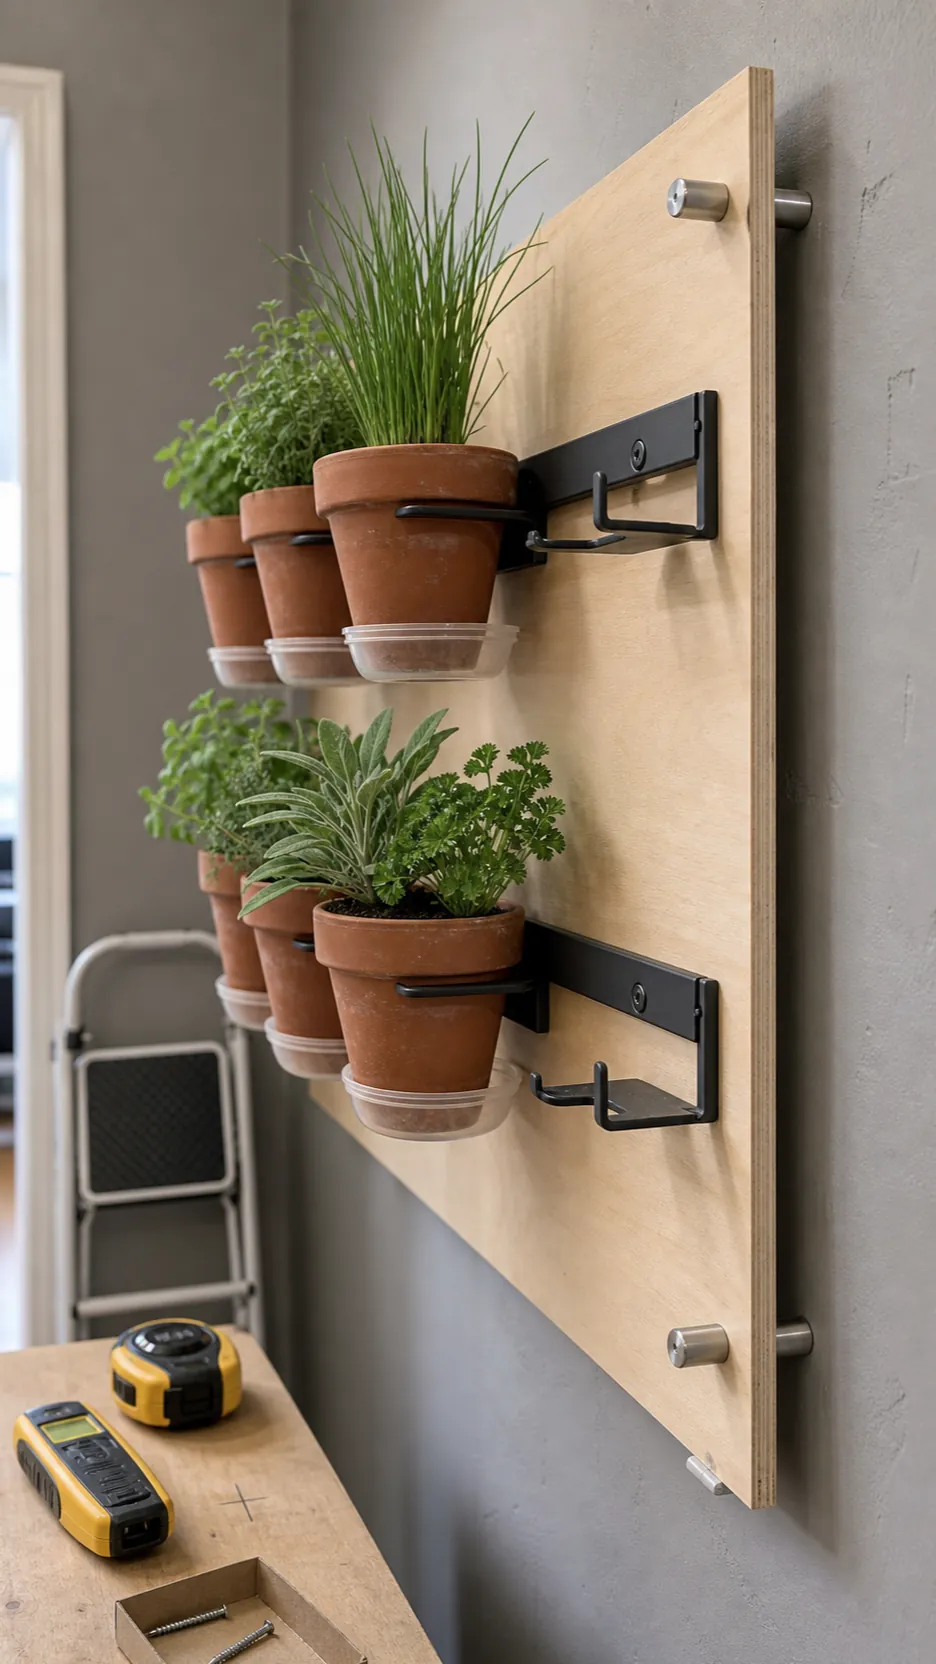
For rentals, a freestanding ladder rack or tension-pole system placed in front of the wall reduces holes and simplifies inspection. If you do anchor a rail, locate studs or use fasteners appropriate to the wall material. Keep the lowest planter high enough to wipe beneath it, yet low enough that you can see the soil surface without climbing. If watering or checking leaves feels awkward, it will eventually be skipped.
Use individual draining pots instead of one shared trough
The most forgiving wall garden uses nursery pots or small planters with real drainage holes, each sitting inside a removable catch cup or tray. Drainage material at the bottom does not replace a hole; it can leave saturated mix trapped around roots. Water each pot at the sink, let it drain fully, then return it to the wall. This routine takes longer than pouring water across a fixed trough, but it protects the wall and lets you respond to each herb separately.
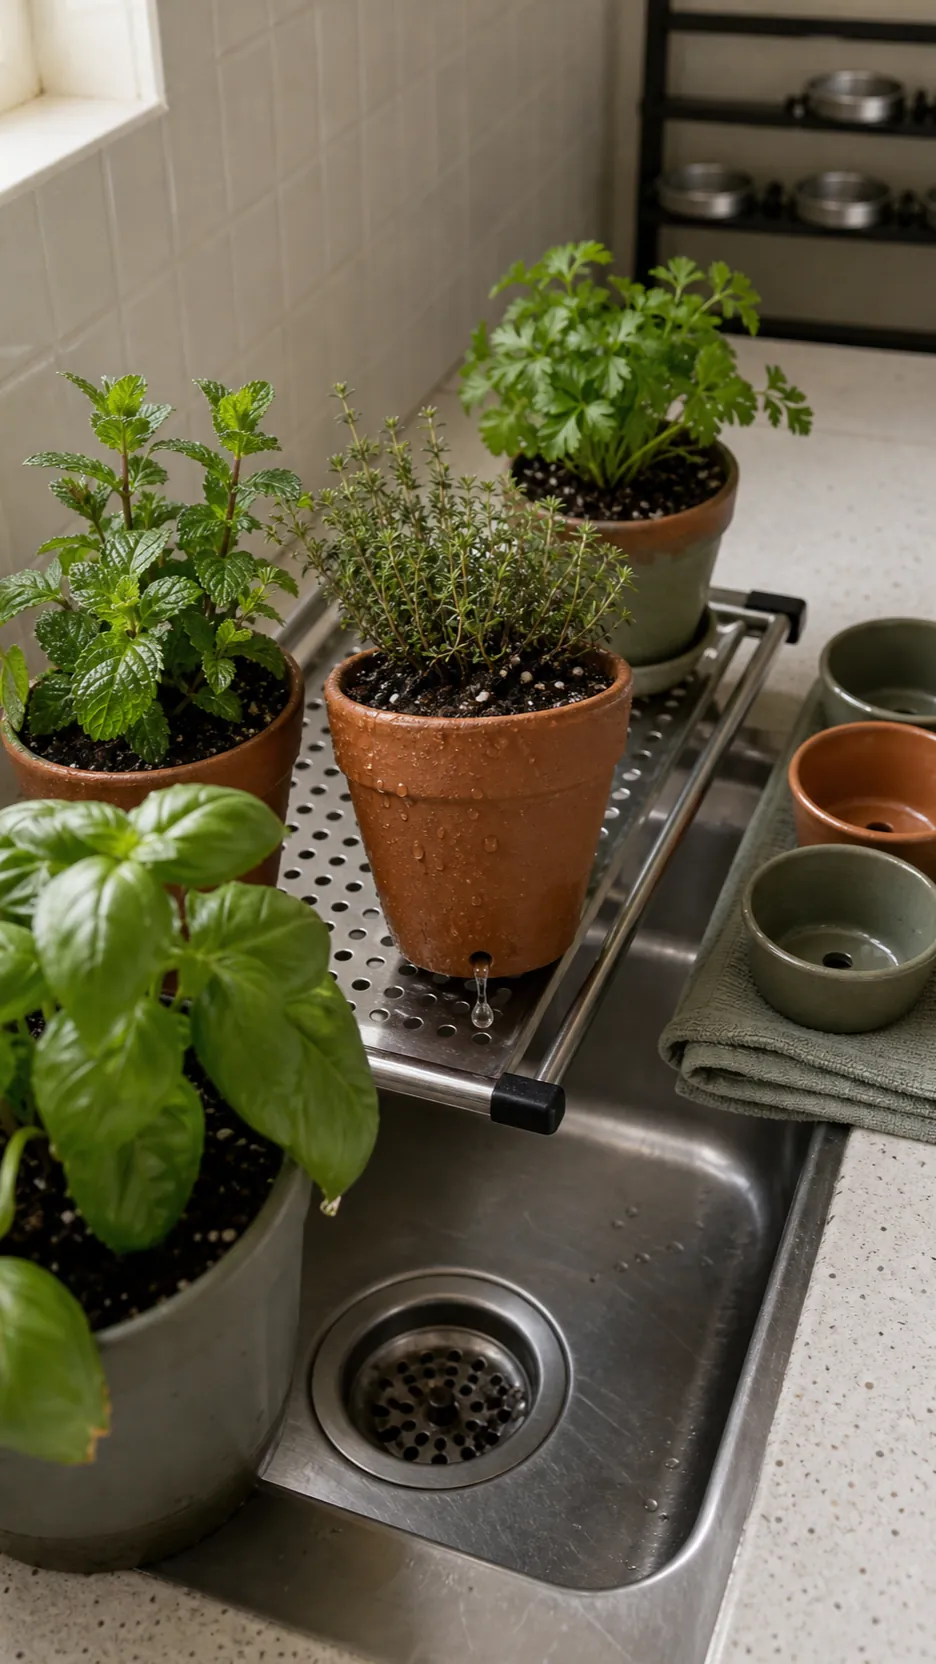
Use a lightweight indoor potting mix rather than garden soil. Check moisture with a fingertip at least half an inch down rather than judging by the surface color. Basil prefers more even moisture, while rosemary, thyme, oregano, sage, and marjoram generally benefit from drying slightly between waterings. Empty catch trays promptly. Standing runoff invites root problems, odors, and fungus gnats.
Group herbs by water needs and mature shape
A mixed herb display fails when every pocket receives the same treatment. Put thirstier basil, parsley, cilantro, chives, and mint where they are easiest to monitor. Reserve a drier zone for rosemary, thyme, oregano, and sage. Keep mint in its own pot because it spreads aggressively. Give upright rosemary or dill more headroom, and place trailing thyme where its stems will not shade a smaller plant below.
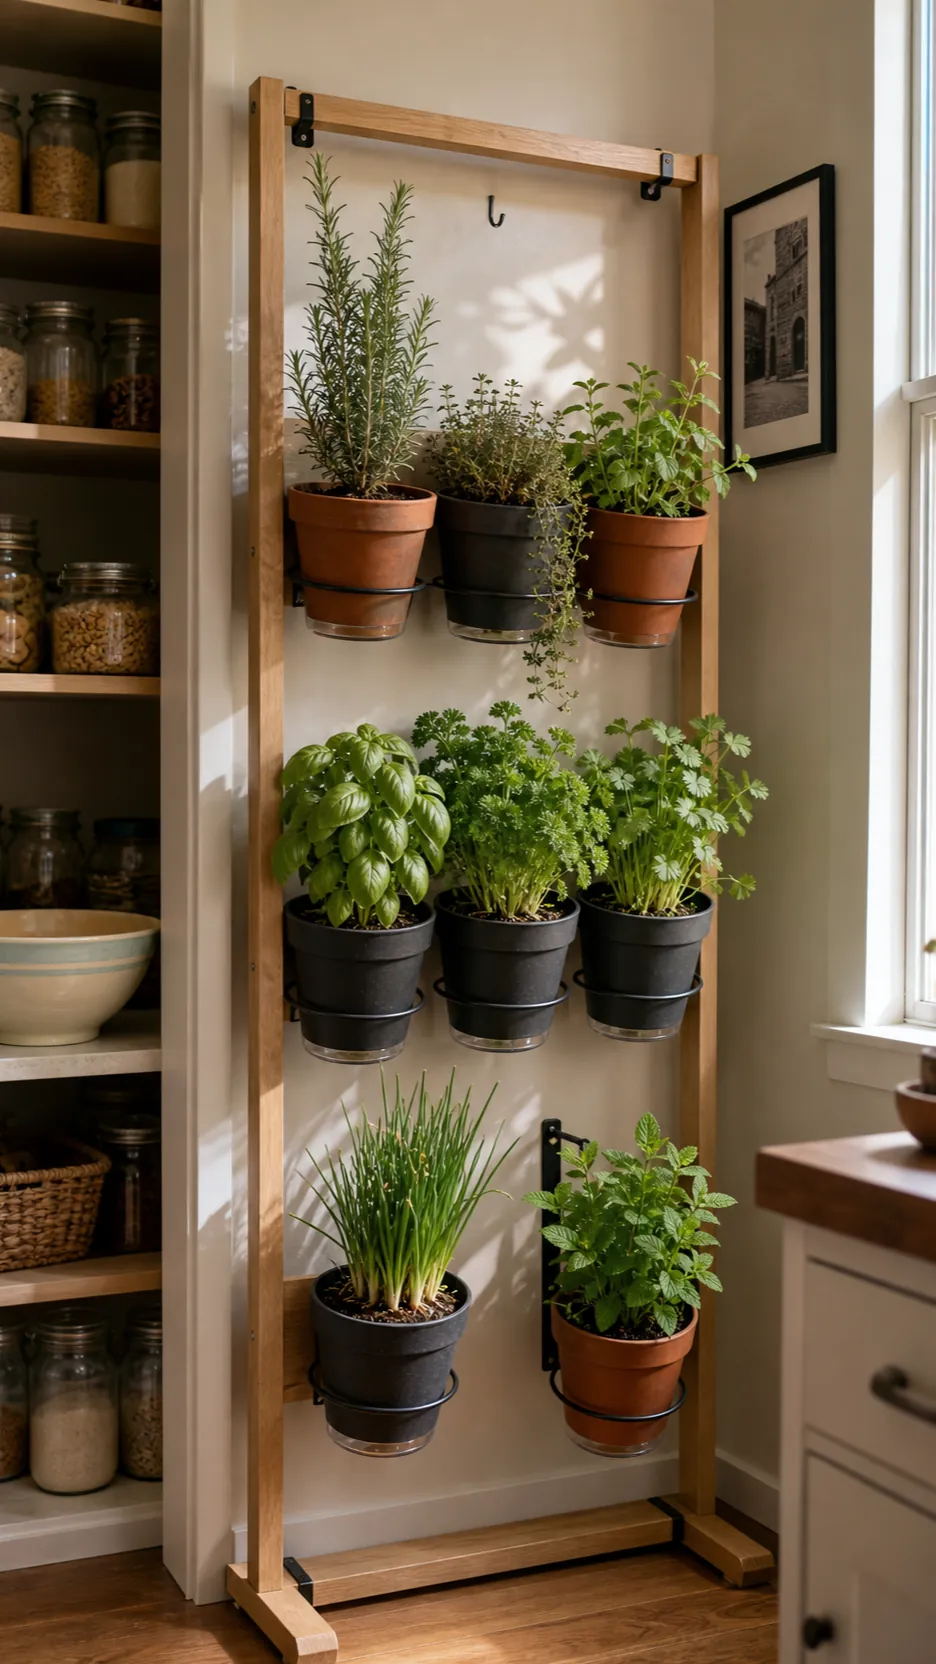
Start with four to six plants you actually cook with rather than filling every opening immediately. Chives, parsley, thyme, and mint are practical beginner choices when matched to their light and moisture preferences. Basil is rewarding but reacts quickly to cold windows and dry soil. Cilantro is useful but short-lived and prone to bolting, so treat it as a succession crop instead of expecting one plant to last indefinitely.
Make lighting and airflow part of the structure
Pale leaves, long gaps between leaves, and stems leaning toward a window are common signs that the plants need more light. Mount the fixture so illumination reaches the entire wall instead of bleaching the top row and starving the bottom. A plug-in timer makes the schedule consistent. Choose balanced white light for a kitchen rather than purple-red fixtures that distort food and room colors.
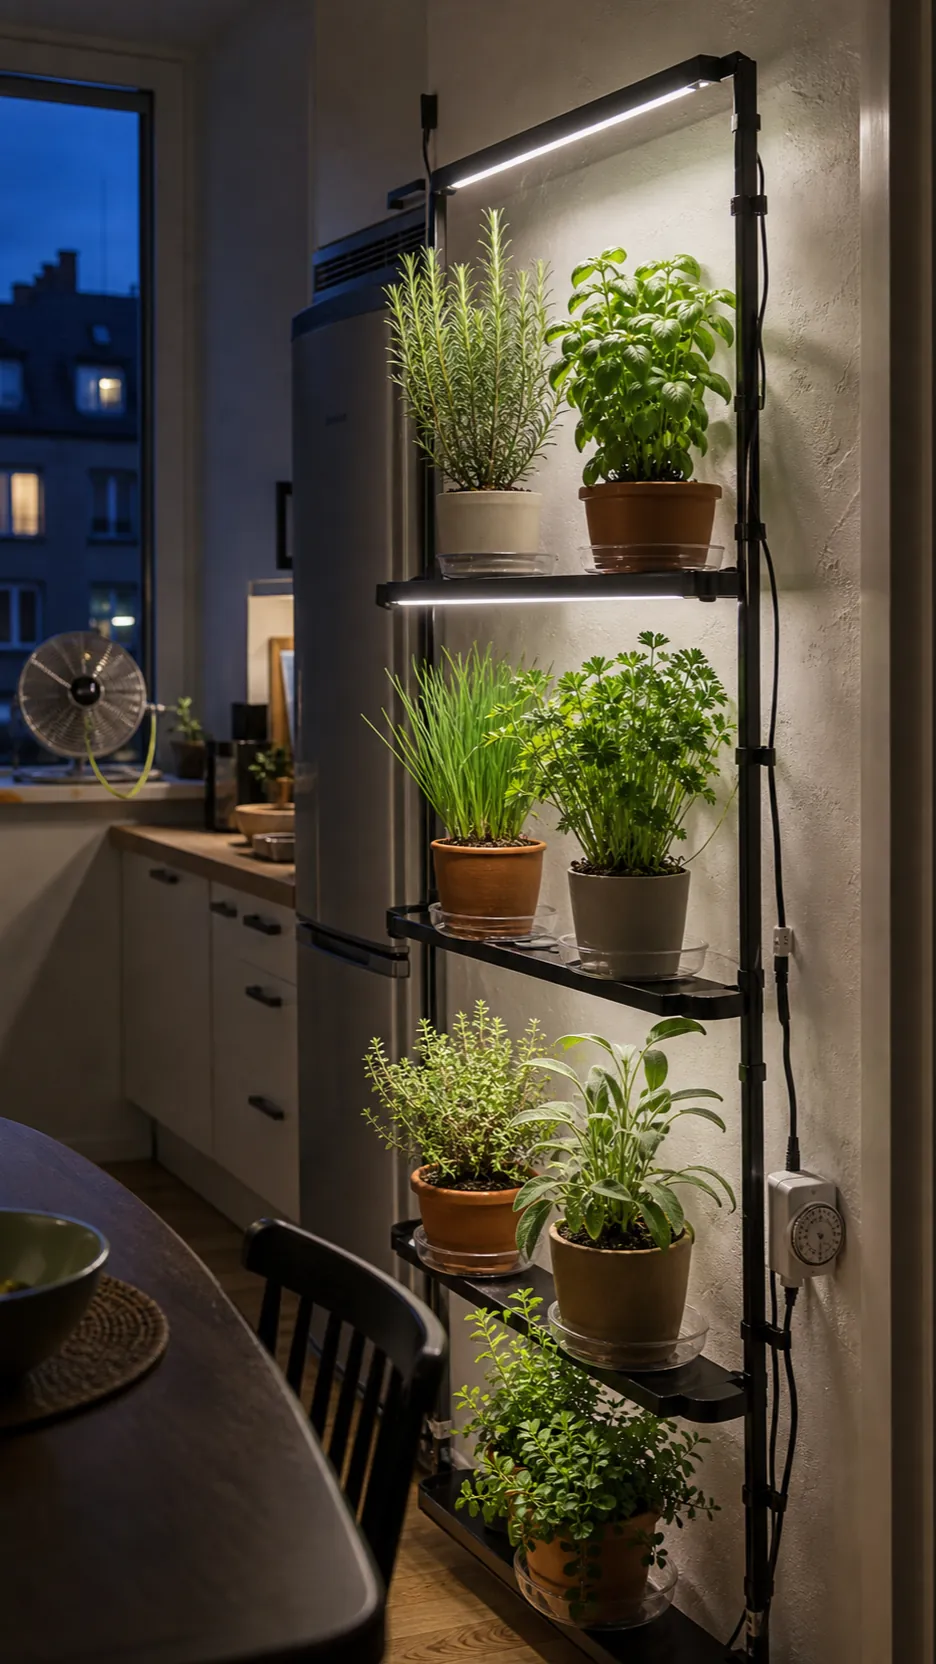
Do not pack foliage tightly against the backing panel. Penn State Extension warns that excess humidity with poor circulation can contribute to fungal issues. Leave space between pots, prune crowded stems, and use gentle room airflow when the area stays damp. A small fan should move air around the leaves, not blast them continuously. Remove fallen leaves before they decompose in trays or behind containers.
Adopt a five-minute weekly care loop
The best indoor herb garden ideas are easy to maintain on an ordinary week. Pick one day to lift every pot, feel its weight, check the undersides of leaves, rotate uneven growth, wipe the backing panel, and harvest mature tips. Pinching basil above a leaf pair encourages branching. Snip chives near the base. Harvest no more than roughly a third of a healthy plant at one time so it can recover.
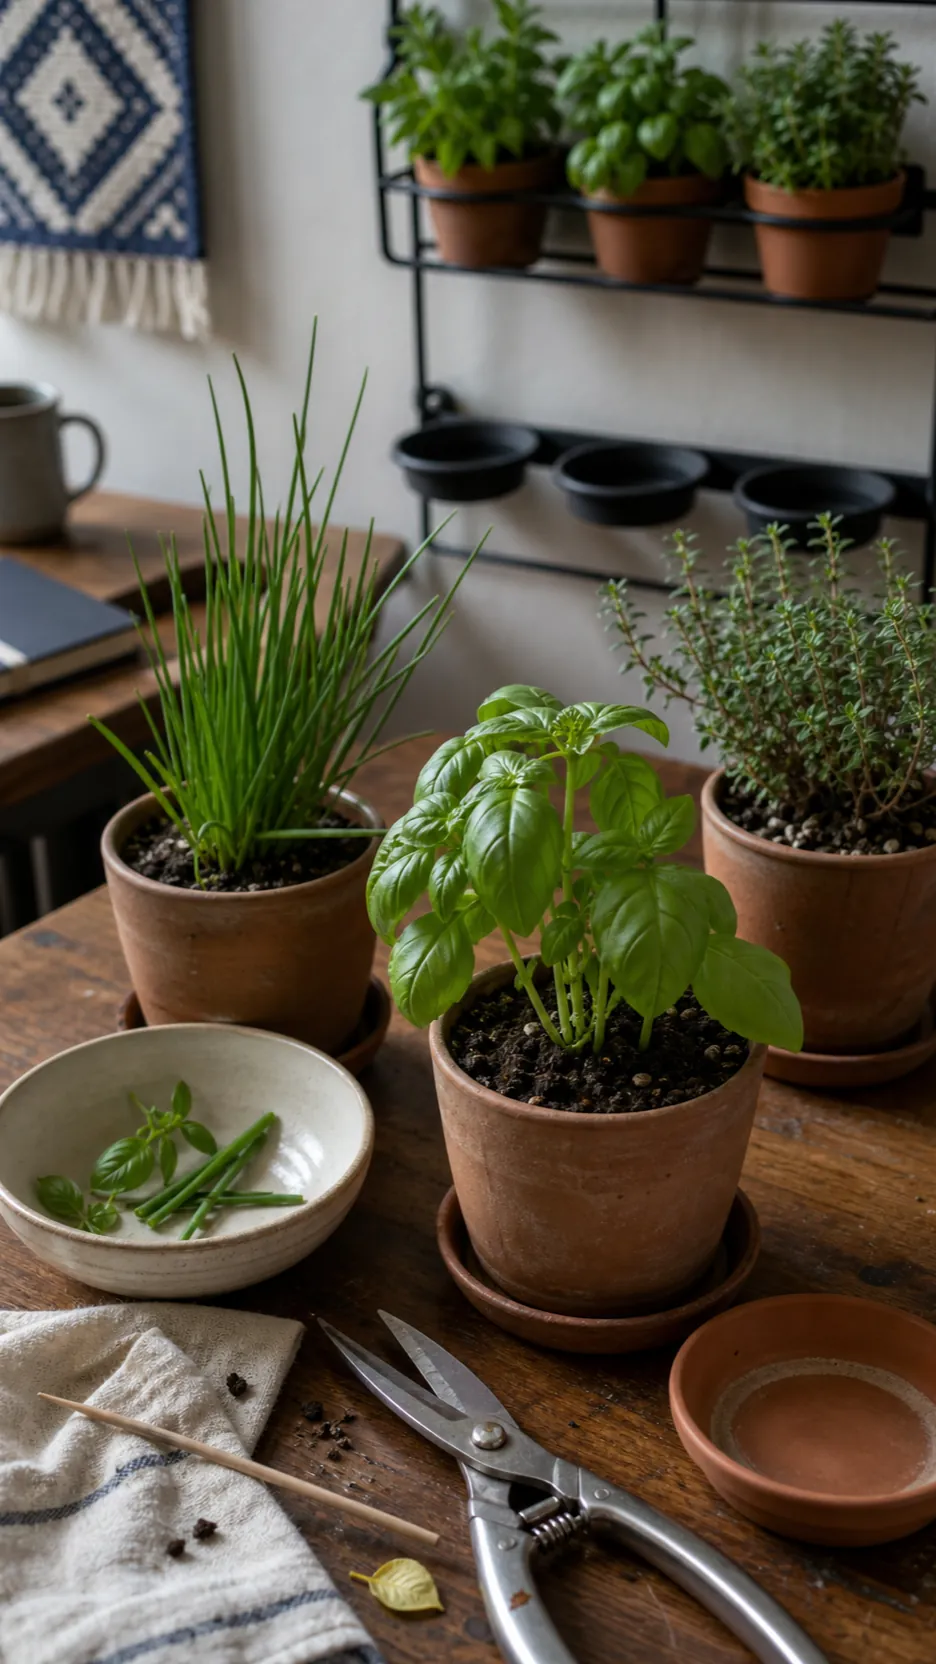
Feed lightly. Excess fertilizer can produce fast, soft growth with less concentrated aroma, so more is not automatically better. Replace exhausted annual herbs rather than nursing a declining plant for months. If mold appears, remove decaying material, improve light and airflow, and reassess watering before adding any treatment.
A compact starter plan that is difficult to ruin
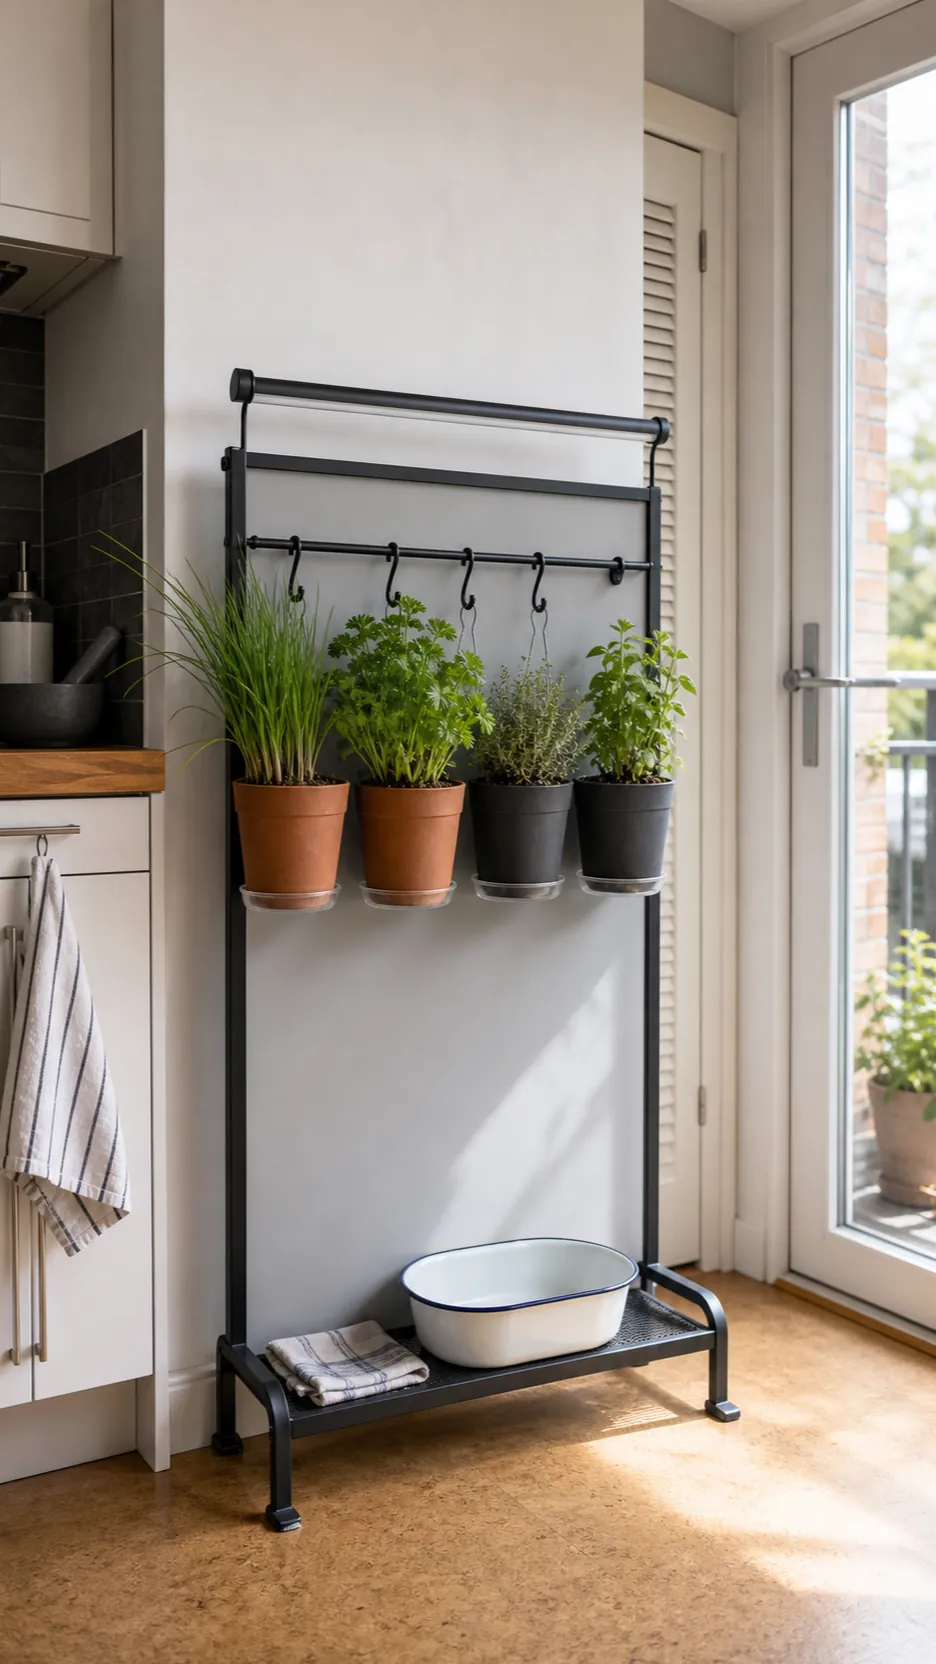
- One freestanding or securely anchored rail with room behind the pots
- A washable moisture barrier and individual catch trays
- Four removable pots with drainage holes
- Chives and parsley in the more evenly moist zone
- Thyme and oregano in the slightly drier zone
- A full-spectrum white light on a timer if direct sun is inadequate
- A nearby sink or basin where every pot can drain completely
That modest setup is a better beginning than a dramatic floor-to-ceiling DIY plant wall indoor project. Live with it for a month, learn how quickly each pot dries, and expand only when the first herbs are producing usable harvests. A successful indoor herb garden wall should make cooking easier—not turn the kitchen into a plant-rescue station.