
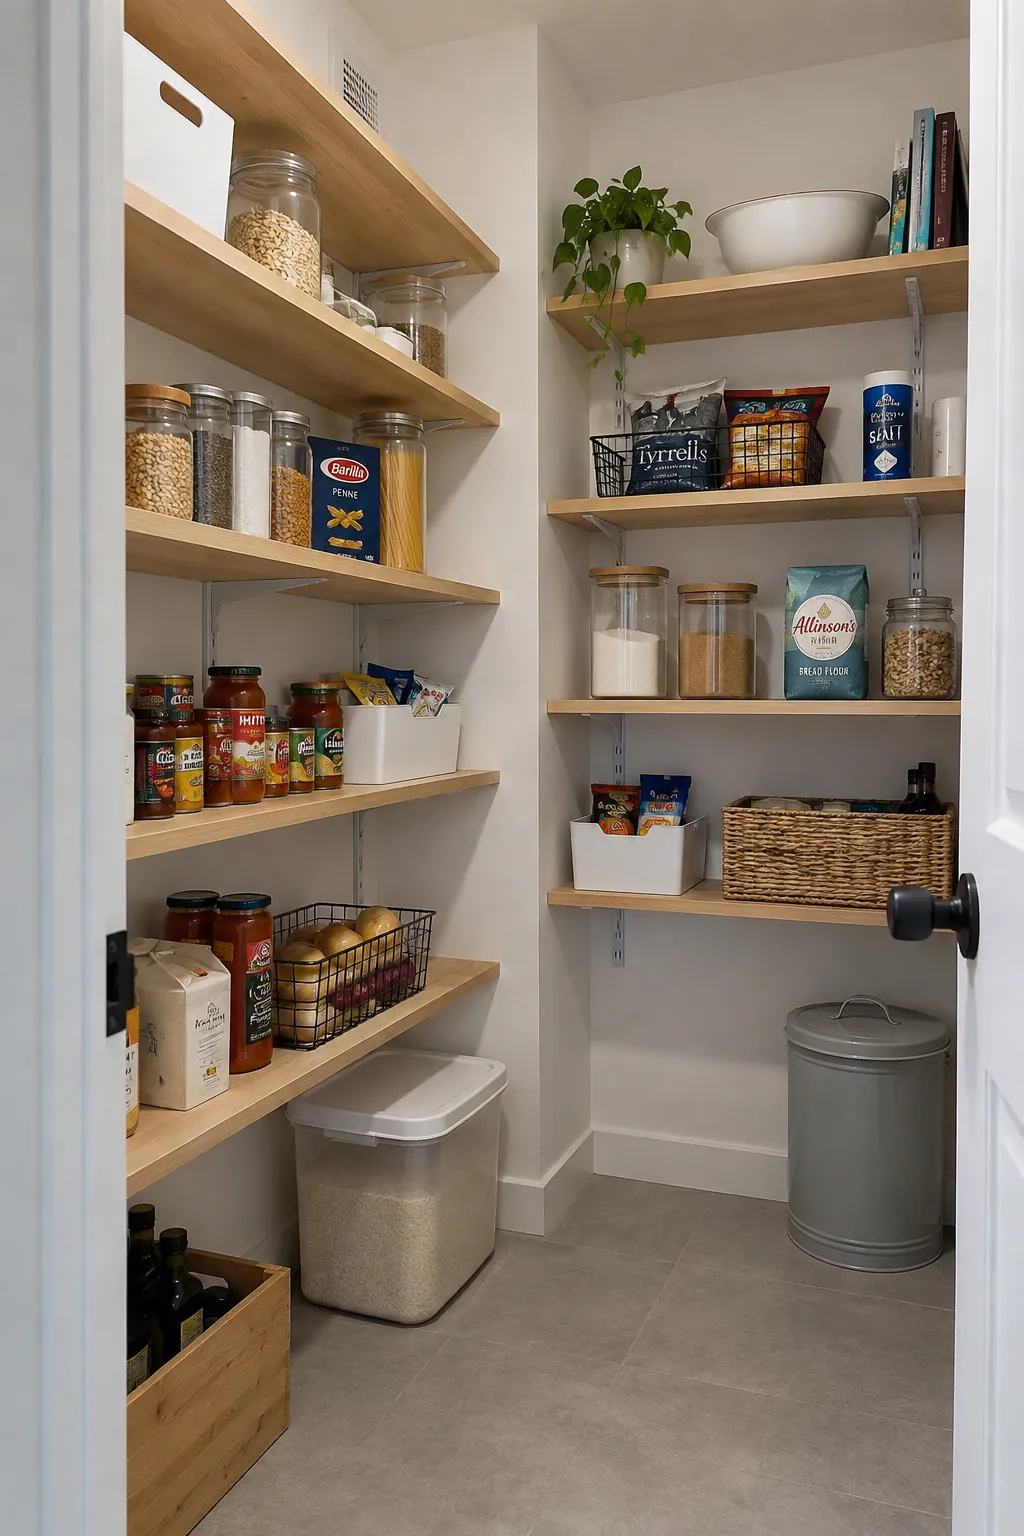
The back row of groceries is only useful if you remember it exists. Deep shelves can hold more food while making less of it visible, and a tightly packed room can turn every refill into a rearranging job. The right shelving gives each category a reachable home and leaves you somewhere to stand.
Choose the layout and the shelf system together. A beautiful board is not much help if its supports interrupt every storage bin, and adjustable heights cannot compensate for a blocked doorway. Work from the room inward, then test the result with the things you actually buy.
Choose the shelf arrangement from the doorway
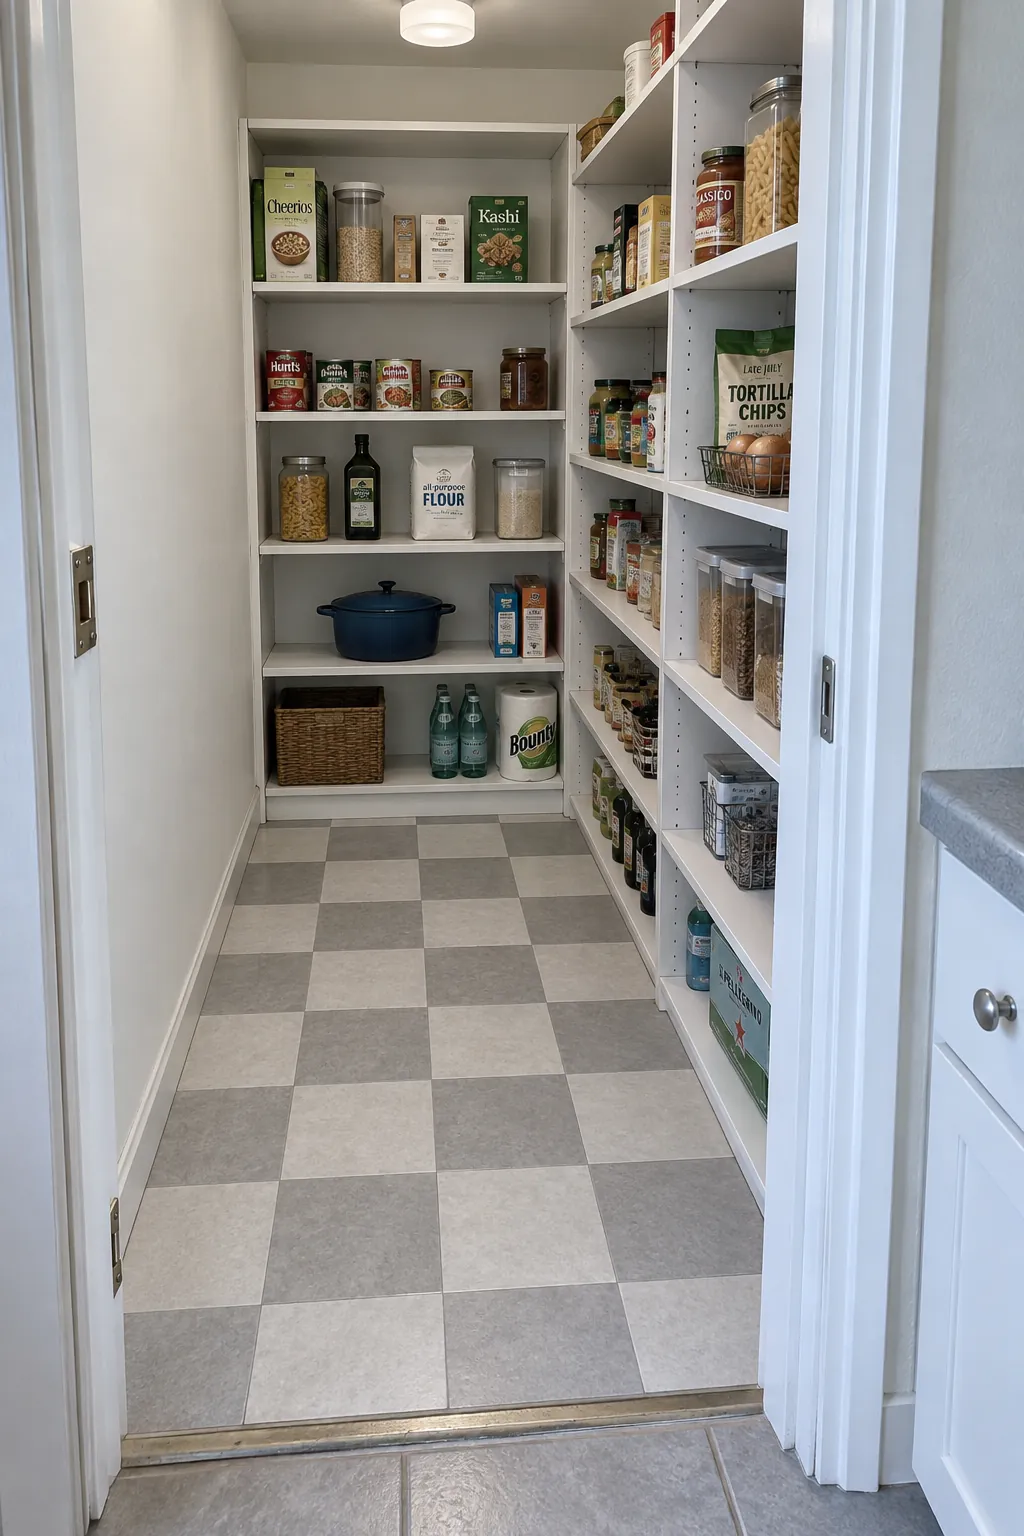
Start by locating the opening, the door swing, and the clear space immediately inside it. A single shelf wall can suit a narrow walk in pantry because you can face the groceries without squeezing between two projecting runs. An L shaped arrangement adds a second storage wall while leaving one side open for movement.
A U shaped layout uses more wall area, but both back corners need a retrieval plan. Trace the route from the entrance to each shelf end before assuming the extra boards create useful capacity. If a side run hides the back row, shorten it or change its depth rather than accepting a permanent blind pocket.
Mark the proposed shelf fronts on the floor and hold cardboard at their intended heights. The floor outline alone will not reveal an upper shelf that crowds your shoulders. Check your small walk in pantry layout while carrying a shopping bag and while reaching down for a lower bin. Include the person with the most demanding reach or mobility needs in that trial.
Use different depths for different storage jobs
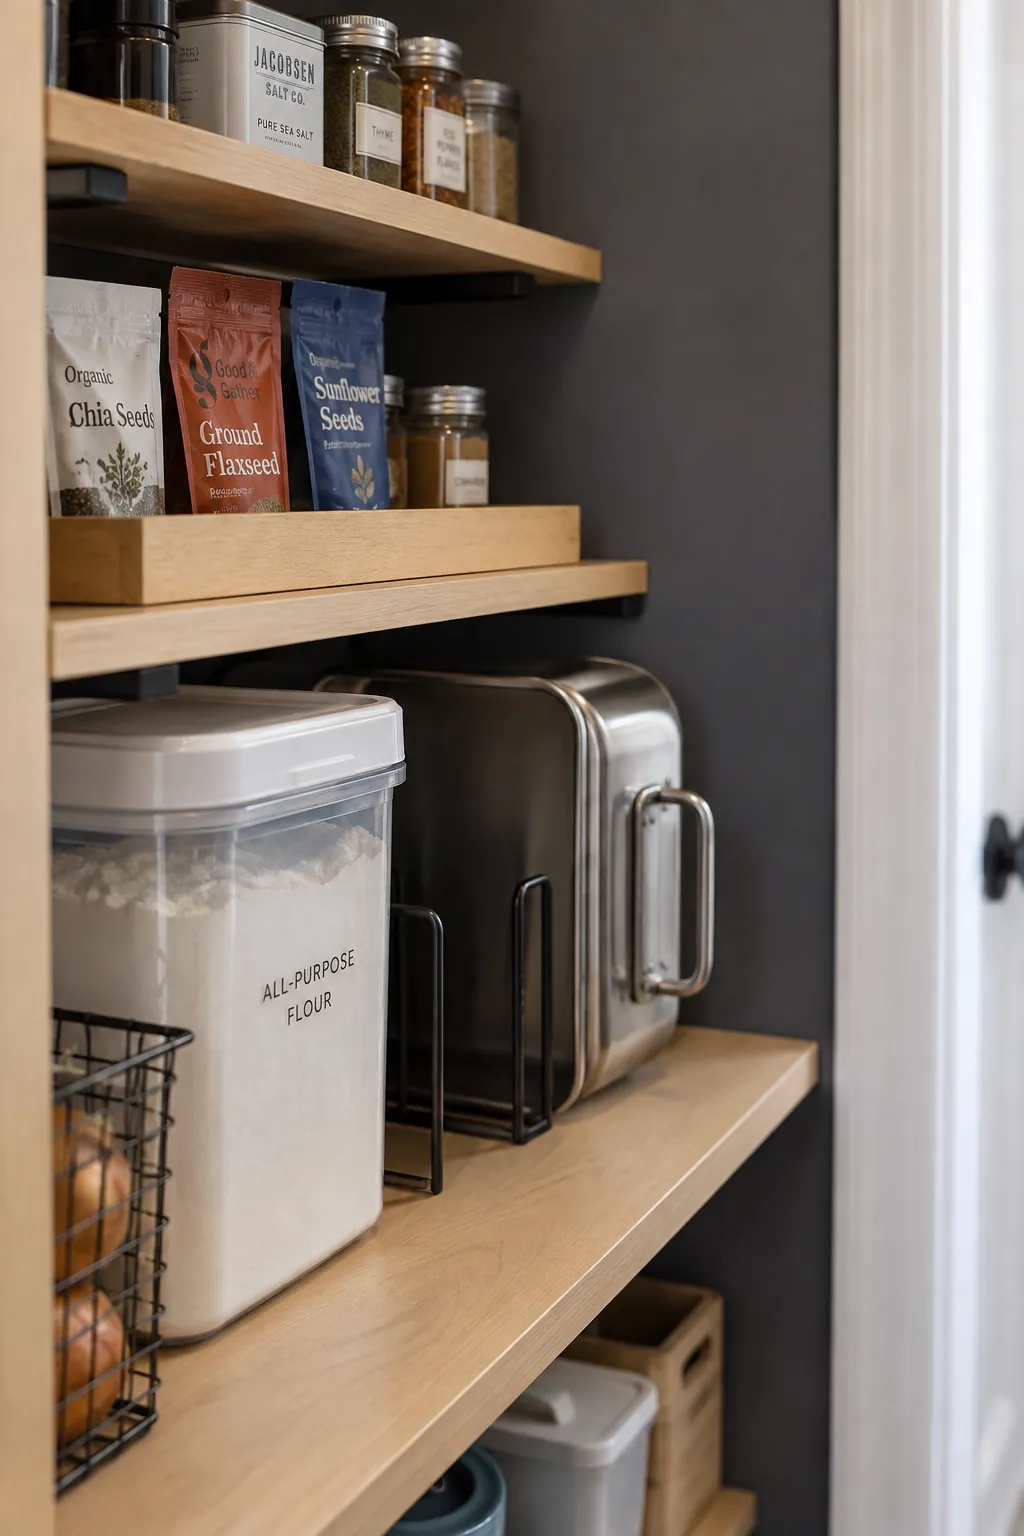
Small tins, spice refills, and packets are easy to lose behind one another. Place a sample group on a temporary surface in the arrangement you would like to keep, then measure its footprint. Add the space your fingers need to remove an item without tipping its neighbor.
Bulk containers and serving pieces may justify a deeper lower shelf, while everyday food can stay on shallower upper runs. For example, a cereal bin needs enough shelf area for its base and enough open space to lift it out; an oil bottle may need little depth but substantial height. Do not confuse a cabinet’s advertised outside depth with its usable interior. Back panels, door hardware, runners, and organizer rims all reduce the space available.
Set shelf heights around the removal motion
A container that fits tightly between two boards may still be awkward to use. Lift it the way you normally would, including any tilt needed to clear a lip or handle. For food kept in its original packet, allow room to grasp the top without crushing it against the shelf above.
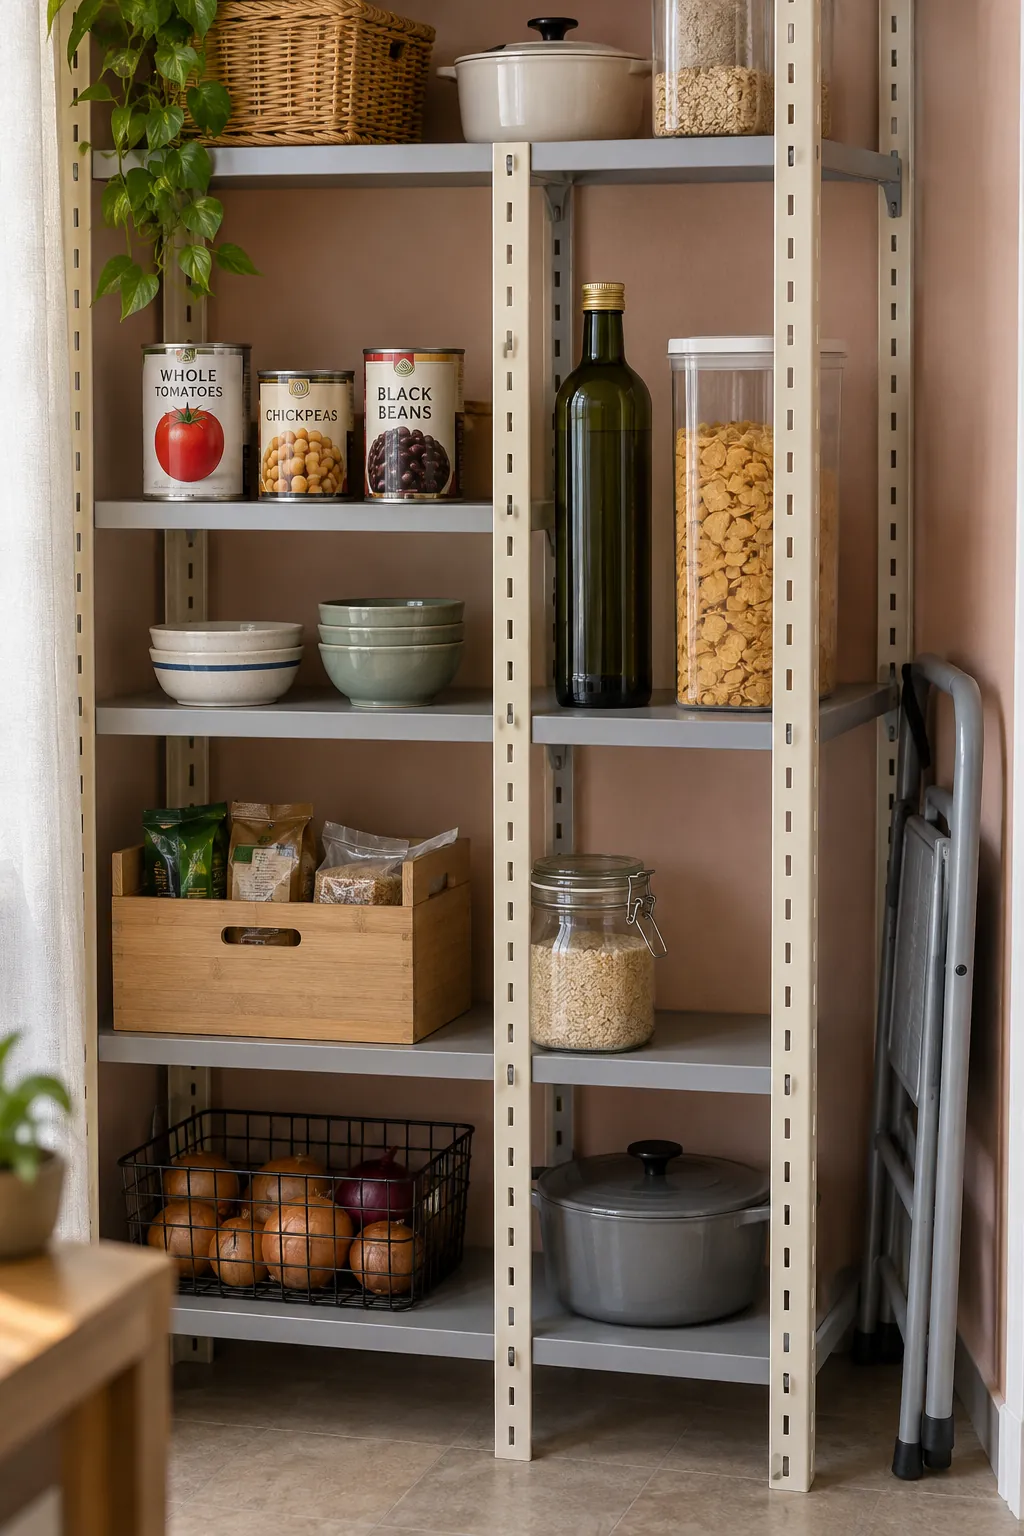
Put frequent ingredients within the comfortable reach of the people who cook. Store heavy supplies where they can be handled safely without an overhead lift, and reserve the highest shelf for light, occasional items. A step stool needs a convenient storage place and stable floor space for use; it should not become another obstacle wedged into the aisle.
Choose a system that offers the adjustment you expect to need, including compatible extra shelves. Some modular units look flexible but have a fixed number of usable positions or limited accessory options. Check the actual product specification before ordering. Leaving one deliberately tall bay is usually more efficient than spacing every shelf to suit the tallest object.
Match the shelf material to its supports and load
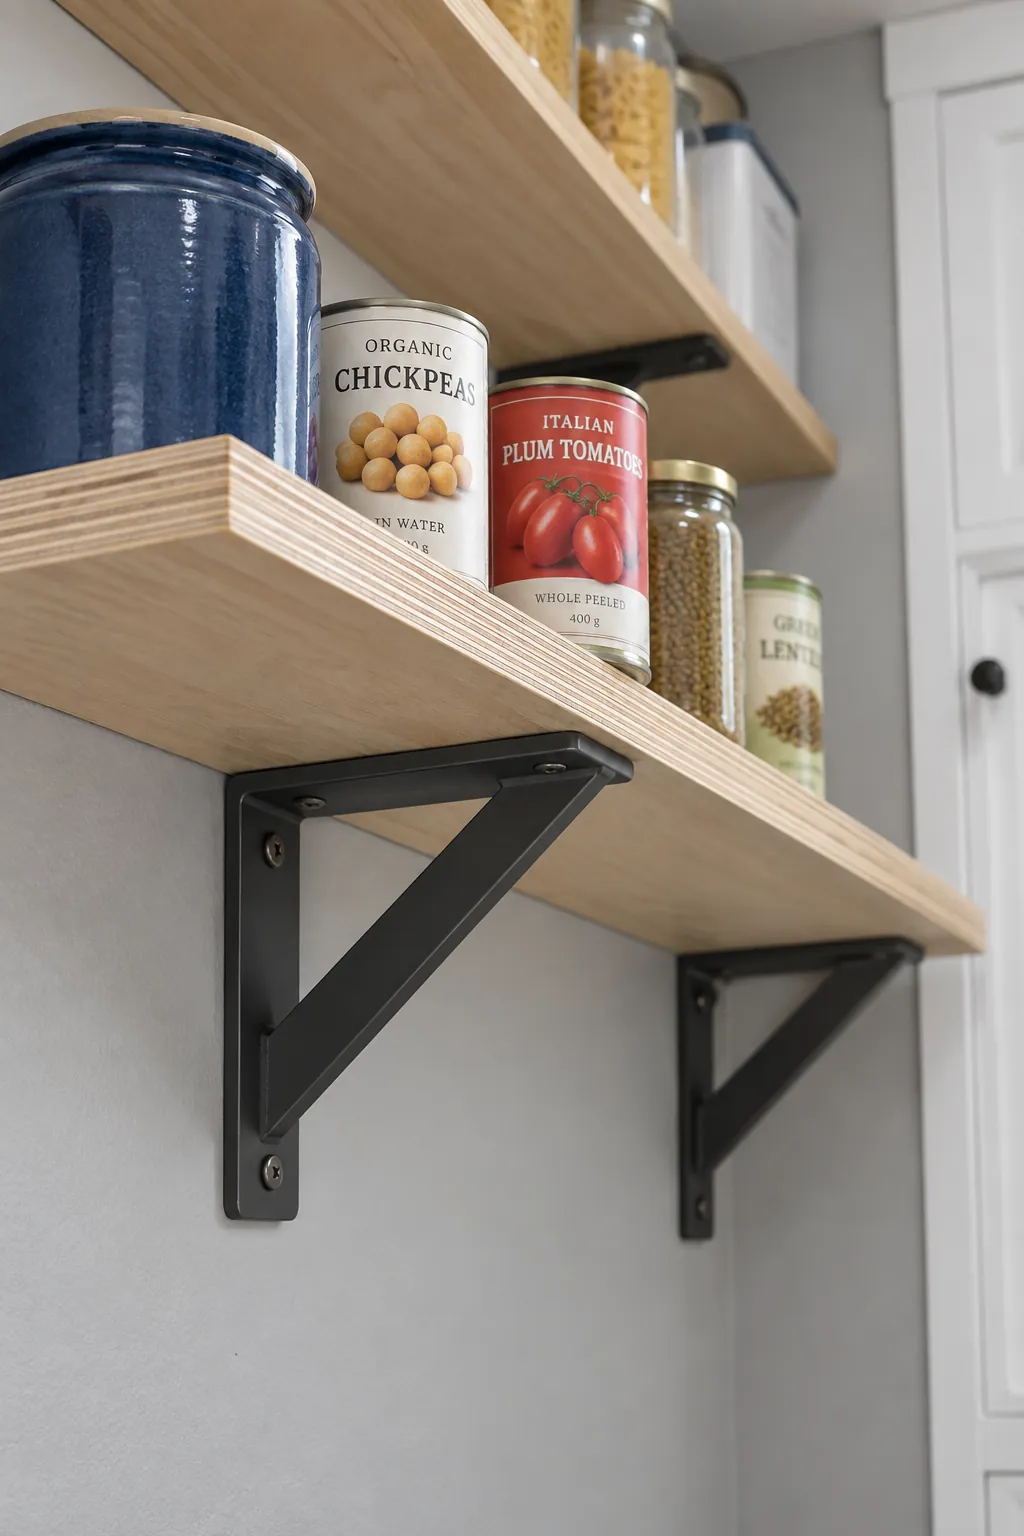
Solid boards provide a continuous surface for small containers, while open wire shelving allows visibility through the shelf and may suit an existing modular system. Wire can leave small feet or narrow bottles unstable, so confirm whether a compatible liner is appropriate. A liner changes the surface; it does not increase the shelf’s rated load.
Wood, plywood, and manufactured boards behave differently across a span. Their thickness, depth, edge construction, and support spacing matter alongside the weight of the food. Use the manufacturer’s ratings for the complete shelf and bracket system, or have a qualified installer specify a custom assembly. A neat looking bracket does not establish that an unsupported span can carry a row of canned goods.
Plan fixing locations before buying boards cut to length. Wall material, suitable structural attachment, concealed services, and the condition of the wall all affect installation. Follow the appropriate instructions for the actual construction rather than choosing anchors by appearance. For open pantry shelving ideas, visible brackets can become an orderly design feature while still doing the necessary structural work.
Choose bins and pullouts after checking the opening
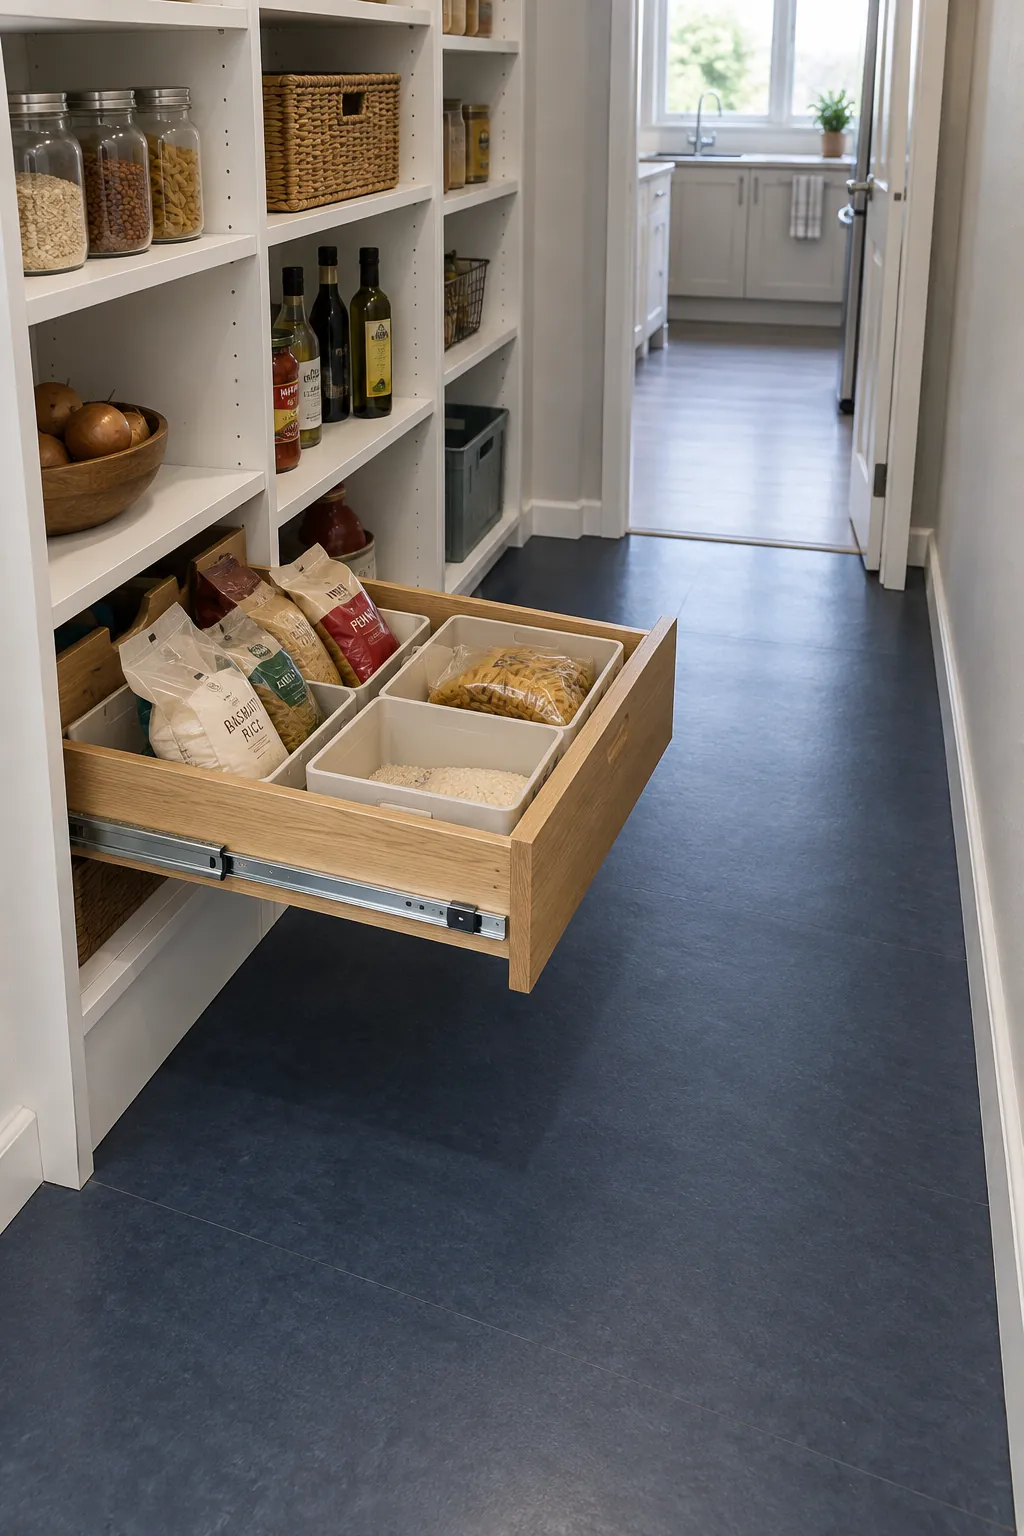
A bin can gather small packets into one removable group, but a large bin can also hide everything beneath its top layer. Try a shallow open container for frequently used snacks and check whether every item remains recognizable. Leave enough lateral clearance to slide it out without scraping the brackets.
Pullout shelves need both cabinet clearance and standing room in front of them. Measure the narrowest part of the opening, including hinges, and verify the installed dimensions and load limits of the hardware. At a corner walk in pantry junction, test the extended position against the neighboring shelf run. A tray that extends on paper may still collide with another handle or leave you nowhere to stand.
Keep turntables for groups that benefit from rotation, such as a few bottles, rather than filling an entire shelf with round organizers. They leave unused corners on rectangular boards. Choose the accessory for the retrieval problem you have, then buy the smallest quantity needed to test it.
Make the shelves easy to see and reset
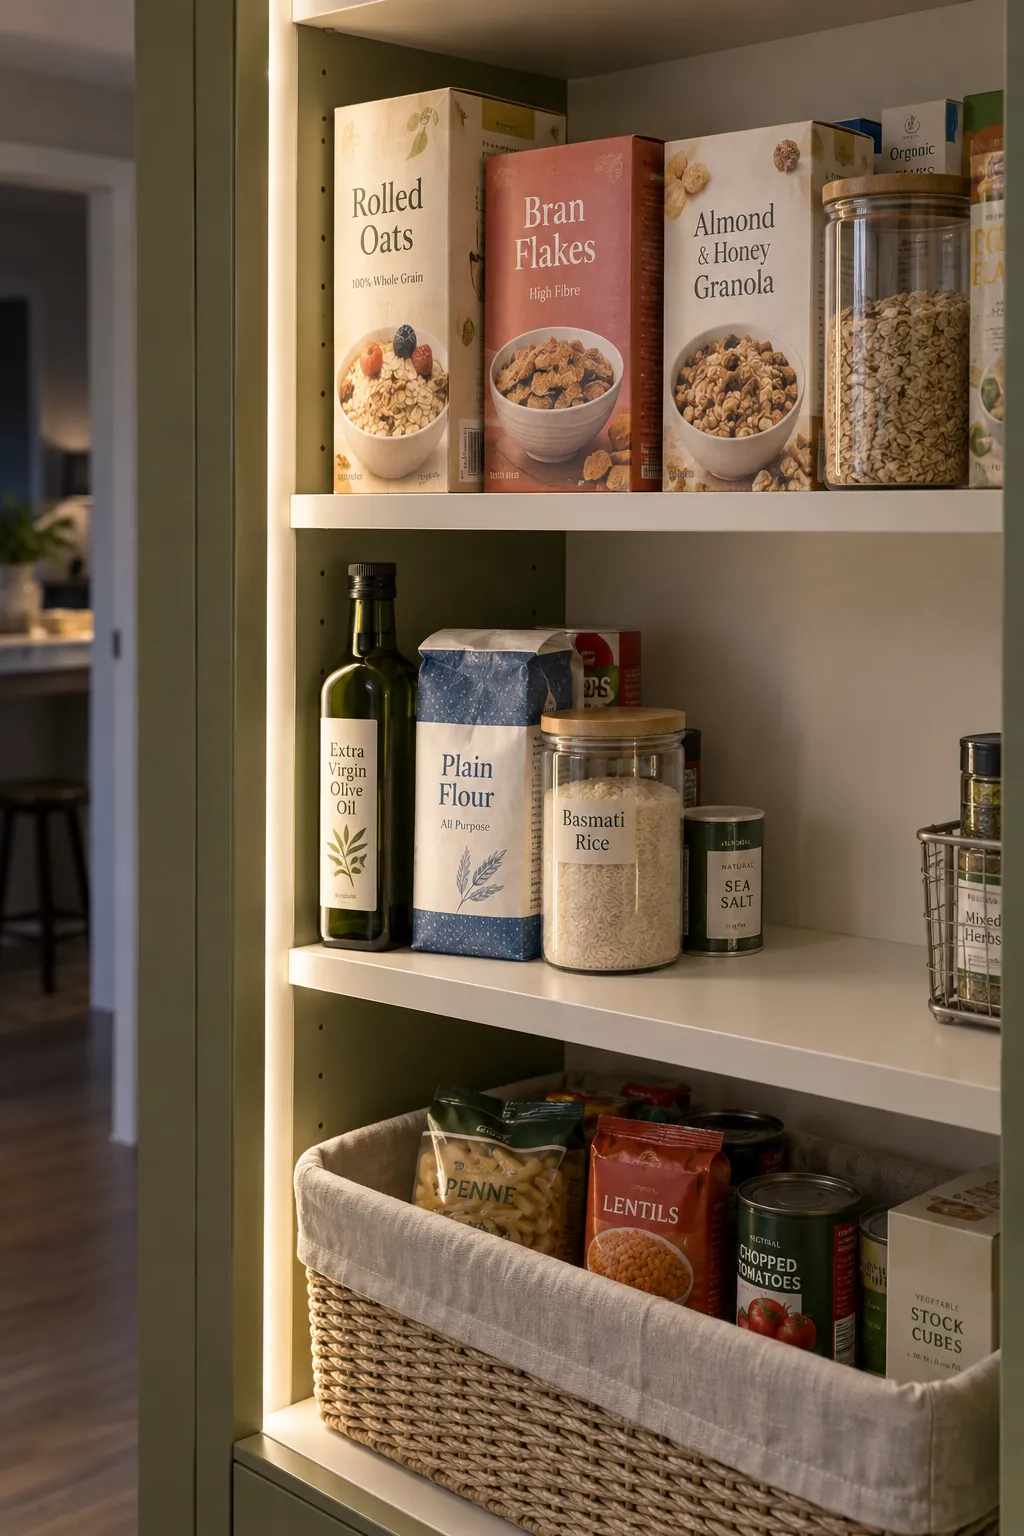
Stand at the shelf face with the room lit as it will be during dinner preparation. Your body should not obscure the only useful light. Where a ceiling fixture leaves deep shadows, discuss suitable shelf or vertical lighting with the installer and keep controls and serviceable components accessible.
Give each shelf a job broad enough to survive an ordinary grocery trip. Breakfast foods, cooking staples, and spare stock are easier to maintain than a system that depends on every packet matching. Retain cooking instructions, ingredient information, and dates when transferring food into reusable containers. Keep cleaning products separate from food storage.
After a week, check the places that became crowded first. Move a shelf, split an overfilled category, or return an unnecessary organizer before assuming you need more storage. Your final test is simple: can you spot the ingredient, remove it, and return it without dismantling the shelf around it?