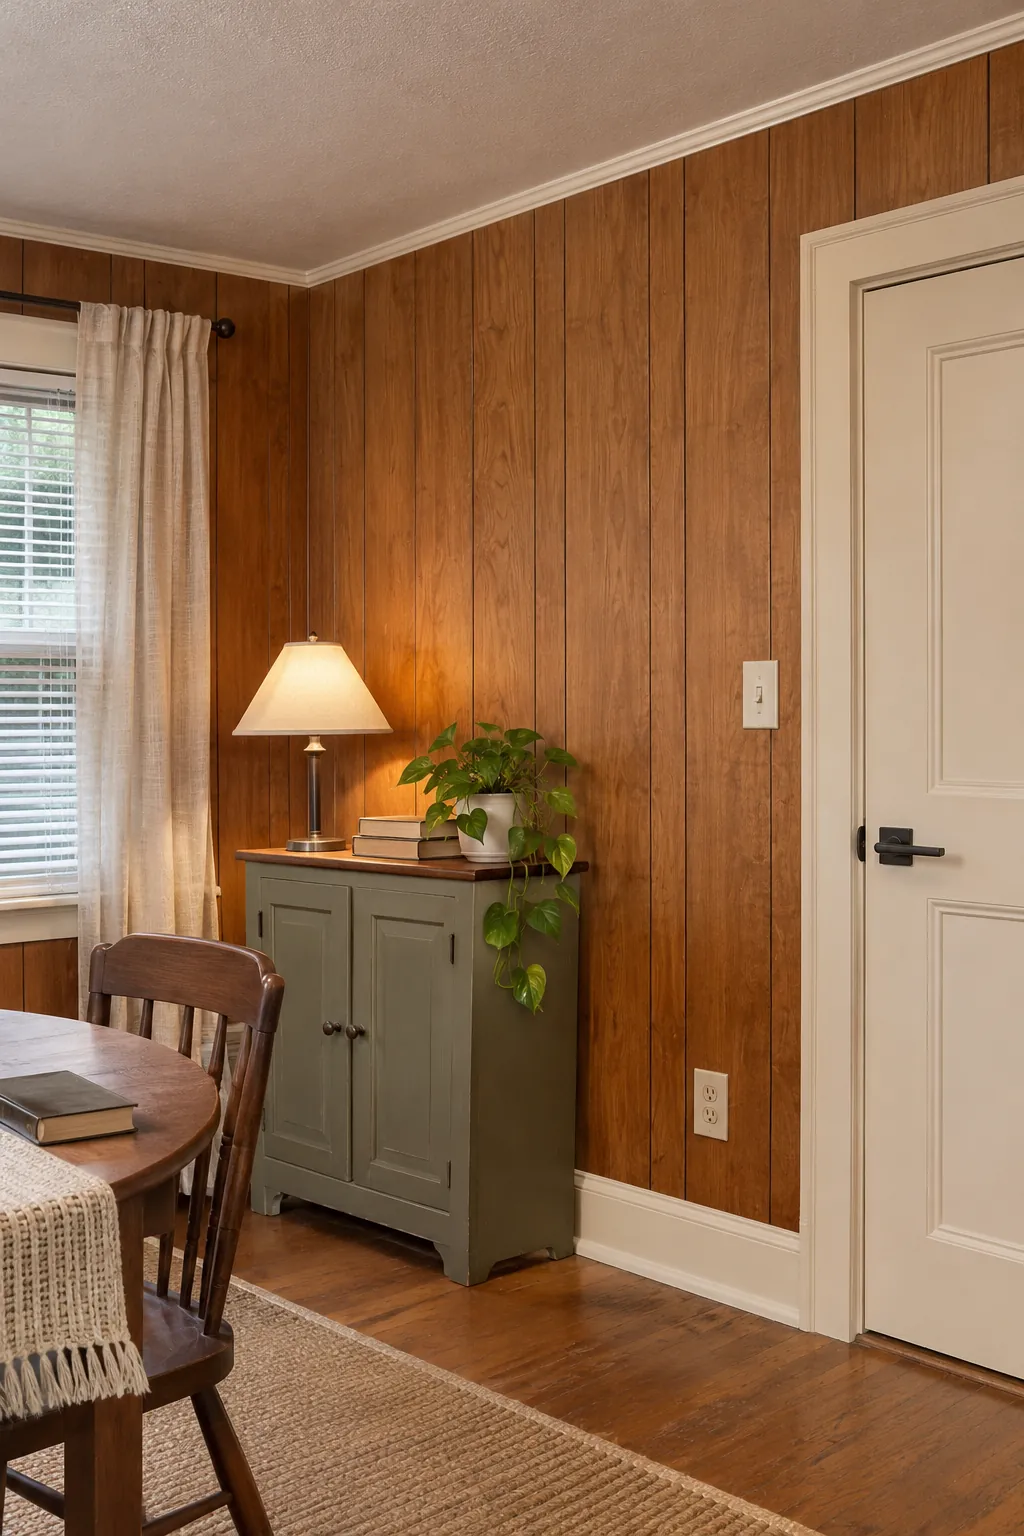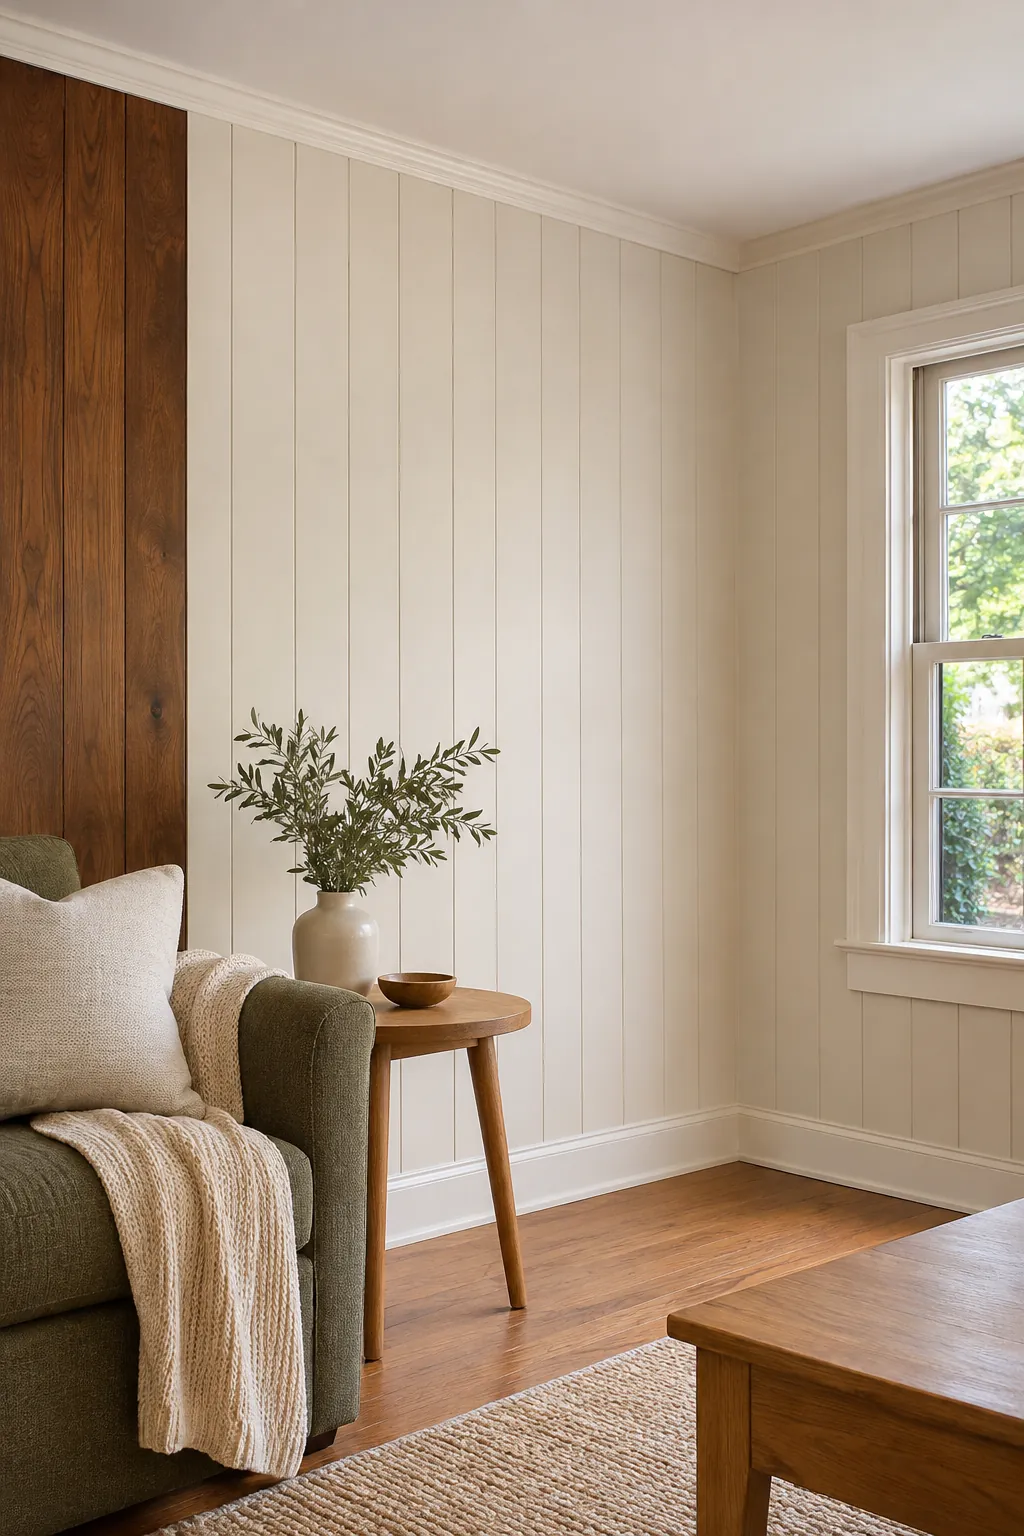
Wood paneling can look dark or dated while remaining sound and useful. The best update starts by identifying solid wood, veneer, laminate, old coating, loose seams, and moisture damage. Test every cleaner, primer, adhesive, or wash in a hidden place before changing the full wall.
Clean and Restore the Existing Finish
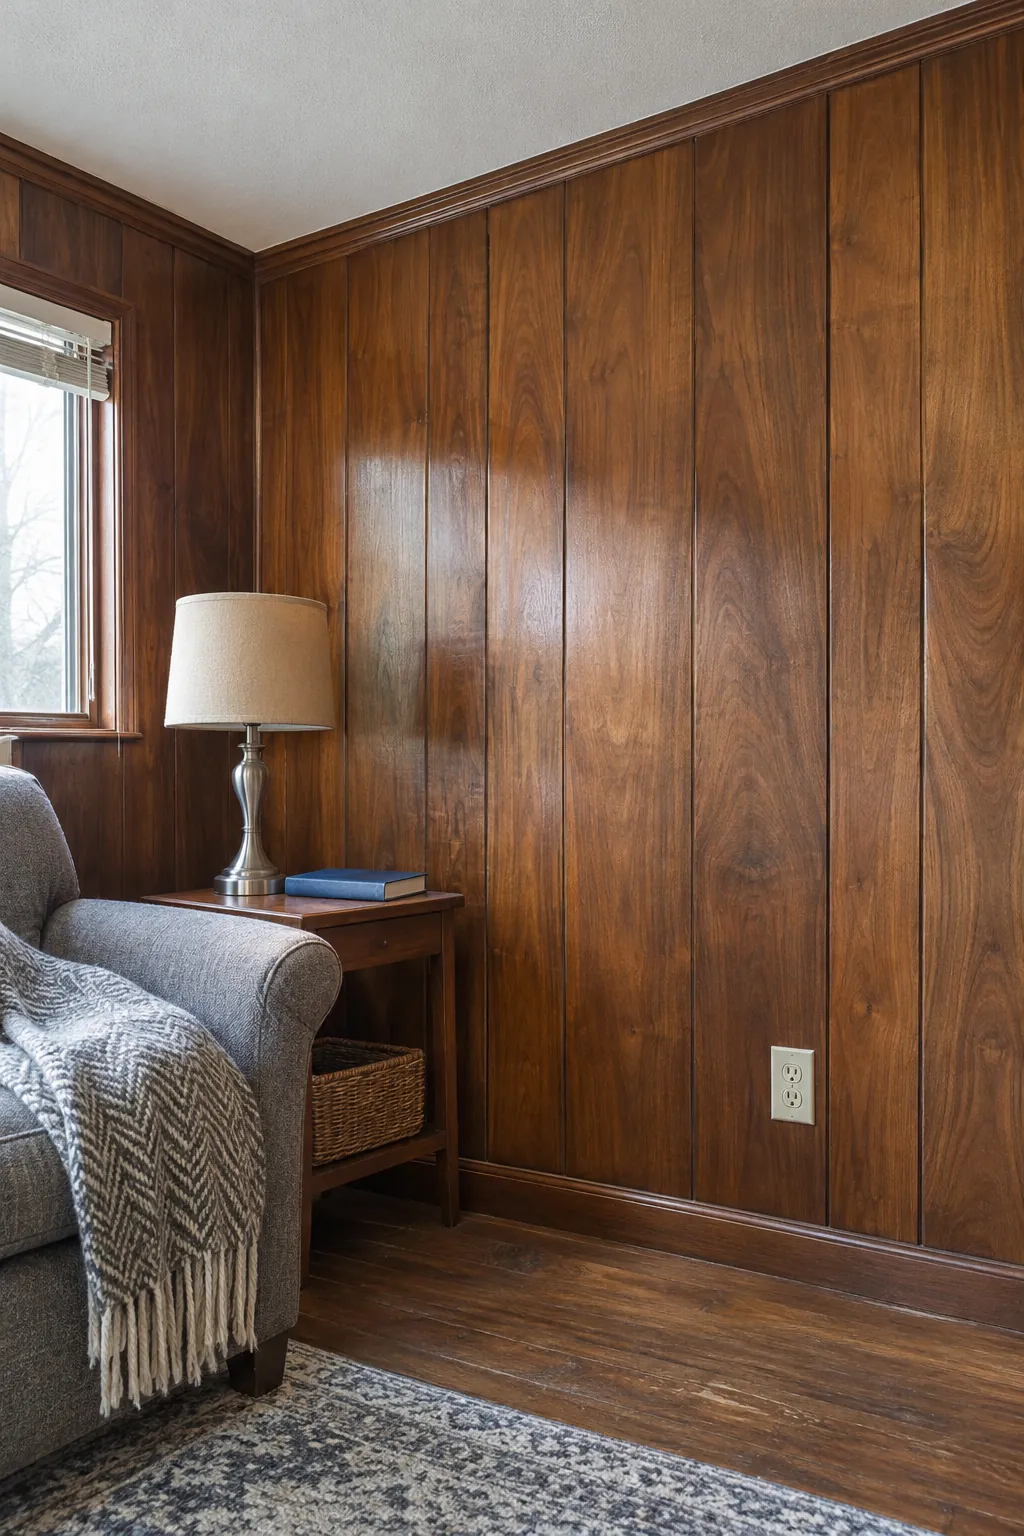
Test a gentle cleaner in a hidden area, remove residue, and stop if the finish softens. A compatible restoration product can improve dry looking panels without changing their character. Use this gentle option only where the existing coating remains firmly bonded.
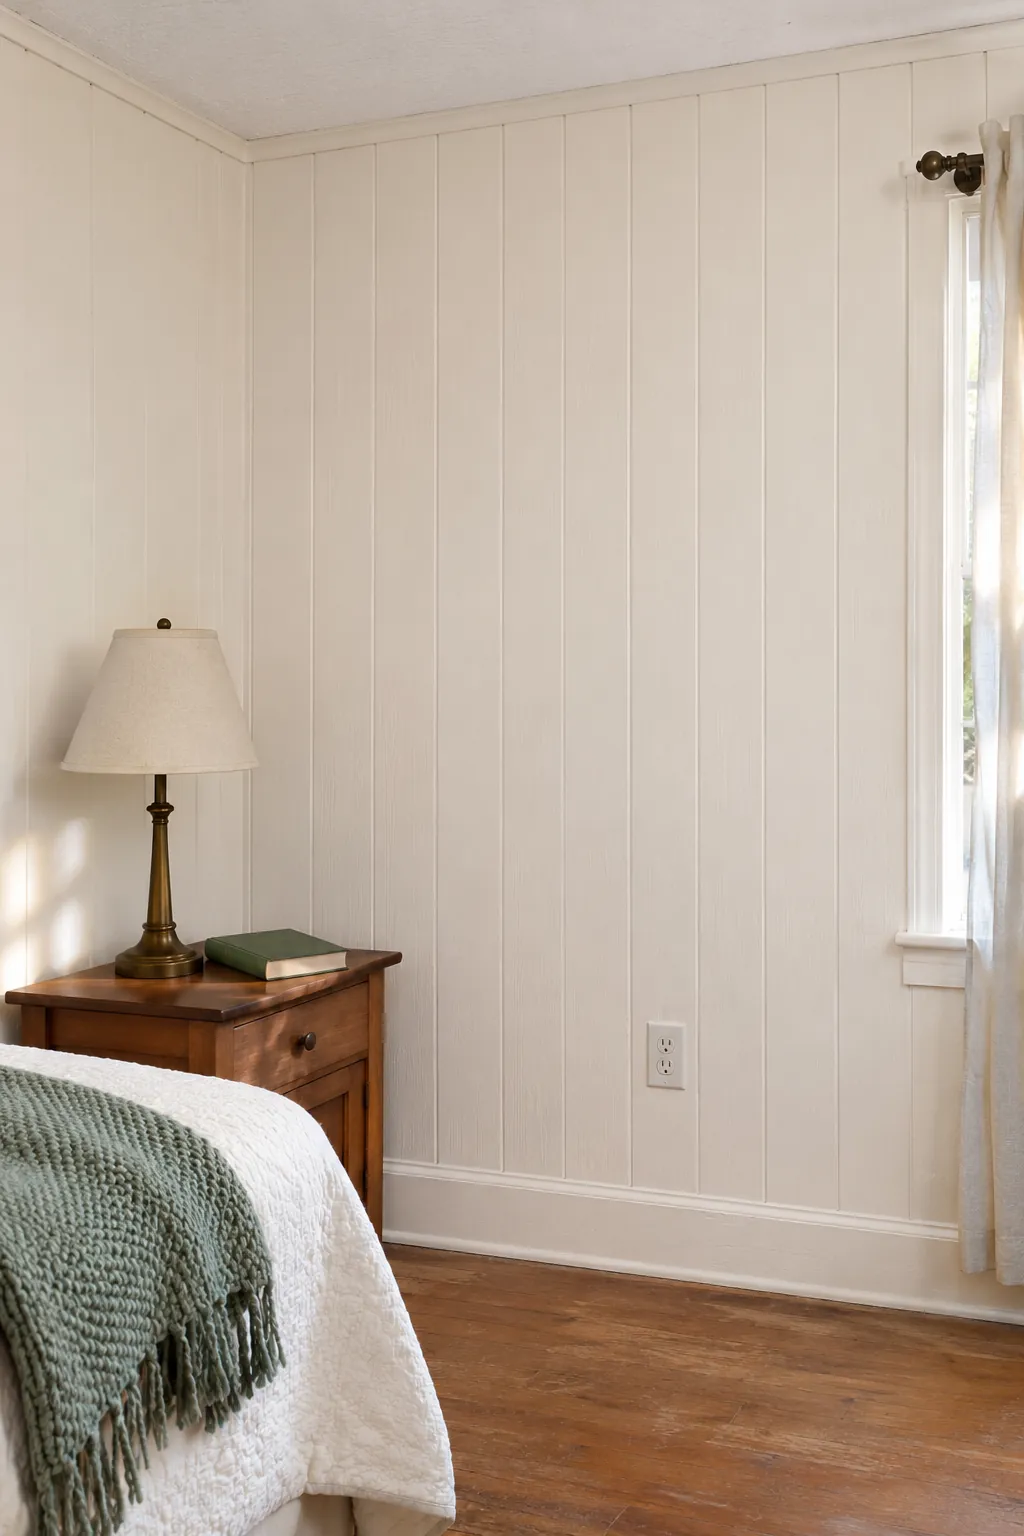
Paint the Paneling a Warm White
Degloss, repair loose edges, and use a bonding or stain blocking primer suited to the surface. Thin complete coats preserve the groove pattern and reduce drips. Allow primer and paint to cure before furniture touches the newly coated grooves.
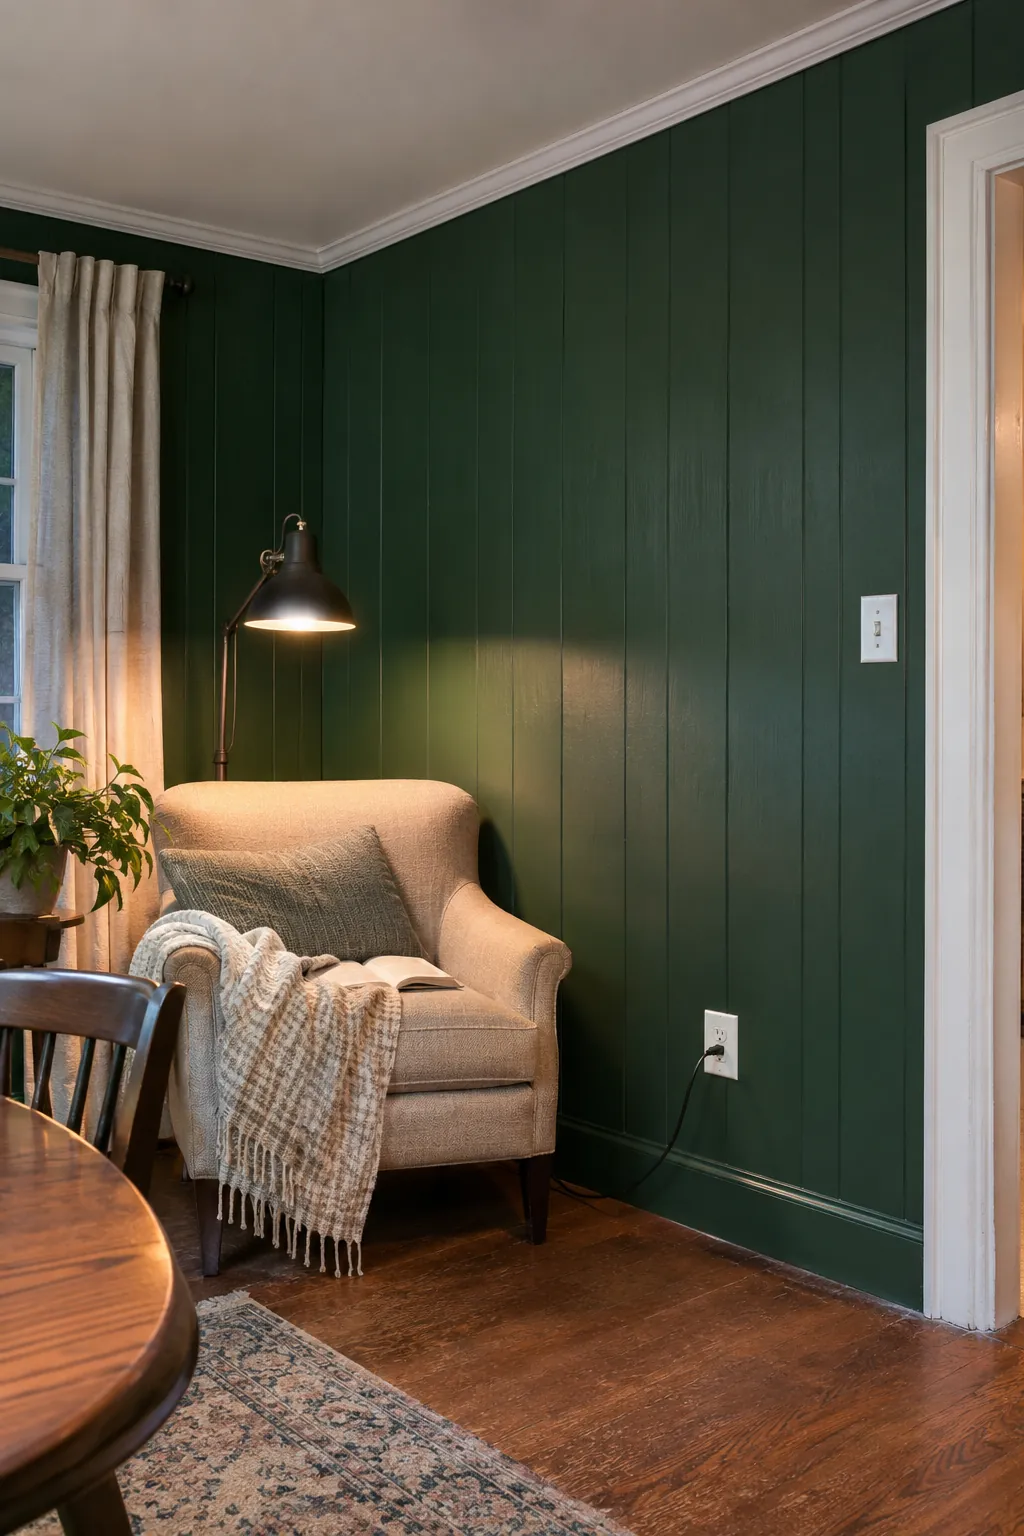
Choose a Deep Saturated Paint Color
A dark color can make seams intentional, but sample it under day and evening light. Use a washable finish and maintain a wet edge across each panel. Balance the dark wall with adequate task lighting and lighter nearby textiles.
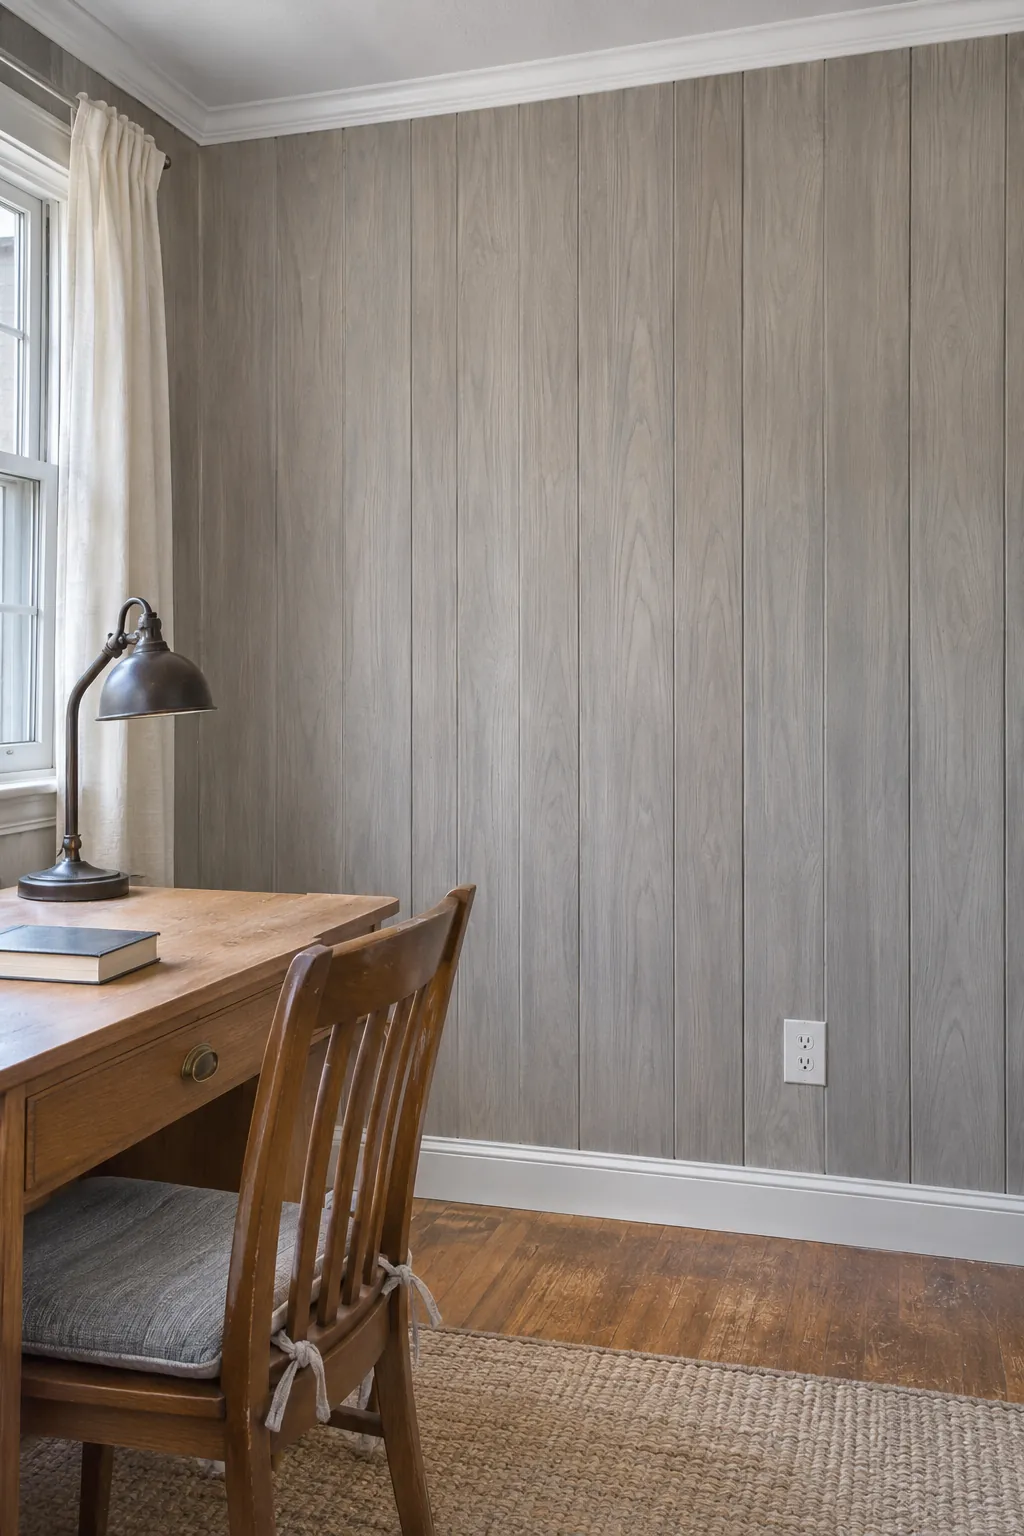
Use a Transparent Color Wash
Practice on scrap or a hidden area because absorption varies across veneer and solid trim. Keep the mixture and wiping method consistent so lap marks do not dominate. Work in small areas because a transparent wash exposes every change in timing.
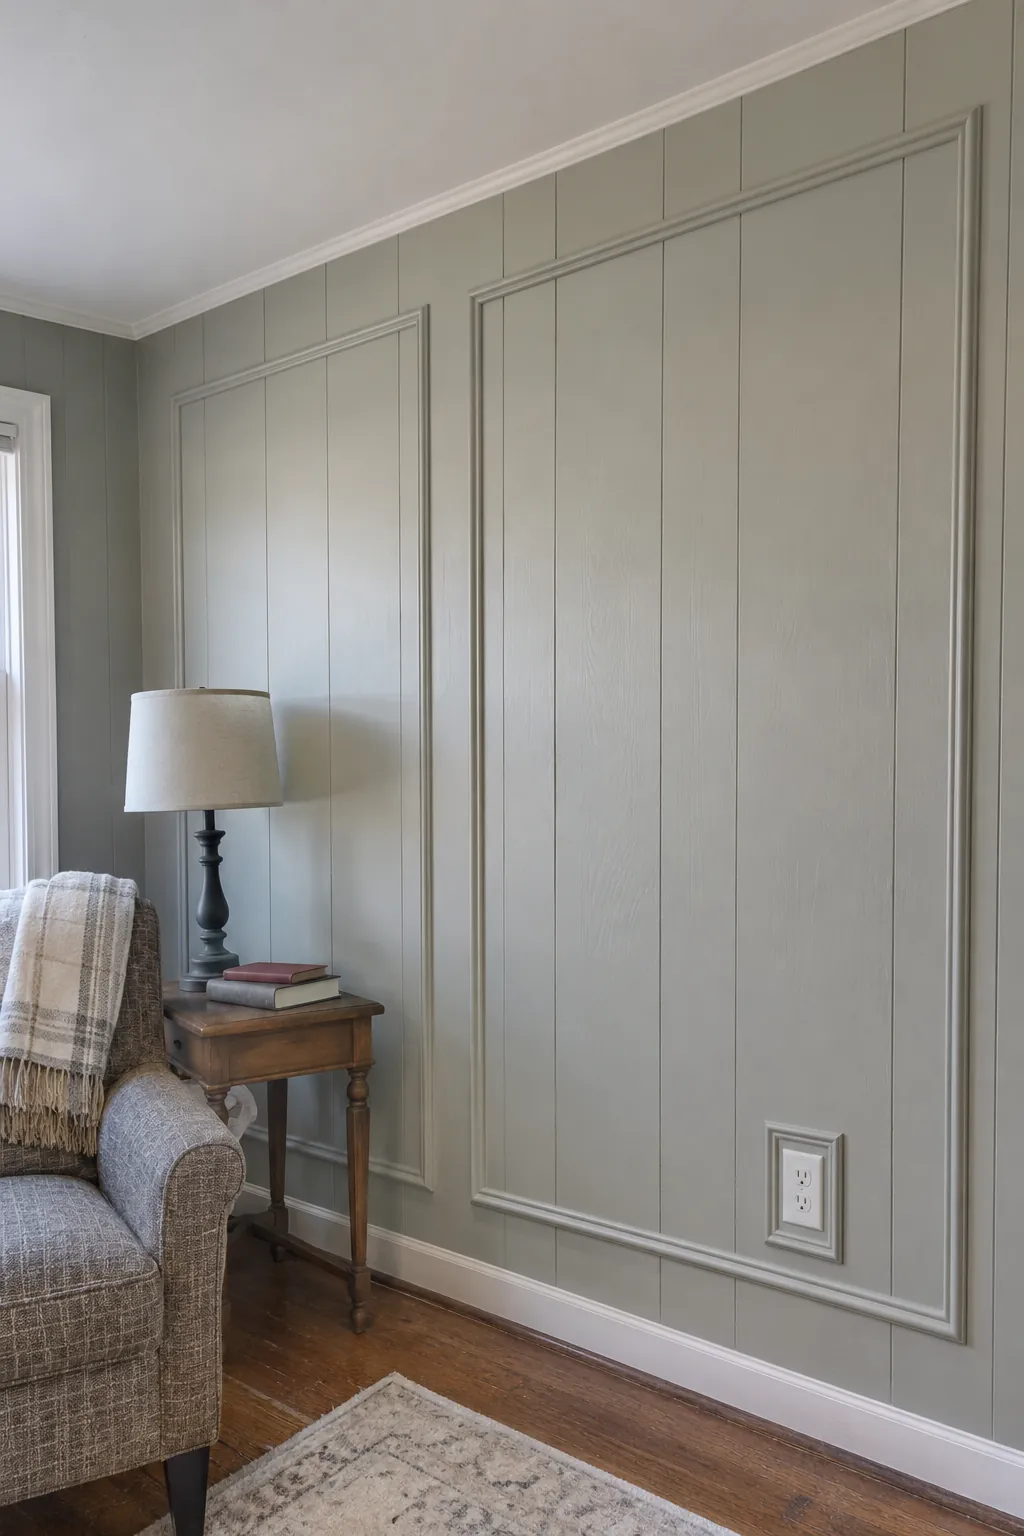
Add Picture Frame Molding
Lay out frames around panel seams, outlets, and furniture before cutting. Secure molding properly and caulk only narrow stationary gaps before painting it to match. Paint the added frames and panel field together when a unified architectural effect is wanted.
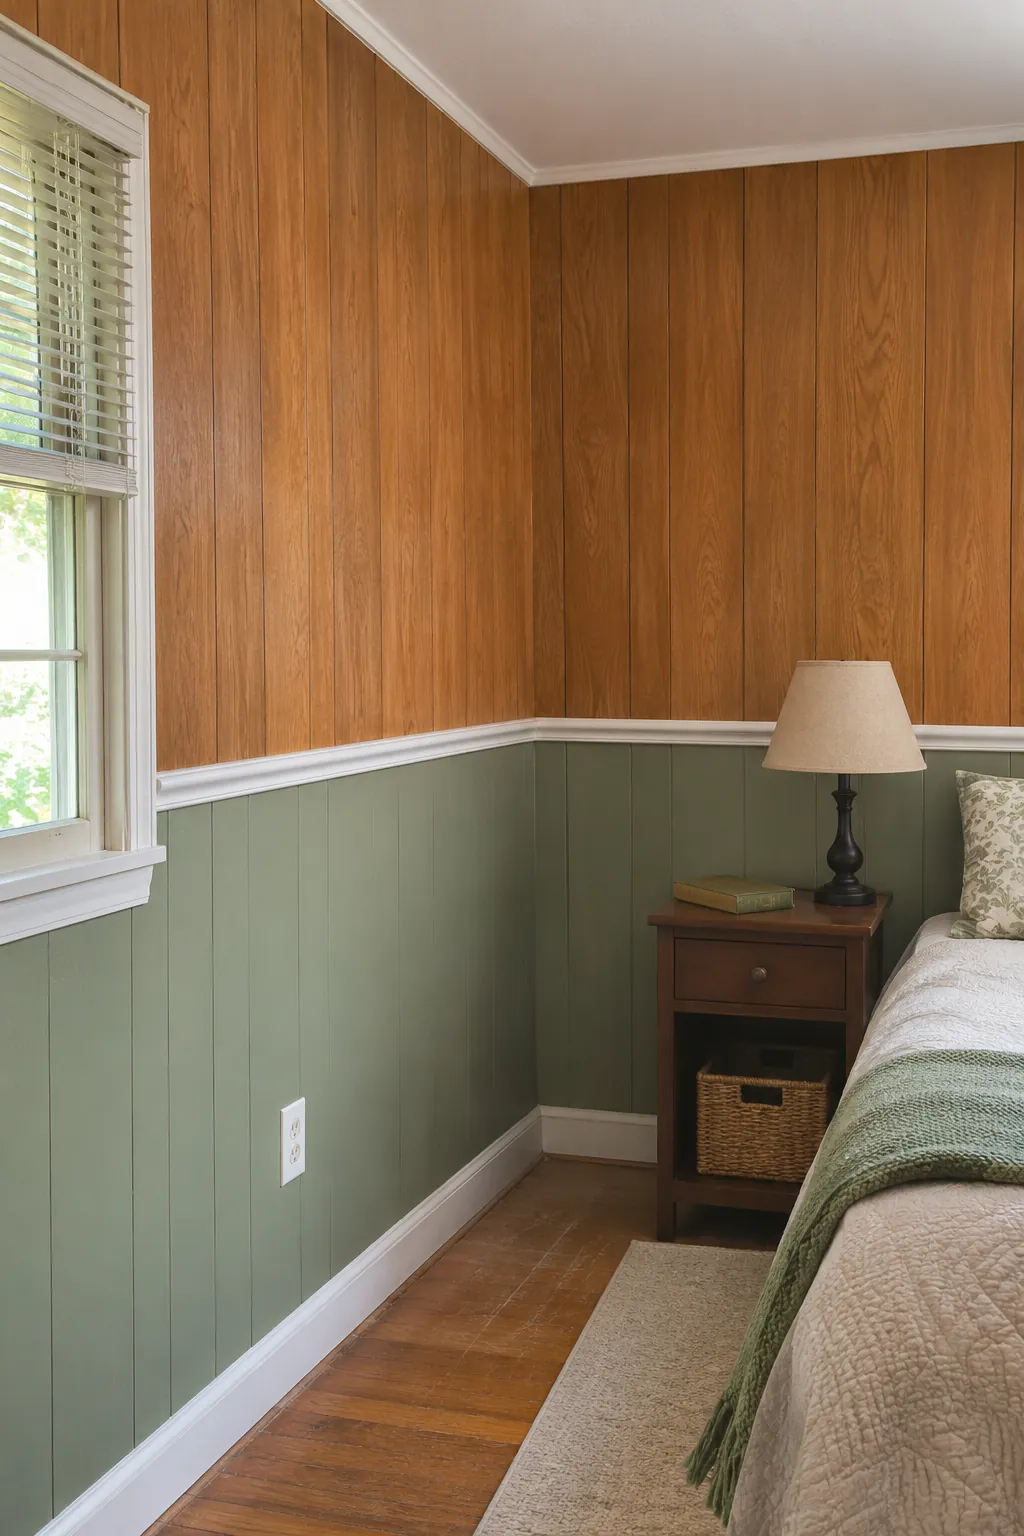
Install a Simple Chair Rail
Set the rail from the room proportions and nearby sills rather than following an uneven floor. A clear division lets two finishes coexist without looking accidental. Repeat the rail height around corners only after checking that the line remains visually level.
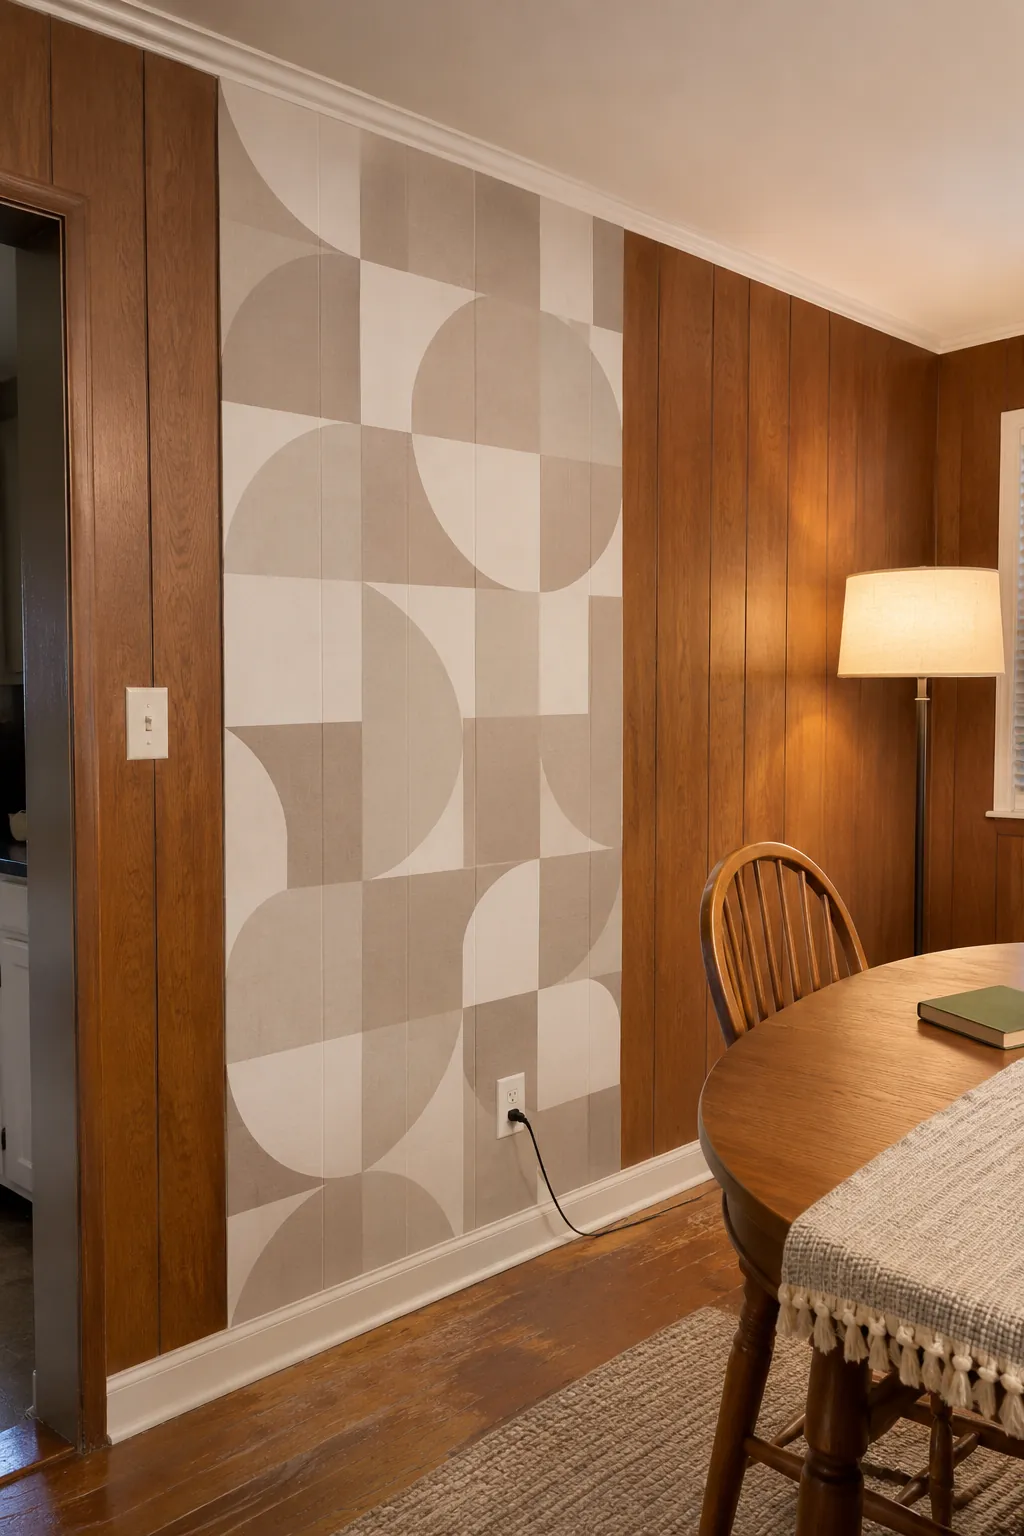
Cover One Section With Removable Wallpaper
Wallpaper needs a stable, smooth, sealed surface, so deep grooves may remain visible or need a reversible liner approved for the system. Test adhesion and removal before committing. Choose a simpler pattern when the grooves make precise motif alignment difficult.
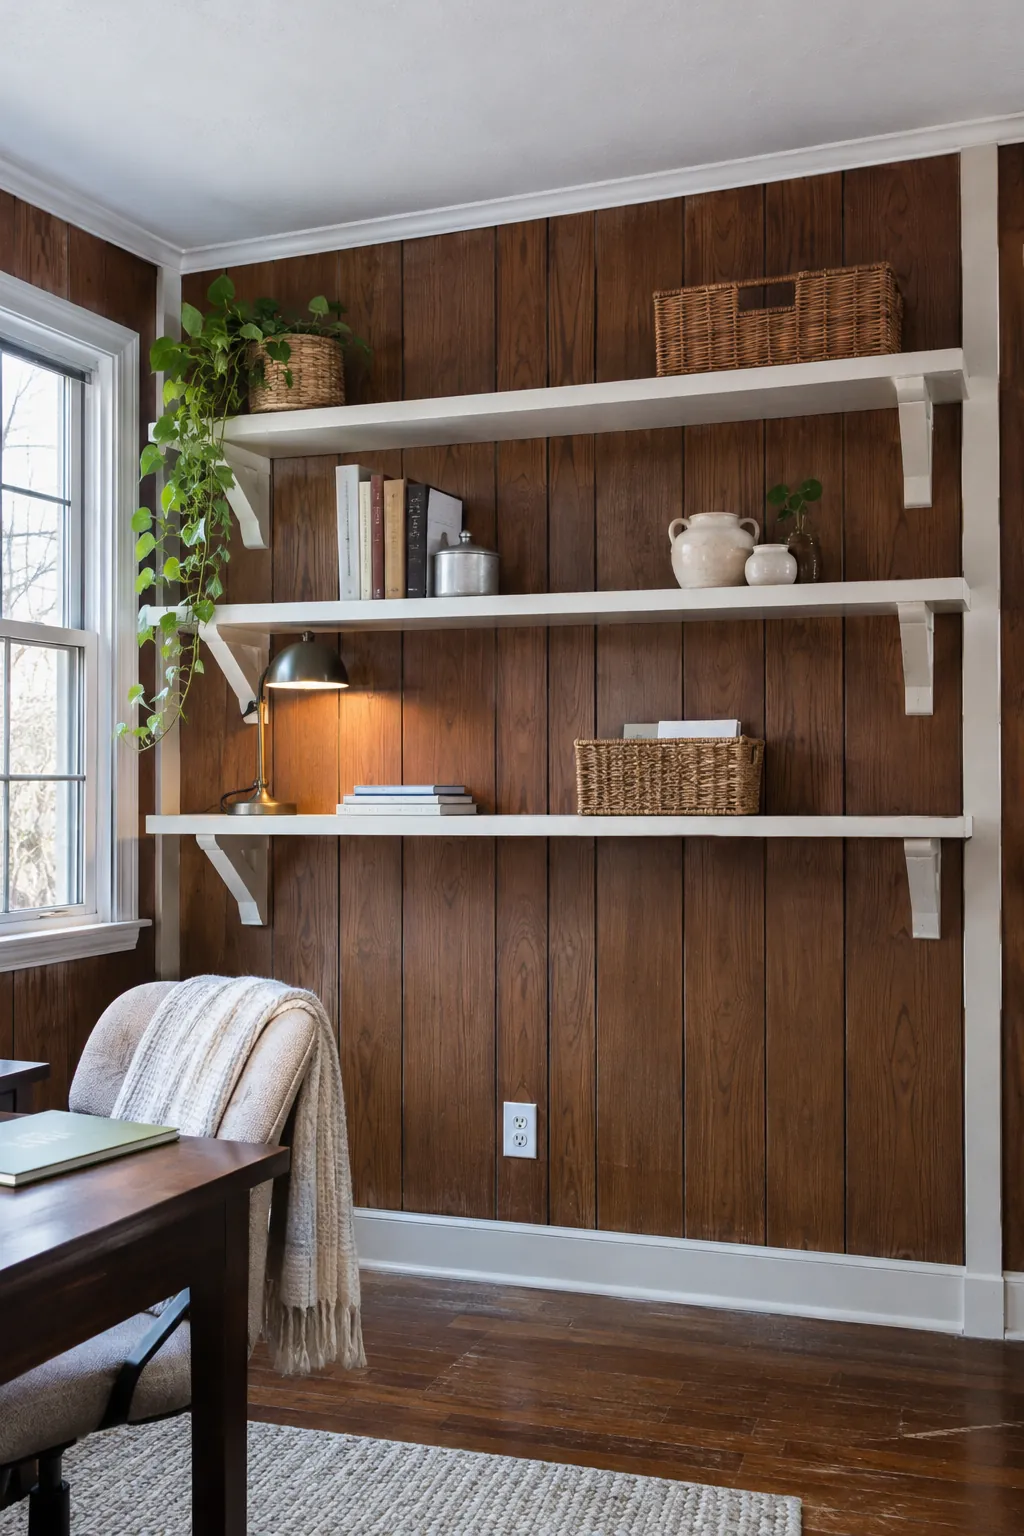
Create a Built In Display Wall
Locate framing and select fasteners for the real load. Let the paneling act as a textured backing while shelves and objects introduce lighter vertical and horizontal lines. Keep shelf loads conservative unless the mounting points are verified for greater weight.
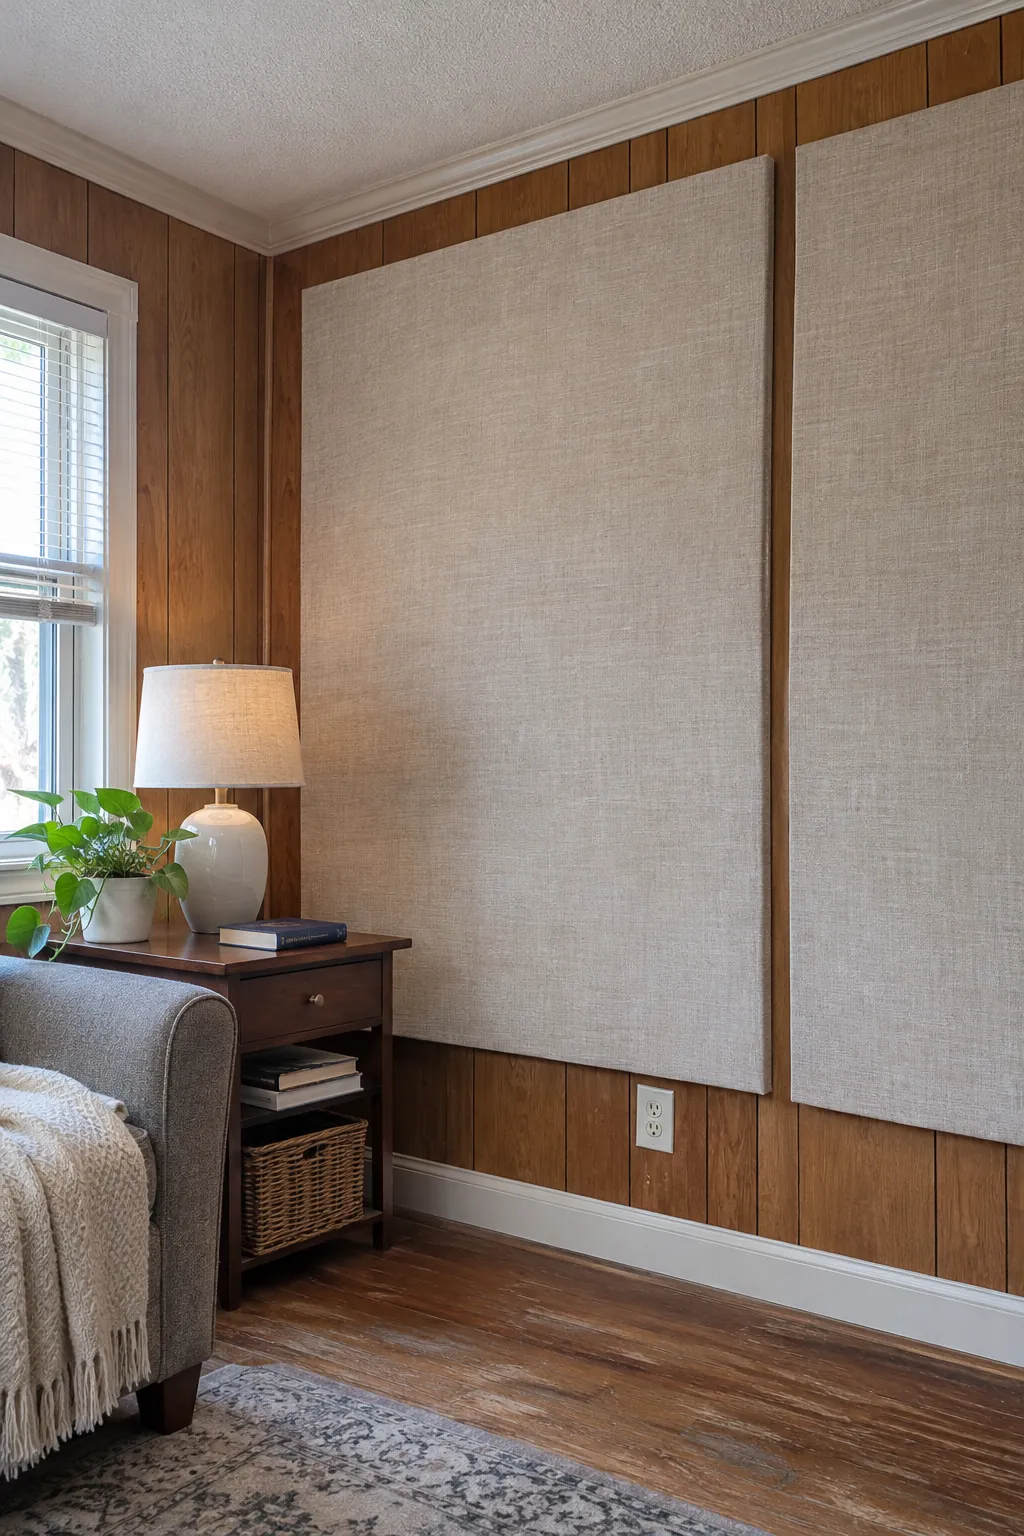
Mount Fabric Panels
Stretch fabric over separate frames and mount those frames securely instead of gluing fabric to wood. This approach adds softness and can be removed with limited marks. Vacuum the textile regularly and select a mounting system that permits inspection behind it.
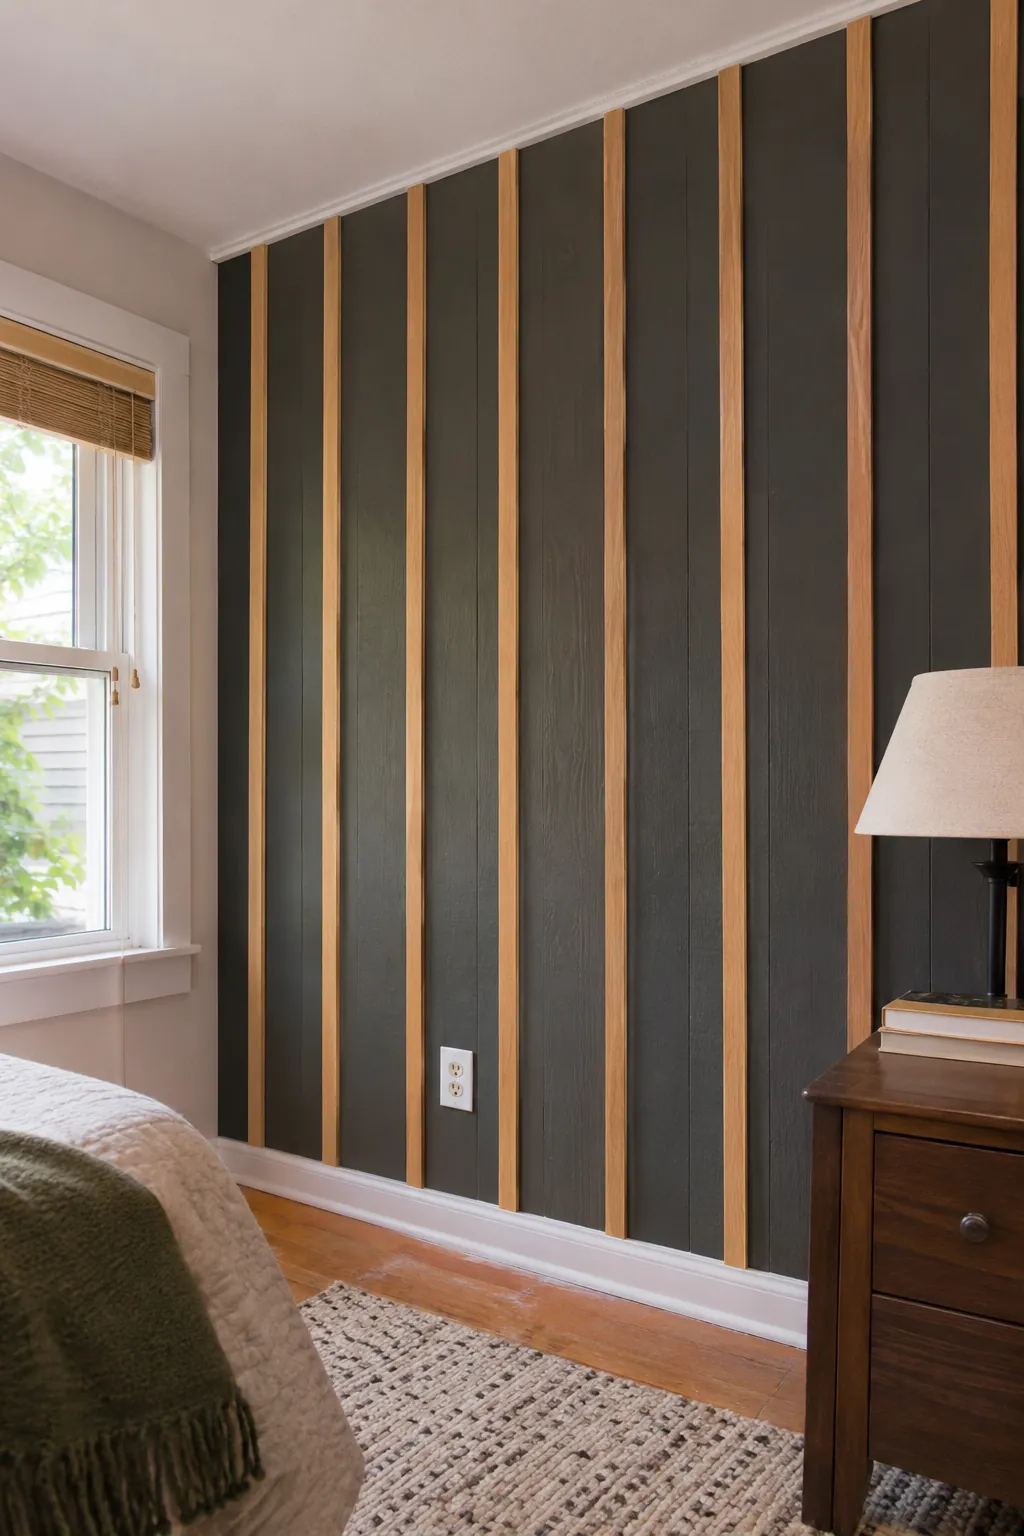
Add Vertical Wood Battens
Map spacing across the full wall so the end gaps balance. Fasten into reliable structure and keep battens clear of outlets, vents, and heat sources. Finish cut ends neatly because the repeating gaps make inconsistent lengths easy to notice.
Update the Trim and Hardware
Painting door and window trim or changing switch plates can reduce the dated contrast without coating every panel. Keep electrical work safe and choose finishes that relate to the room furniture. Save one sample of each new finish so later repairs can match the updated details.