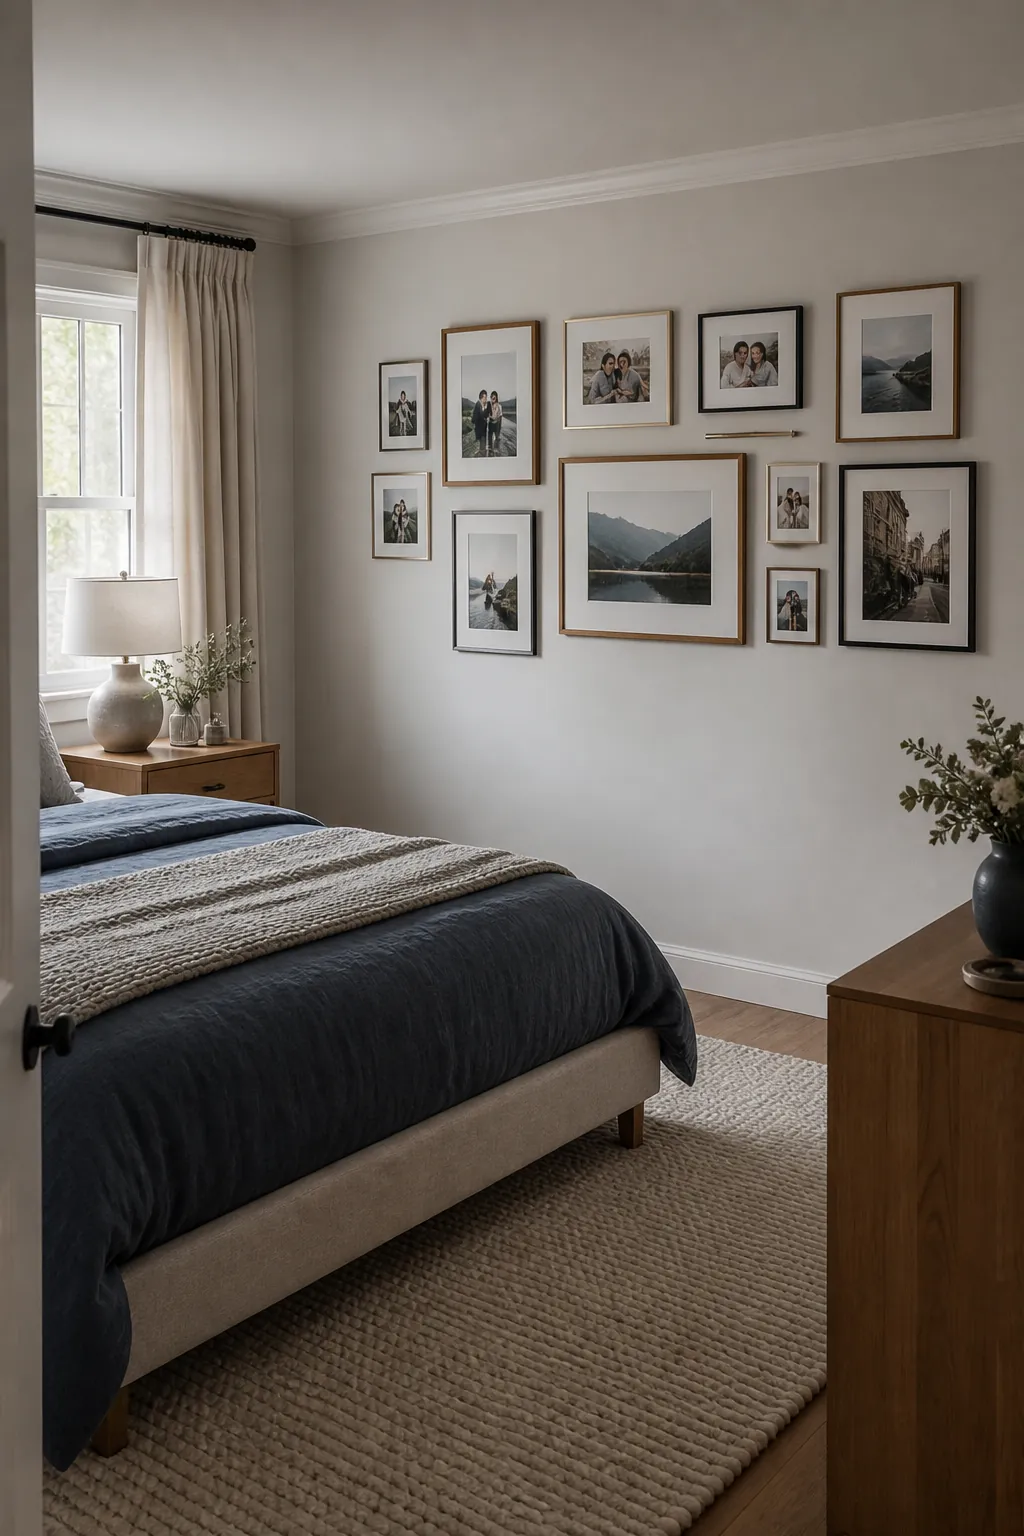
A bedroom photo wall has to support rest as well as personality. The best placement often depends on what can be appreciated from the doorway, what stays visible from bed, and what can be mounted safely near sleeping areas. These ideas use scale, spacing, and quieter materials to make photographs feel connected to the room instead of added as an afterthought.
A Travel Gallery Opposite The Bed
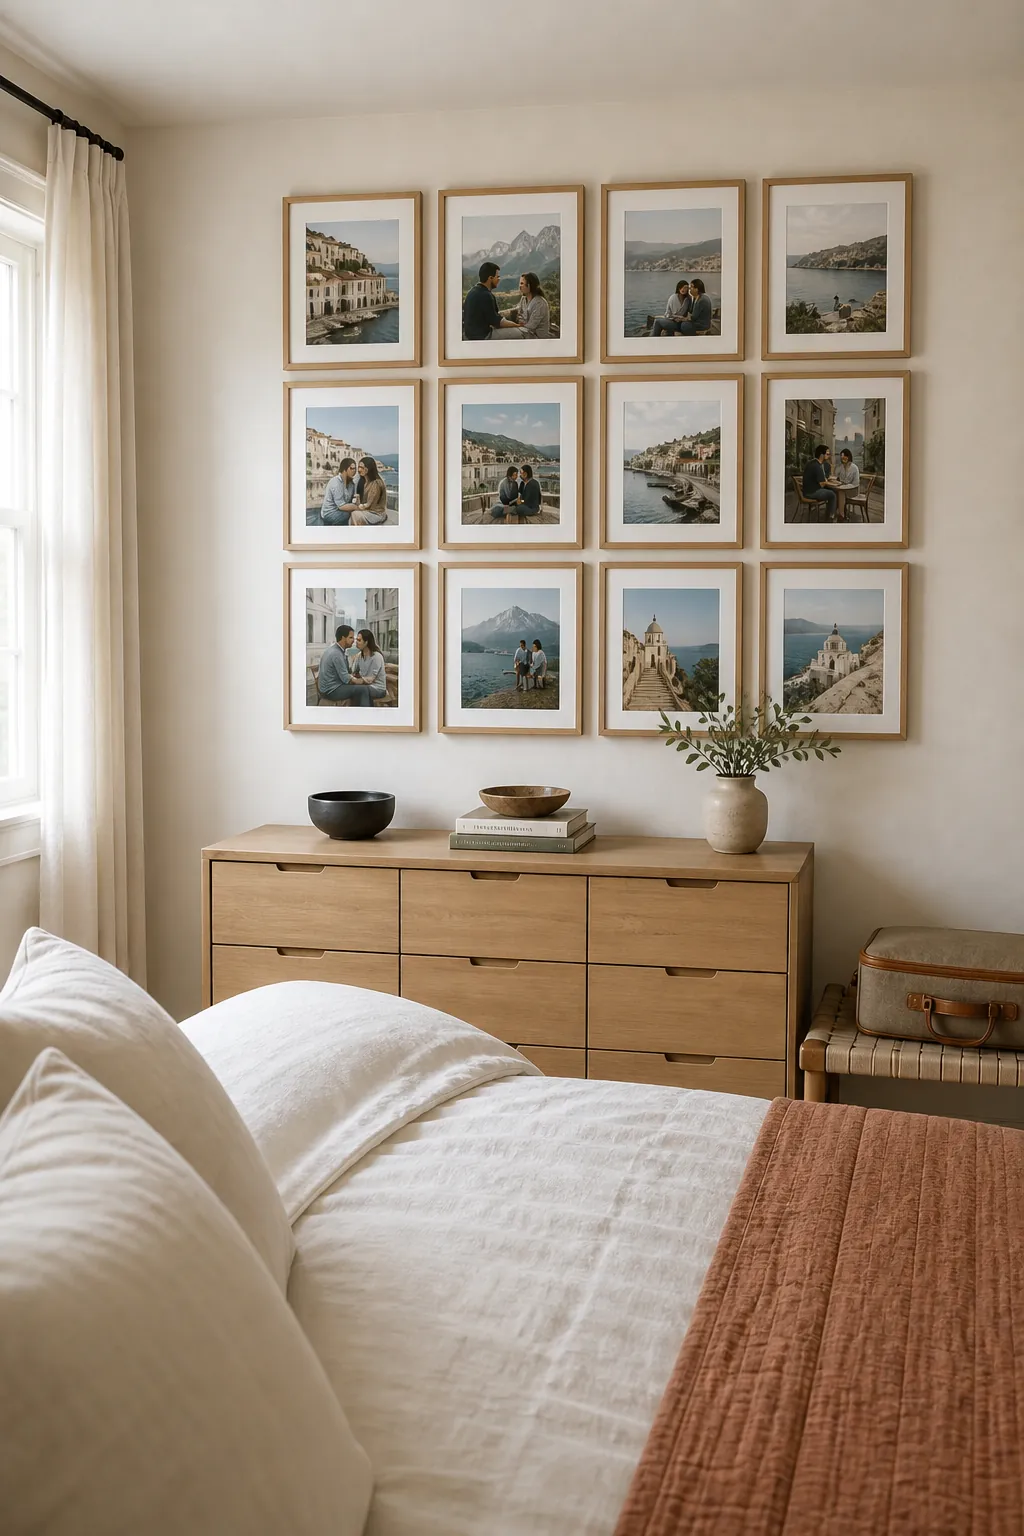
The wall opposite the bed lets travel photographs be viewed without placing frames overhead. Start with eight or twelve images that share a similar color treatment rather than trying to display every trip at once. Keep the gaps consistent and allow the outer shape to relate to the dresser or bench below.
Three Large Frames Above A Dresser
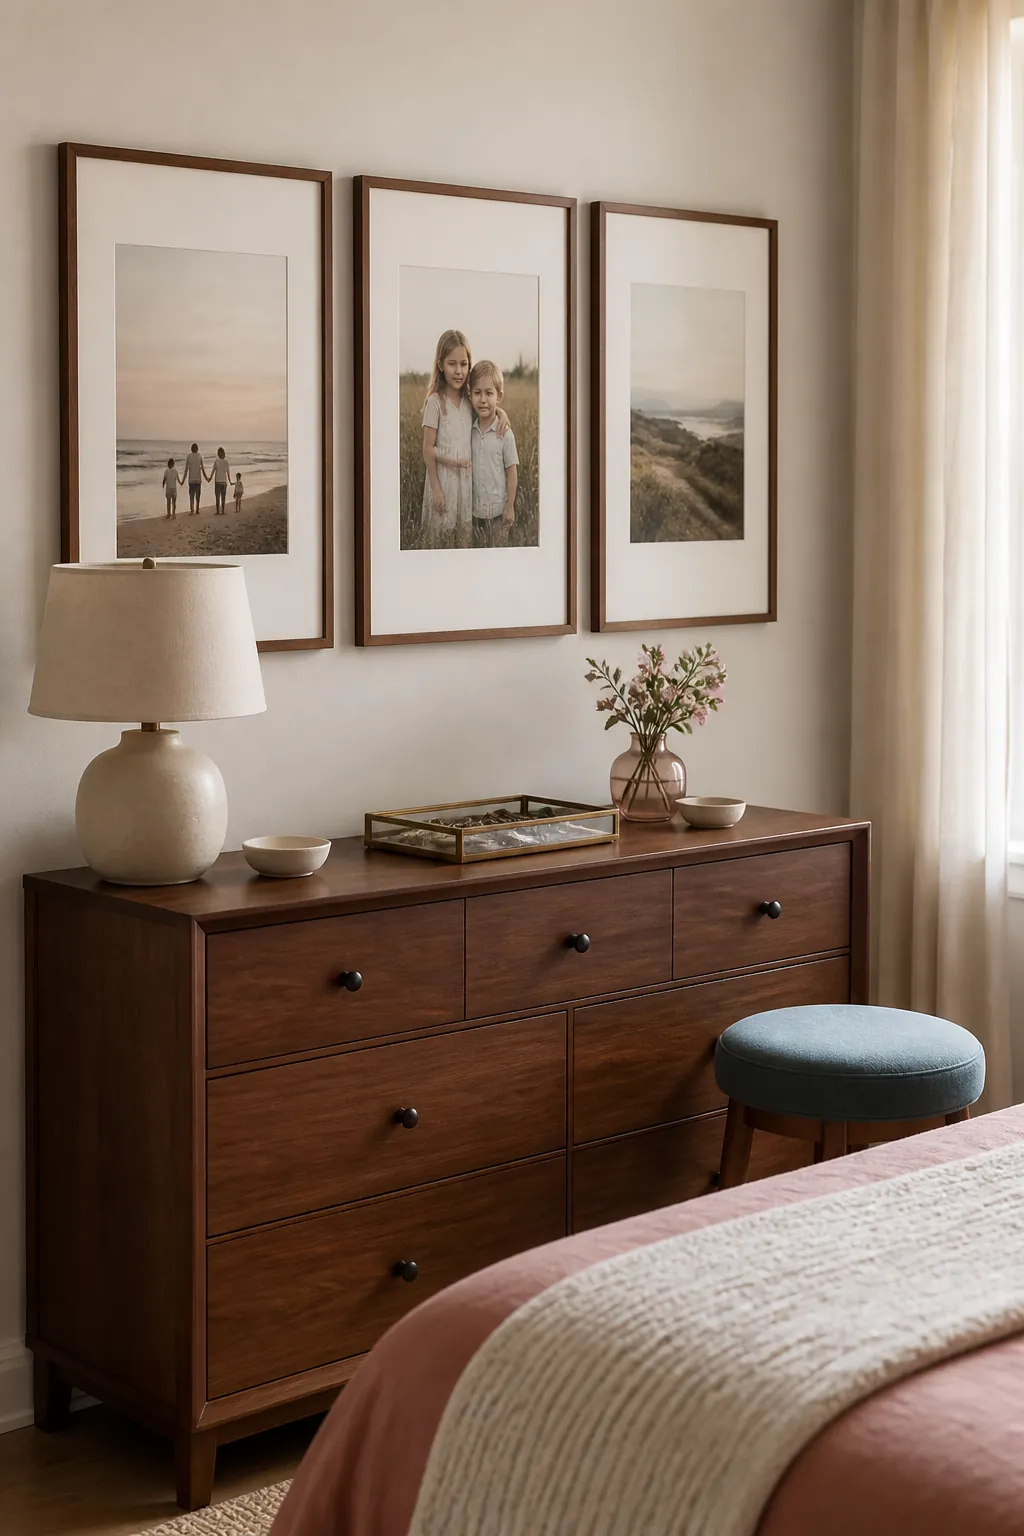
A trio of large photographs creates presence without overwhelming a small bedroom. Align the centers and use matching mats so mixed events feel cohesive. Keep the frame group narrower than the dresser and position it clear of lamps, jewelry stands, and mirror sightlines.
A Rotating Bedroom Picture Ledge
A shallow picture ledge makes seasonal changes easy and limits new holes. Layer one large frame behind two smaller pieces, then leave part of the ledge empty for visual calm. Mount it on a side wall or above a dresser where falling objects cannot land on sleepers.
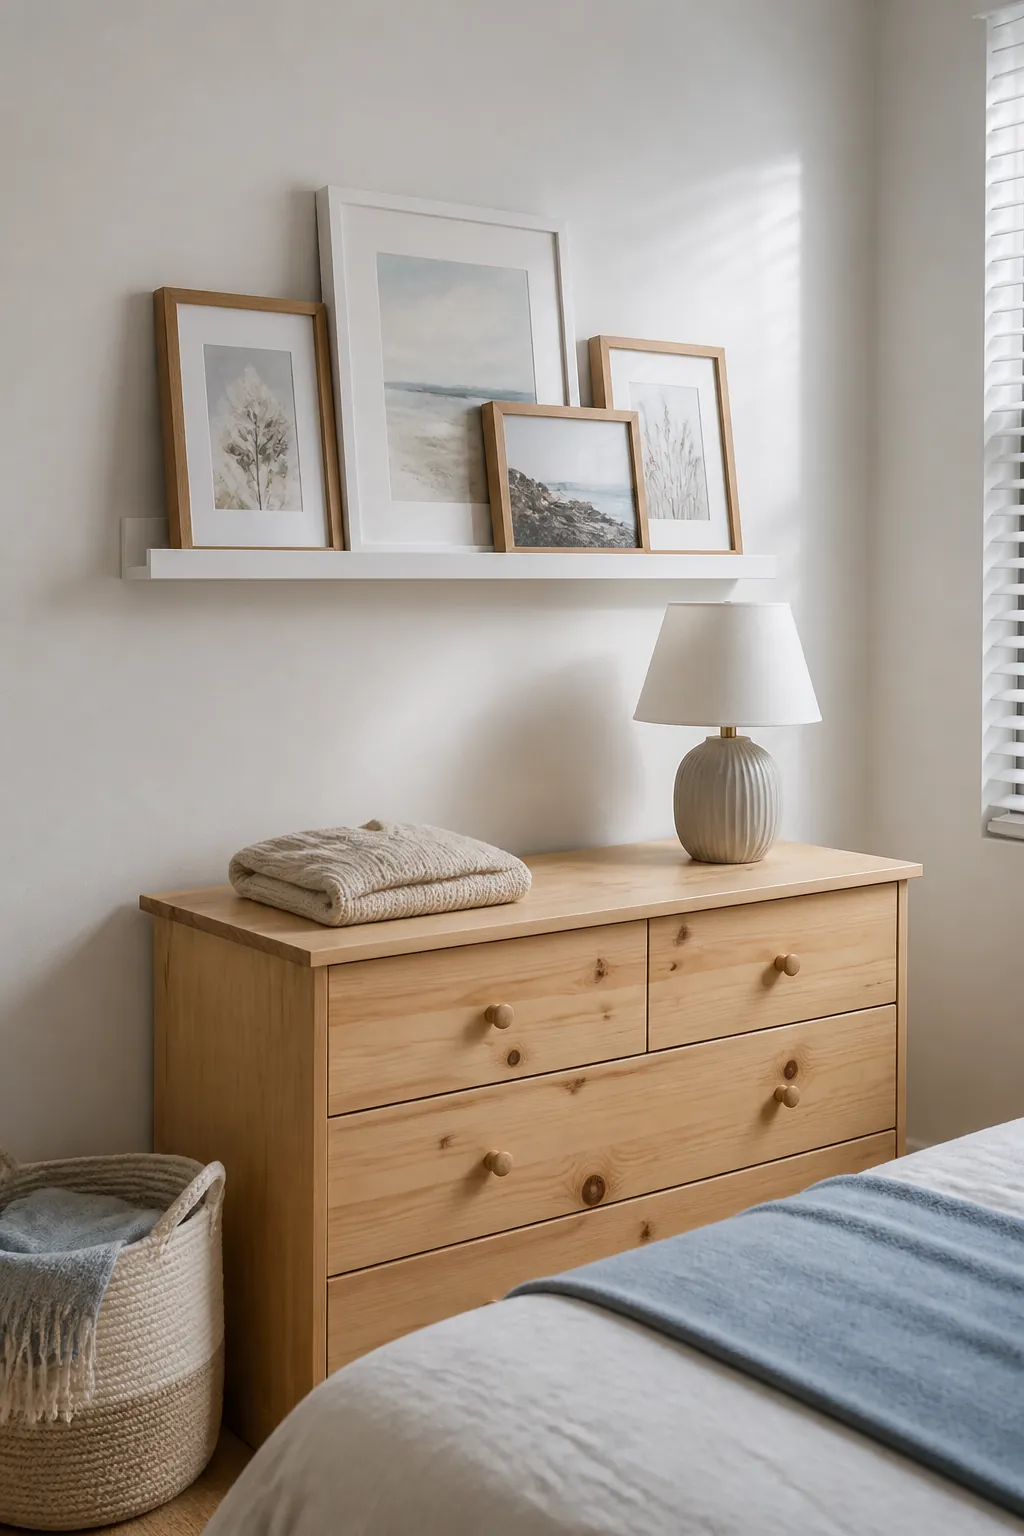
A Narrow Stack Beside The Bed
Use the slim wall beside a headboard for three or four vertically aligned photographs. The stack draws attention upward while leaving the main sleeping wall quiet. Match the frame width to the available strip and keep it away from light switches and reaching arms.
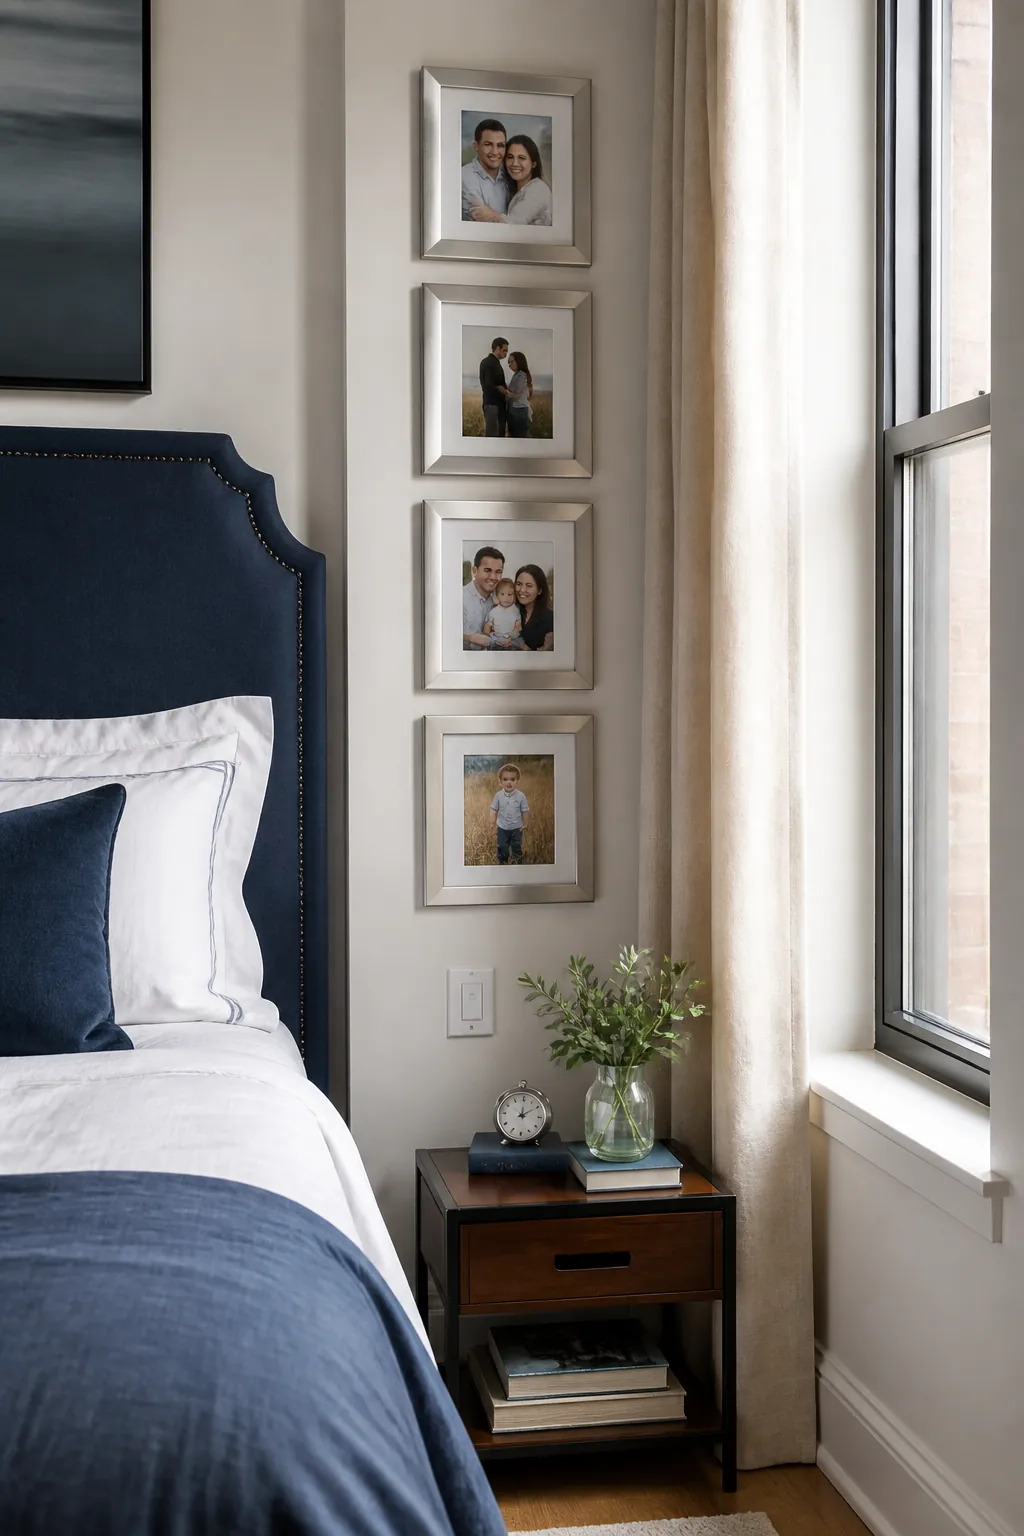
Lightweight Frames Over A Headboard
If frames must sit above the bed, make secure mounting and low weight the first design choices. Use acrylic fronts, locking hardware, and a simple arrangement with generous clearance above the headboard. In earthquake areas or active children’s rooms, choose another wall rather than accepting overhead risk.
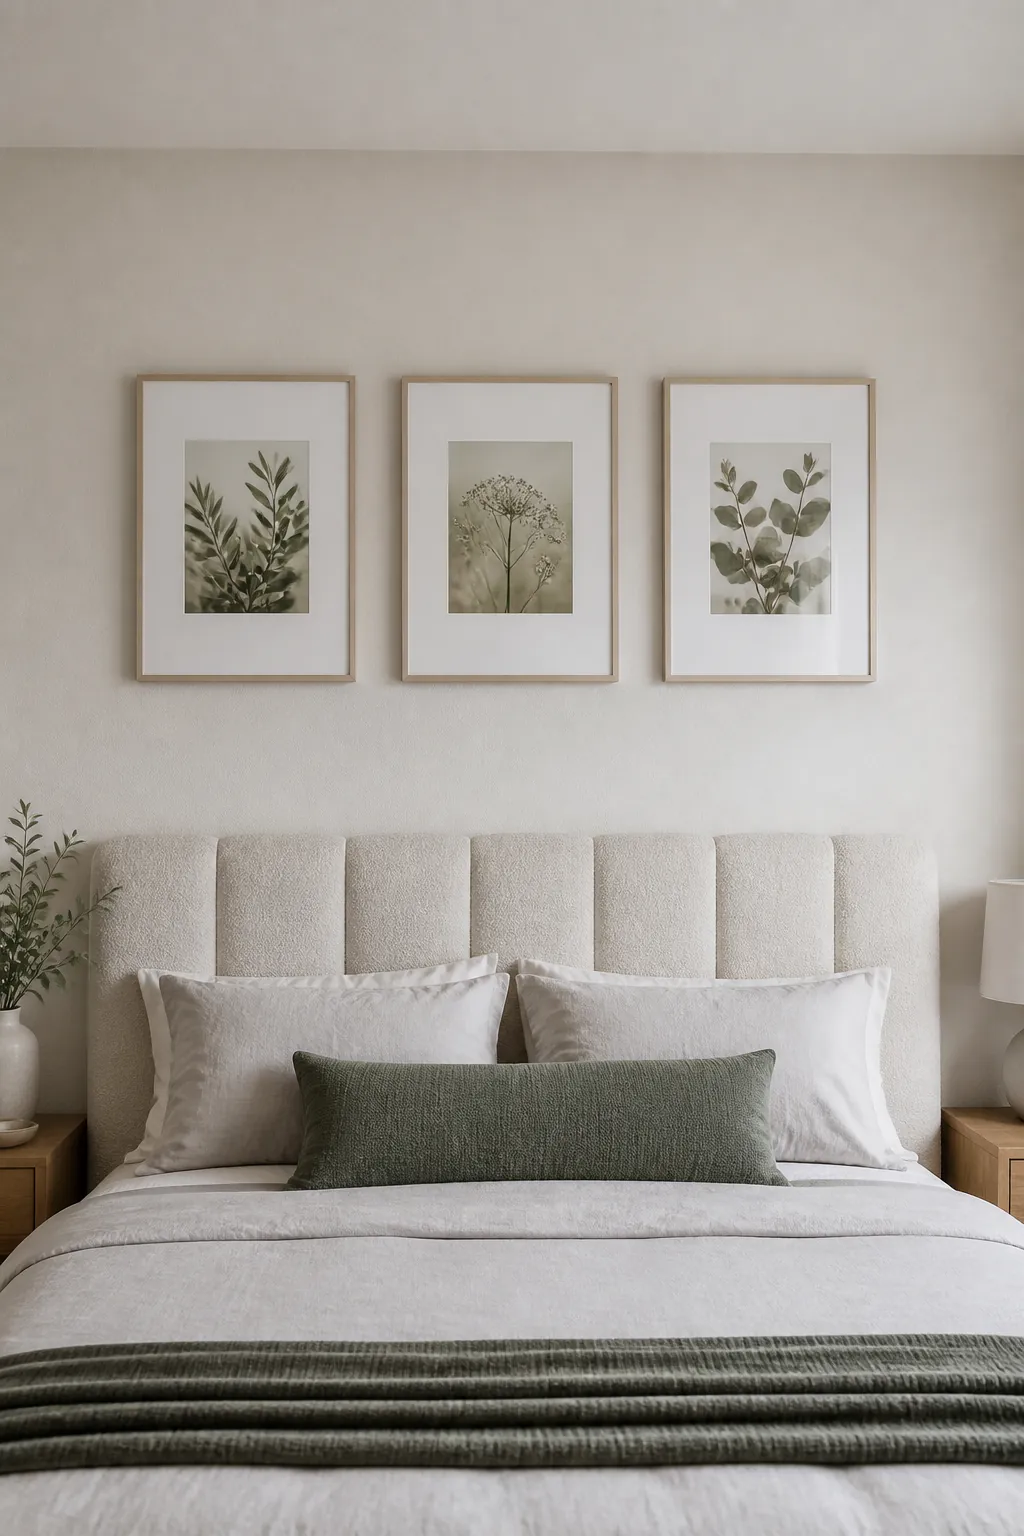
A Wedding Photo Story Wall
Combine one formal wedding portrait with candid ceremony and reception moments. A consistent print finish prevents dresses, flowers, and changing light from creating a scattered result. Match frame metal or wood to the headboard and bedside furniture for an integrated bedroom palette.
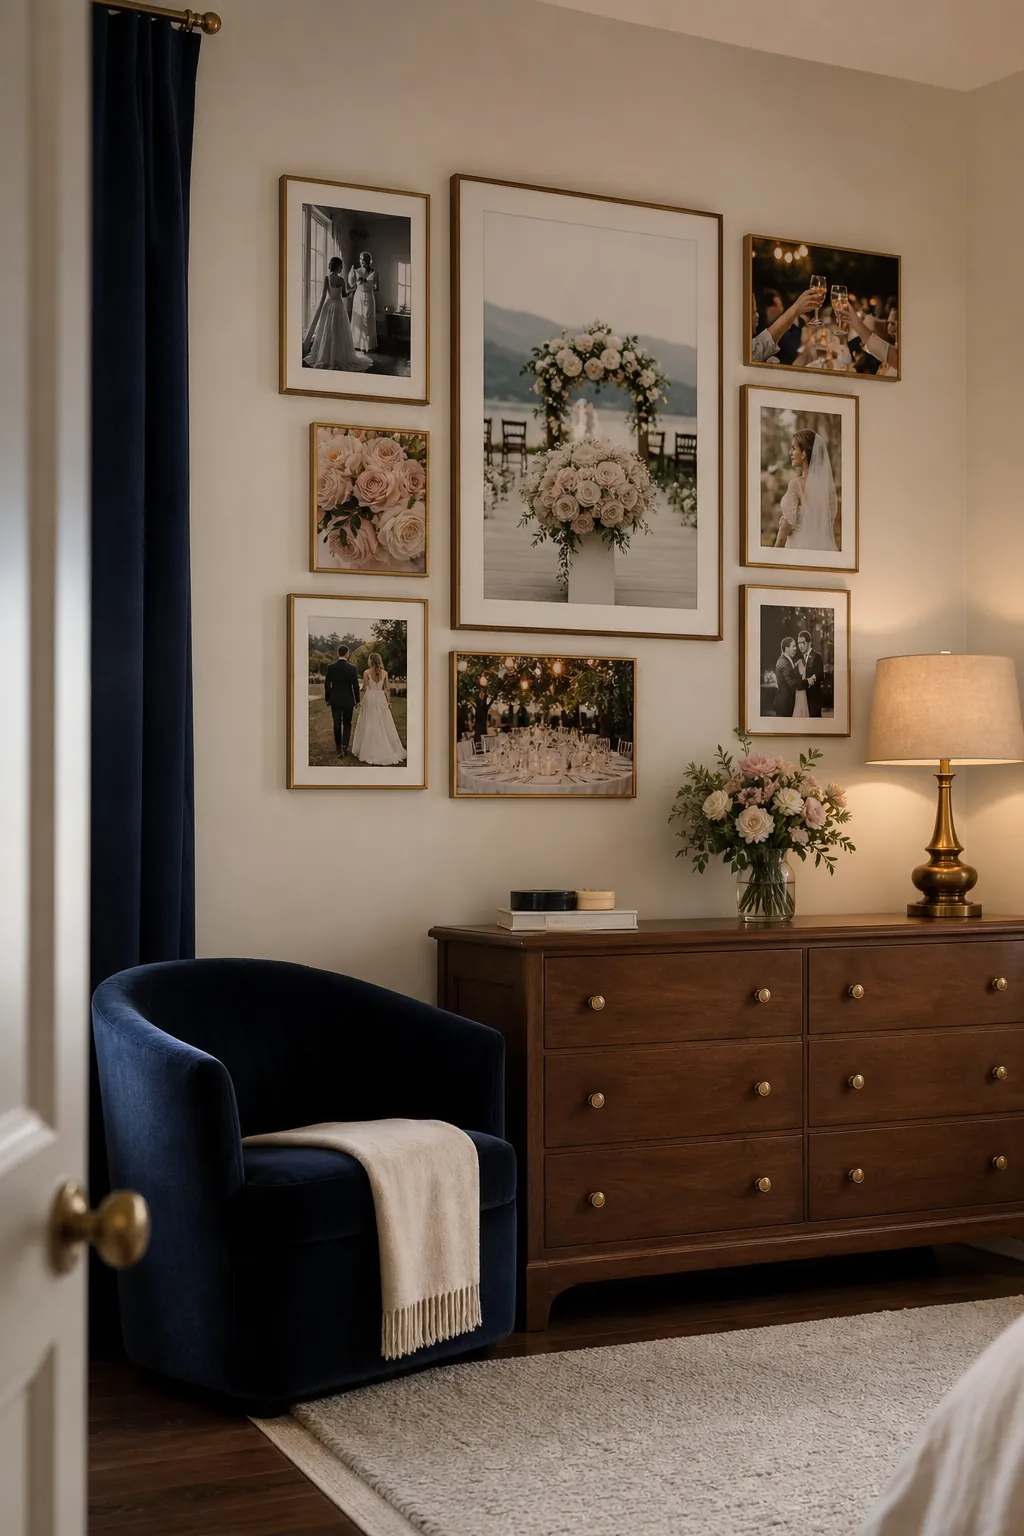
Black And White Photos For A Quiet Mood
Monochrome photographs reduce competing colors and suit a restful bedroom. Warm cream mats and natural wood frames keep the wall from feeling stark. Check shadow detail before printing so faces remain expressive under softer bedroom lighting.
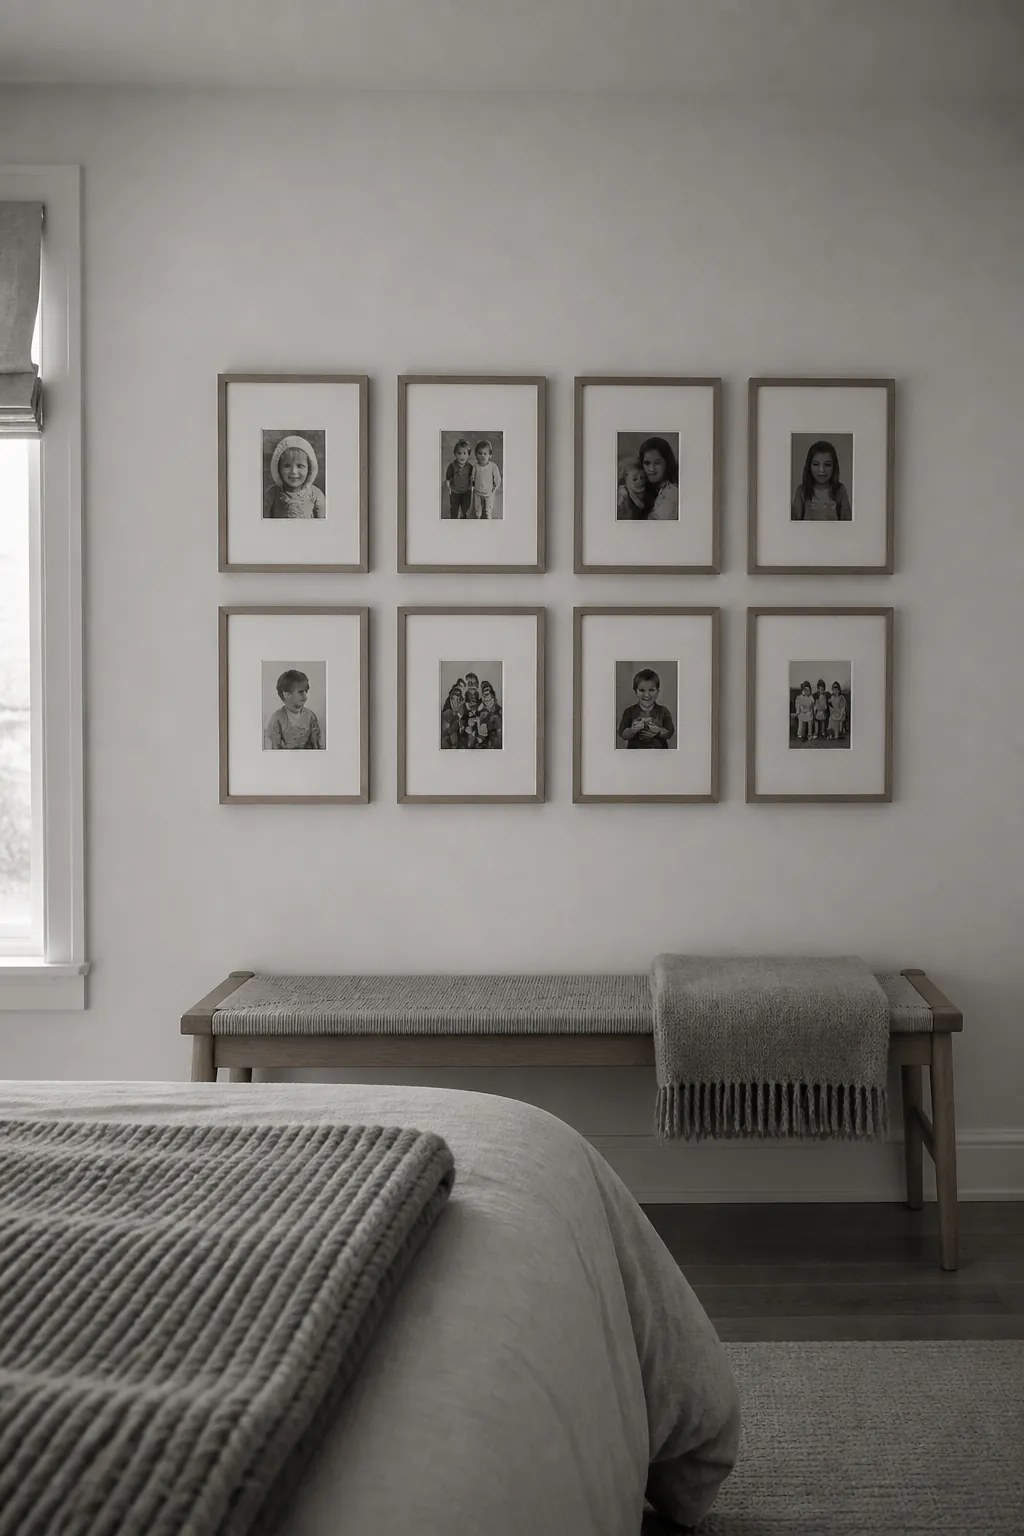
Warm Wood Frames With Linen Bedding
Oak or walnut frames connect naturally with linen, cotton, and woven bedroom textures. Repeat the same wood tone across mixed frame sizes to maintain order. Choose photographs with a few warm neutrals so the display supports the bedding rather than fighting it.
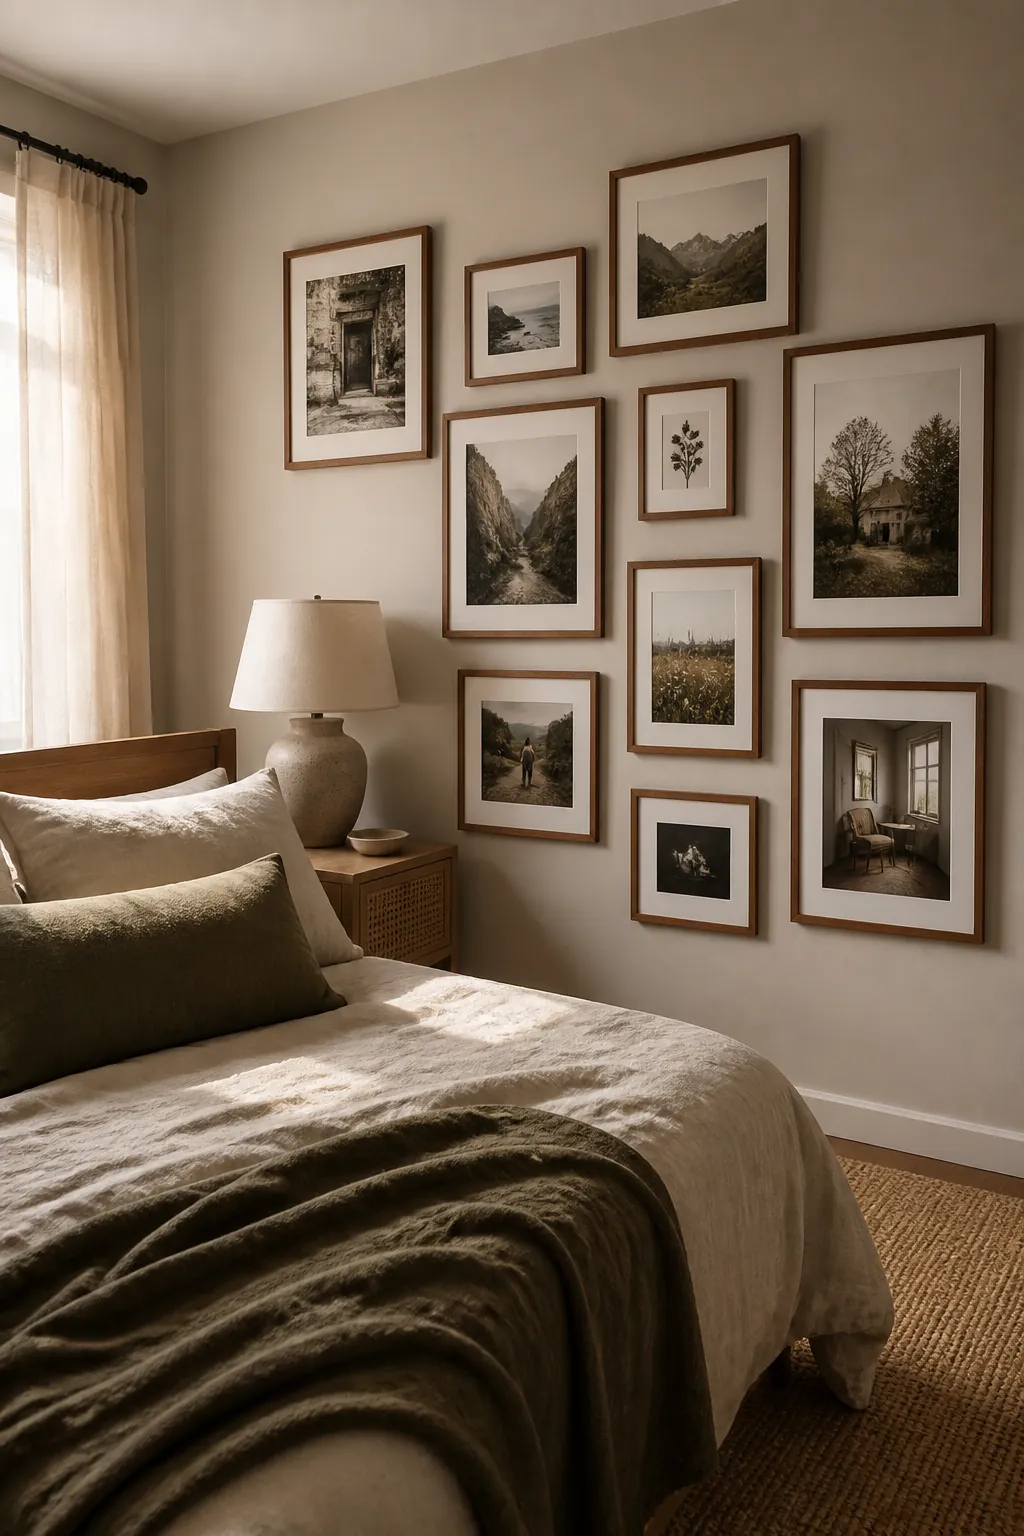
Slim Brass Frames With A Navy Headboard
Slim aged brass frames add warmth beside a deep navy or green upholstered headboard. Use white mats to separate photographs from the darker room colors. Limit the metal to the frame line and one small lamp so the bedroom remains calm rather than ornate.
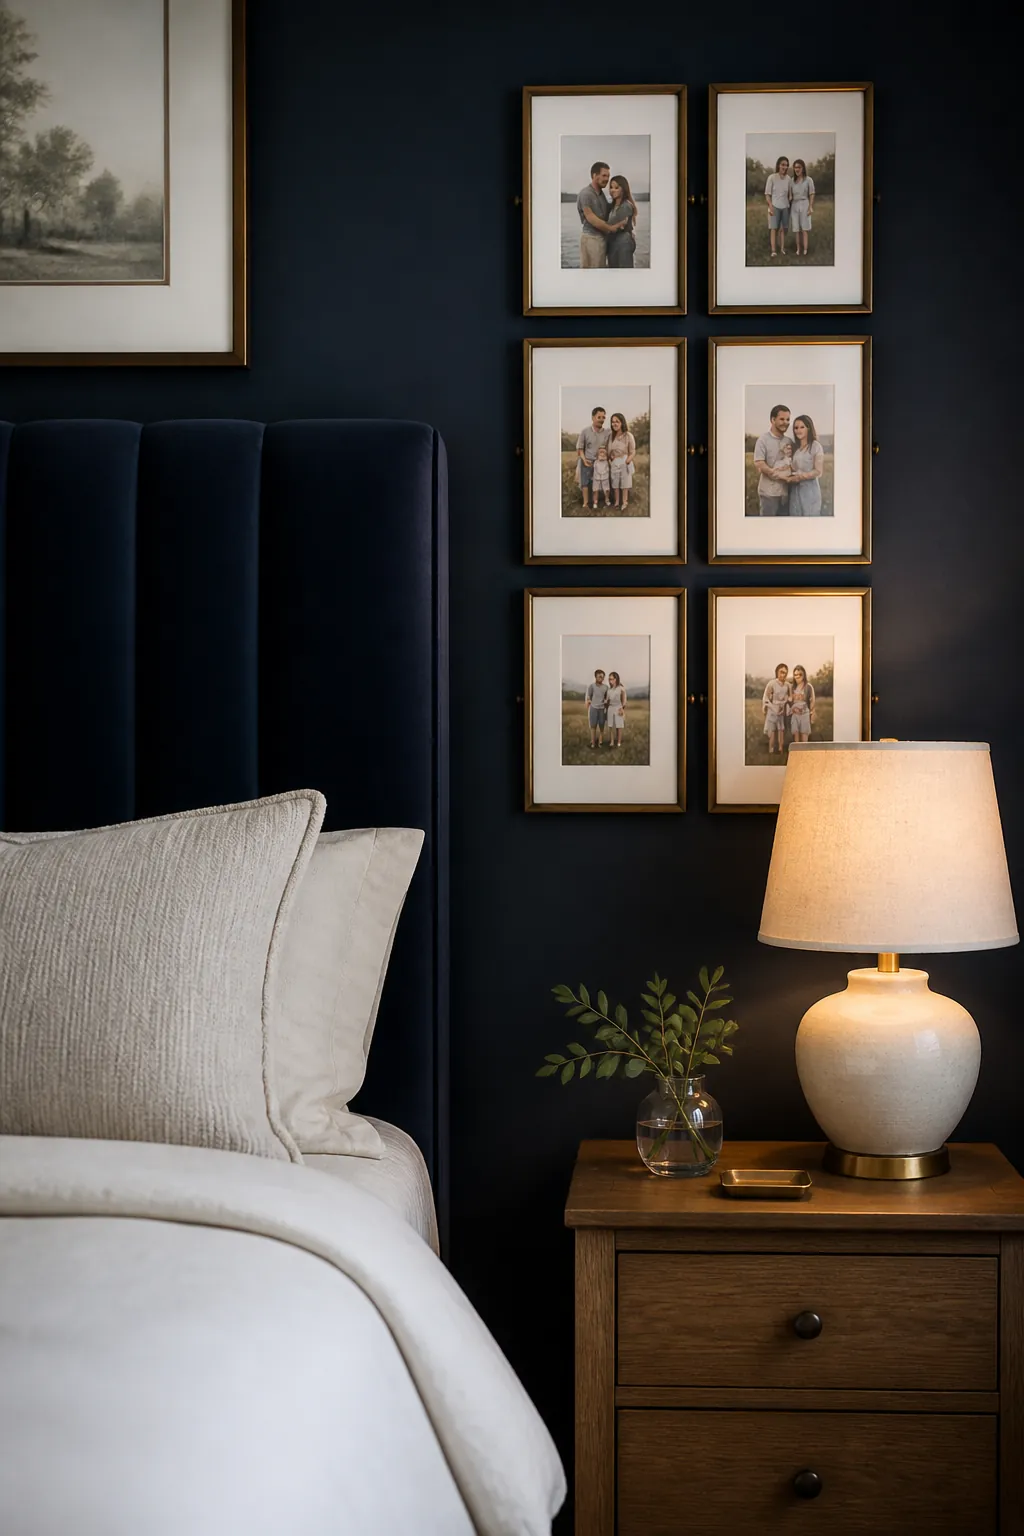
A Small Bedroom Photo Quartet
Four medium frames arranged as a square can personalize a small room without shrinking it visually. Select closely related photographs because differences become obvious in a compact set. Place the quartet on the clearest wall and preserve open space around its outer edges.
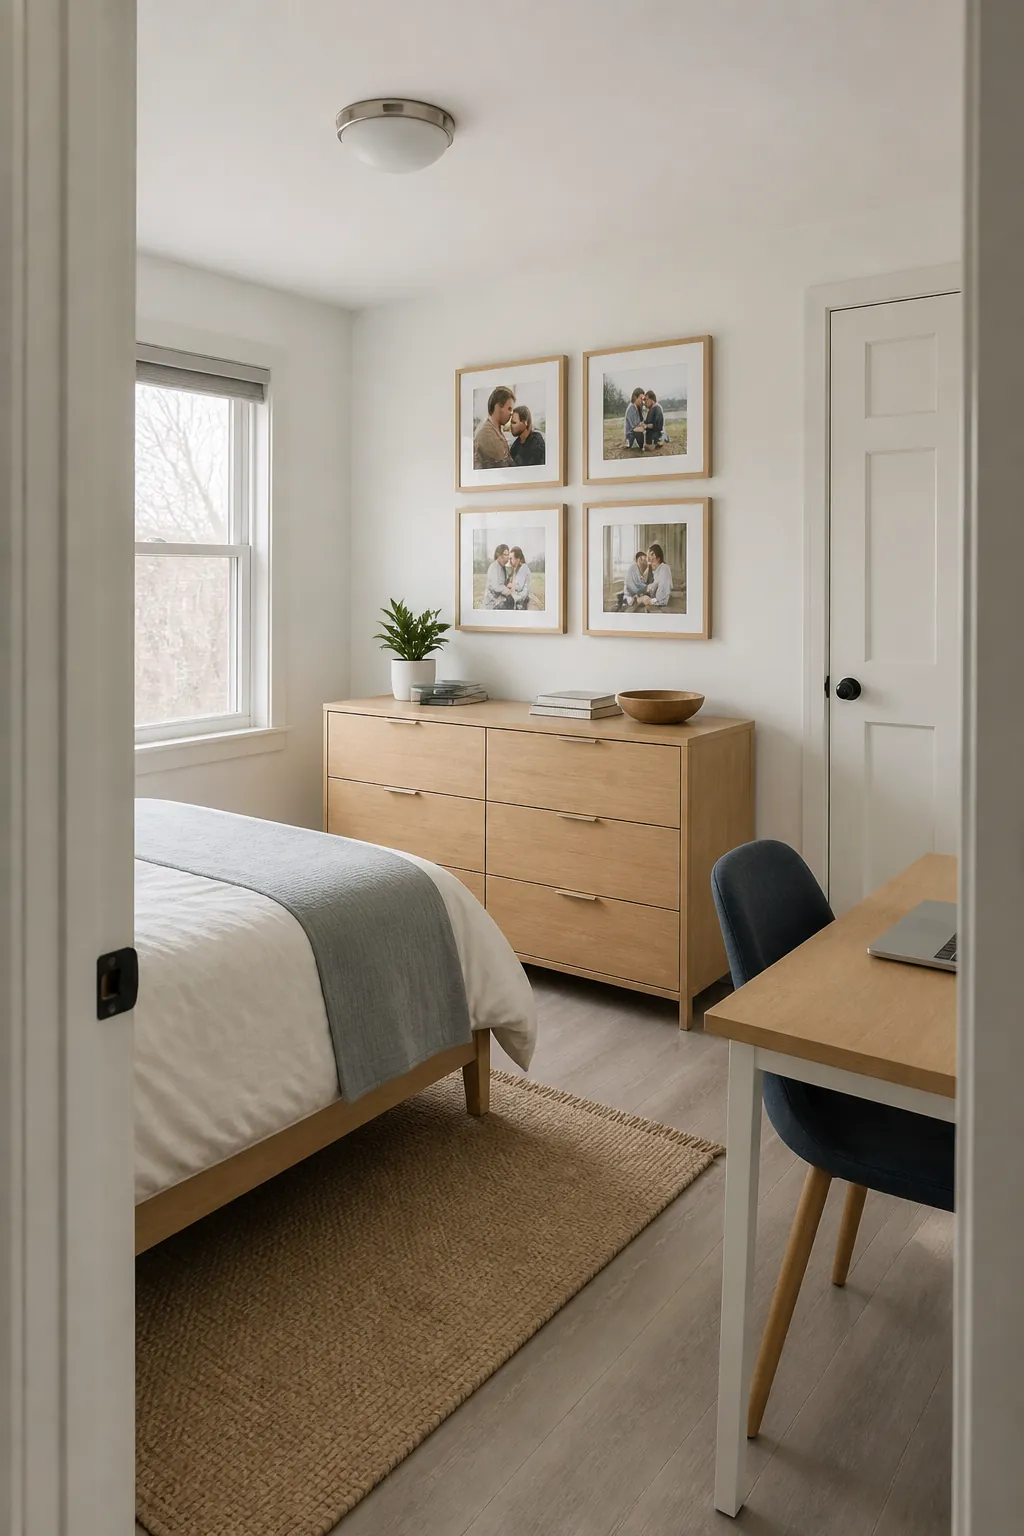
An Organic Corner Gallery
Wrap a loose gallery around the corner of a guest bedroom or combined office. Balance the visual weight on both walls and align the lower edges enough to connect the arrangement. Keep frames away from switches, doors, and chair movement in the compact space.
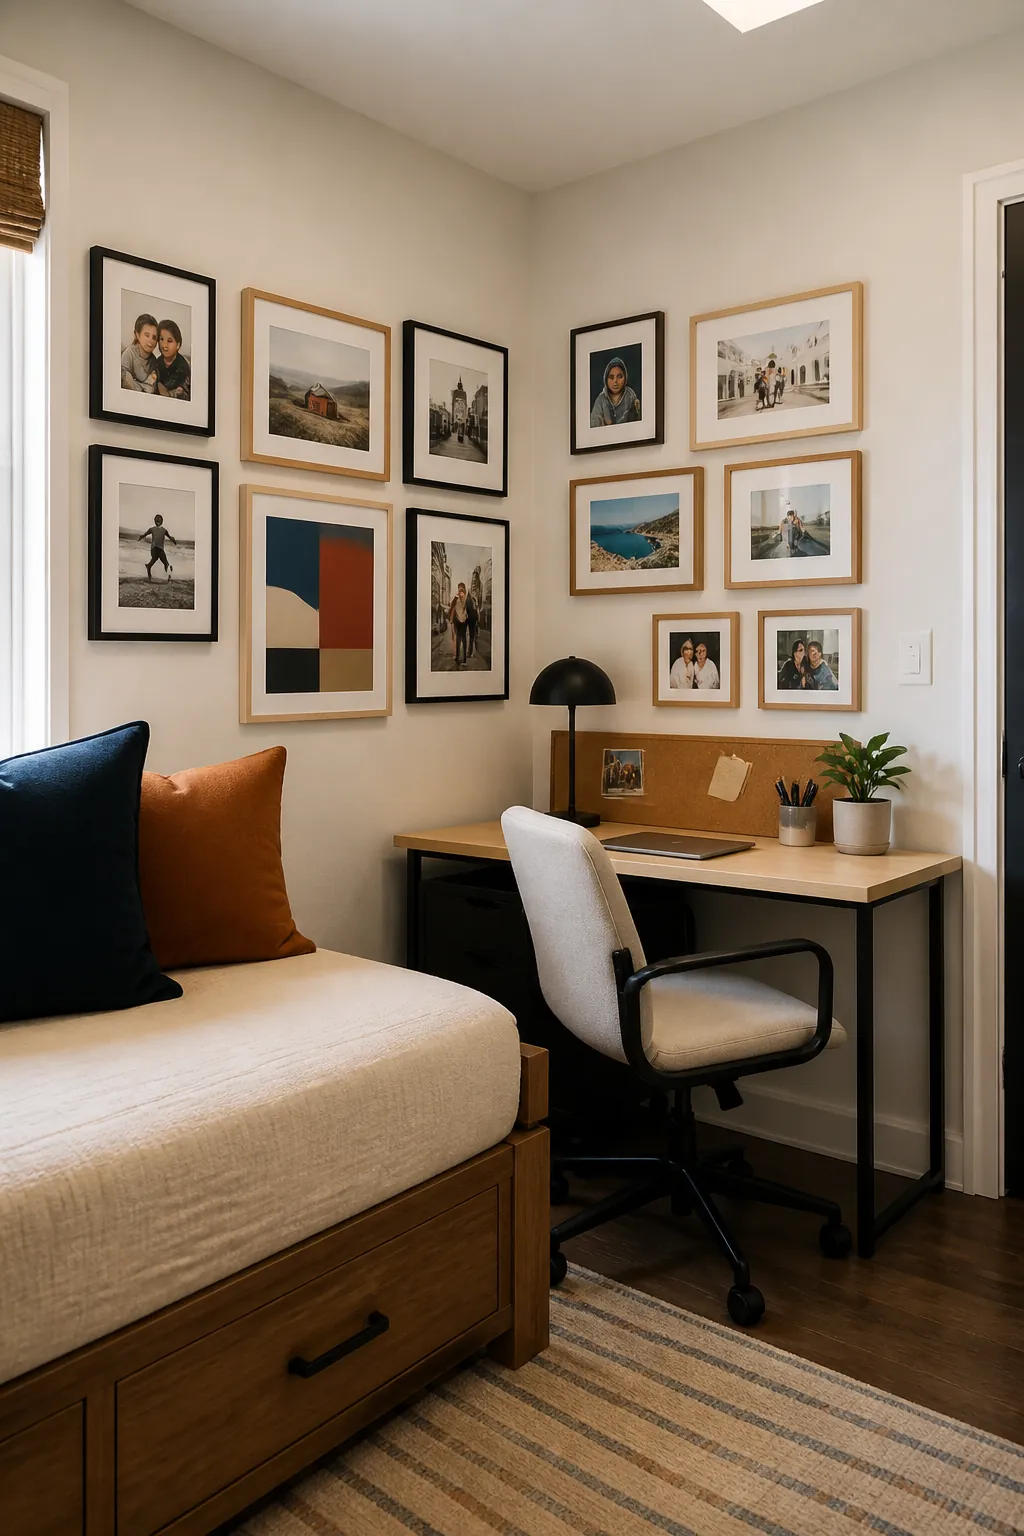
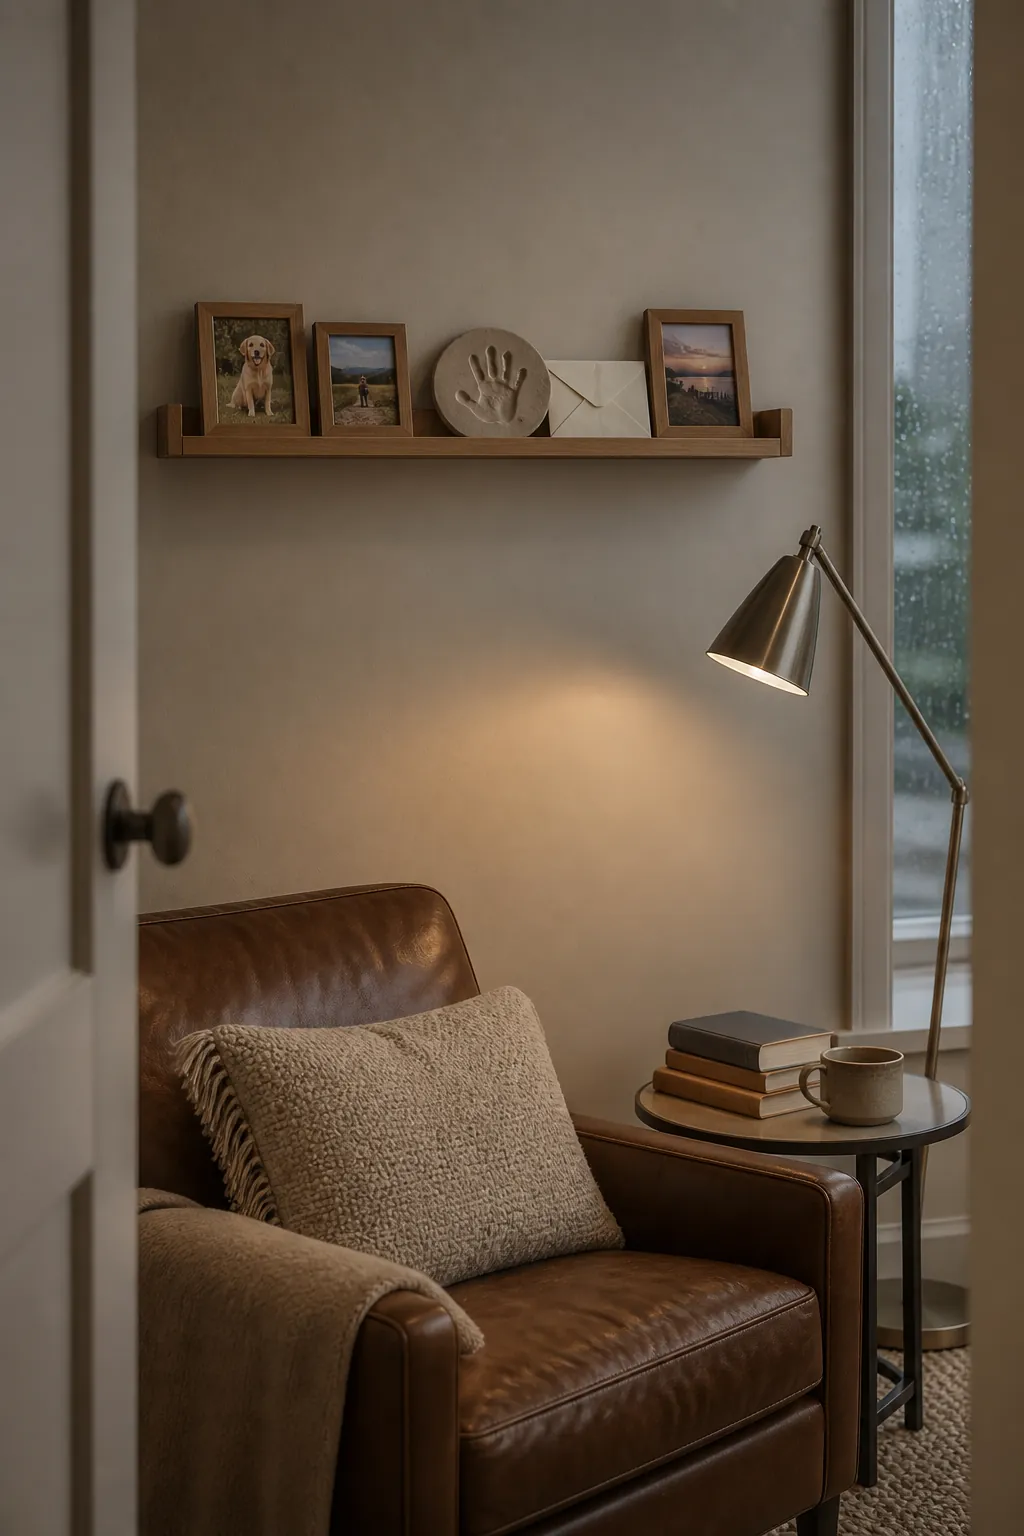
A Bedside Memory Shelf
A short shelf above a dresser or reading chair can hold framed photos and one meaningful object. Give each piece enough space to cast its own shadow and keep faces unobstructed. Avoid shelves directly above pillows, especially when frames are glass or the wall may vibrate.
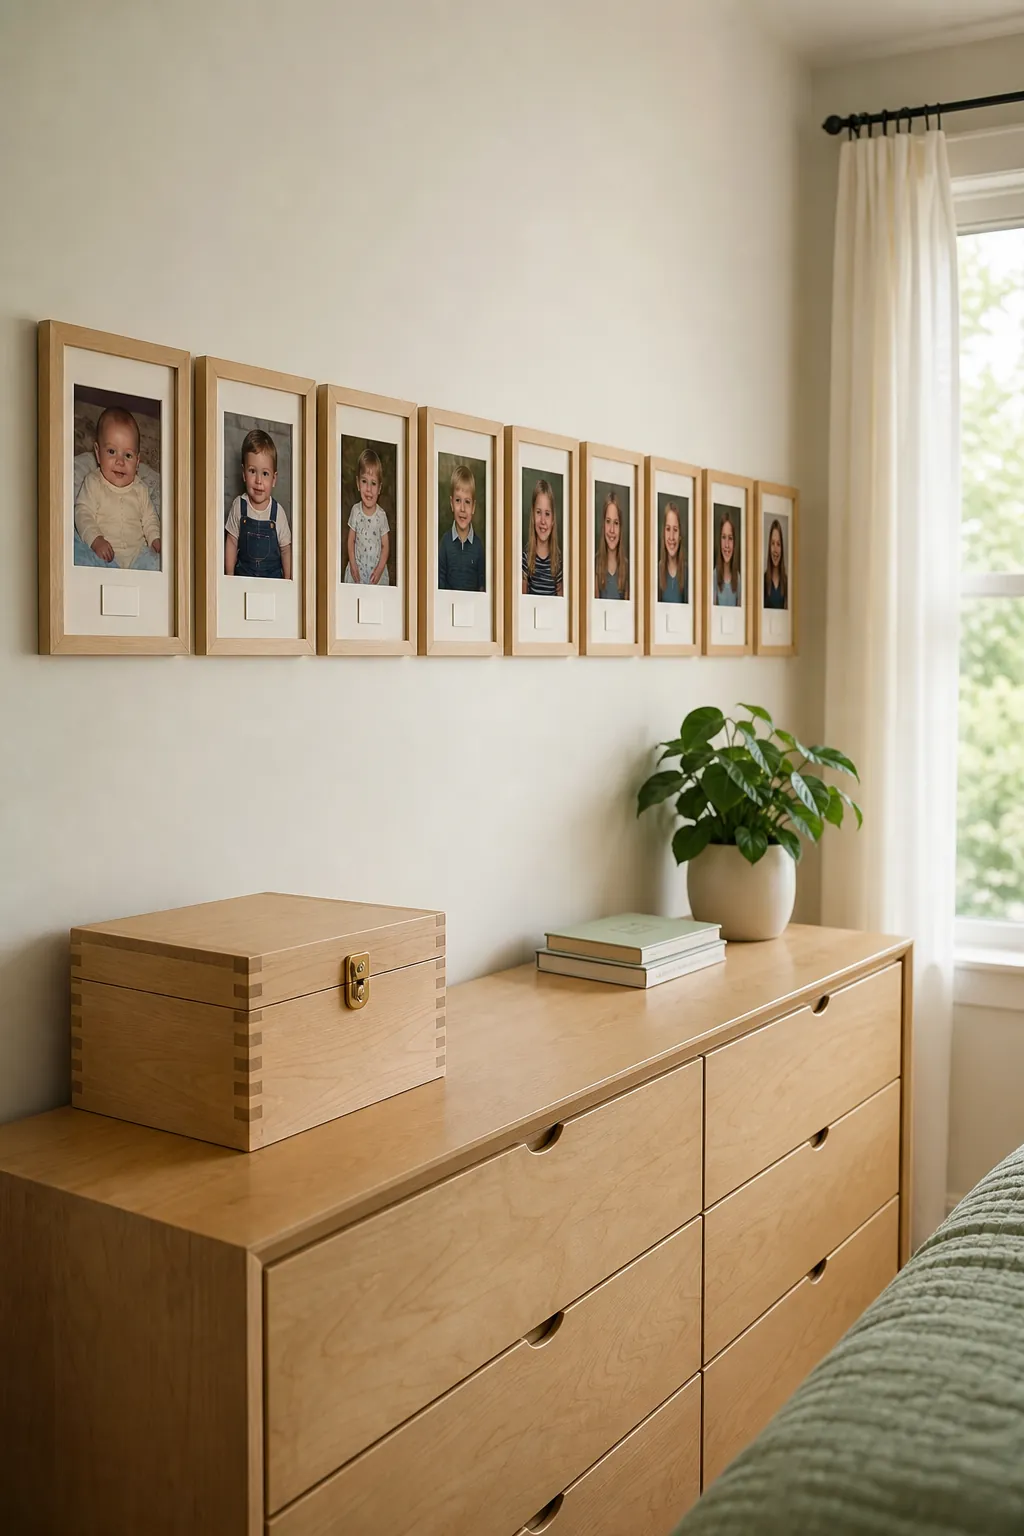
A Childhood Photo Timeline
Arrange childhood photographs in order along a dresser wall to create a personal timeline. Matching frame sizes keep the years easy to follow, while one consistent crop helps old scans sit beside recent prints. Use reproductions and store fragile originals in archival sleeves.
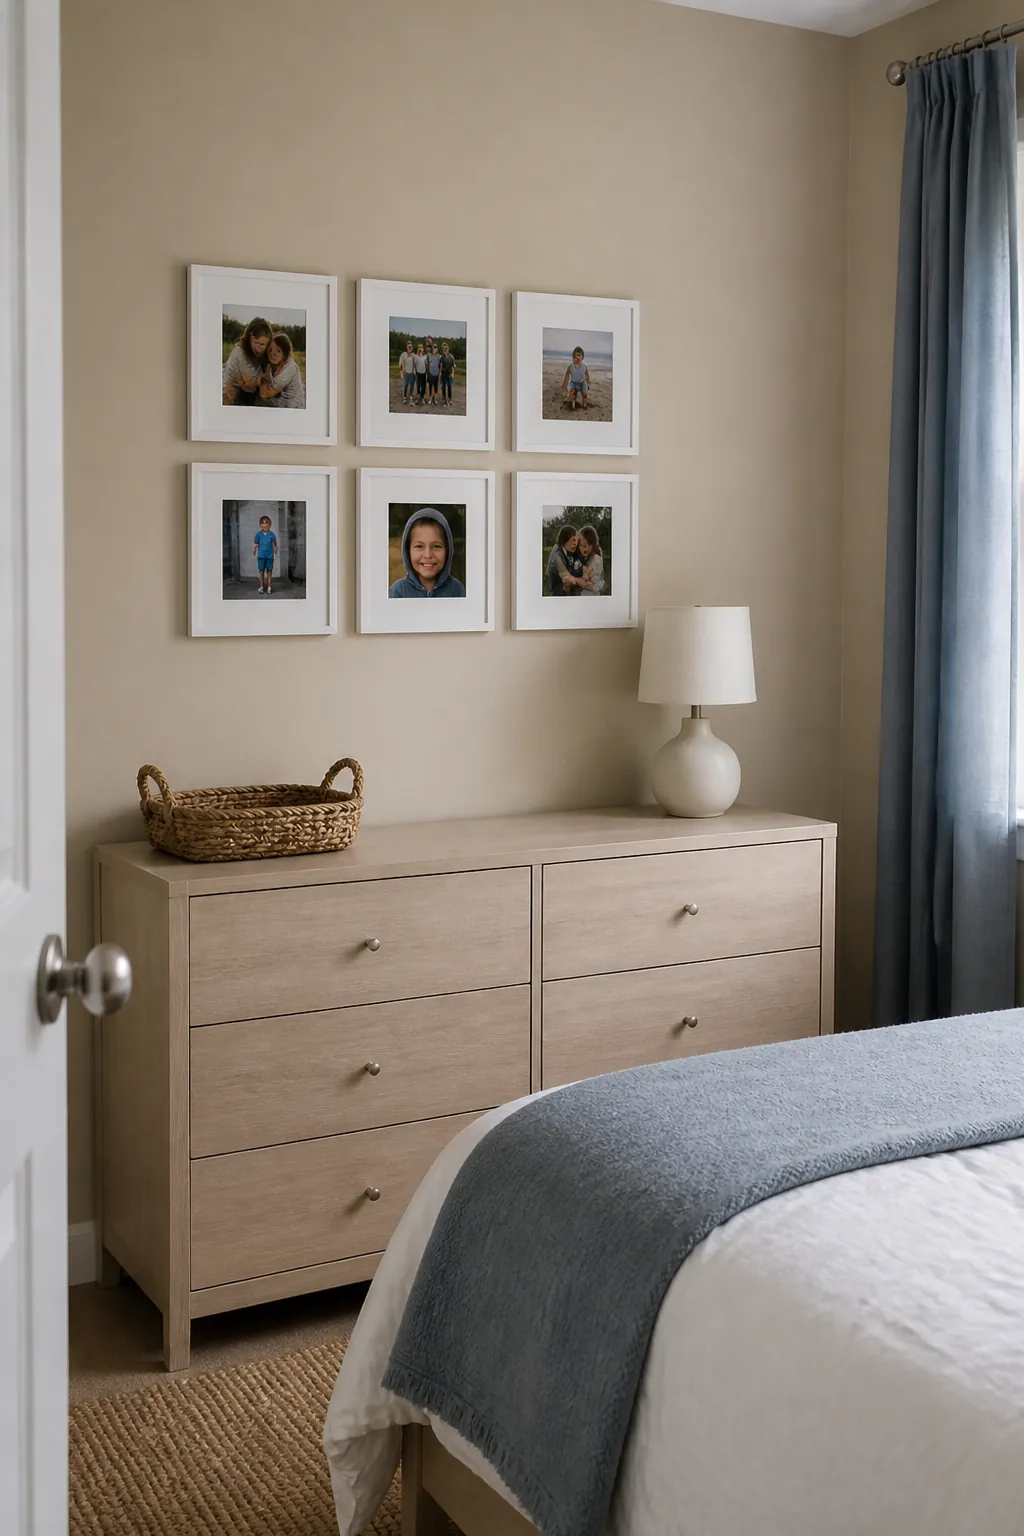
A Rental Friendly Frame Grid
Lightweight frames with acrylic fronts reduce mounting demands in a rental bedroom. Follow the adhesive weight rating and test the paint because removal success depends on surface quality. A small regular grid needs fewer pieces and is easier to level than a wall filling collage.
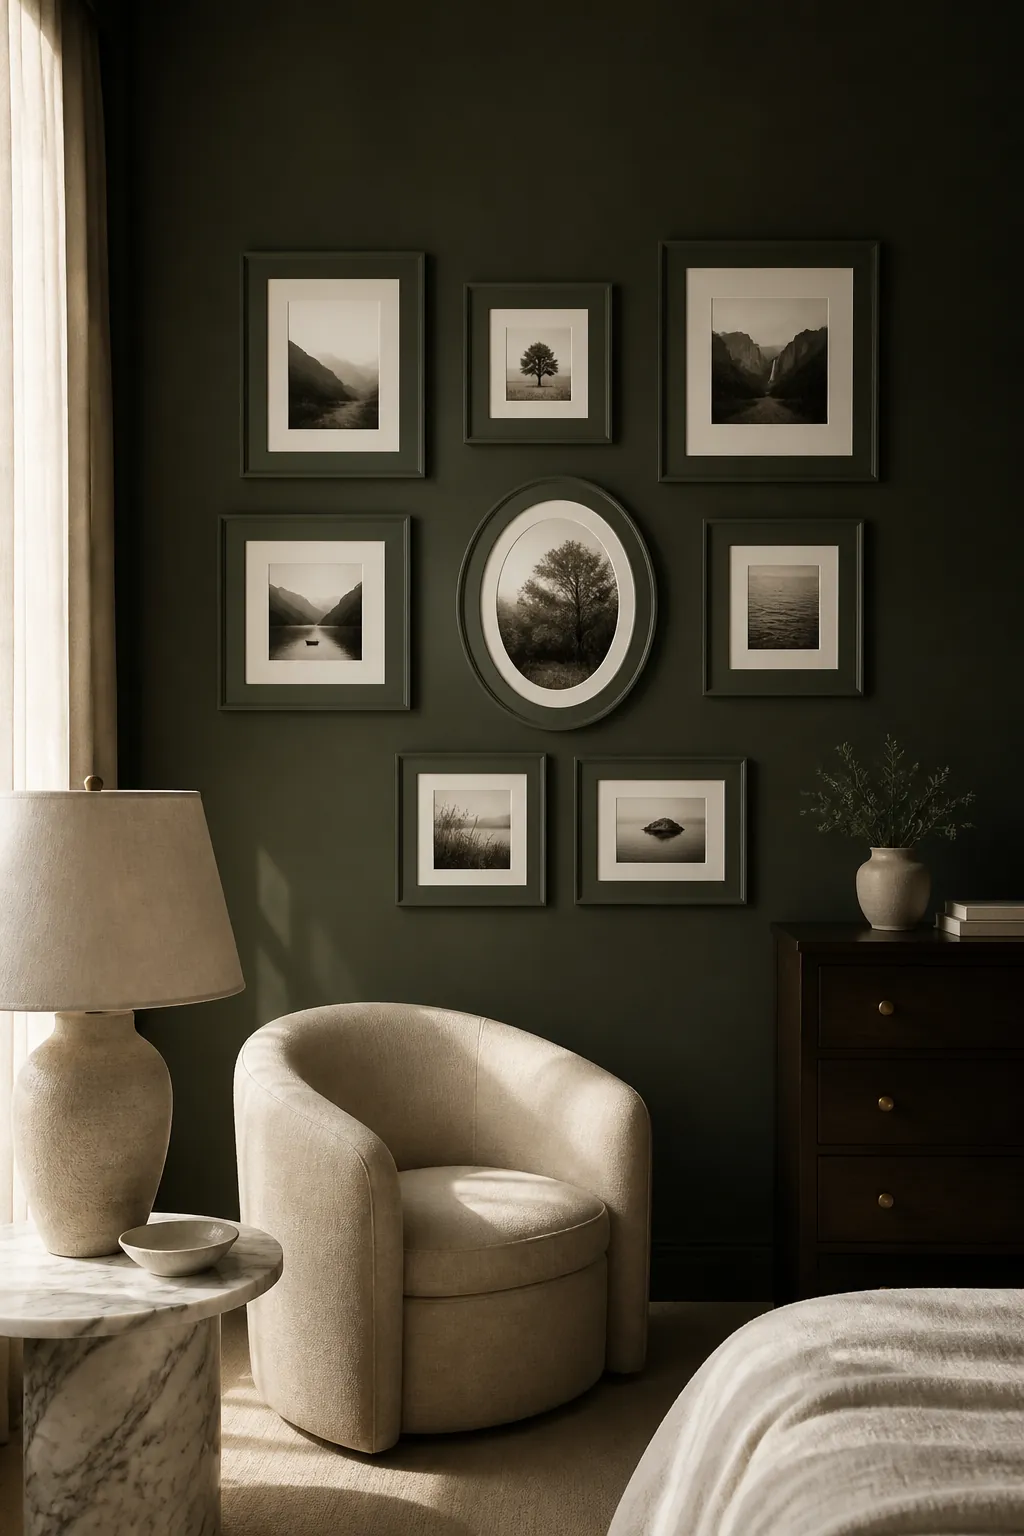
A Deep Painted Wall With Matching Frames
Paint frame profiles the same deep color as the wall for subtle dimensional texture. Bright mats and softly colored photographs will stand forward without adding many hard outlines. Side lighting is important because it reveals the frame shapes after their color blends into the background.
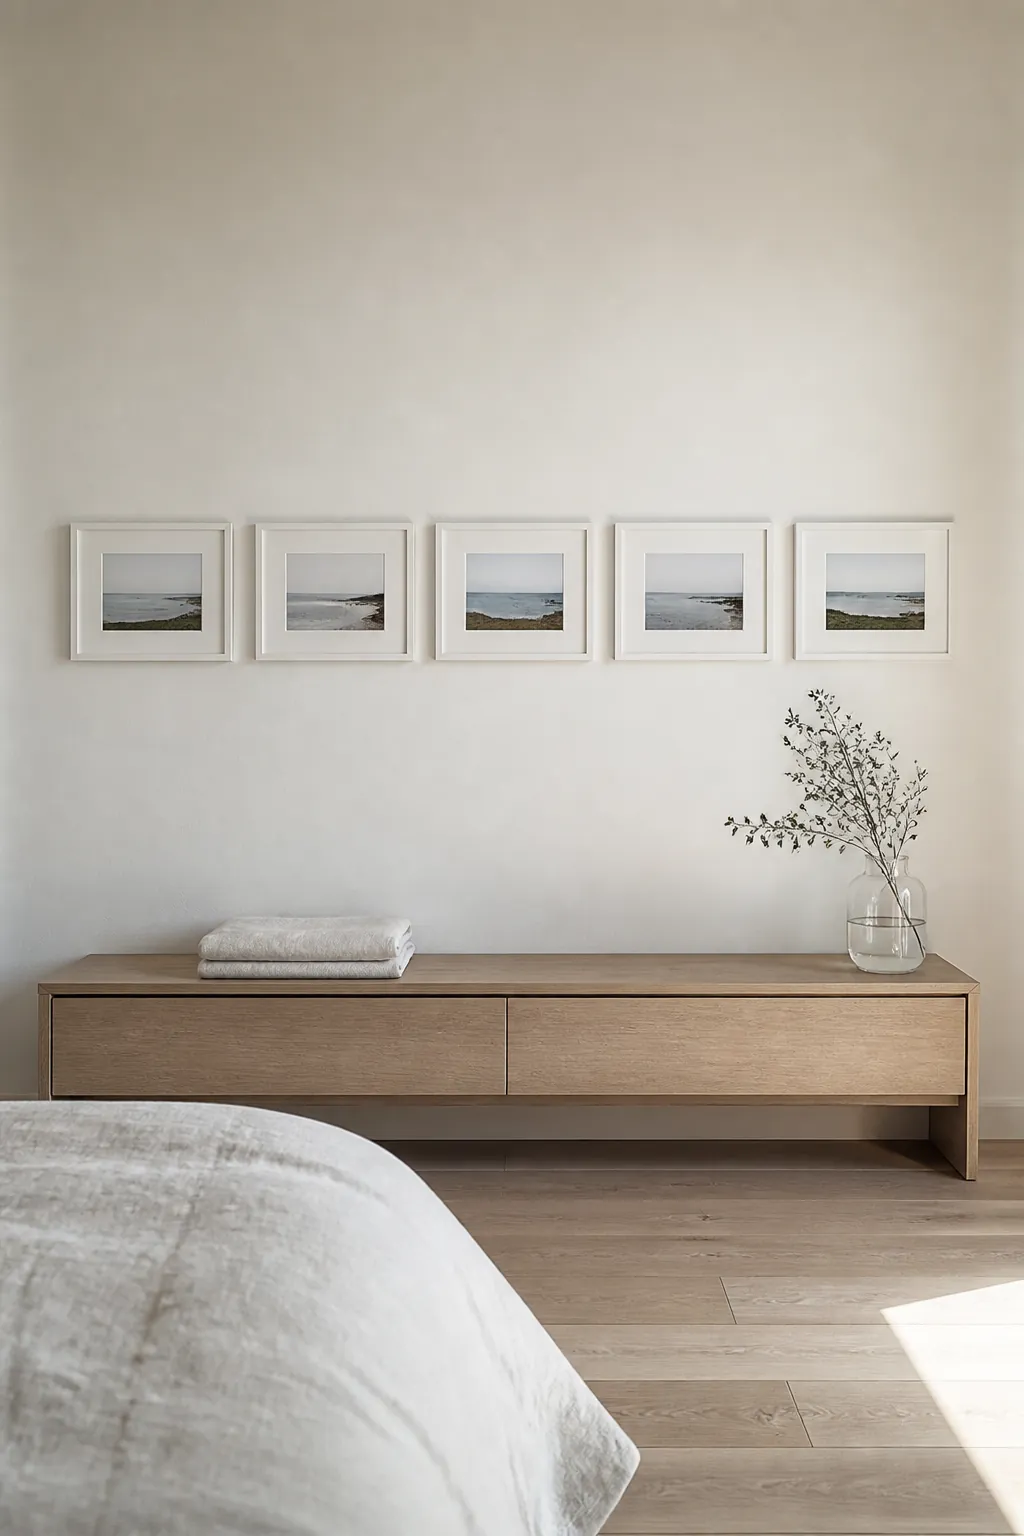
A Soft White Minimal Photo Row
A single row of pale frames suits a minimal bedroom with limited visual contrast. Repeat the same horizontal or vertical crop and keep generous blank wall above. The simplicity makes alignment especially noticeable, so use a level and measure from the frame exterior.
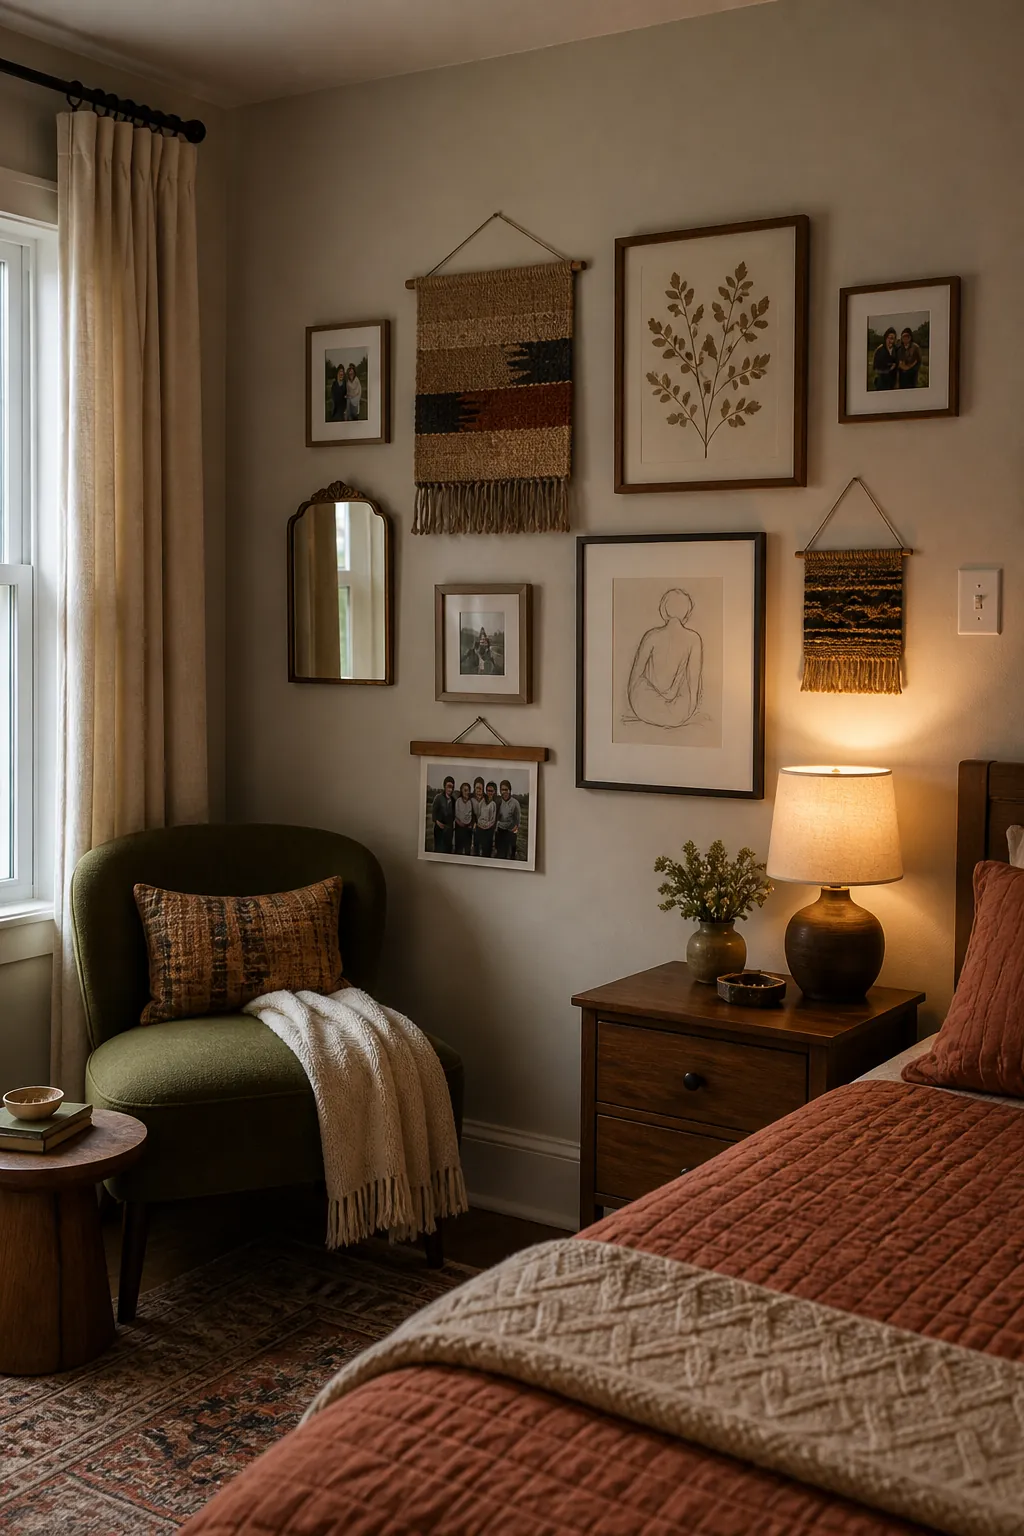
An Earthy Maximalist Memory Wall
Mix photographs with woven pieces, pressed botanicals, and small mirrors in an earthy bedroom. Repeat walnut, rust, olive, and cream across the collection so variety still has boundaries. Keep combustible fibers away from hot bulbs and preserve clear access to switches.
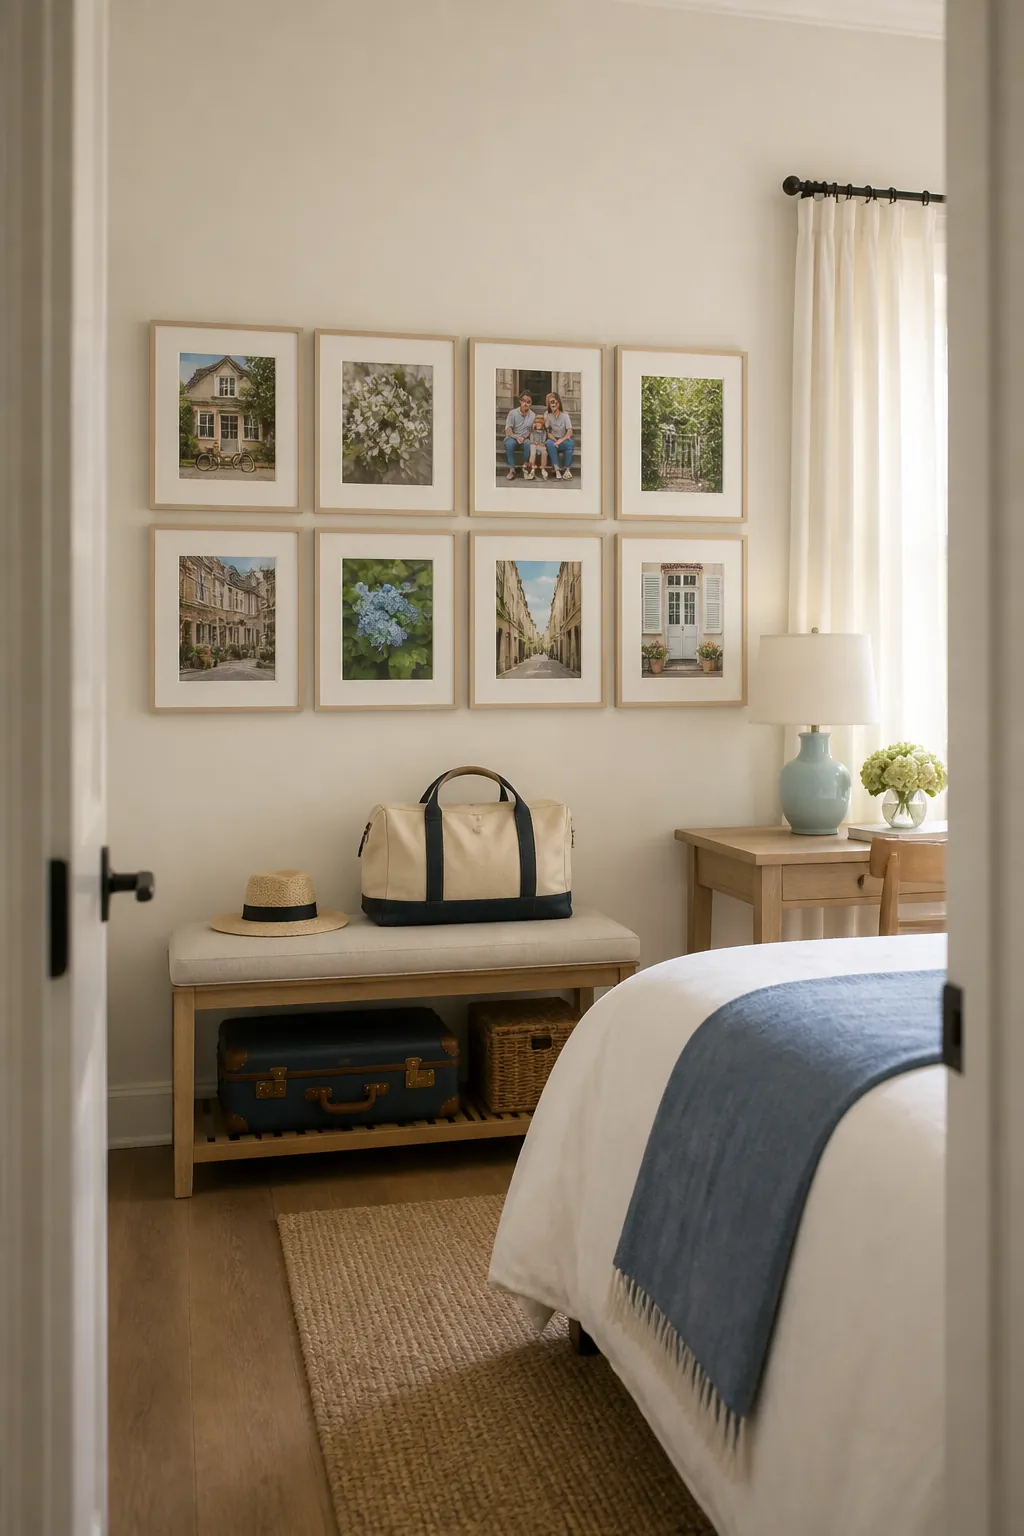
A Guest Bedroom Welcome Gallery
Use local family memories and gentle travel scenes to make a guest bedroom feel connected to the home. Place the gallery over a luggage bench or desk rather than above the pillow. Neutral mats and similar frame depths let different subjects share one calm wall.
An Oversized Couple Portrait
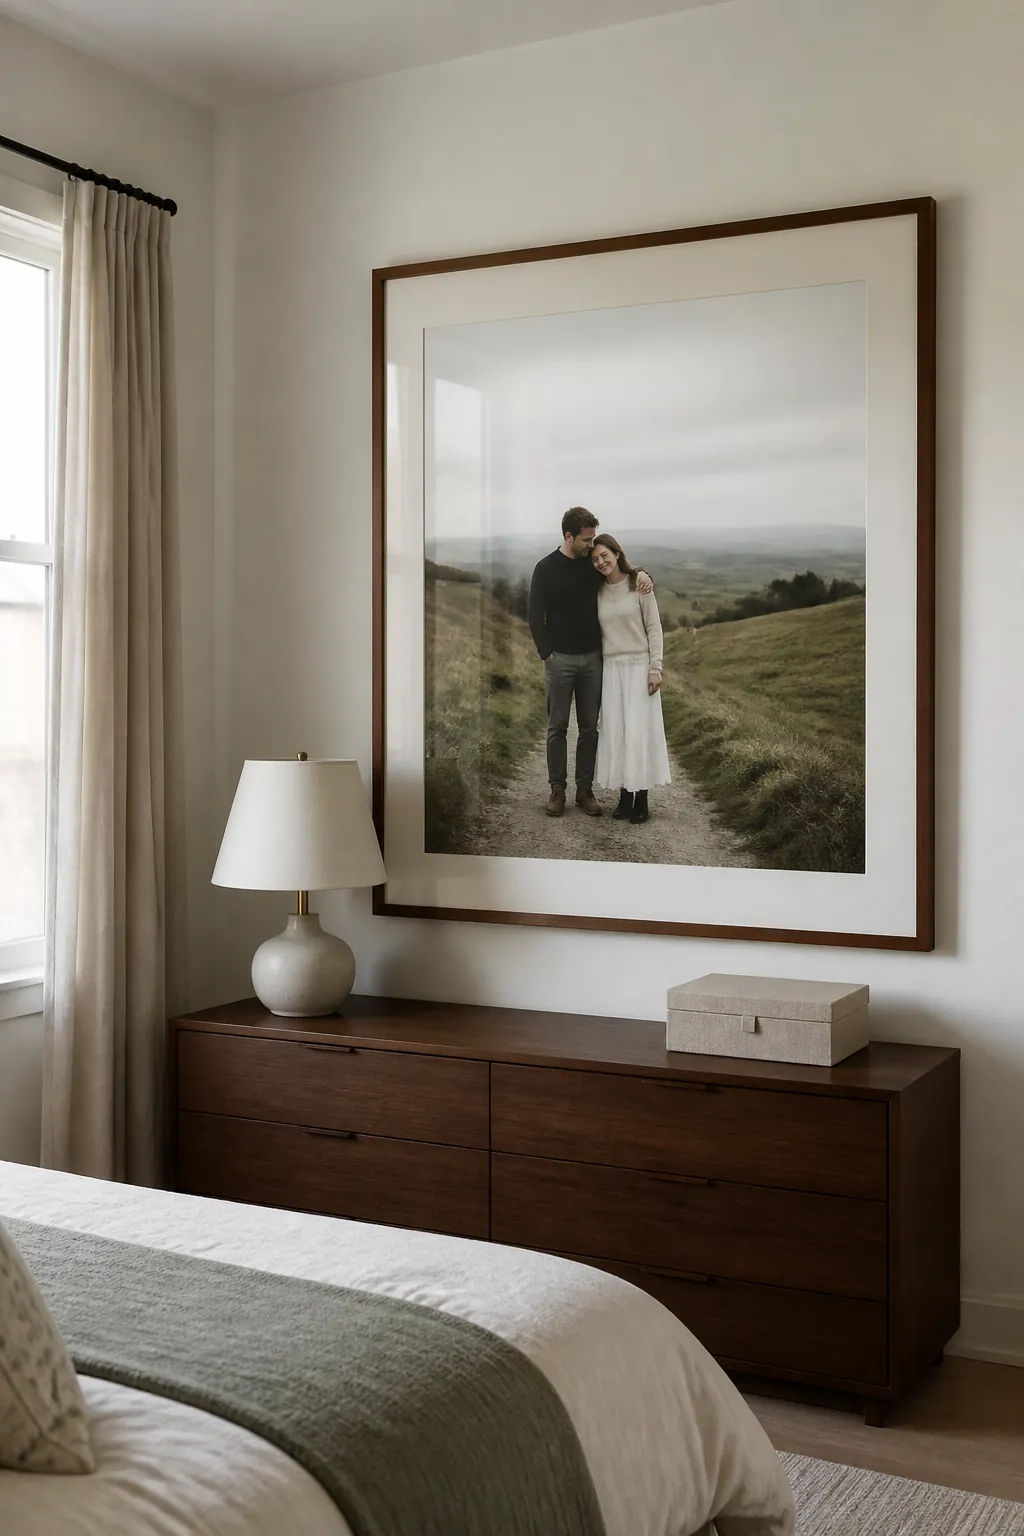
One large couple portrait can be stronger than a cluster when the bedroom is small. Choose an unforced image with enough background space and print it at a scale that suits the dresser or blank side wall. A substantial mat creates visual quiet and prevents the portrait from feeling too intense.
A Paper Planned Bedroom Gallery
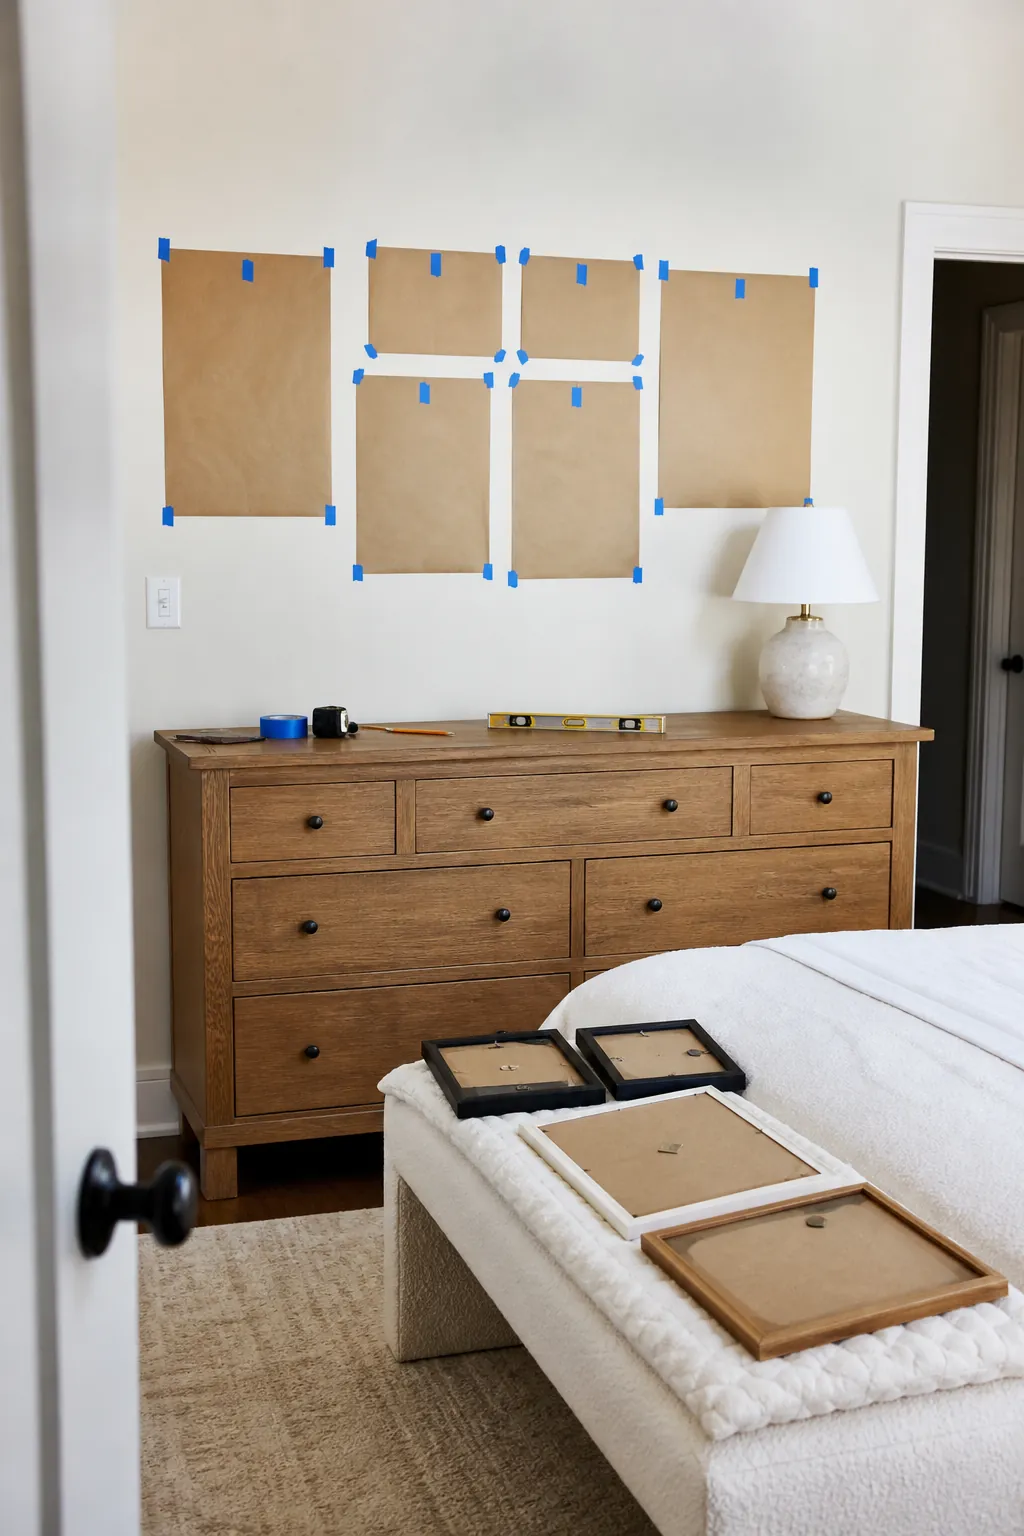
Trace each frame on kraft paper and test the complete arrangement on the chosen bedroom wall. Center the paper grouping on the bed, dresser, or desk that truly anchors it, then check doorways and switch access. Mark the real hanging point on every template so the final hardware produces the spacing you approved.