Affordable frames make a photo wall possible, but the result still depends on scale, print fit, and how the arrangement relates to the room. IKEA ranges can create anything from a precise grid to a flexible picture ledge, provided you measure the actual mat opening and plan the wall before buying prints. These approaches pair repeatable frame shapes with practical layouts that feel personal rather than mass produced.
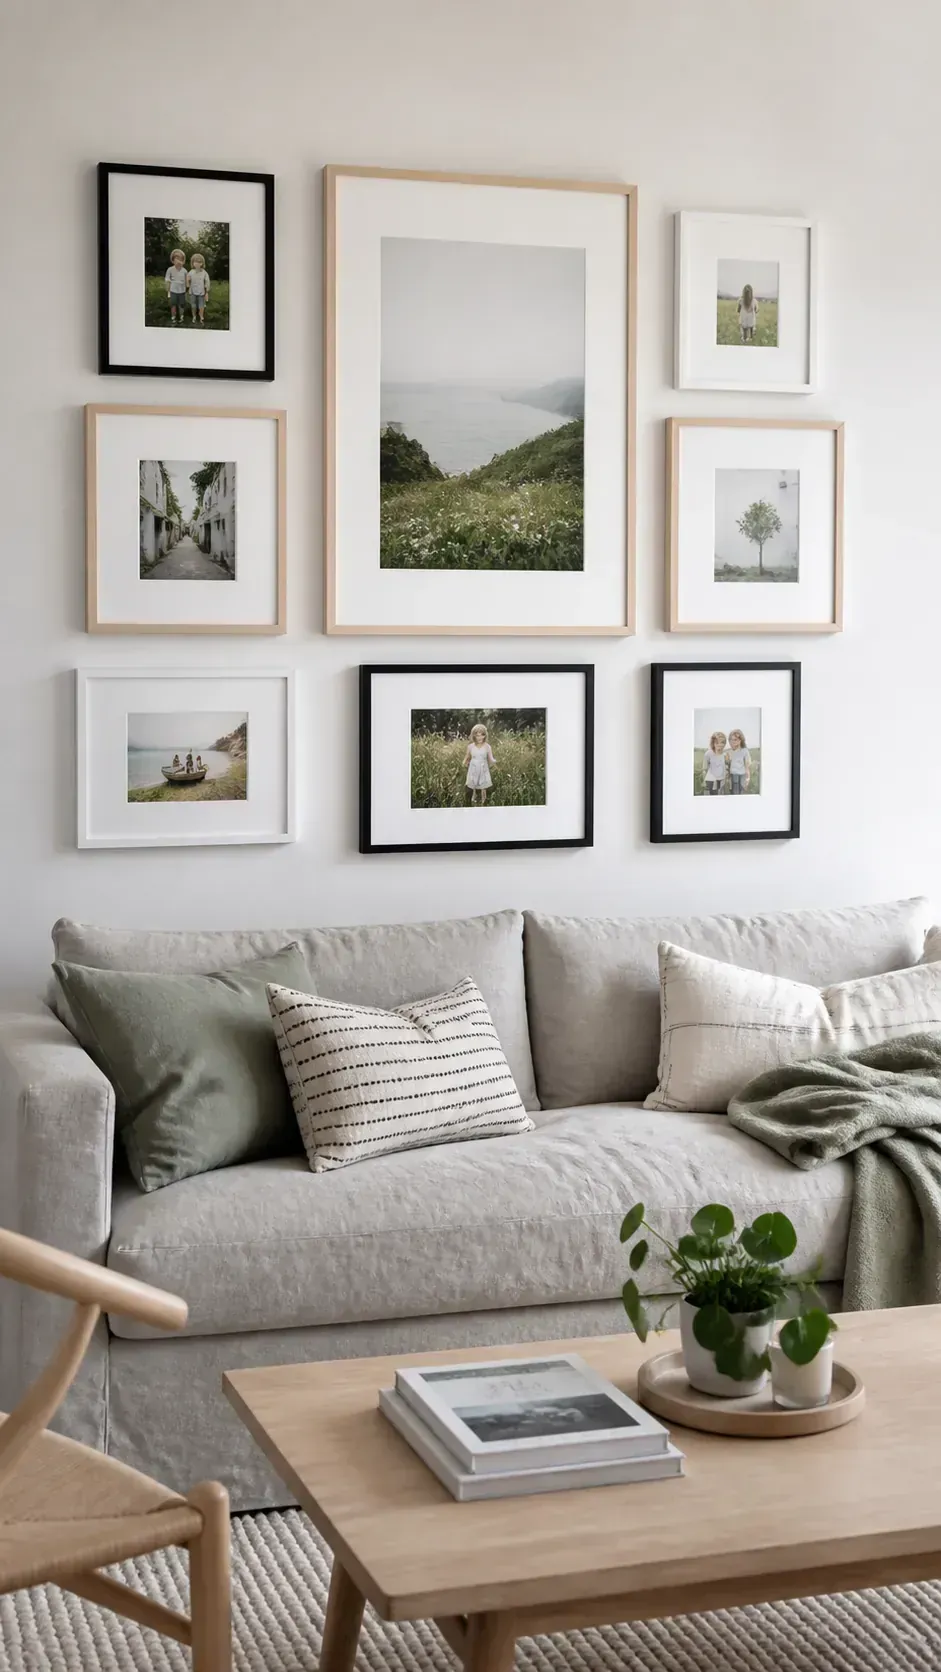
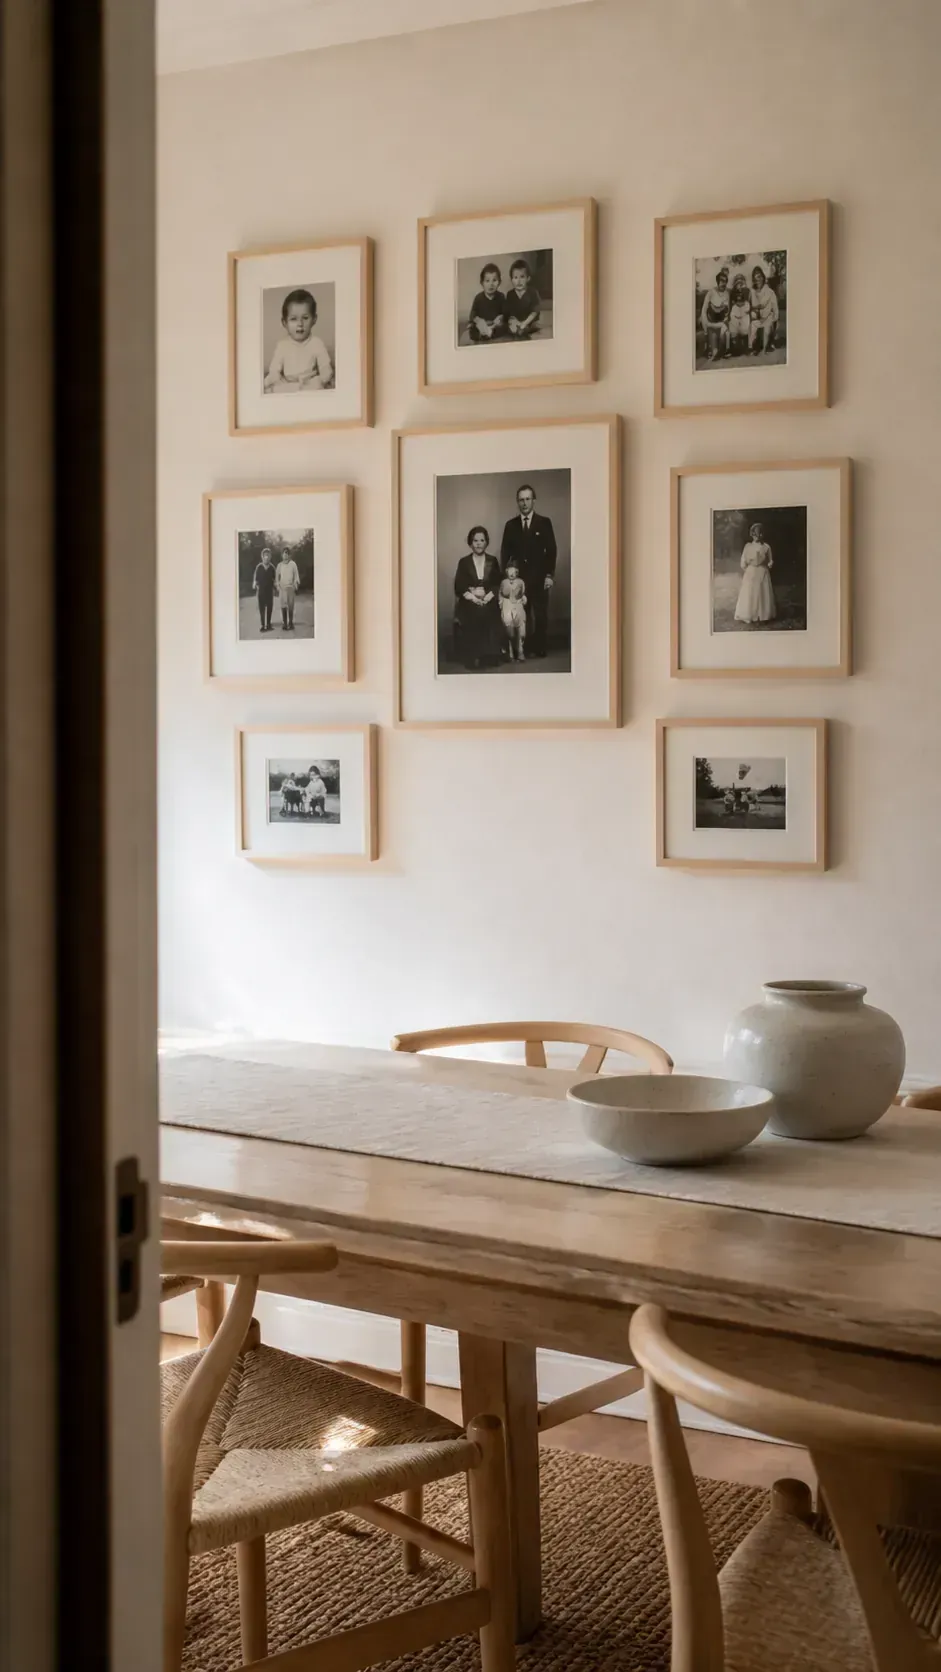
A Mixed Size RÖDALM Gallery
Combine several RÖDALM sizes around one large vertical anchor to create an organic gallery with consistent frame depth. Keep the included white borders visible so the different photographs share a quiet visual pause. Lay every frame on the floor first and measure the complete outer shape against the furniture below.
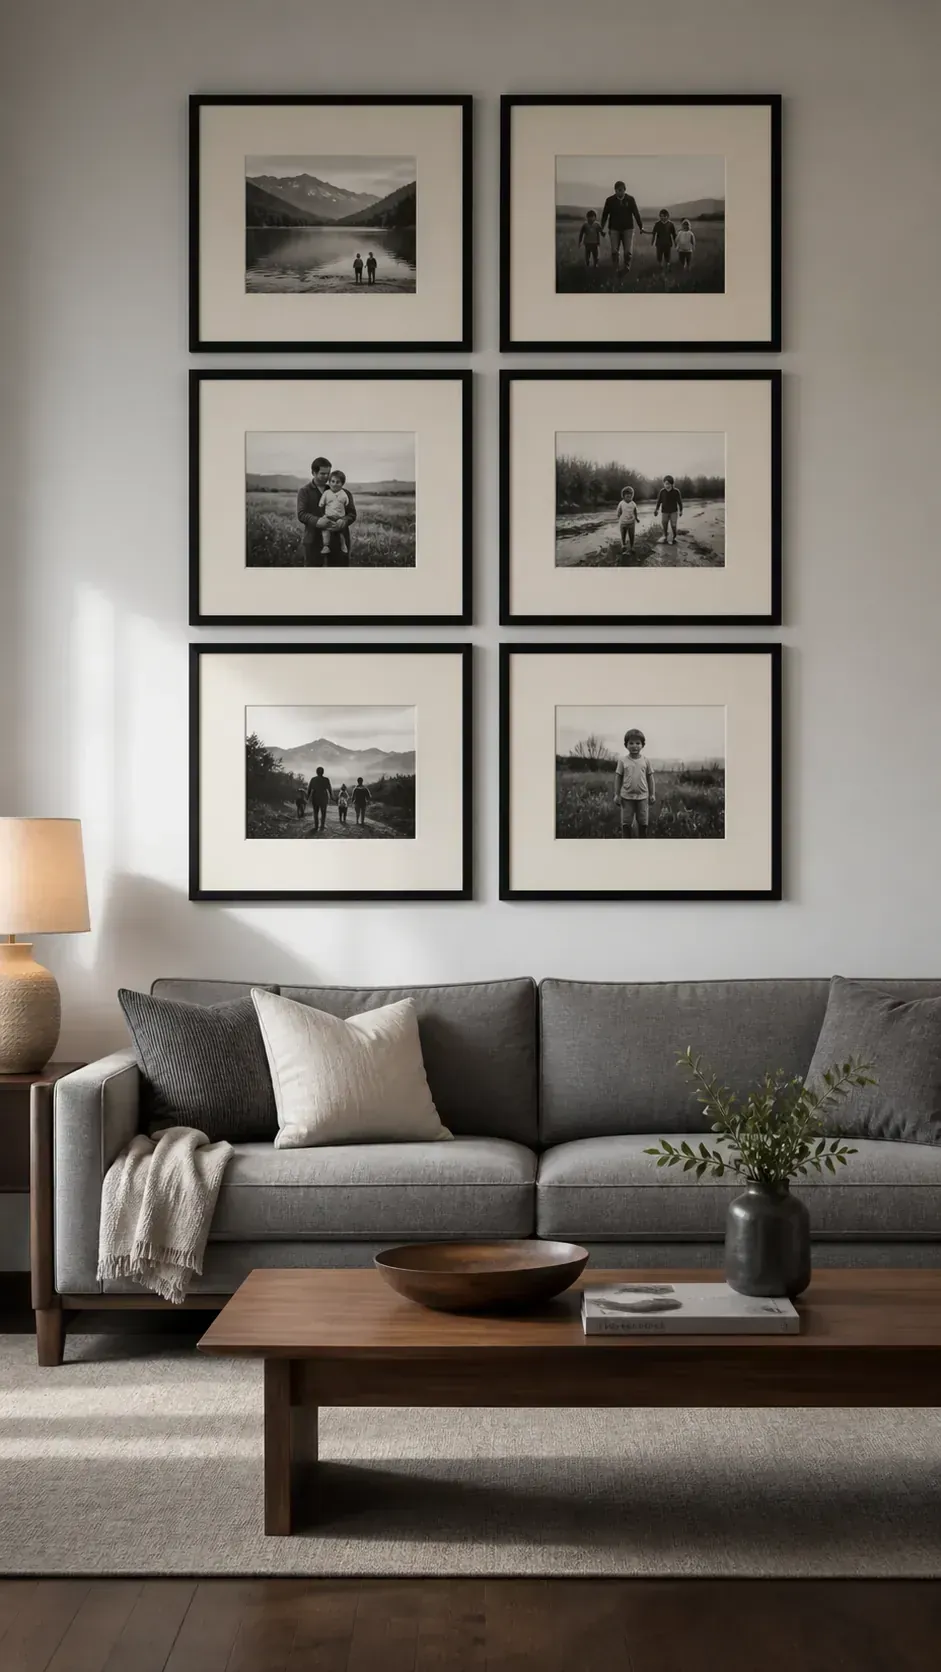
A Classic RIBBA Grid Above The Sofa
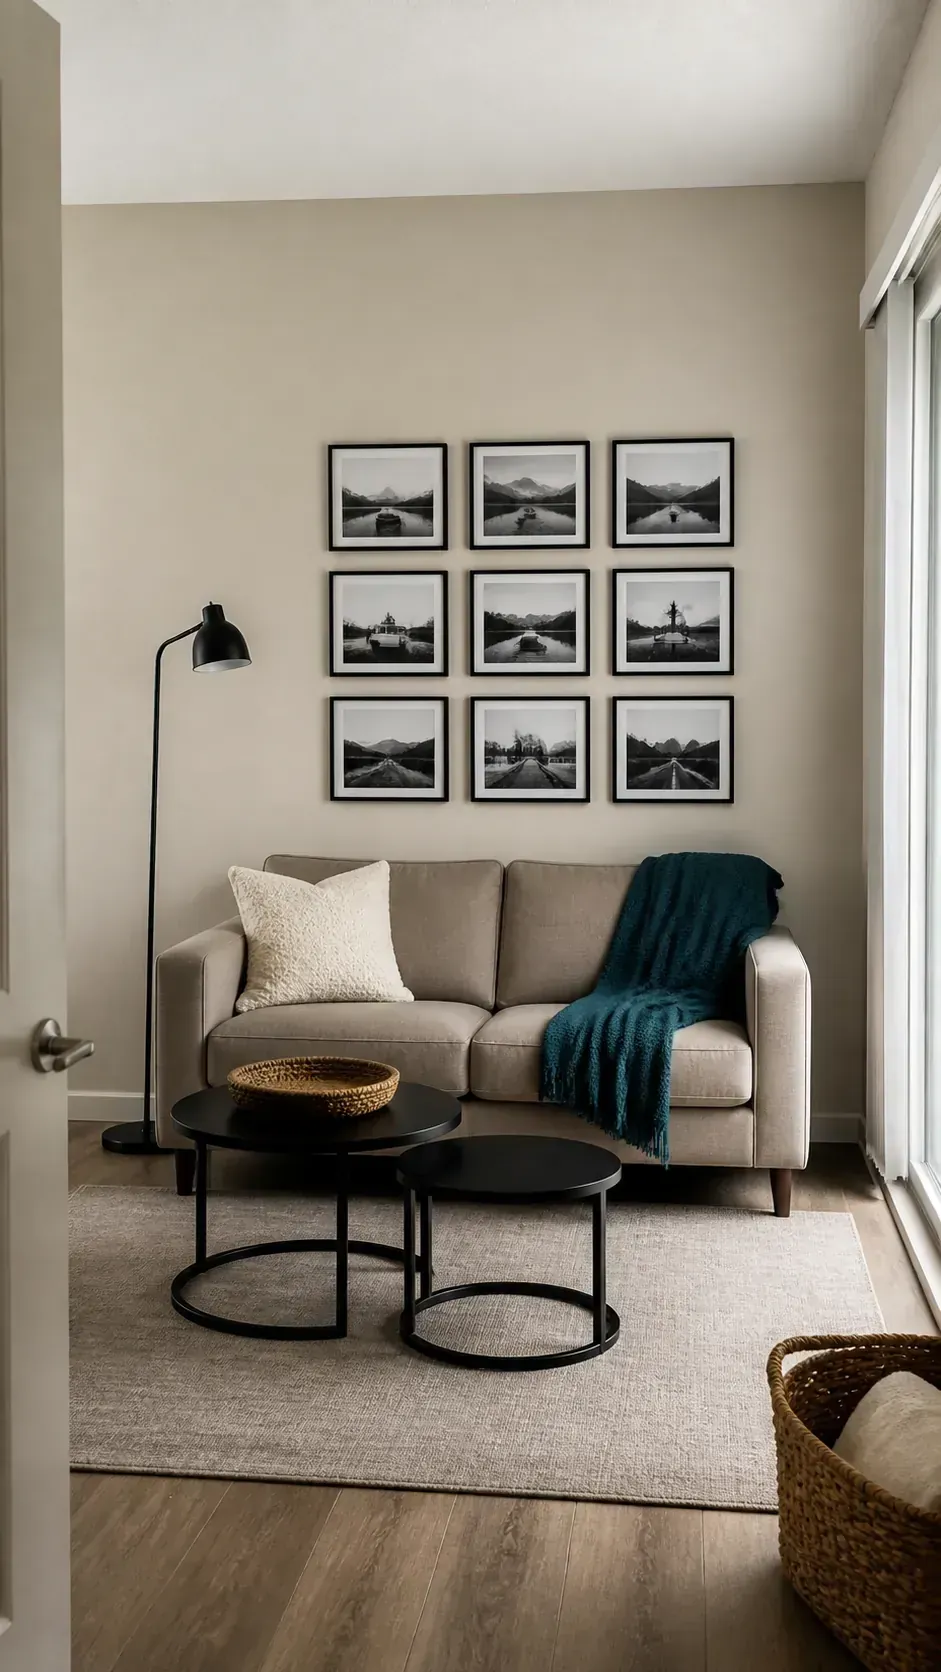
Matching black RIBBA frames give varied family photos a strong architectural outline. Use identical mat openings and equal gaps, then center the full grid on the sofa rather than the wall. Larger frames usually hold their presence better when viewers sit several feet away.
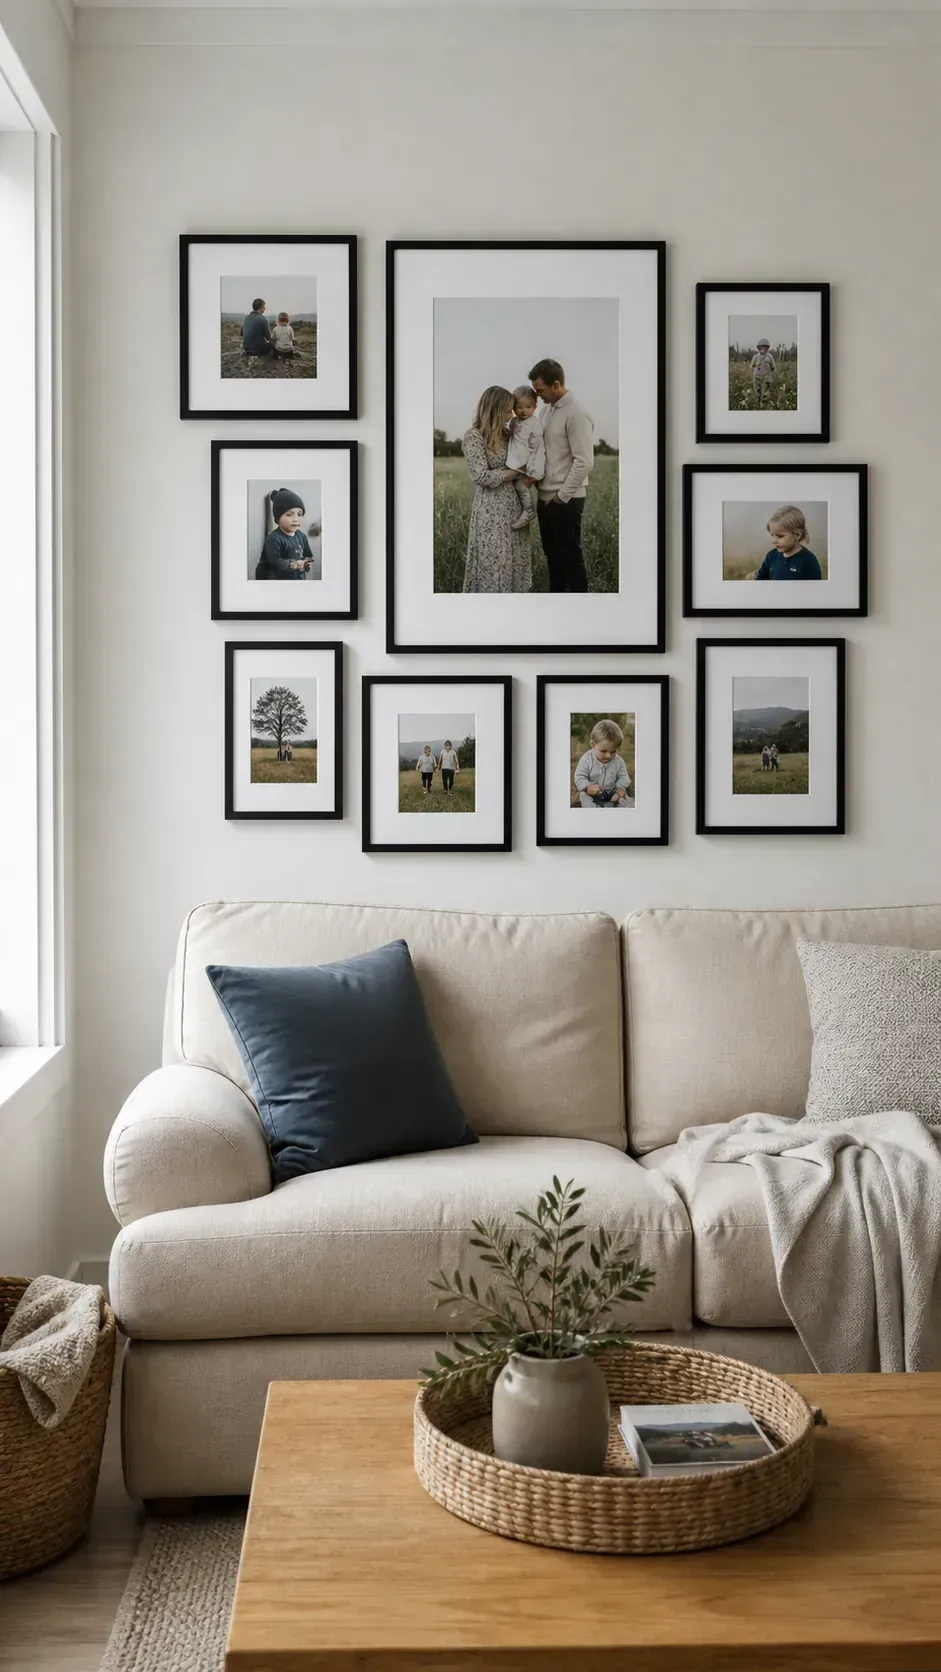
A Warm HOVSTA Family Wall
Birch effect HOVSTA frames soften a gallery wall filled with black and white photographs. The warm finish works naturally beside oak furniture, woven baskets, and cream textiles. Repeat one print treatment so the wood grain adds warmth without making the display visually busy.
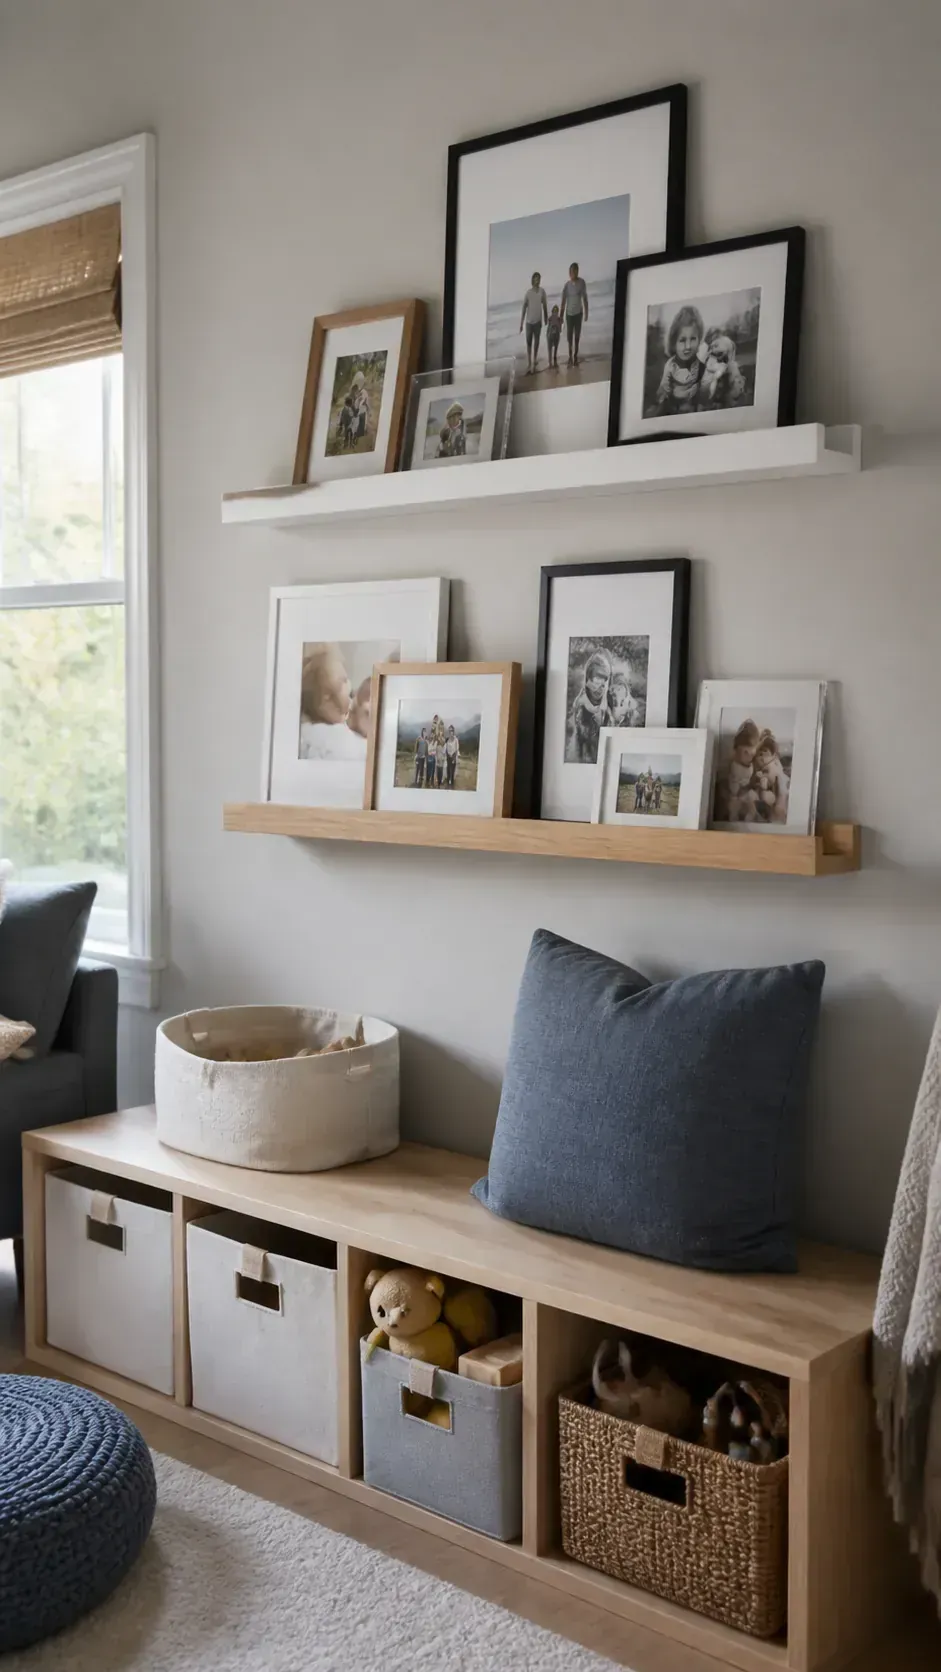
Layered MOSSLANDA Picture Ledges
Two MOSSLANDA ledges let frames overlap without committing to a permanent arrangement. Put taller pieces behind smaller ones and repeat a frame color across both levels. Mount the ledges with hardware suited to the actual wall construction and keep heavy pieces near secure fixing points.
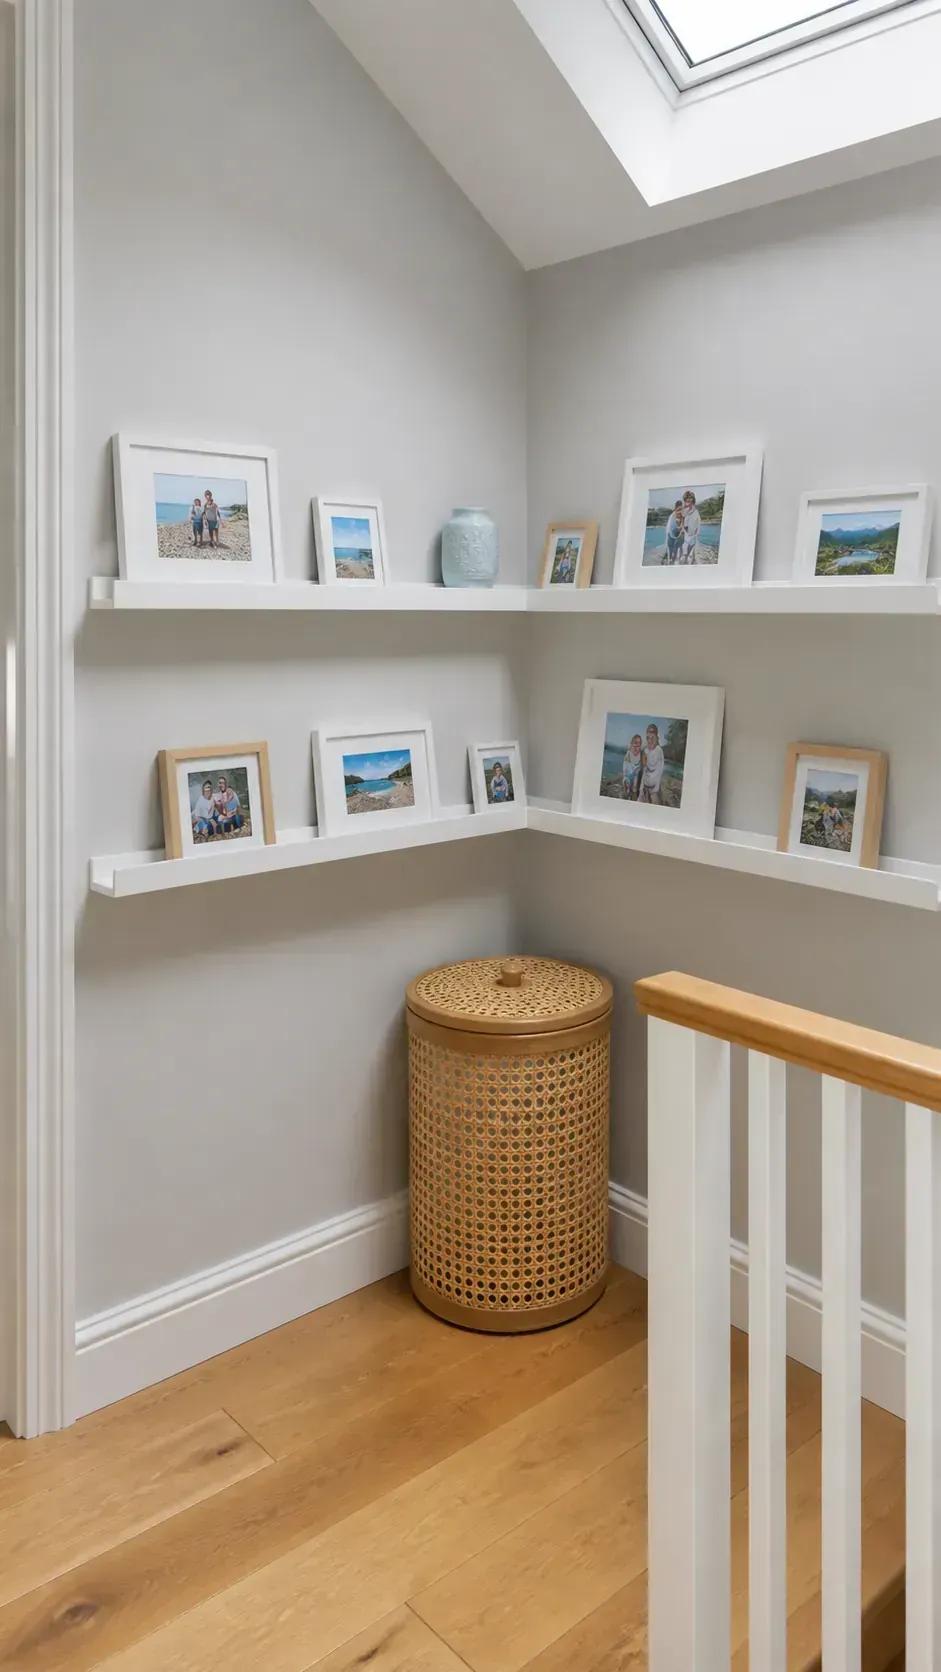
A Picture Ledge Around An Inside Corner
Continue short ledges onto adjoining walls to turn an awkward corner into a deliberate photo zone. Measure the true corner angle because rooms are rarely perfectly square. Keep the joint simple and let overlapping frames disguise small differences in the two runs.
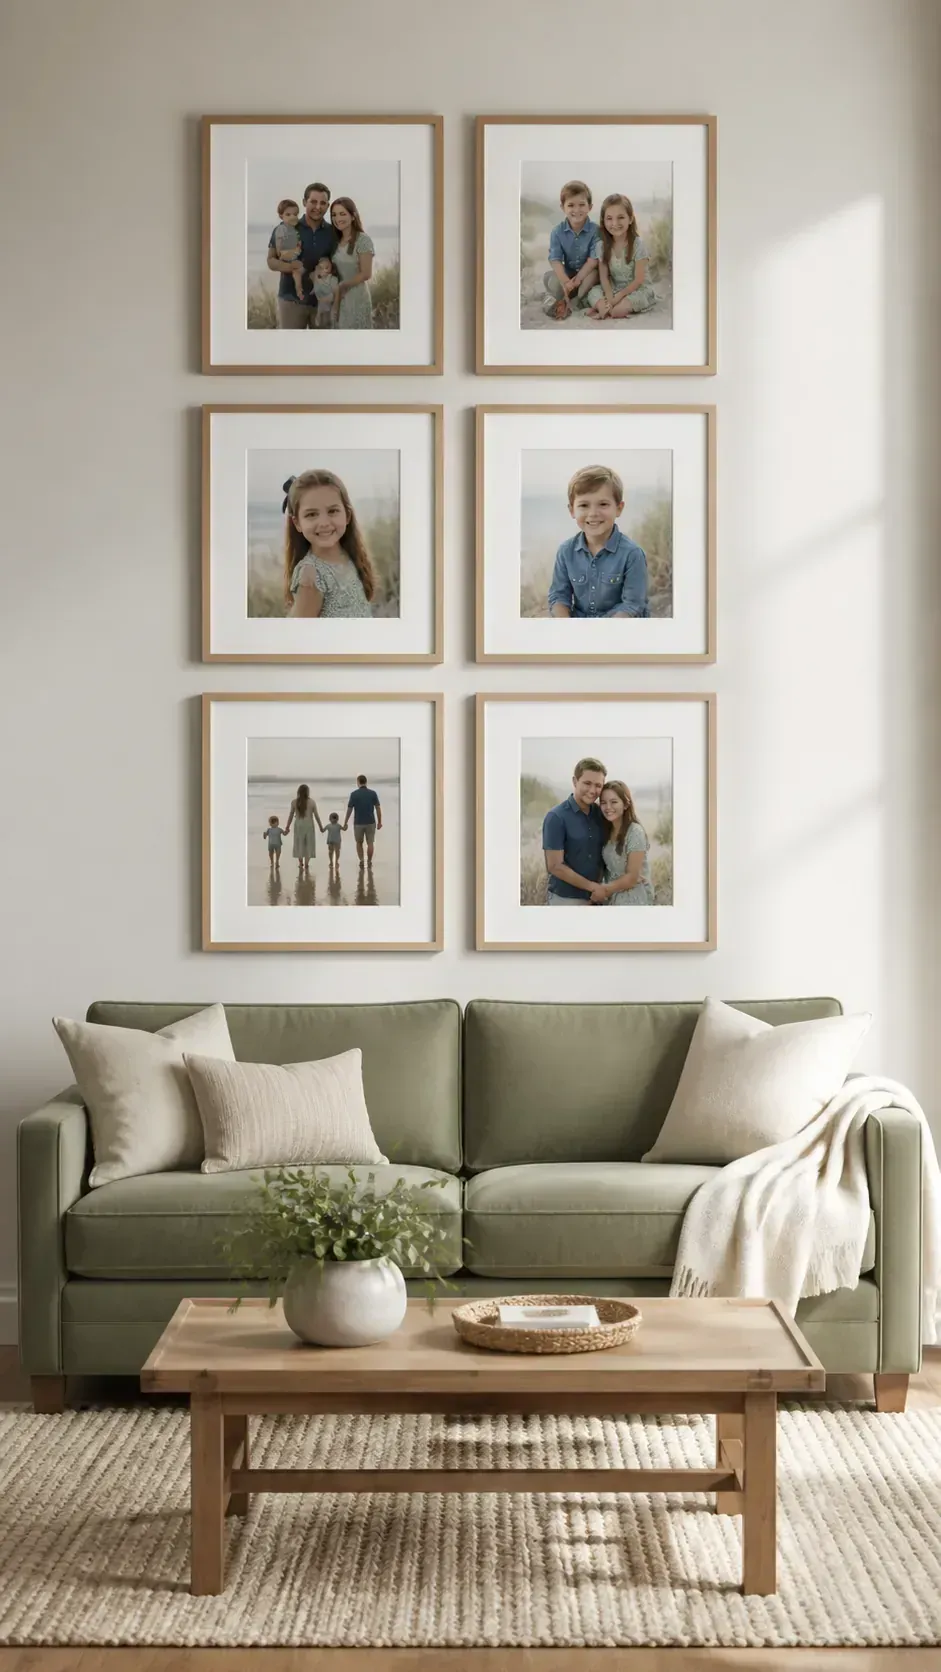
A Symmetrical Six Frame Living Room
Six matching frames arranged in two columns create a calm backdrop for a centered sofa or sideboard. Choose a size that fills enough of the wall to remain visible from the room entrance. Equal mat openings matter as much as equal frame spacing when the layout is this precise.
An Asymmetric Wall Above A Sideboard
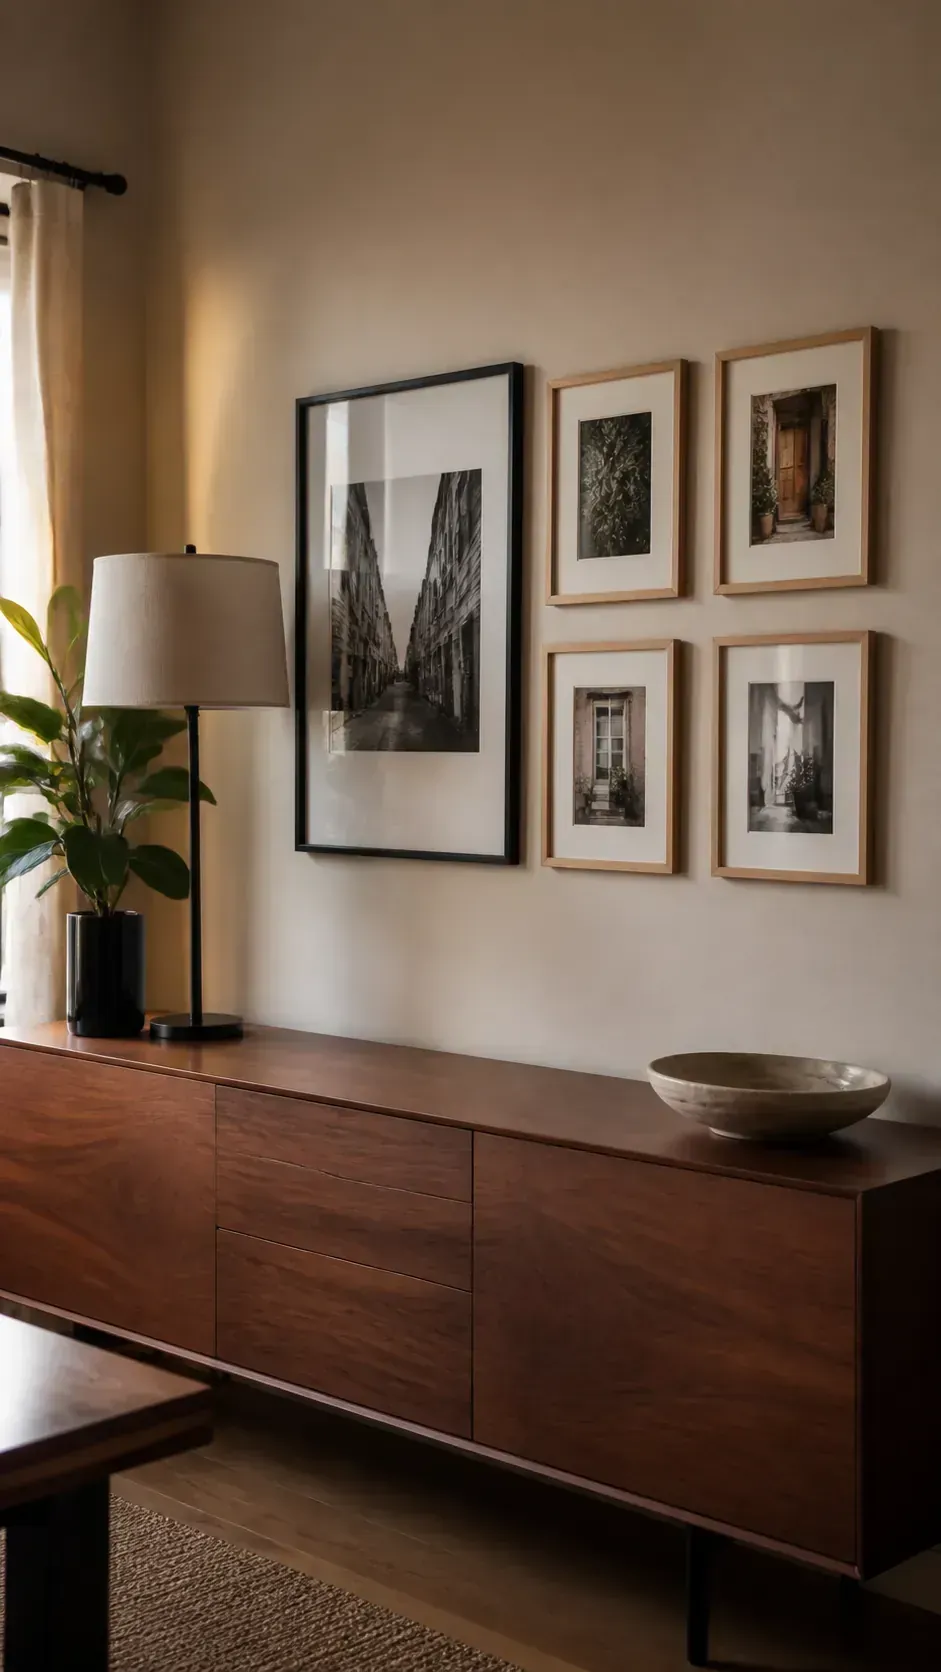
Start with the largest IKEA frame slightly away from center, then balance it with two or three smaller pieces. A lamp or tall plant can visually connect the gallery to the sideboard below. Keep the complete arrangement narrower than the furniture so it reads as one unit.
A Long Hallway Photo Row
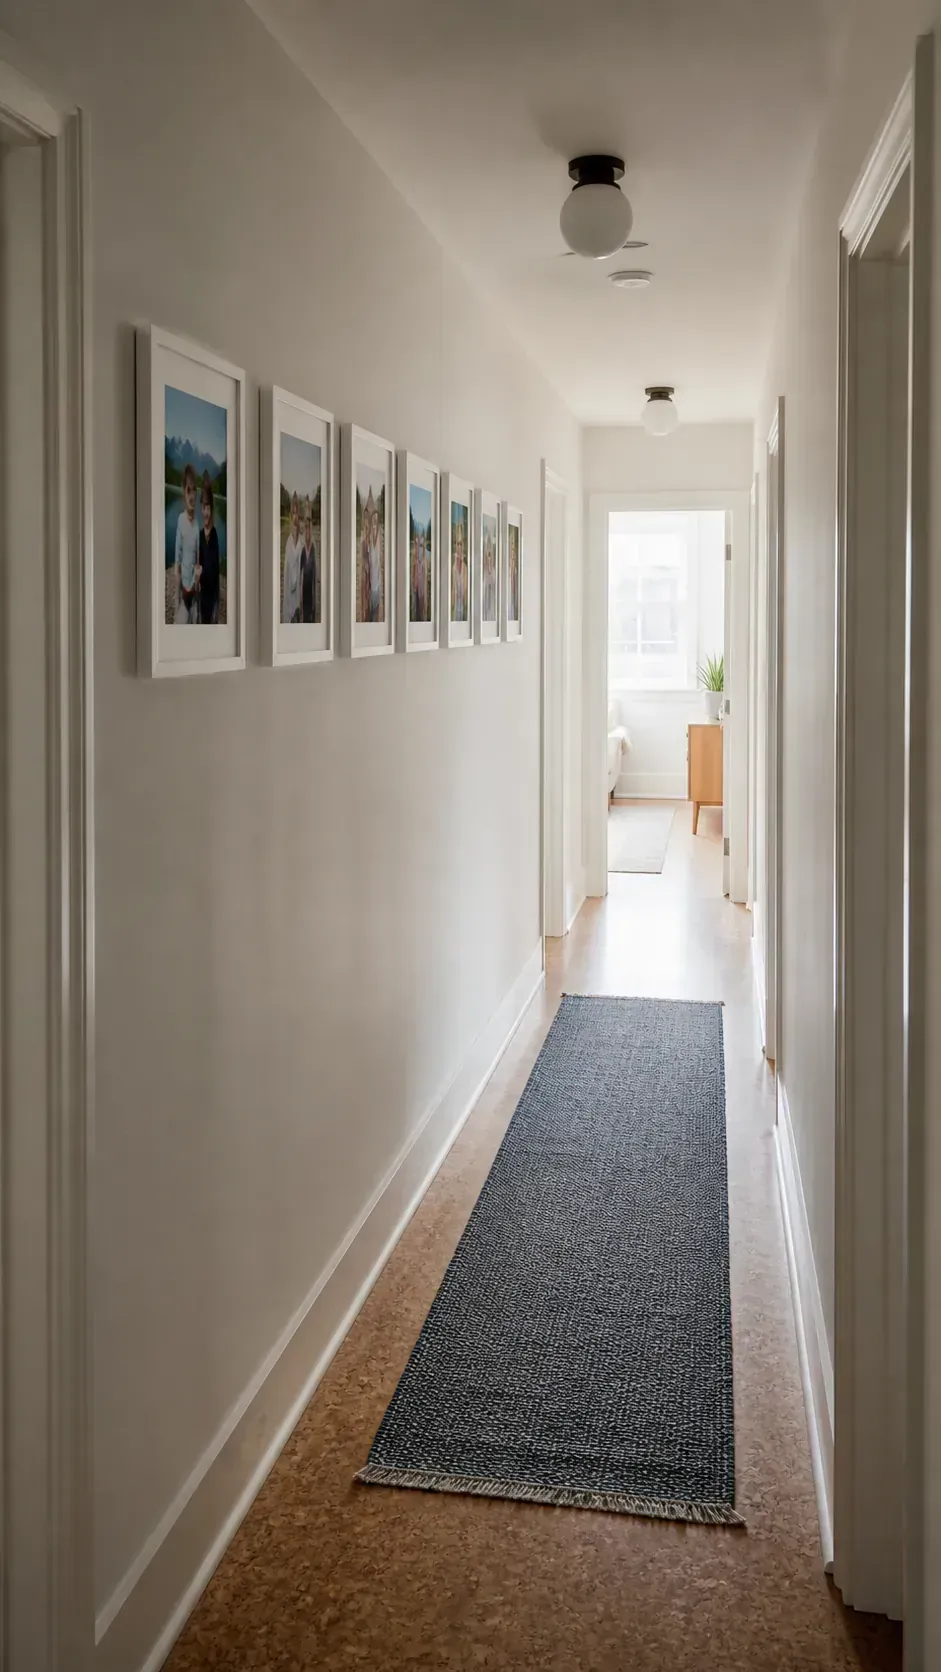
A single line of medium frames makes a narrow hallway feel ordered instead of crowded. Align their centers at a comfortable viewing height and leave clear space near door trim. Similar photograph crops create continuity as someone walks through the passage.
A Stair Wall With Repeating Frames
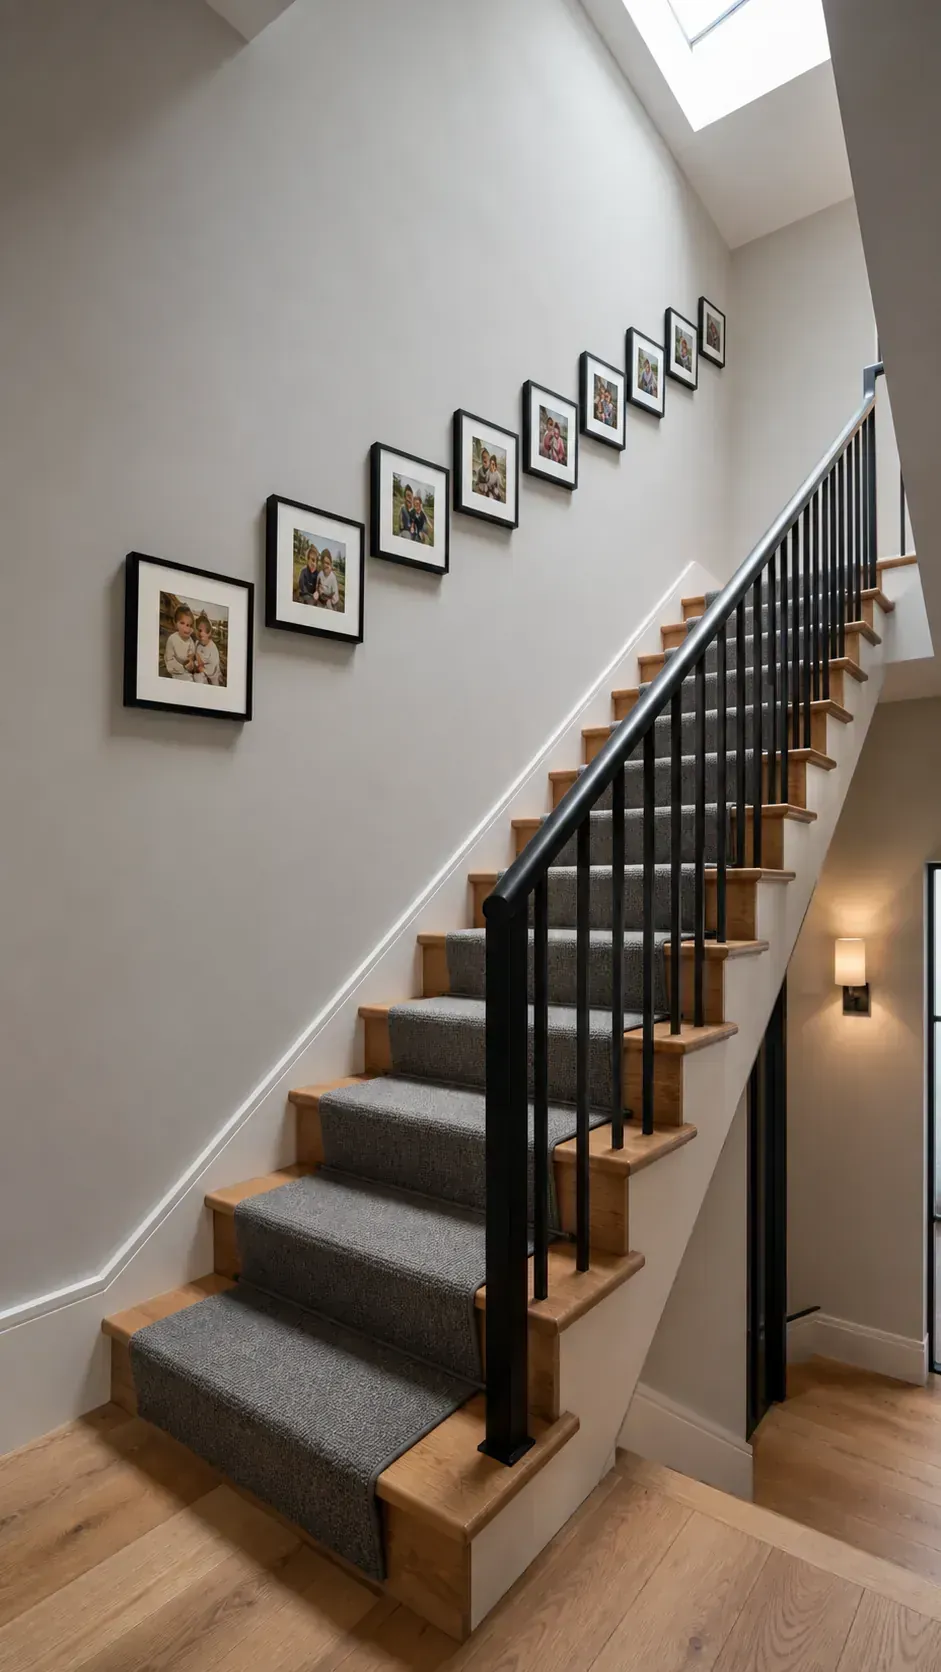
Repeat one frame size along the stair angle for a simple layout that is easy to extend. Use the handrail line as a visual guide while keeping the actual clearance comfortable. Paper templates reveal whether the sequence starts too low at the landing or climbs too close to the ceiling.
A Calm Bedroom Frame Trio
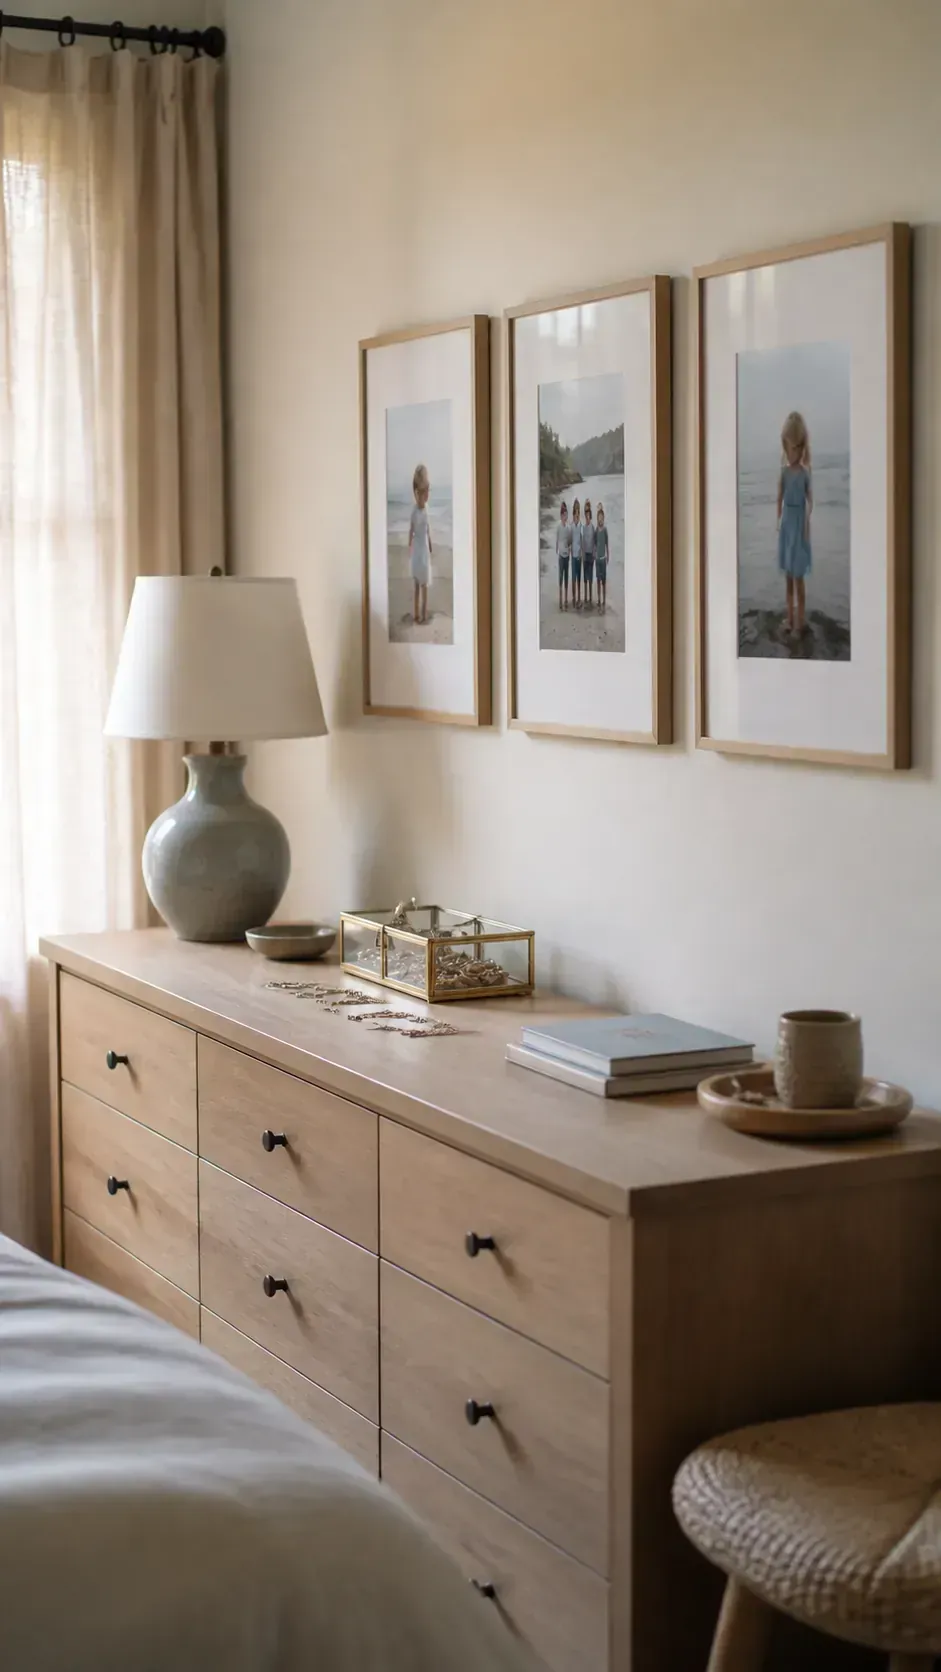
Three large frames above a dresser can give a bedroom personality without surrounding the bed with visual clutter. Select quiet photographs with a shared color family and use broad mats. Keep glass glare away from the main window sightline so the images remain visible throughout the day.
Black Frames With Black And White Prints
Black frames and monochrome prints can unite photographs taken under different lighting conditions. Cream mats keep the combination from feeling severe and separate each face from the dark border. Vary portrait orientation while repeating the same frame family.
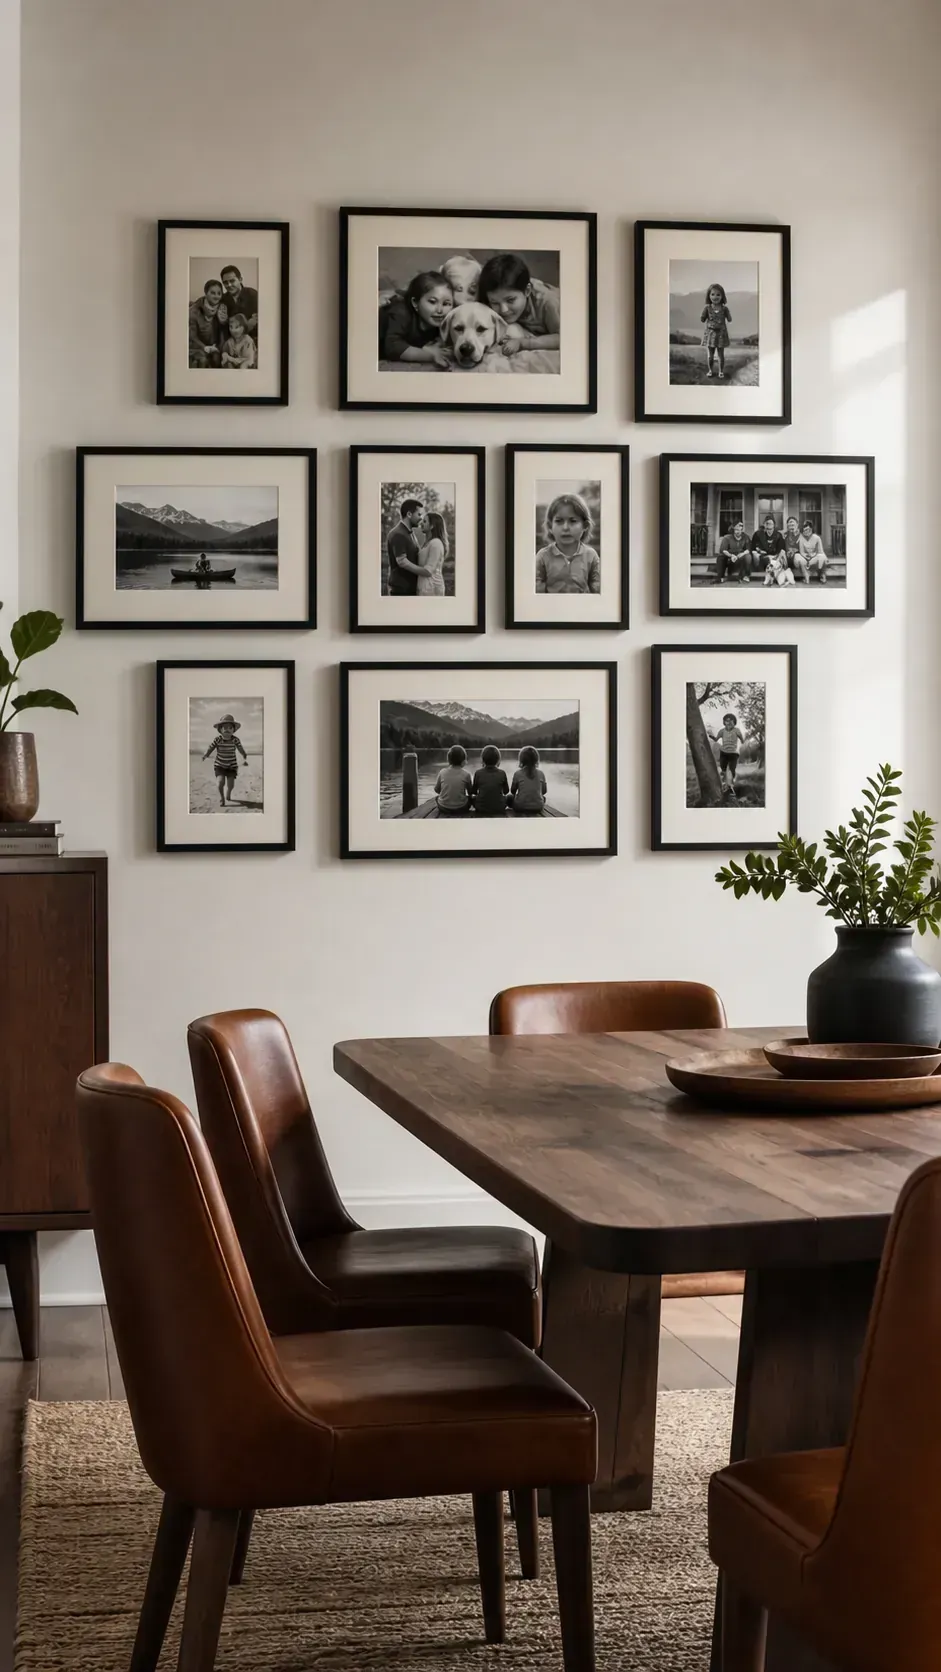
White Frames On A Soft White Wall
White frames create subtle relief on a pale wall and allow colorful photographs to lead. Choose a wall tone that differs slightly from the frame finish so the outlines remain visible. Side light helps reveal the shallow shadows and prevents the arrangement from disappearing.
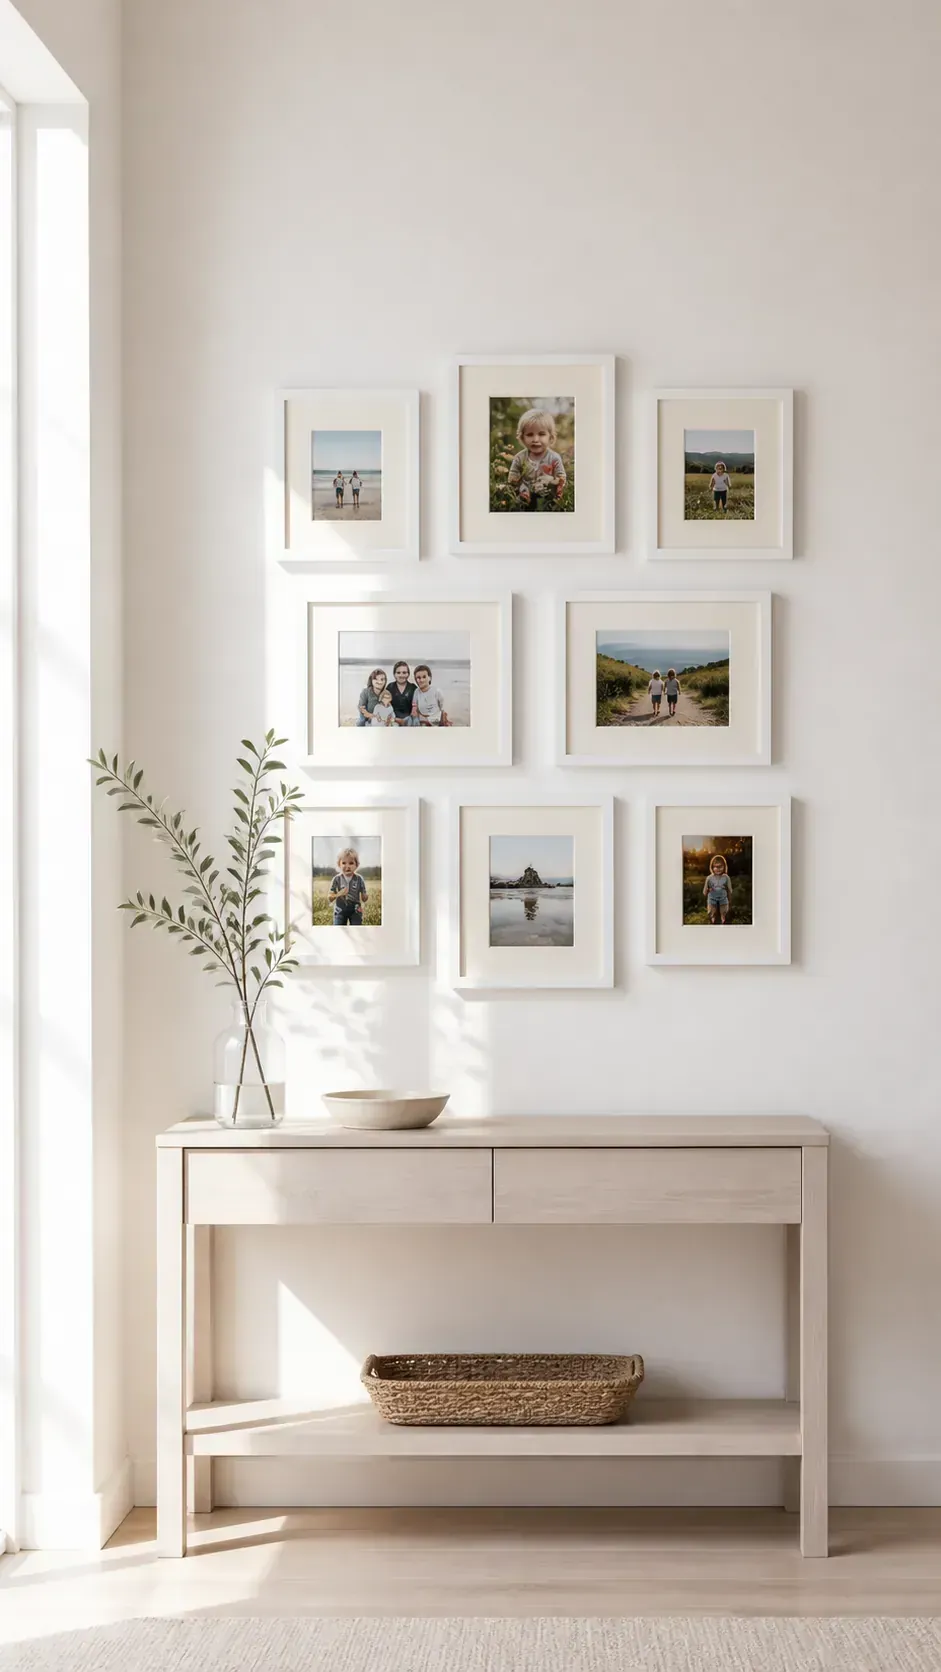
Natural Frames With Colorful Prints
Light wood frames let bright travel and family photographs feel cheerful without adding another strong color. Edit the prints to share similar warmth and saturation before ordering. Neutral mats provide a consistent border when the scenes range from beaches to birthday tables.
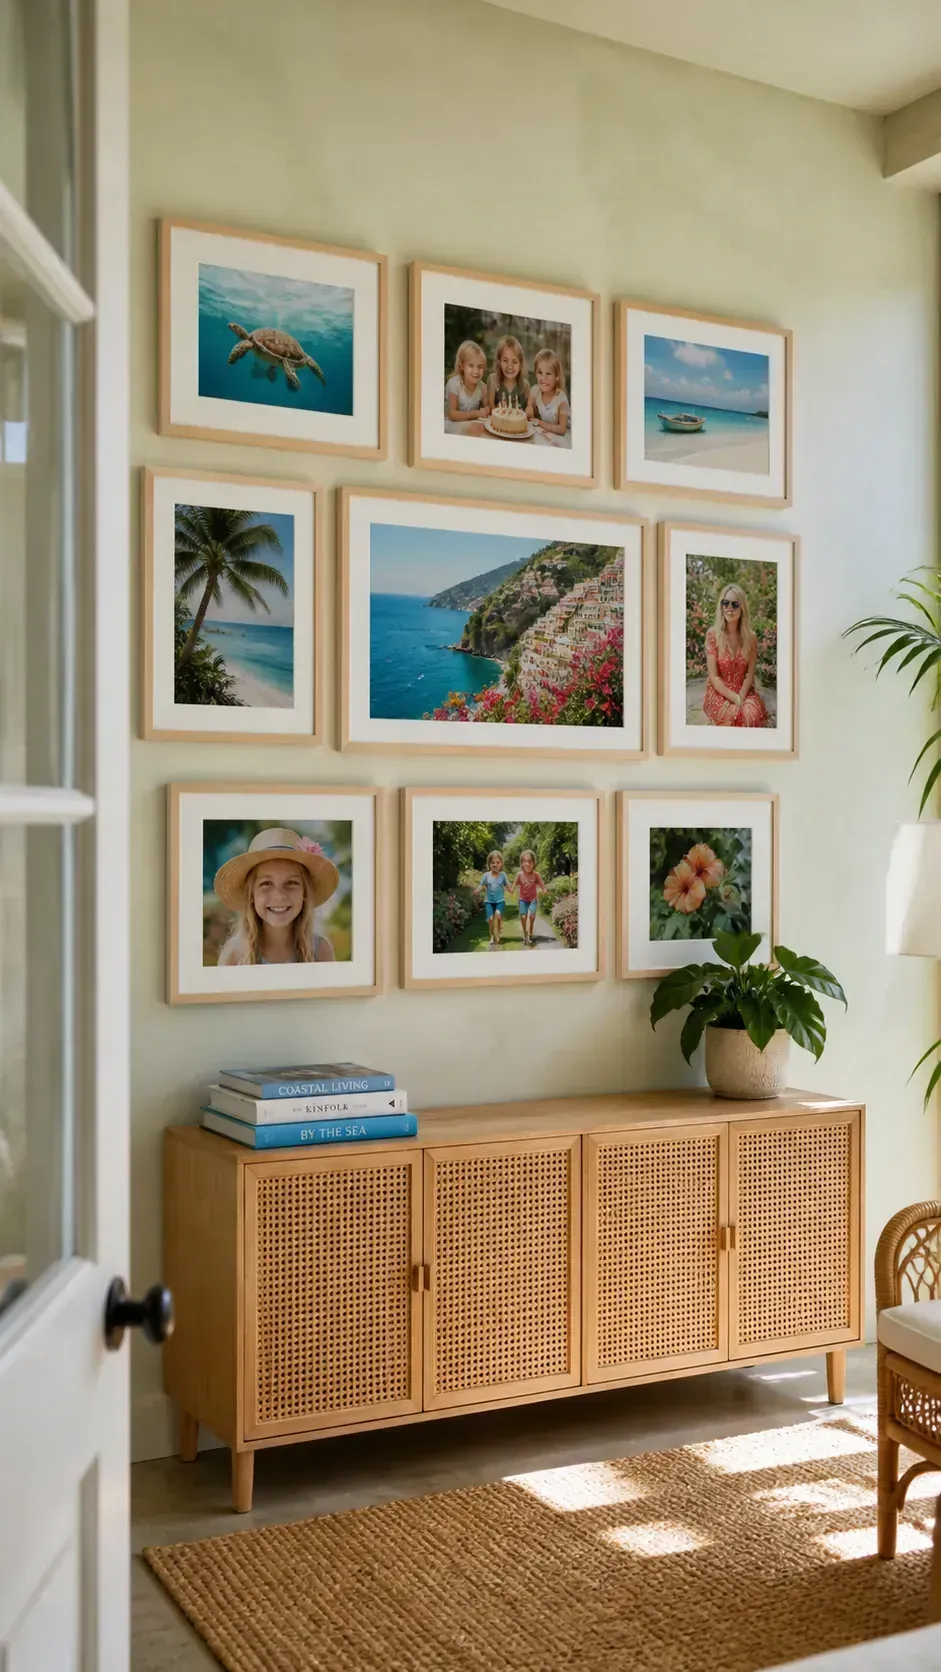
A Small Frame Wall For Close Viewing
Small IKEA frames work best in a nook, stair landing, or hallway where people can approach the photographs. Cluster them tightly enough to create one shape rather than scattering tiny faces across a broad wall. Use one larger frame as an anchor to prevent the collection from looking weightless.
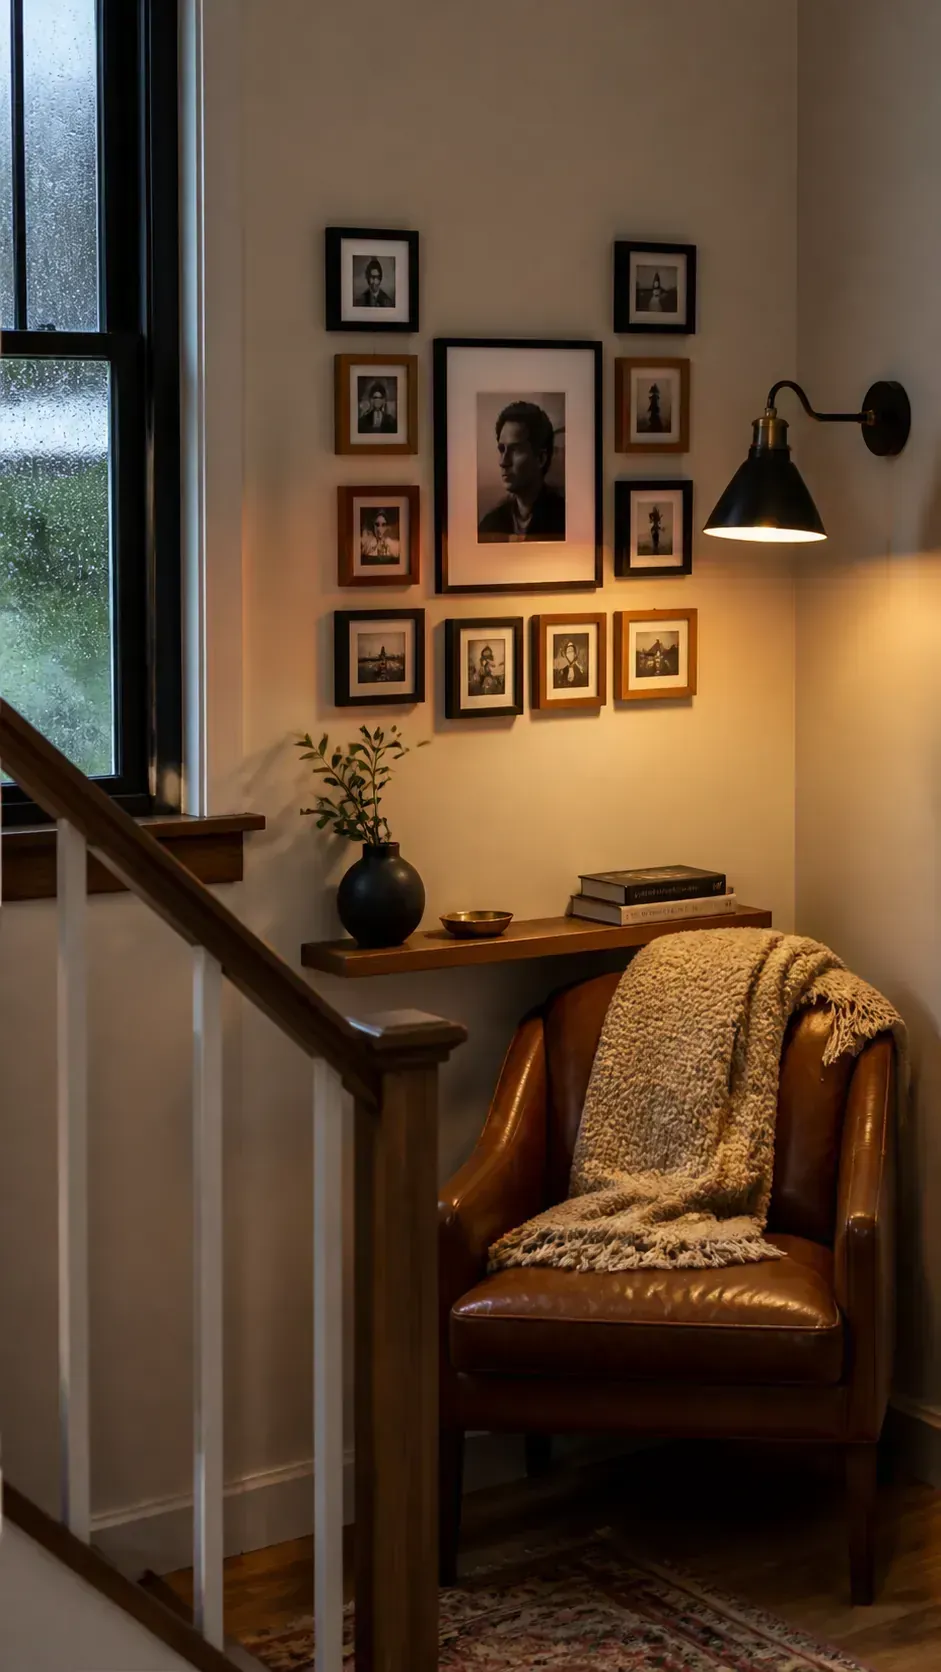
One Oversized Frame As The Anchor
Begin an organic picture wall with the largest available frame and build outward only as memories accumulate. The oversized image gives the eye a clear place to rest among smaller photographs. Position it according to the furniture and room sightline rather than placing it automatically at the wall center.
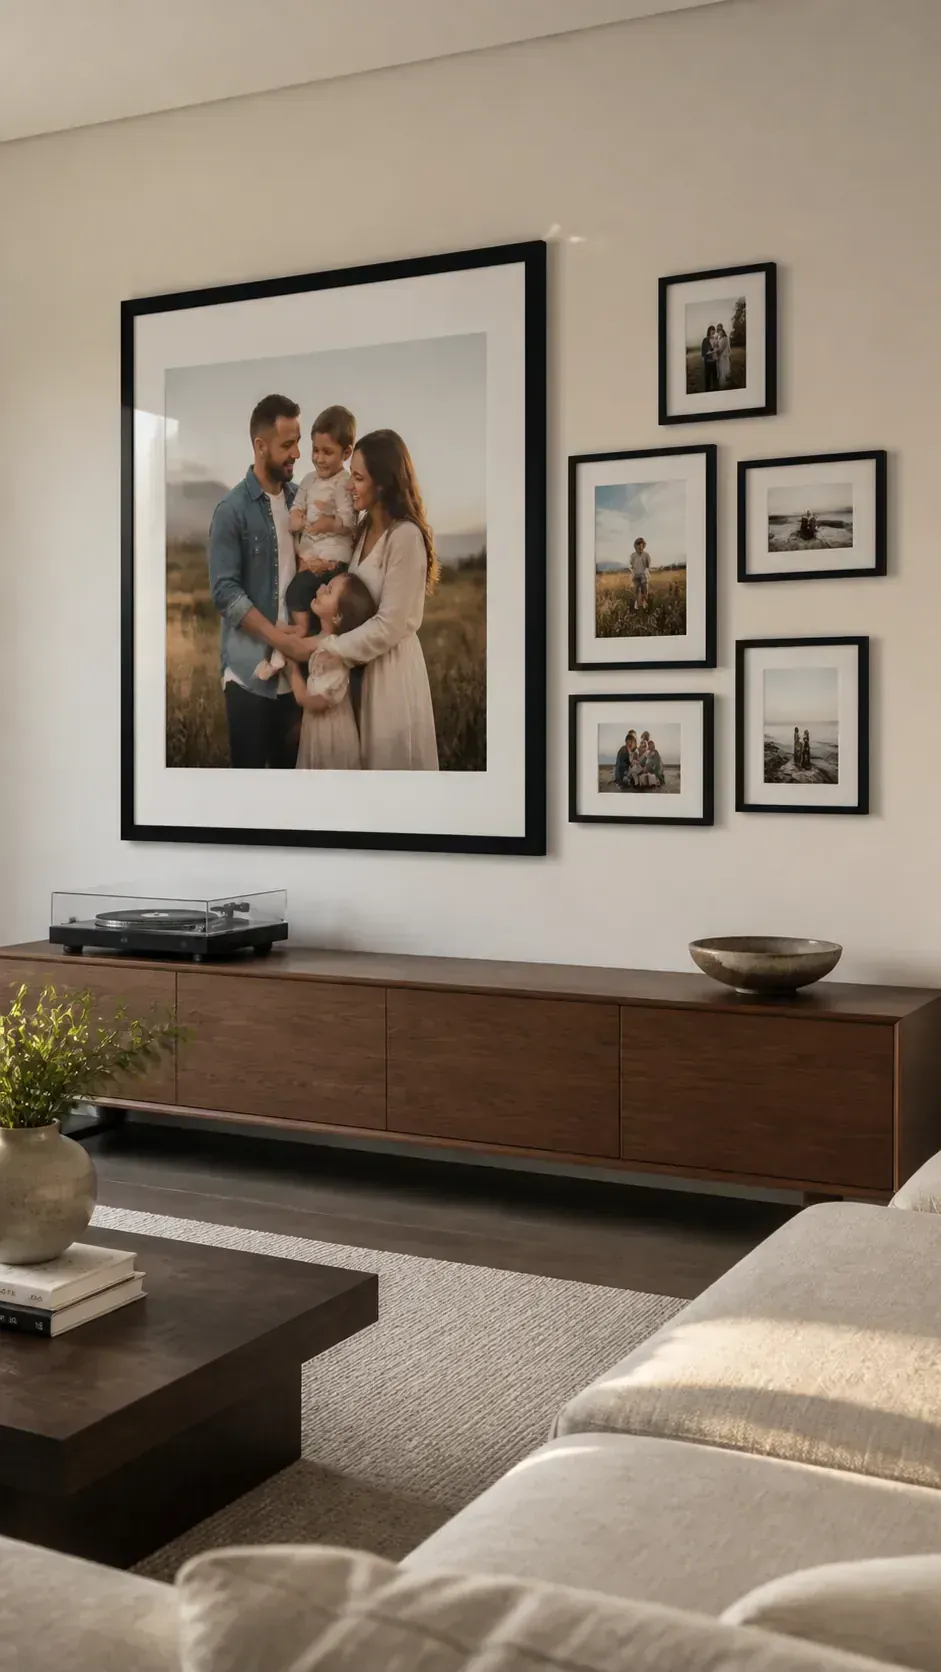
A Matrix Of Five By Seven Photos
A group of small portrait frames can preserve many snapshots when the outer edges form a disciplined rectangle. Confirm the real mat opening before ordering prints because the visible area is usually smaller than the nominal picture size. Crop faces with extra breathing room so the mat does not cut into important details.
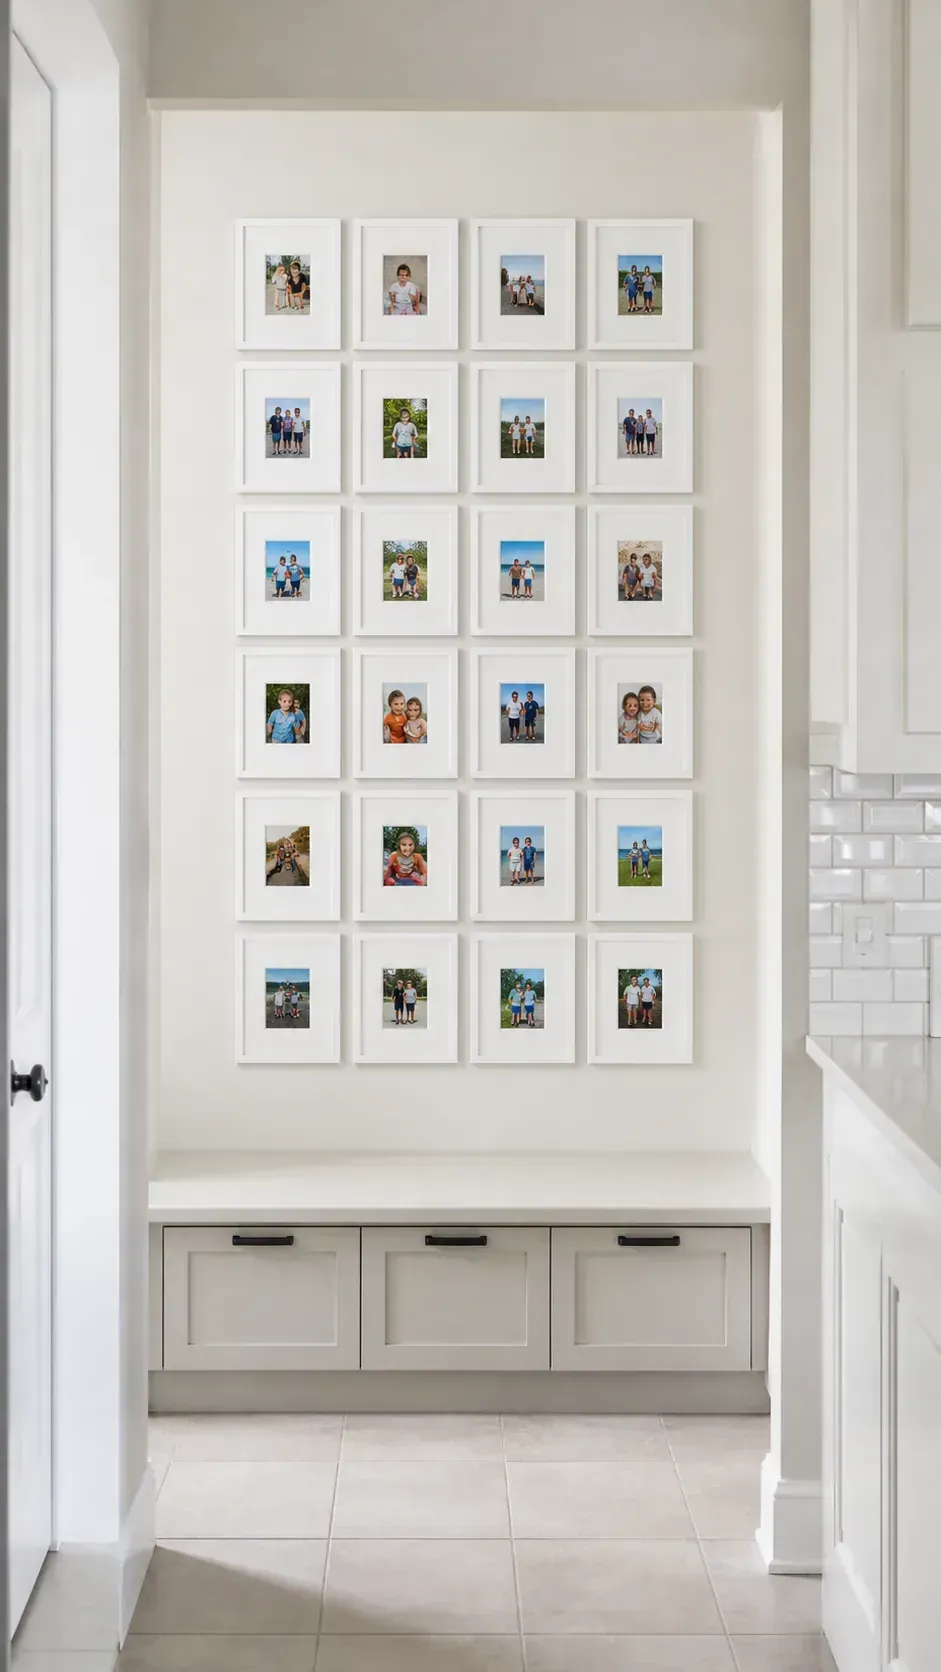
A Square Photo Grid For Phone Pictures
Crop favorite phone photographs into consistent squares for a clean modern grid. Alternate close portraits with wider everyday scenes so the sequence has visual rhythm. Print one test first to check brightness, sharpness, and how much image the mat hides.
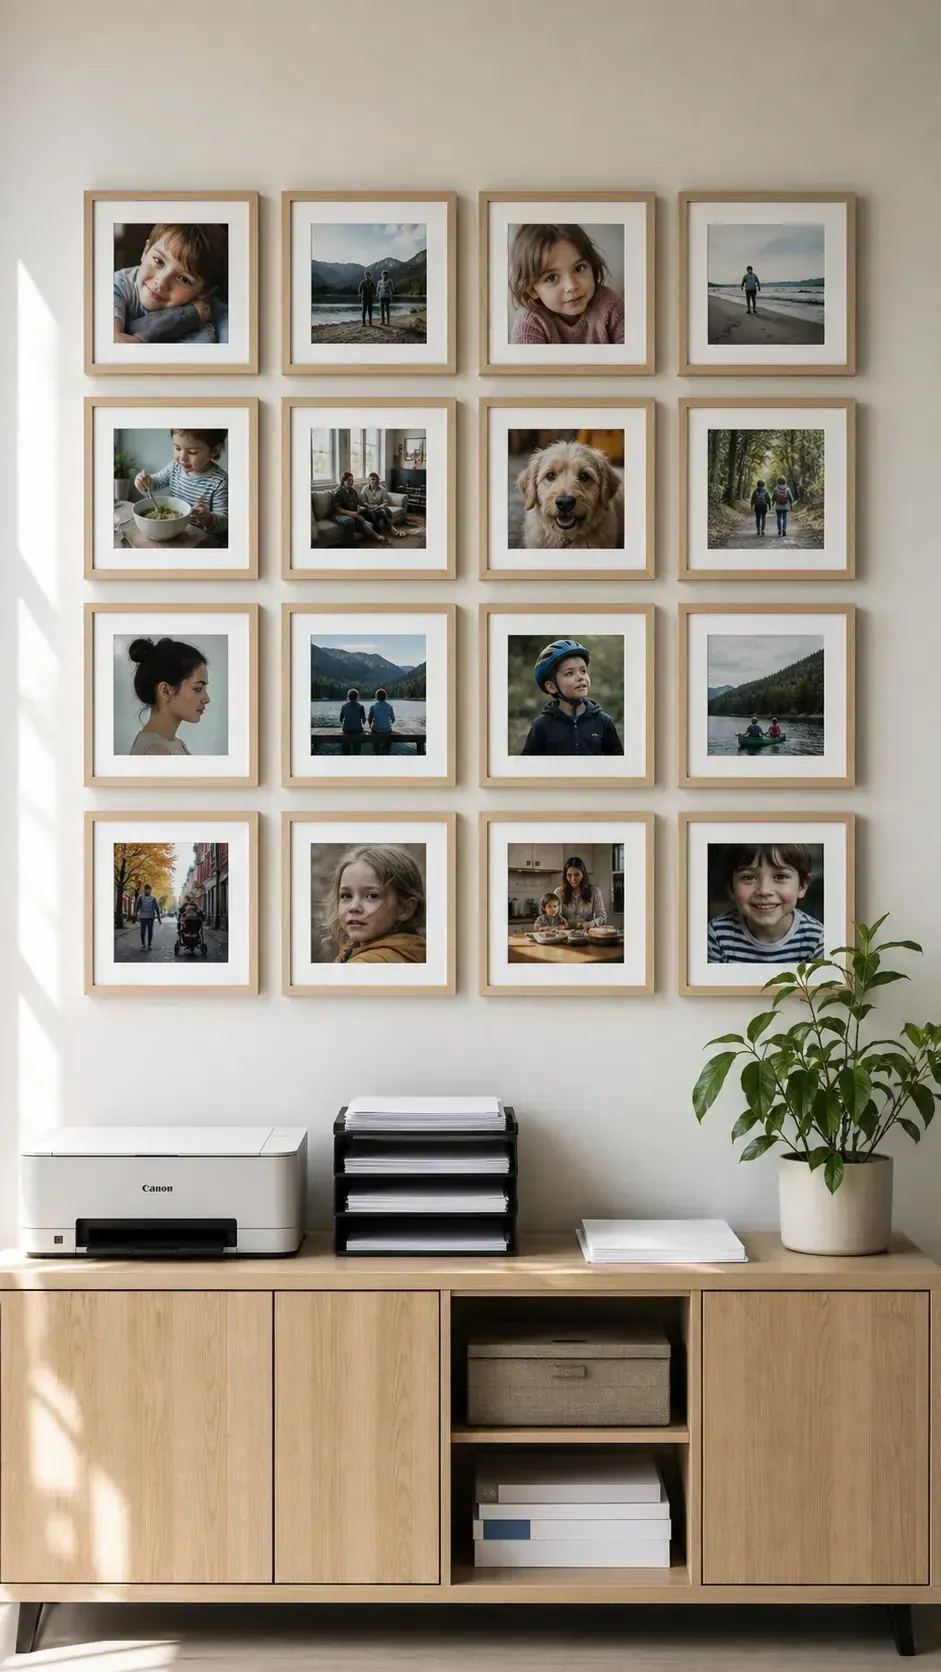
Family Photos Mixed With Children’s Art
Mix photographs with selected children’s drawings to create a family wall that changes over time. Use matching frames and mats so different papers and colors still feel connected. Scan fragile originals and display copies when the artwork has sentimental value.
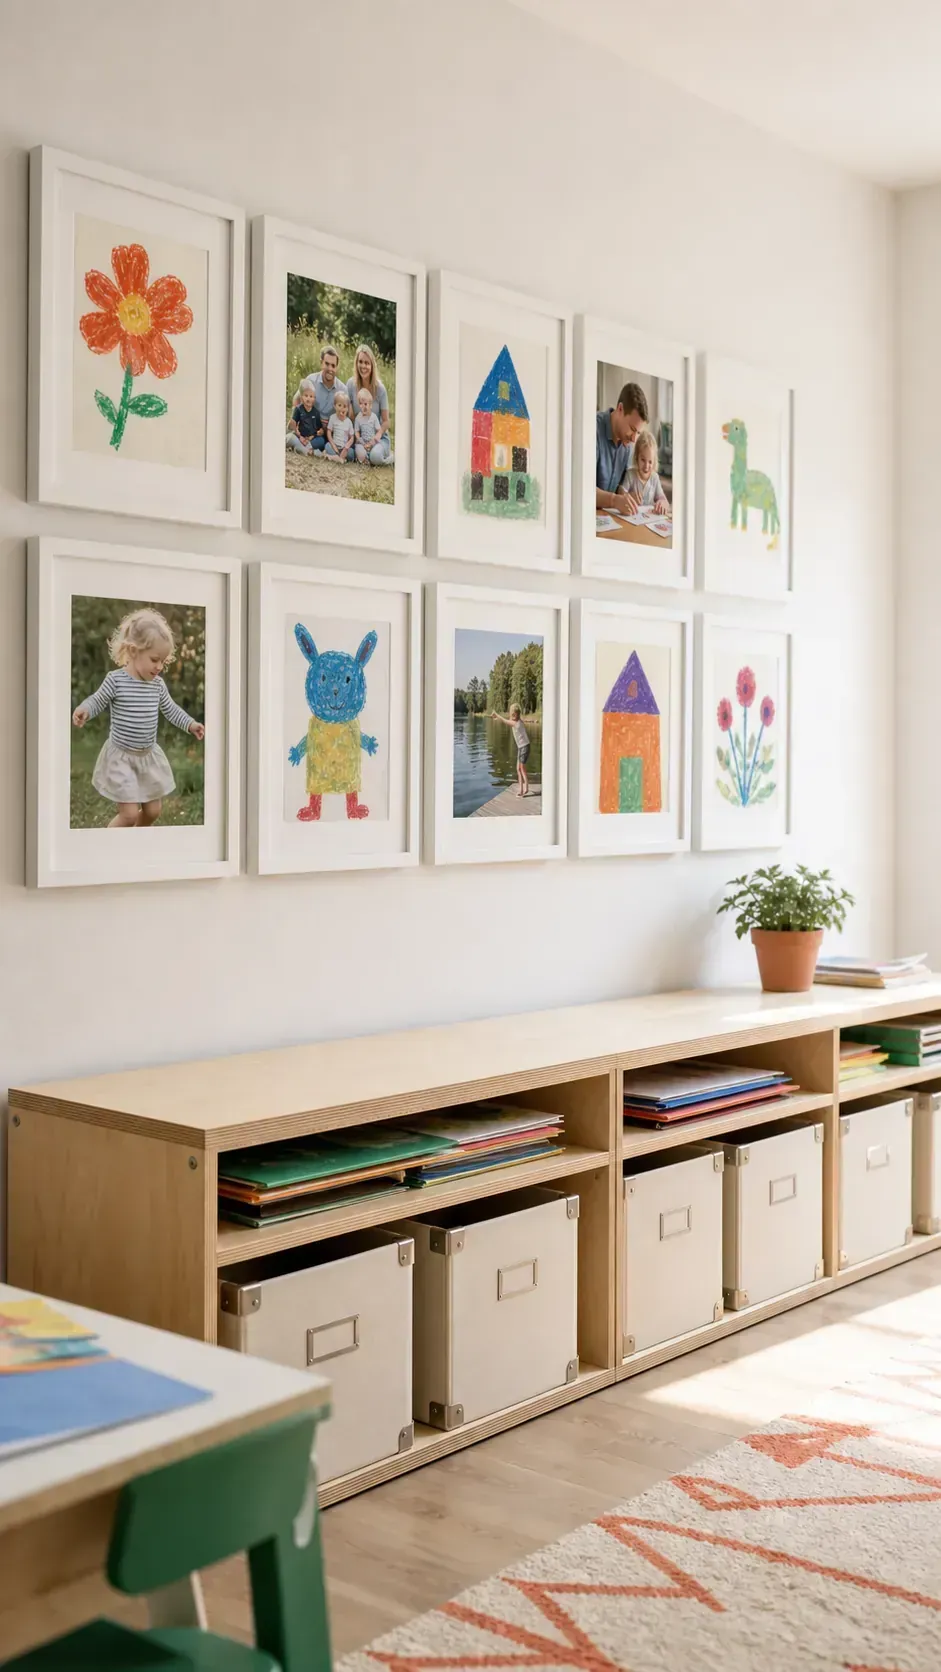
A Lightweight Rental Gallery
Choose lightweight frames with acrylic fronts when a rental wall cannot support extensive hardware. Match any removable strip to the full frame weight and prepare the paint exactly as directed. Test the method on one frame because recessed hangers and weak paint can change what works safely.
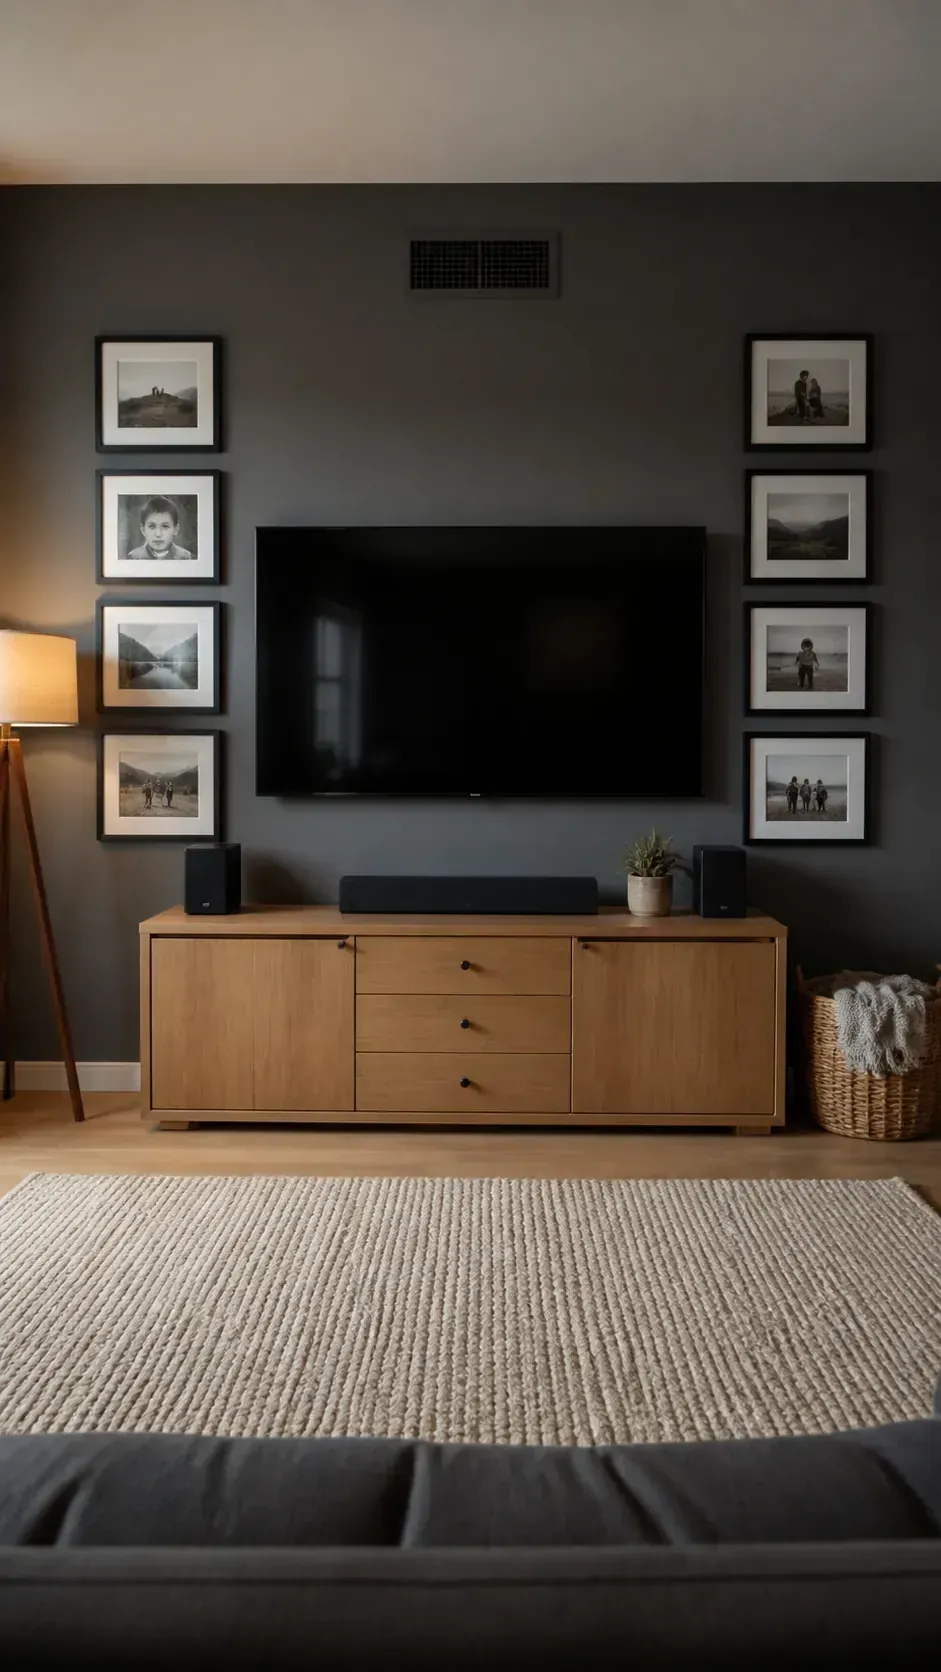
A Balanced Television Frame Wall
Place quiet family photographs around a television to soften its dark rectangle without hiding ventilation or cables. Repeat one black frame line so the screen and gallery share a visual language. Keep the outer arrangement aligned with the media cabinet for a stable overall shape.
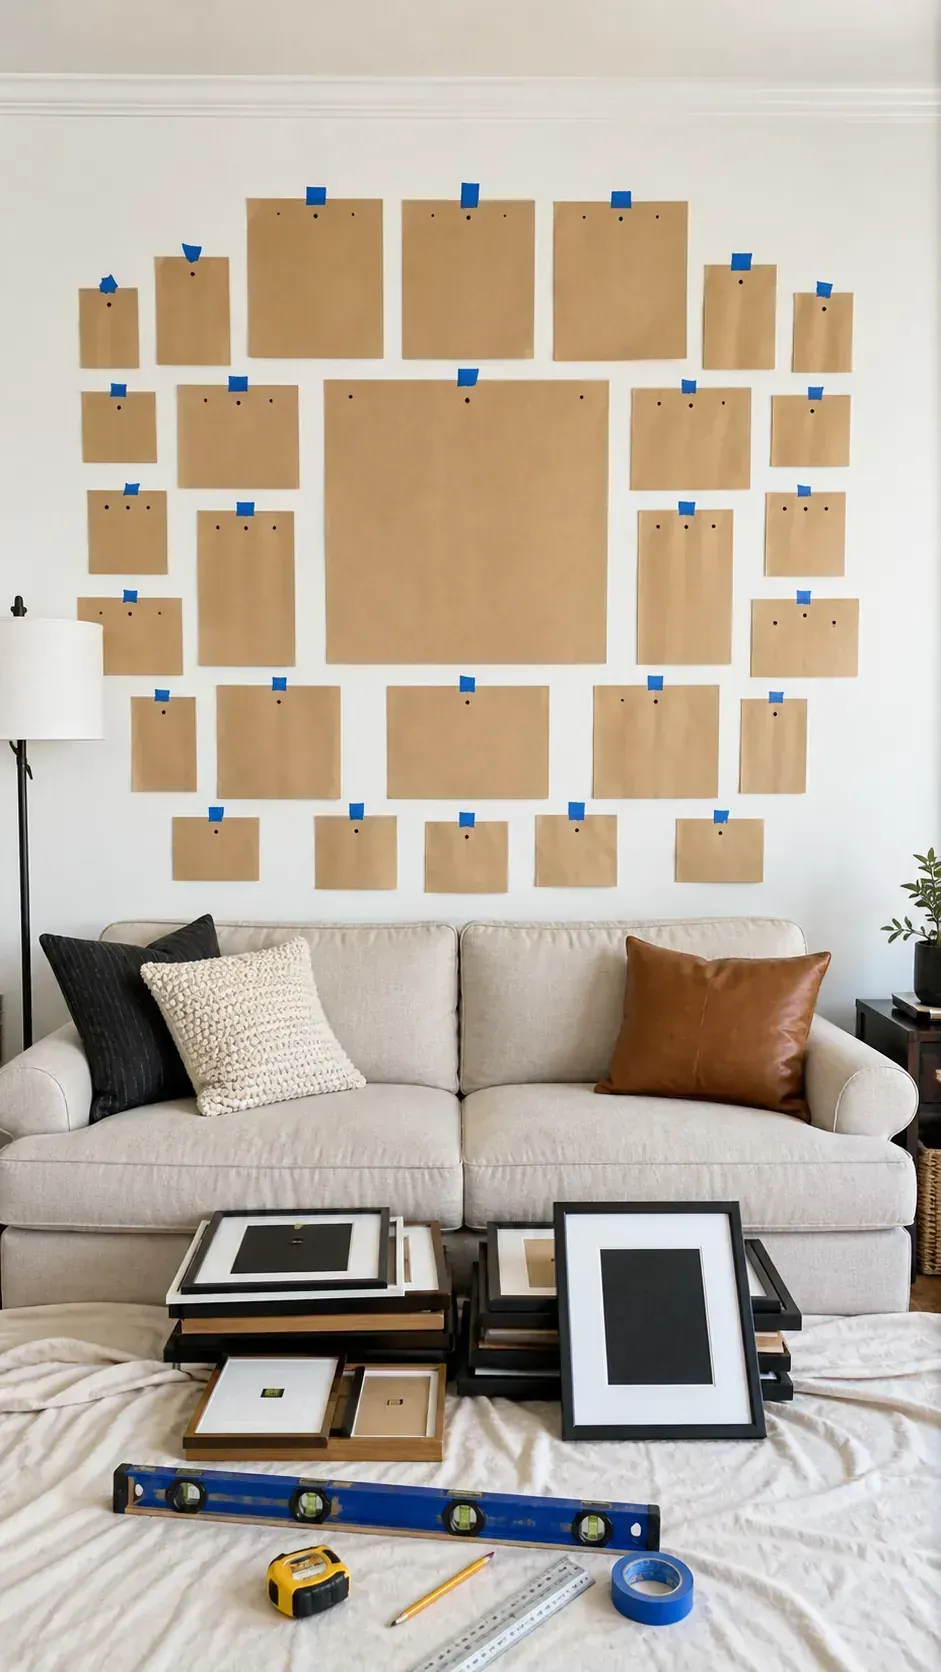
A Kraft Paper Layout Rehearsal
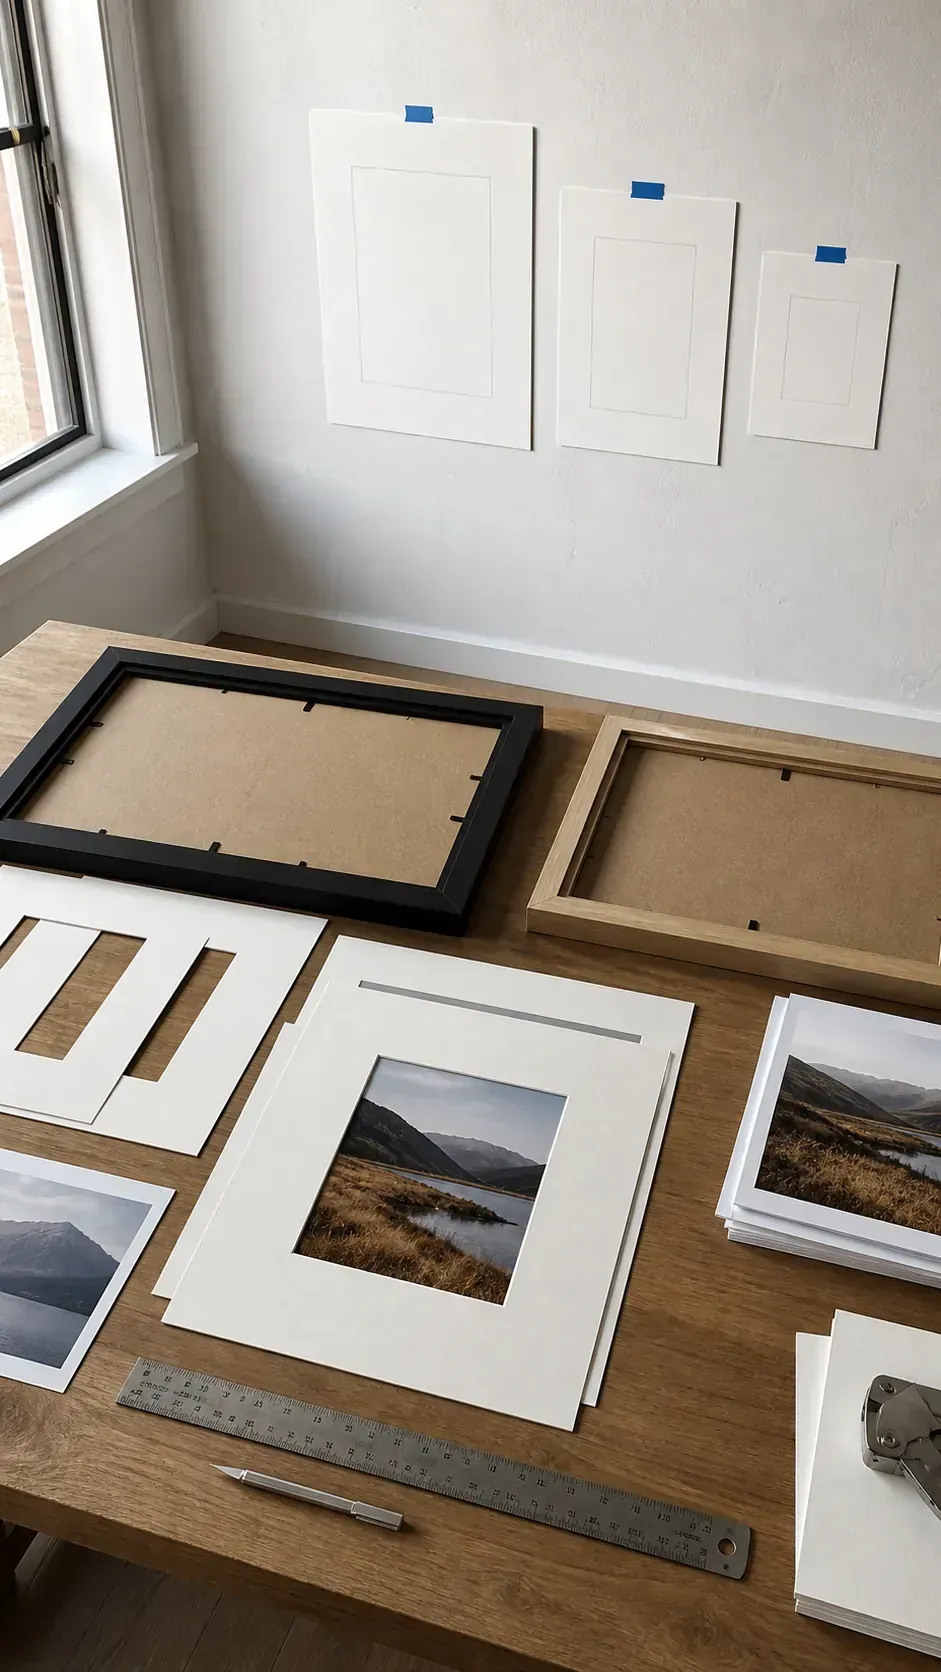
Trace the exact outer dimensions of every frame onto kraft paper and mark its hanging point. Tape the shapes to the wall, then inspect them from seats and doorways before making holes. This step reveals whether a frame size is too small and exposes spacing problems while they are still easy to change.
A Mat Opening First Photo Wall
Plan the wall around the visible mat openings rather than relying only on the frame label. Record the frame exterior, picture capacity, mat opening, and orientation before ordering prints. When metric frames meet common inch based photos, a custom mat or careful crop is often cleaner than forcing the wrong size.